Stove Thread Specifications

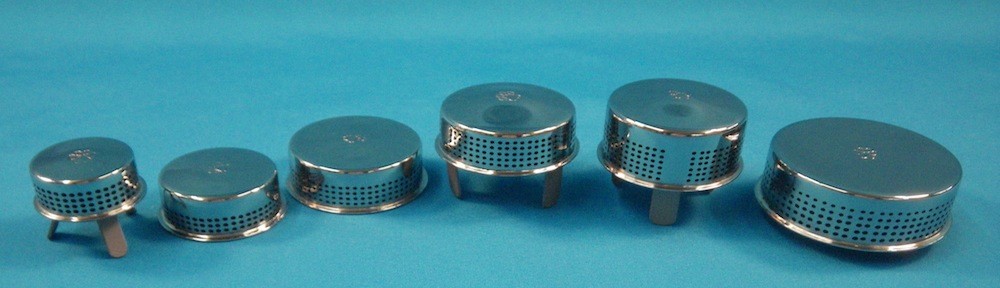
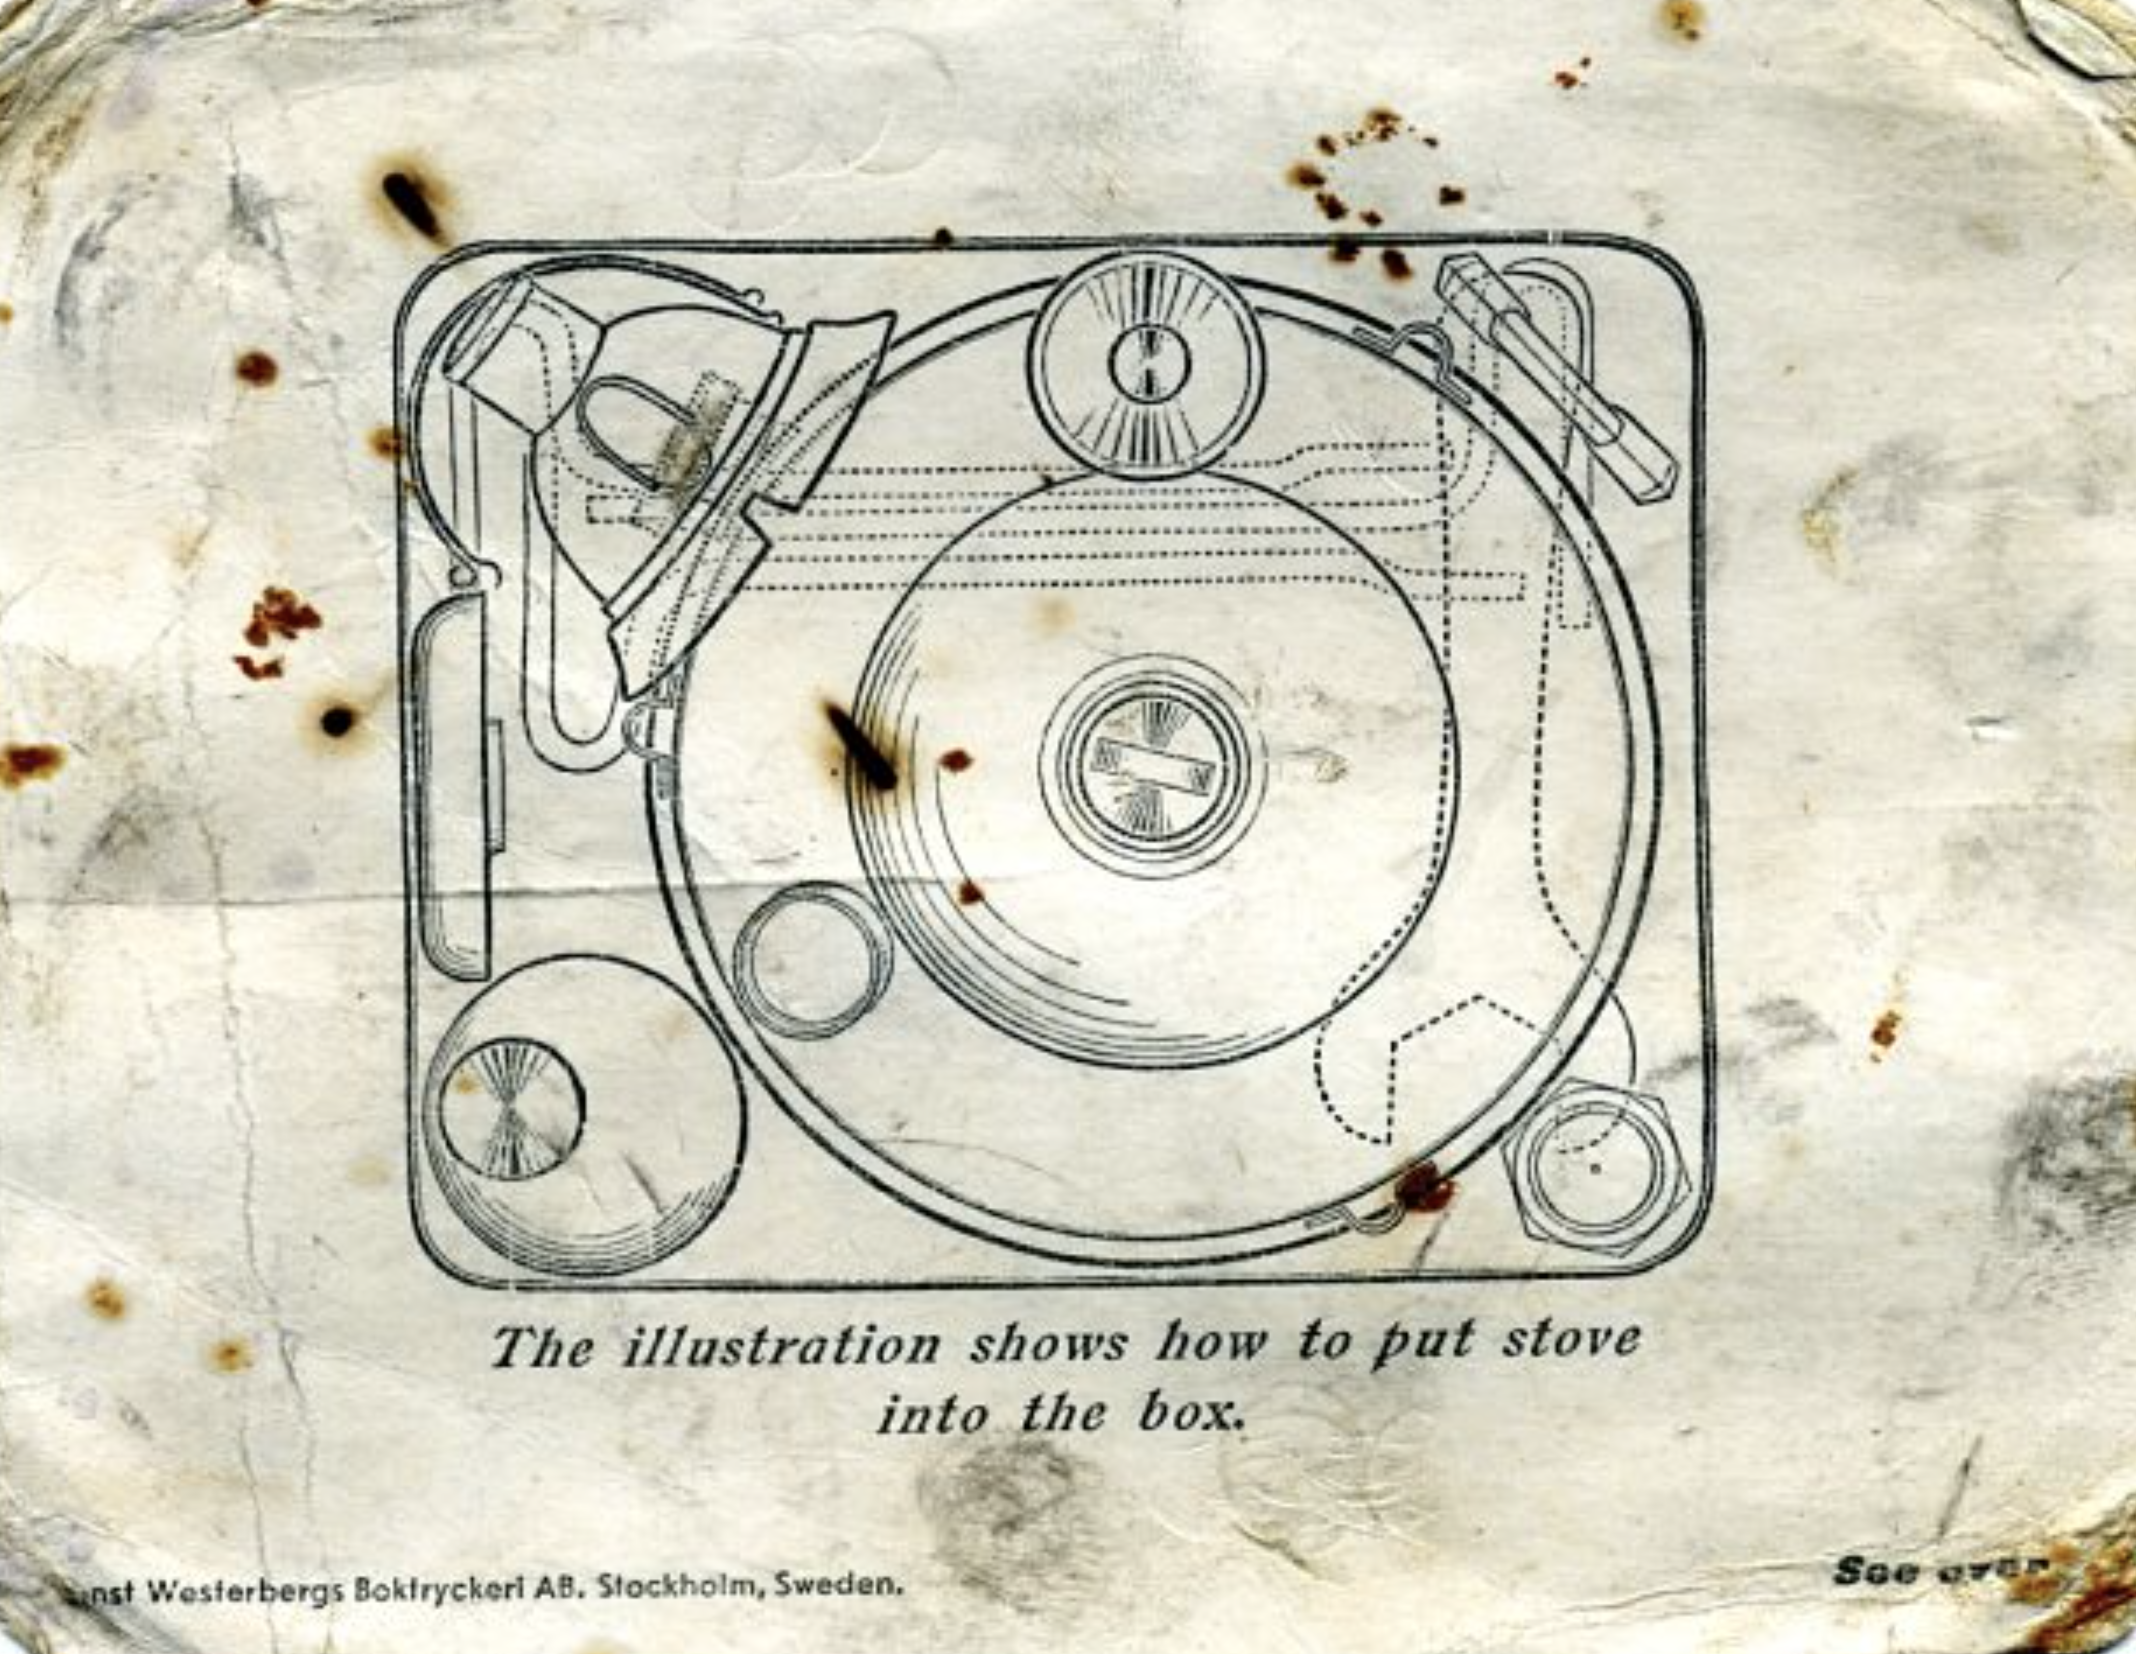
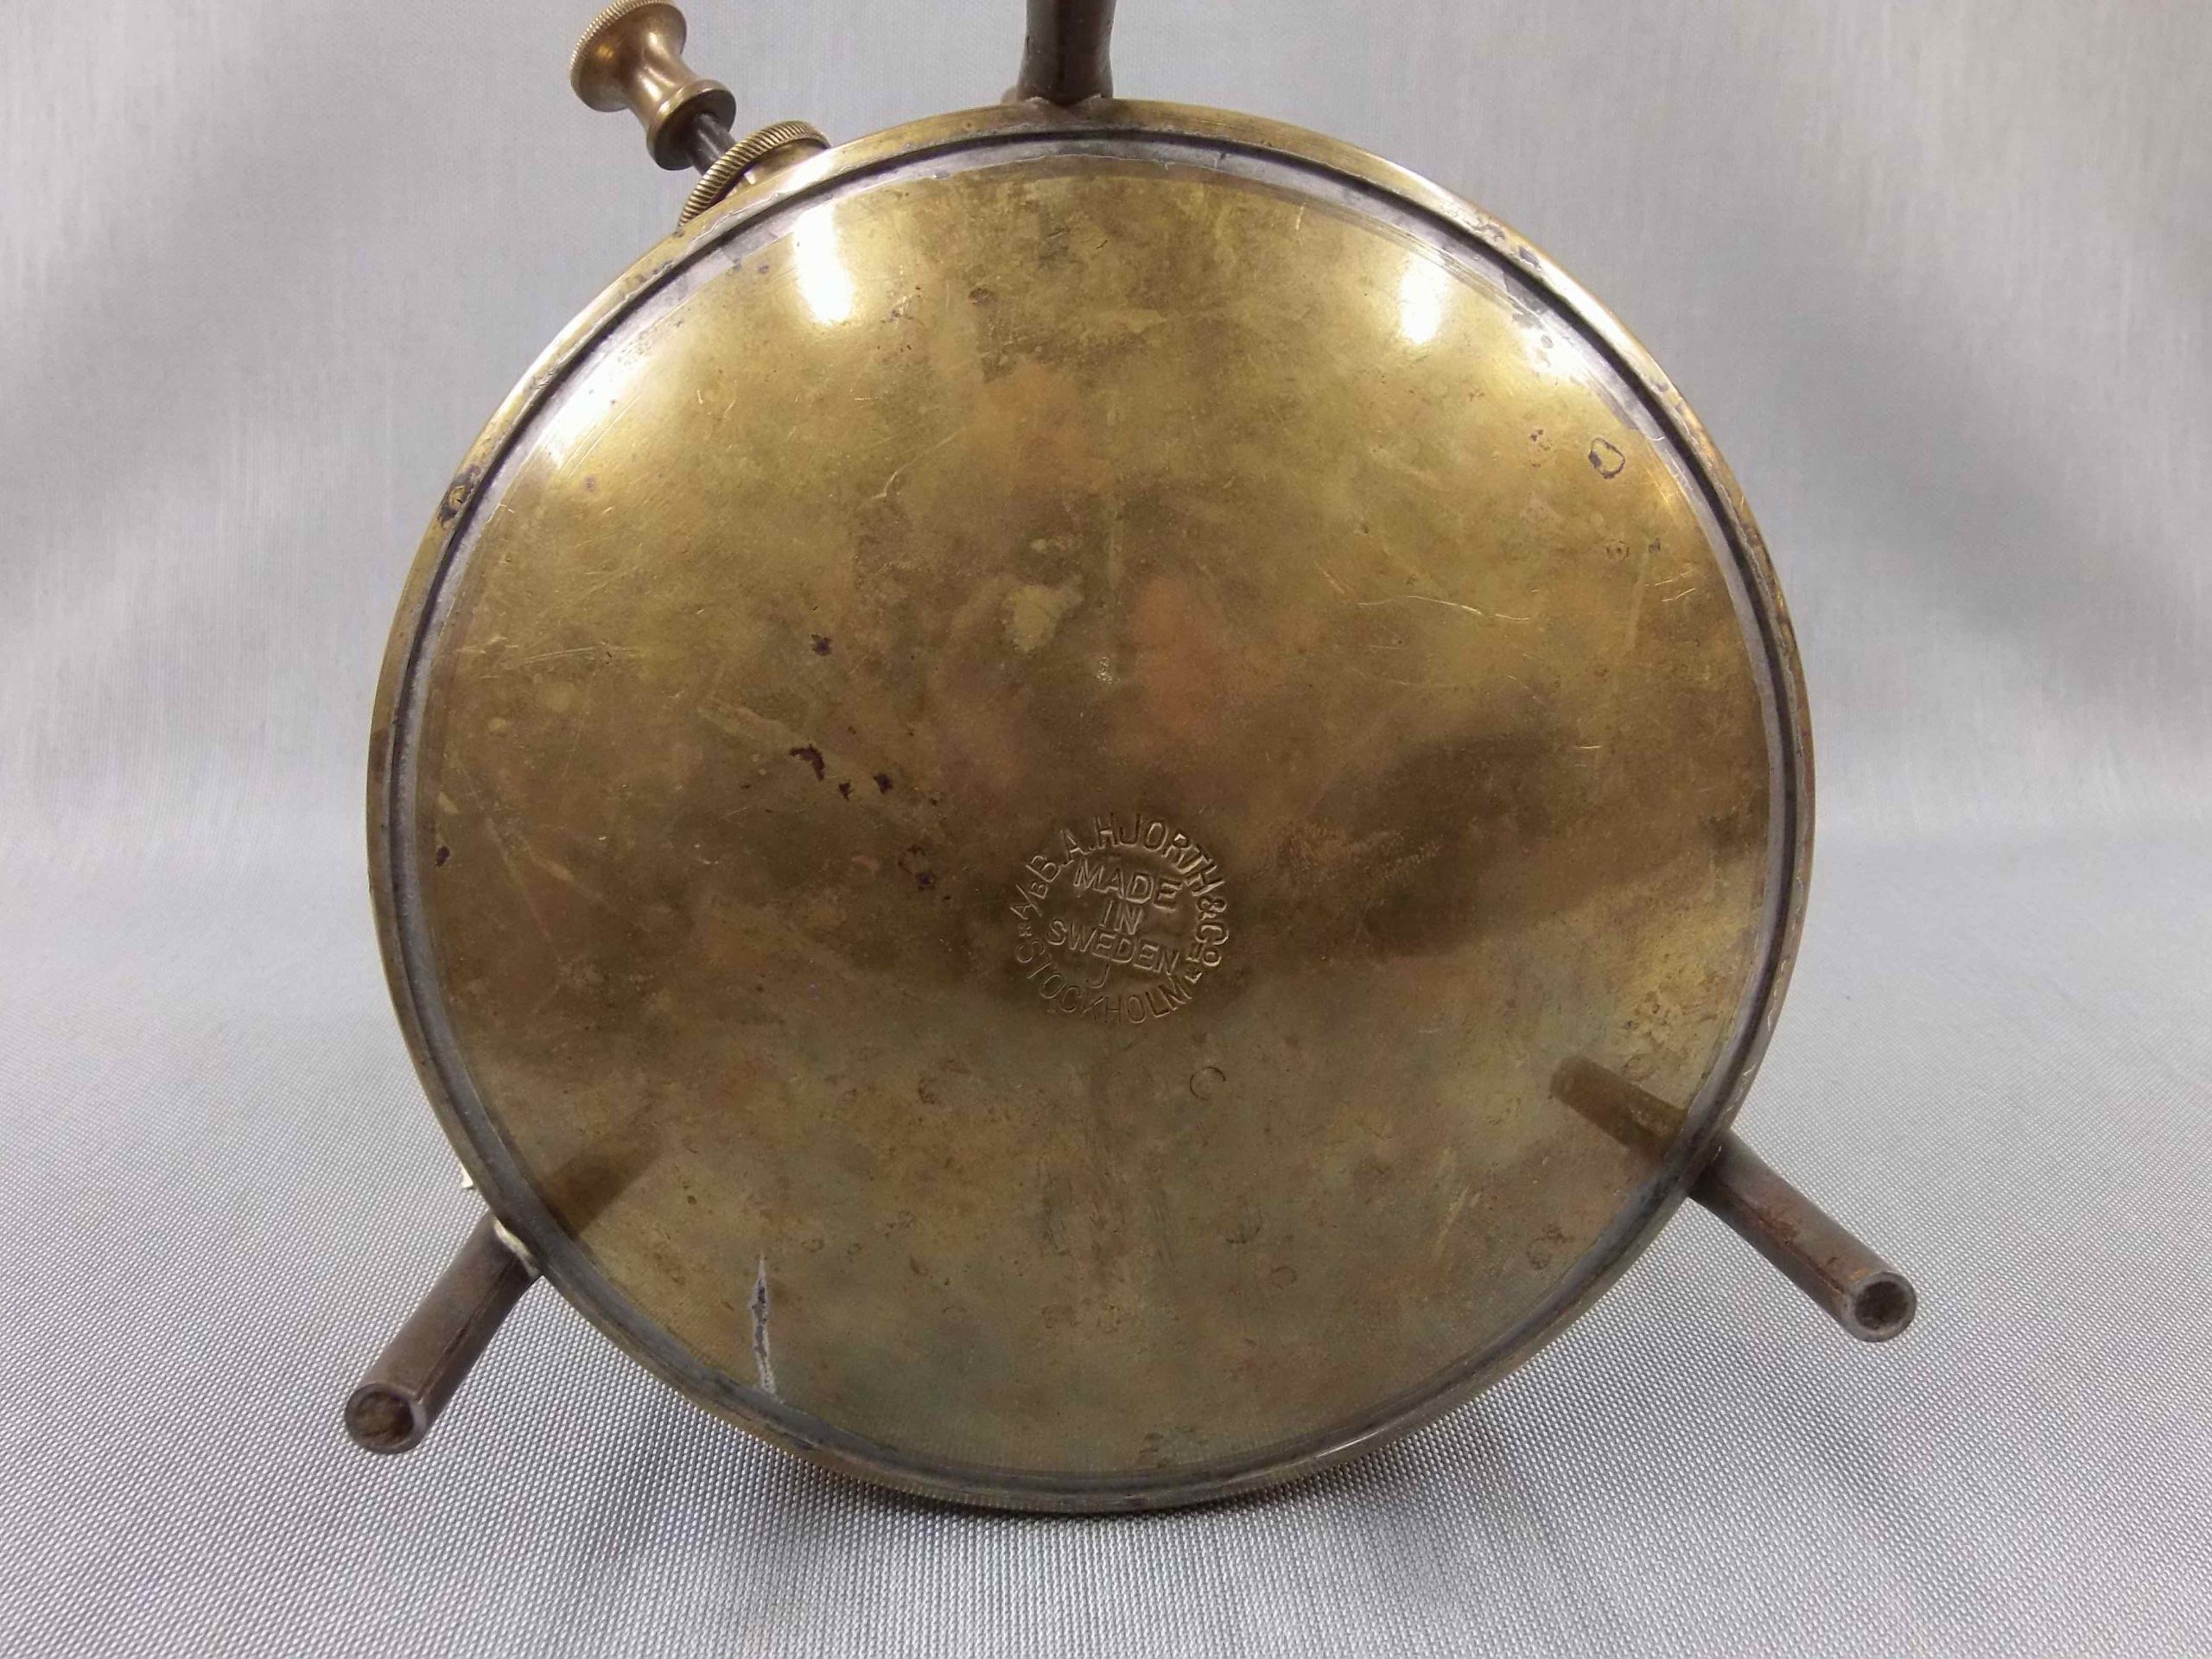
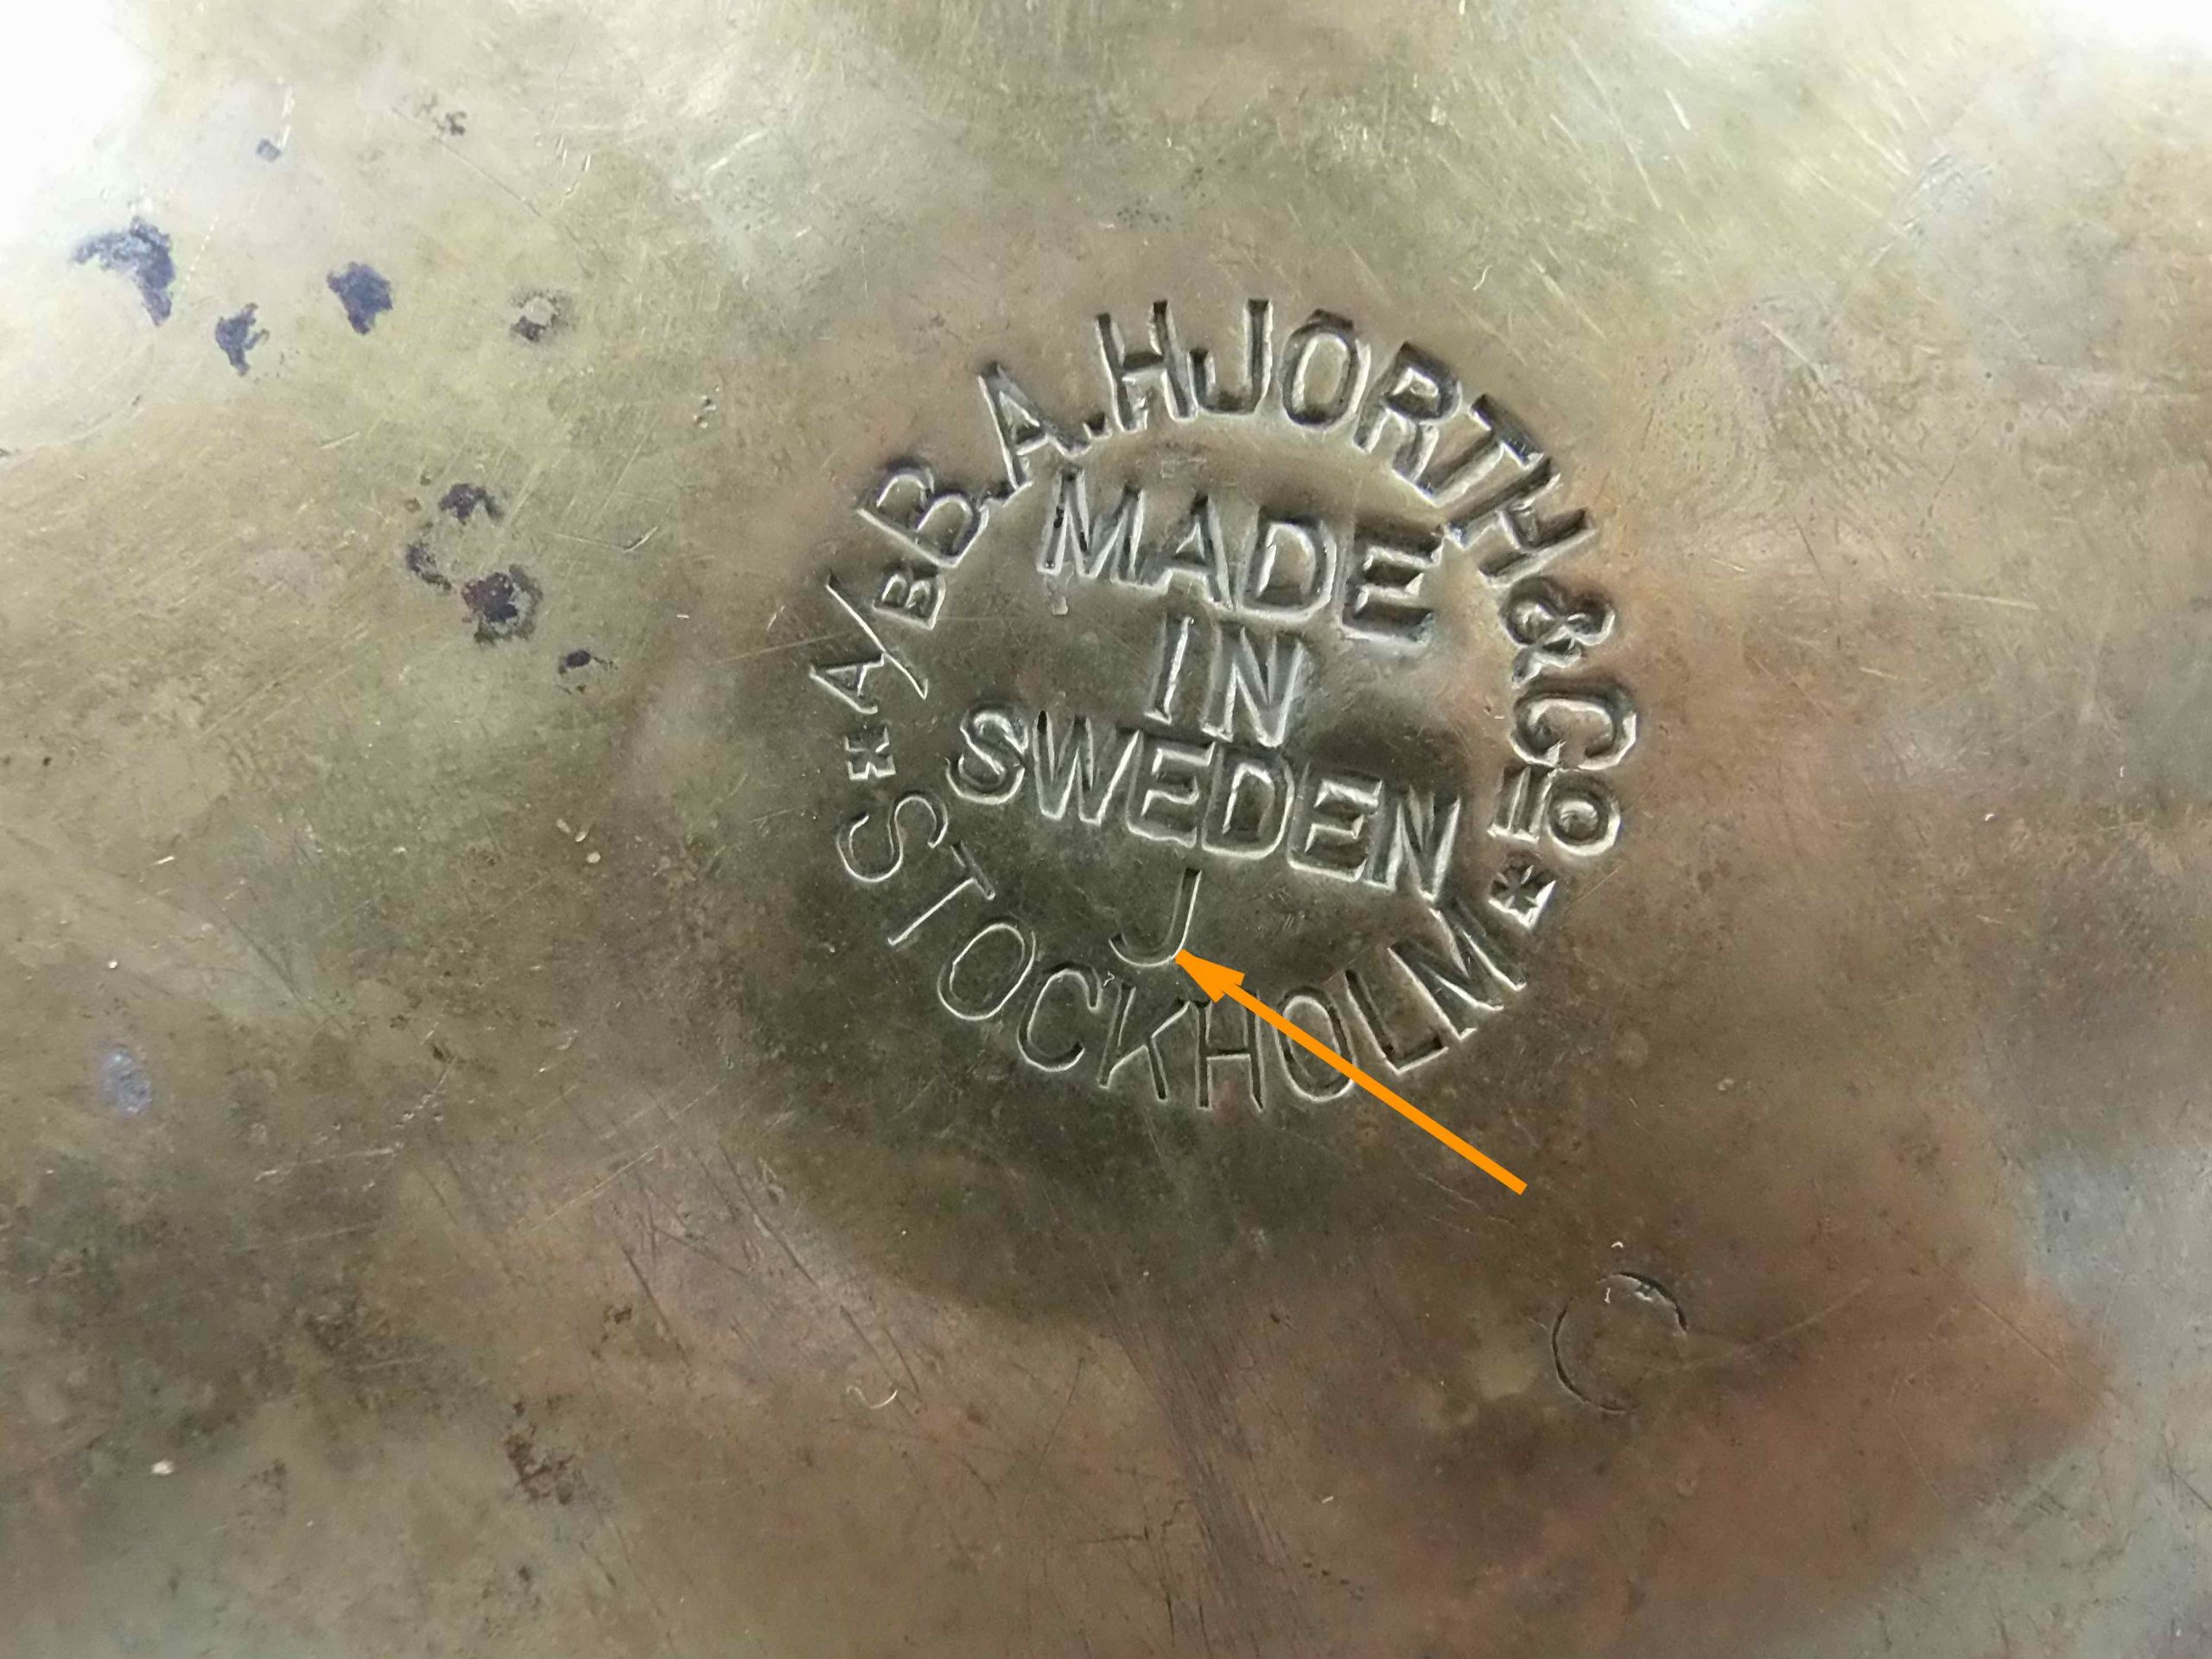
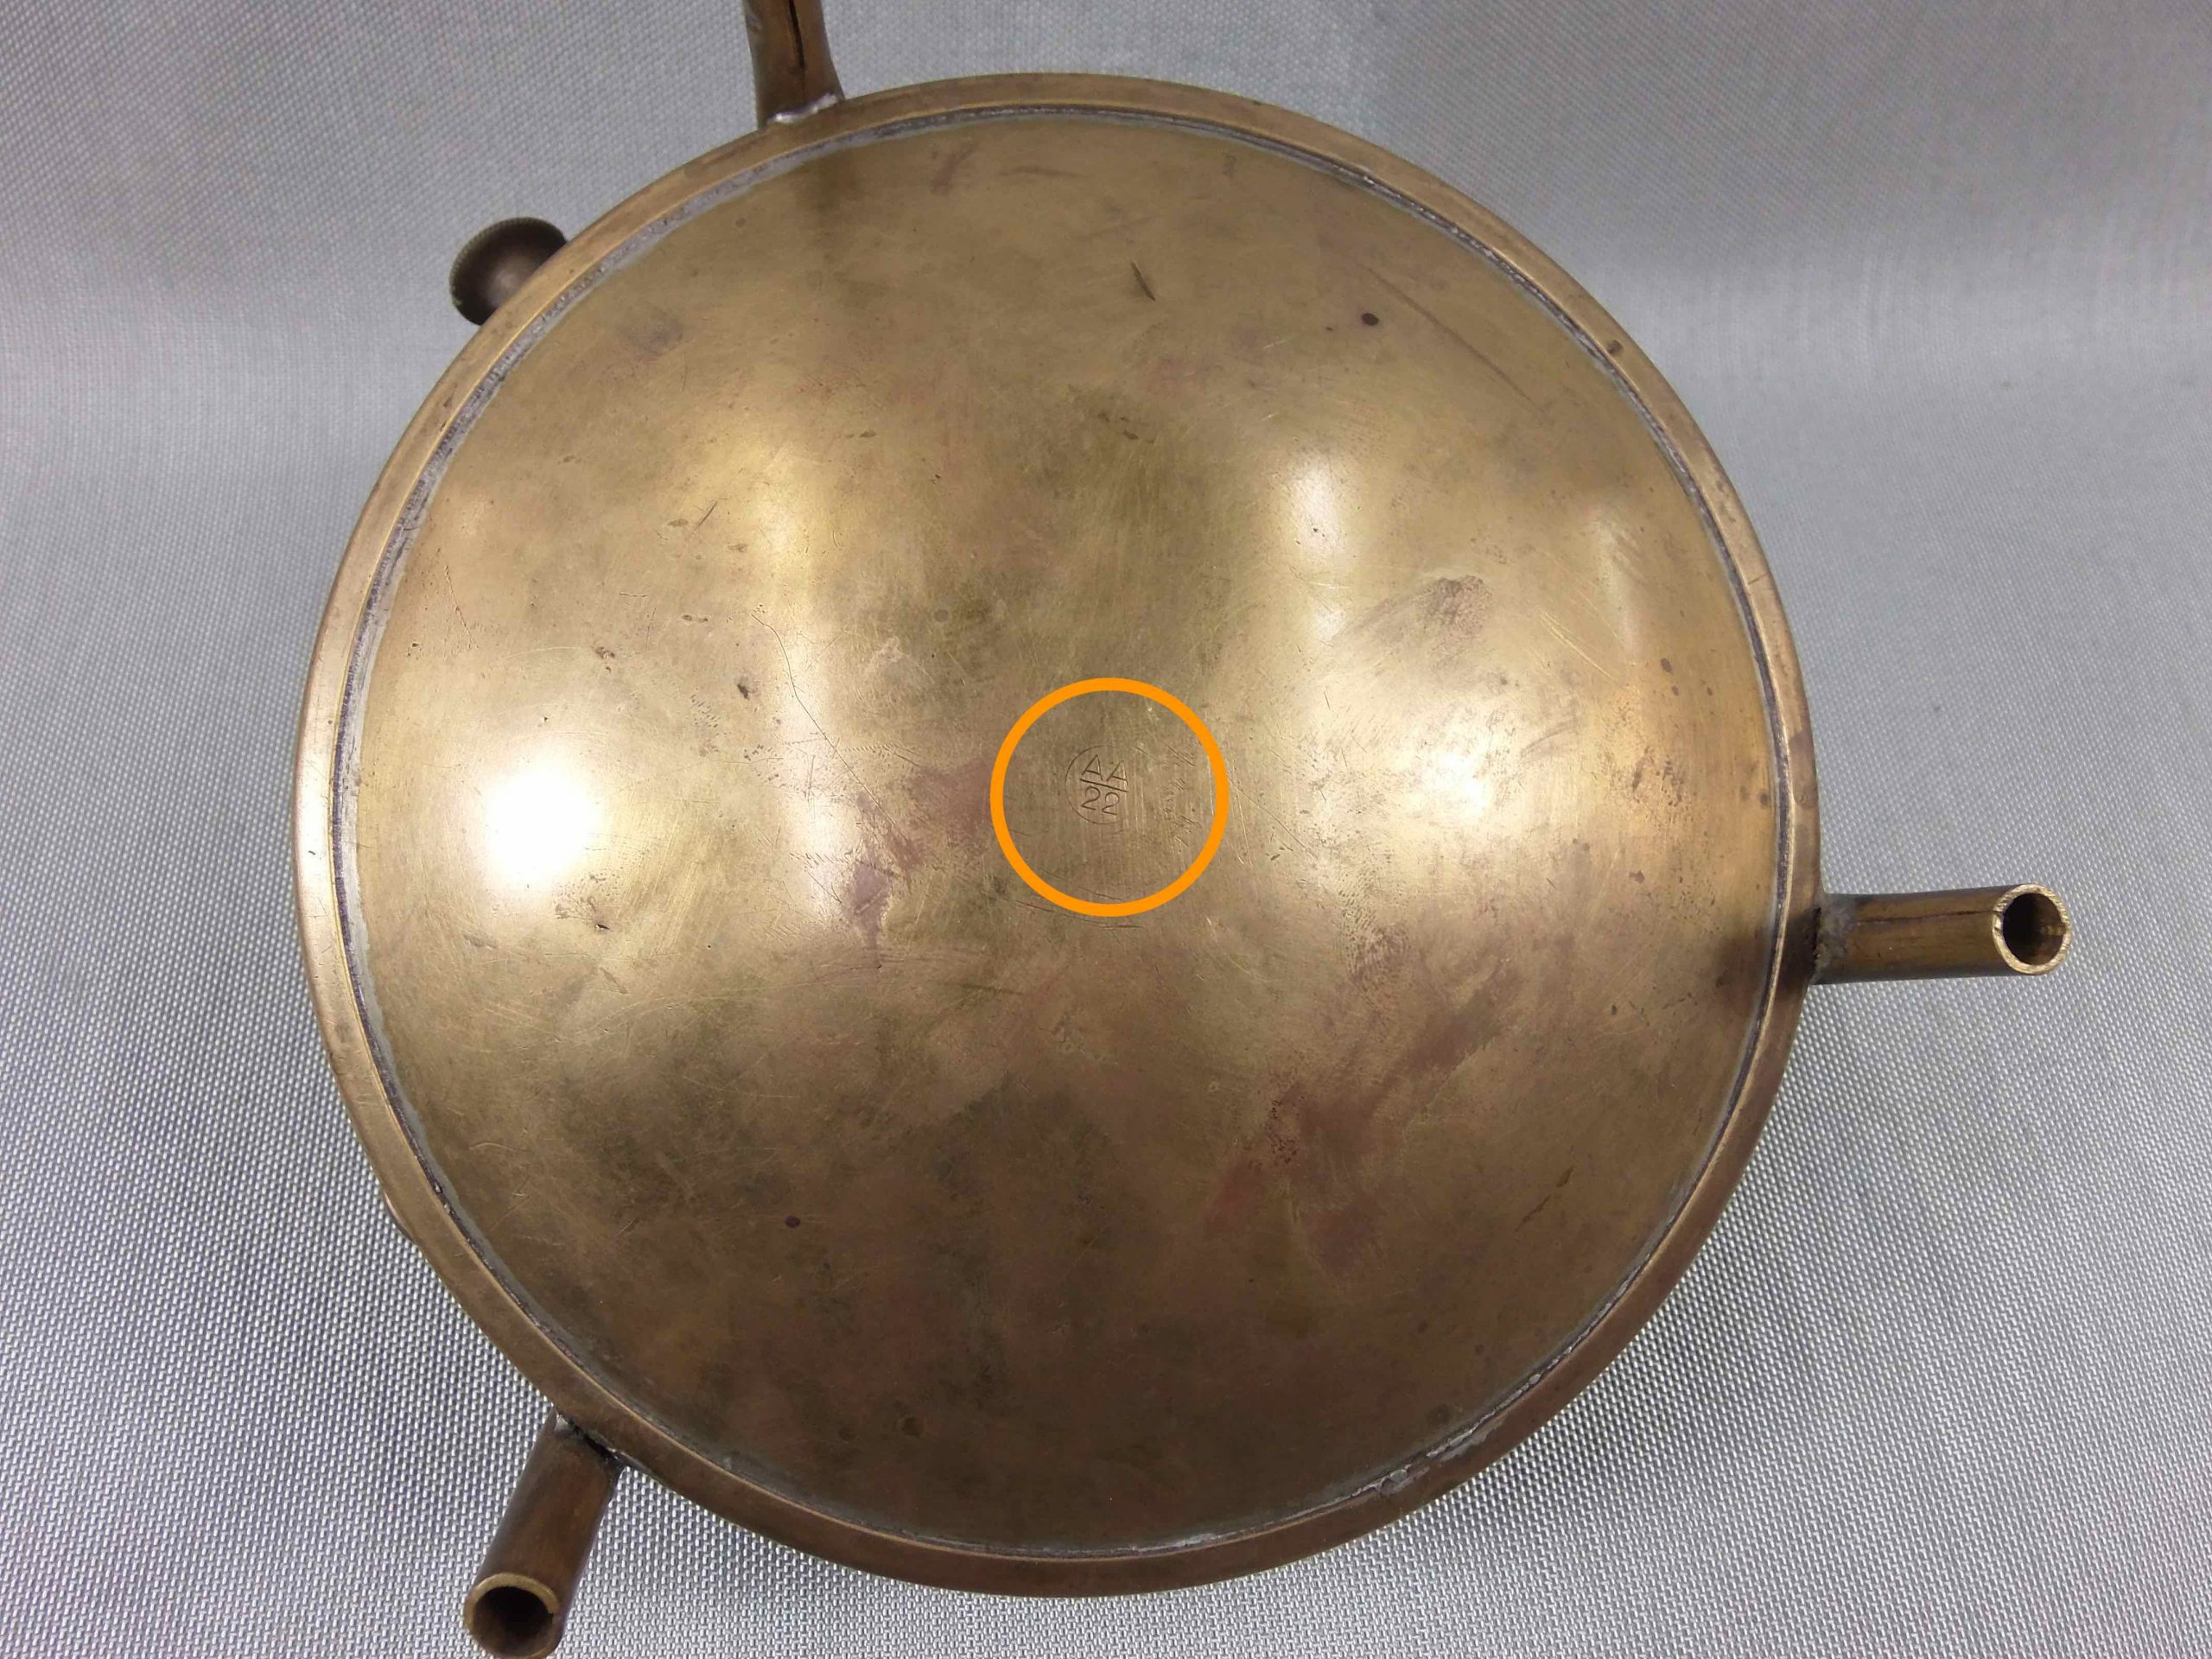
For quite some time I’ve been machining adapters and reproduction parts for vintage stoves. I’ve been doing this on much of my client work as needed. I’ve always taken the if-it-could-be-done-before-it-can-be-done-again approach. As I’m getting a bit older, I thought now would be a good time to start recording some of the measured and *proven* threads or thread approximates I’ve come up with that will work well on vintage stoves.

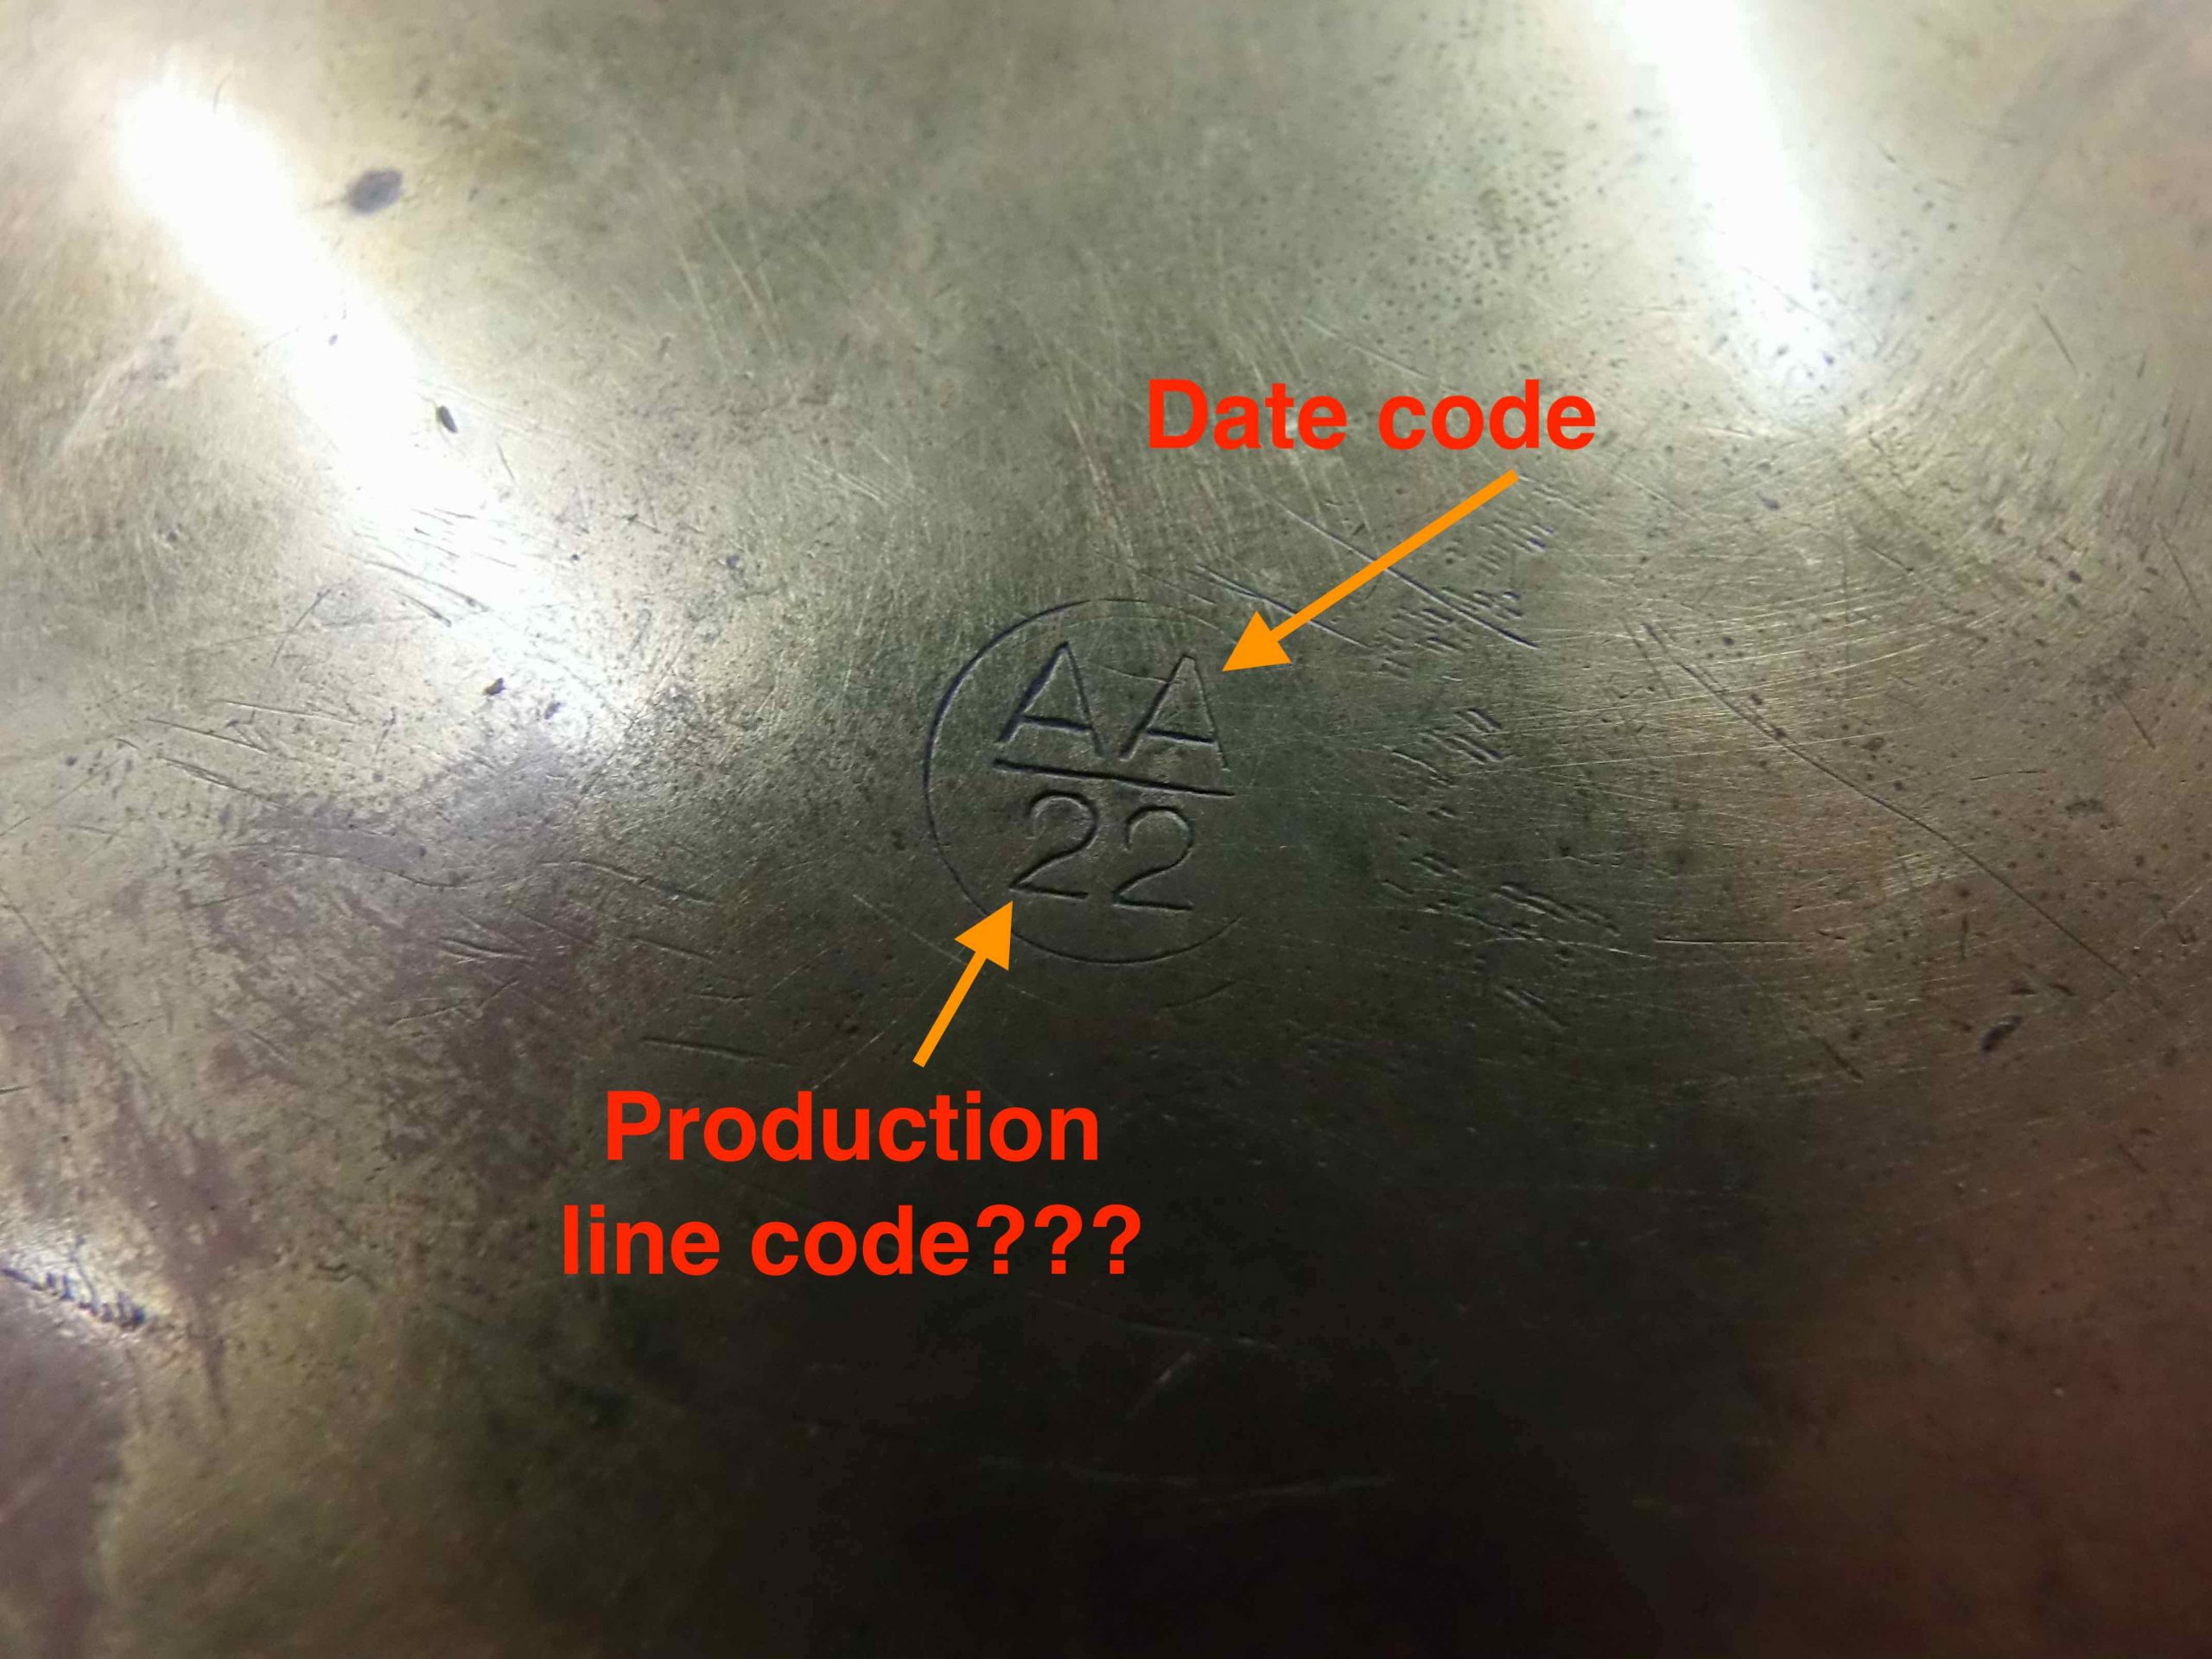
But… first an important fact to understand. The various companies that made stoves (Optimus, Primus, Radius, even Coleman, etc) DID NOT necessarily conform to established “thread standards” for much of their work. This is especially true of the early standards established by Primus at the end of the 19th century (1890’s). Standardized threads would include the metric system, the British system or the American system. Some of these threads may appear on some stoves. But, for the most part, the threads used on vintage stoves are in-house creations of the production staff at the various firms and DID NOT conform to established standards.

Since Primus was the first to get stoves out there, and because they established a wide-spread international network of stove sellers and stove part houses (think todays franchises for fast food), other manufacturers were pretty much required to adapt their thread forms so that they could sell various parts that would mate with Primus stoves. Doing so meant that a Radius burner would fit perfectly on a Primus stove riser, for example.

So, yeah. I *know* that Sweden adopted the metric system in blah-blah year. Doesn’t matter. Stove threads pretty much ignore thread standards, and, that’s what makes stoving both fun and frustrating.

If you are a hobby machinist, you could make a bundle of money making up stove accessories and adapters for some of these old stoves. Sell them on eBay! I sincerely encourage you to do so. You’d be surprised what stove collectors will pay for a bit of brass properly threaded with compatible threads for their stove.

So, here’s the start of the list. I’ll add to it as I find time and energy. I have notebooks full of thread data. Check back whenever you like or if you need data for your stove restoration project.
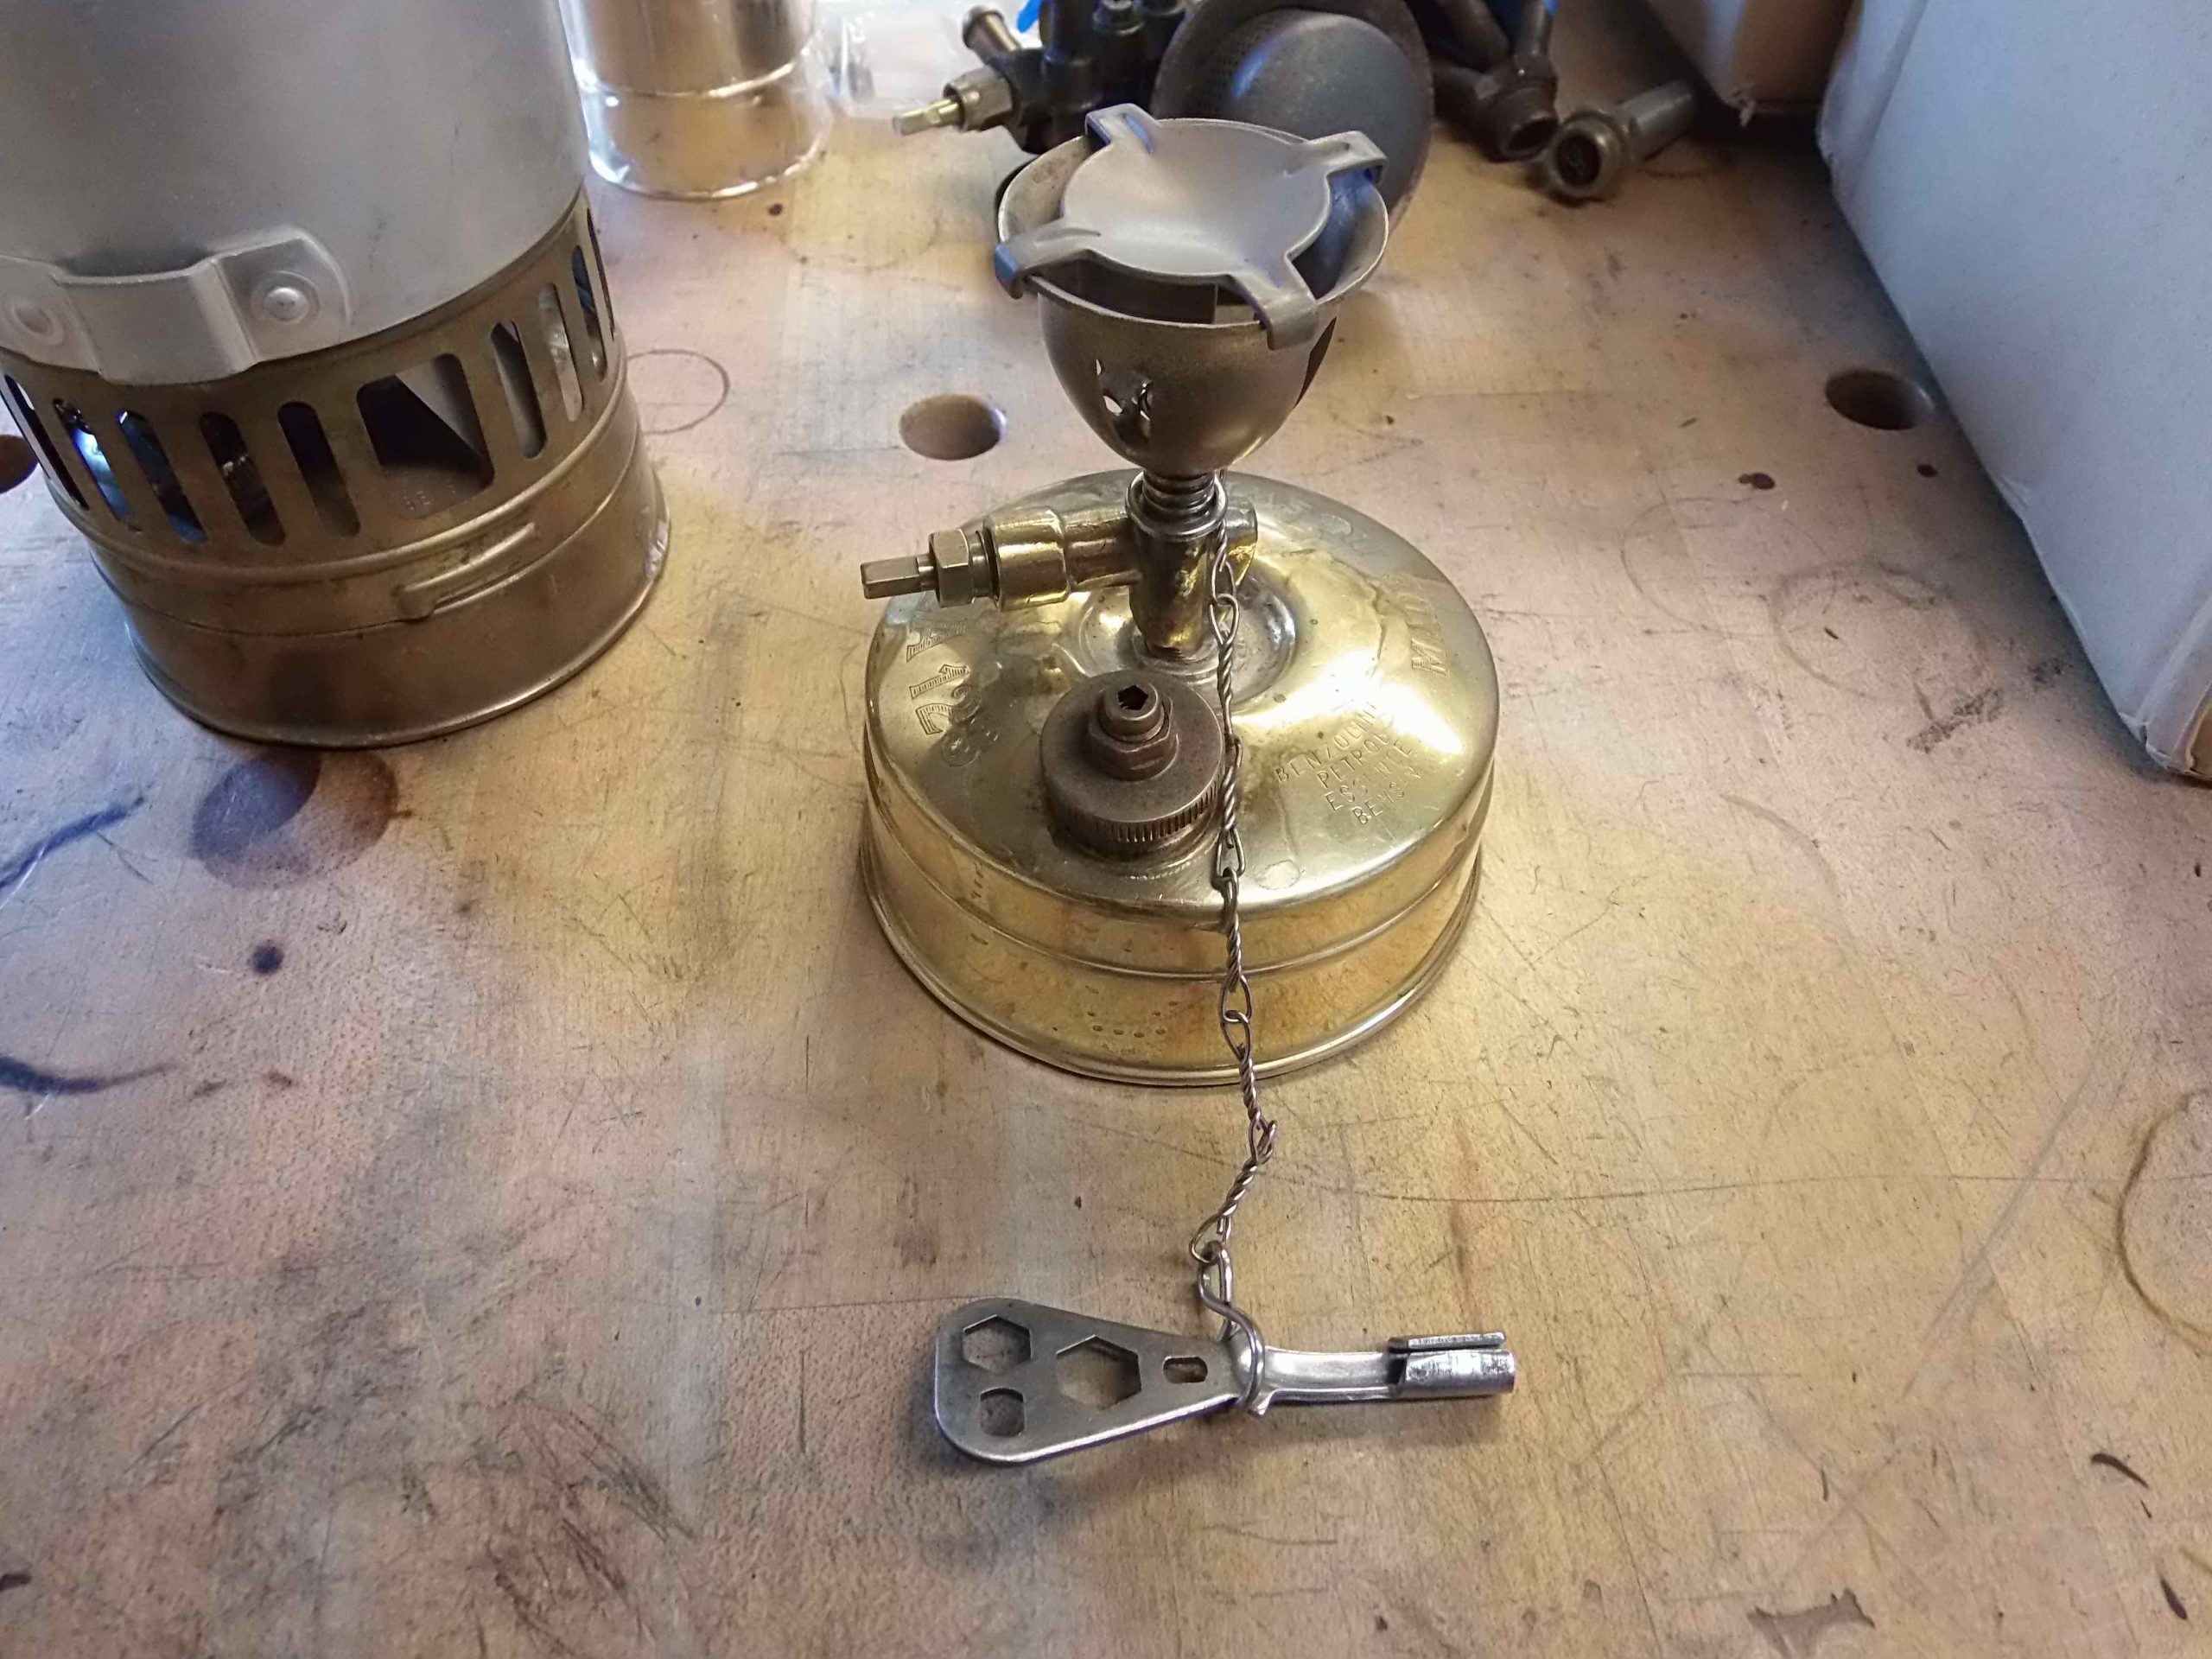
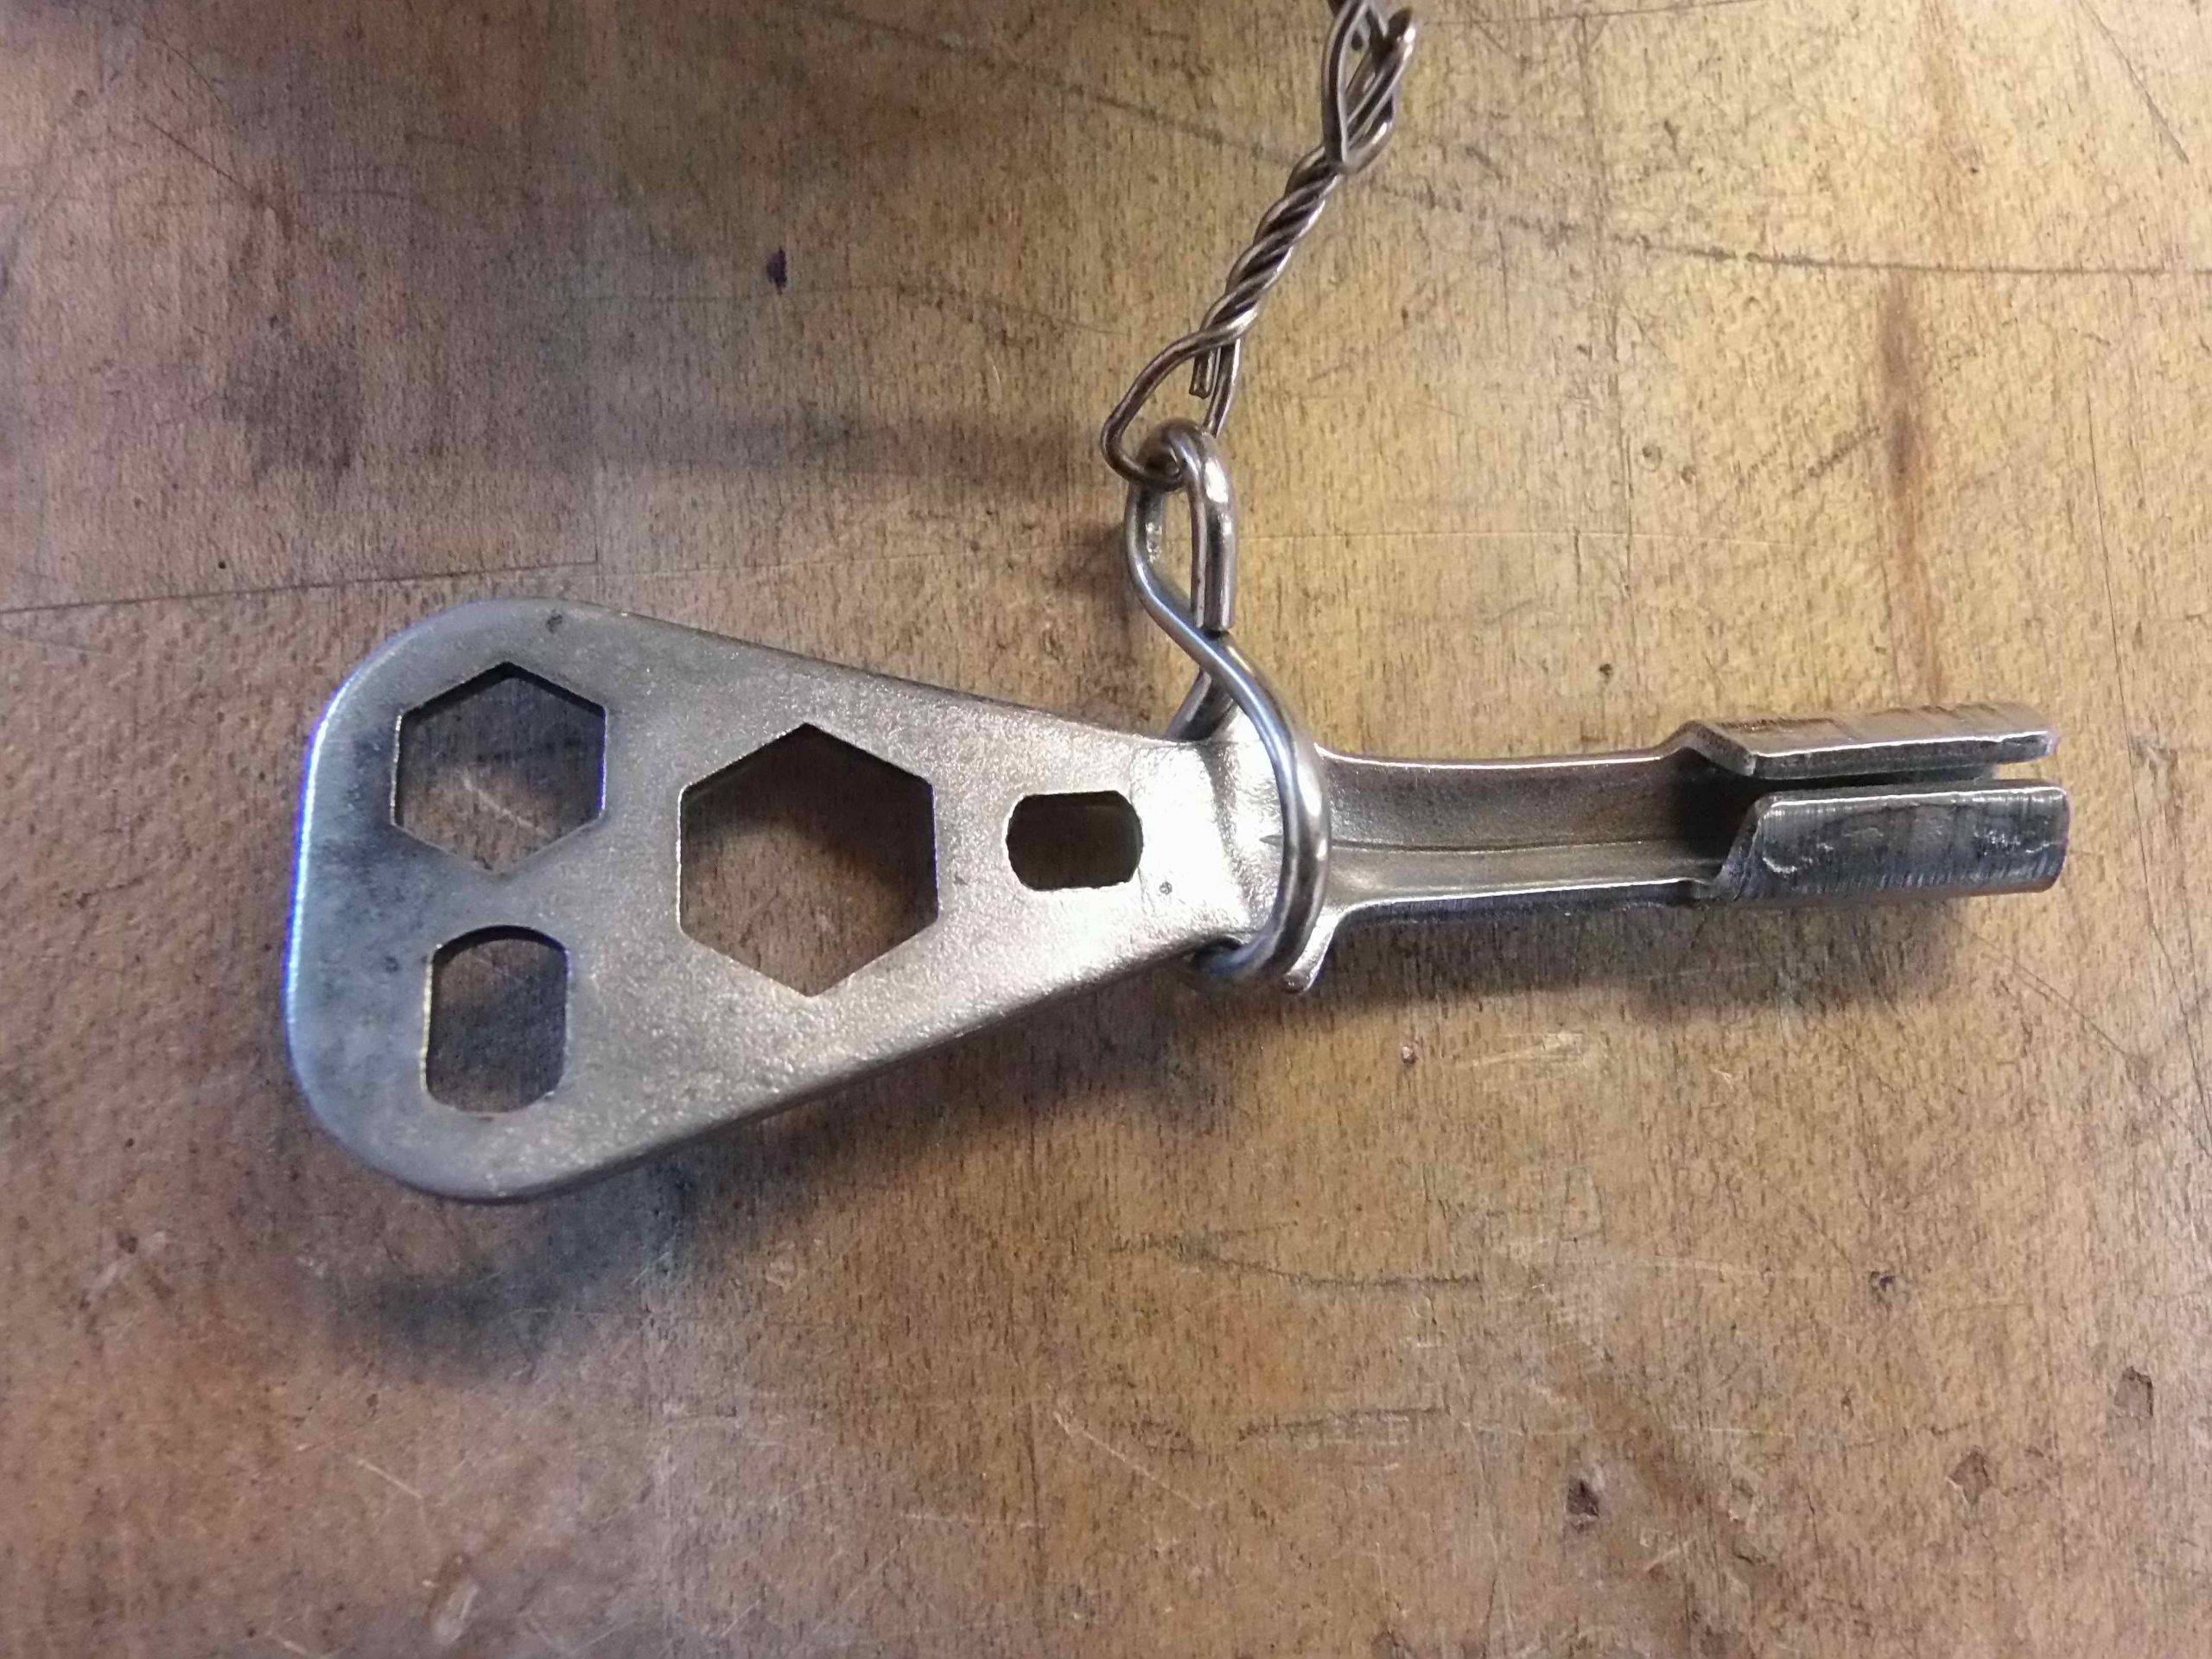
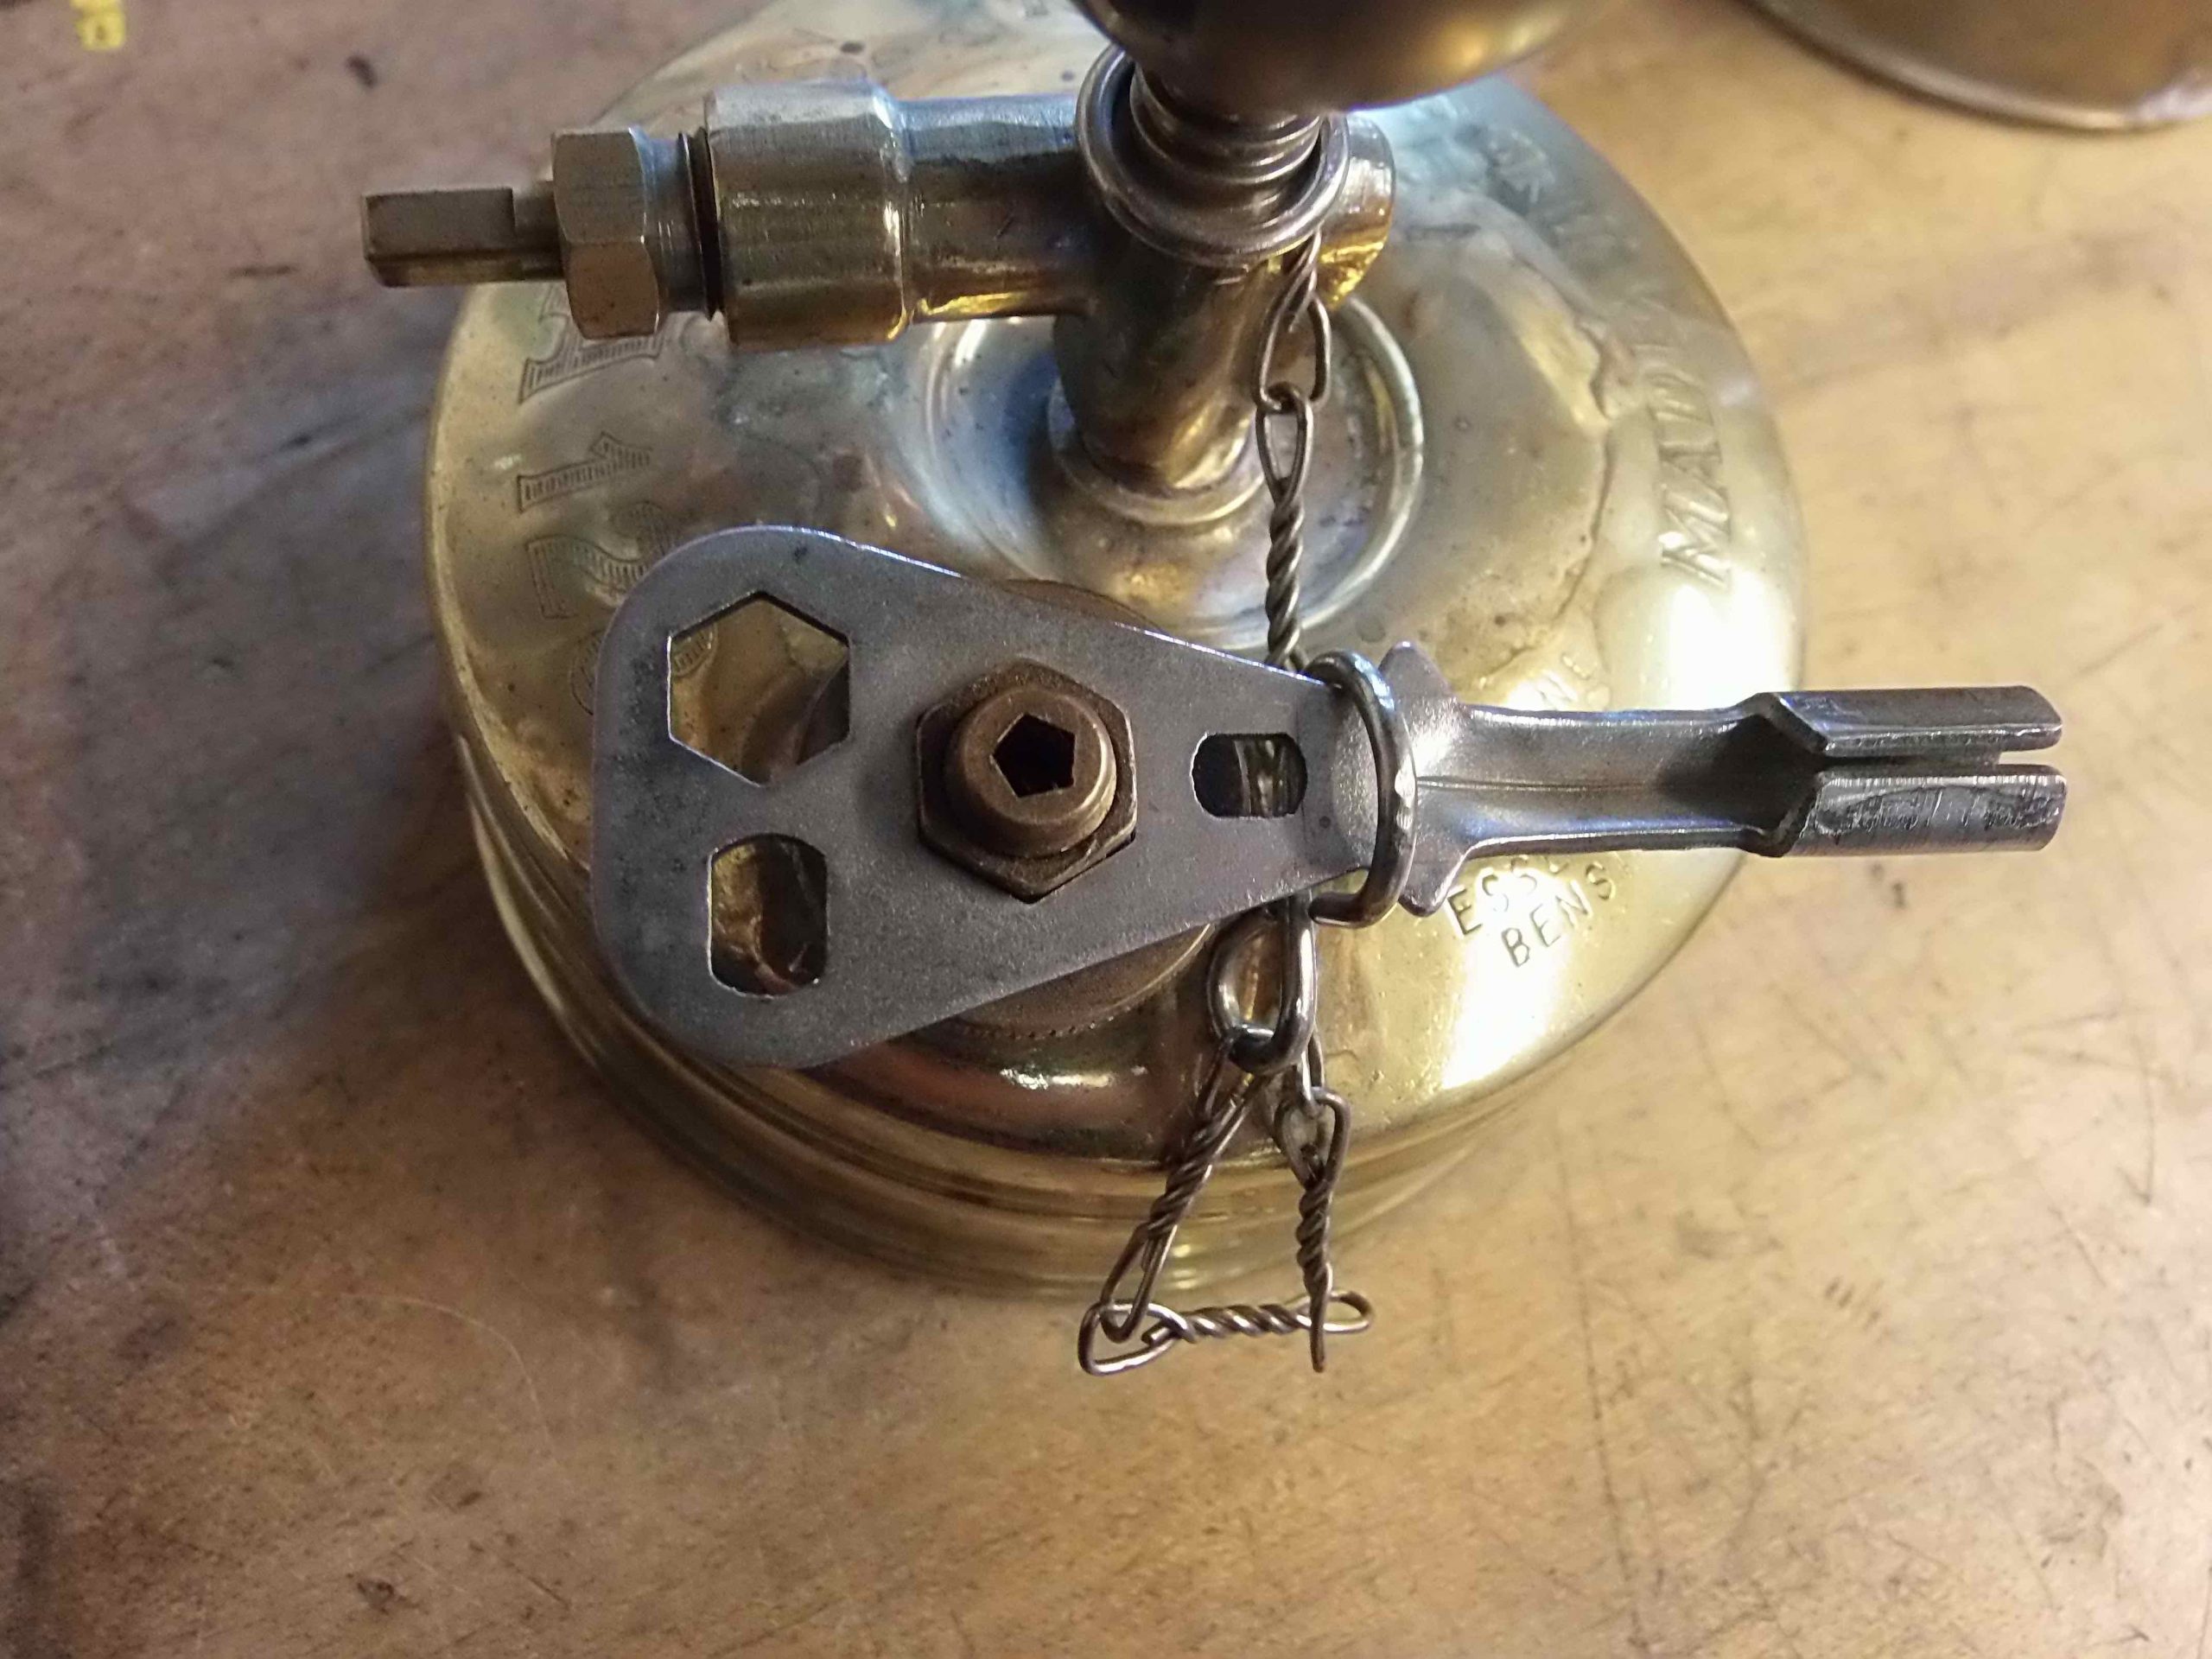
NRV Threads
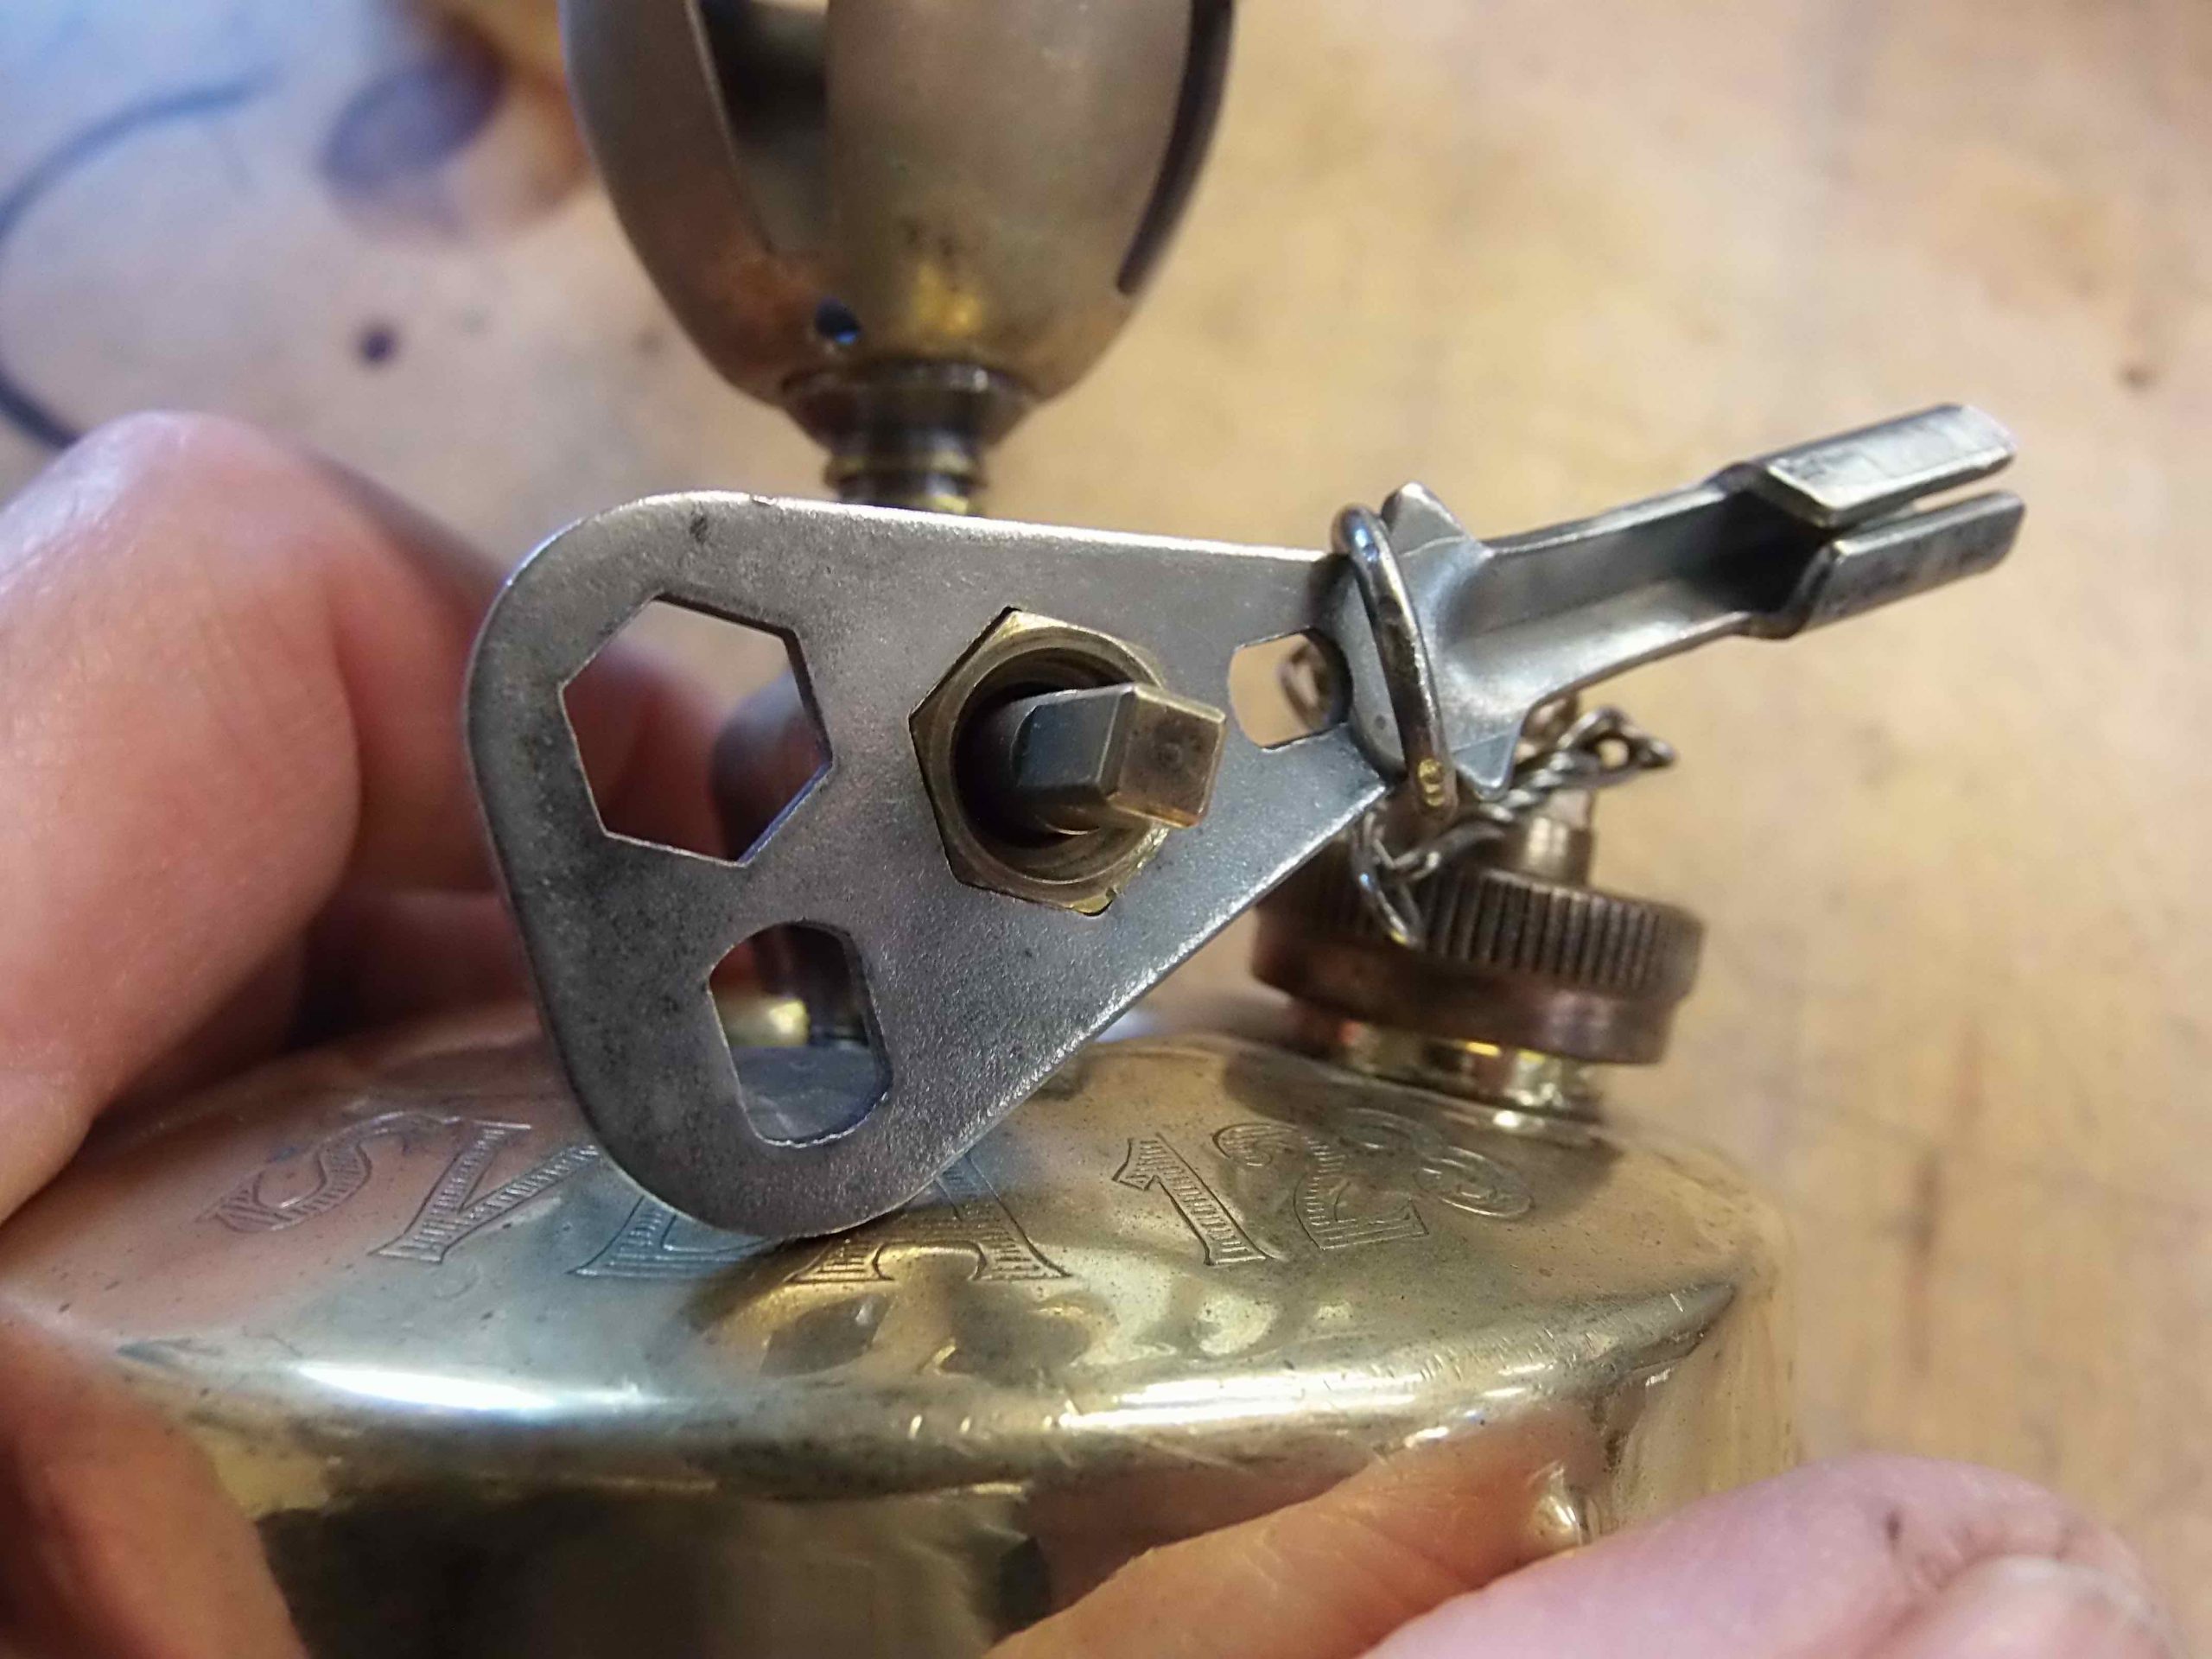
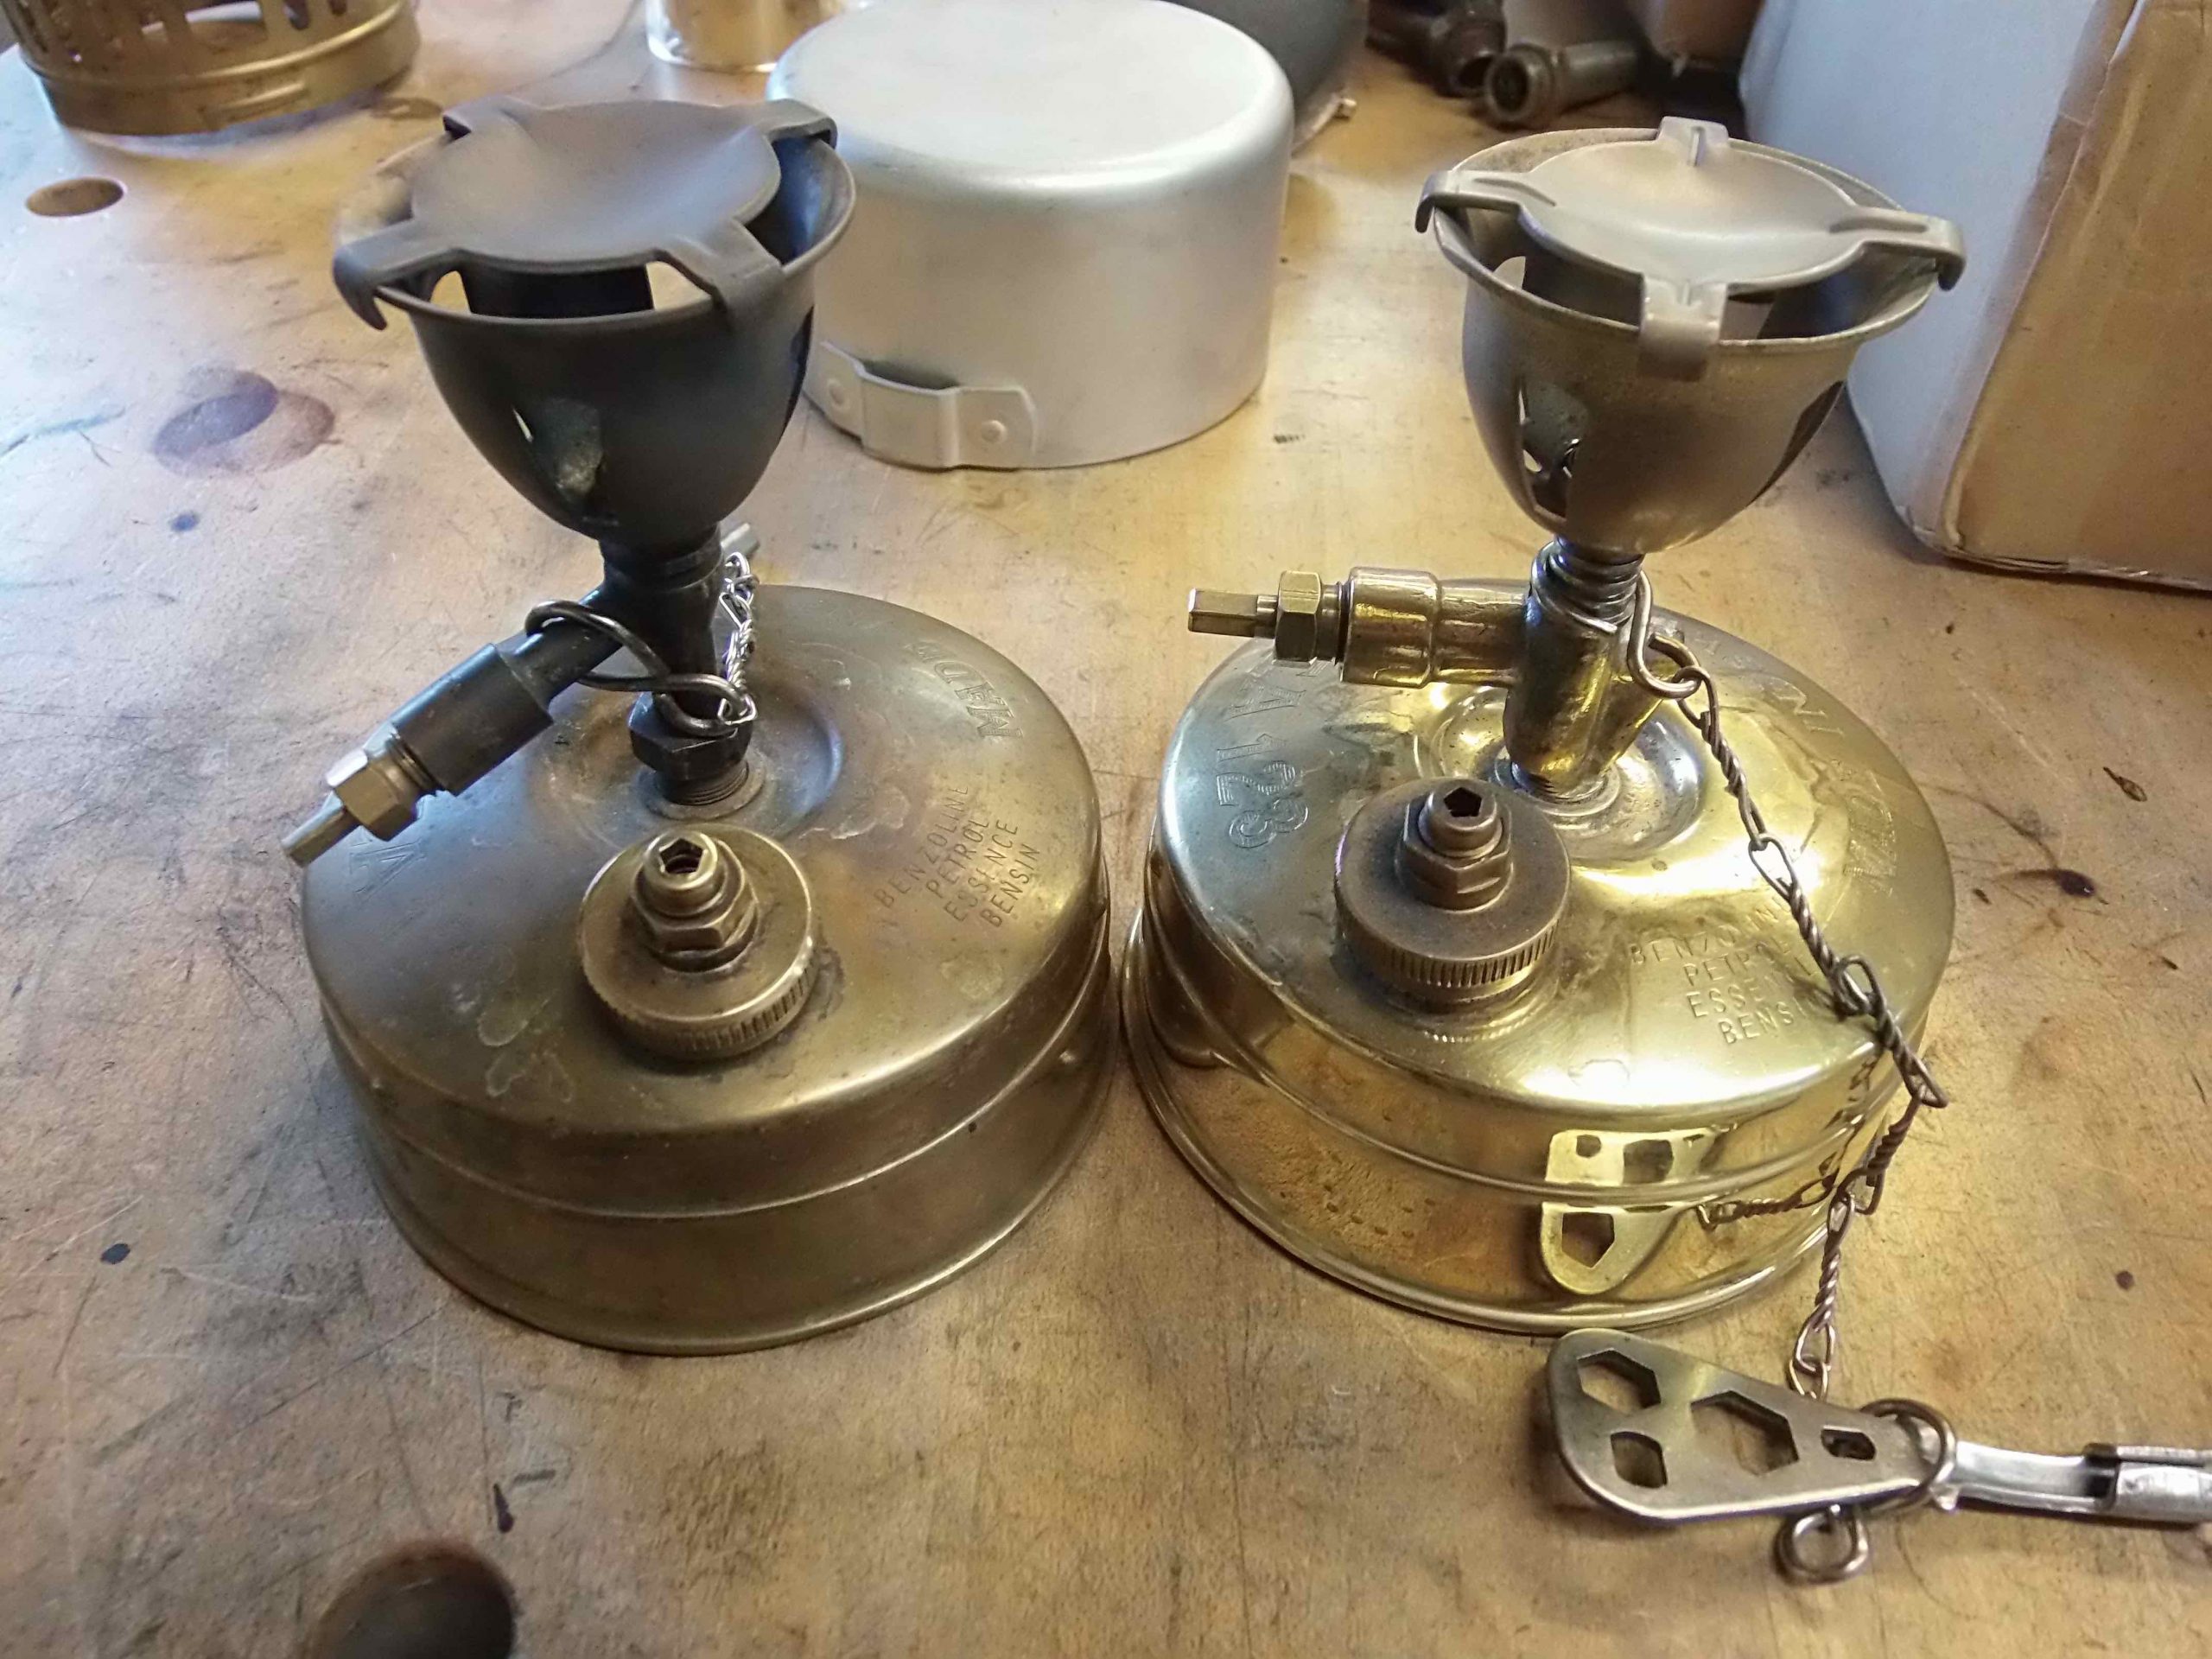
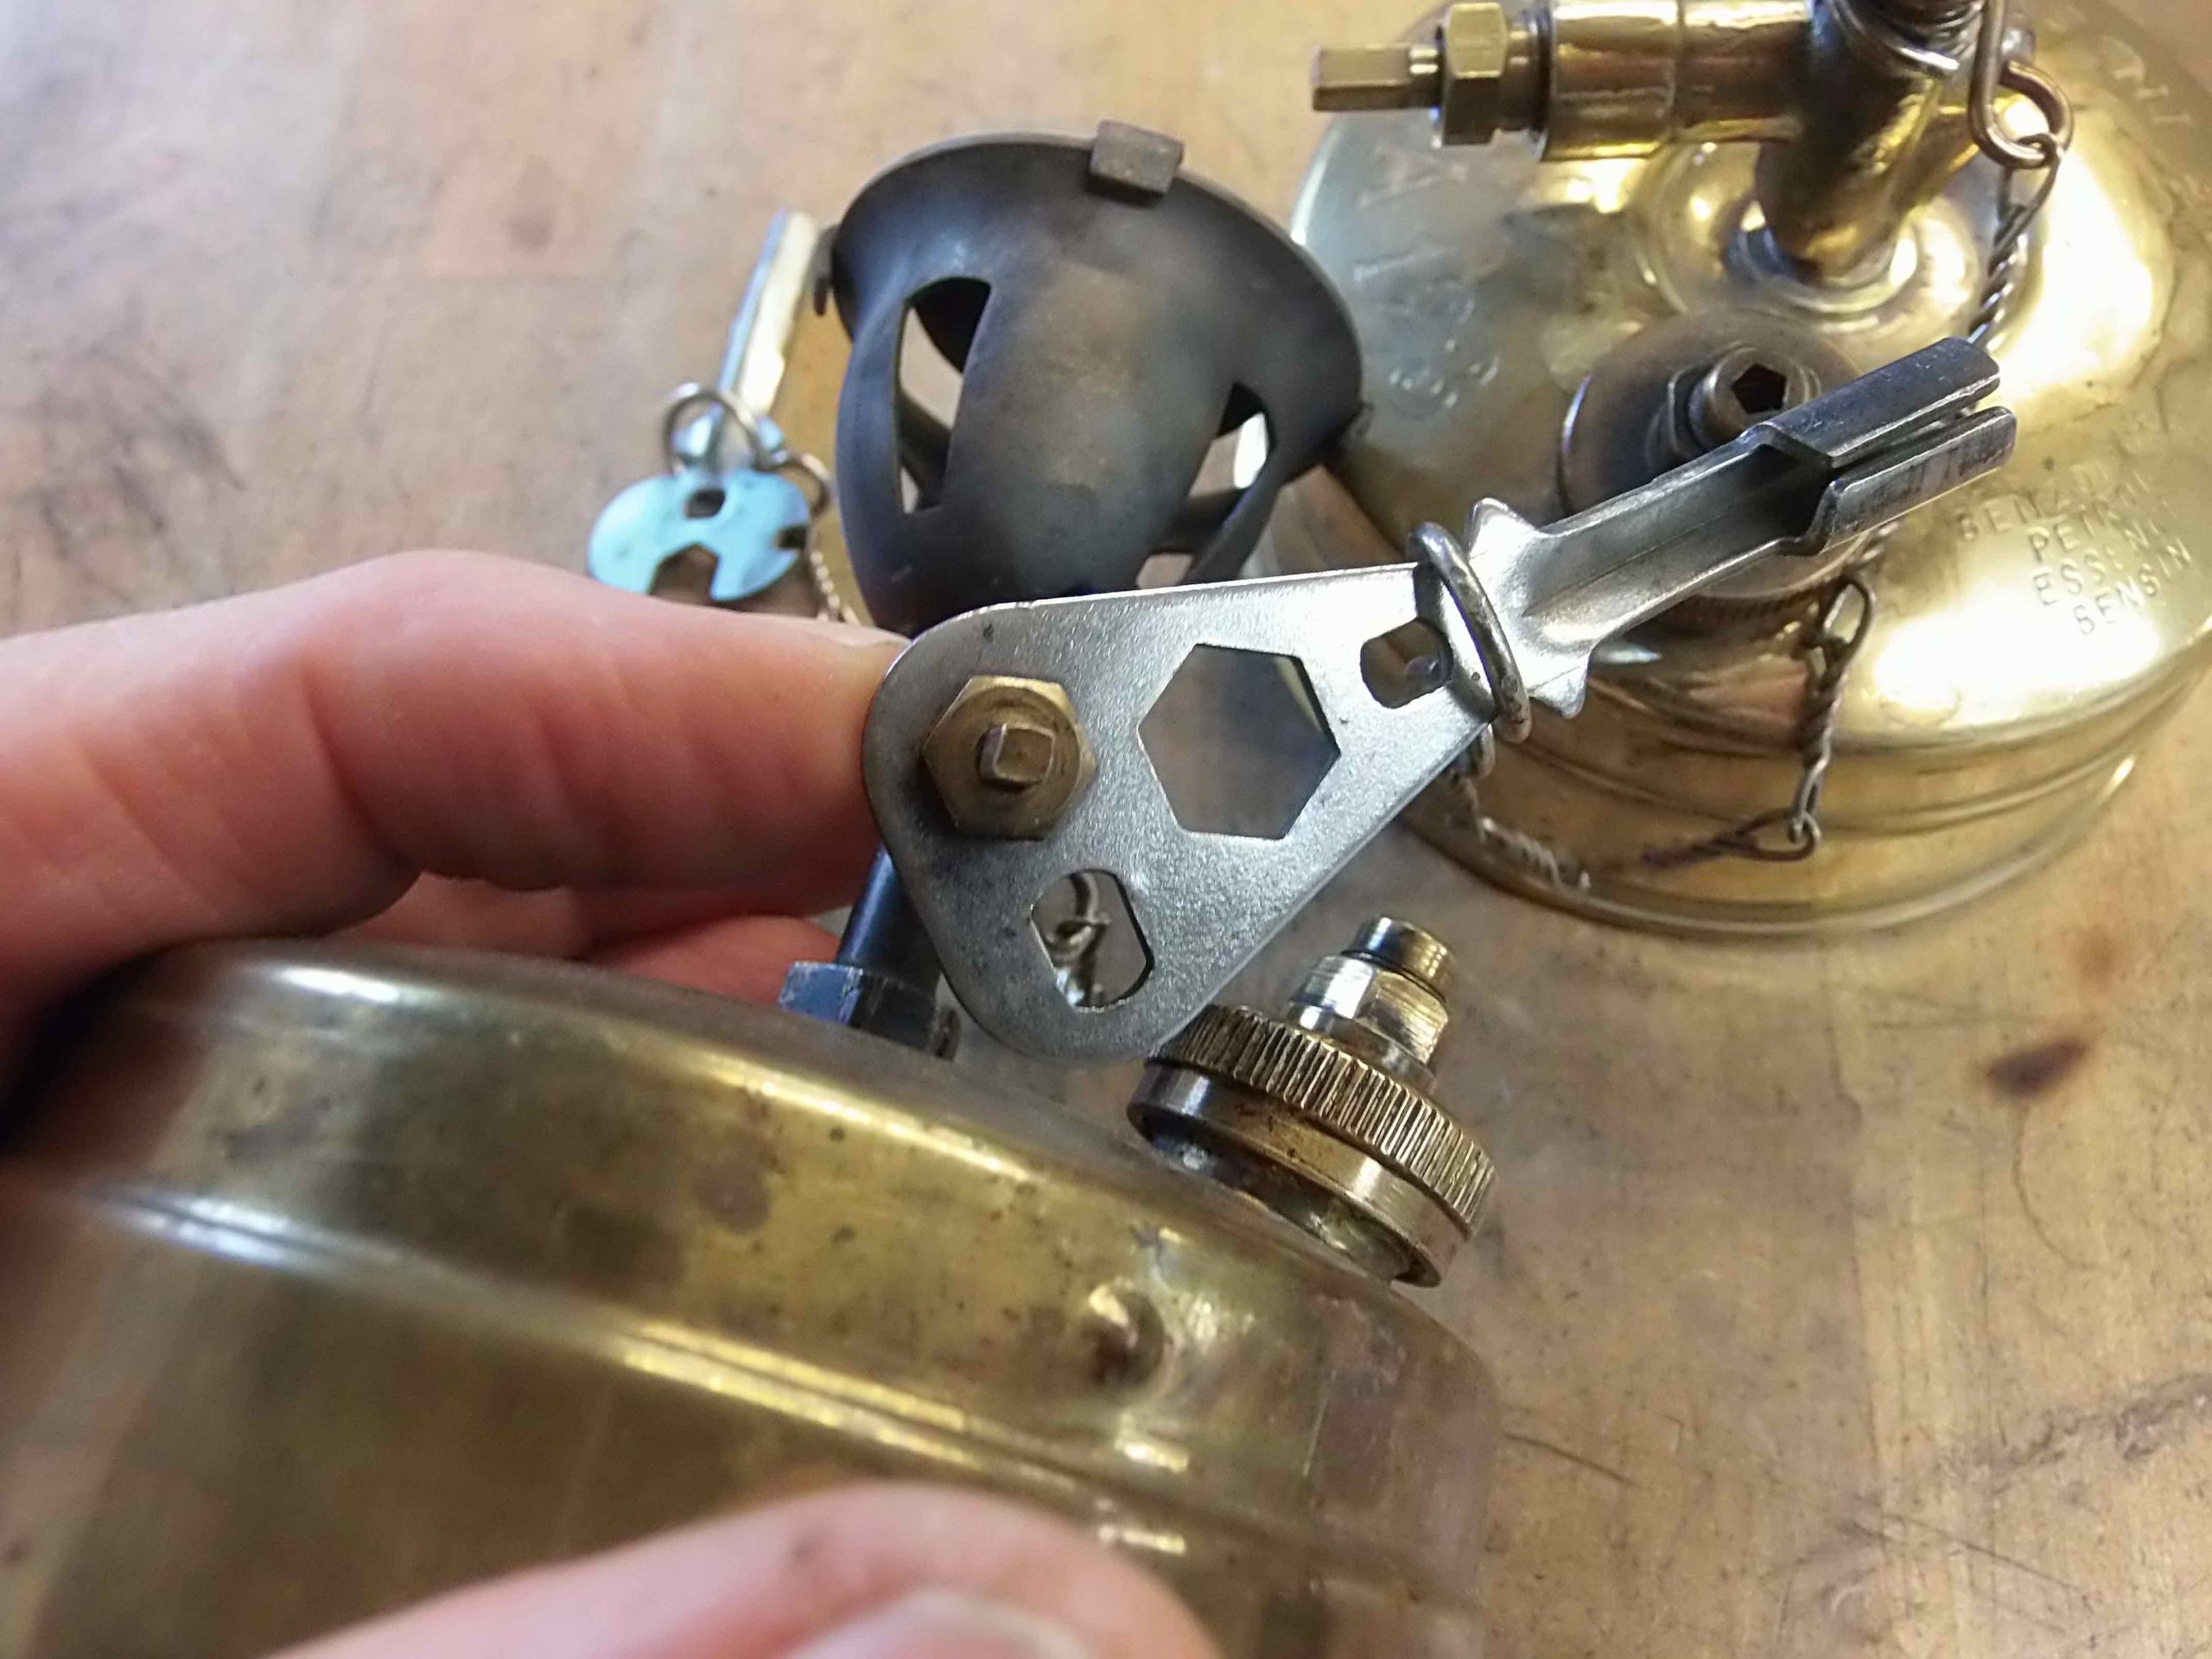
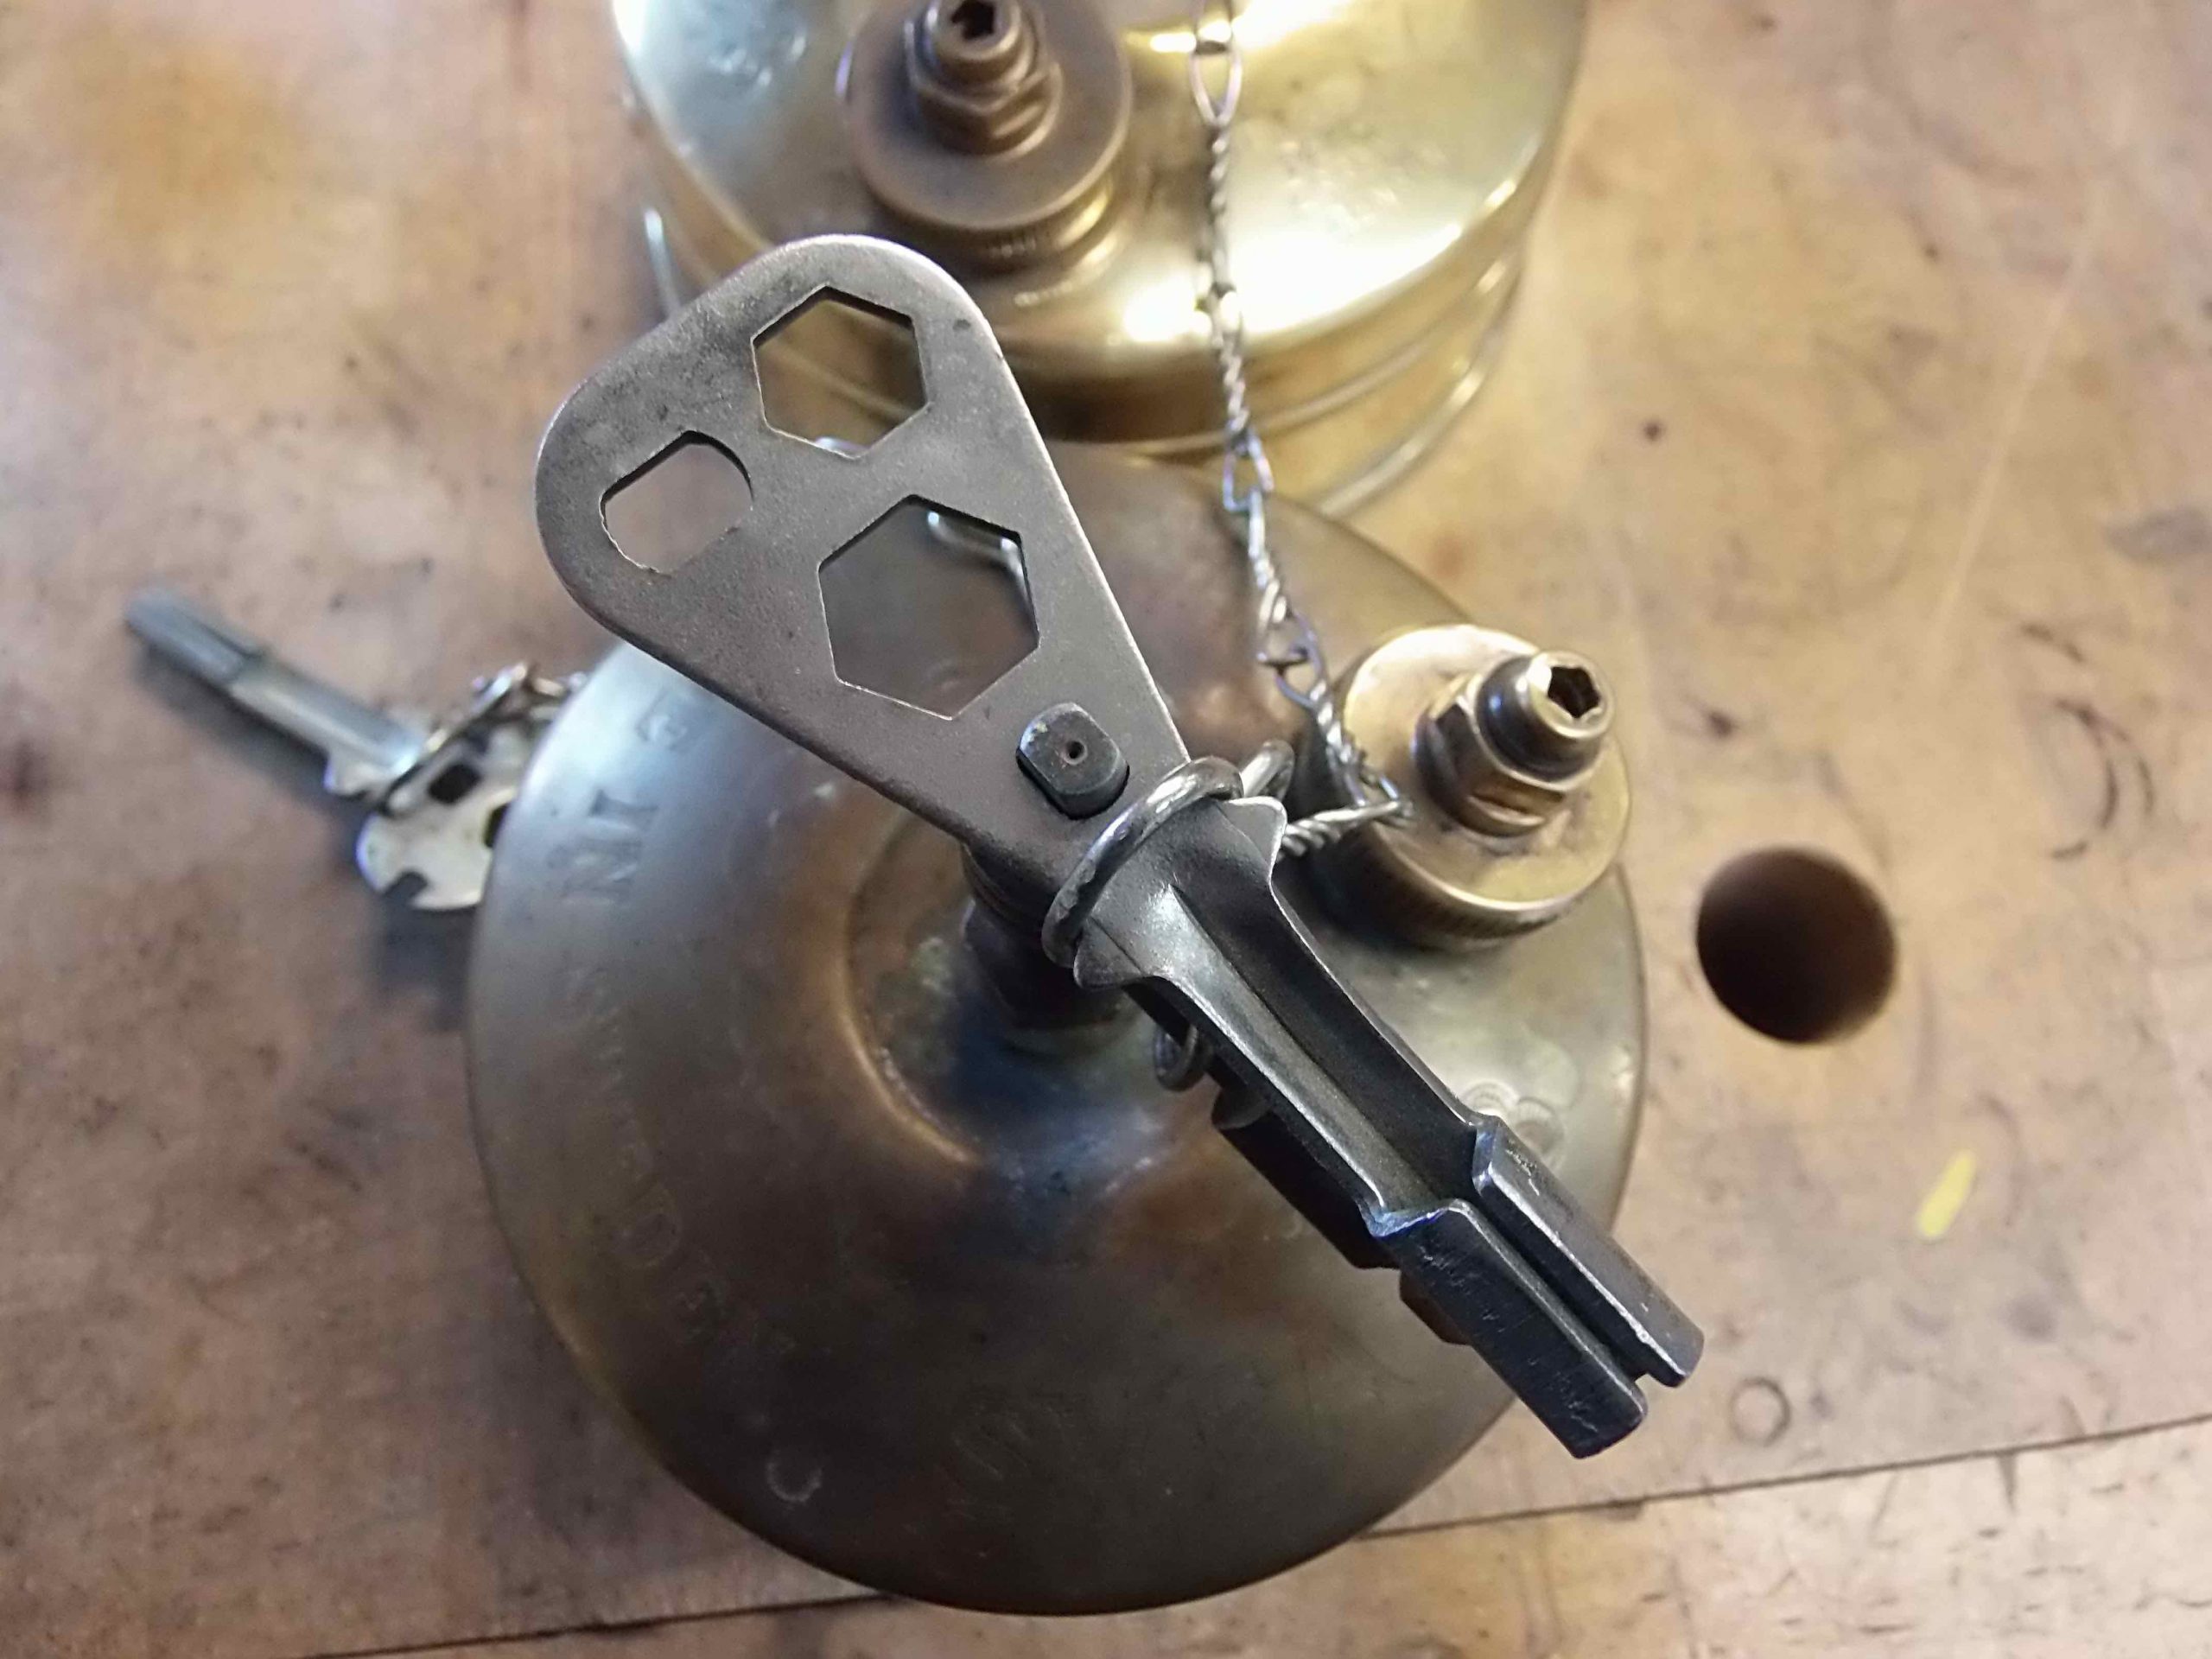
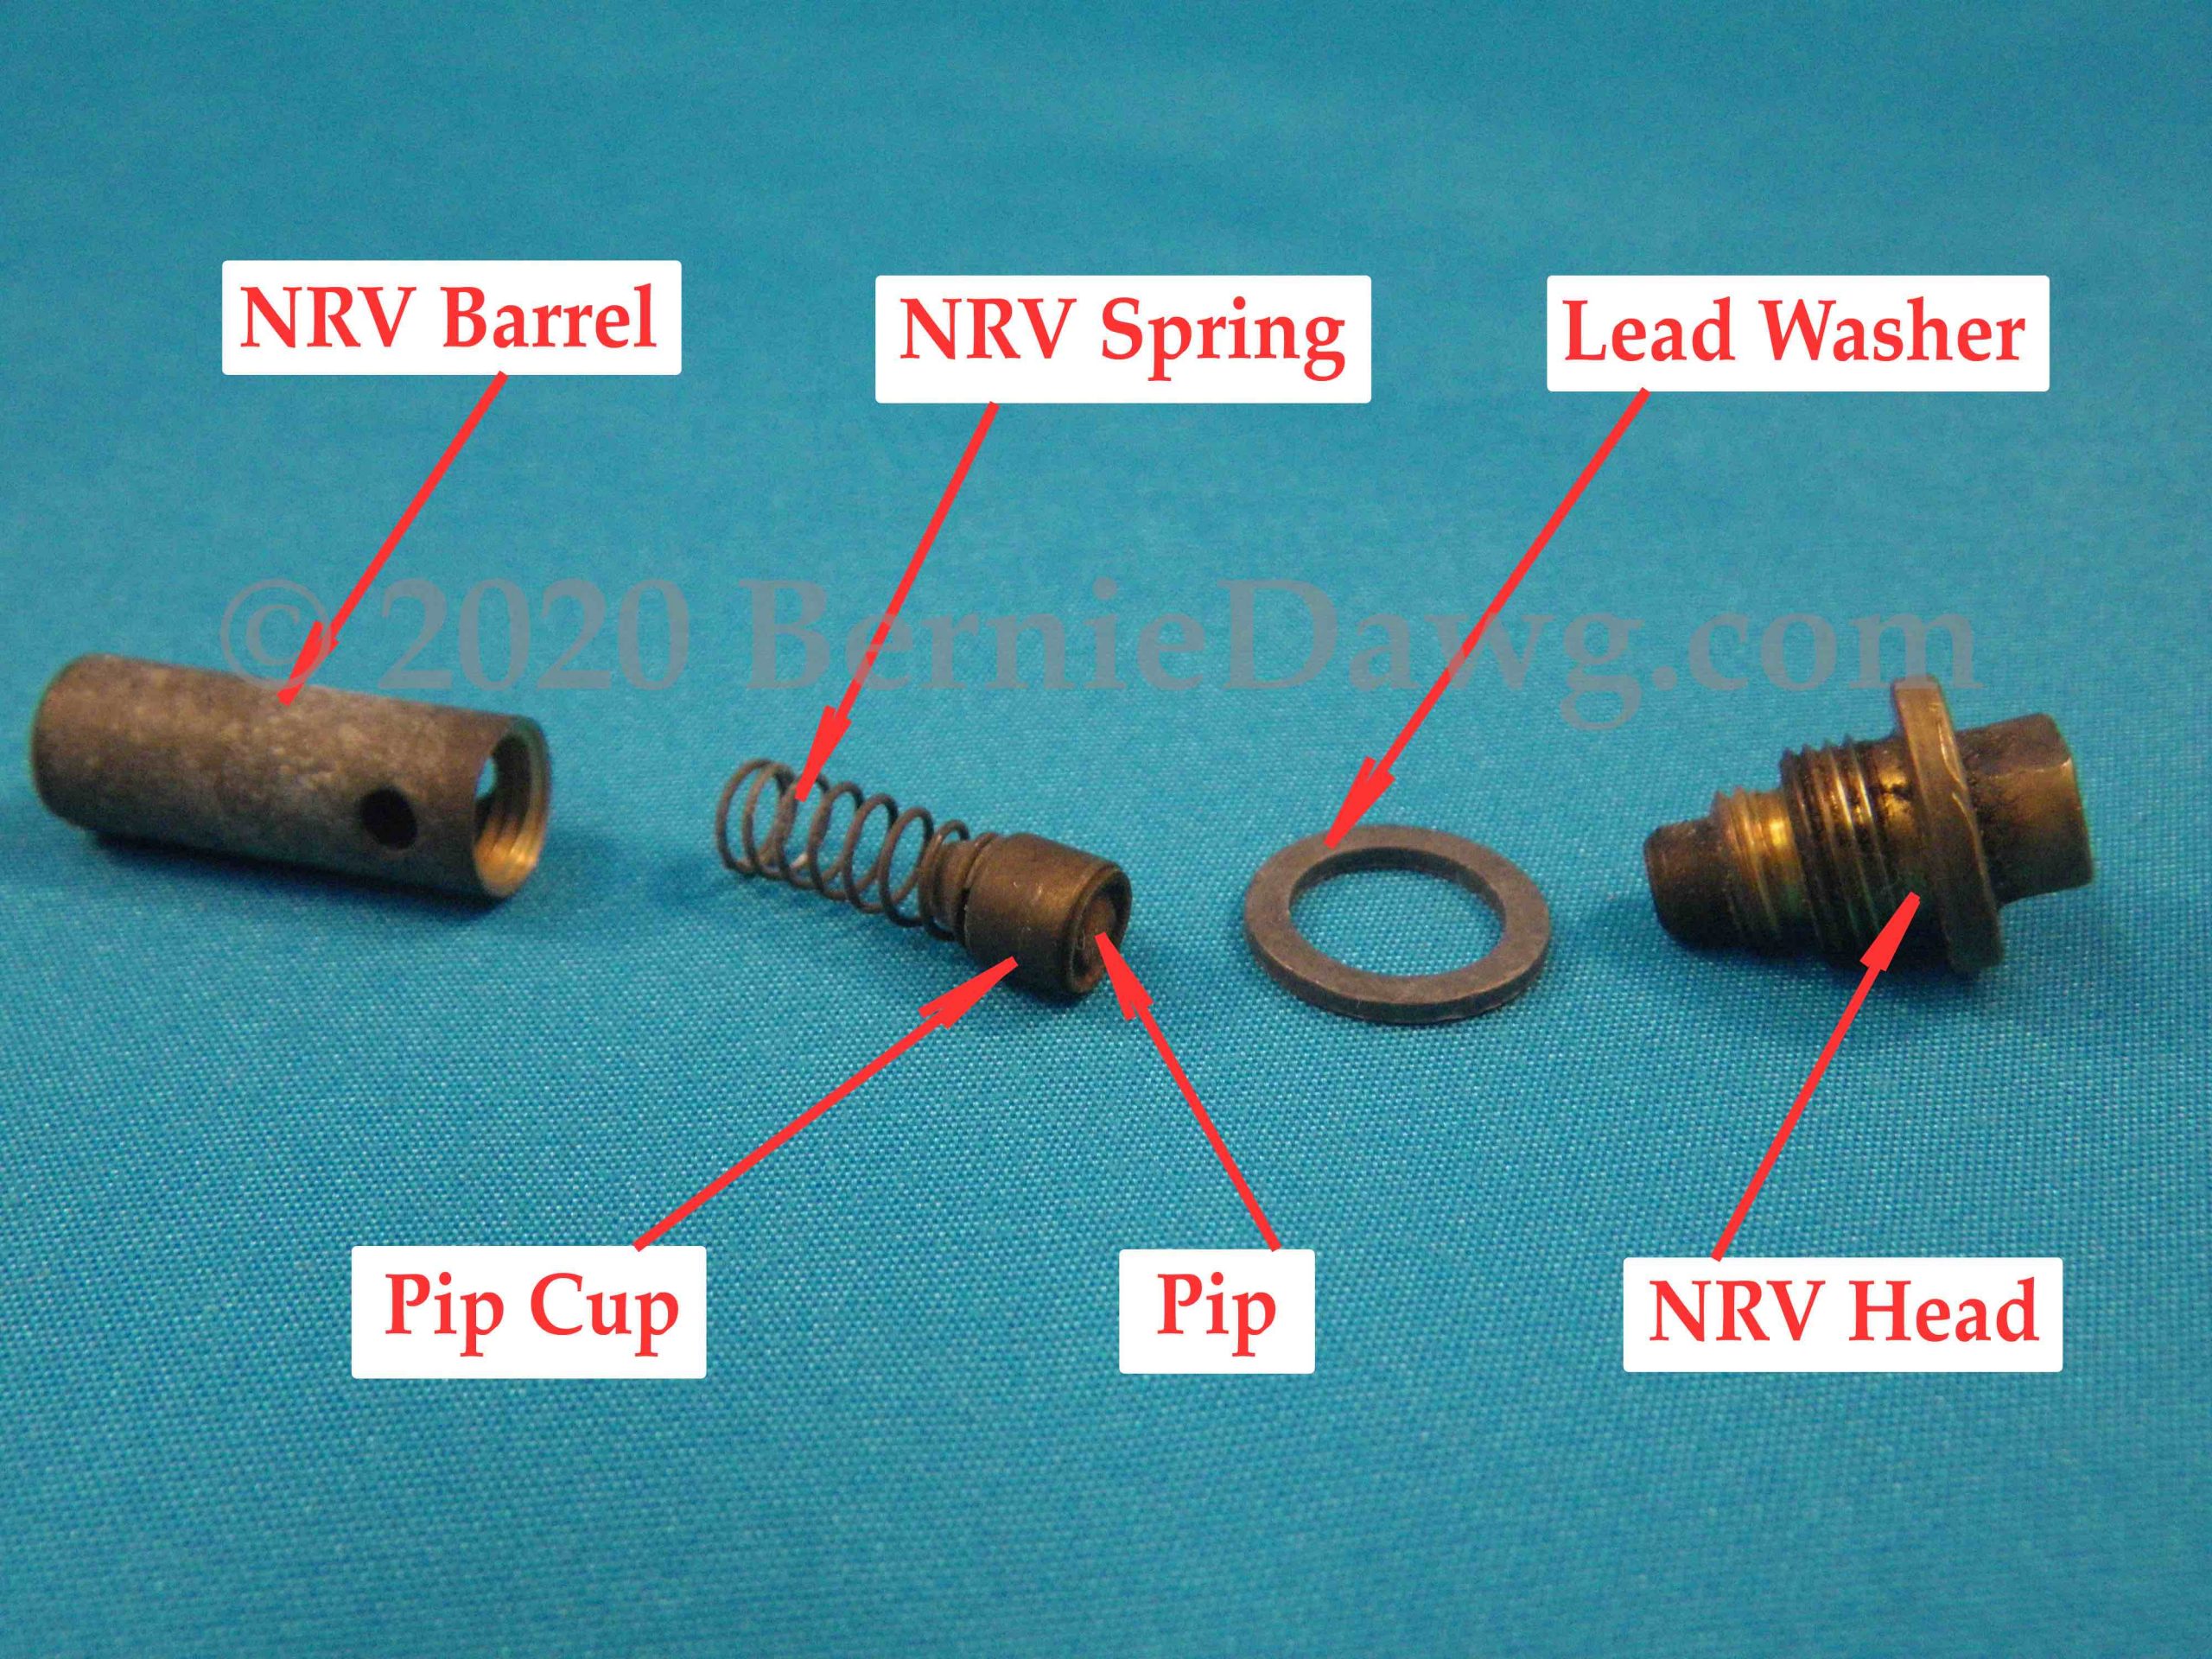
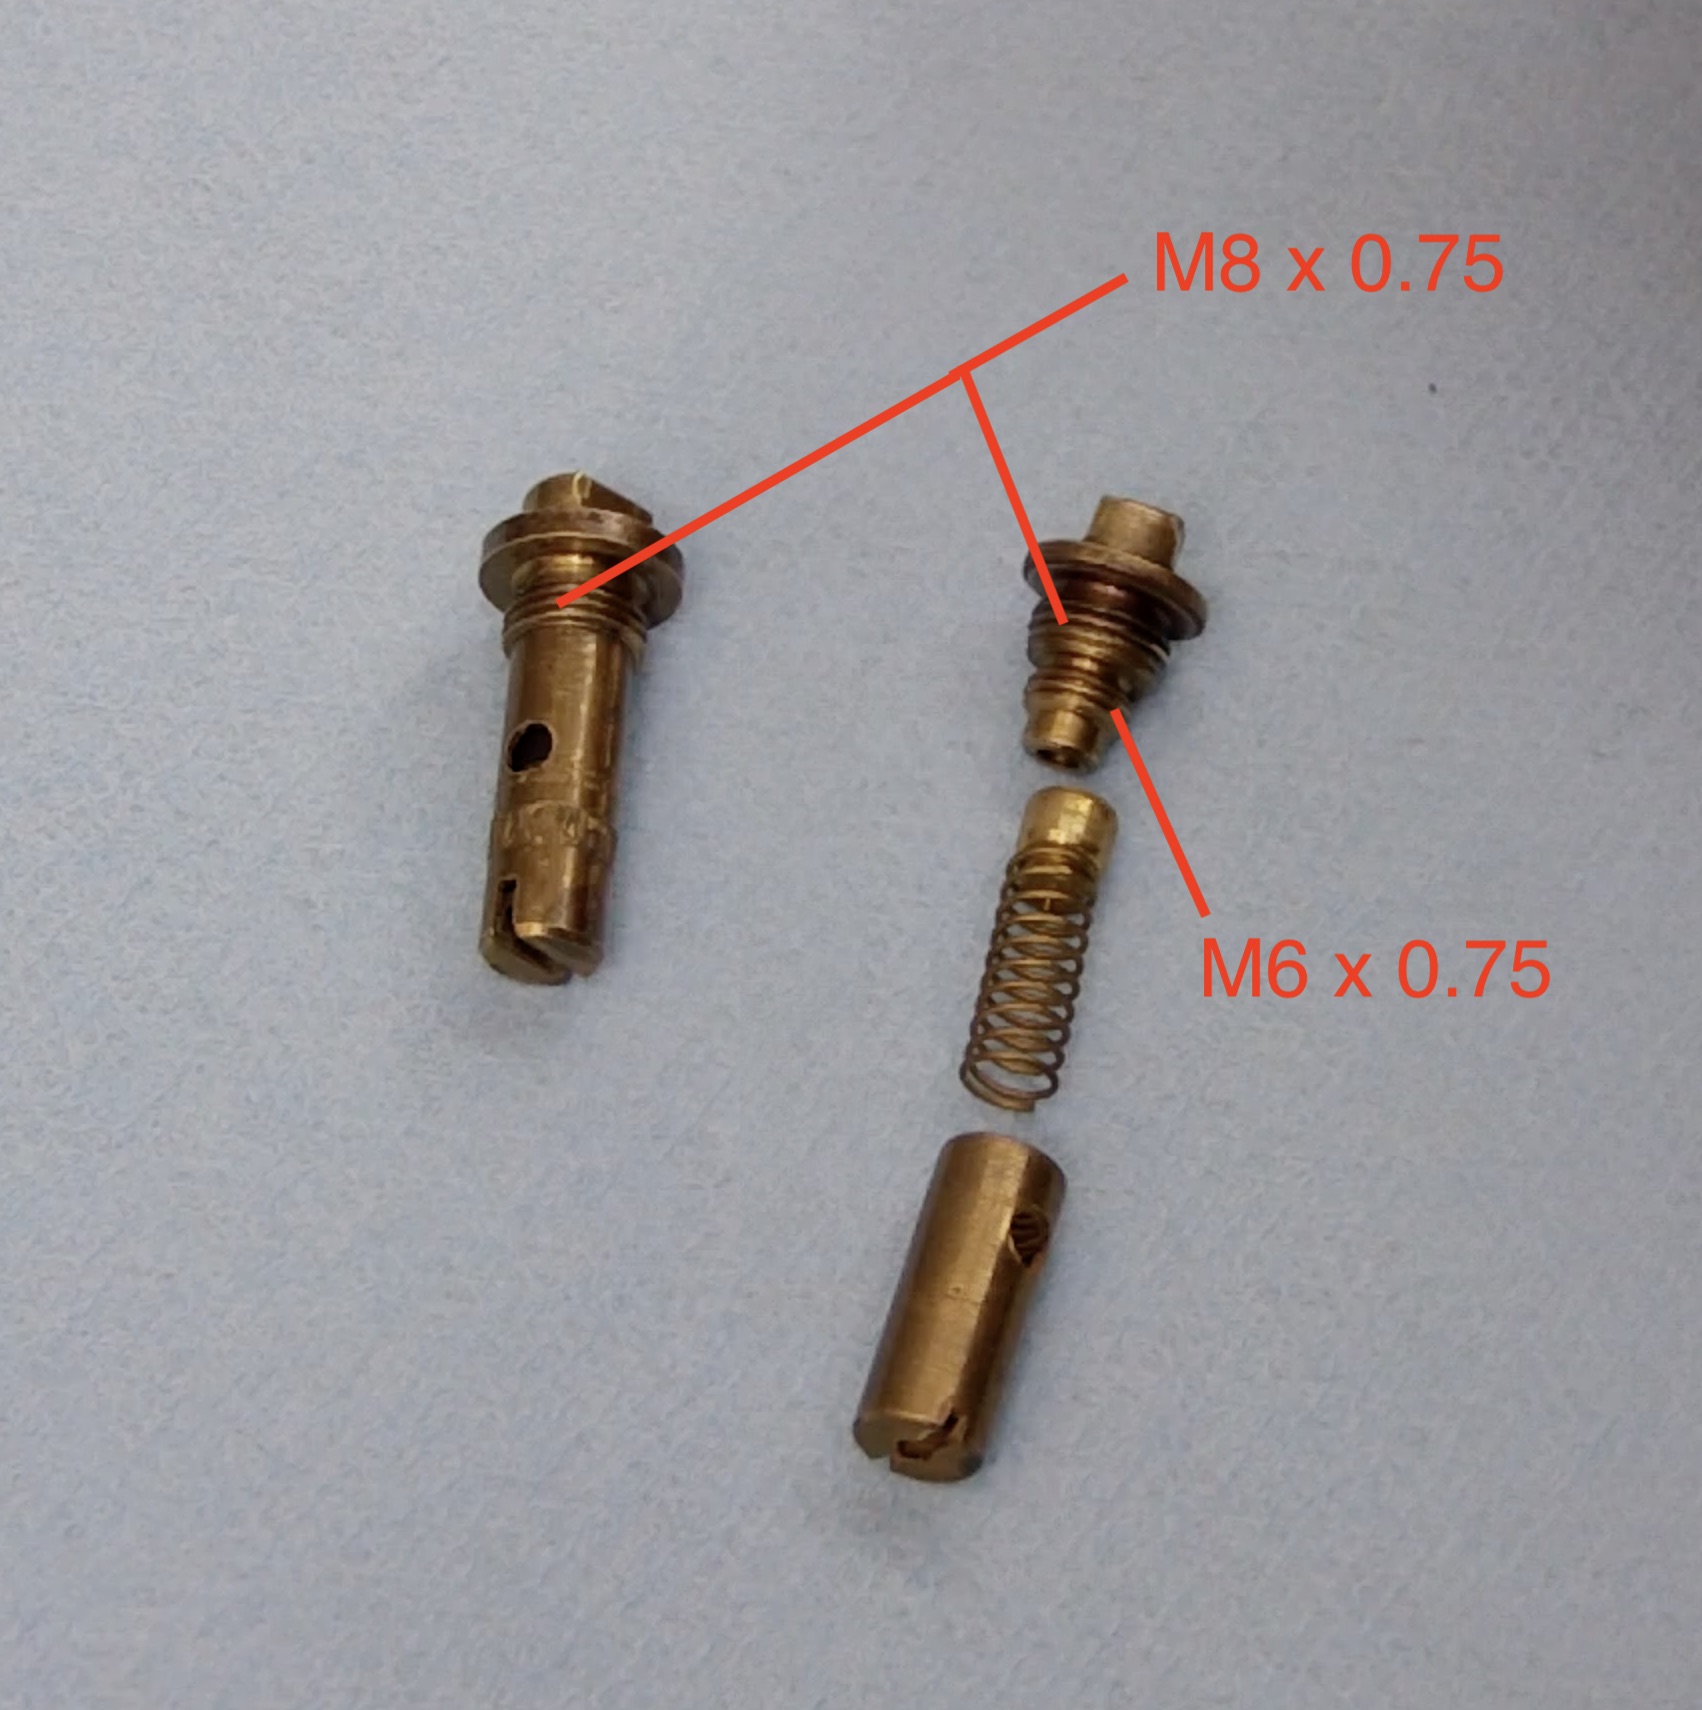
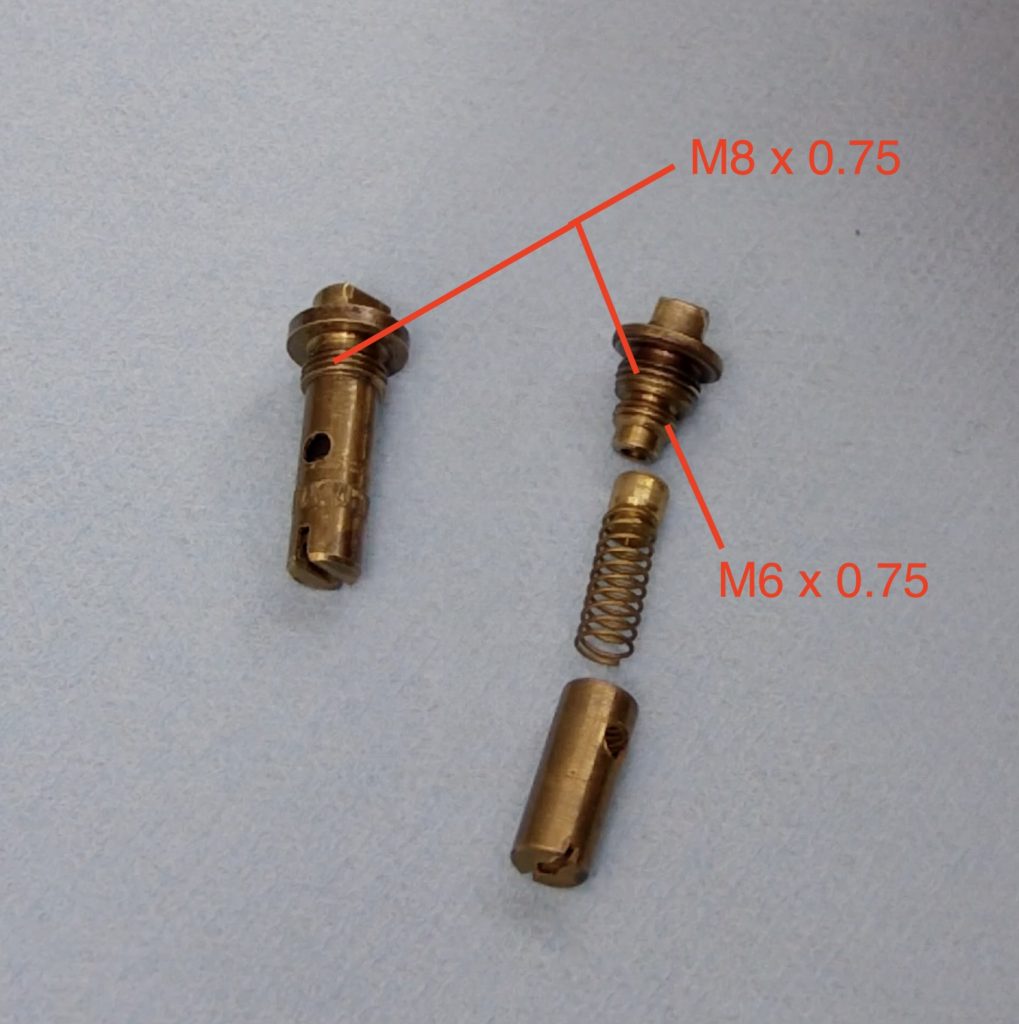
The head of most NRVs (non-return valve) found in kerosene-fueled stoves is threaded M8x0.75. The barrel of the NRV is threaded M6x0.75. These are non-standard metric sizes.

Stay tuned for more as I find time. BD

Repairing An Optimus 111B

Earlier this Fall season I posted a three-part video series on repairing the Optimus 111B at my YouTube stove channel. The videos cover all the steps you need to take to refurbish a vintage 111B stove back to full operation. There are tons of tricks and tips, and practical knowhow included in these videos which will help you working with the 111B, other members of the 111 family, and stove work in general. The videos are free to watch and require no admission or registration fees to watch them.
Check ’em out!

Here are the links to the 111B series:

Optimus 111B Stove Repair Part 1 – Disassembly
https://youtu.be/L-A9IAcaVhA

Optimus 111B Stove Repair Part 2 – Parts Reassembly
https://youtu.be/b-d_YVVuLaA

Optimus 111B Stove Repair Part 3 – Final Assembly and Testing
https://youtu.be/sGo62unFInk

OR… watch them imbedded right here, right now. You can see a lot more detail if you watch full screen.
These are copyrighted videos and are found exclusively here at my stove blog and at my YouTube stove channel. https://www.youtube.com/channel/UC-HRgttvZQQtg7_G0_T6Sqw/
If you see these videos at some other website, they have been stolen and the website moderators/owners are thieves and are in violation of copyright law. Please let me know if you see someone ripping off my hard work for their own benefit – those people who do that sort of stuff are the lowest form of self-serving scum. (Not to be too harsh, or anything.) 😉  Report scumbag thieves to: berniedawgstove@comcast.net
Thanks!   BD

Heat & Air Clean Regulated Burners?

Hi BD
Is it possible to “heat and air clean” the carbon and other crud from a regulated burner using compressed air and a torch?
Thanks!
Burner Guy

Hi Burner Guy
Thanks for your question! Yes! Absolutely, you can clean regulated burners using the manufacturer approved heat and air cleaning method. Like all burners, you’ll want to disassemble the burner, removing the jet, the spindle and the spindle nut.
But, you’ll need to close off the spindle opening.
So how to block the opening at the spindle? What I did was take a spare spindle nut and silver braze a cap on the open end. I just used a slip of brass sheet over the open end and machined it round after the brazing. But, you could leave it rough and all and it would still do the job. 

Once threaded into the spindle housing, the modified spindle nut will direct the air through all parts of the burner and out the jet.

Hope this helps!

(PS – Before anyone asks… yes, this is a very odd burner and is somewhat rare. It was close to hand from a long-term stove project I’m working on. So, yeah, it looks a little different from your everyday standard regulated but the idea is still the same.)
BD

SVEA 123R Candle Flame?

Hi BD
I bought a Swedish Svea 123R factory brand new about four years ago. It’s always had a small candle flame at the jet whenever I turn off the spindle. Do you have any tips you can share about how to fix this? Thanks!
Bert in MO

Hi Bert
Thanks for your question. One thing though…

If you bought your Svea 123R new about “four years ago” then it was not made in Sweden. Svea is a brand owned by Optimus since the early 1960’s after the Svea company in Sweden sold their company to Optimus. Optimus (now also just a brand and one cog of the big Swiss-based Katadyn corporate conglomerate) has not been making stoves in Sweden since the late 1980’s or early 1990s, if I recall correctly.
So, yeah, yours is an Asian-made version of the Svea. Even though it says “Sweden” on it. (It doesn’t say “Made in Sweden” because it is not made in Sweden, but in Taiwan.)
Just my opinion, but, I’d suggest getting one of the Swedish-made models as the quality and performance of the originals is much higher in those better-made stoves.

I have a couple of videos at my YouTube channel that show the disassembly, repair, and reassembly of the Svea 123R. You can find them here:
https://youtu.be/LNJSDacuCHQ
https://youtu.be/-svgLuqyGG4

Here’s the lowdown on candle flames on the SVEA 123R.

  1. Make sure the cleaning needle timing is not the issue. Remove the needle and try the stove without it. If there is still a candle flame without the cleaning needle in the stove, go to #3.
  2. If the candle flame goes away without the needle in the stove… reset the cleaning needle a click shallower into the valve body (fewer clicks). What’s happening is that the cleaning needle is hitting bottom before the spindle tip can seat closed. So, putting the cleaning needle rack higher (less clicks) will allow the spindle tip to seat before the cleaning needle rack hits bottom.
  3. Remove the spindle nut and the spindle. Check the condition of the cone-shaped end of the spindle. It should be a smooth cone.

    Good condition spindle

    It should not have a ring worn into it and it should not have a step or steps worn into it. If it does, then someone has been closing the spindle valve too hard and has damaged the spindle tip. If there is enough material still there (if the damage isn’t too bad), you can chuck the spindle into some sort of spinning tool. A cordless or corded drill will do the trick. A drill press or a lathe is even better. Reshape the cone on the end of the spindle with a fine file and sandpaper while the spindle is spinning in your spinning tool of choice. If you can’t get it fixed because there is not enough material left or the damage is too great, you’ll need to replace the spindle.

  4. While the spindle is out… examine your spindle graphite. Brand new, spindle graphites should be about 6mm long. If the graphite is less than 3mm long or if it is not shiny and grey, but instead has grey-colored pulpy, woody, or hairy looking material (asbestos?), change it out for a new graphite. The pulpy ones fall apart faster than the solid grey graphites and the pulpy stuff gets in the spindle valve seat so they leak.
  5. While the spindle is out… clean out the threads of the spindle nut, and the threads in the valve body they mate with, of any graphite residue so it doesn’t end up causing leakage by getting in the your spindle valve. Dental tools work good for thread cleaning. Use some Qtips and clean the spindle valve seat with some solvent or Coleman fuel so the Qtips come out clean. Do a visual inspection of the spindle valve seat inside the valve body using a flashlight. You should see a circle of bright brass with a little hole in the middle. The bright brass is the metal surface your cone-shaped spindle tip seats against. Make sure there’s no debris or goo in there.
  6. Reassemble everything, with new parts if you are using them, and give it a try without the cleaning needle. No candle flame? Great! Now add in the cleaning needle set to between 3 and 5 clicks into the valve body and top off with the jet. Test again. Should be working fine now. If you get the candle flame, then reset the needle one click less (shallower) into the stove body.

Happy camping! BD

BernieDawg Silent Cap Index – Which Cap Goes On Which Stove

Do you want to know which cap to get for which stove? Here’s a quick-look index!

Primus
Omnifuel and Omnifuel 2 – OmniDawg
OmniLite Ti – OmniPup
Multifuel p328896 OR Multifuel EX p328894 – DragonTamer (maybe) or OmniDawg (maybe), read the complete discussion on the Primus 328894 and 328896 Multifuel here: https://www.berniedawg.com/which-cap-for-a-multifuel/
Himalaya Varifuel p3278 – Minicap w/Legs
Himalaya Multifuel p3288 – Minicap w/Legs
Primus 96 – Midicap or Minicap
Primus 70 & 71 – Minicap

Optimus
Nova – Dawg-A-Nova
Nova+ – Dawg-A-Nova
Hiker+ – Dawg-A-Nova
Polaris Optifuel – PolarDawg
#96 – Midicap or Minicap
#97 – Midicap or Minicap
#80 – Minicap w/Legs
#99 – Minicap w/Legs
#8 or #8R – Minicap w/Legs

MSR
Dragonfly – DragonTamer
XGK EX – XGK Dawg
XGK G – Midicap
XGK GK – Midicap
XGK II – Midicap
Firefly – DragonTamer
#9 – Midicap

Coleman
#530 – Midicap
Denali – OmniPup

Svea
Svea 123 and 123R – Minicap or Minicap w/Legs

Edelrid
Hexon – uses the PolarDawg – may be a small bit of fussing to get it situated, but lab tested (4/2021) and works well on all fuels

Trangia
Trangia X2 750001 Multifuel Burner by Primus – PolarDawg using isobutane or white gas, the preferred fuels (note: if using kerosene with the PolarDawg on an X2 75001 with the 0.28mm burner, best performance is with the OmniDawg rather than the PolarDawg)
Trangia 780001 Multifuel Burner made by Optimus – Dawg-A-Nova

American Military Stoves
#520 – Midicap
#521 & #523 – Midicap
M-1941, M.1942, M-1950 – Midicap
#527 Coleman Medical Burner – PuppyDawg

Others
Phoebus 725 – “Wide Body”
Enders “Baby Benzin” #9063 & #263 – PuppyDawg
Radius #42 – Minicap
Radius #20 – Minicap
French Vesta 1 and 2 burner stoves – Minicap
Chinese-made Lixada stainless steel gasoline stove – Minicap with Legs

Do you have a stove that’s not on the list and want to know which cap to get? Just drop me an email at bd@berniedawg.com You can order your custom BD caps at i.materialise (EU). My former USA printing partner got WAY too greedy and I’ve severed our relationship.

SIGG FireJet Stove Adapter

I was asked to make an adapter for the SIGG FireJet stove so that the stove could connect to a Primus Omnifuel Ergopump hose. You can see the full story at my YouTube page right here: https://youtu.be/MH9CWeeqfOs

I’ve also posted the full SIGG FireJet manual as a PDF here at my site (16.4MB). Click the highlighted words below to see it. Click the “Download” button below here (not the image) to download it to your computer.

You’re welcome! BD