Stove Part Supplier Links

Here’s a list of stove part suppliers that I’ve used or know about. As I think on it, I may add more, so check back frequently. Pretty sure this list is current as of December 2021. These suppliers tend to come and go in many cases. If I’m wrong about a supplier drop me an email and I’l investigate/fix it. If I’ve listed your outfit and you don’t want to be listed just let me know in an email. If you find a dead link or if you know of a link I should add, please let me know by emailing: bd@berniedawg.com and I’ll try to add, update or remove it as required as soon as possible. Thanks!

USA:
EU
UK:
Australia:
South Korea:
Taiwan:
  • philbeagle (Various stove/lantern parts) – https://www.ebay.com/usr/philbeagle/       I can no longer recommend the British Military #12 silent cap from Philbeagle as it has undergone revisions that make it a poor performer without significant modifications involving re-machining some of the parts.
  • simonchantwus_gmail (PentaWrenches, stove and lantern parts) – https://www.ebay.com/str/supercorselantern
  • chi5972 (stove and lantern fabricated parts) –
  • https://www.ebay.com/usr/chi5972/
  • kitelamp (sells remakes of various hard-to-find stove and lantern accessories) Has moved away from eBay and sells directly through this website – https://www.kitelamp.com Has lots of really good and awesome products!
  • ama3736 https://www.ebay.com/str/BOTEXX-TOOLS/ eBay seller sells a small number of parts and graphite packing for many stoves – sadly has now decided (1/2021) that “shipping costs too much” for them to ship products to Canada, Hawaii and much of the rest of the world. ???? Still ships to the mainland USA and the UK at this time, but I’d suggest going to KiteLamp for standard sized graphite packings for a better deal instead: https://www.kitelamp.com/en/product/graphite-ring_en/?v=7516fd43adaa

Stove Thread Specifications

For quite some time I’ve been machining adapters and reproduction parts for vintage stoves. I’ve been doing this on much of my client work as needed. I’ve always taken the if-it-could-be-done-before-it-can-be-done-again approach. As I’m getting a bit older, I thought now would be a good time to start recording some of the measured and *proven* threads or thread approximates I’ve come up with that will work well on vintage stoves.

But… first an important fact to understand. The various companies that made stoves (Optimus, Primus, Radius, even Coleman, etc) DID NOT necessarily conform to established “thread standards” for much of their work. This is especially true of the early standards established by Primus at the end of the 19th century (1890’s). Standardized threads would include the metric system, the British system or the American system. Some of these threads may appear on some stoves. But, for the most part, the threads used on vintage stoves are in-house creations of the production staff at the various firms and DID NOT conform to established standards.

Since Primus was the first to get stoves out there, and because they established a wide-spread international network of stove sellers and stove part houses (think todays franchises for fast food), other manufacturers were pretty much required to adapt their thread forms so that they could sell various parts that would mate with Primus stoves. Doing so meant that a Radius burner would fit perfectly on a Primus stove riser, for example.

So, yeah. I *know* that Sweden adopted the metric system in blah-blah year. Doesn’t matter. Stove threads pretty much ignore thread standards, and, that’s what makes stoving both fun and frustrating.

If you are a hobby machinist, you could make a bundle of money making up stove accessories and adapters for some of these old stoves. Sell them on eBay! I sincerely encourage you to do so. You’d be surprised what stove collectors will pay for a bit of brass properly threaded with compatible threads for their stove.

So, here’s the start of the list. I’ll add to it as I find time and energy. I have notebooks full of thread data. Check back whenever you like or if you need data for your stove restoration project.

NRV Threads
The head of most NRVs (non-return valve) found in kerosene-fueled stoves is threaded M8x0.75. The barrel of the NRV is threaded M6x0.75. These are non-standard metric sizes.

Stay tuned for more as I find time. BD

Repairing An Optimus 111B

Earlier this Fall season I posted a three-part video series on repairing the Optimus 111B at my YouTube stove channel. The videos cover all the steps you need to take to refurbish a vintage 111B stove back to full operation. There are tons of tricks and tips, and practical knowhow included in these videos which will help you working with the 111B, other members of the 111 family, and stove work in general. The videos are free to watch and require no admission or registration fees to watch them.
Check ’em out!

Here are the links to the 111B series:

Optimus 111B Stove Repair Part 1 – Disassembly
https://youtu.be/L-A9IAcaVhA

Optimus 111B Stove Repair Part 2 – Parts Reassembly
https://youtu.be/b-d_YVVuLaA

Optimus 111B Stove Repair Part 3 – Final Assembly and Testing
https://youtu.be/sGo62unFInk

OR… watch them imbedded right here, right now. You can see a lot more detail if you watch full screen.
These are copyrighted videos and are found exclusively here at my stove blog and at my YouTube stove channel. https://www.youtube.com/channel/UC-HRgttvZQQtg7_G0_T6Sqw/
If you see these videos at some other website, they have been stolen and the website moderators/owners are thieves and are in violation of copyright law. Please let me know if you see someone ripping off my hard work for their own benefit – those people who do that sort of stuff are the lowest form of self-serving scum. (Not to be too harsh, or anything.) 😉  Report scumbag thieves to: berniedawgstove@comcast.net
Thanks!   BD

Heat & Air Clean Regulated Burners?

Hi BD
Is it possible to “heat and air clean” the carbon and other crud from a regulated burner using compressed air and a torch?
Thanks!
Burner Guy

Hi Burner Guy
Thanks for your question! Yes! Absolutely, you can clean regulated burners using the manufacturer approved heat and air cleaning method. Like all burners, you’ll want to disassemble the burner, removing the jet, the spindle and the spindle nut.
But, you’ll need to close off the spindle opening.
So how to block the opening at the spindle? What I did was take a spare spindle nut and silver braze a cap on the open end. I just used a slip of brass sheet over the open end and machined it round after the brazing. But, you could leave it rough and all and it would still do the job. 

Once threaded into the spindle housing, the modified spindle nut will direct the air through all parts of the burner and out the jet.

Hope this helps!

(PS – Before anyone asks… yes, this is a very odd burner and is somewhat rare. It was close to hand from a long-term stove project I’m working on. So, yeah, it looks a little different from your everyday standard regulated but the idea is still the same.)
BD

Stuck NRVs??

Hi BernieDawg
I have this great old Primus 100 stove that I’m trying to fettle. I’ve got the NRV loosened up, but it seems to be stuck in the bottom of the pump tube and won’t drop out of the tube. It’s hung up somehow. It wiggles around and is loose down there at the bottom of the pump tube. I wonder if there’s some gunk in the tank that’s hanging it up?
What can I do to get it free?
Sincerely,
Stuck and perplexed
____________________________

Hi Stuck

Well… I think this might make a good blog topic actually, because I get this question and this issue fairly frequently. And, don’t feel bad – it’s common and it happens to me, too. Here’s how I handle it.
1. best thing is to buy a tool which can solve 75% of these sort of stuck NRV issues. What you want is an “ear forceps” aka an “alligator forceps”. They come out of Pakistan (for reasons I don’t understand) for pretty cheap. They are stainless steel. And they help you with other tank related stuff, say reaching into a tank to retrieve something, or at the end of the pump tube in case a rotted leather pump cup gets stuck down there. Check pricing on eBay, but here’s a screen shot of a pair I picked at random just so you can see what I’m talking about:
The larger one is about 6.5″ long and is a great size for pump tube and stove tank work. But, you can get them a lot longer, too. It was selling as a Buy-It-Now with free shipping for only $6.50.
2. next thing is to take your little flashlight and peer into the tank. Is it all black and gooey in there? If it is, then your idea about gooey stuff being on the end of the NRV barrel is probably right. Here’s how to fix that and clean your tank, too. Get a gallon of acetone at Home Depot, Lowes, or wherever. Fill the tank with it. Let it soak (plug the openings with some paper toweling to control evaporation). If you want to get really industrious, you can add some BB’s to the tank and shake it around. Pour out the acetone into a metal or glass container through a coffee filter for reuse – you can reuse it on many tanks. Shake out the BB’s, or use a magnetic pen tool to remove them. Rinse the tank with just a splash of acetone and you should be good to go. Acetone dissolves the black gooey crud (dried kerosene). It will dissolve the gooey crud on the end of the NRV barrel and then it should pop right out. This should take care of another 20% of the problems.
3. two other issues can cause the NRV to hang up in about 4% of cases.
a. there can be a little burr of brass where the vent hole in the side of the NRV barrel was punched in the barrel. You can use your alligator forceps gripping the NRV head with an unscrewing motion (like you are unthreading the NRV) to “unscrew” the burr past the opening in the pump tube end plate. Do it with the pump tube opening facing toward the floor to allow gravity to assist you. Use a little 400 grit wet dry sandpaper or a small file to remove the burr once you’ve got it out so it doesn’t give you problems again.
b. the other problem comes about from using lead NRV head washers. The lead will expand outward when the NRV head is tightened down, sometimes into the opening for the NRV head threads. This can hang up the NRV. Alligator forceps should help you to get it out, again with that unscrewing motion. Consider to switching to HDPE (#2 plastic) NRV head washers. You can punch them from the lids of food containers, so they are cheap to make and they almost never cause these hang-up problems. They last forever, too.
4. Lastly… for that final 1% of stubborn NRVs… if you have compressed air… set the air output to about 40 psi. Hold a rag in your hand over the pump tube opening to catch the NRV. Install the vent screw and apply a little compressed air into the burner mount opening with your thumb over the filler opening. Pop! Out shoots the NRV into the rag in your hand. These can shoot across the shop if you don’t use a rag to catch it and be difficult to fine otherwise.
Hope that helps!
Happy camping!
BD

Optimus 111T “Bling” Restore

Here is an Optimus 111T that I “restored” for a client a few years ago. The client specifically requested the polished copper windshield and floor pan.

The embossed case was stripped, derusted, and repainted. The left hinge on the case was separated – the spot weld had failed. I silver brazed the hinge back in place before prepping and repainting.

Here are the beauty shots.

Sadly… the client was better at buying old stoves than actually operating them. Within three months of this restore the inept client had set the stove on fire, destroyed the paint, and melted part of the copper windshield surround. Sigh. :-(((

Monitor Pump Tube Repair

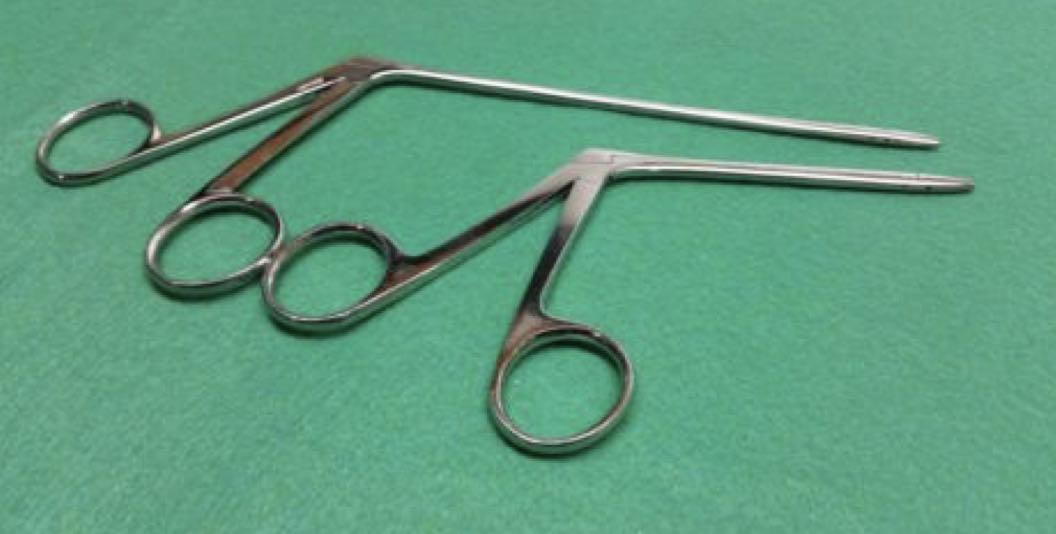
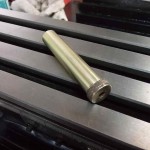
I often am asked to help out when a stove collector has problems removing a NRV (non-return valve) from the bottom of a stove’s pump tube. Usually the stove owner has done their best to remove the NRV, but has inadvertently rounded the soft brass head of the NRV valve. Sometimes I can get these damaged NRVs broken loose by using an “easy-out” (screw extractor bit) mounted in the end of a spade bit extension. I’ve actually made my extension a bit longer by welding an additional section of 1/4″ hex rod to the unit.

Spade bit extension with welded addition

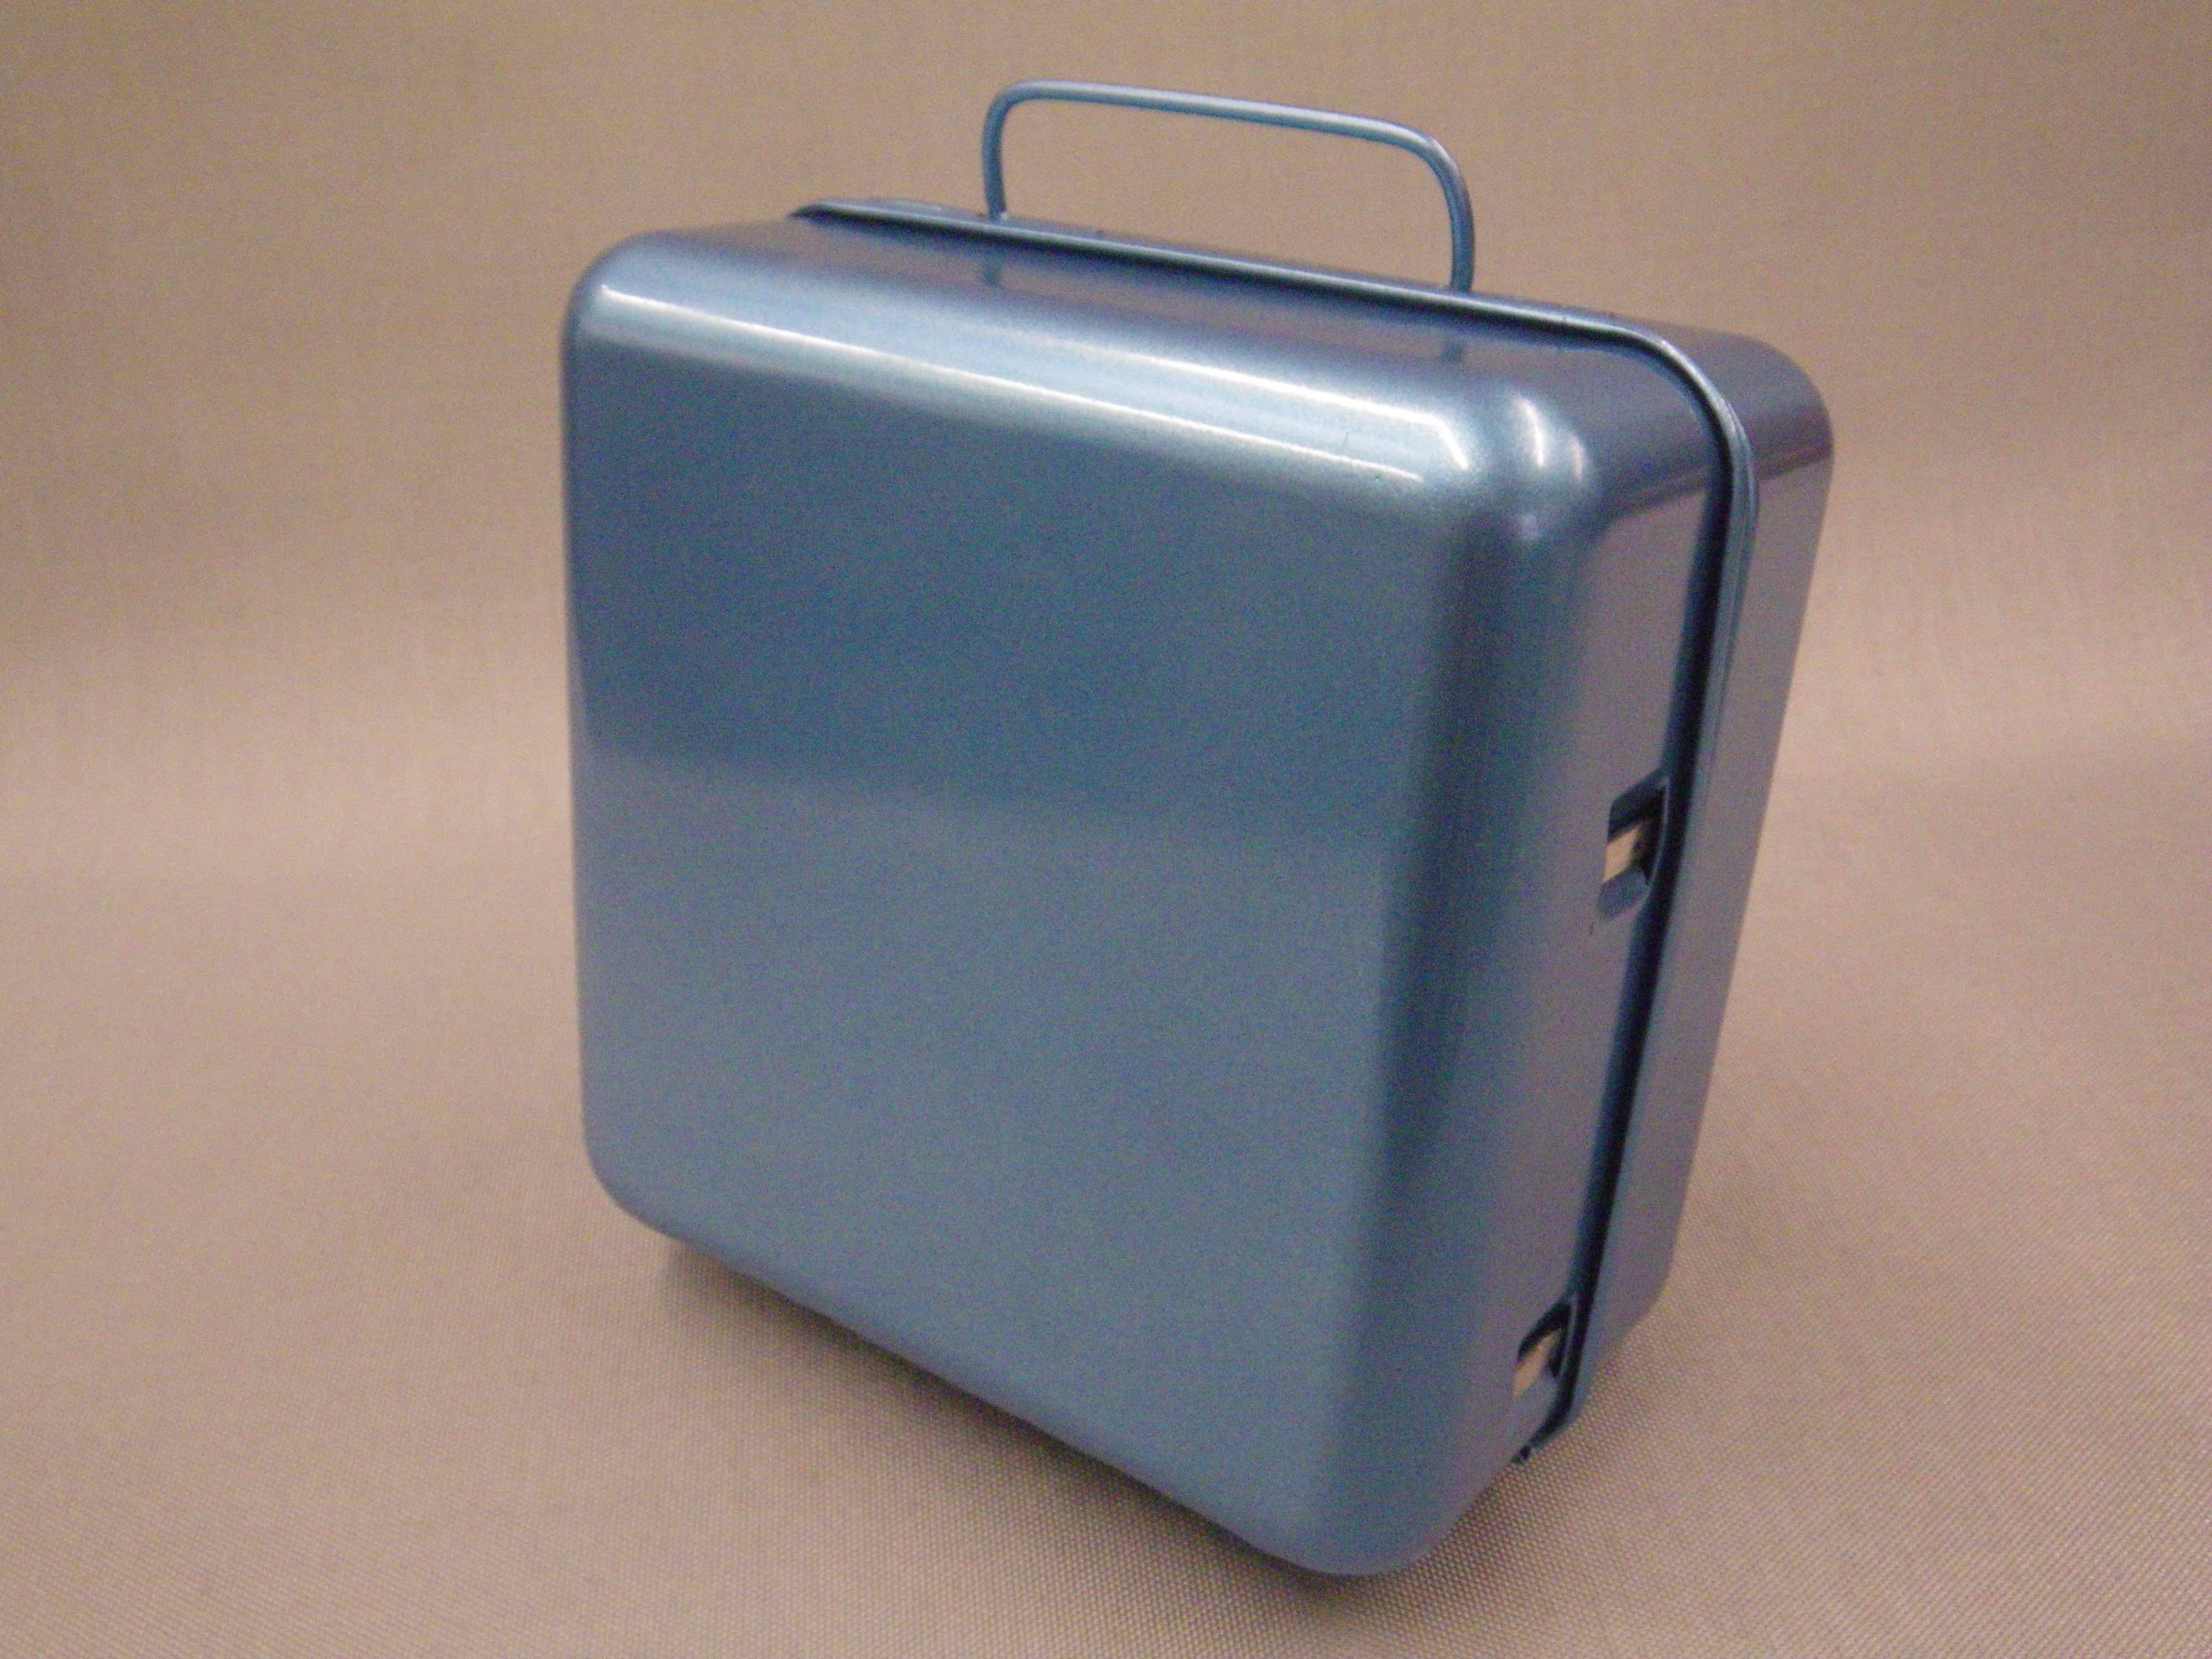
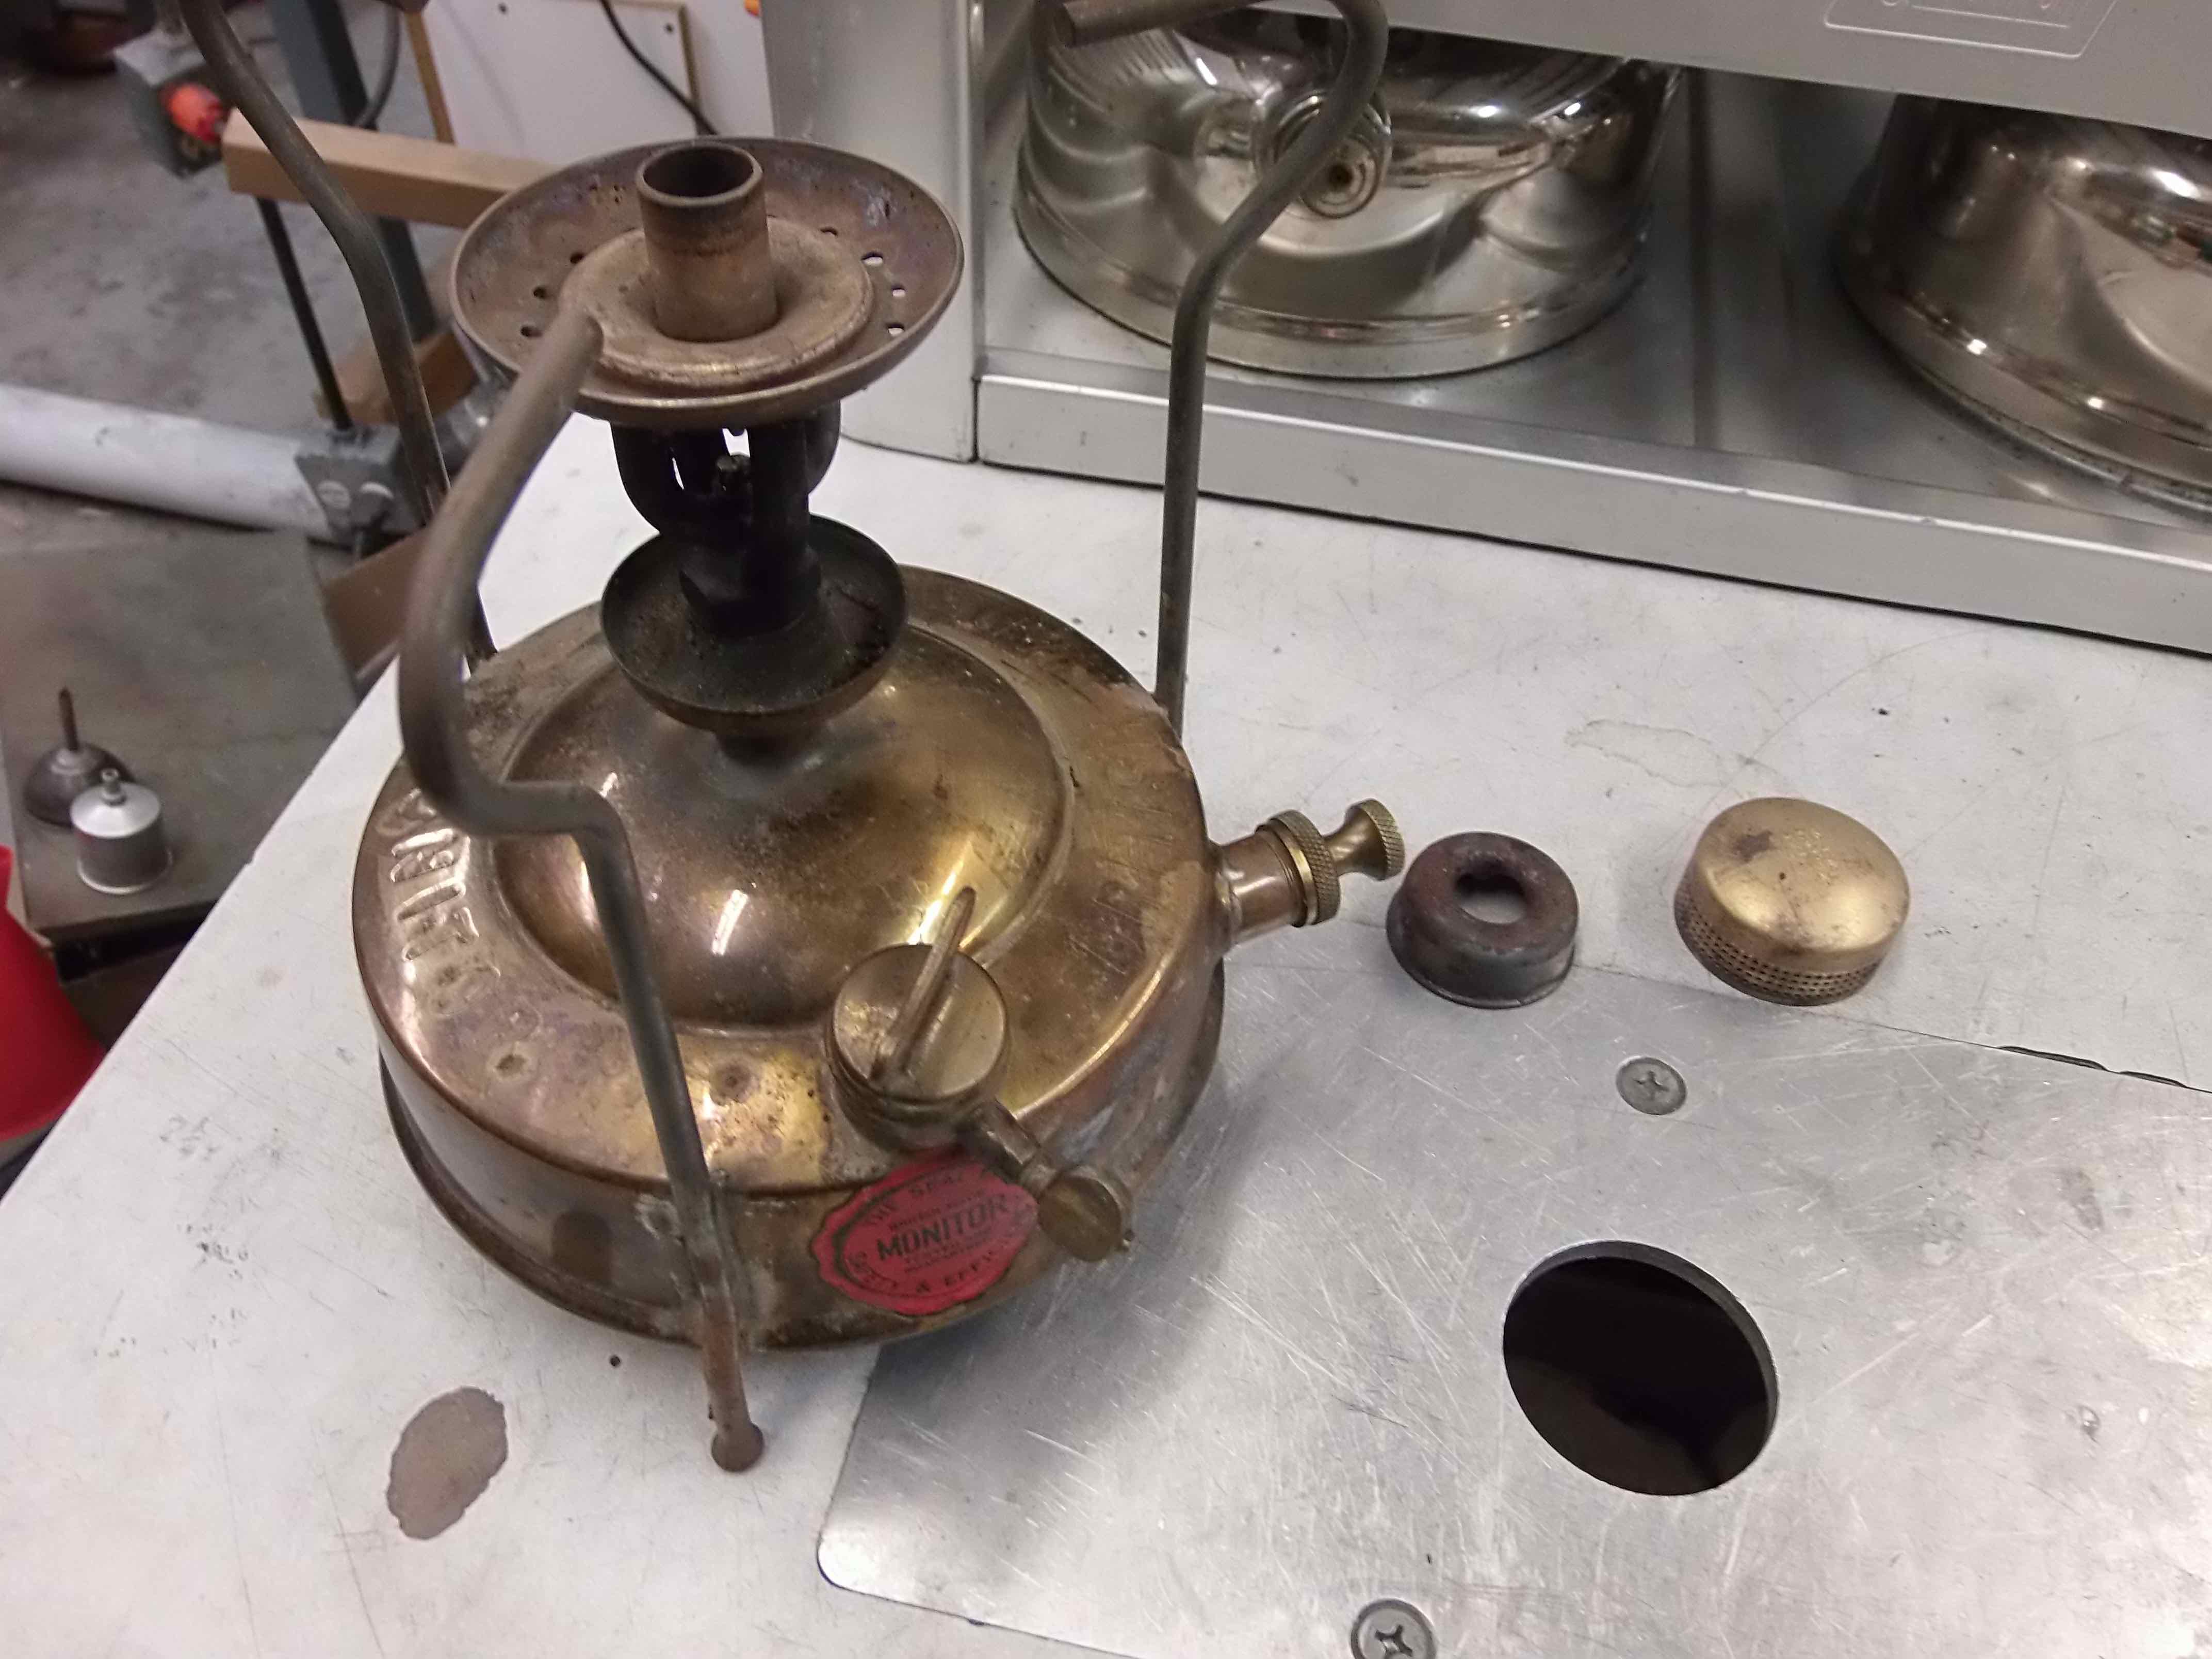
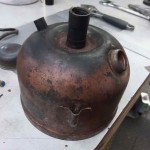
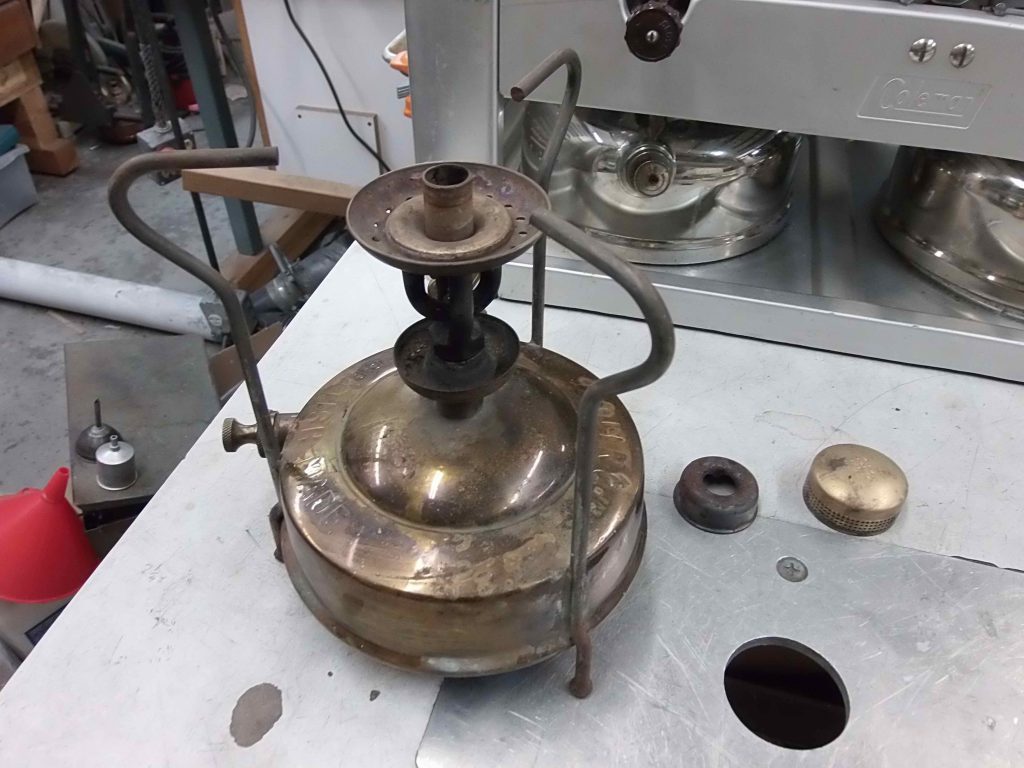
Sadly, this wasn’t possible on this old Monitor stove I was asked to repair.

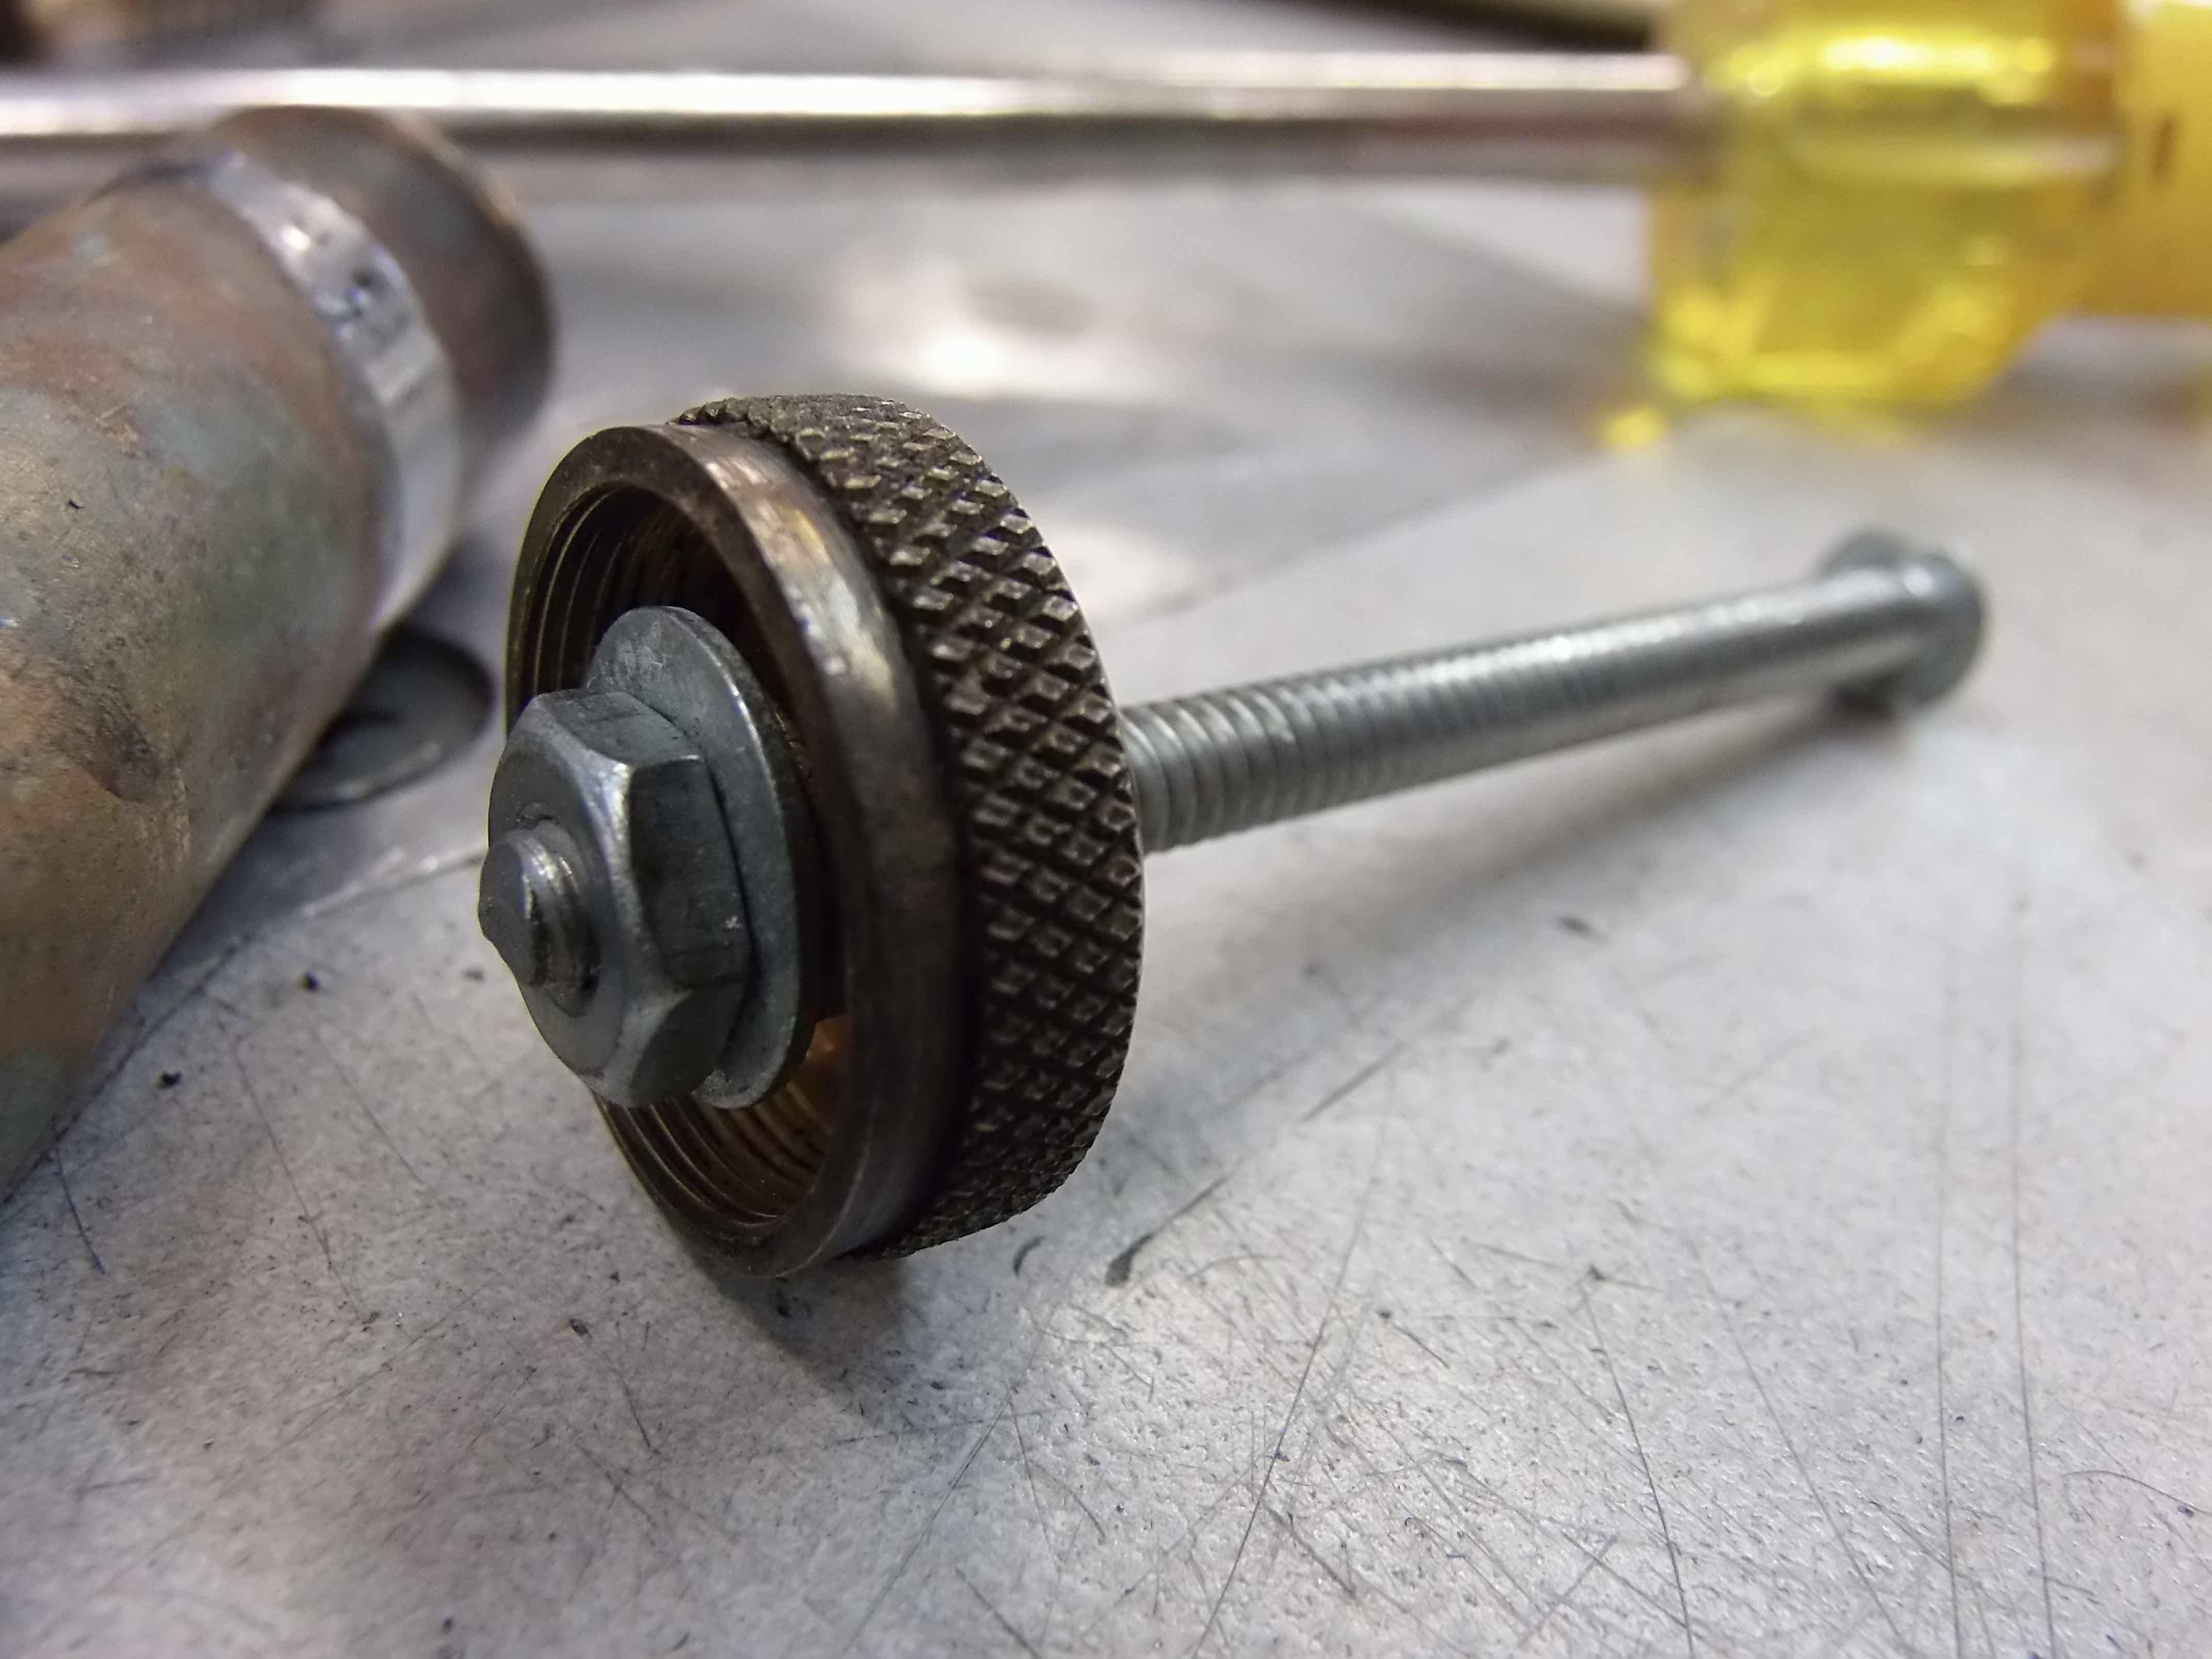
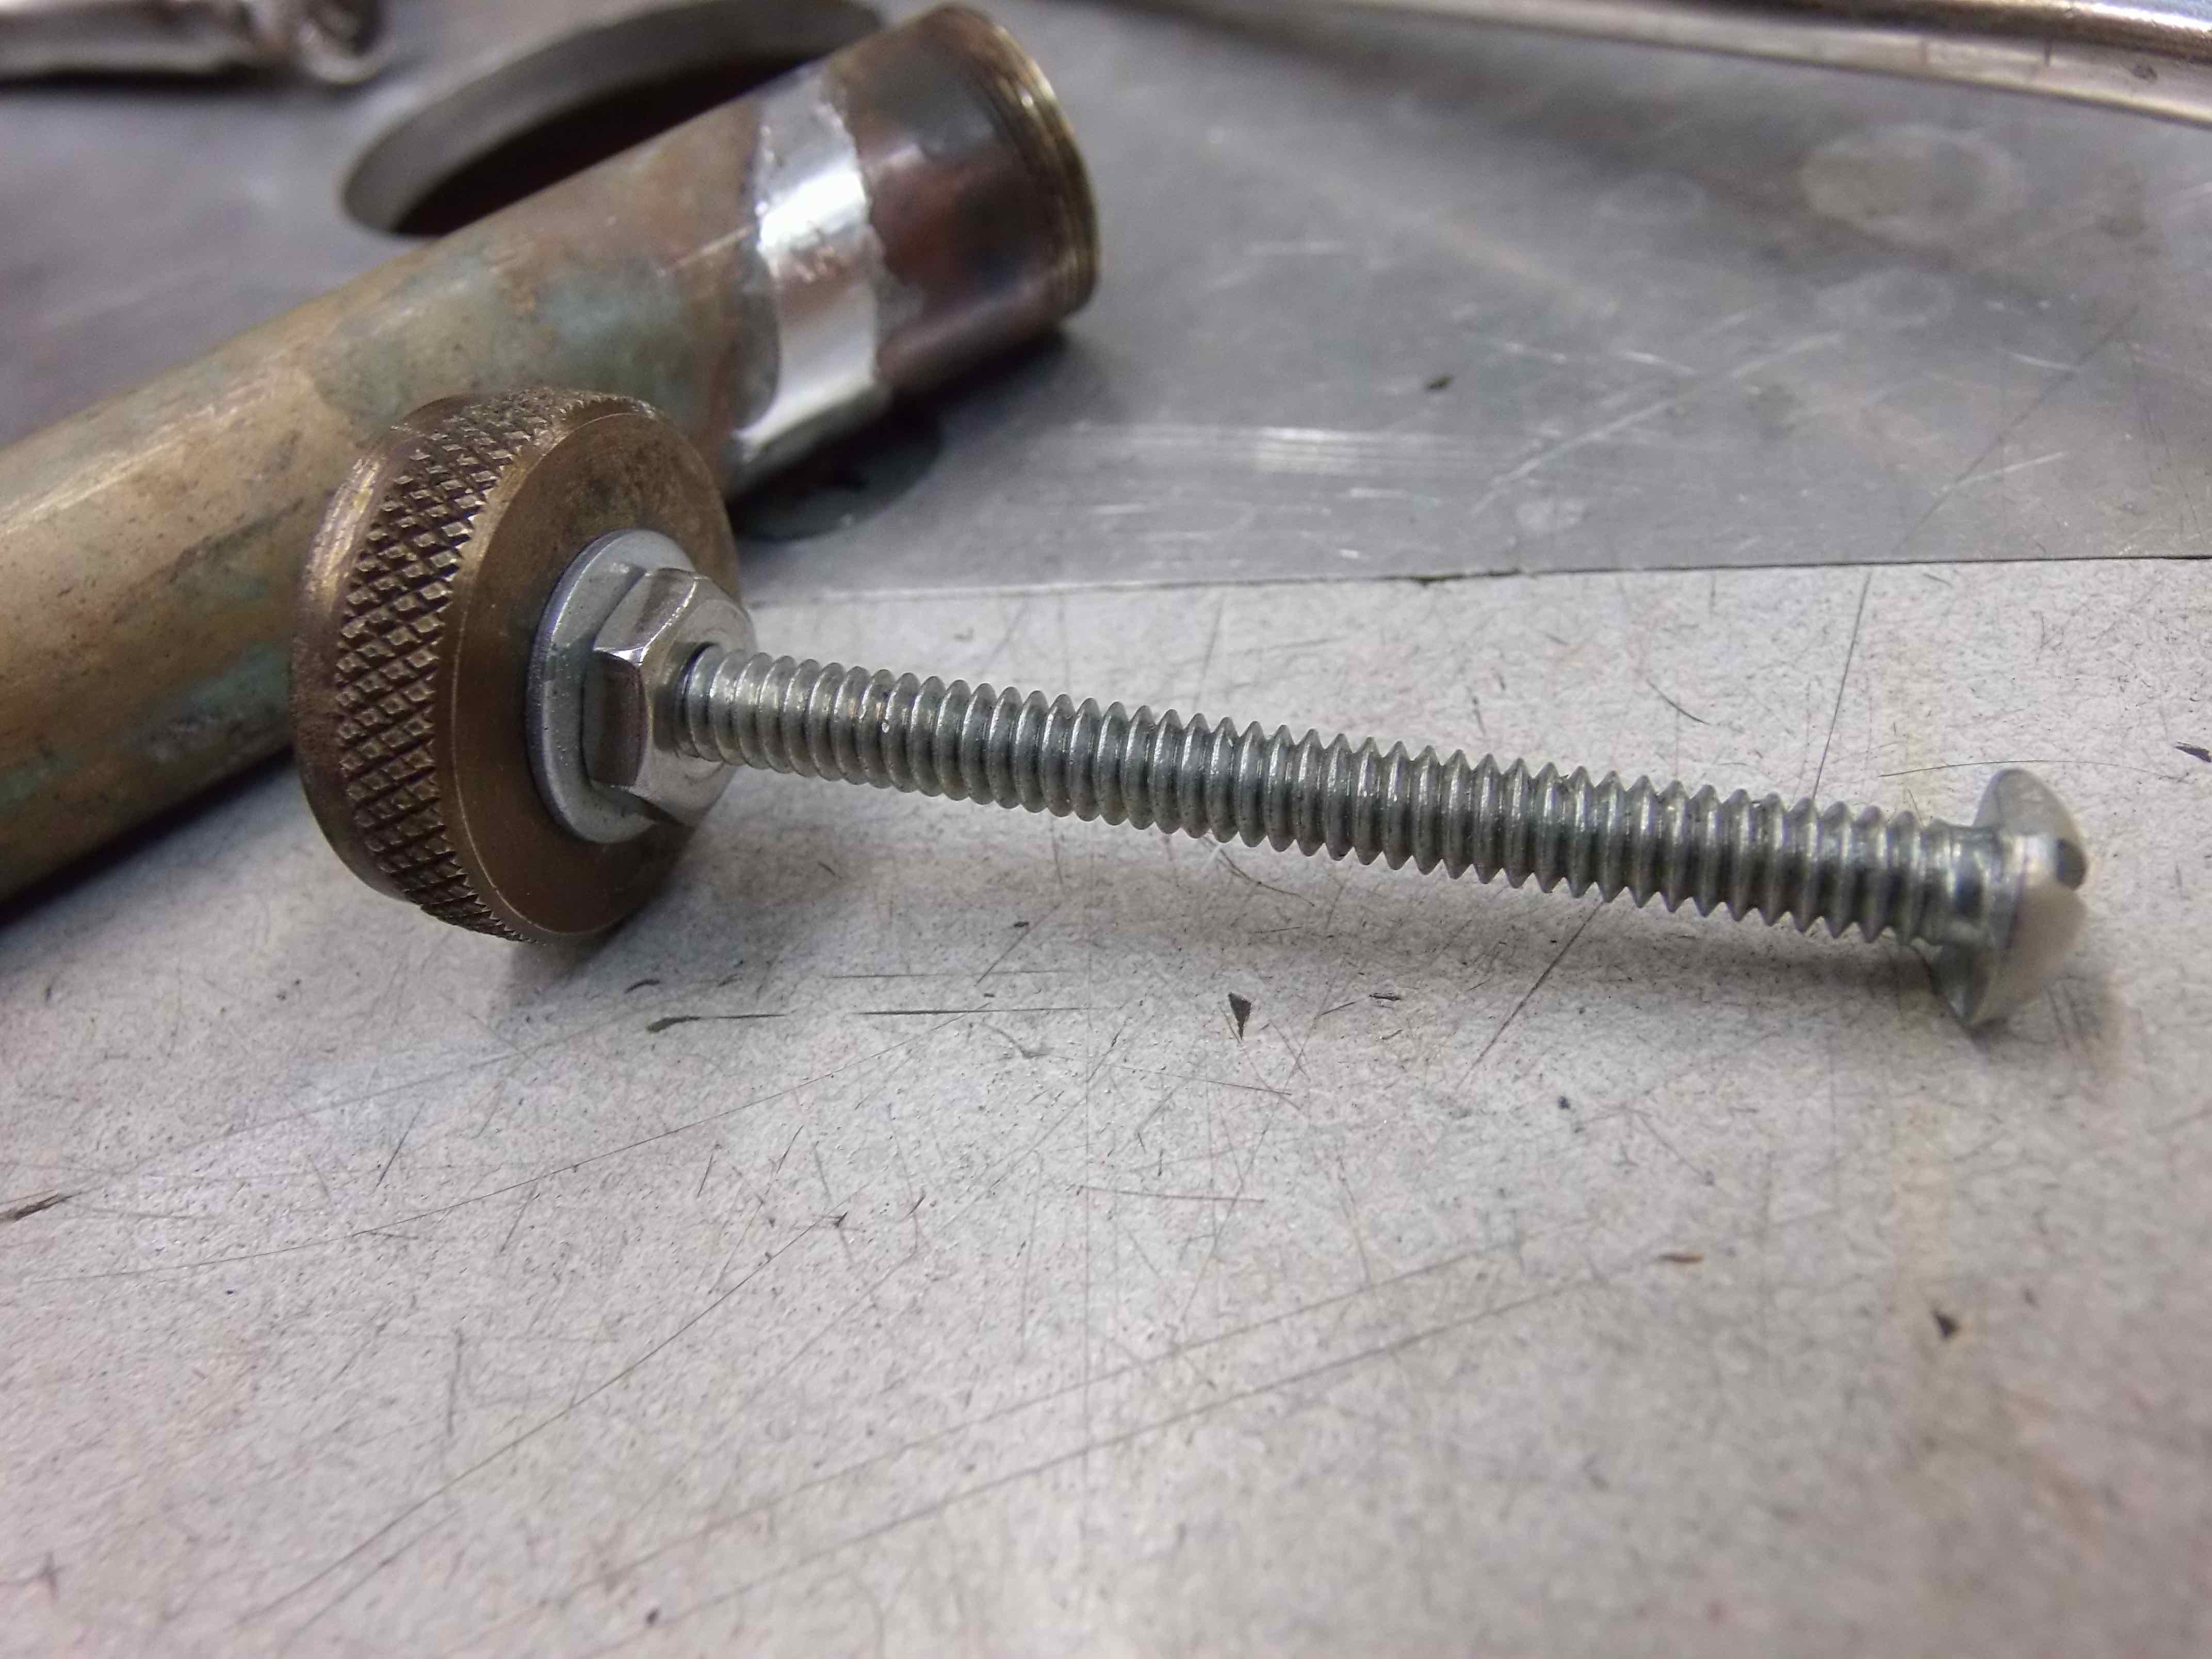
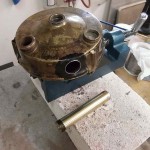
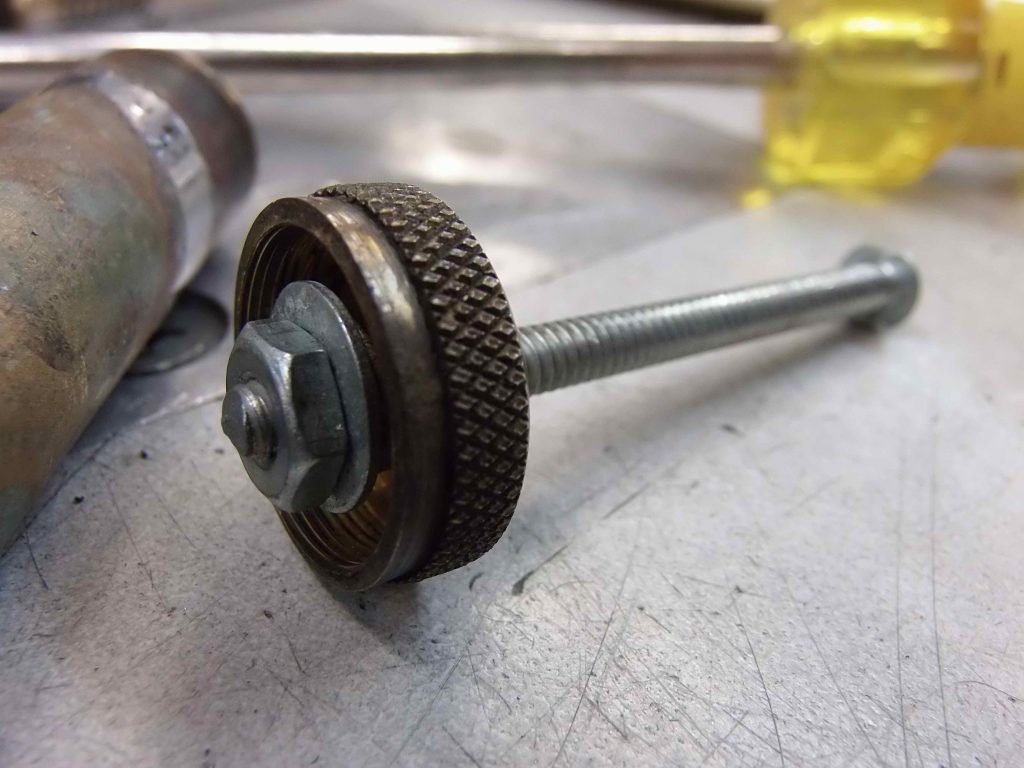
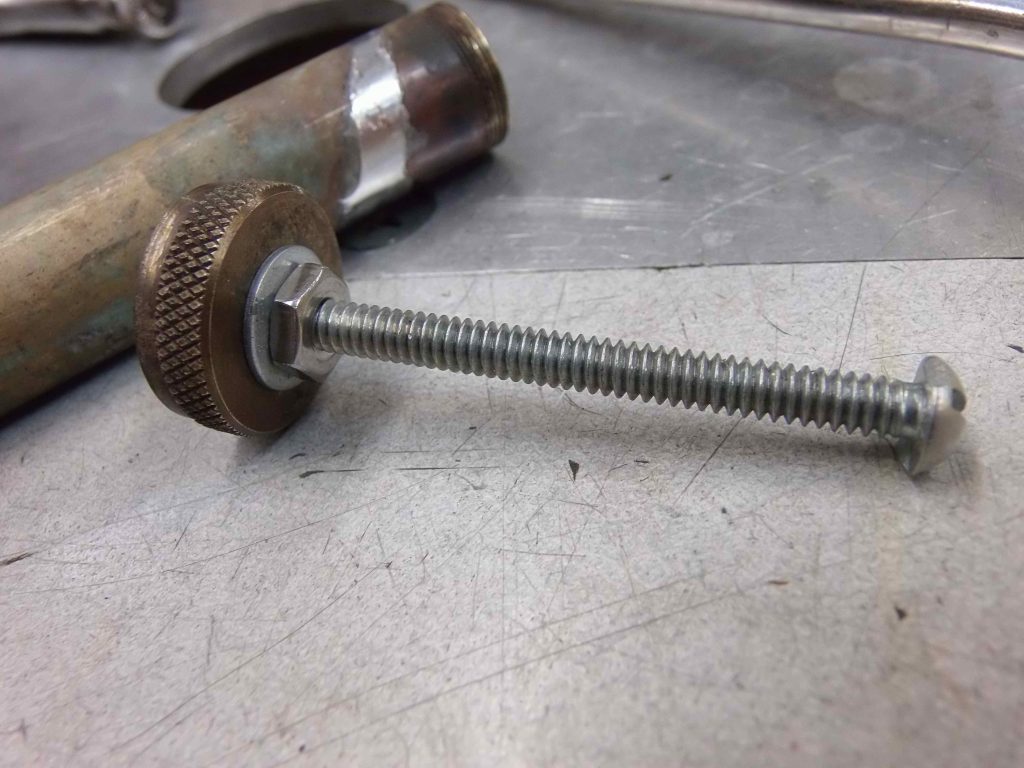
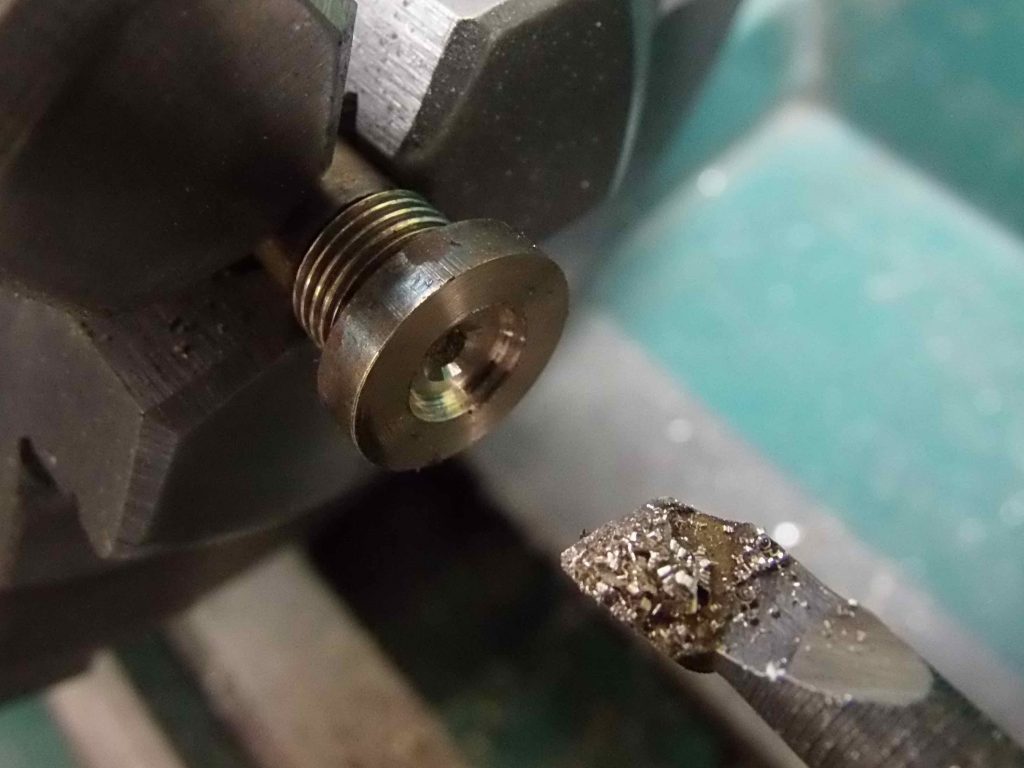
I use the stove’s original pump lid, some washers, a bolt and a nut to make up this little pump pulling tool. It’s easy to do and works great without the fuss or expense of a “special” tool.

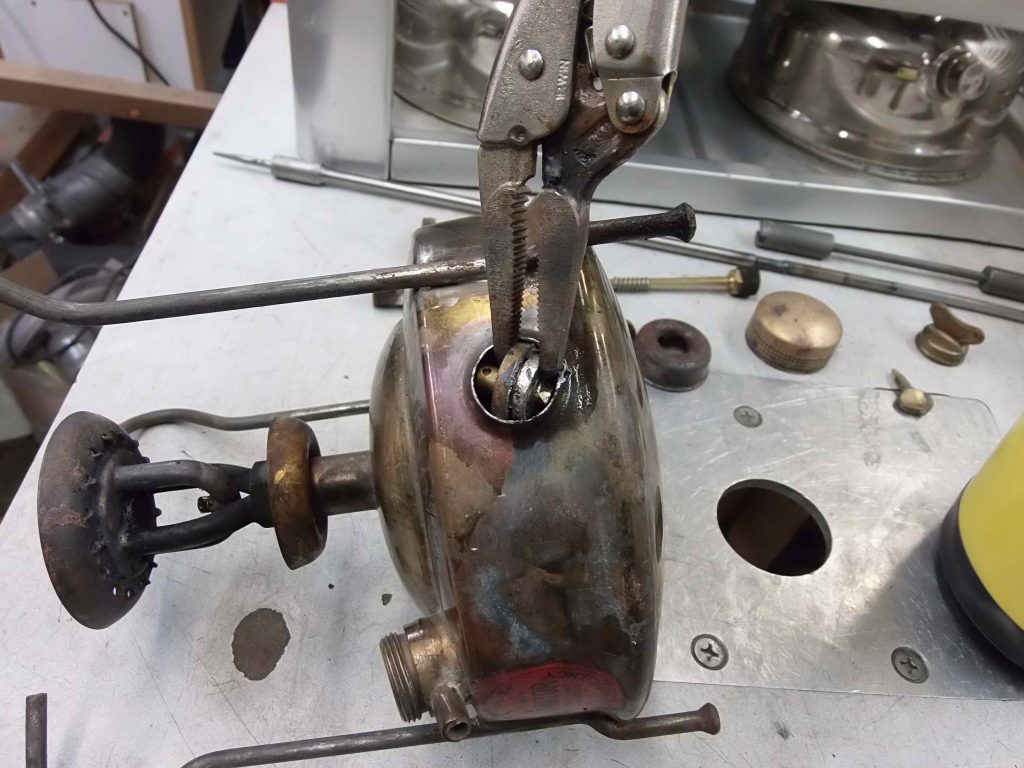
Usually I clamp the head of the bolt “tool” in my bench vise, hold the tank with one hand, and use the torch in the other hand to heat the area of the tank immediately around the pump tube. I put a wad of wet paper toweling all the way into the bottom of the pump tube to keep the heat from melting the solder holding the pump tube base block in place.

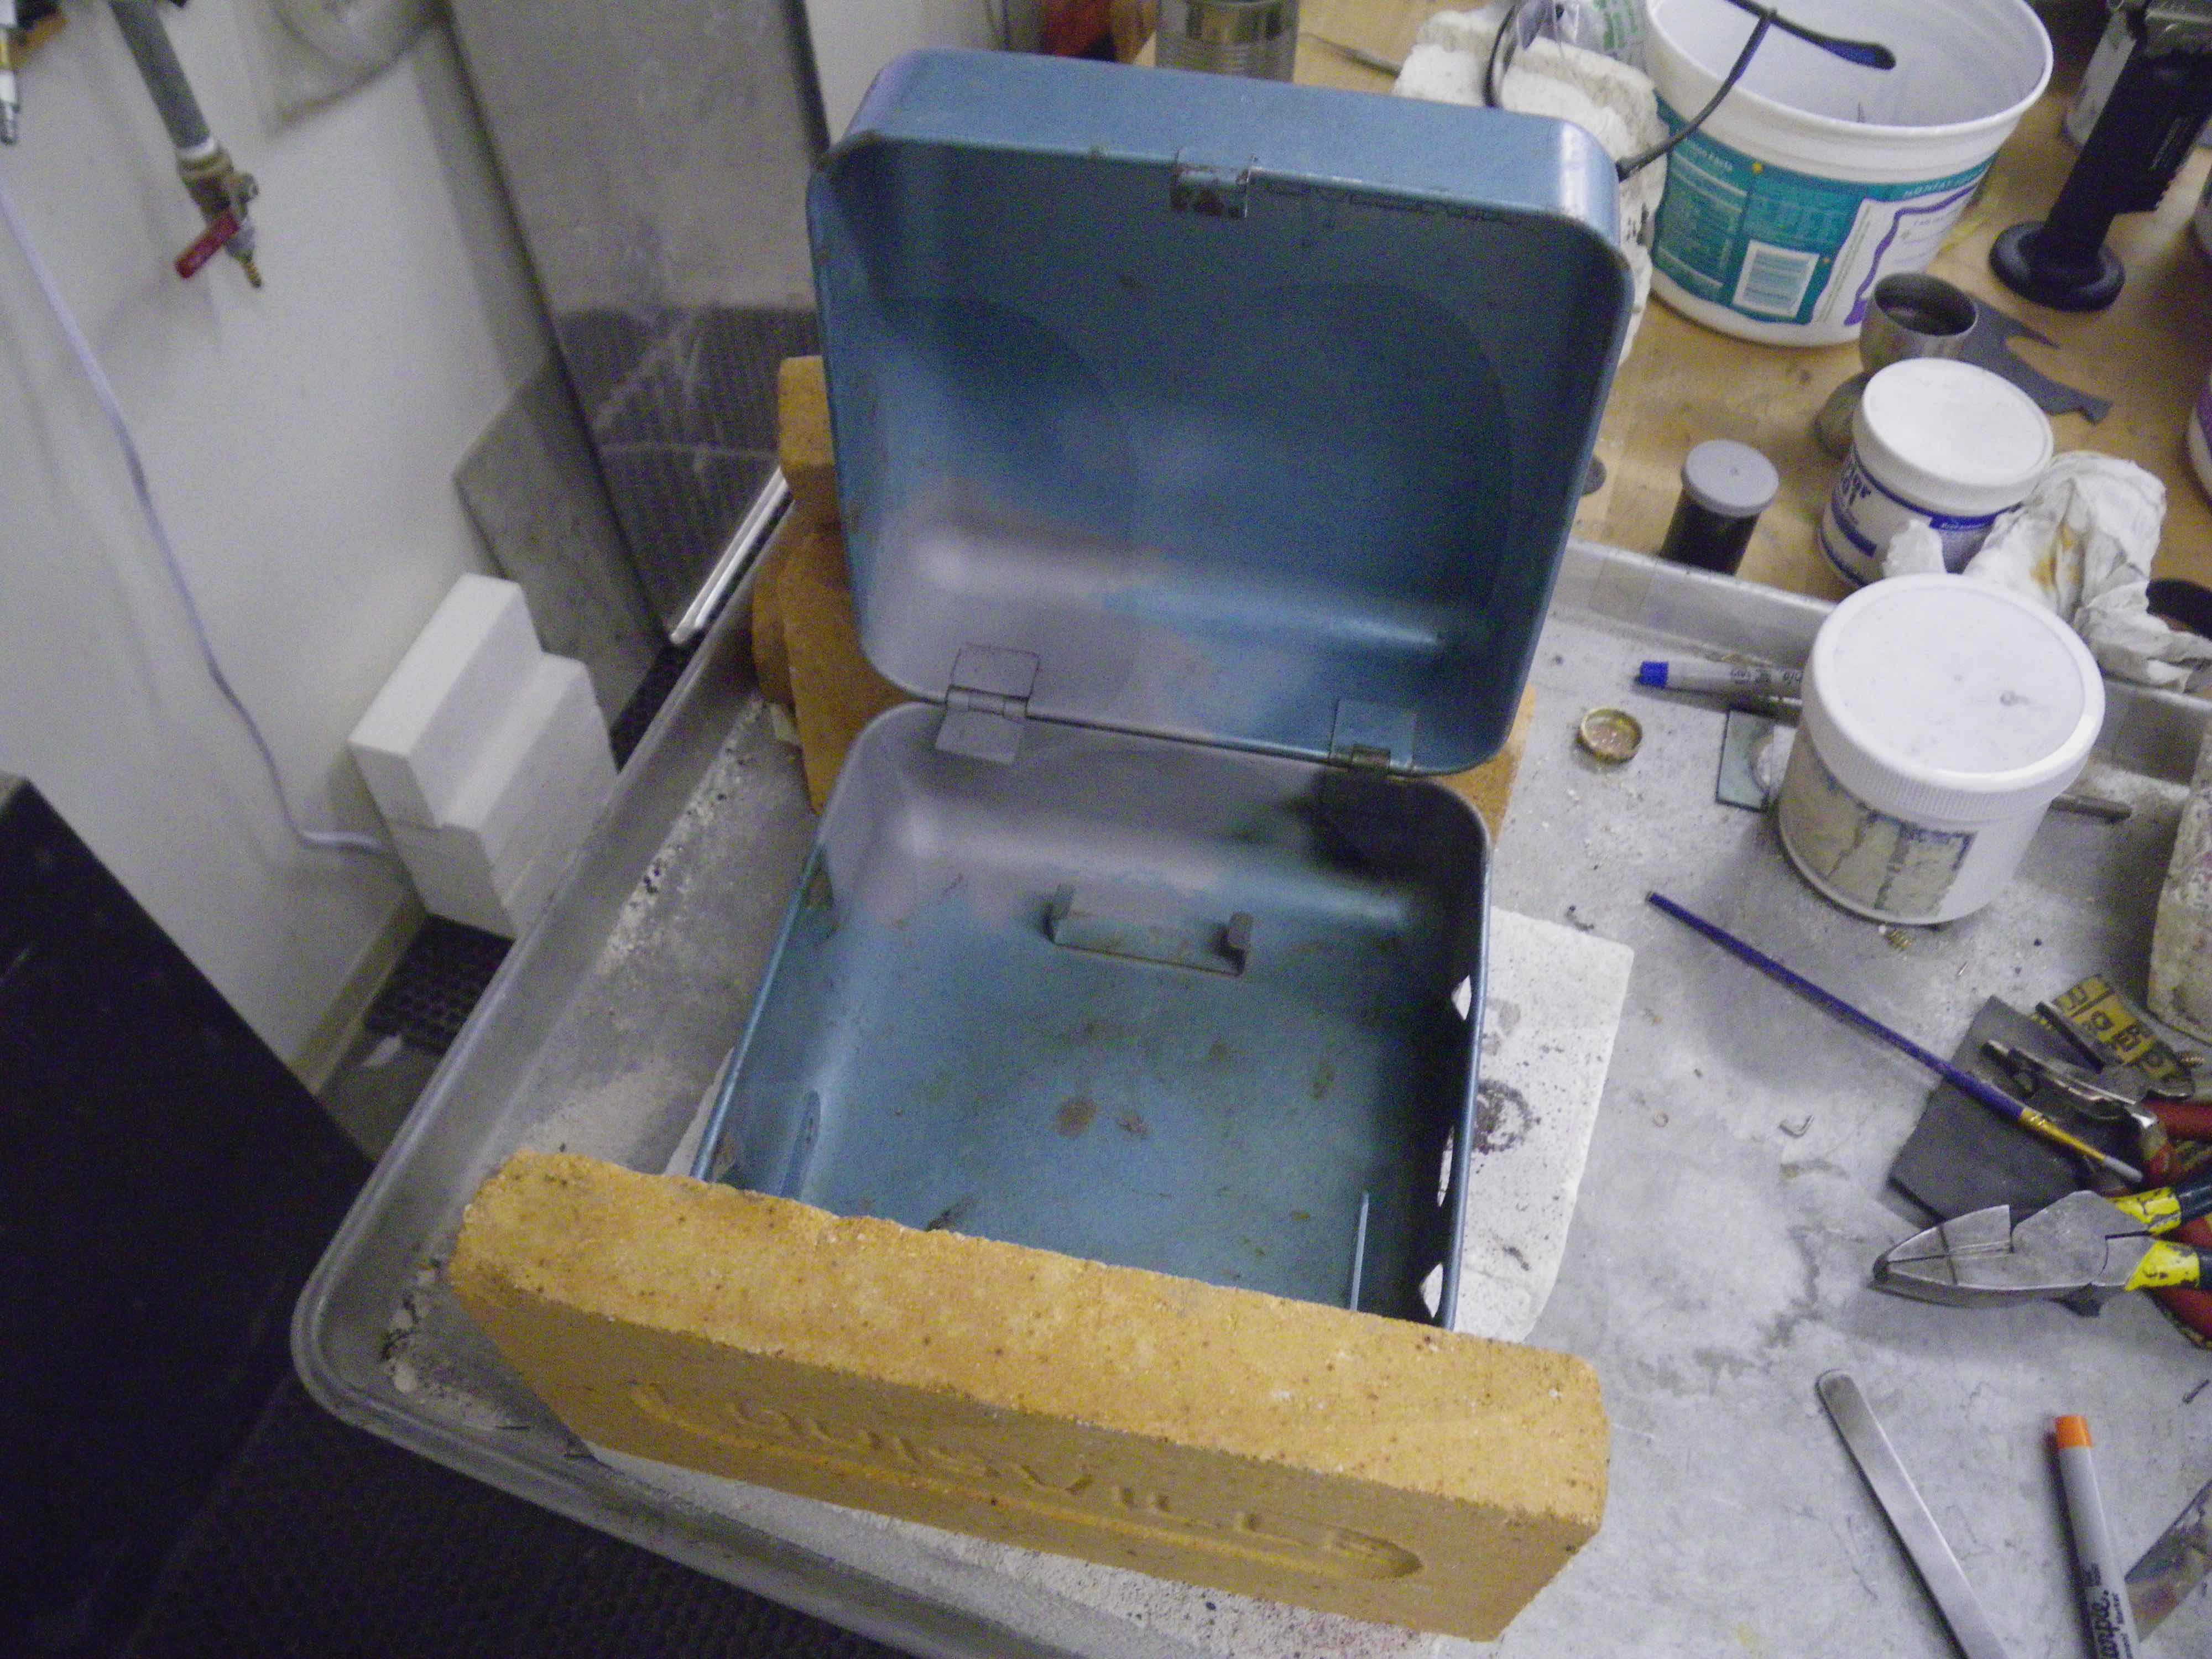
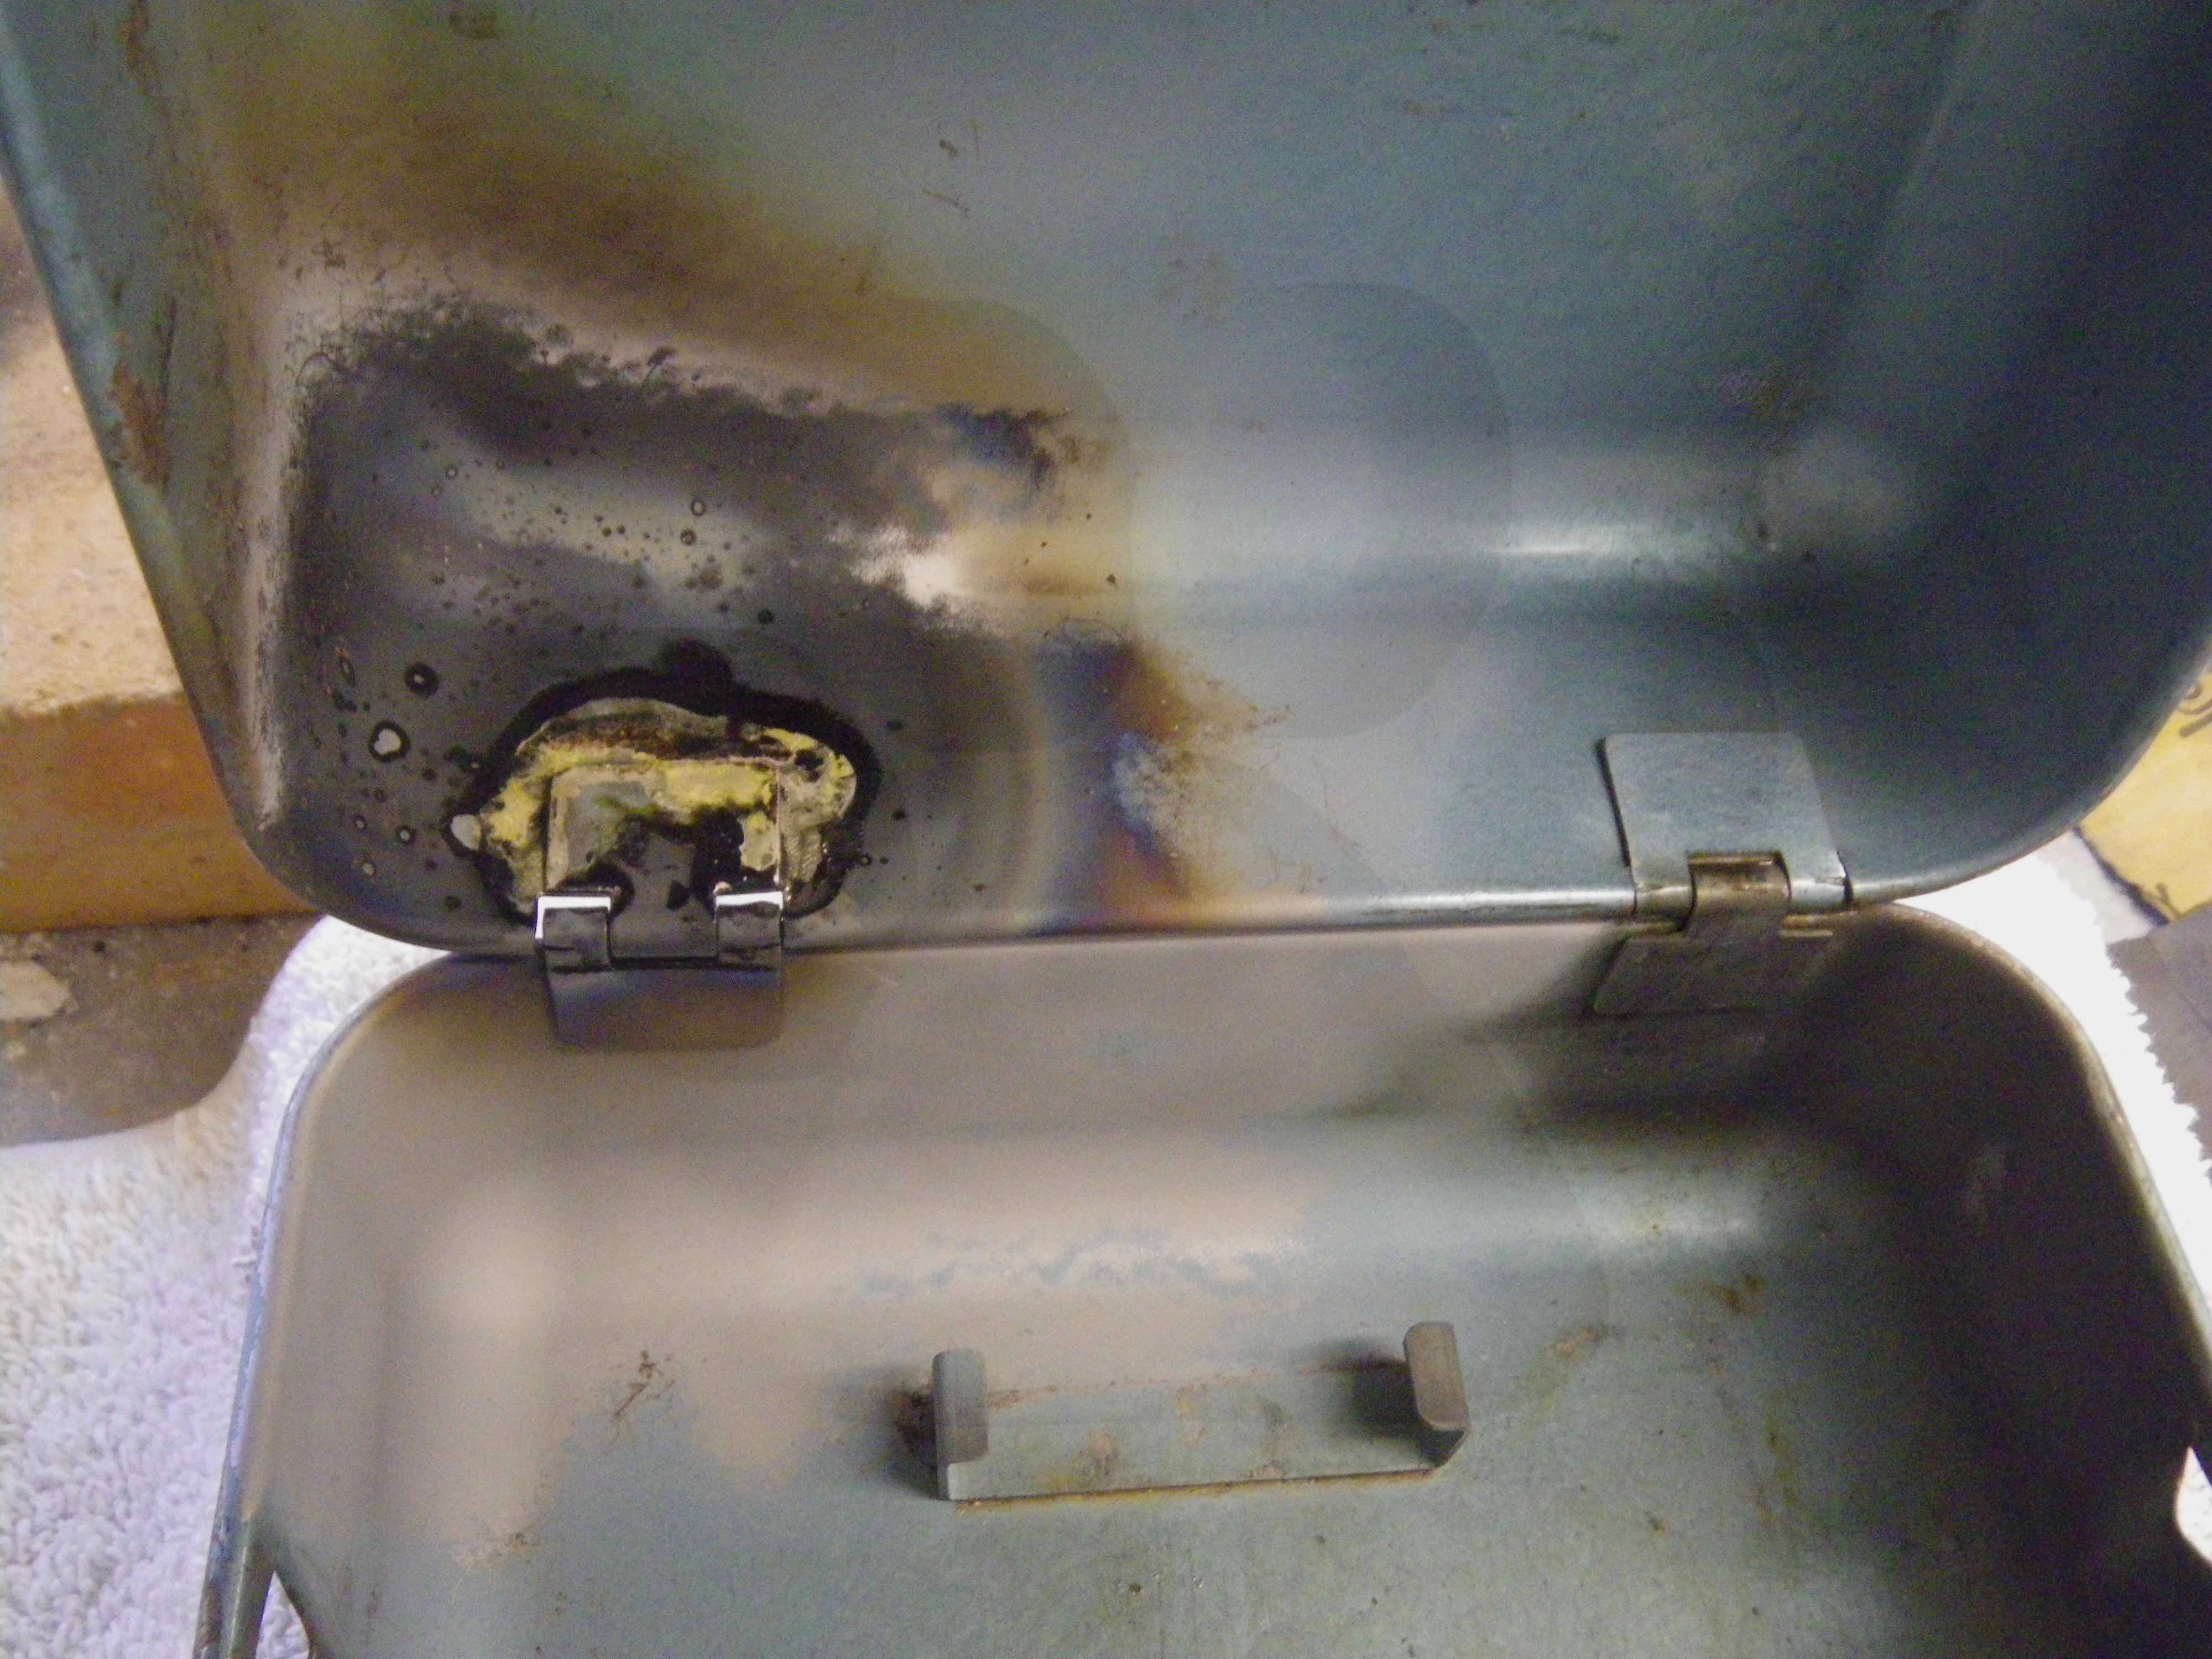
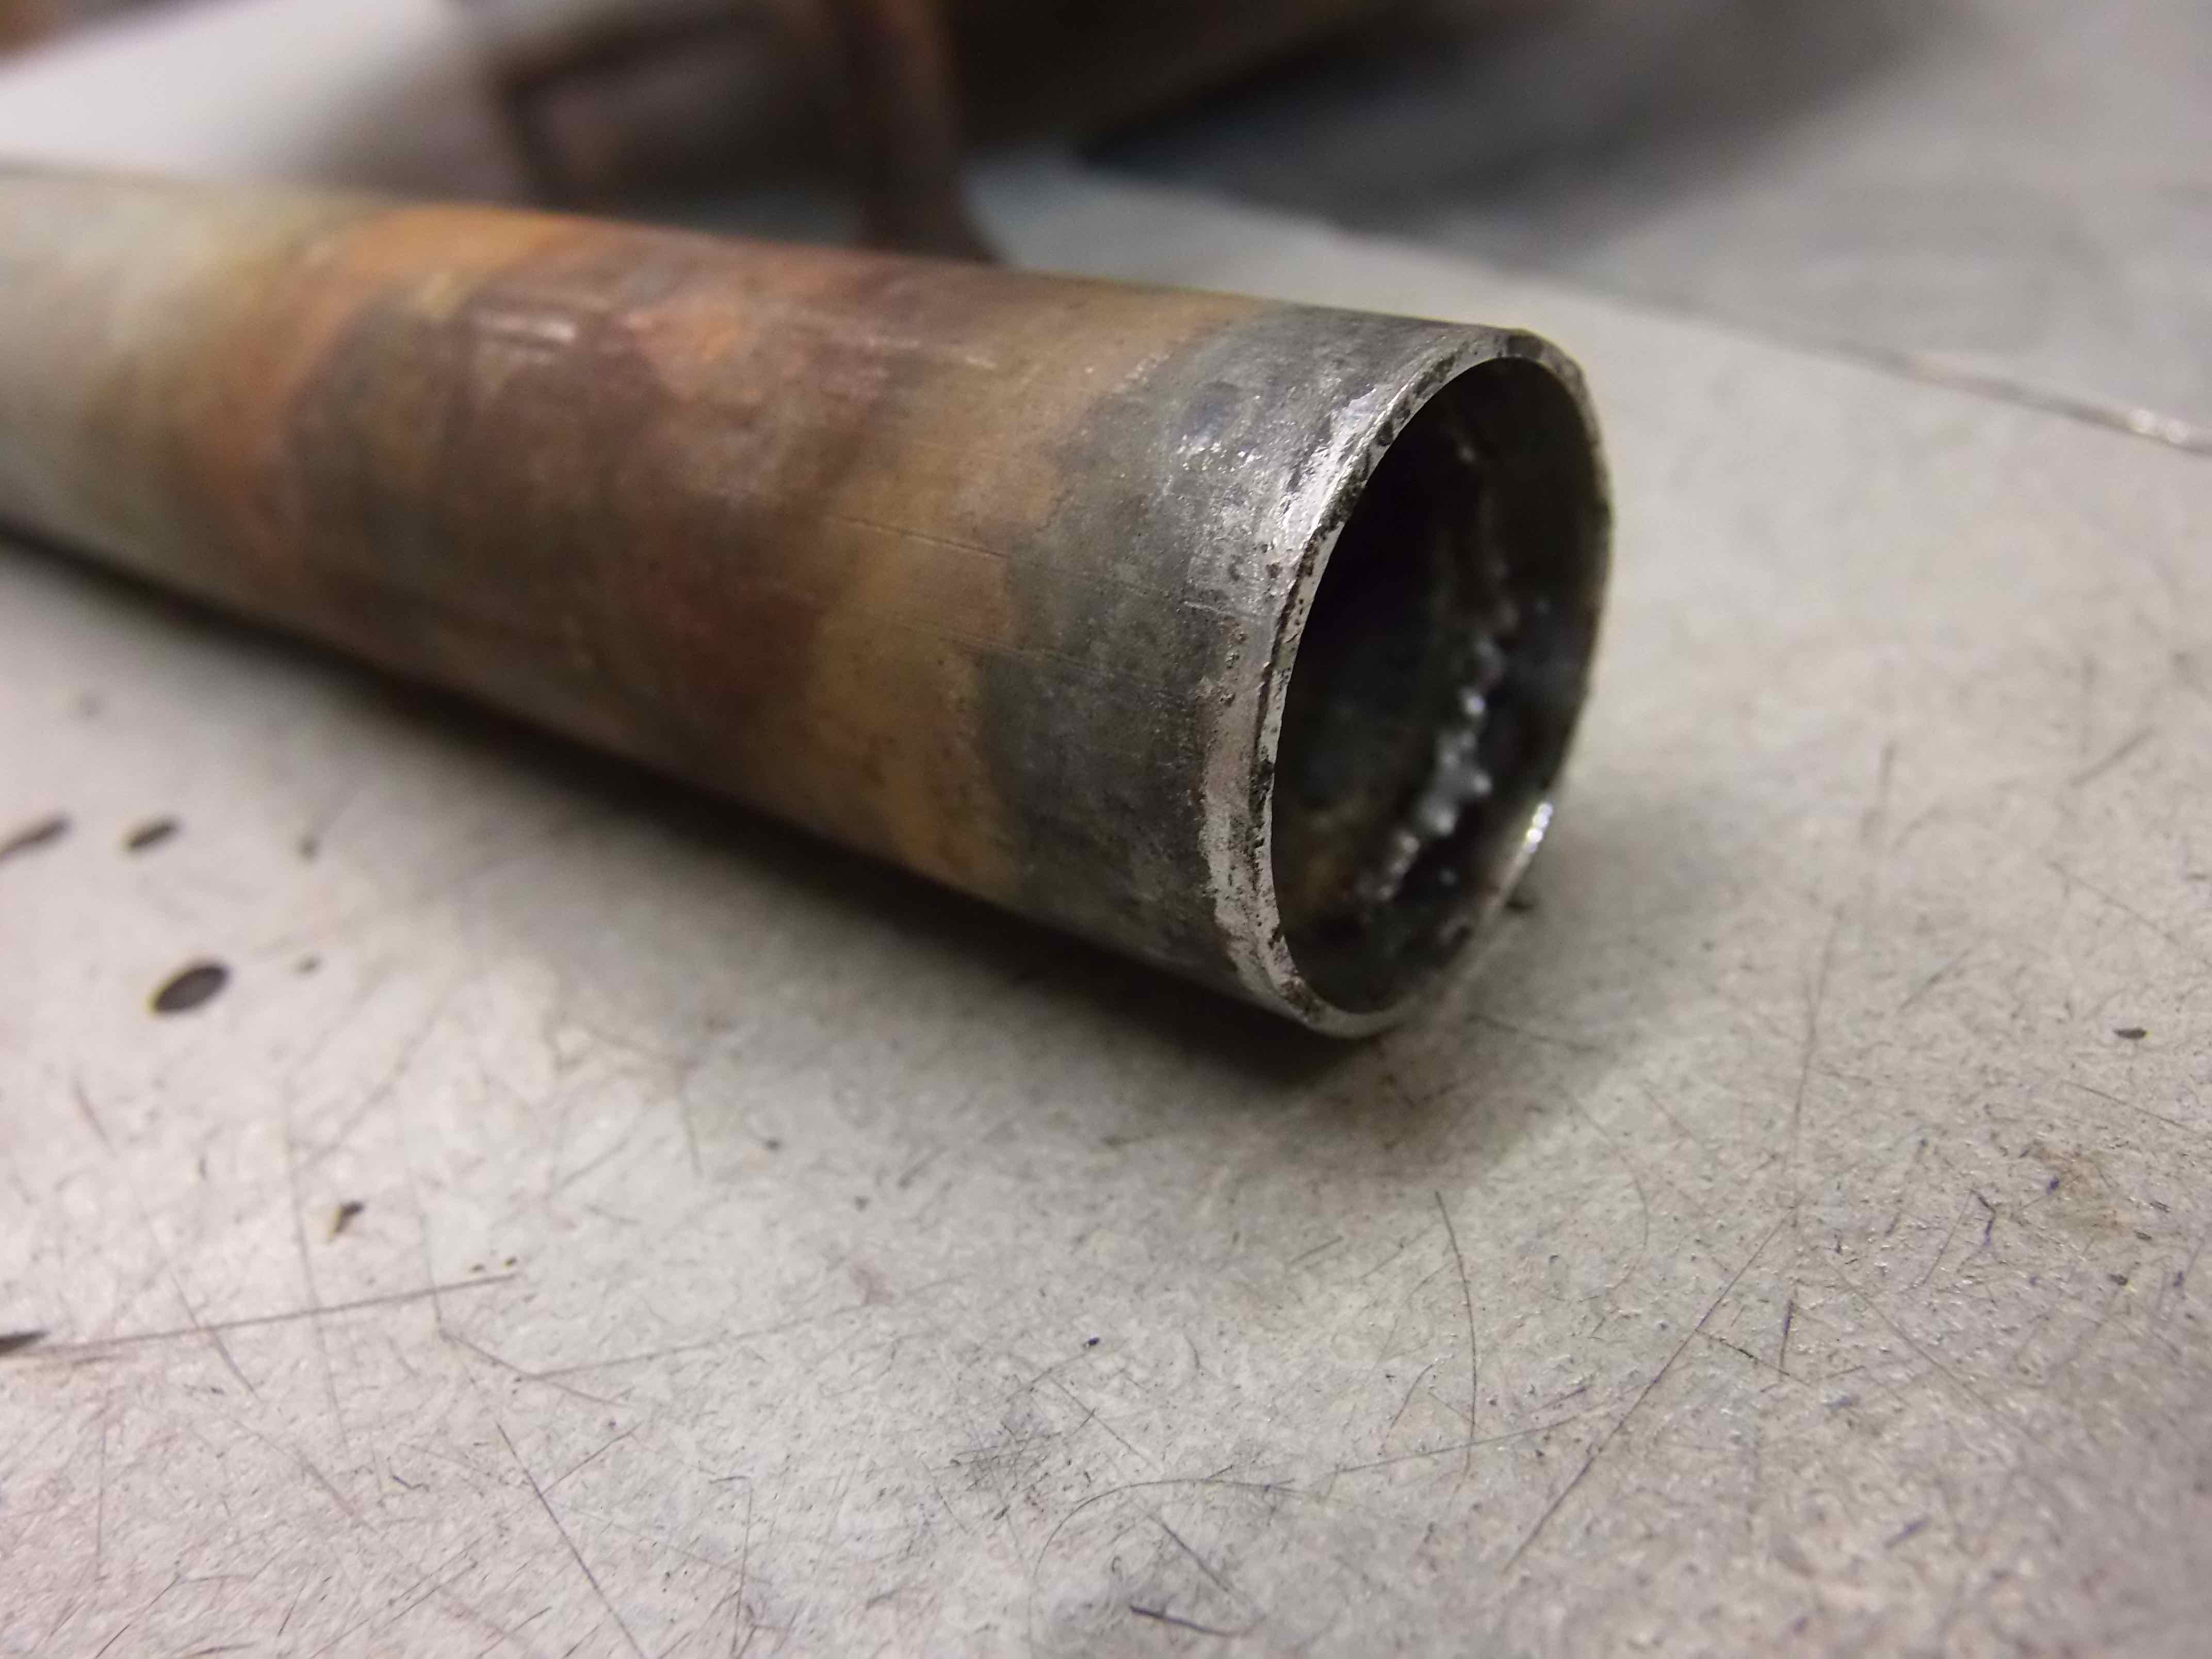
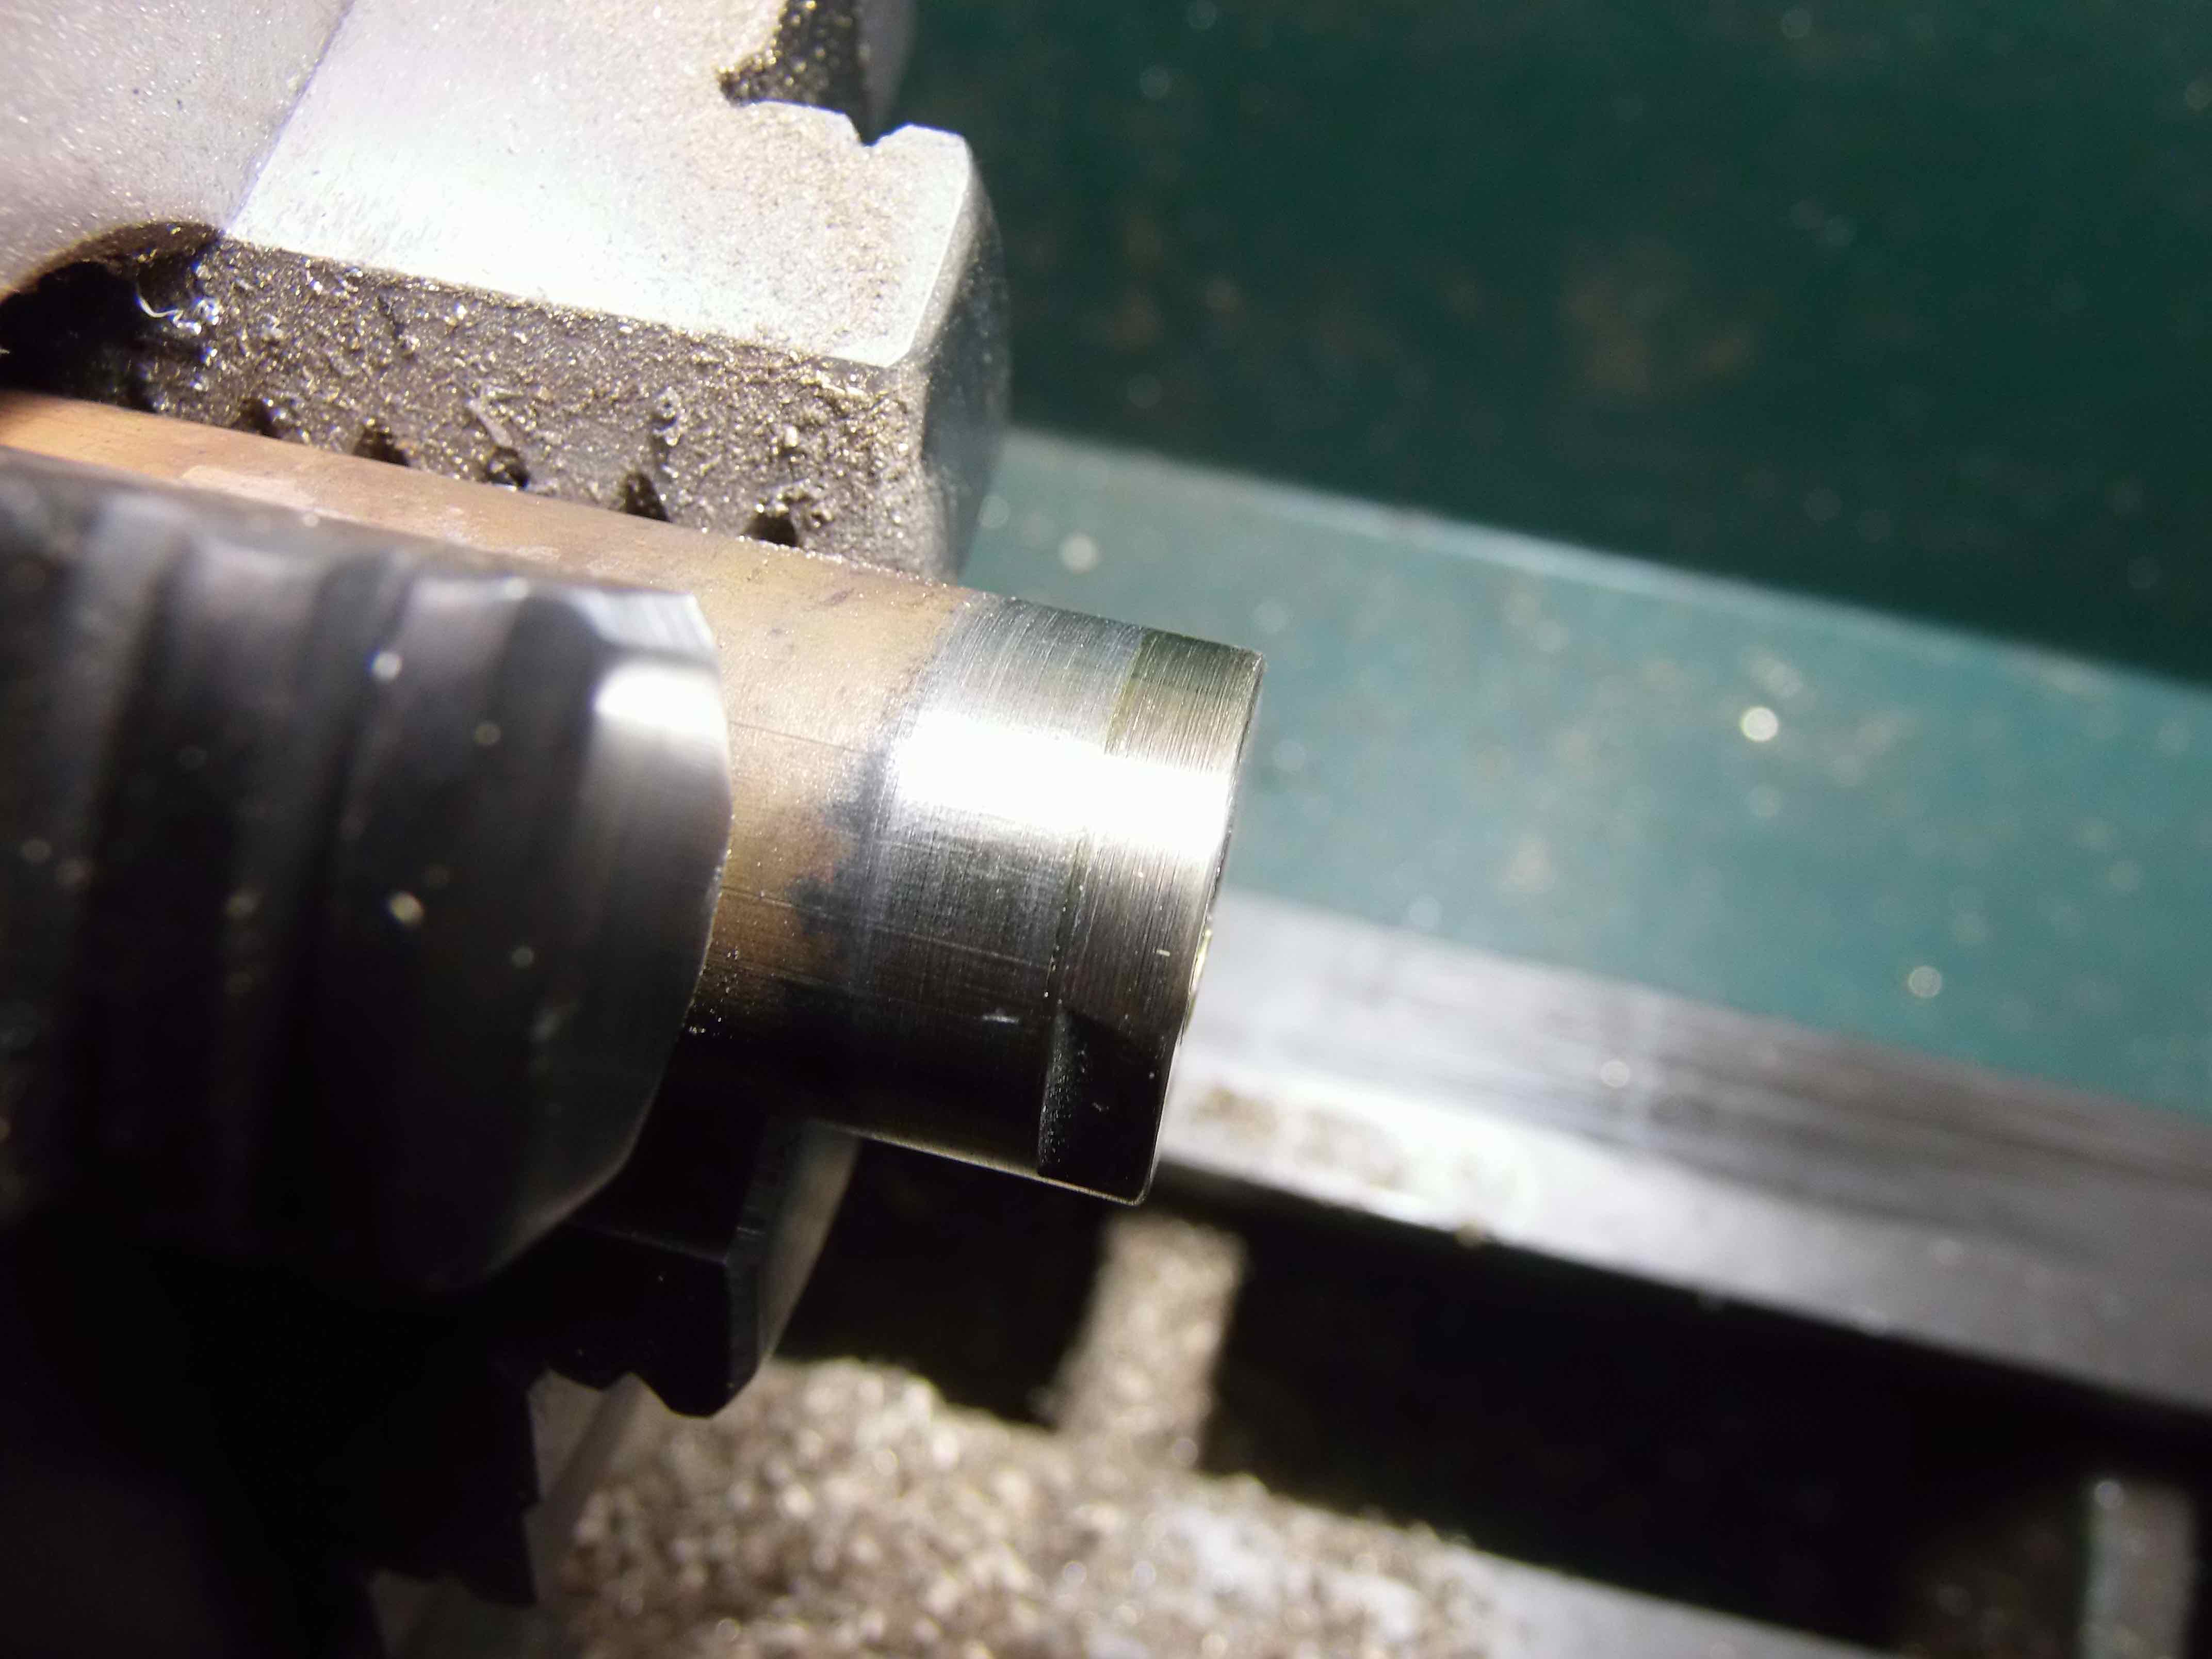
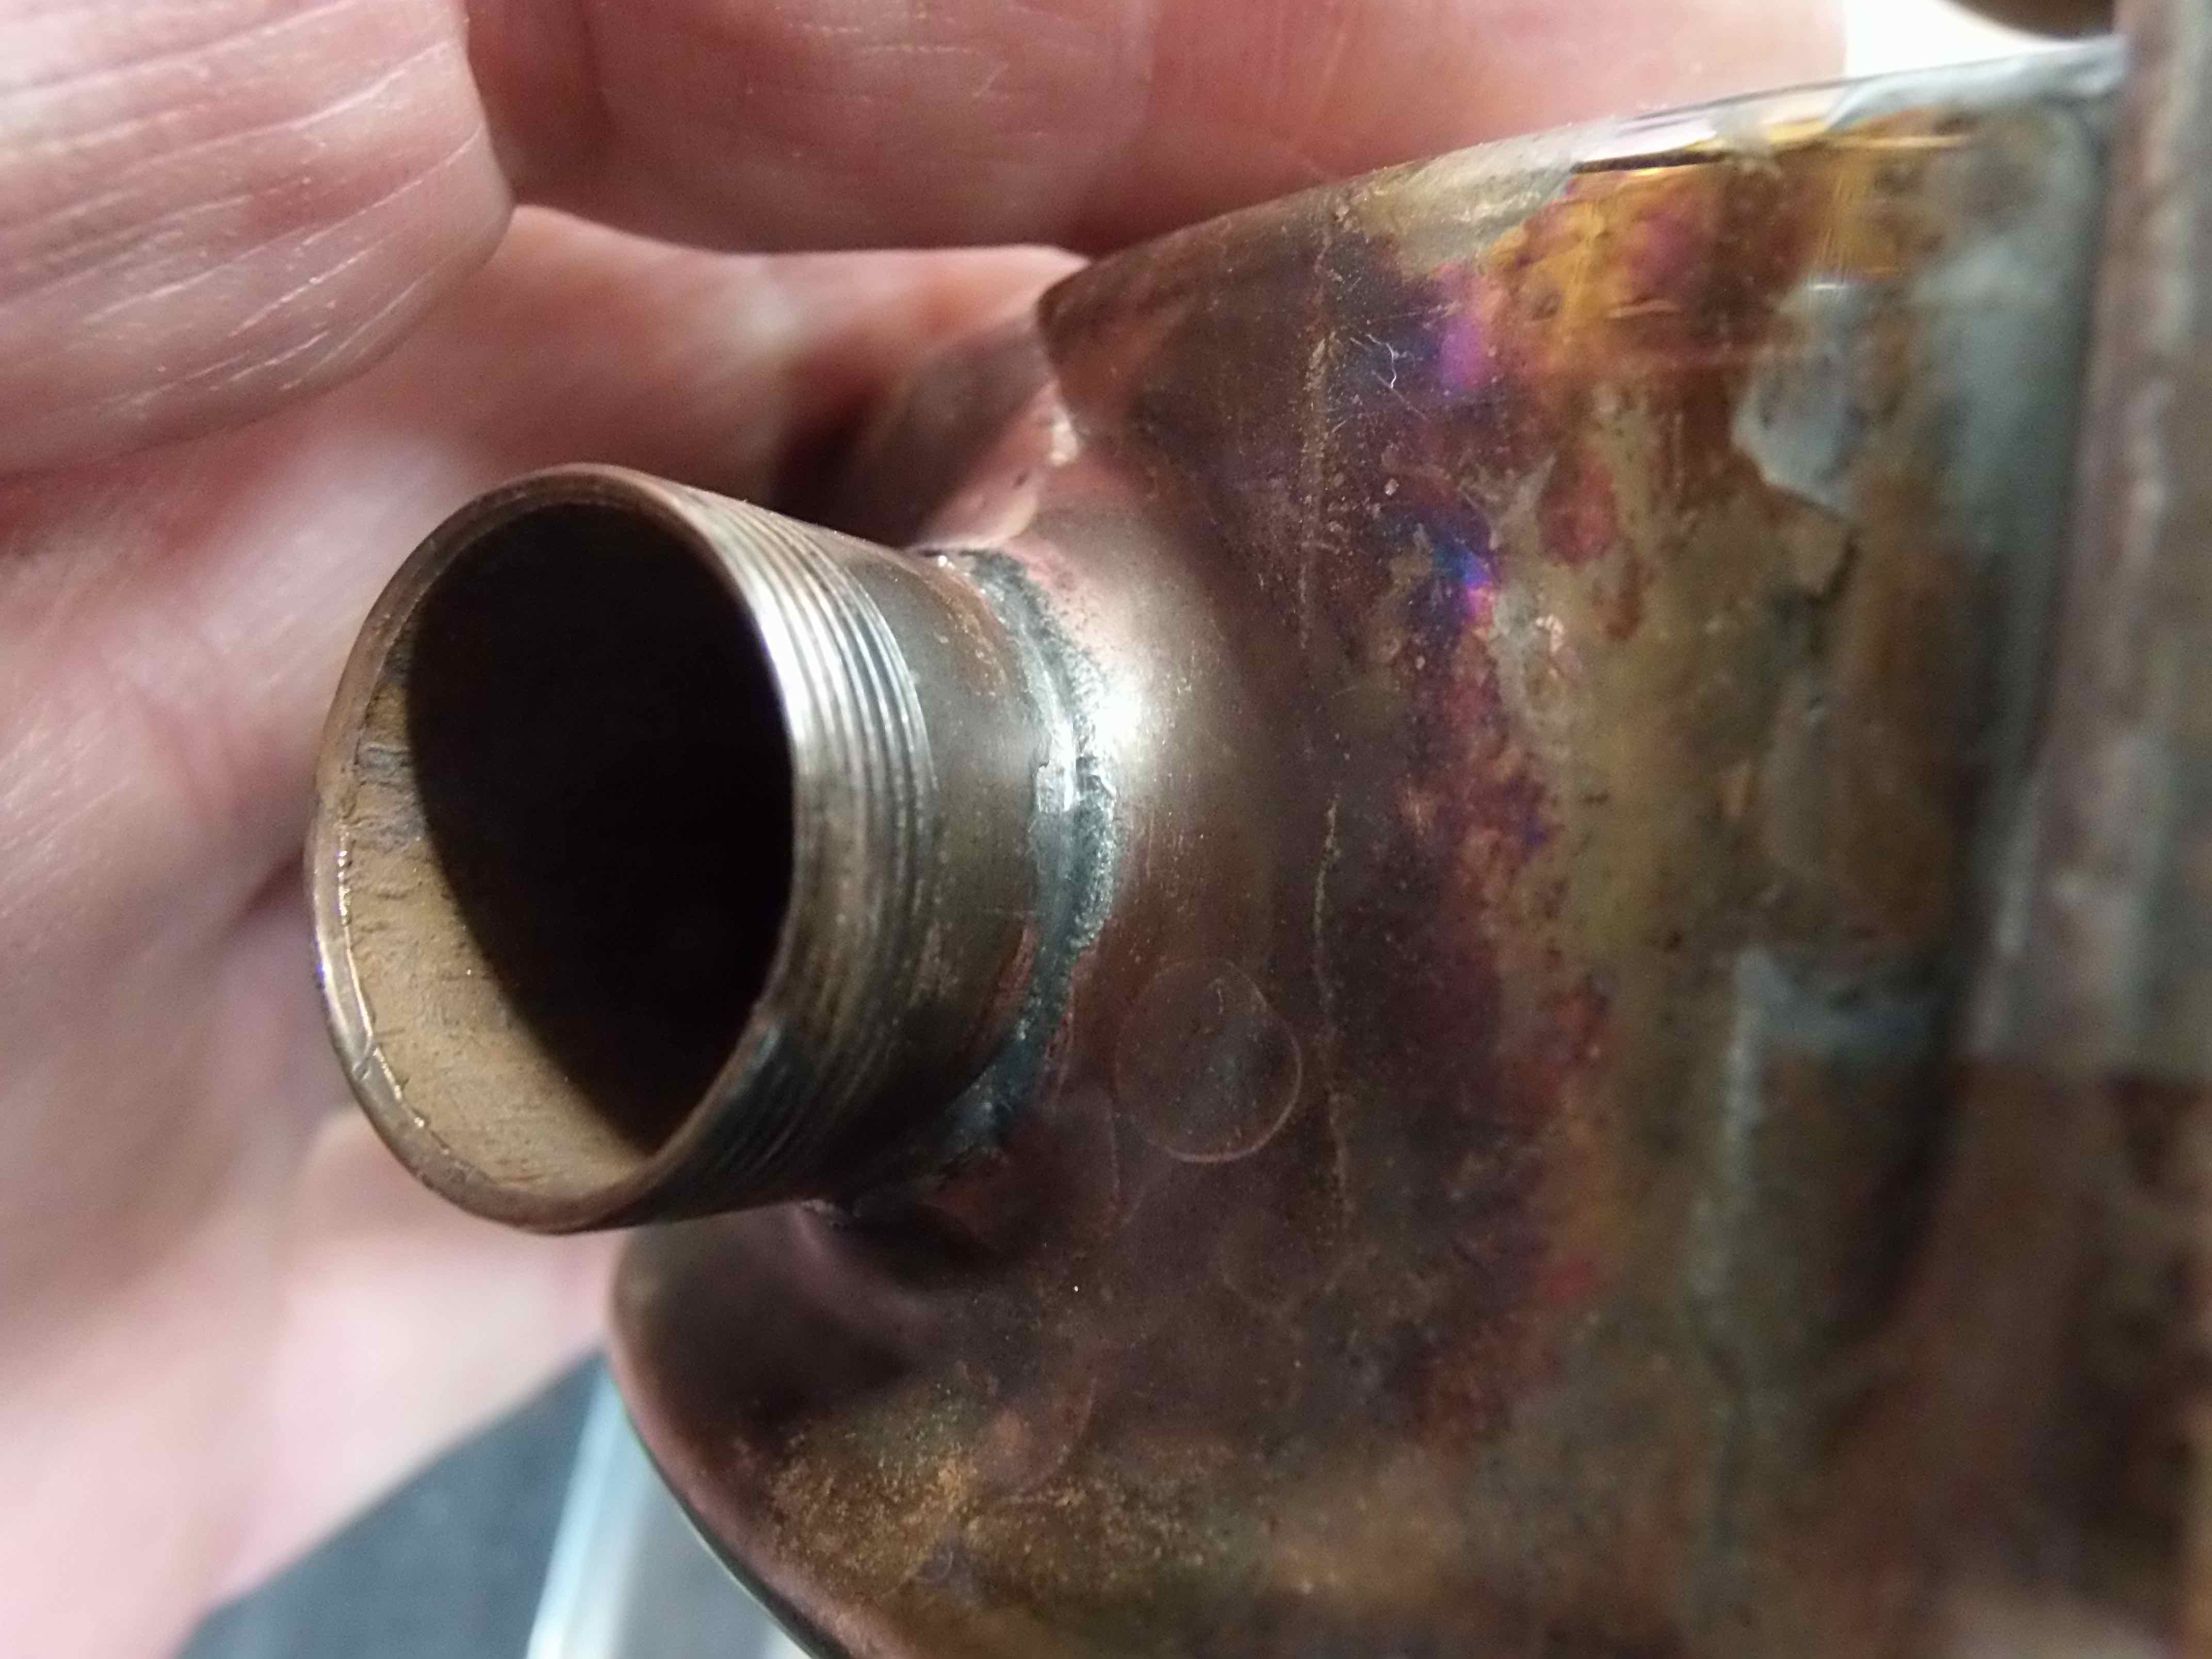
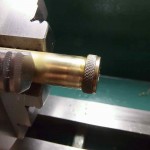
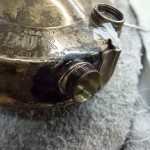
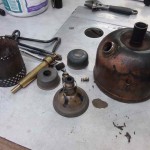
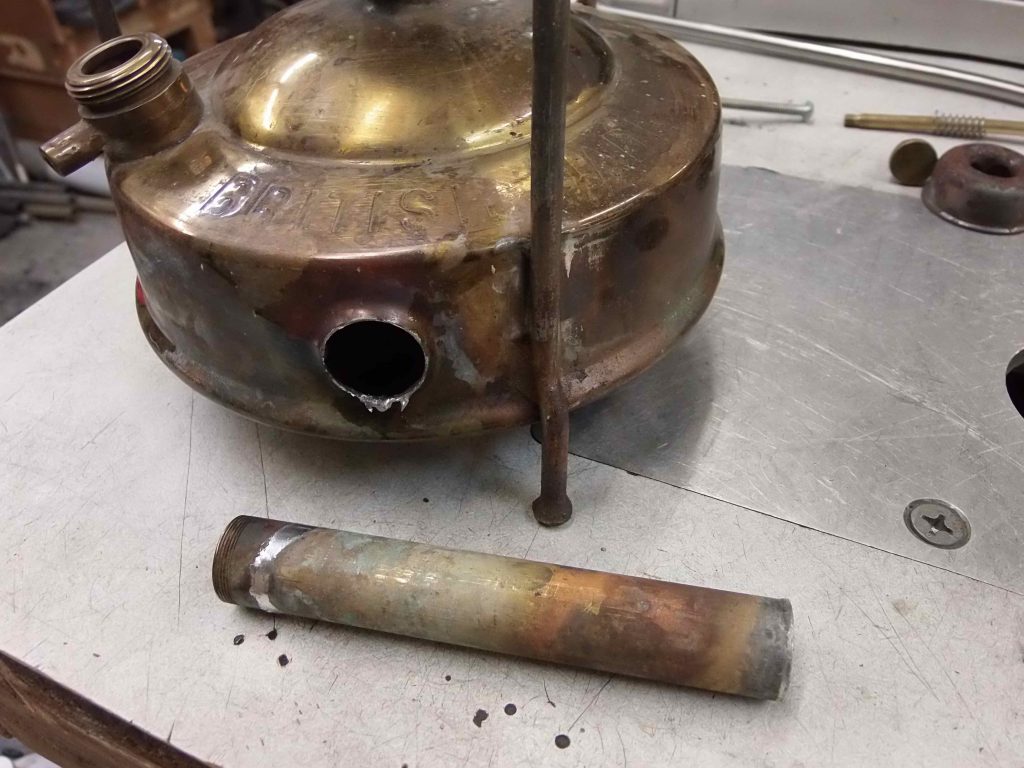
Here I’ve pulled the tube. But, I encountered some resistance as the tube would not completely exit the pump tube opening in the tank. It’s hanging up on the over-large pump tube base block.

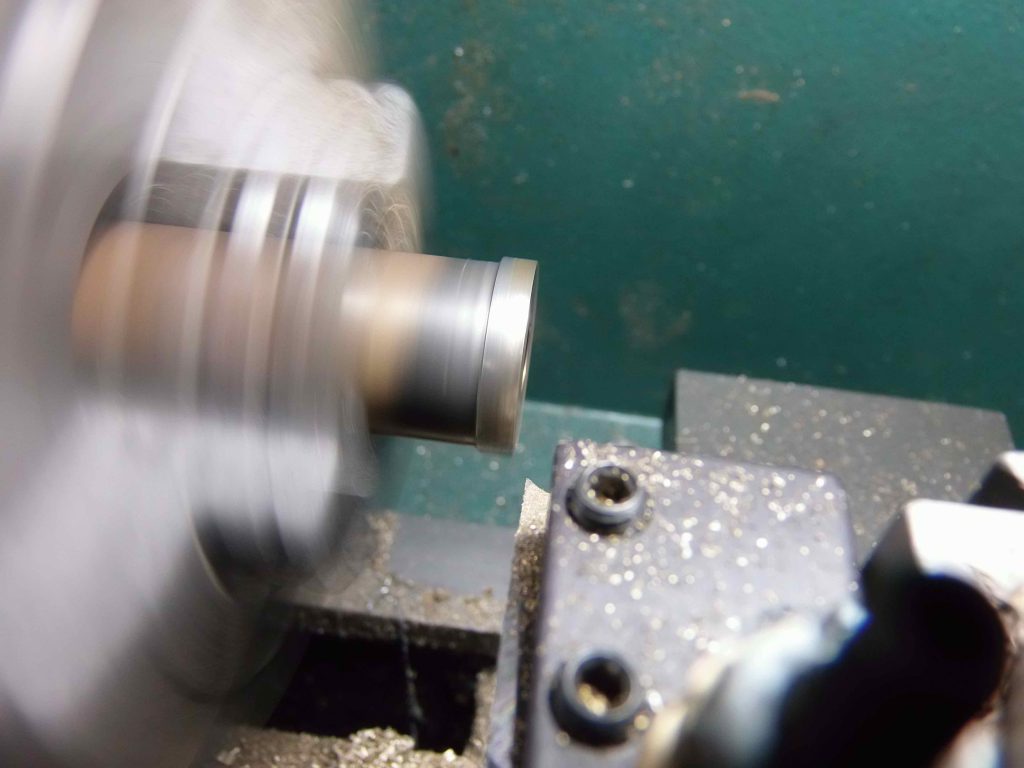
It turns out that the folks that made Monitor stoves in England decided it was a “good” idea (not!) to make their pump tube end block larger in diameter than the outside diameter of the pump tube. There is no way to pull the tube while the end block is in place since its outer diameter is bigger than the hole the tube mounts in, so I had to desolder the pump tube end block from the pump tube and have it drop into the tank.

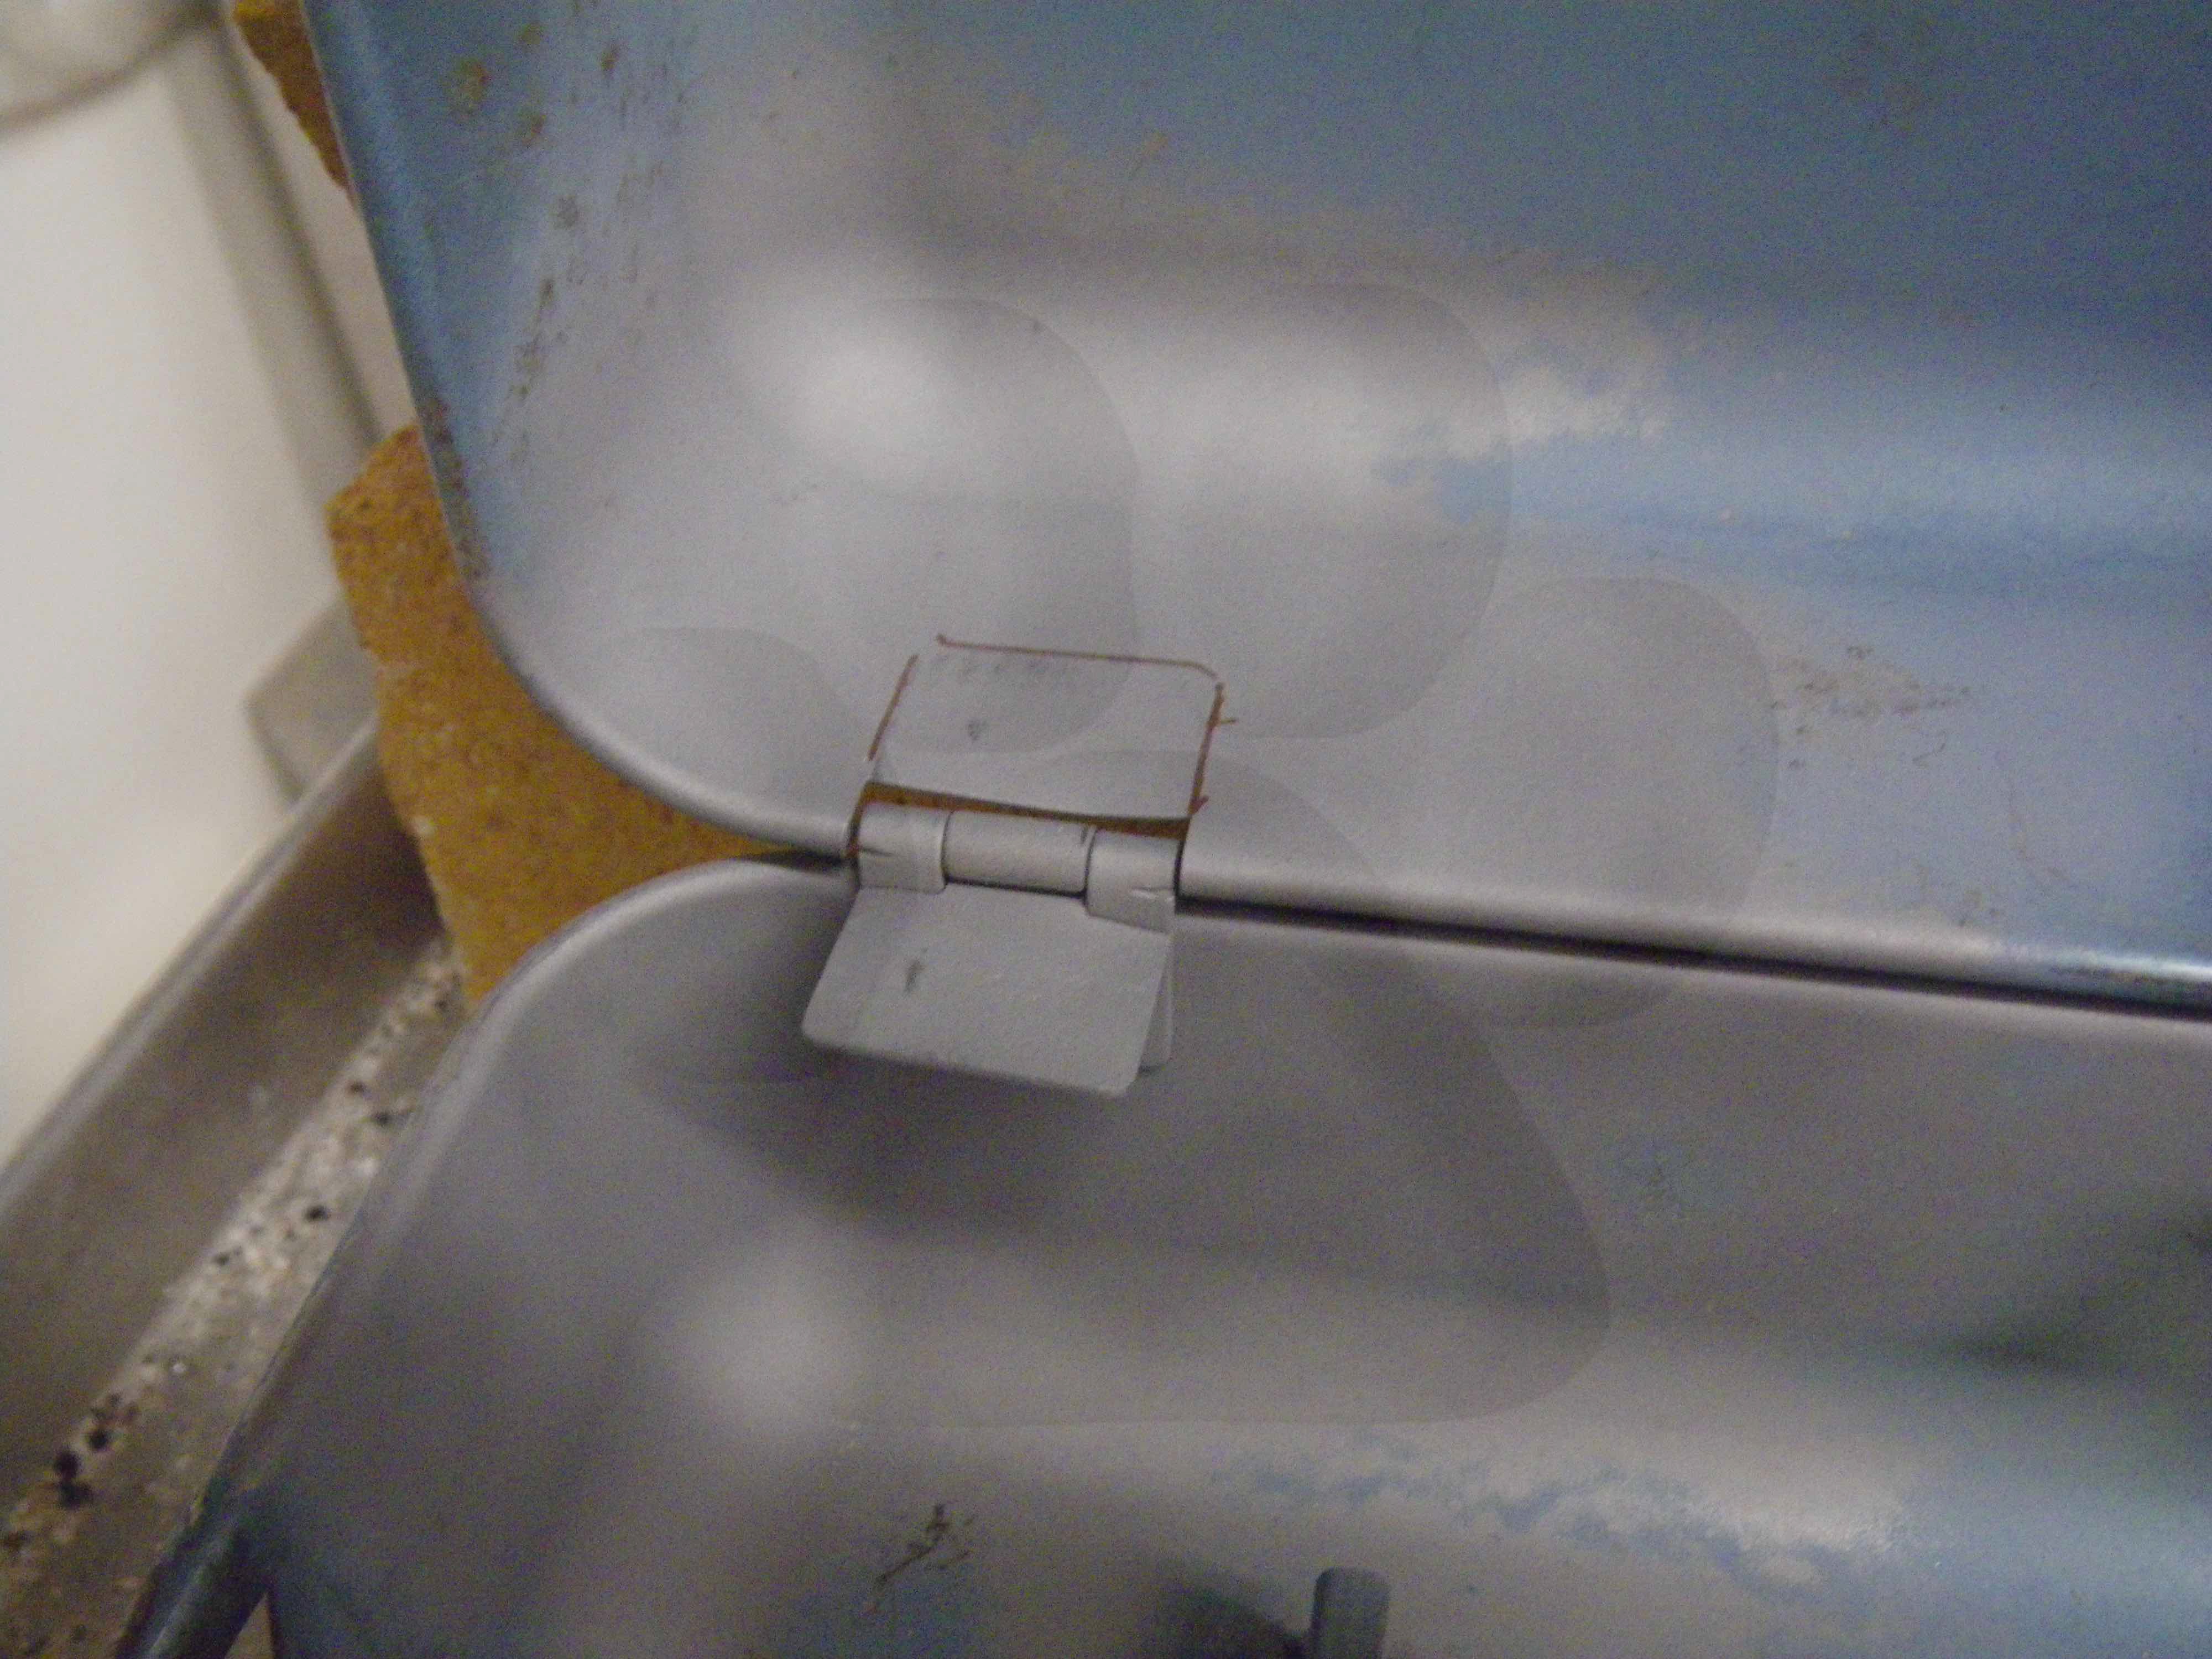
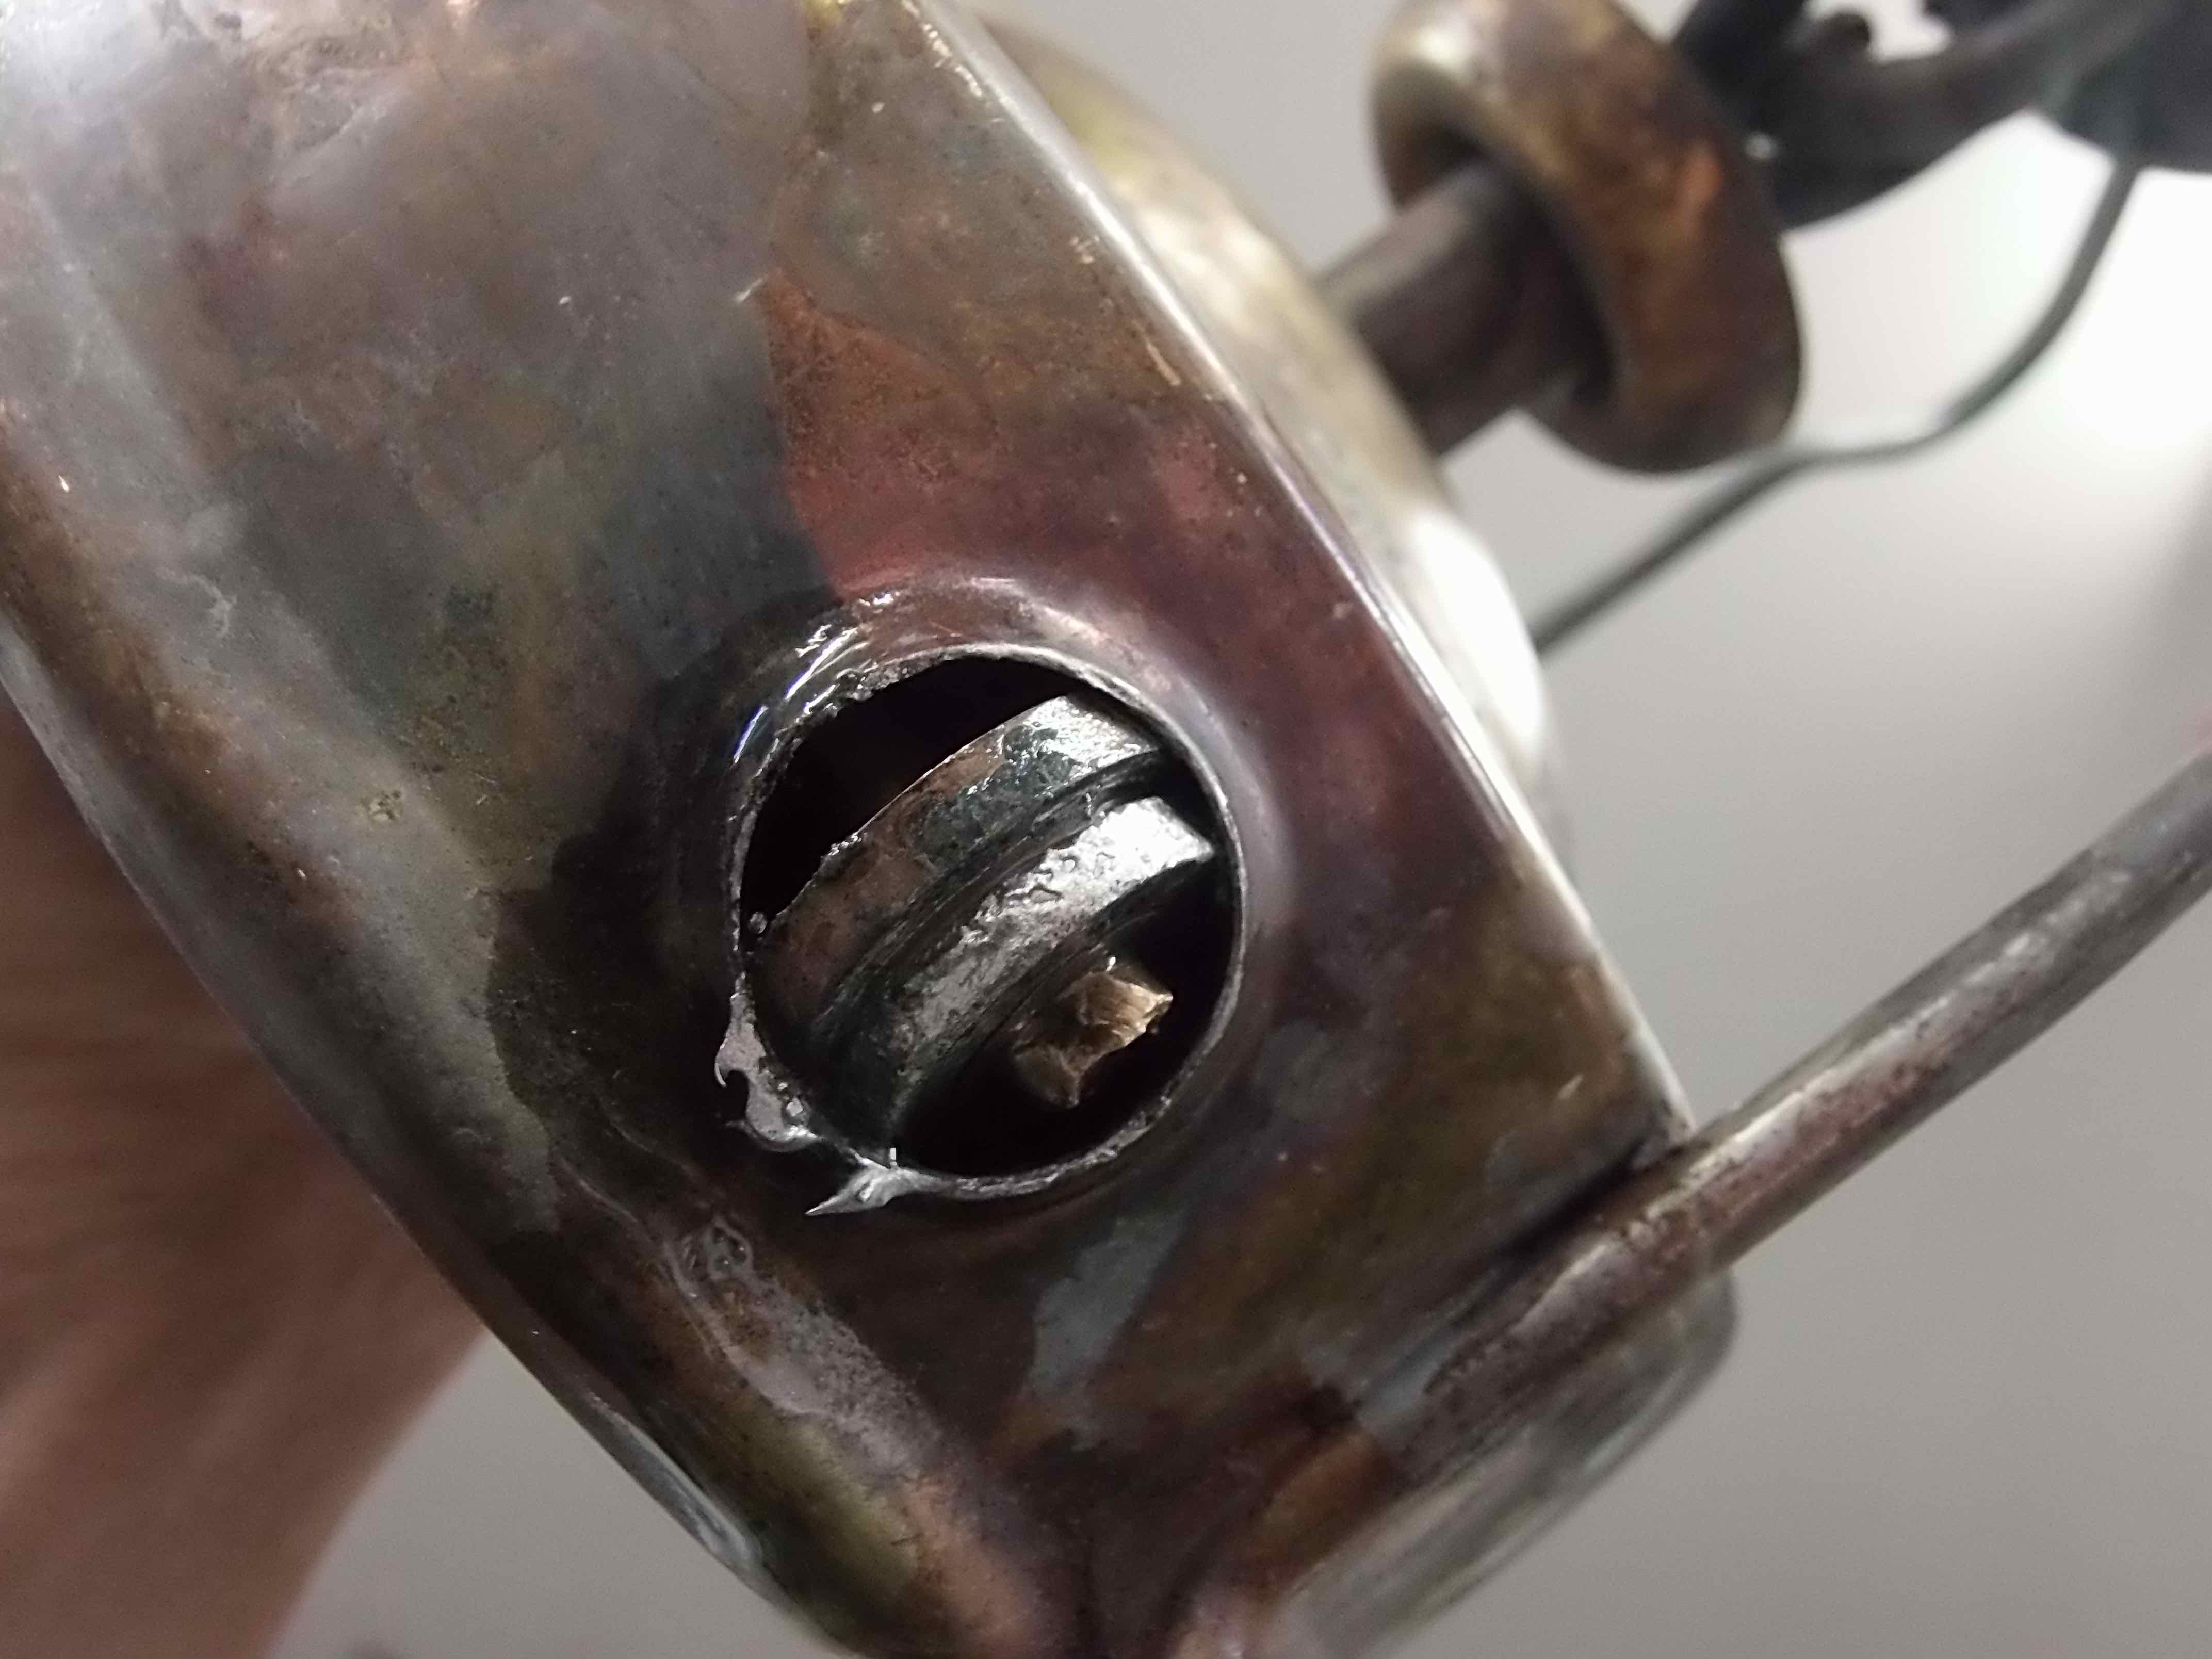
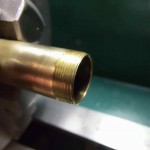
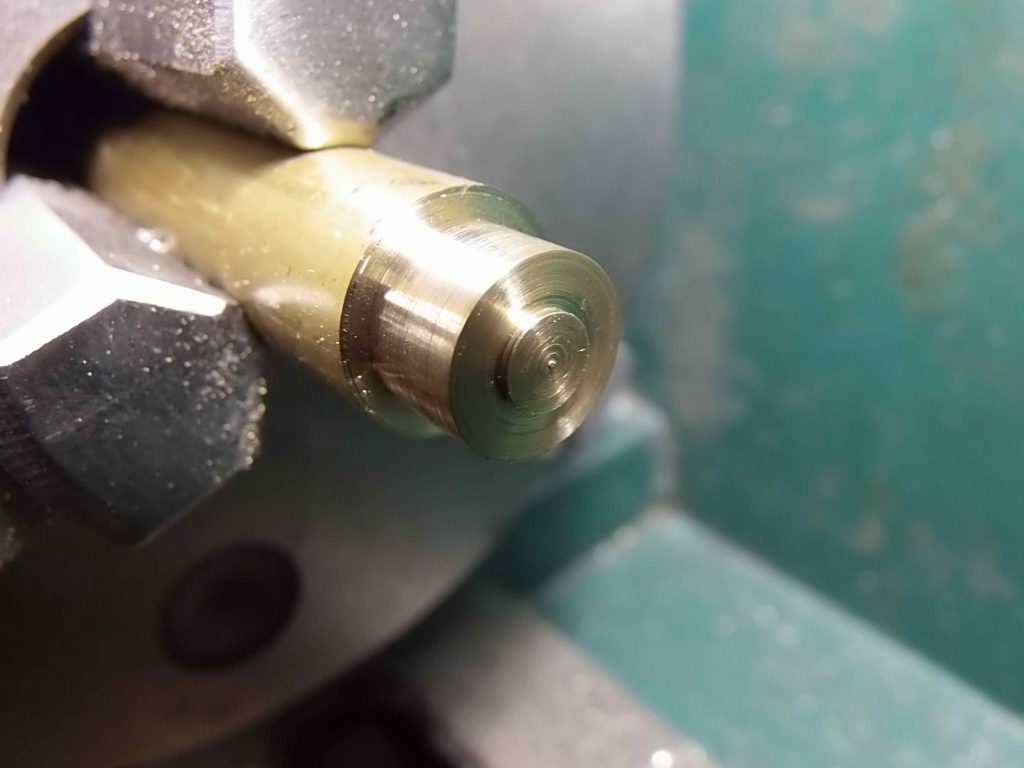
You can see in the photo above that that too-big end block is not going to fit out through that too-small hole. But, by using a small pair of Vise-Grip pliers to hold the end block, I was able to machine two facets into the block to reduce its diameter. I used a grinding wheel on a Dremel tool to do the work, taking off just enough to get the block out the opening. I also made sure I placed the facets in such a way that I could later clamp the block up in the three-jaw chuck of my mini-lathe to clean up the block.

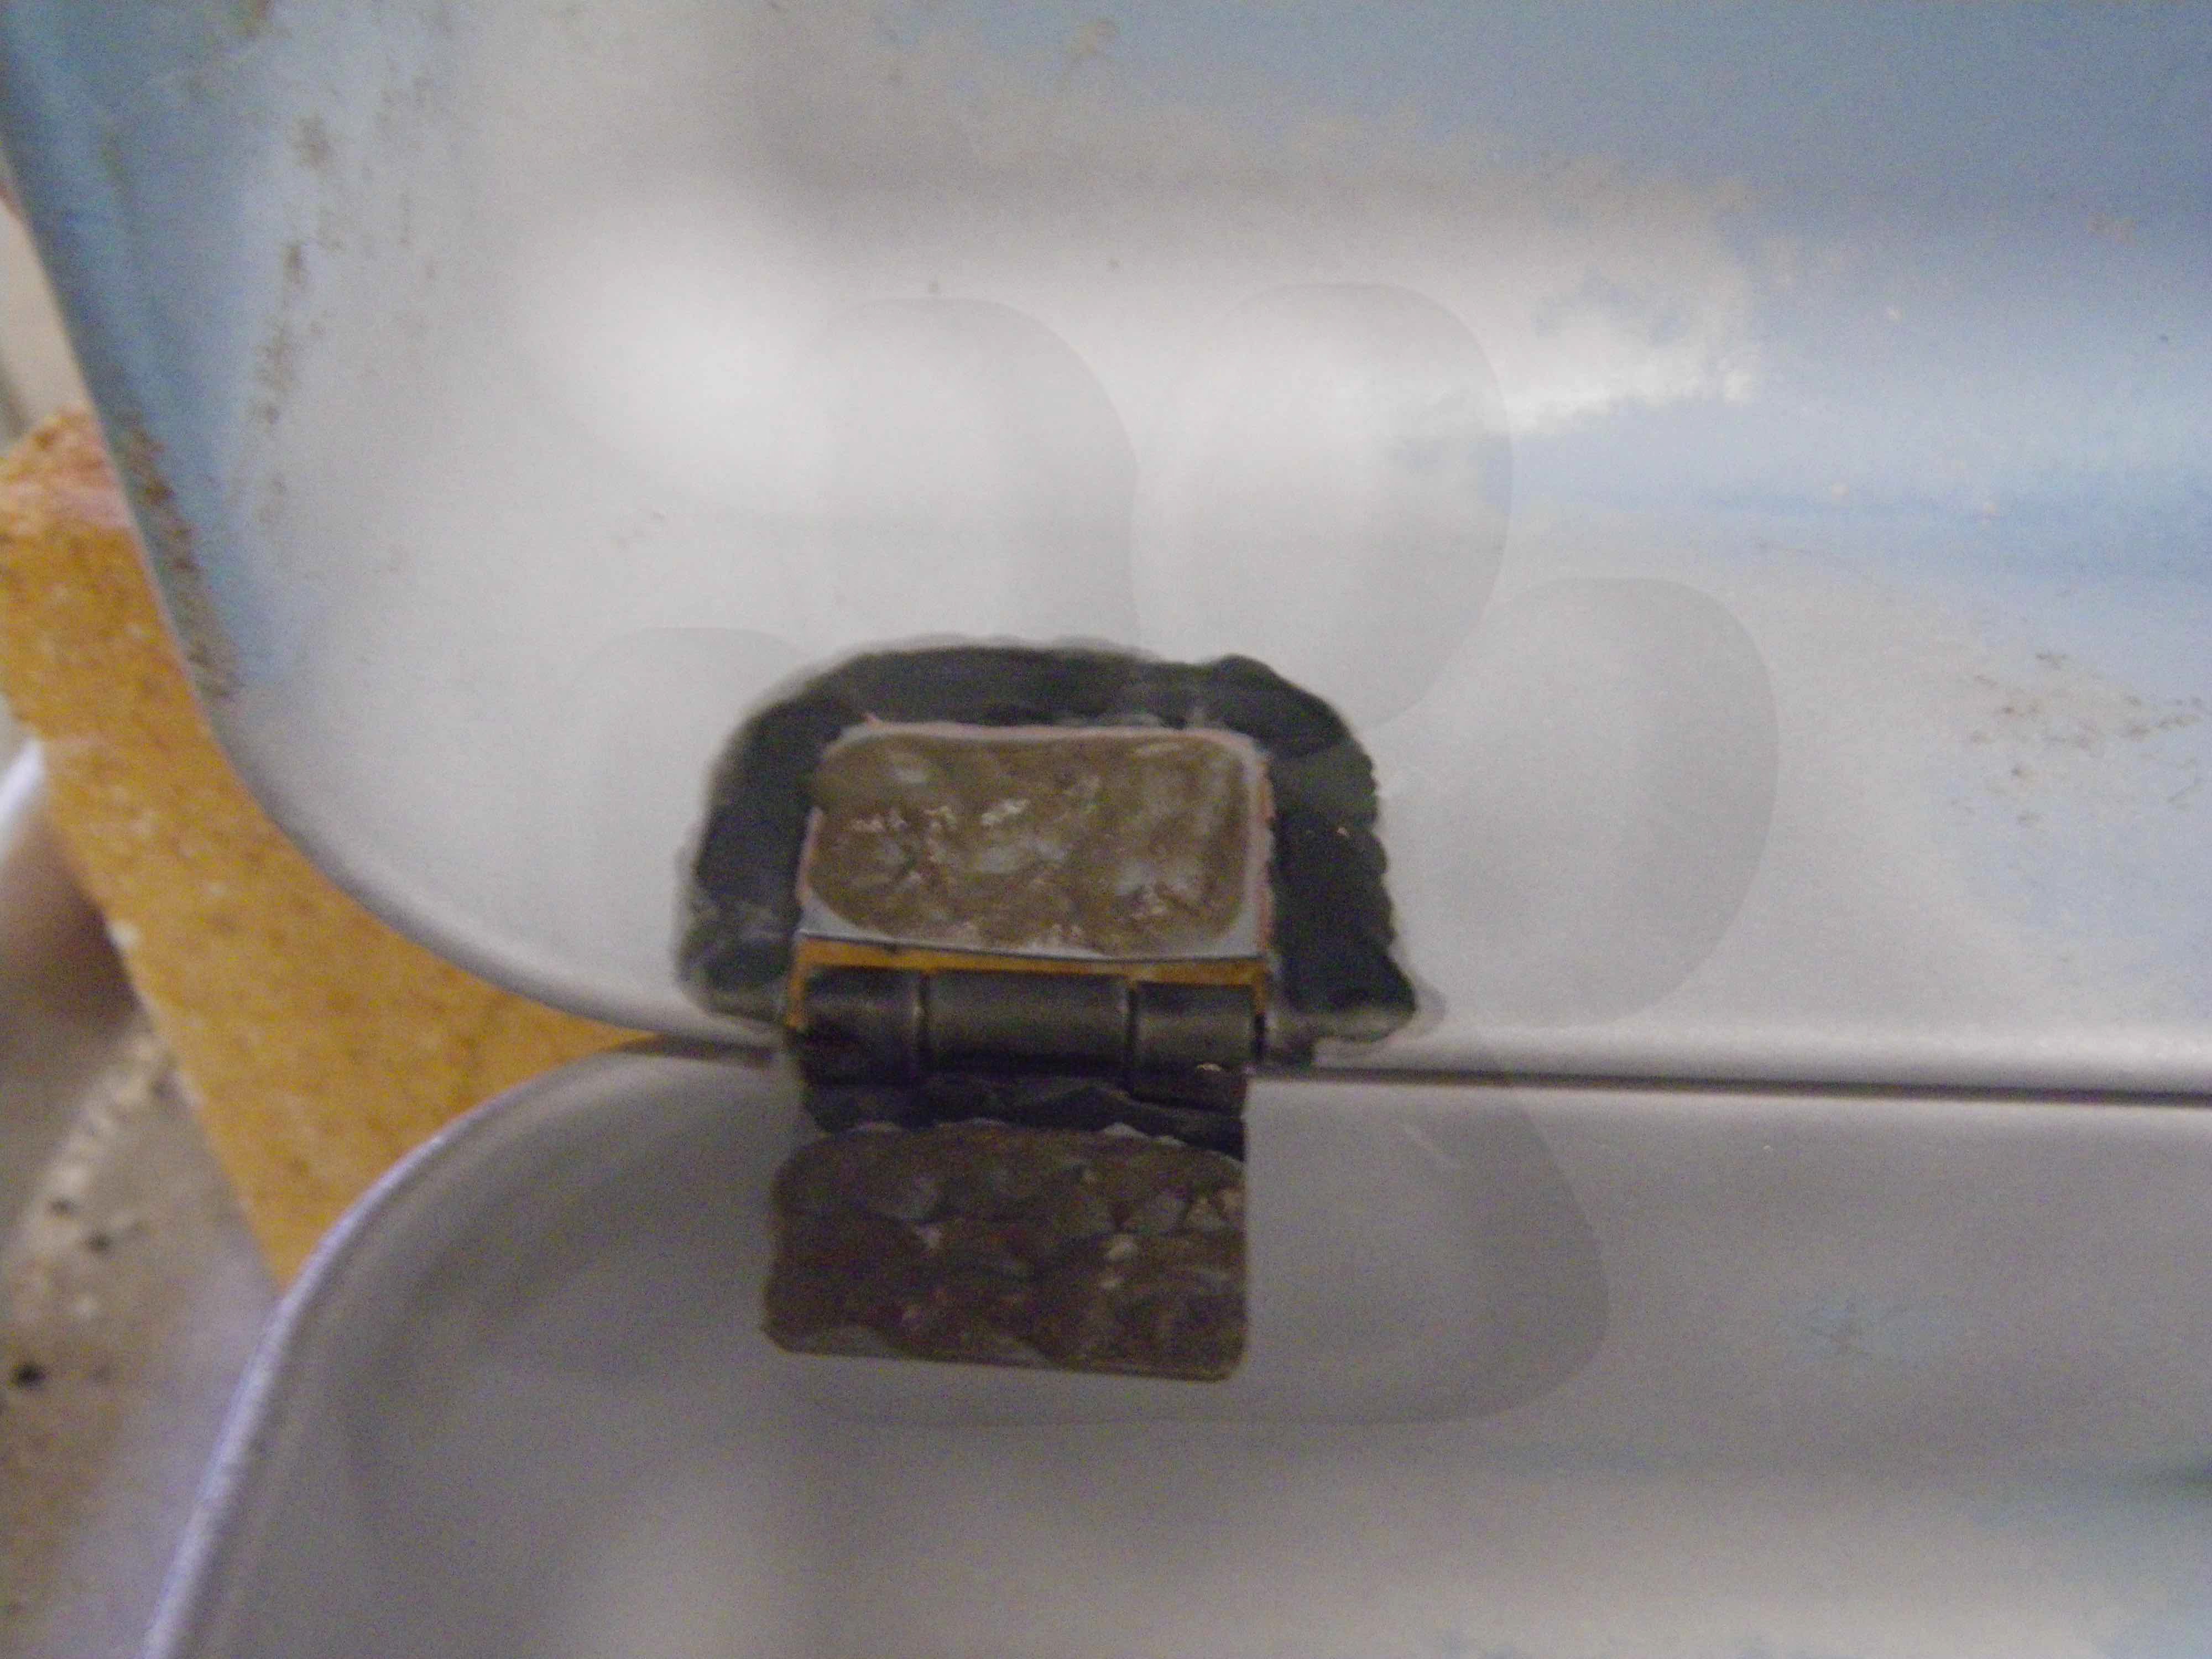
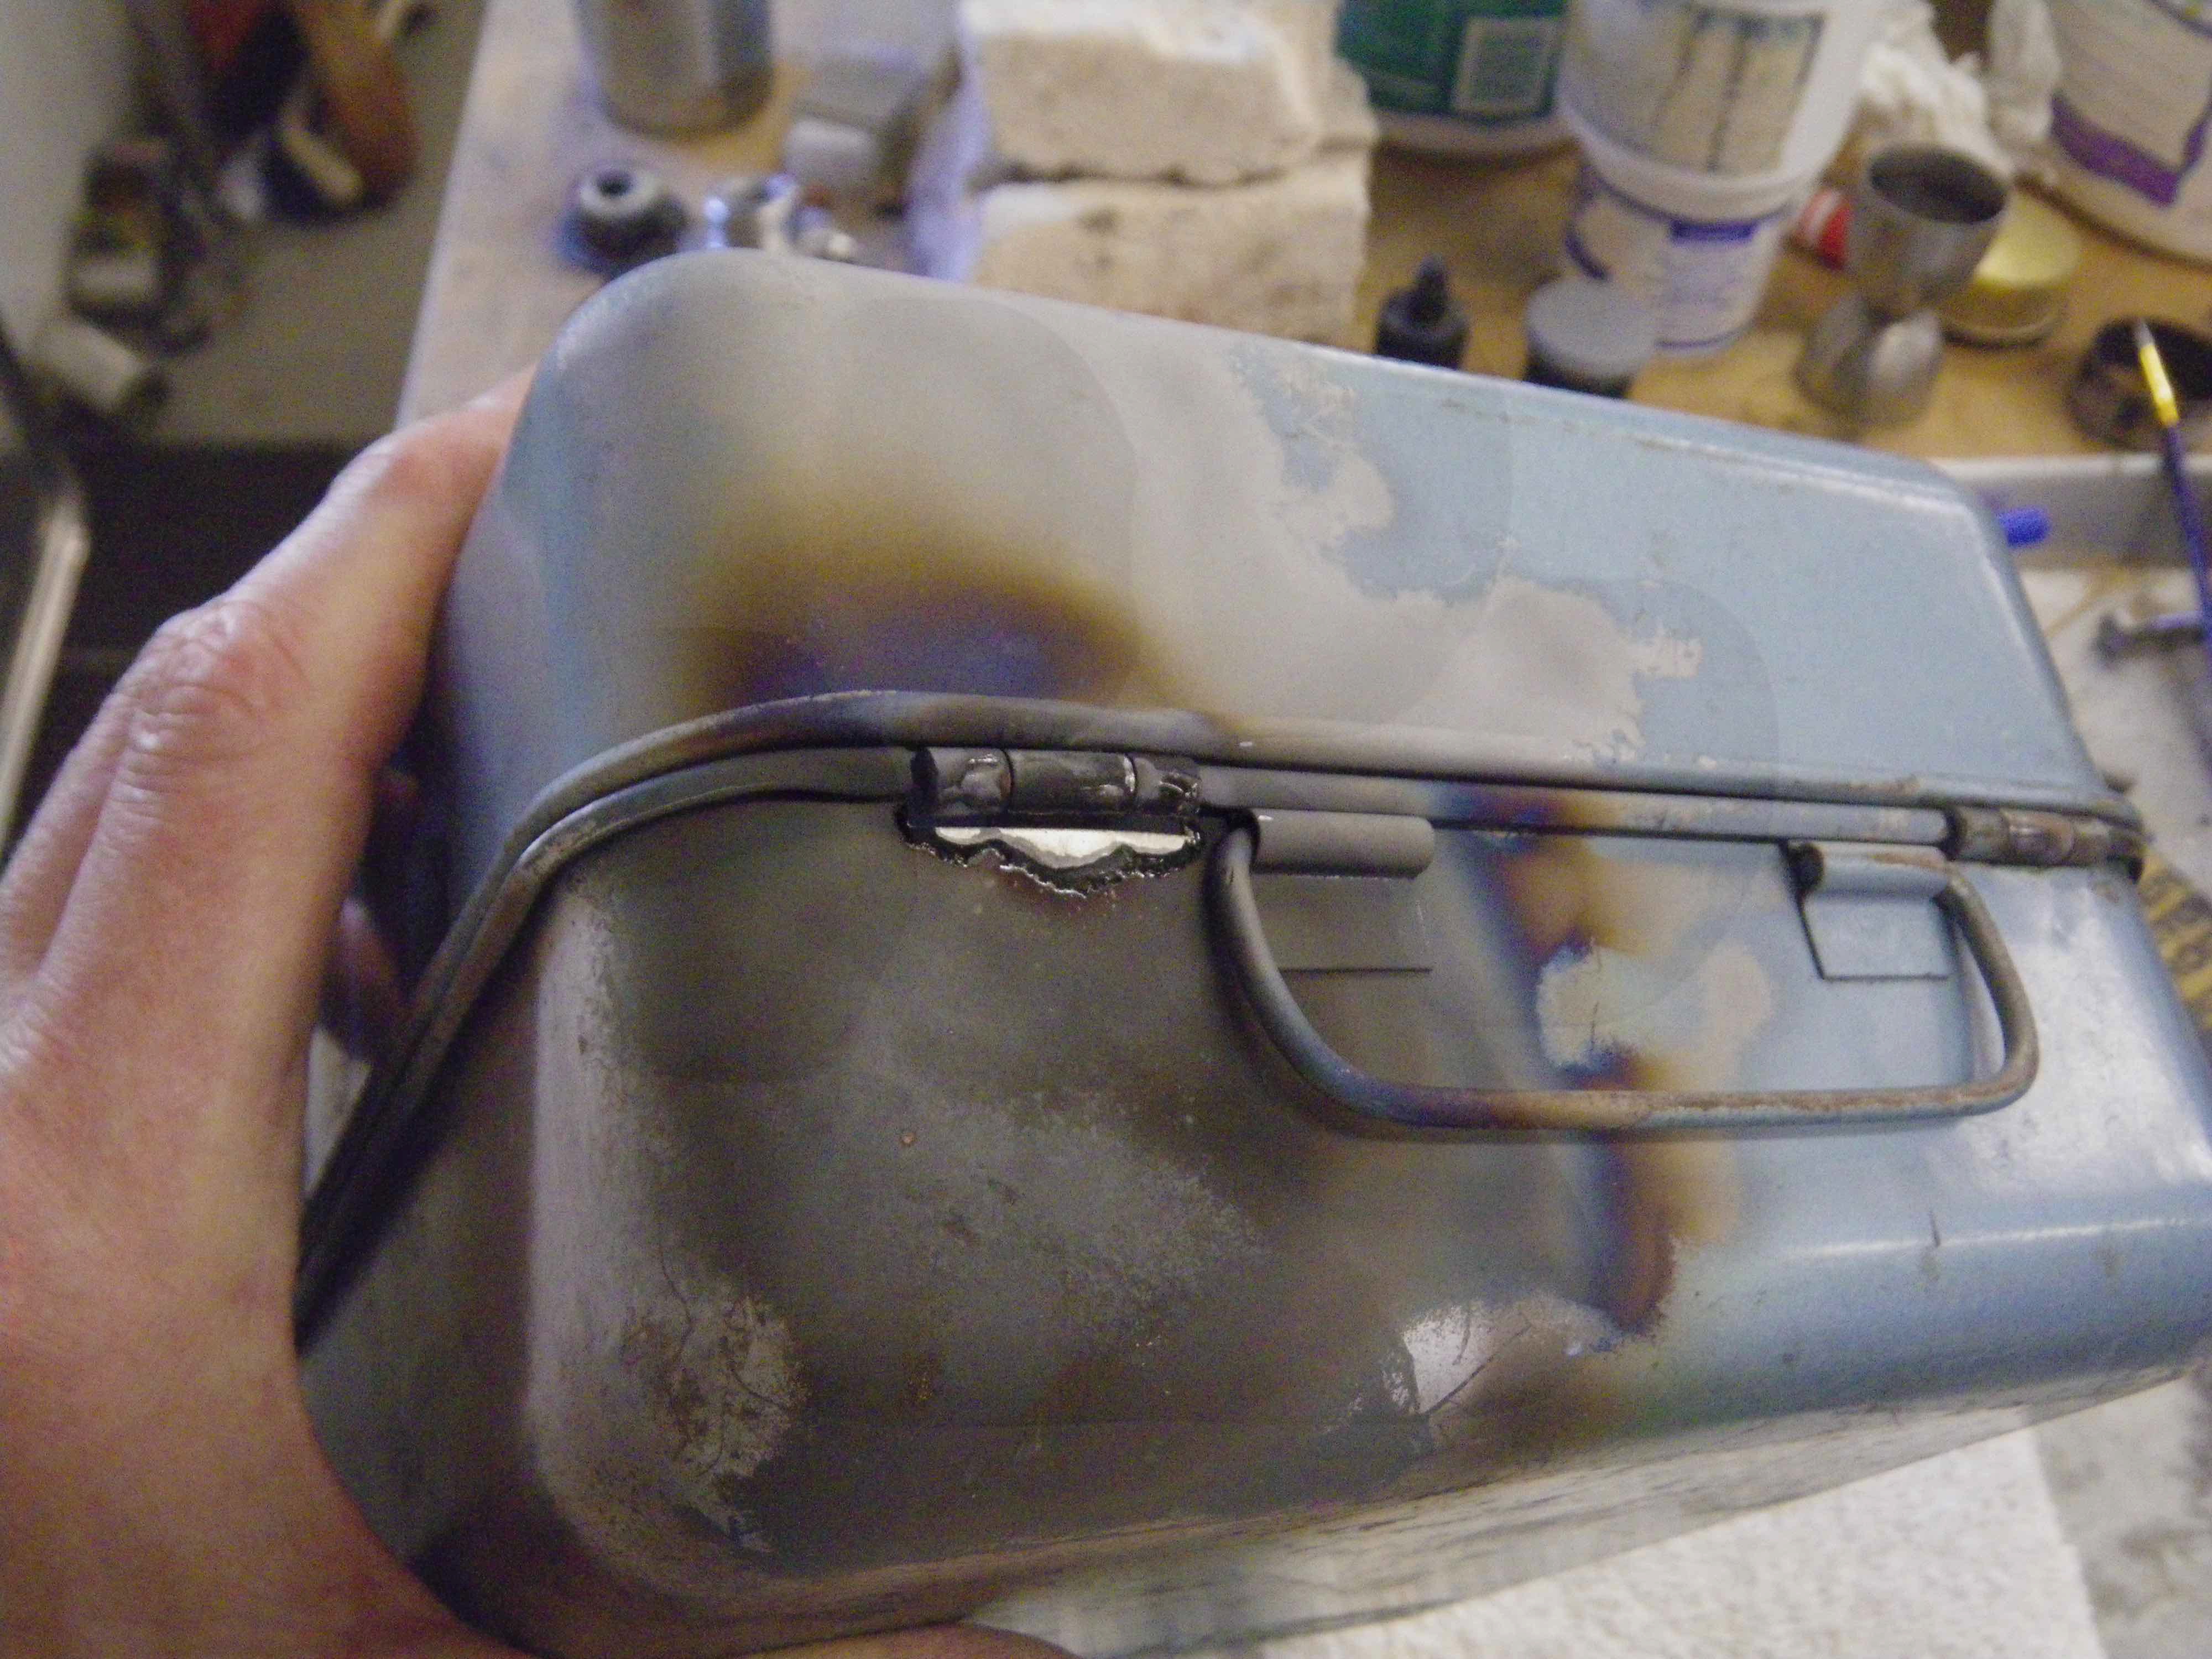
Once the outer diameter of the end block is machined down in a couple of places, it pops right out. A little persuasion with some penetrant and some torch heat pops the NRV head loose from the block.

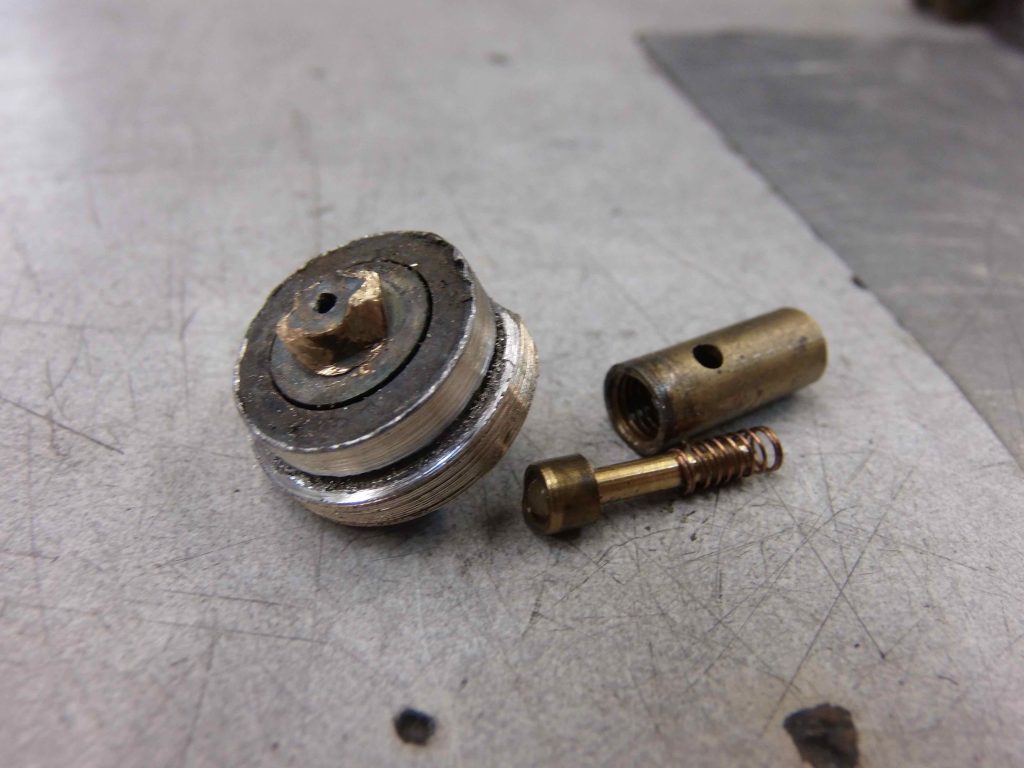
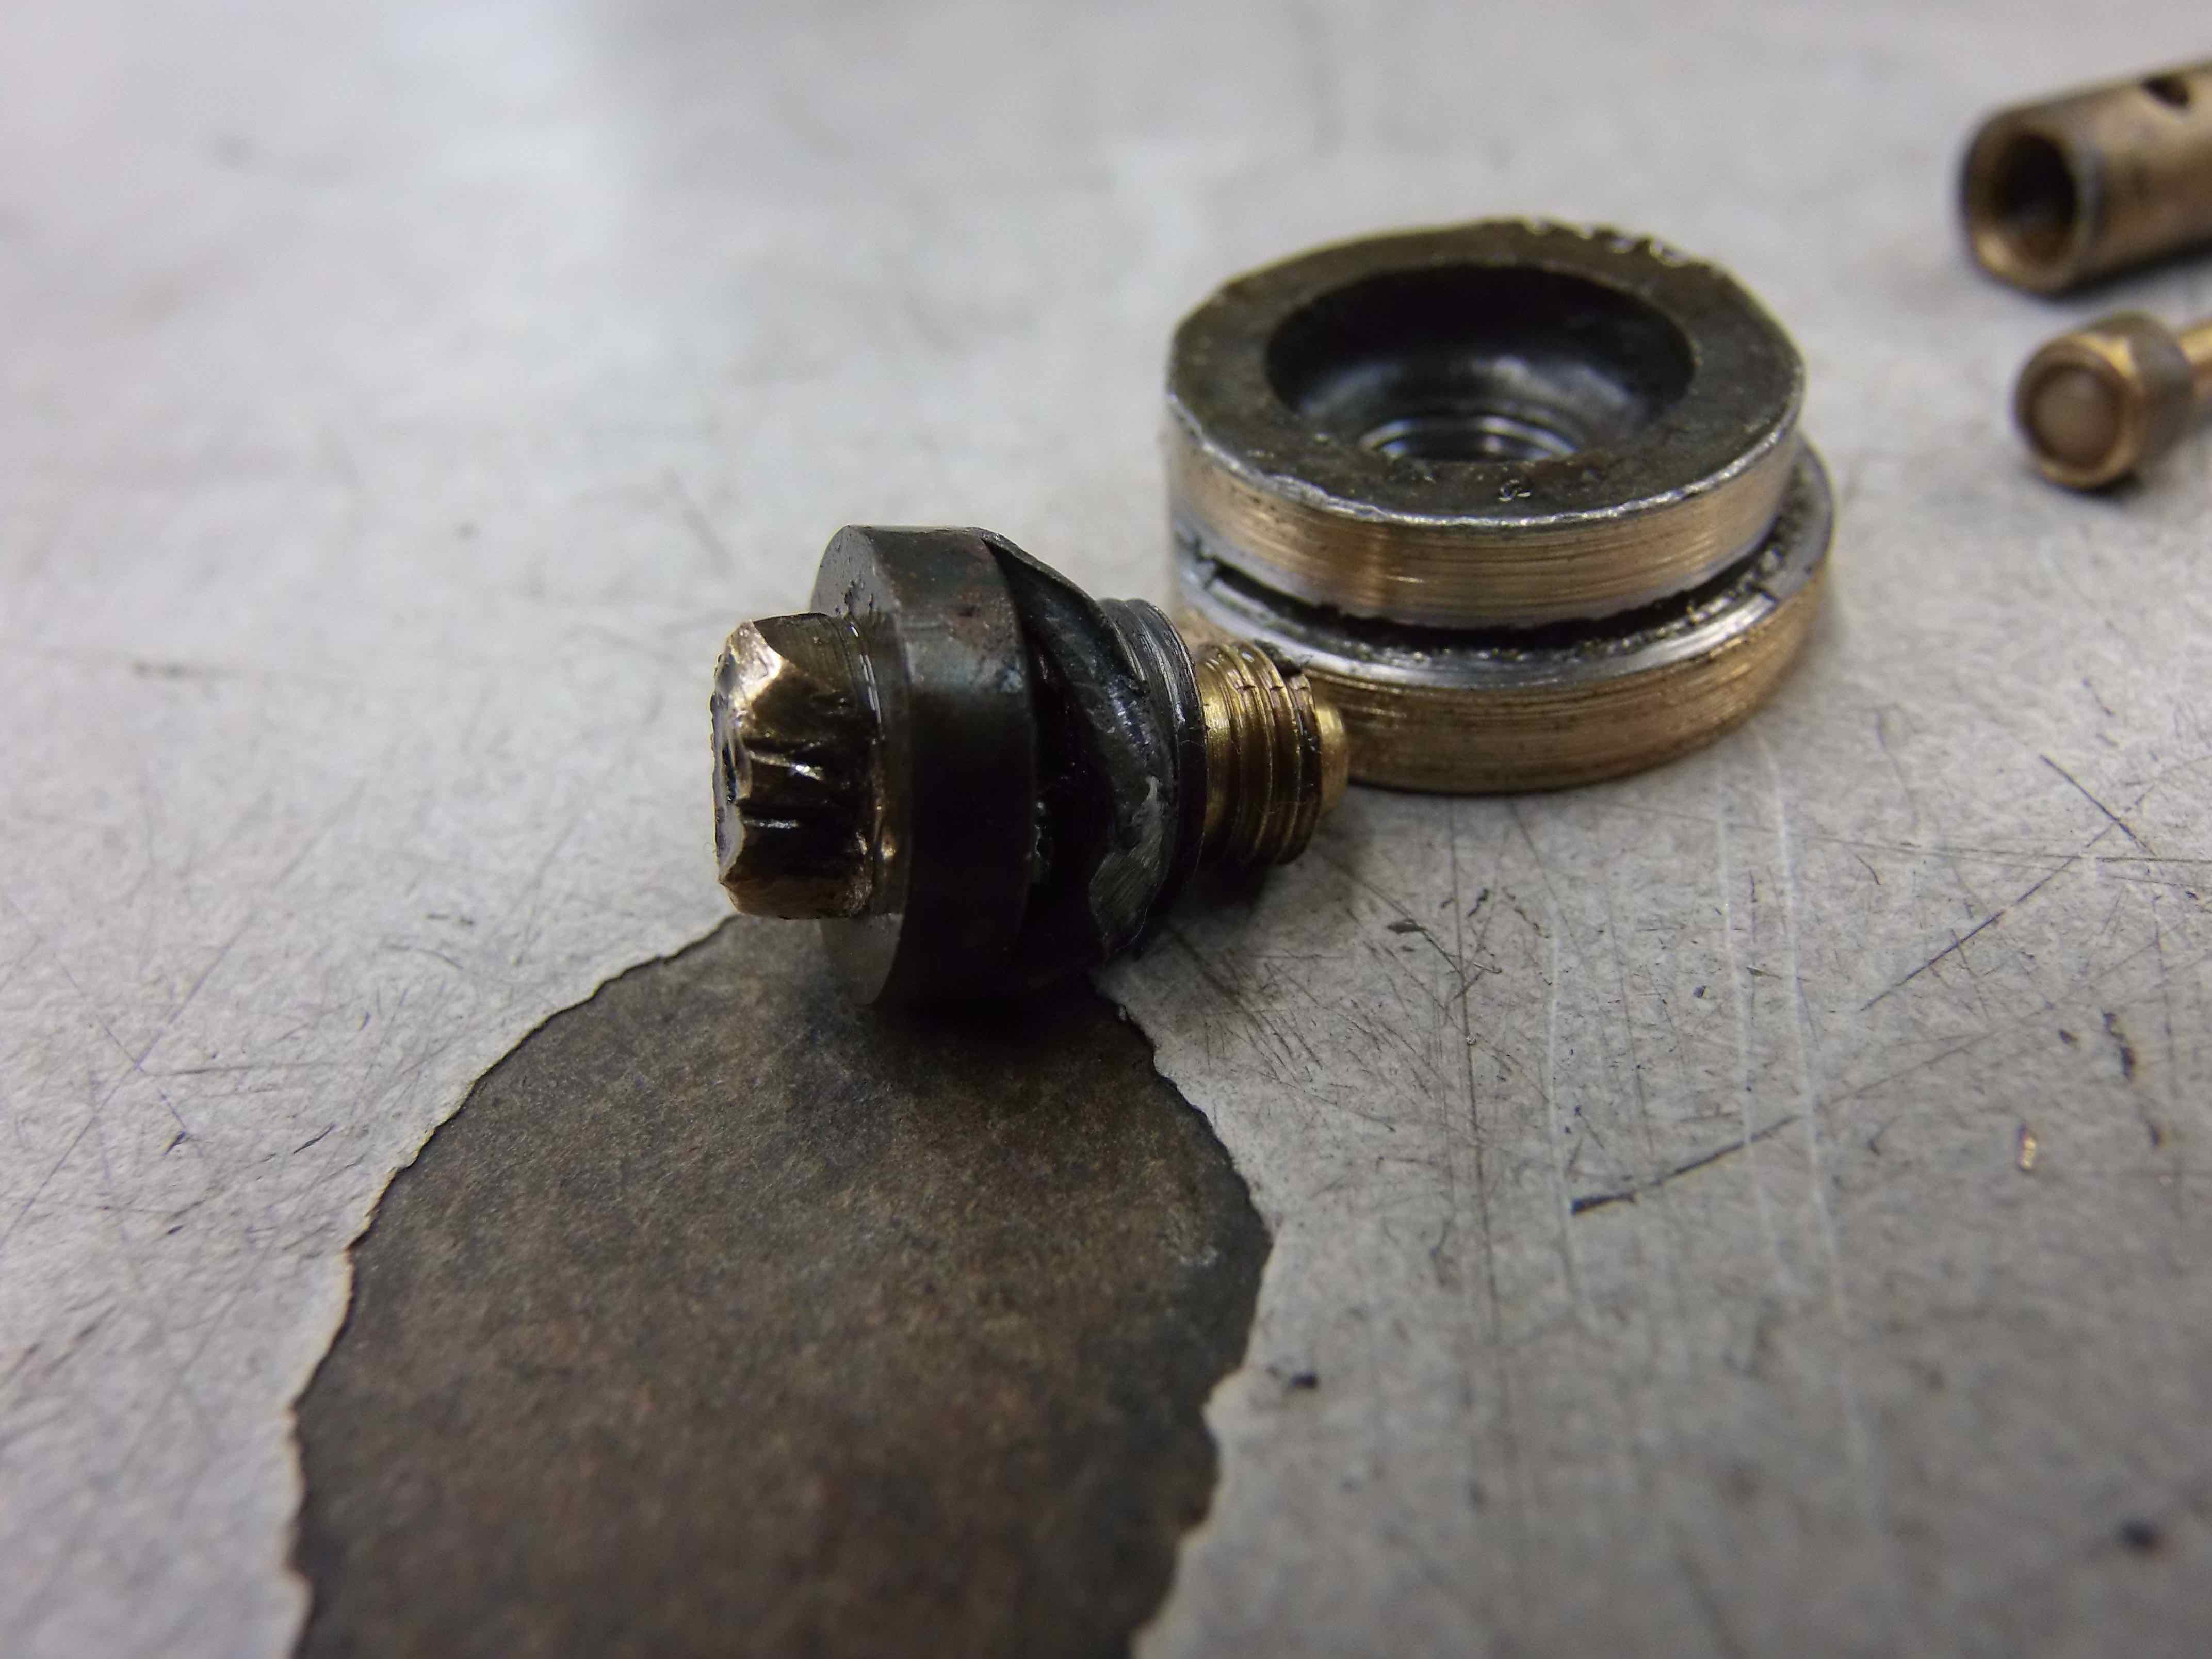
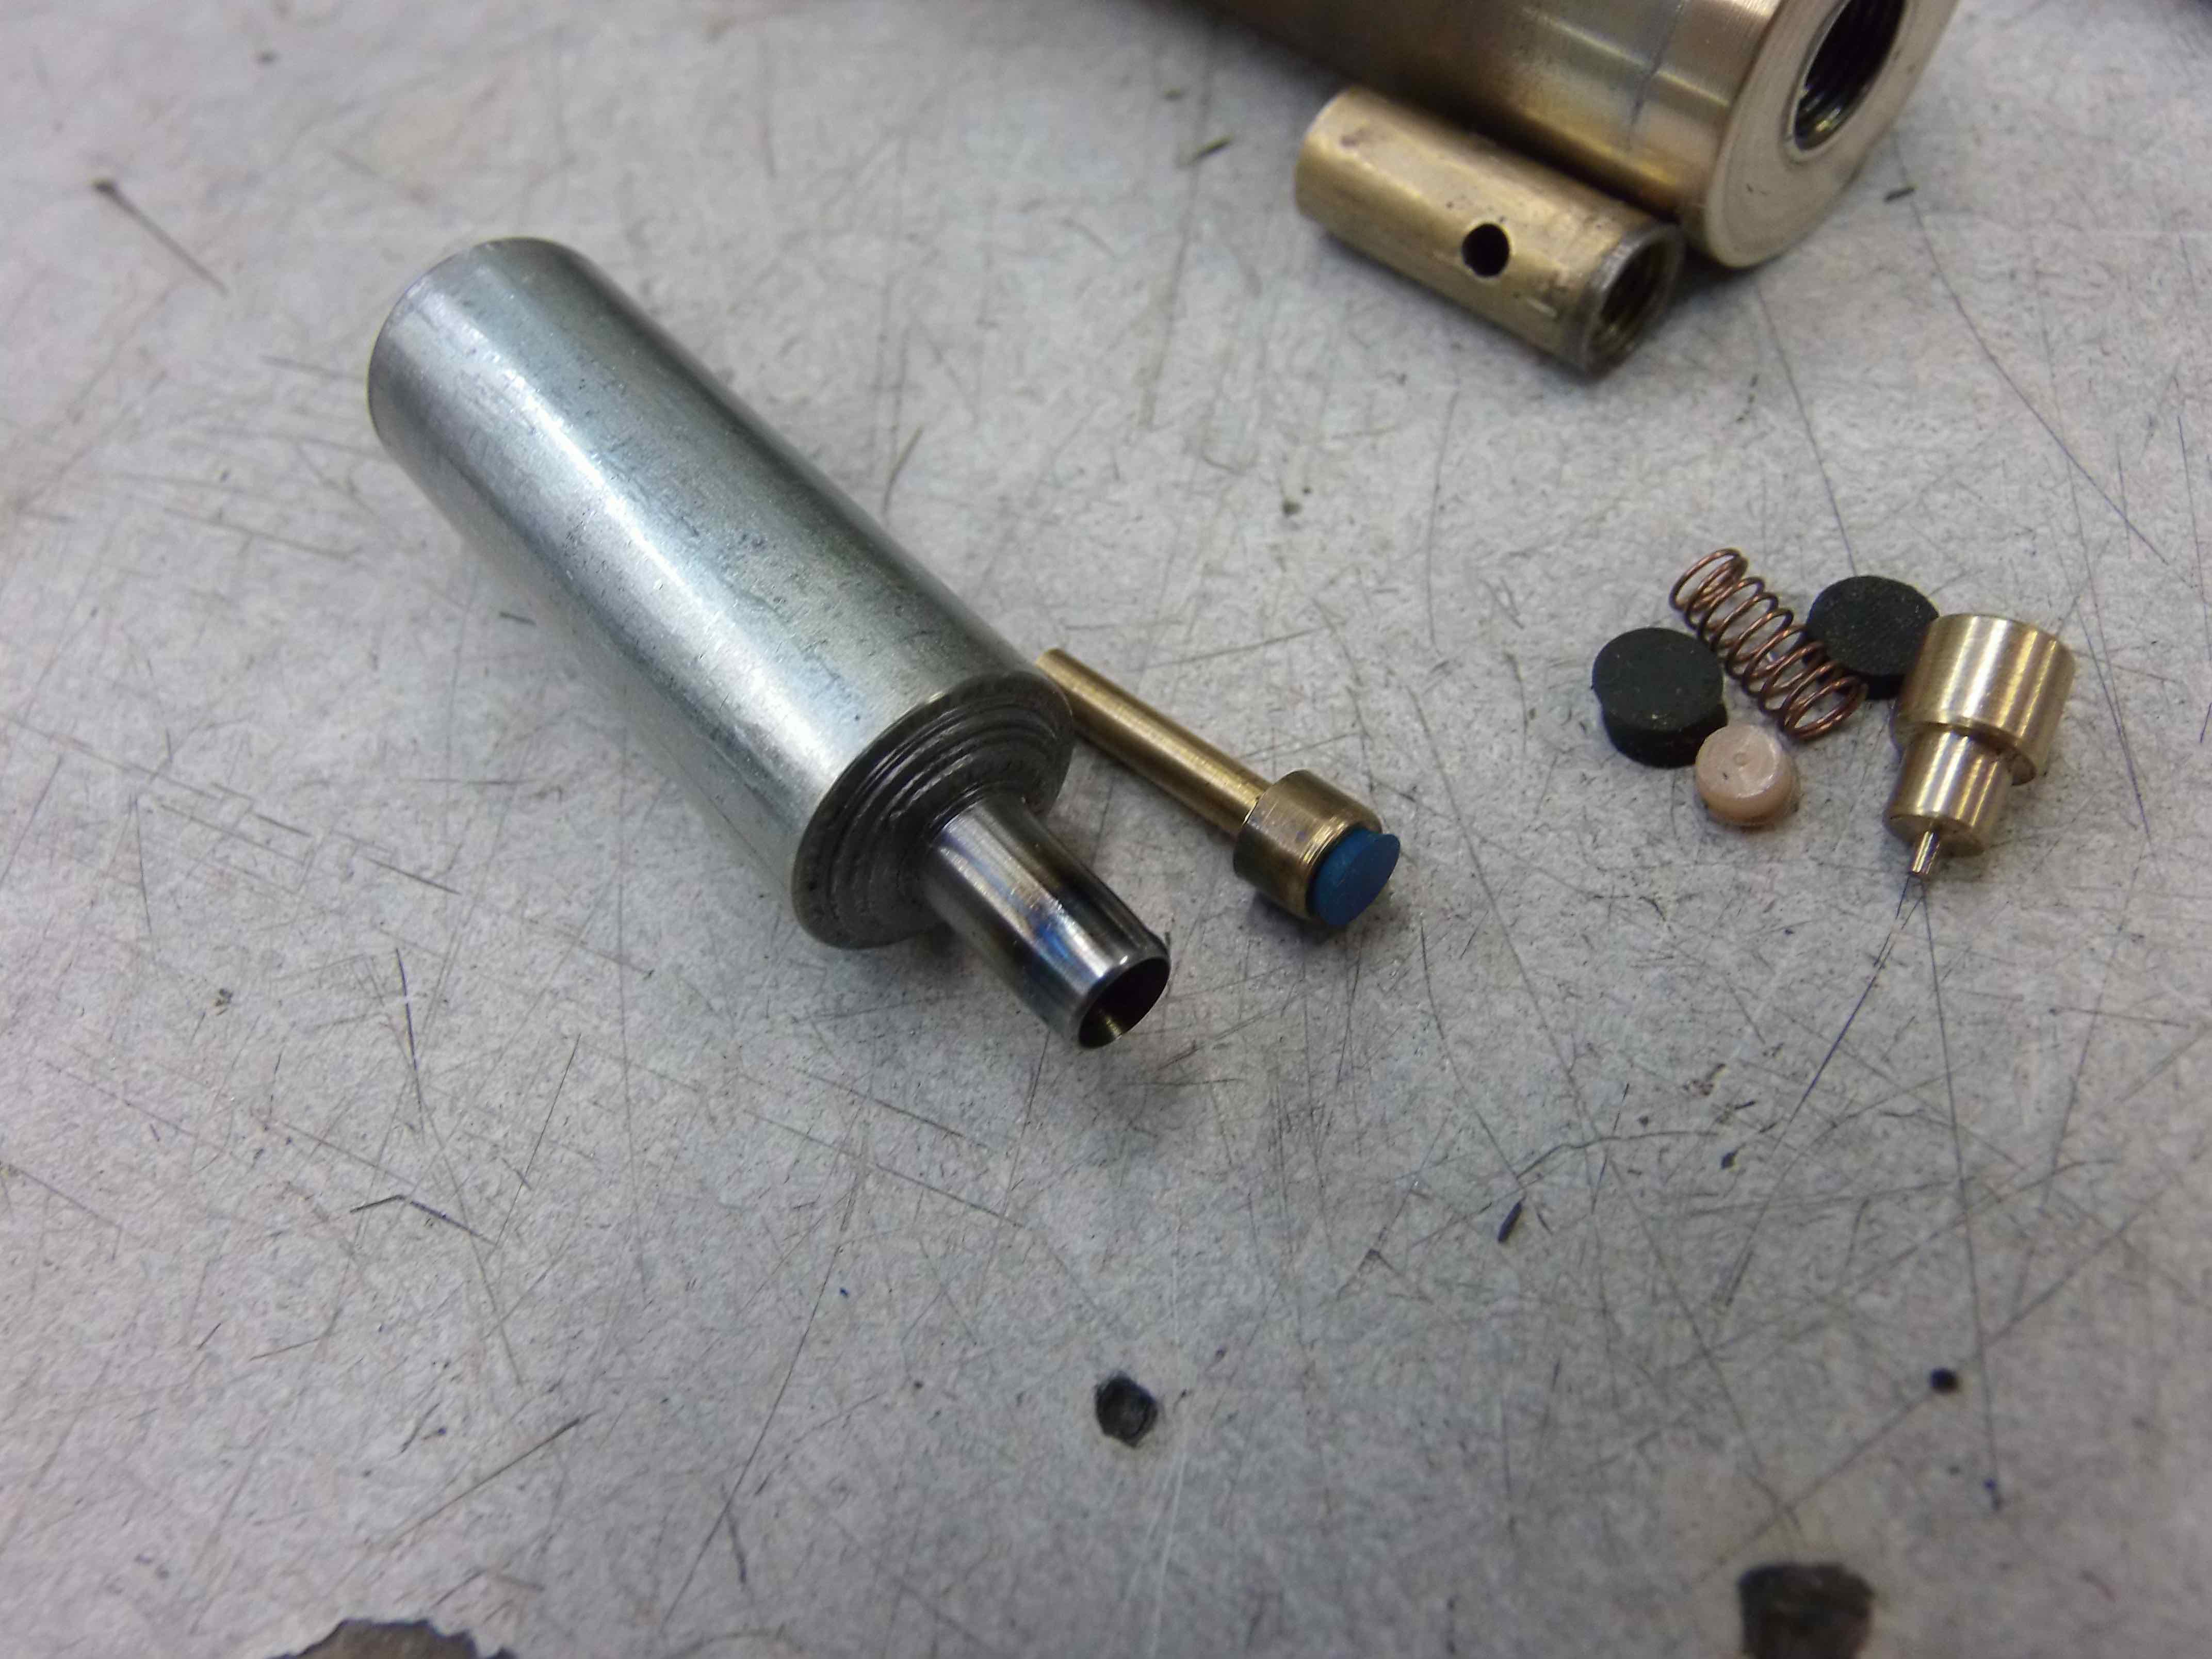
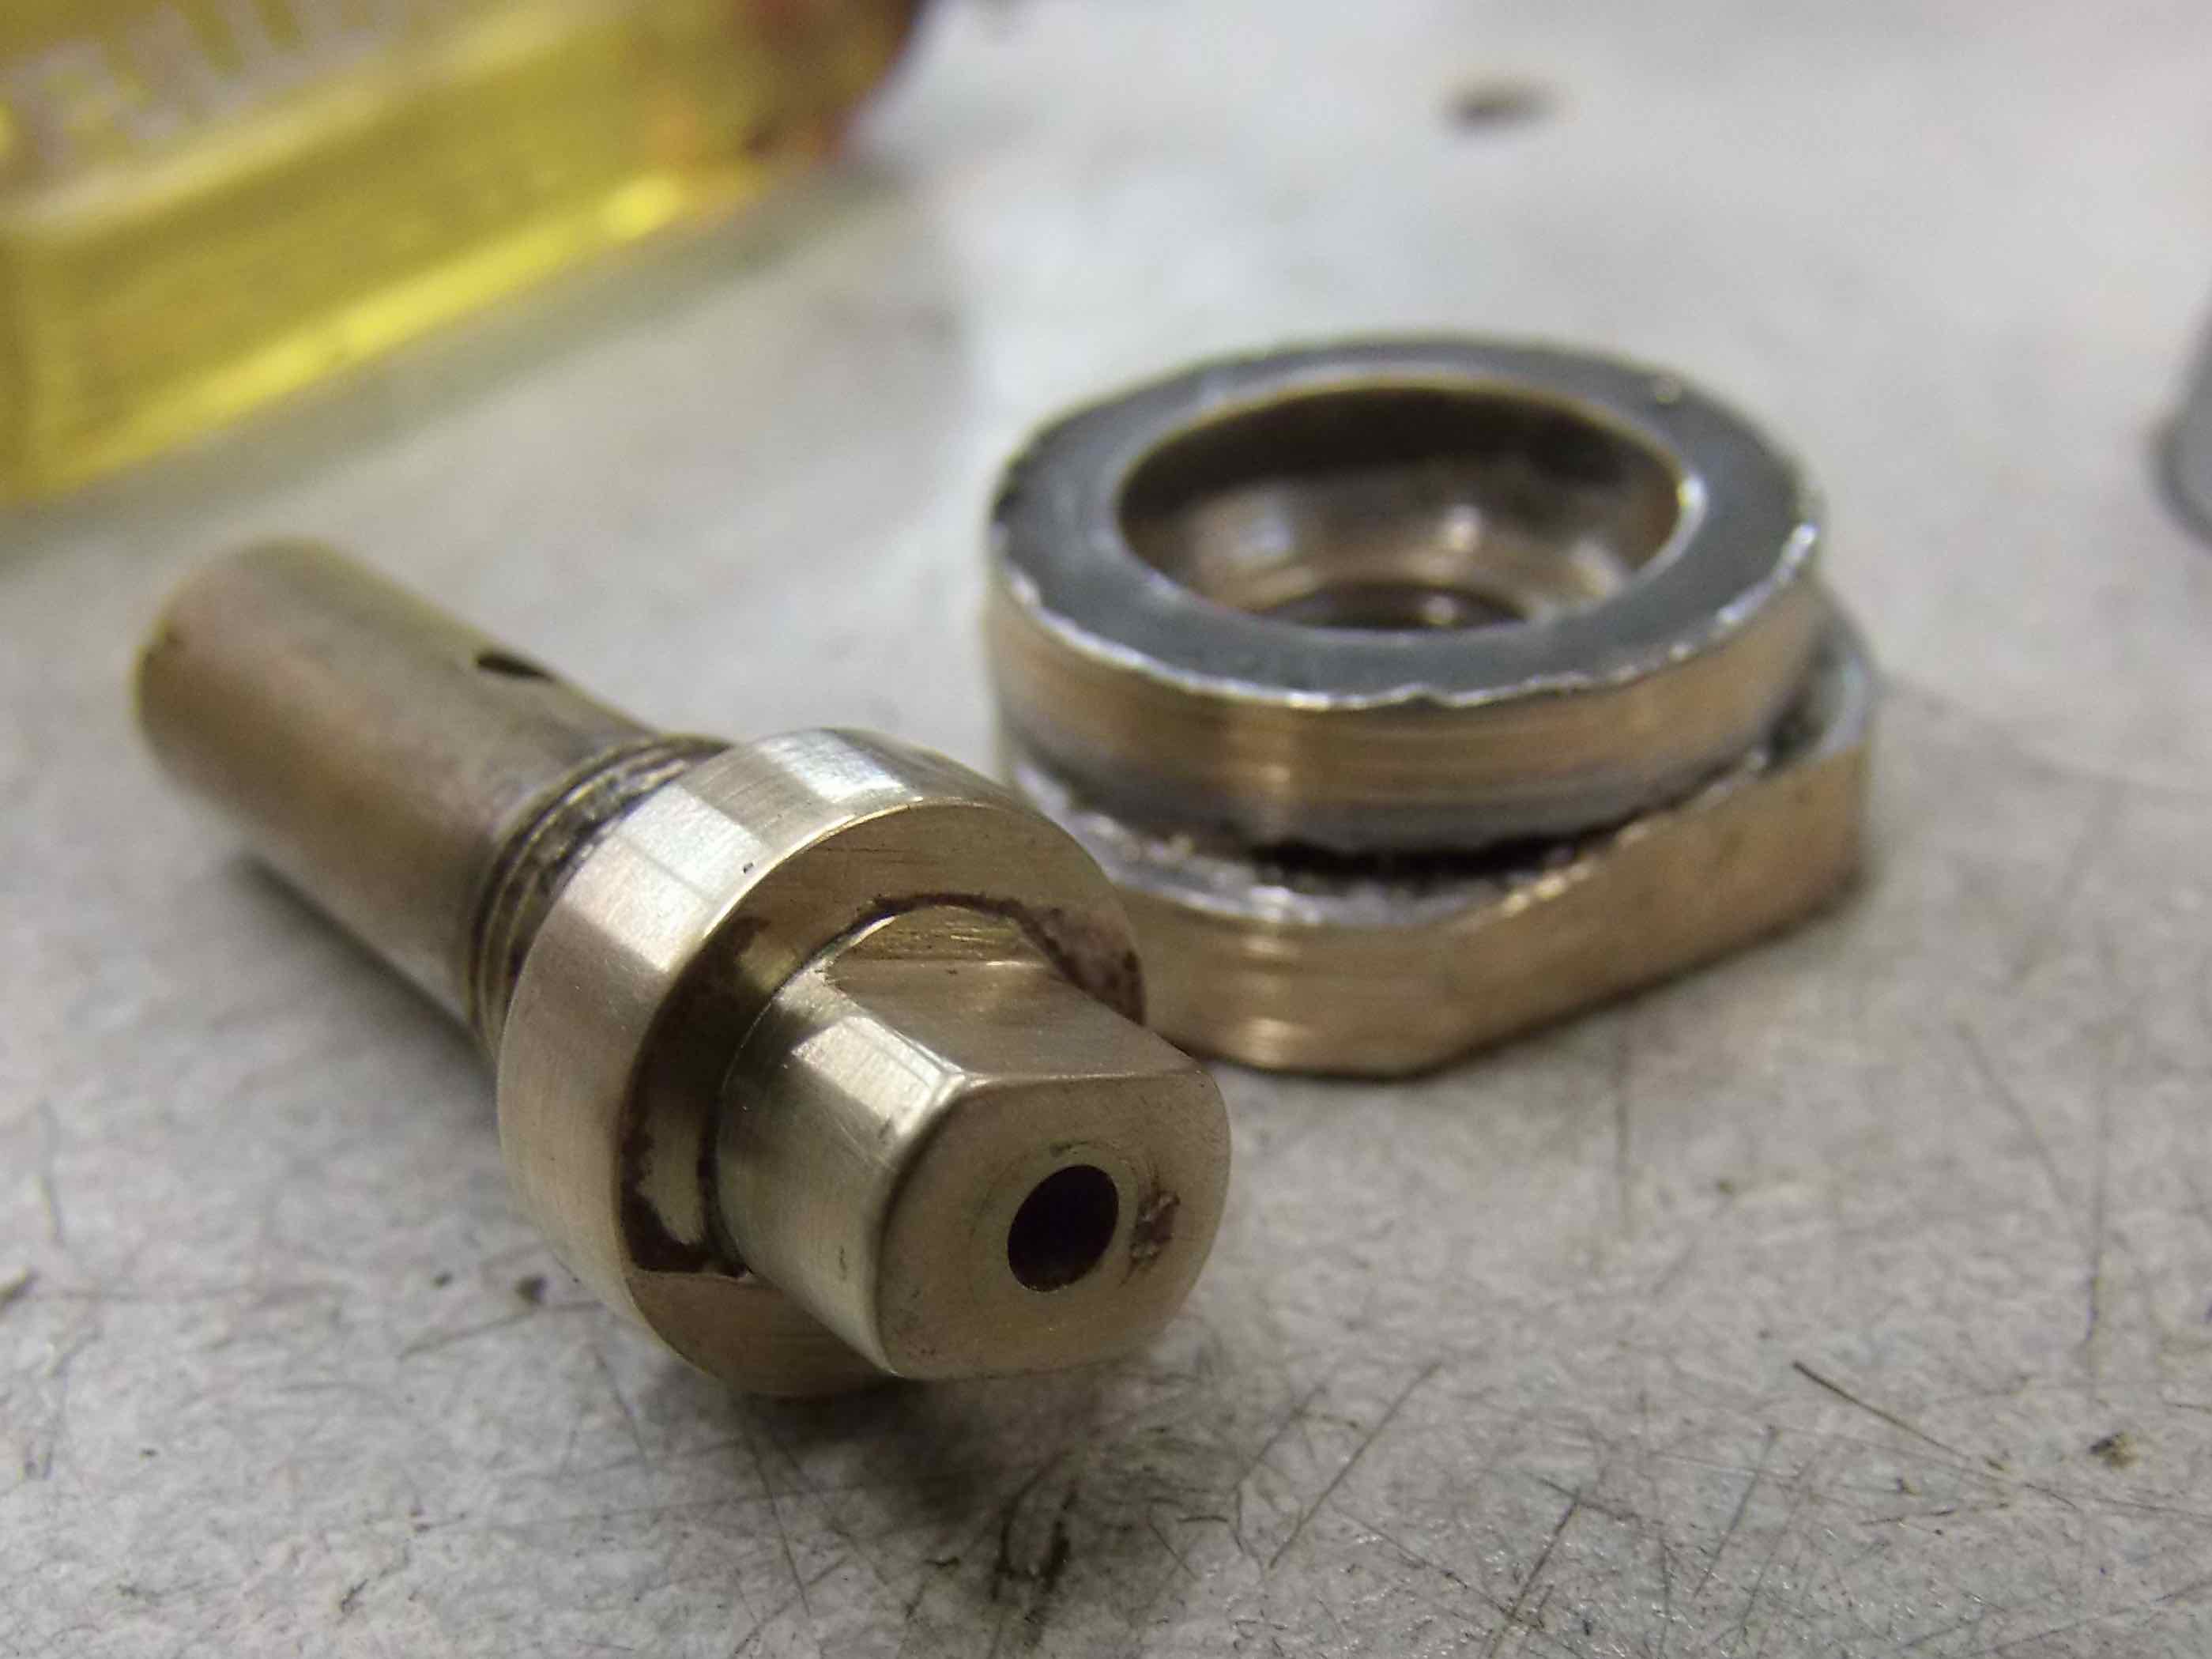
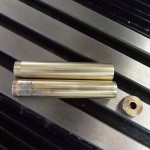
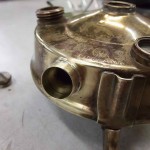
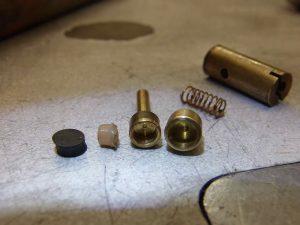
The pump tube end block with the NRV barrel, pip cup and spring removed.

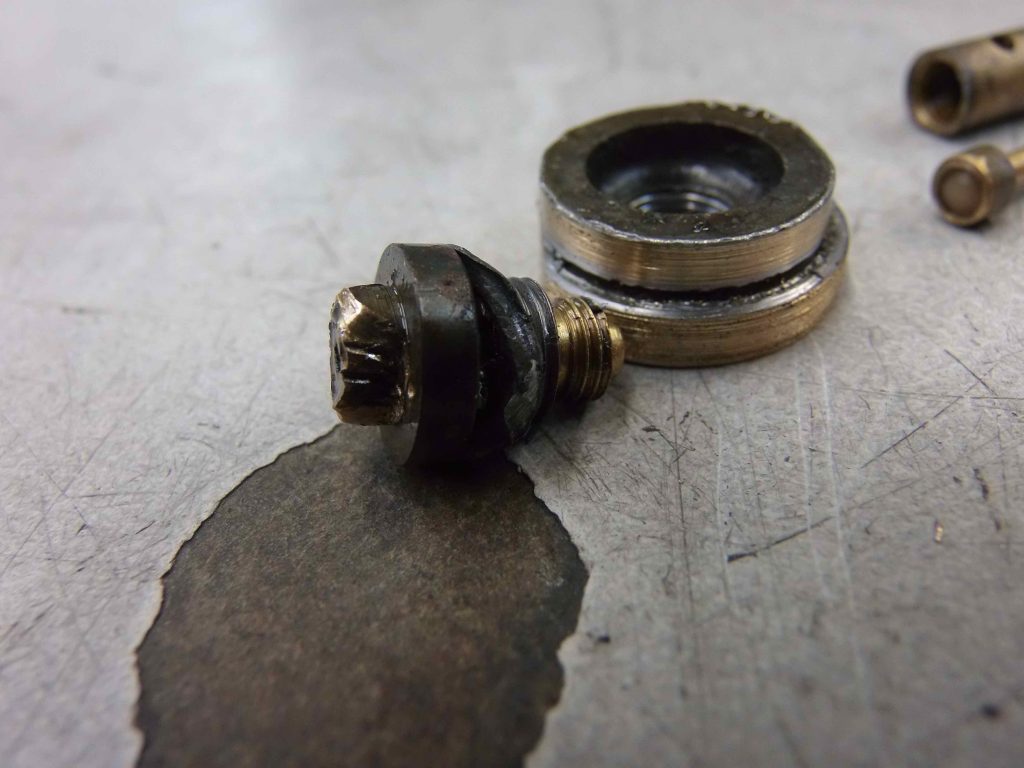
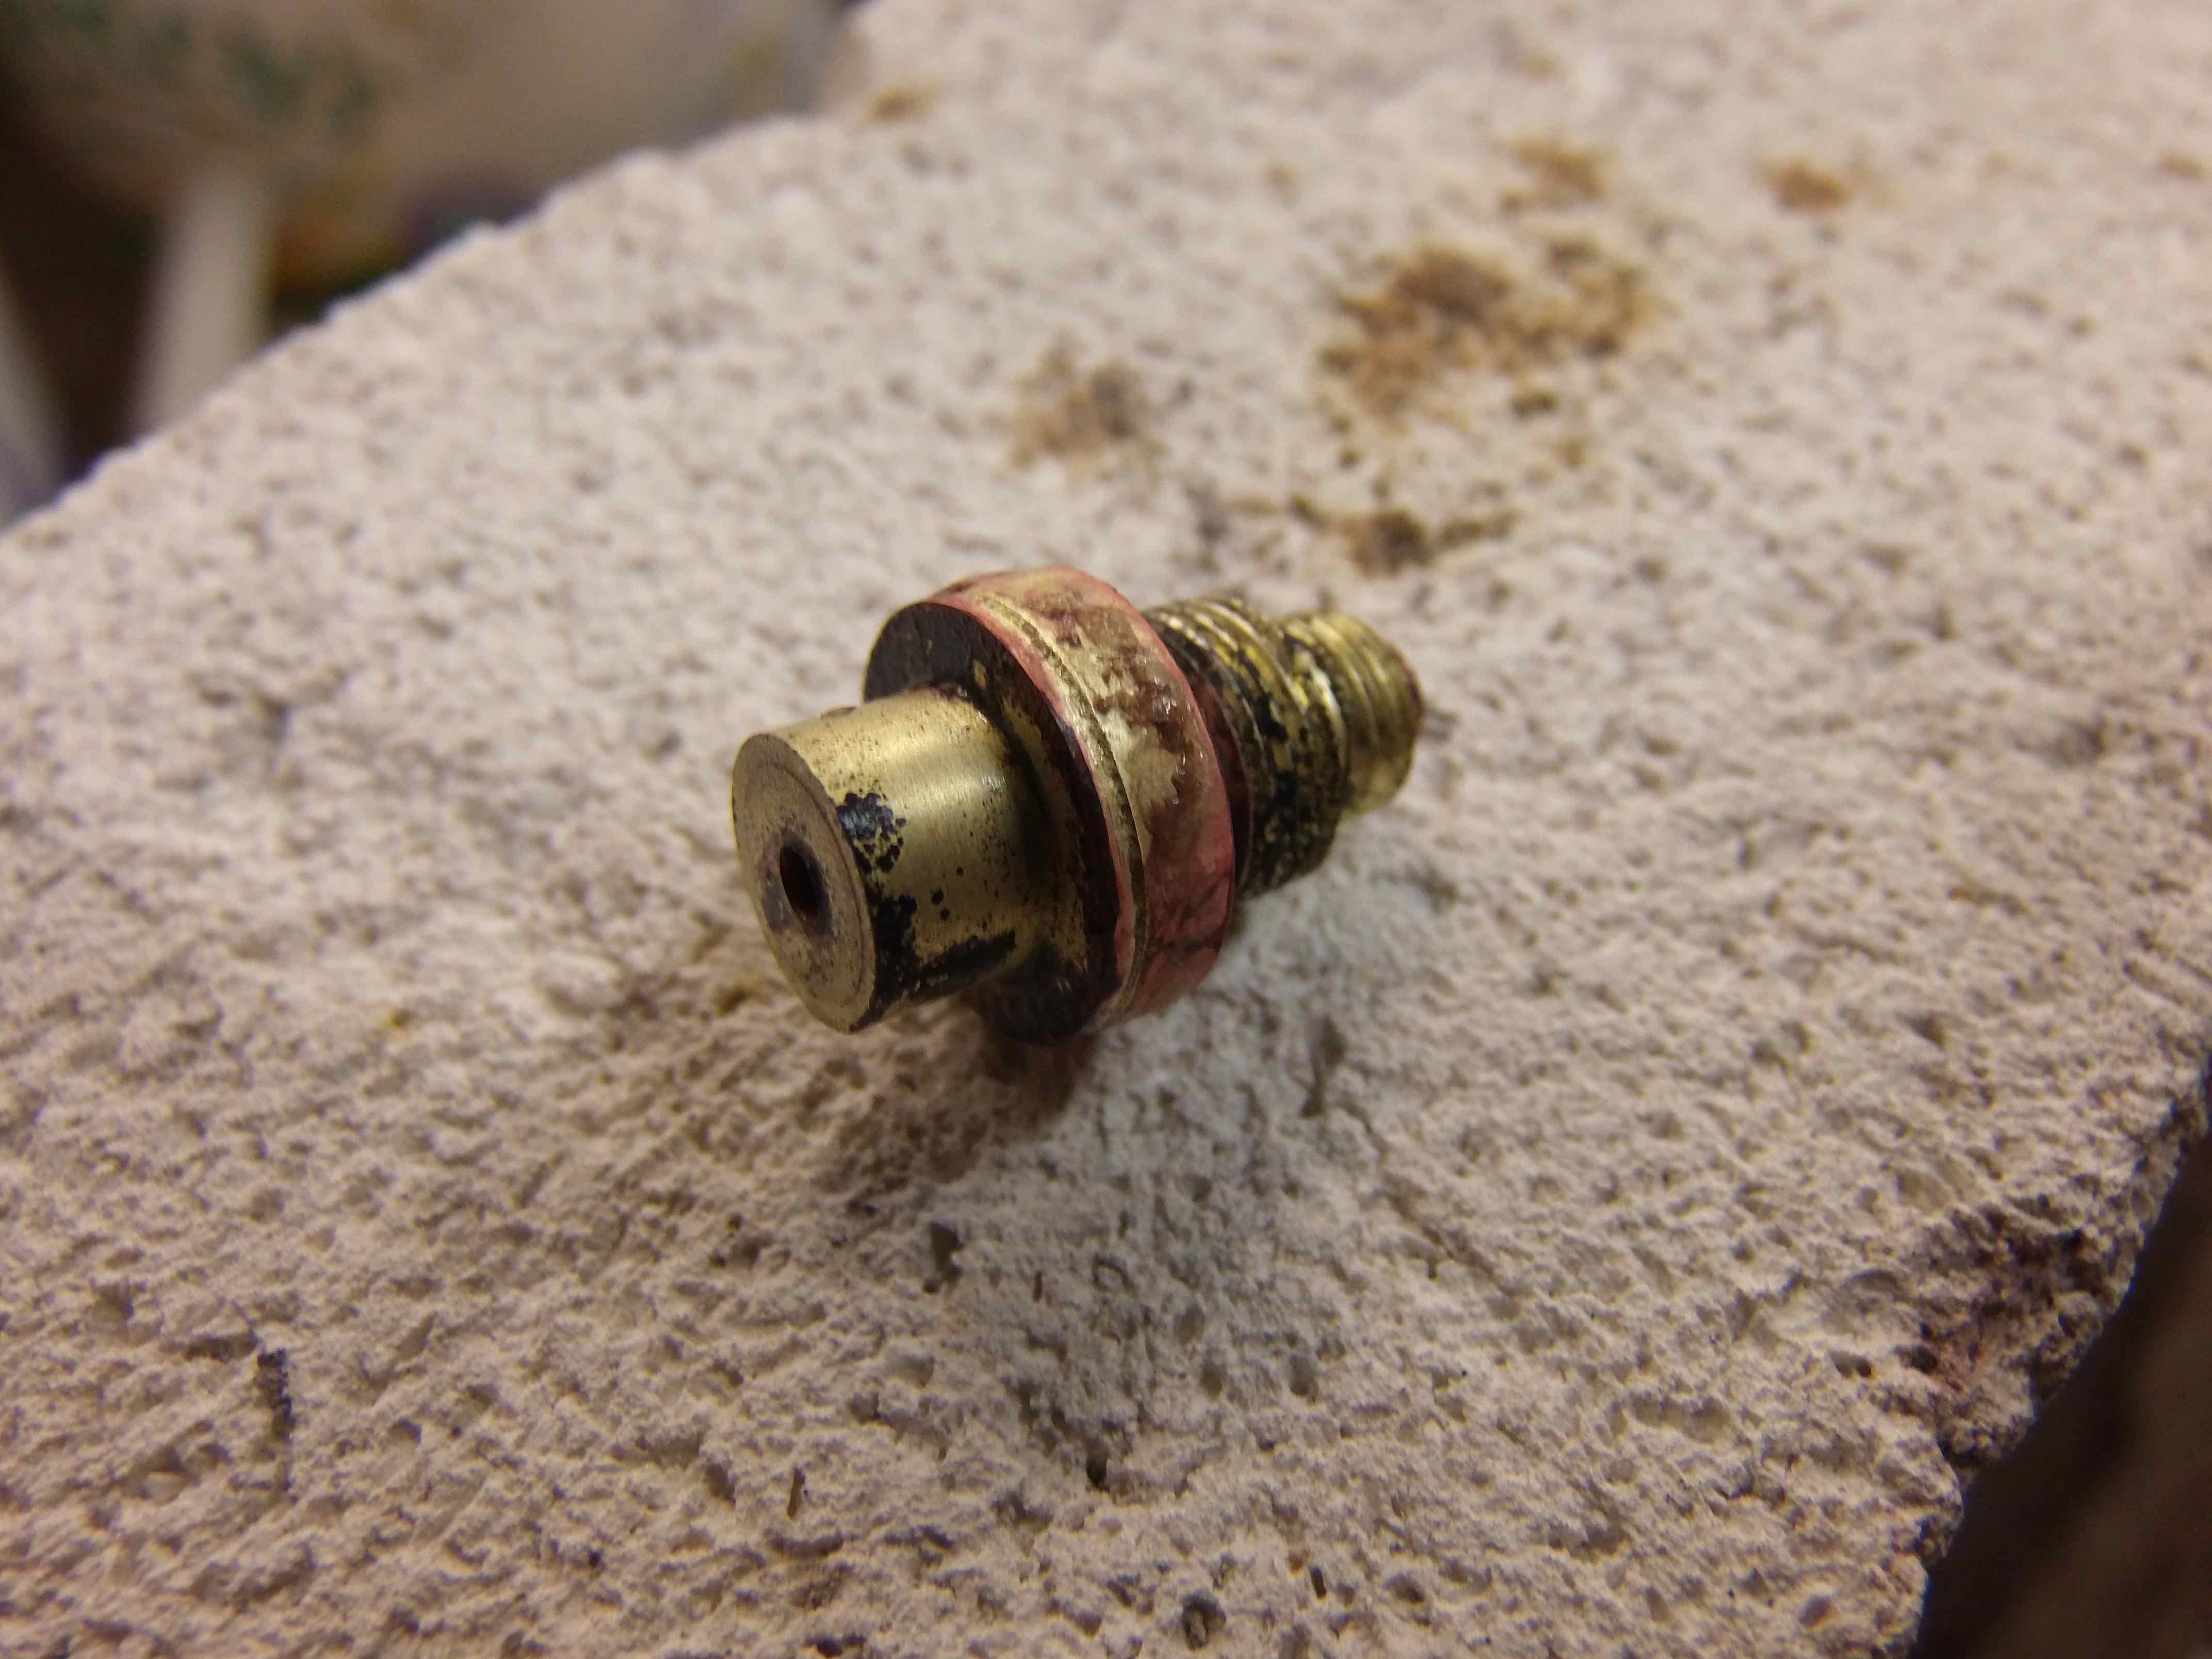
The damaged NRV head removed from the pump tube end block.

This stubborn NRV had a lead washer in place under the head. Didn’t seem to do much good to assist in removal, though. This is often the case with old lead washers as they seem to tend to get brittle and harder with age.

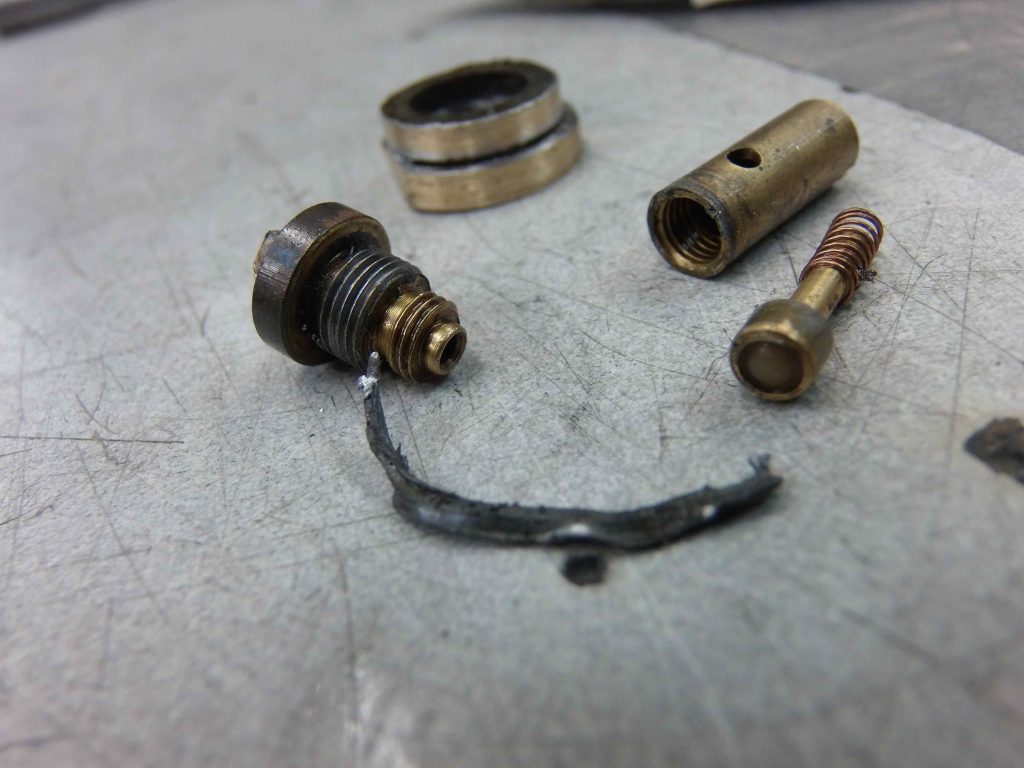
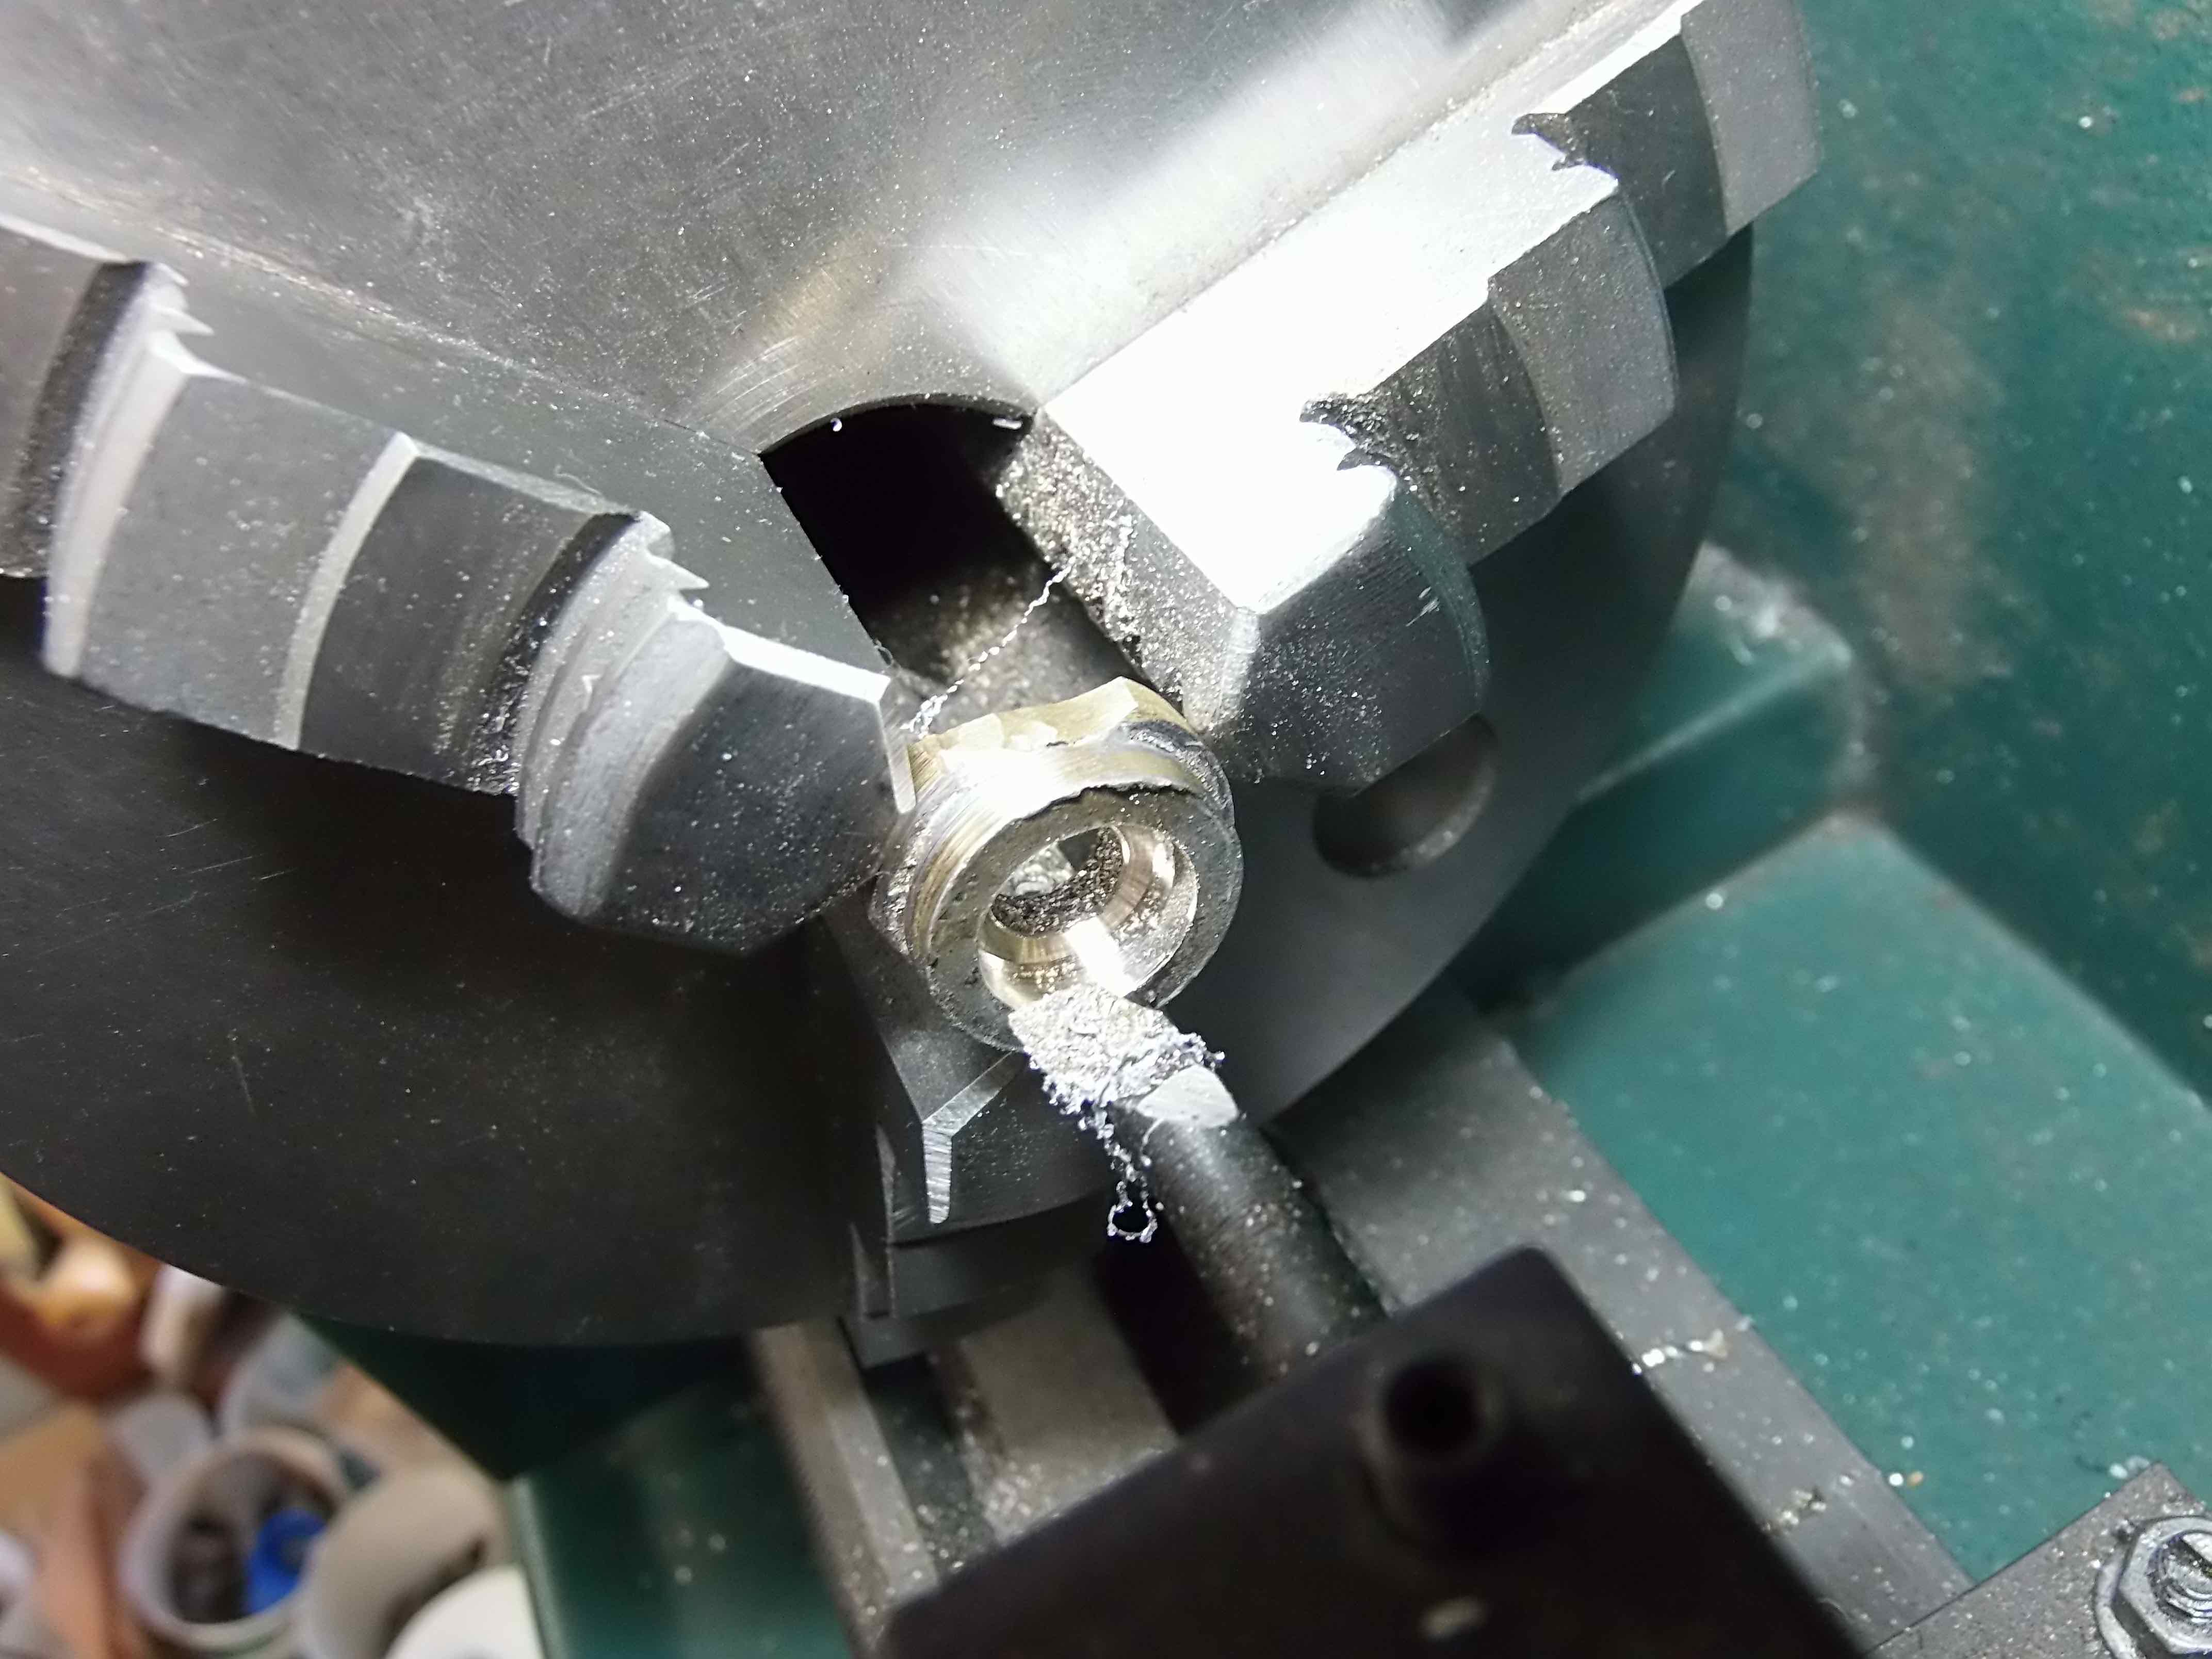
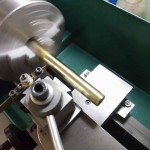
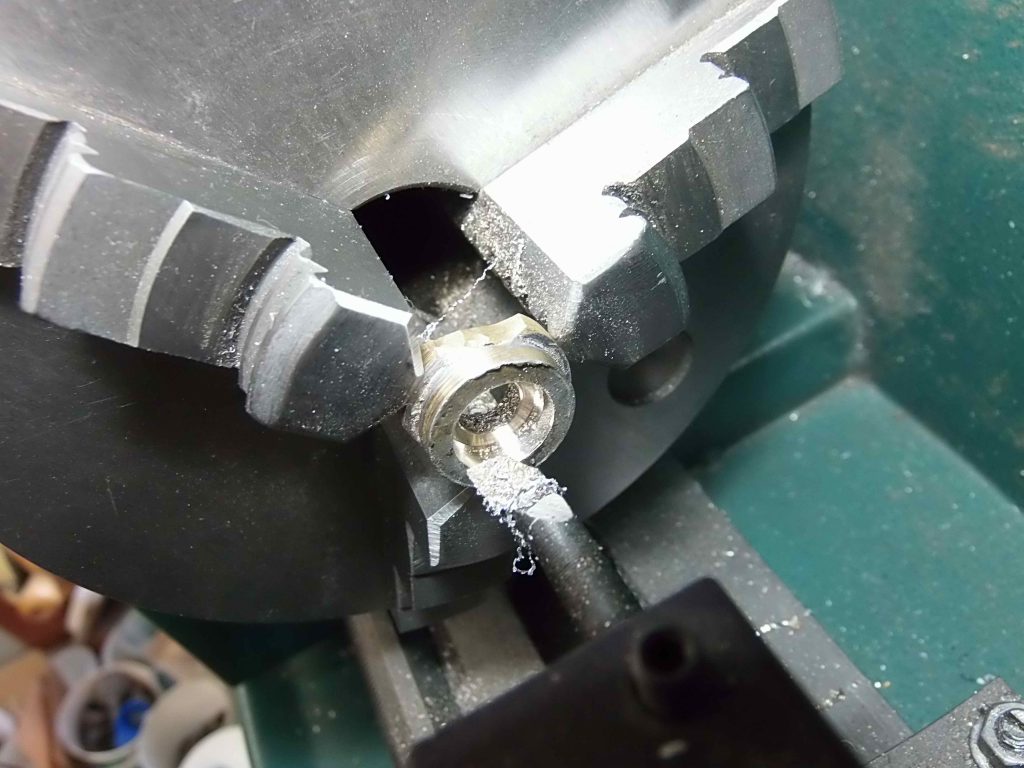
Because I had to desolder the end block inside the tank and with little control to the operation, the lead washer “migrated” a bit into the block and also into the threads of the block. I chose to clean the lead residues out of the block as I didn’t want this old lead to be causing me problems later on when resoldering the assembly together (I wanted to avoid contamination of the new solder with the lead). Spinning up the block on the lathe took care of the inside of the block and using a tap cleaned up the threads nicely without removing any brass. I’ve found through doing many pump tube pulls in the past that a 5/16″x36tpi tap is a remarkably close and completely functional match for the original proprietary non-standard NRV head threads.

Getting the lead out.

Cleaning the threads.

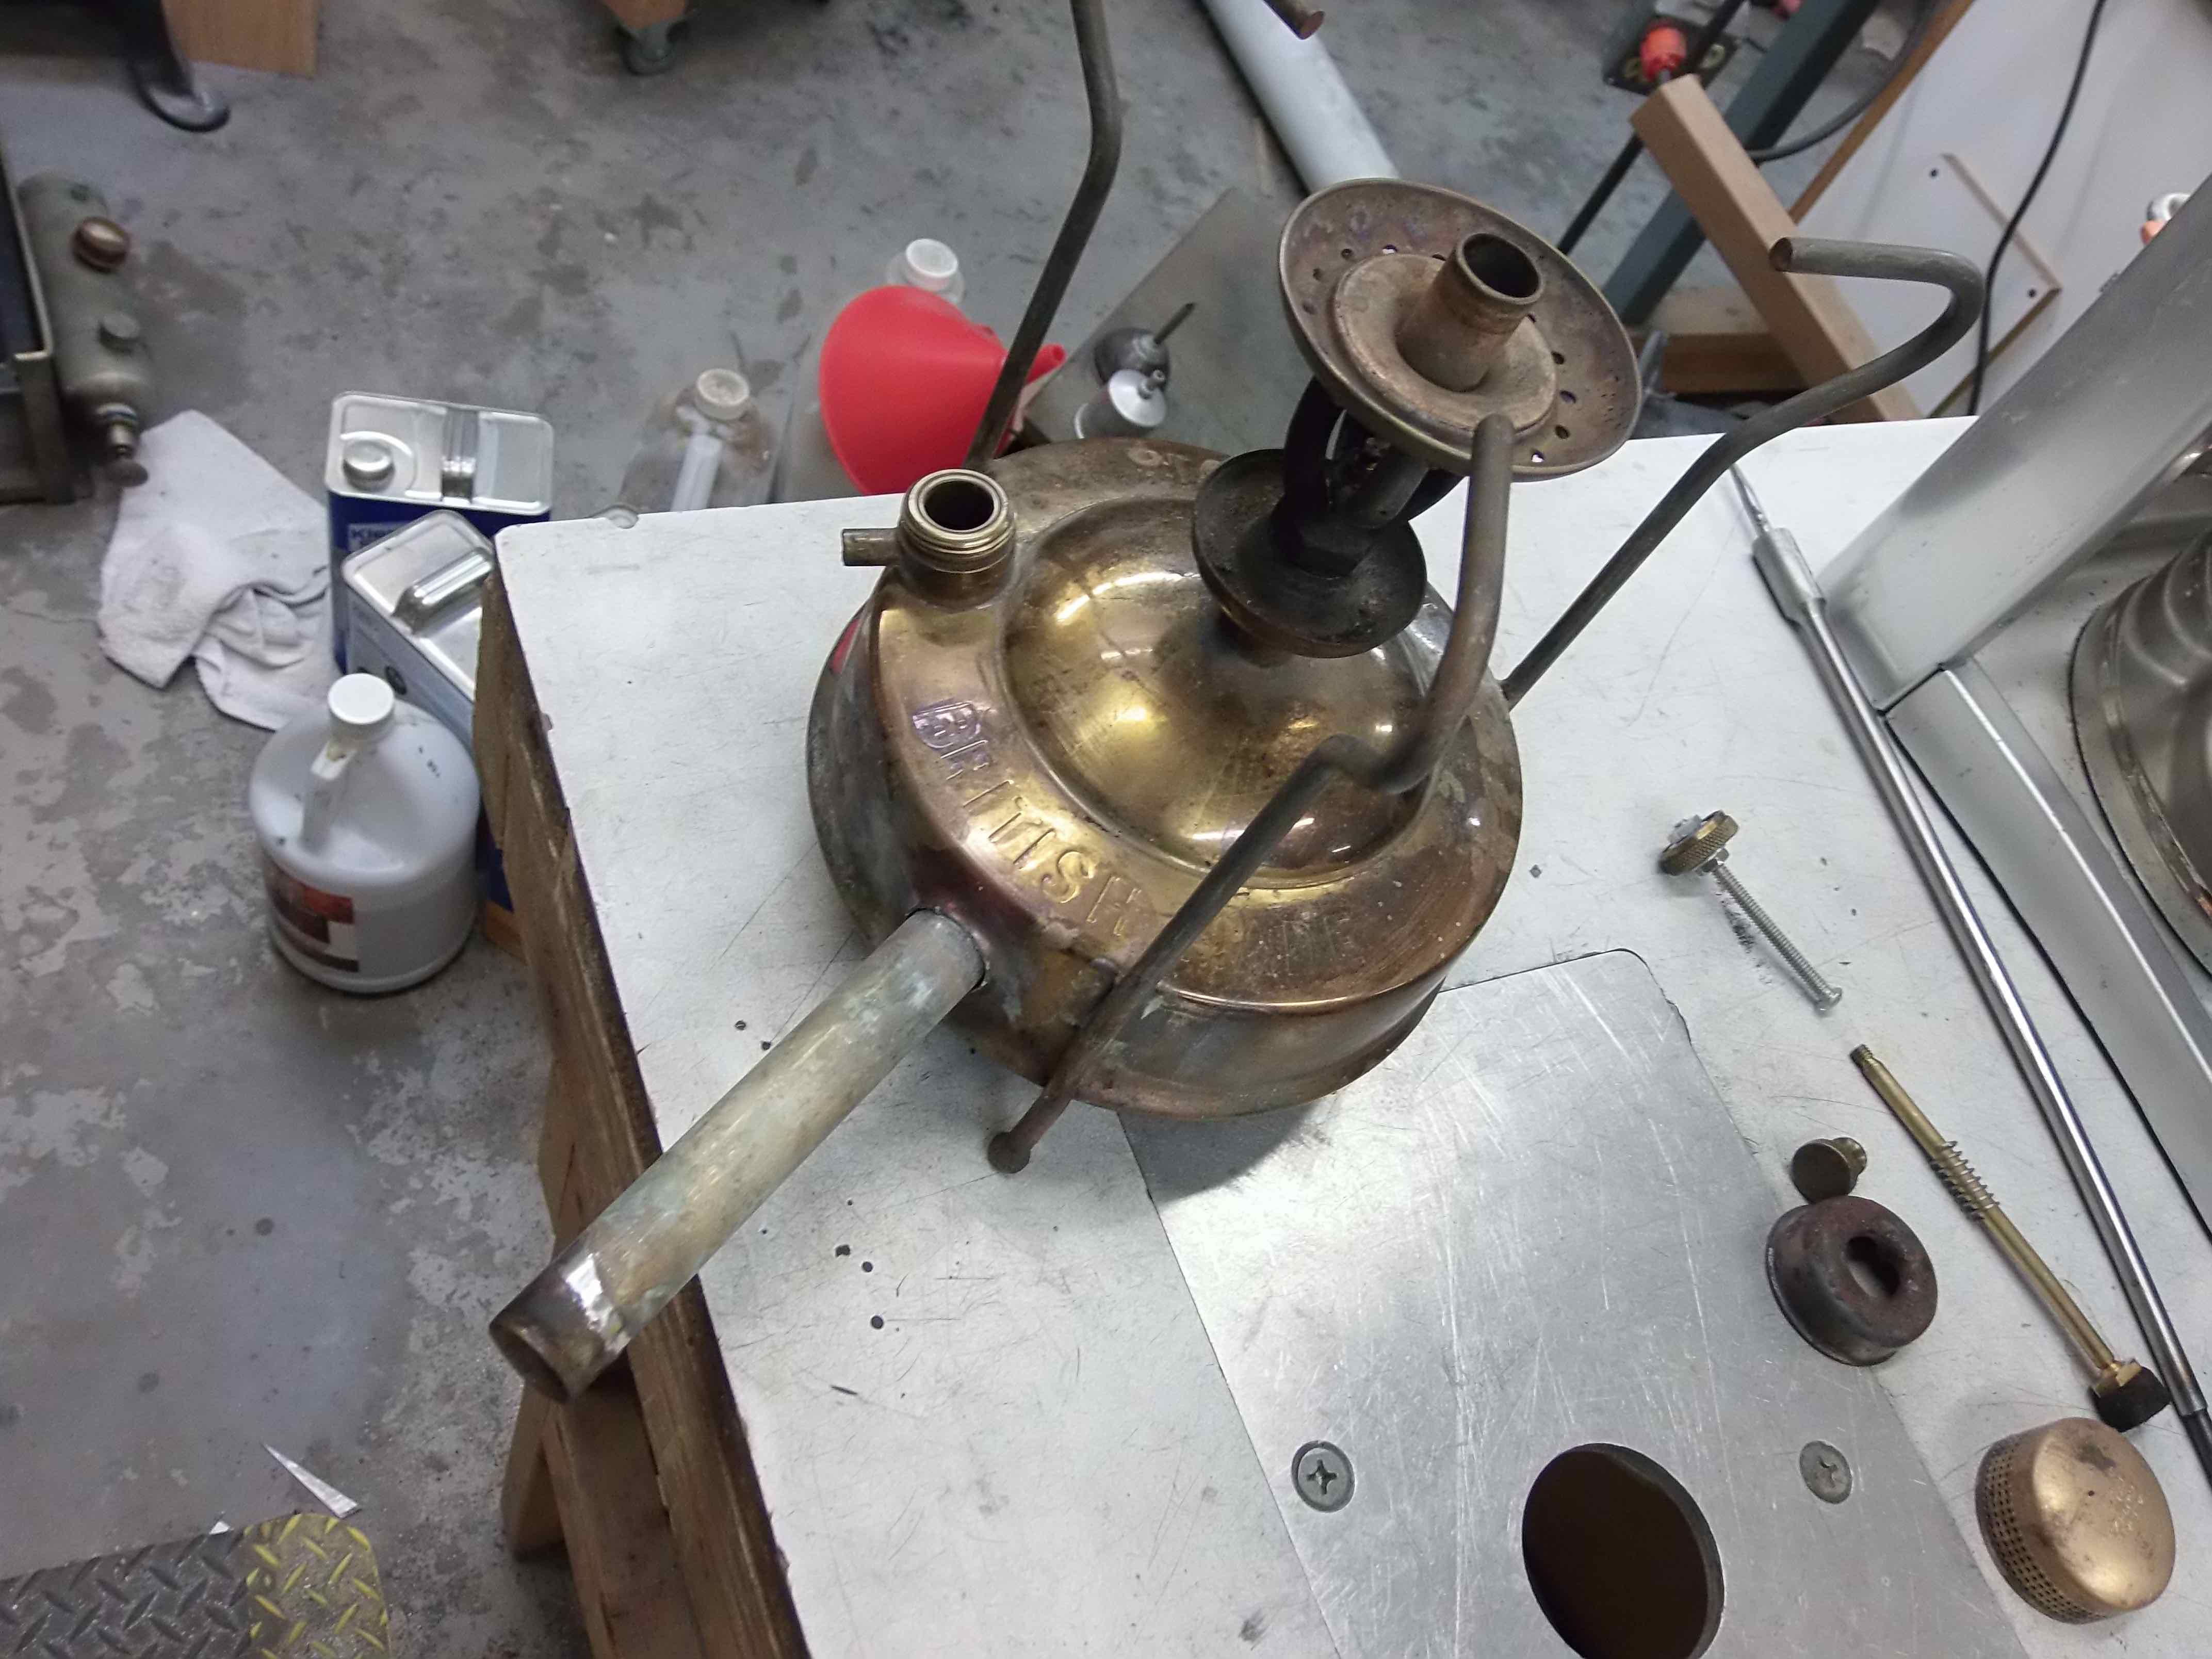
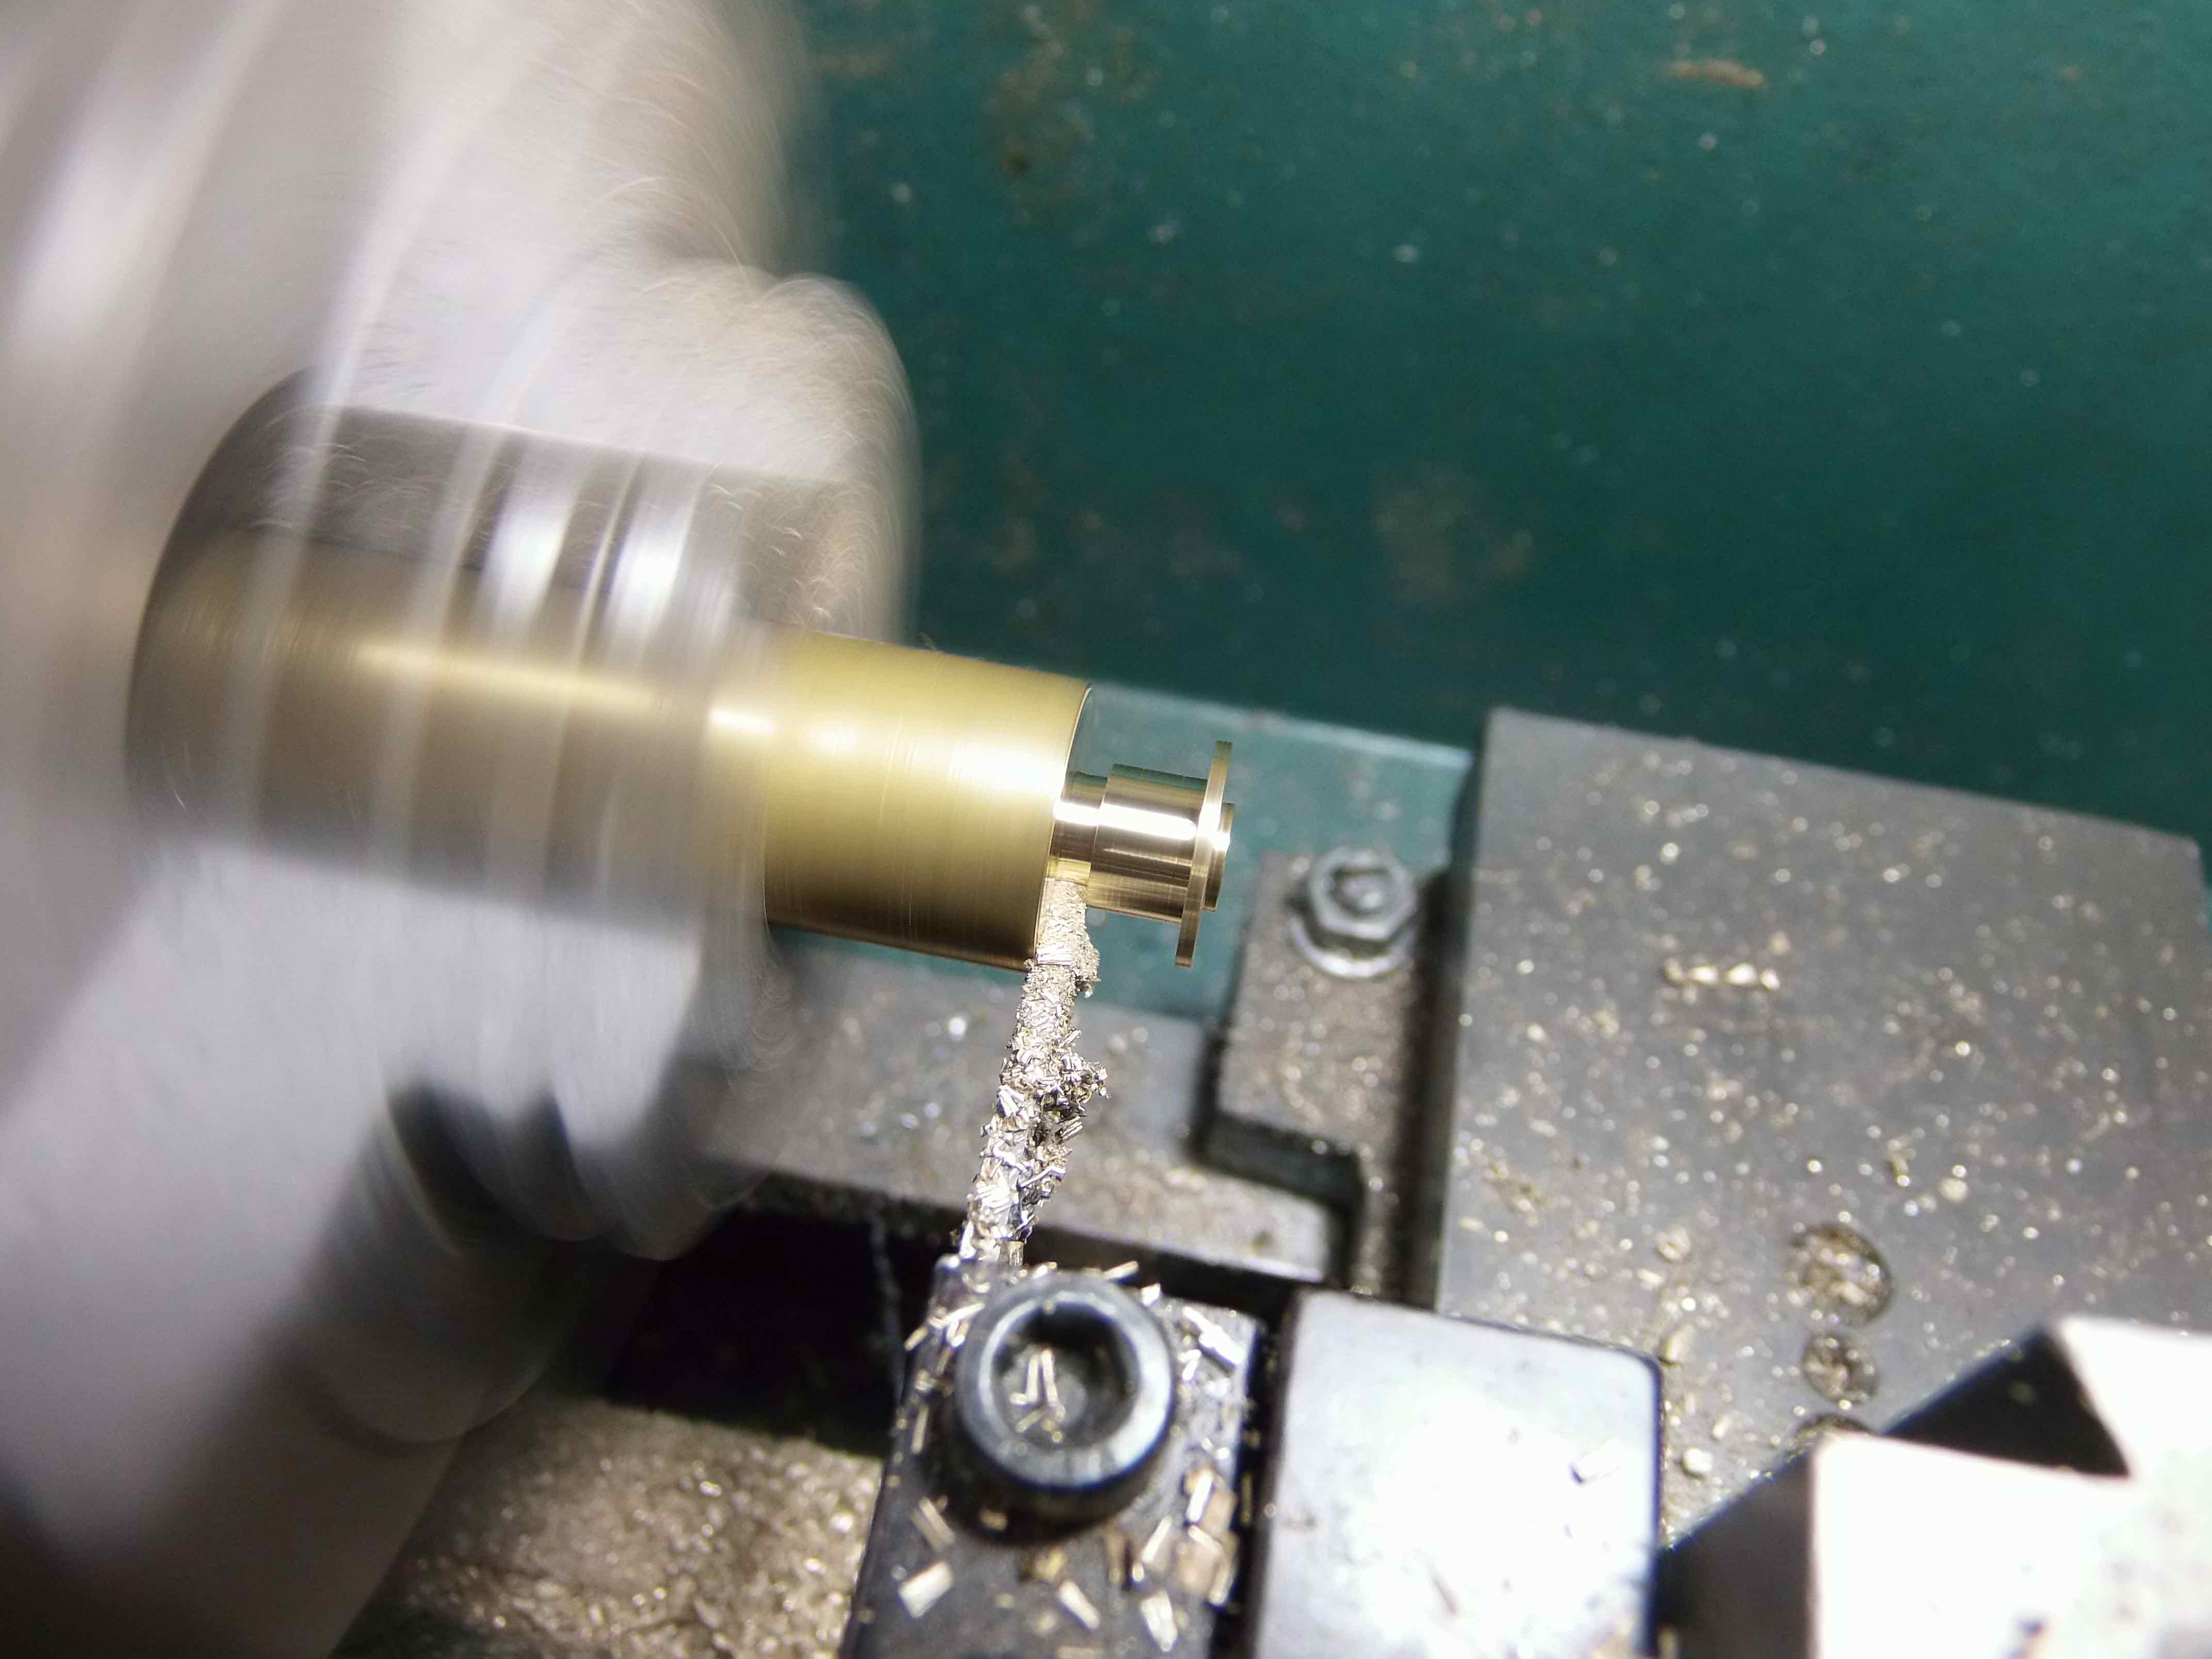
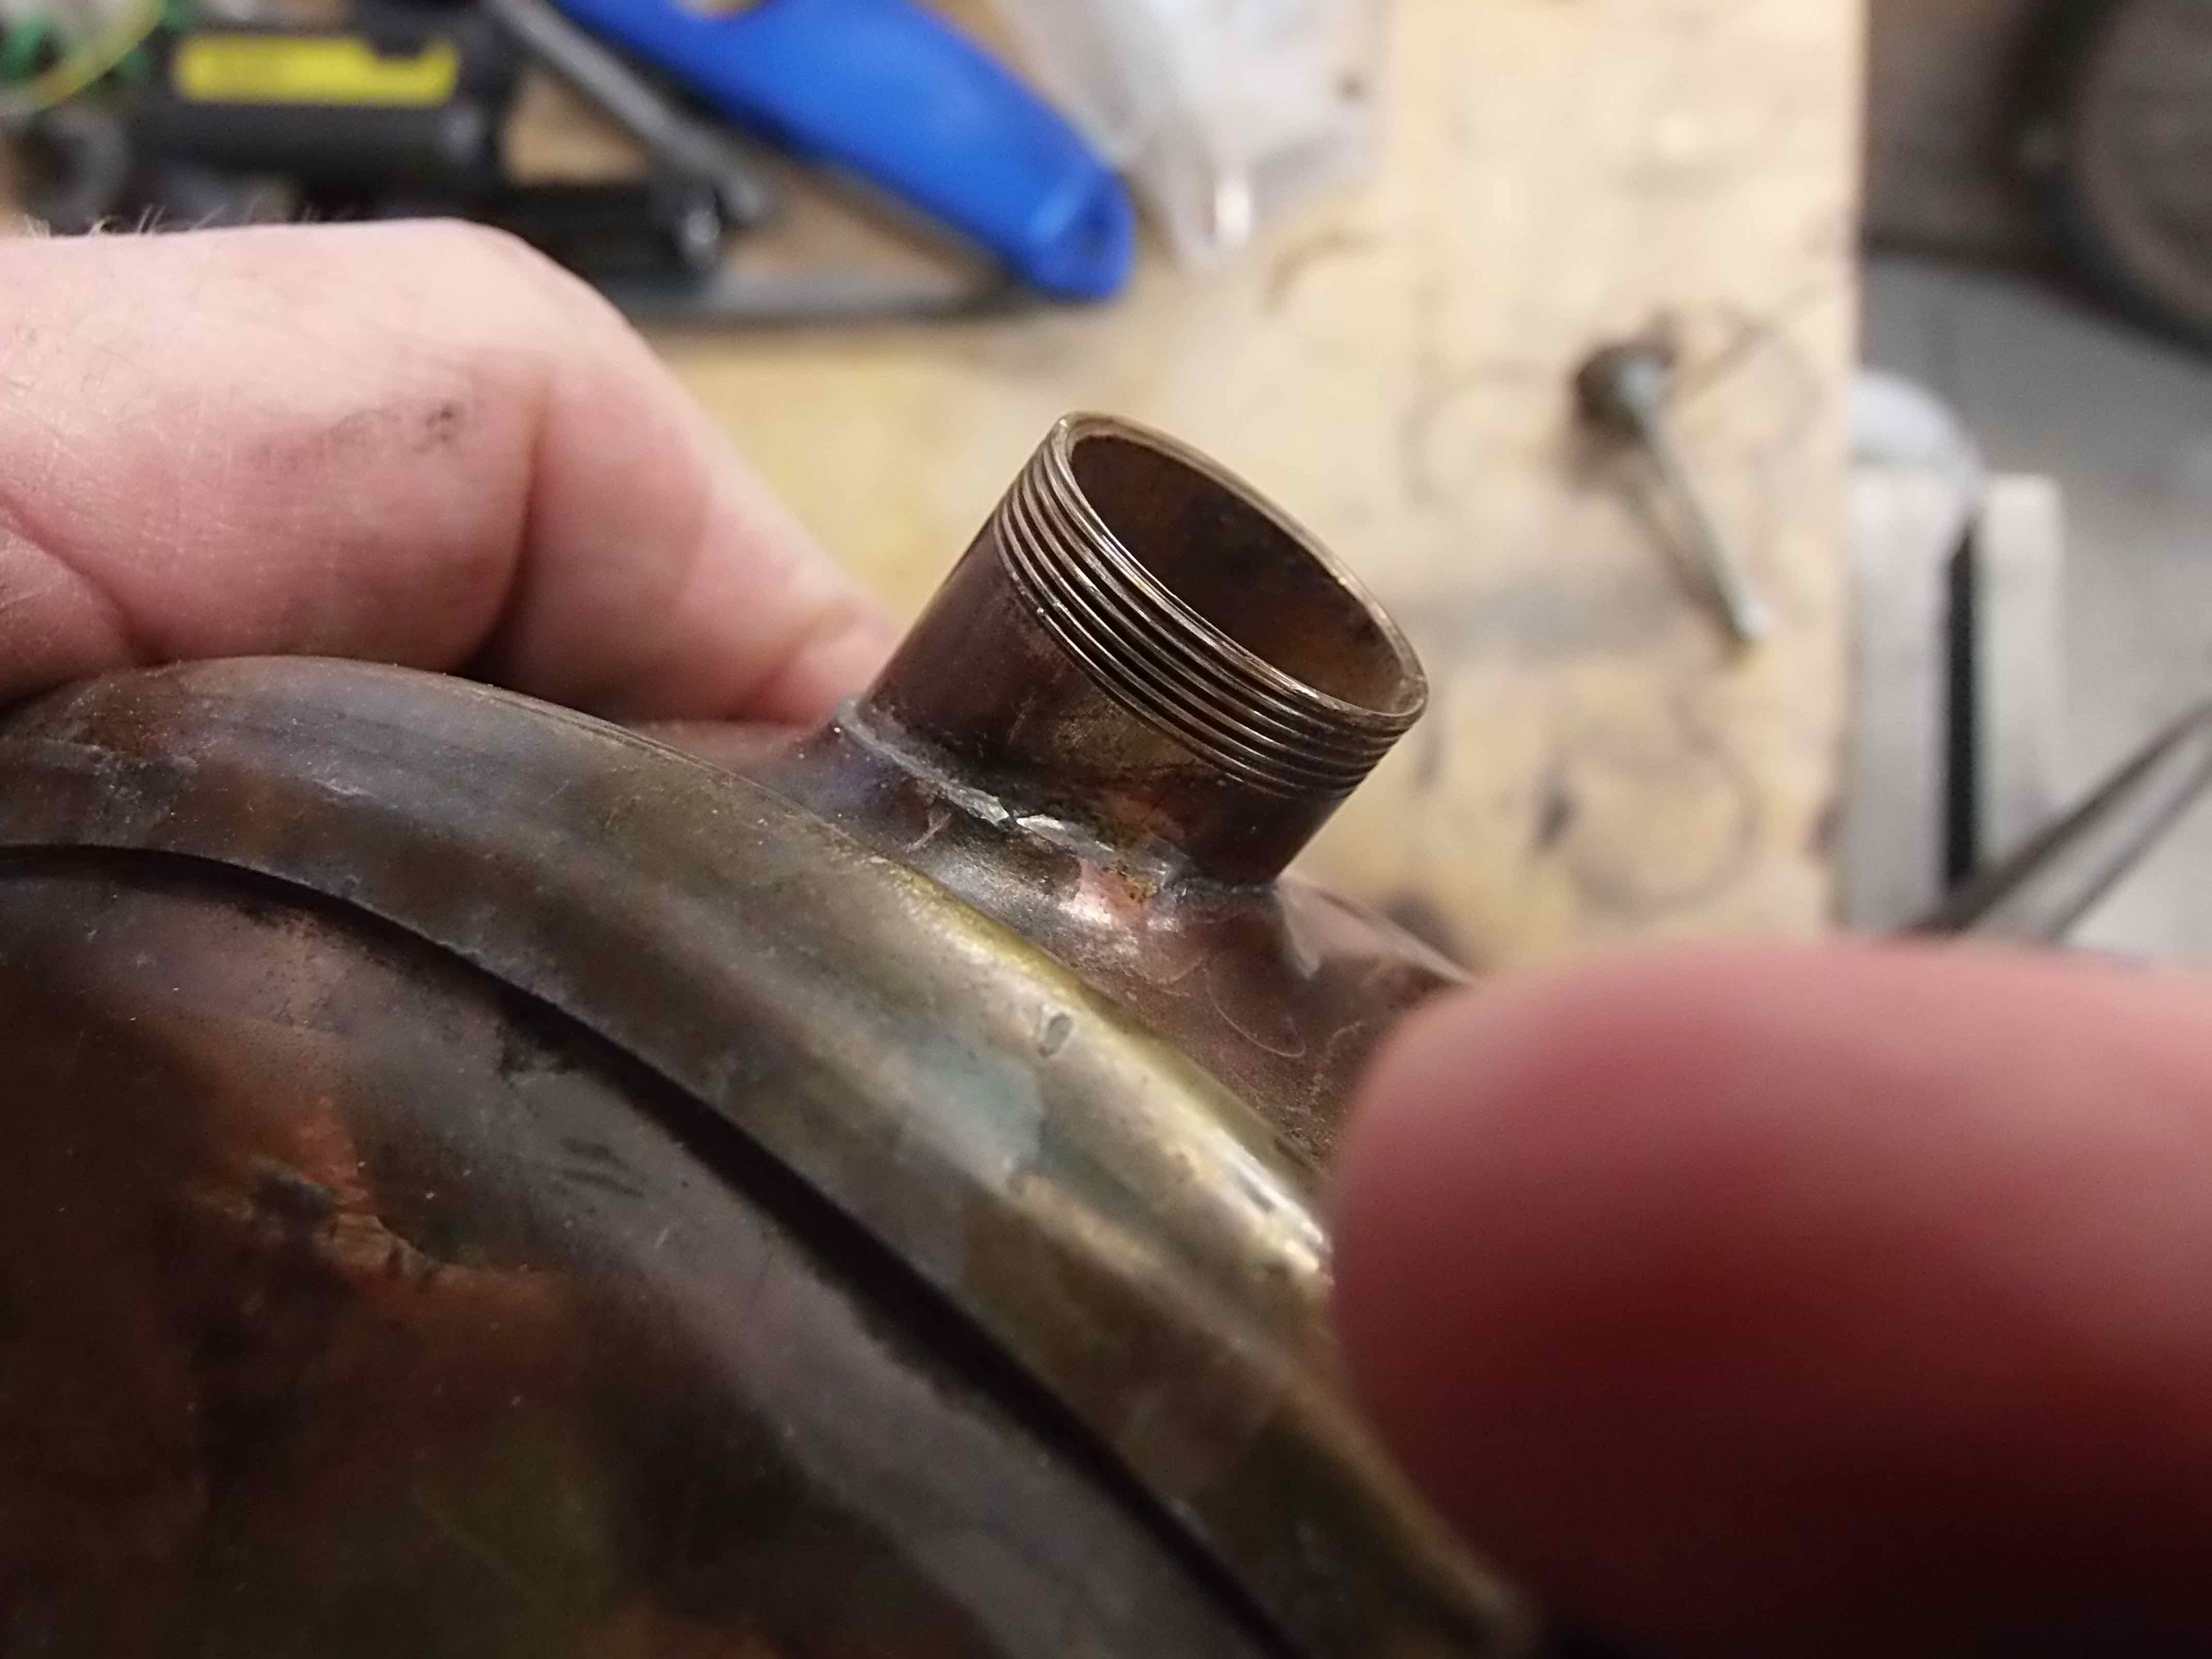
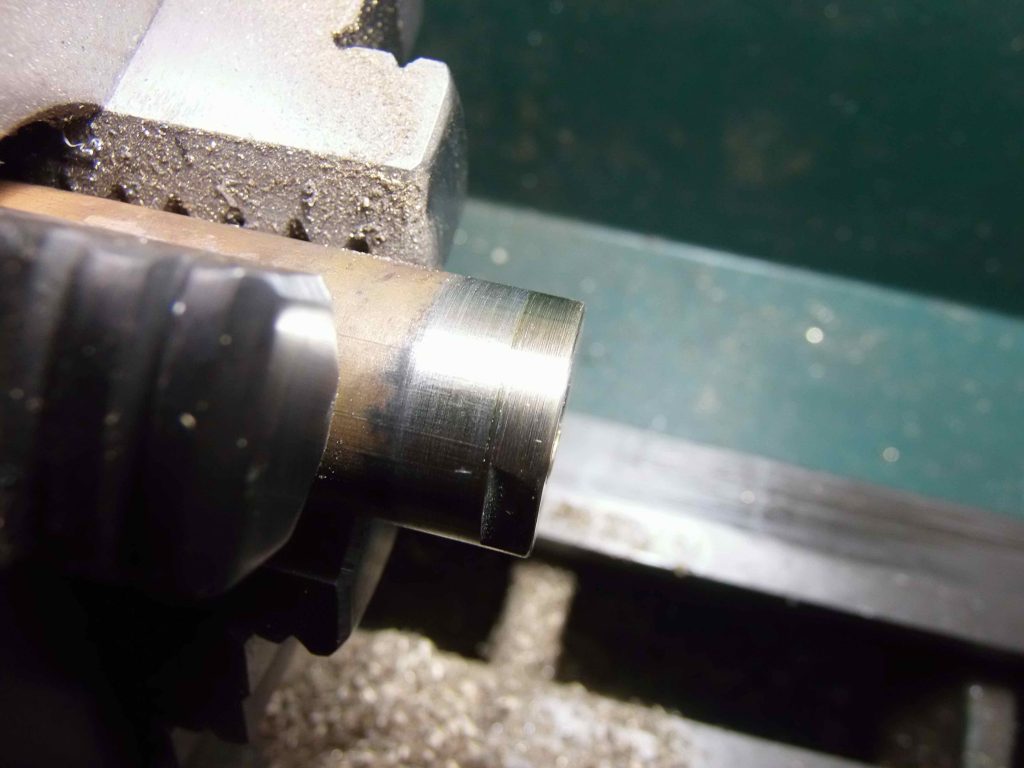
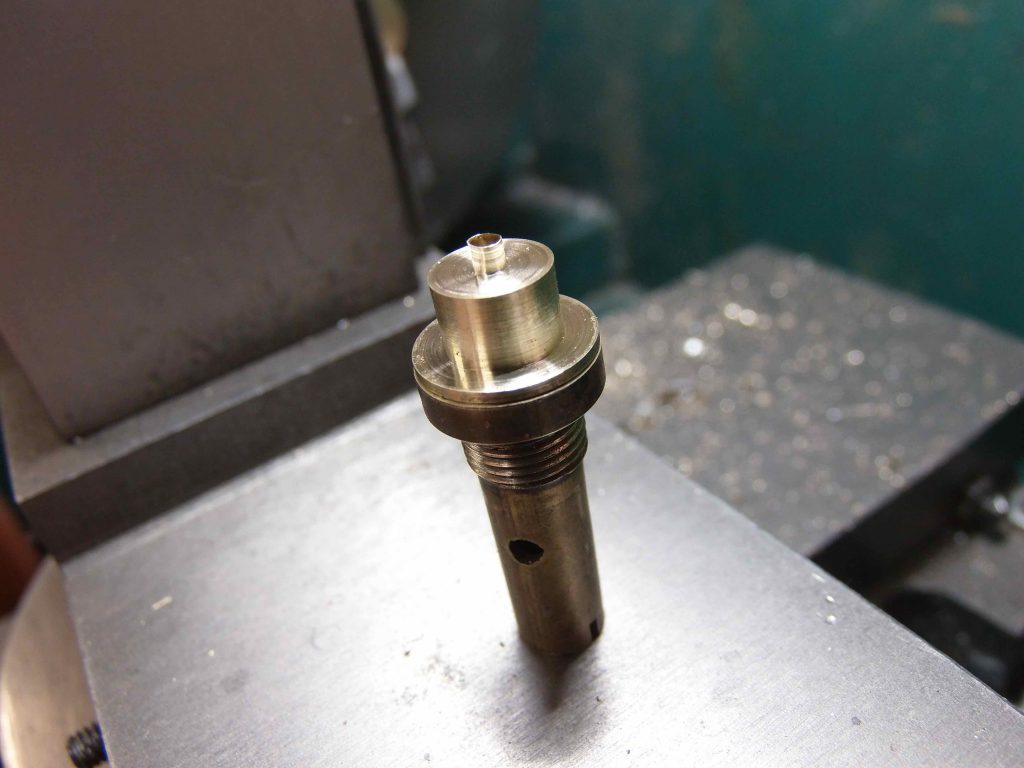
So… I then soldered the end block back into the pump tube, then turned the pump tube end block flush with the pump tube diameter so that I could get the assembly (easily and sensibly) back inside the stove tank.

I needed to cut a special small pip for the small-size “tailed” Monitor pip cup.

From left and for comparison – standard NRV pip, small weird Monitor NRV pip (about 3.5mm in diameter), Monitor pip cup with it’s long “tail”, standard 4.5mm pip cup.

This is the special pip cutter I made a while back for doing the 3.5mm size pip cups (left) next to the Monitor “tailed” pip cup with its new Viton pip(right).

I also chose to rebuild the head of the Monitor NRV since it was slightly different than a standard NRV in an effort to keep things sorta “original” looking.

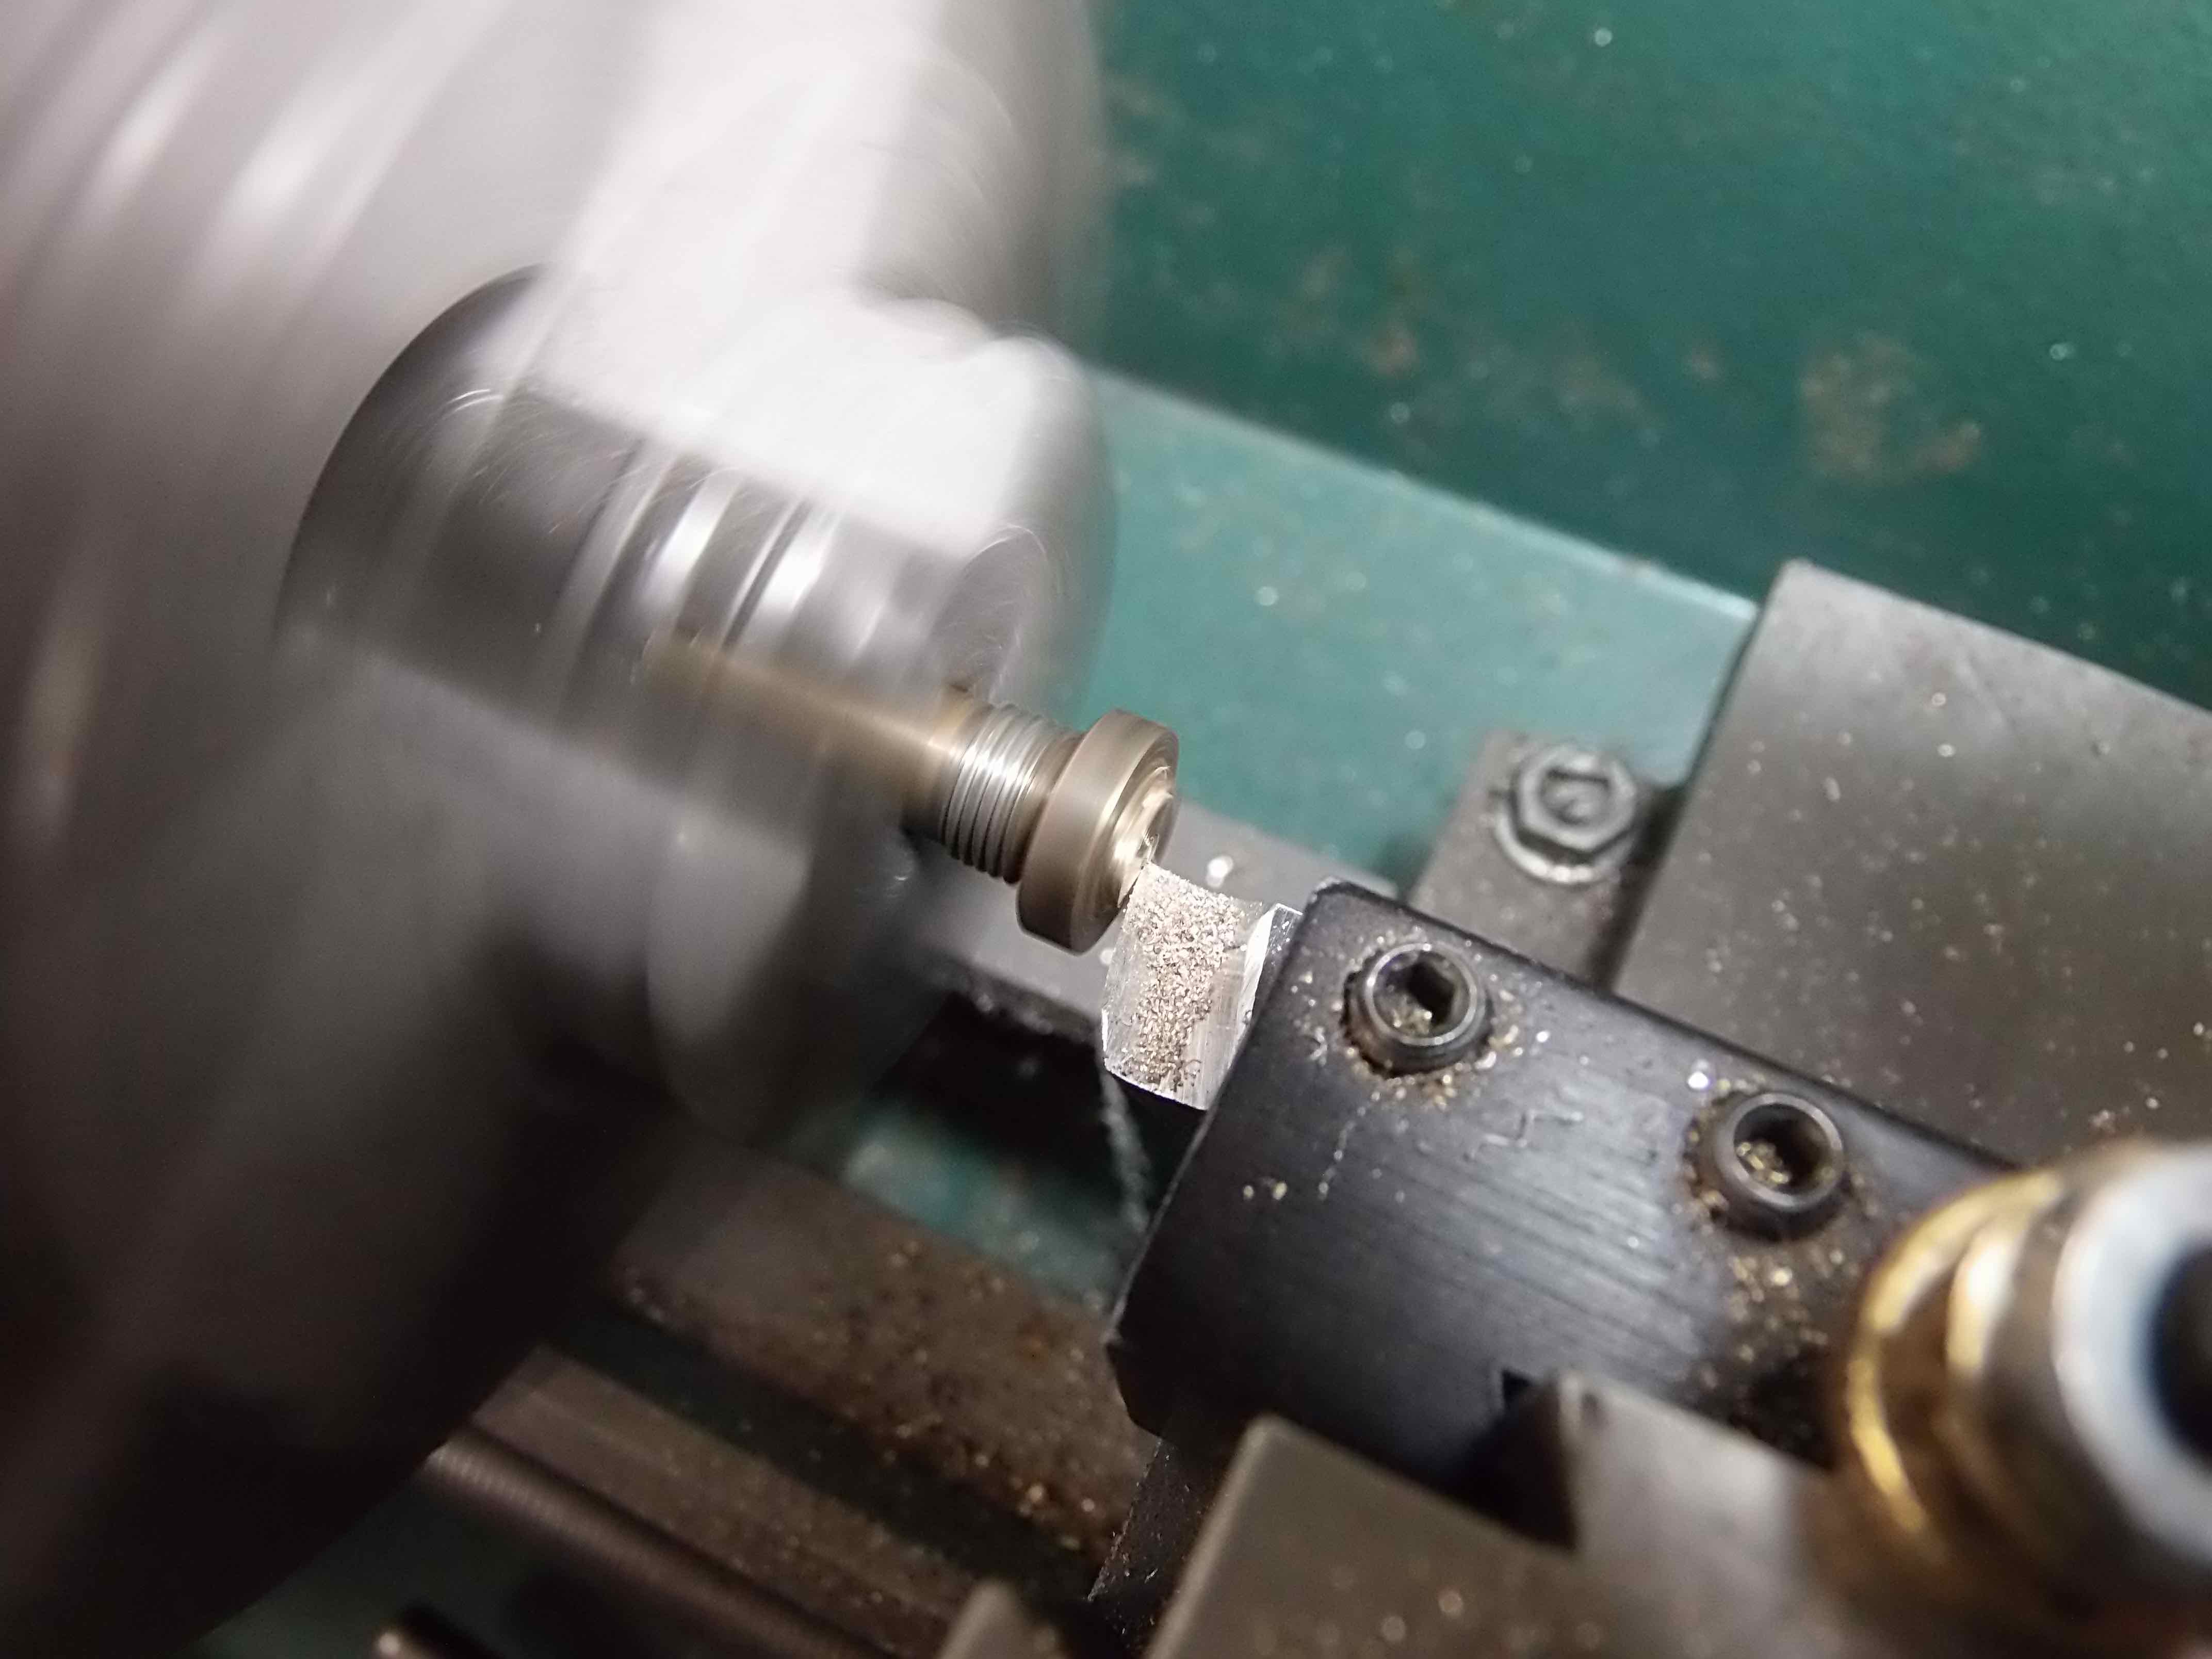
First step was to machine off the twisted remnants of the NRV head.

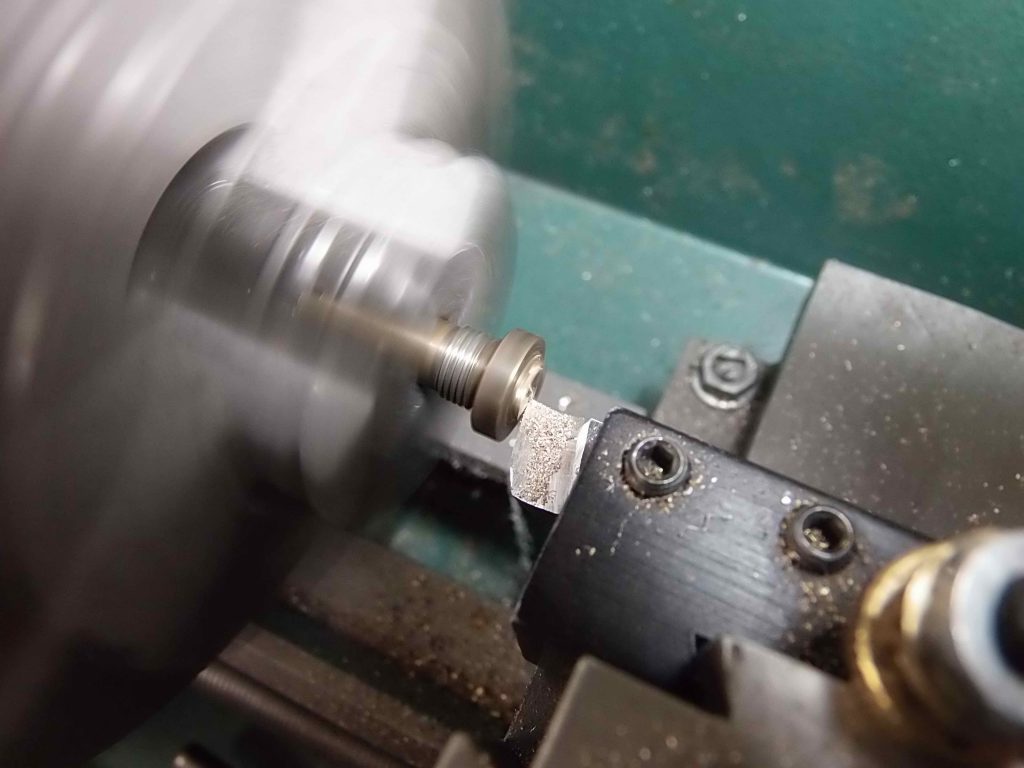
Machining the NRV head flat.

Then I cut a socket or “mortise” into the head of the Monitor NRV head.

Machining a pocket “mortise”.

Next was to machine a small piece I could silver braze to the NRV head to restore the NRV head. I made a corresponding “tenon” to fit the “mortise” I’d cut in the original Monitor NRV head.

Machining a “tenon” on the brass NRV head repair addition.

Ready to cutoff.

Checking for fit.

Silver brazed together.

I cleaned up the brazed head, then hand-filed the two facets in the head.

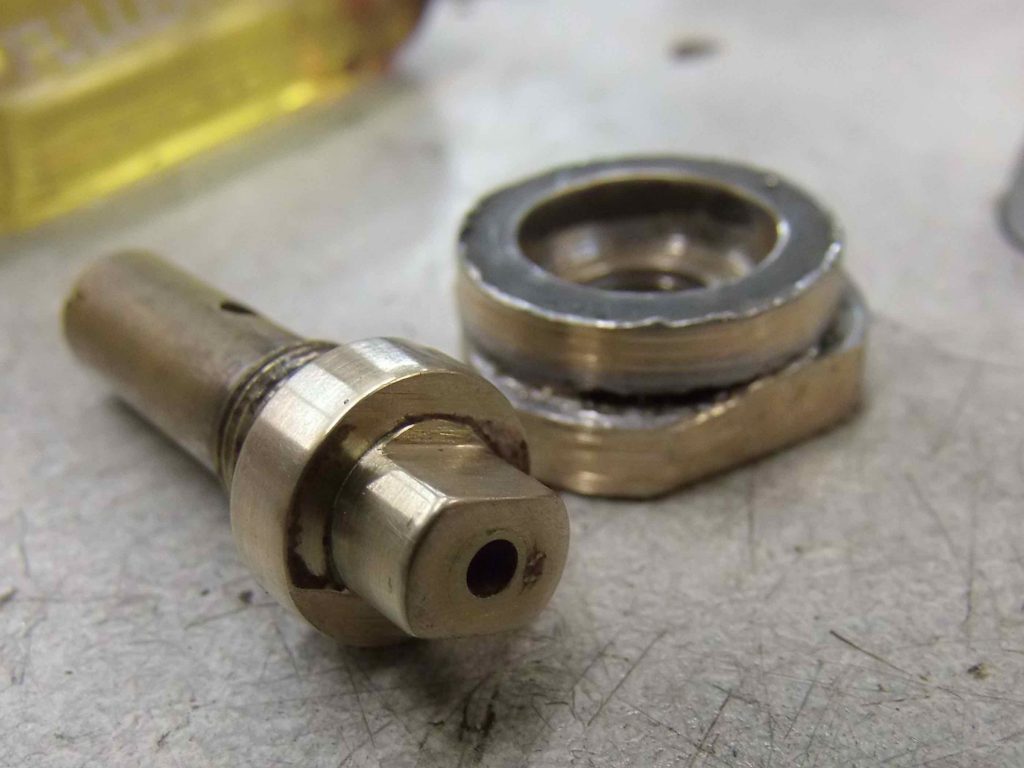
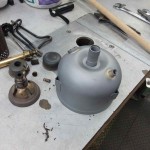
Newly rebuilt NRV head with hand-filed facets. Pump tube end block all cleaned up and ready to resolder.

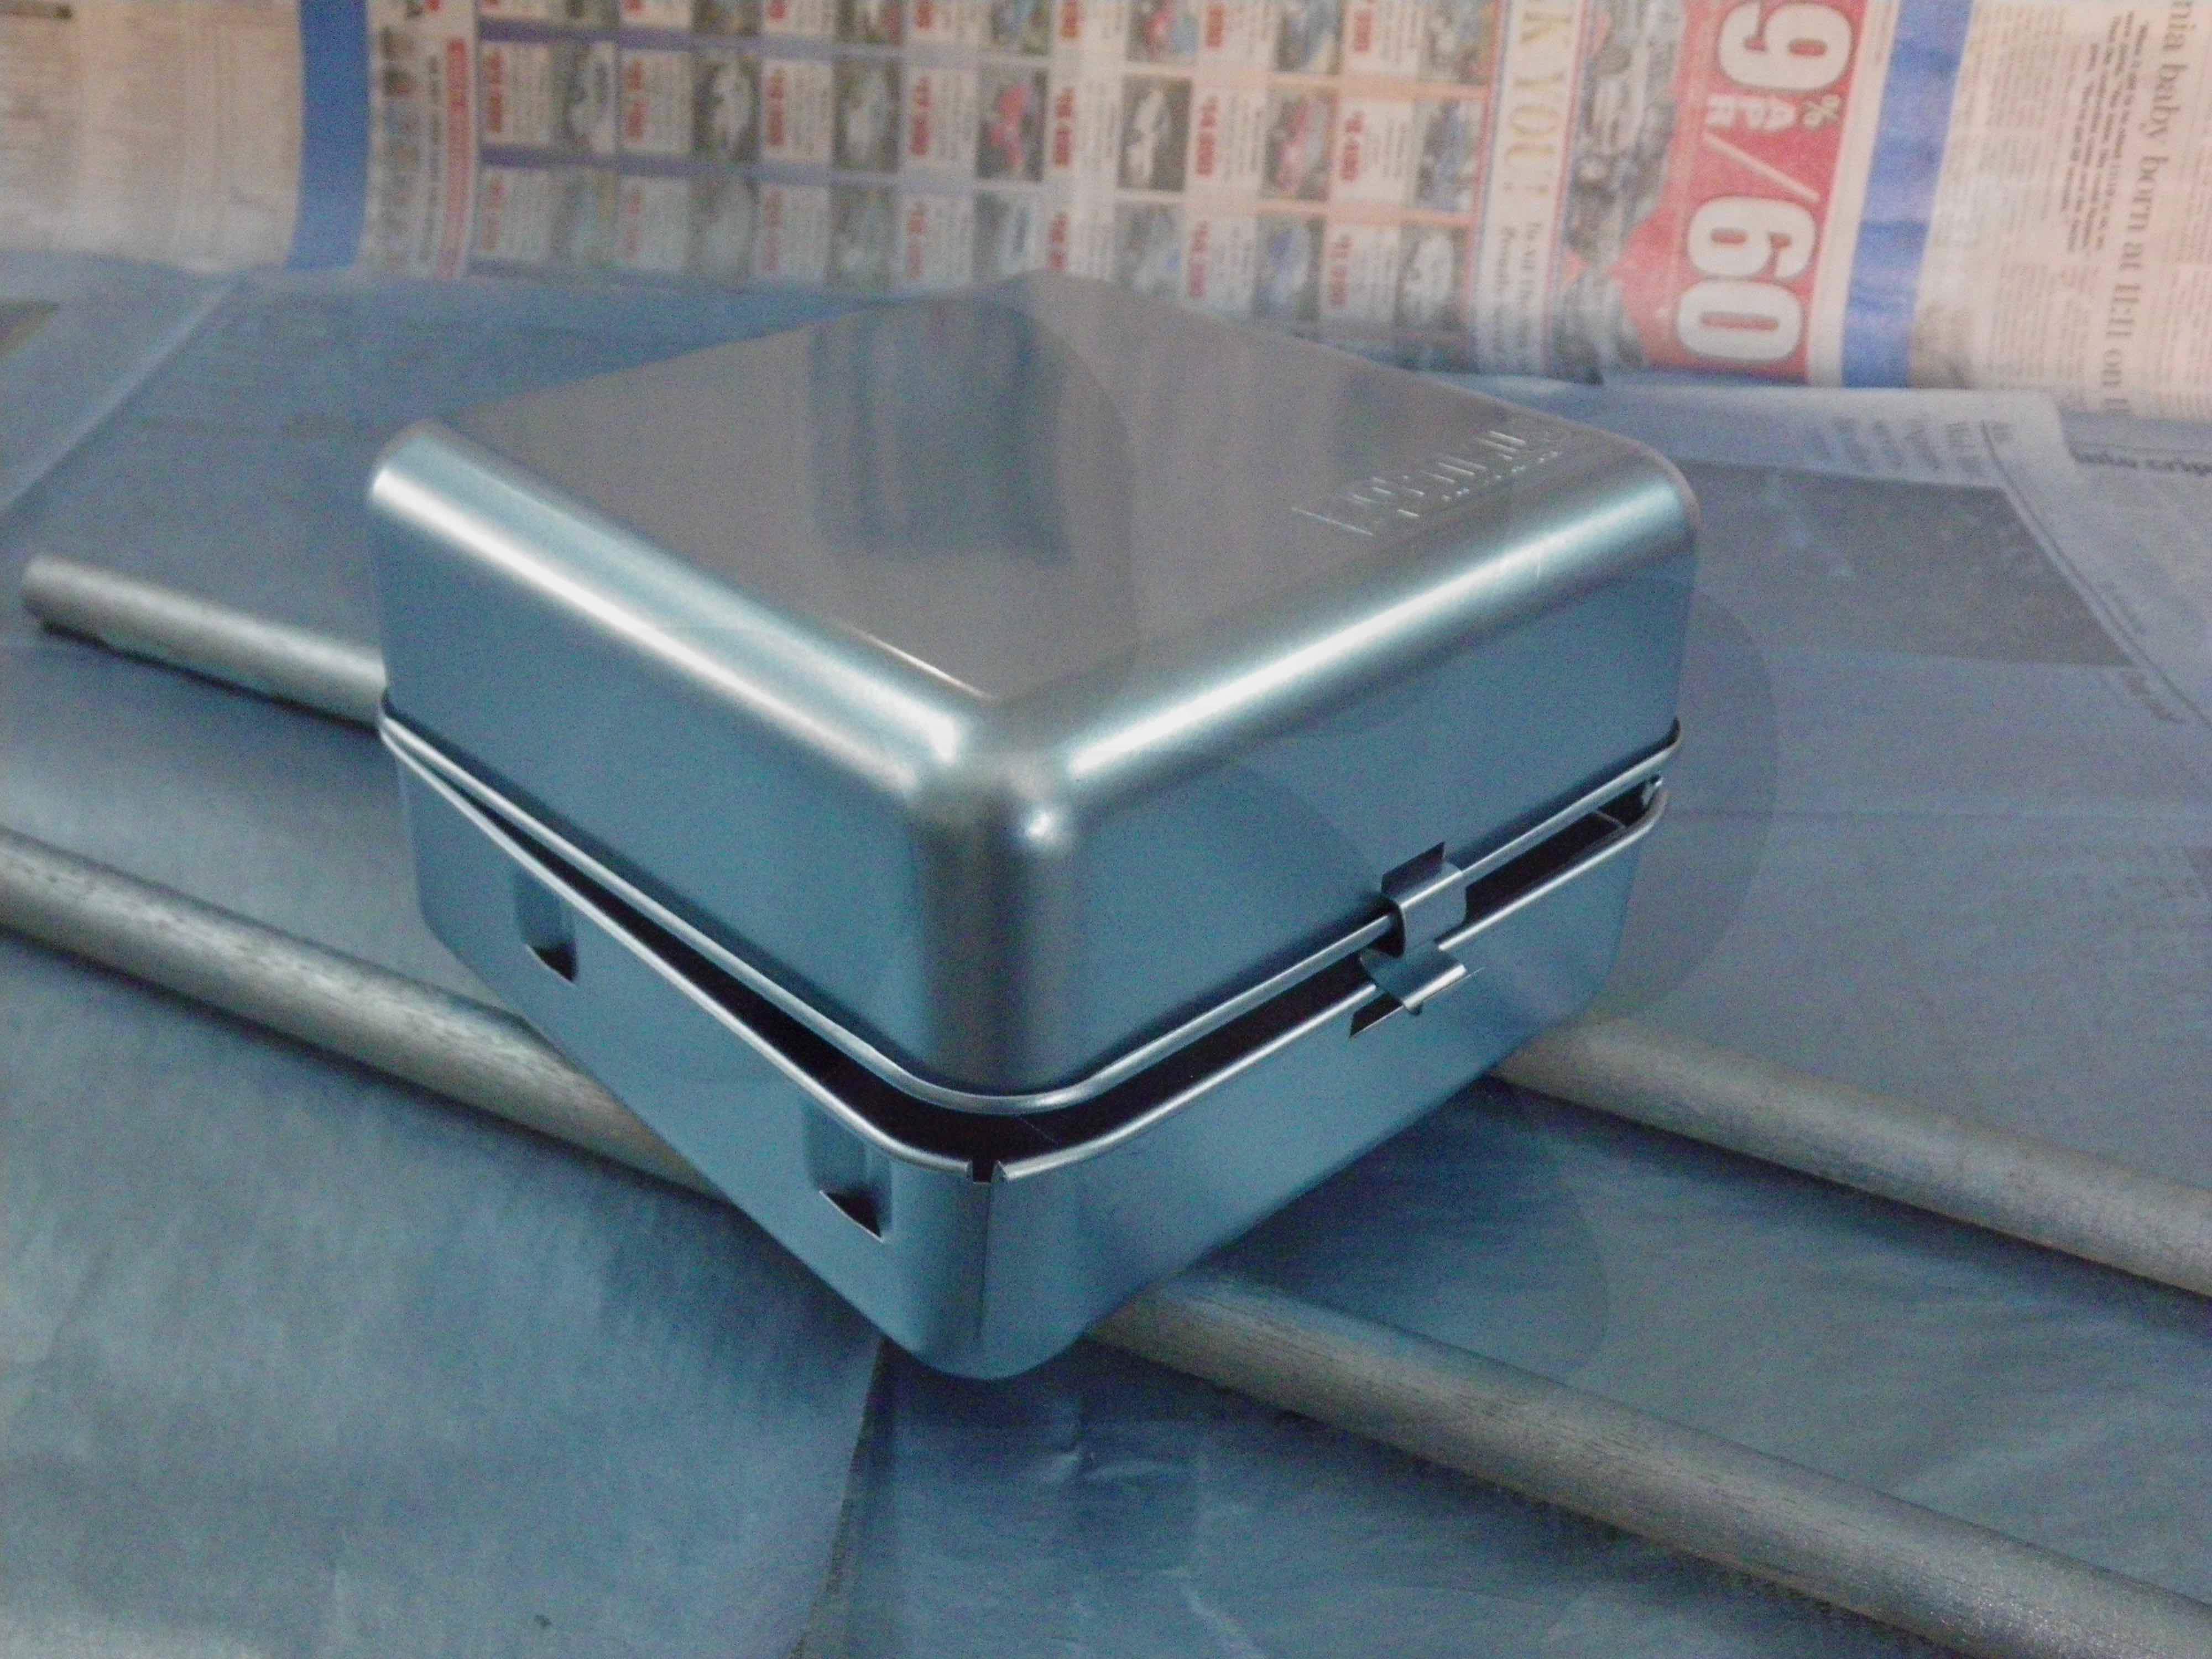
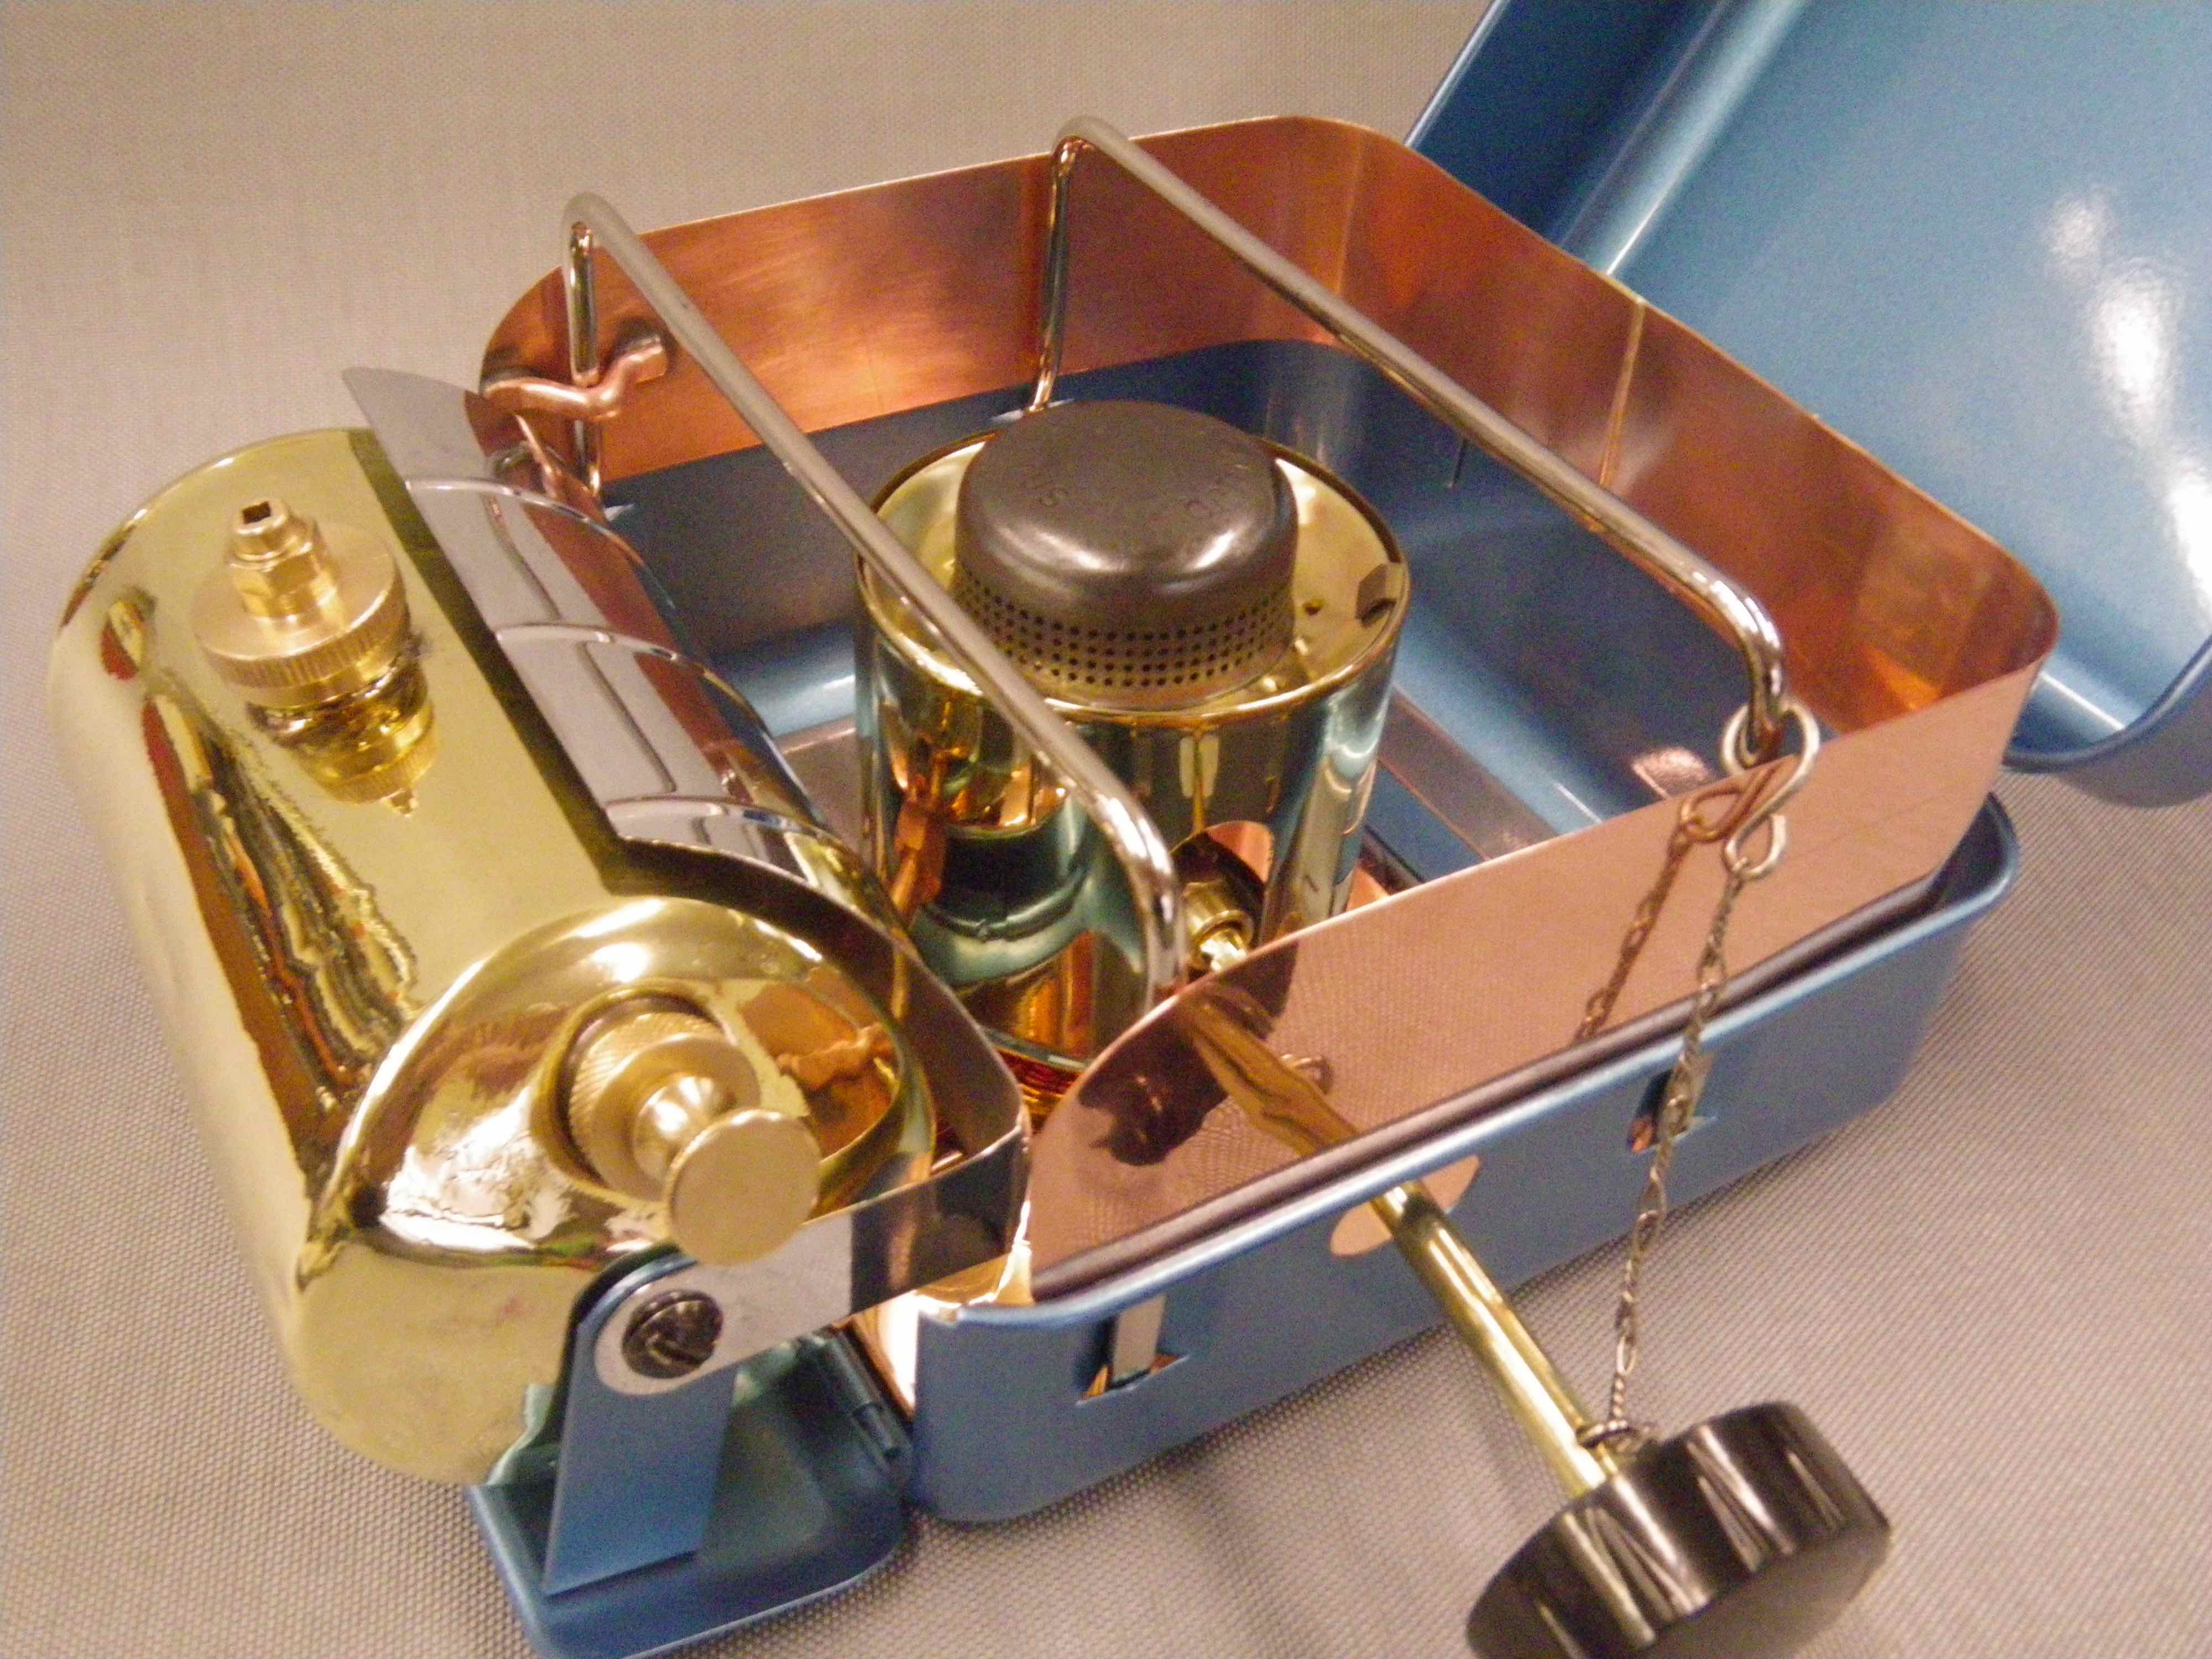
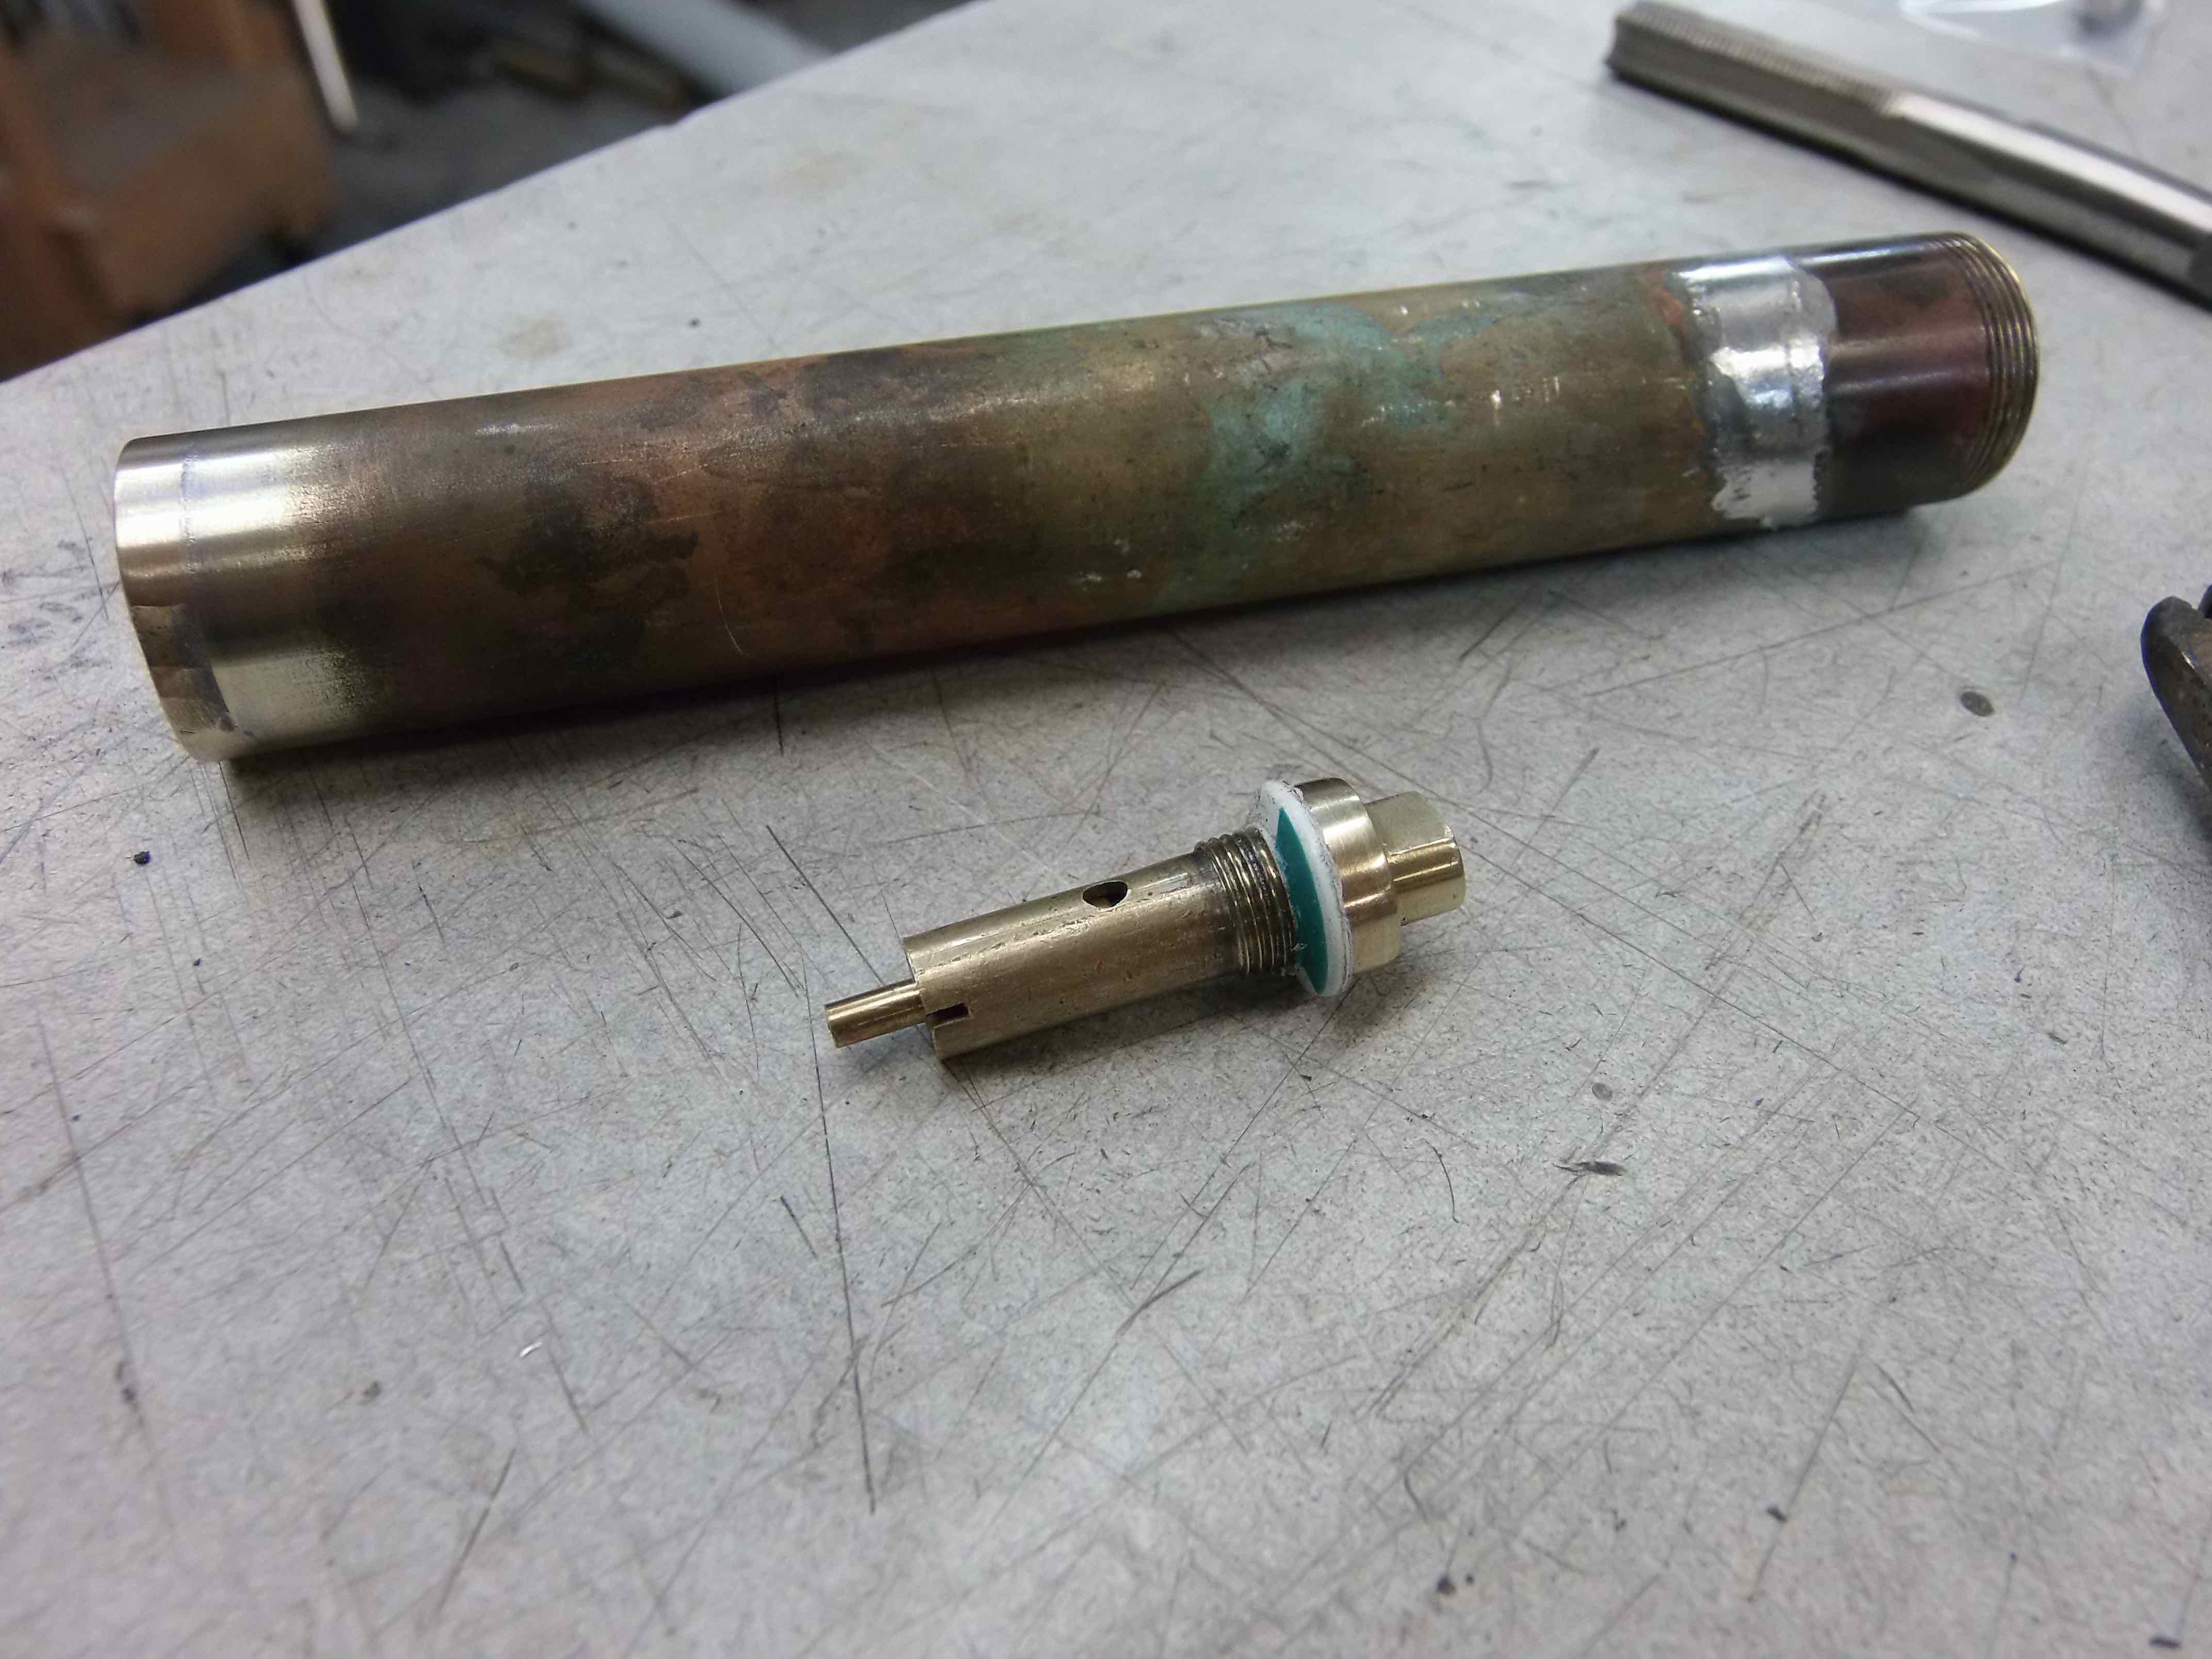
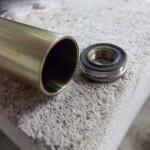
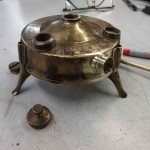
Here is the completed restored pump tube and rebuilt NRV ready for reinstallation into the Monitor stove tank. Note my use of a shop-cut HDPE (high density polyethylene) plastic washer in lieu of a lead washer. I’ve found these HDPE washers to be entirely fuel resistant and superior to lead washers. The HDPE does not stick to the brass of the tube or creep into the threads of the pump tube end block. It also provides a fuel tight seal with much less torque required to make the seal than with lead washers.

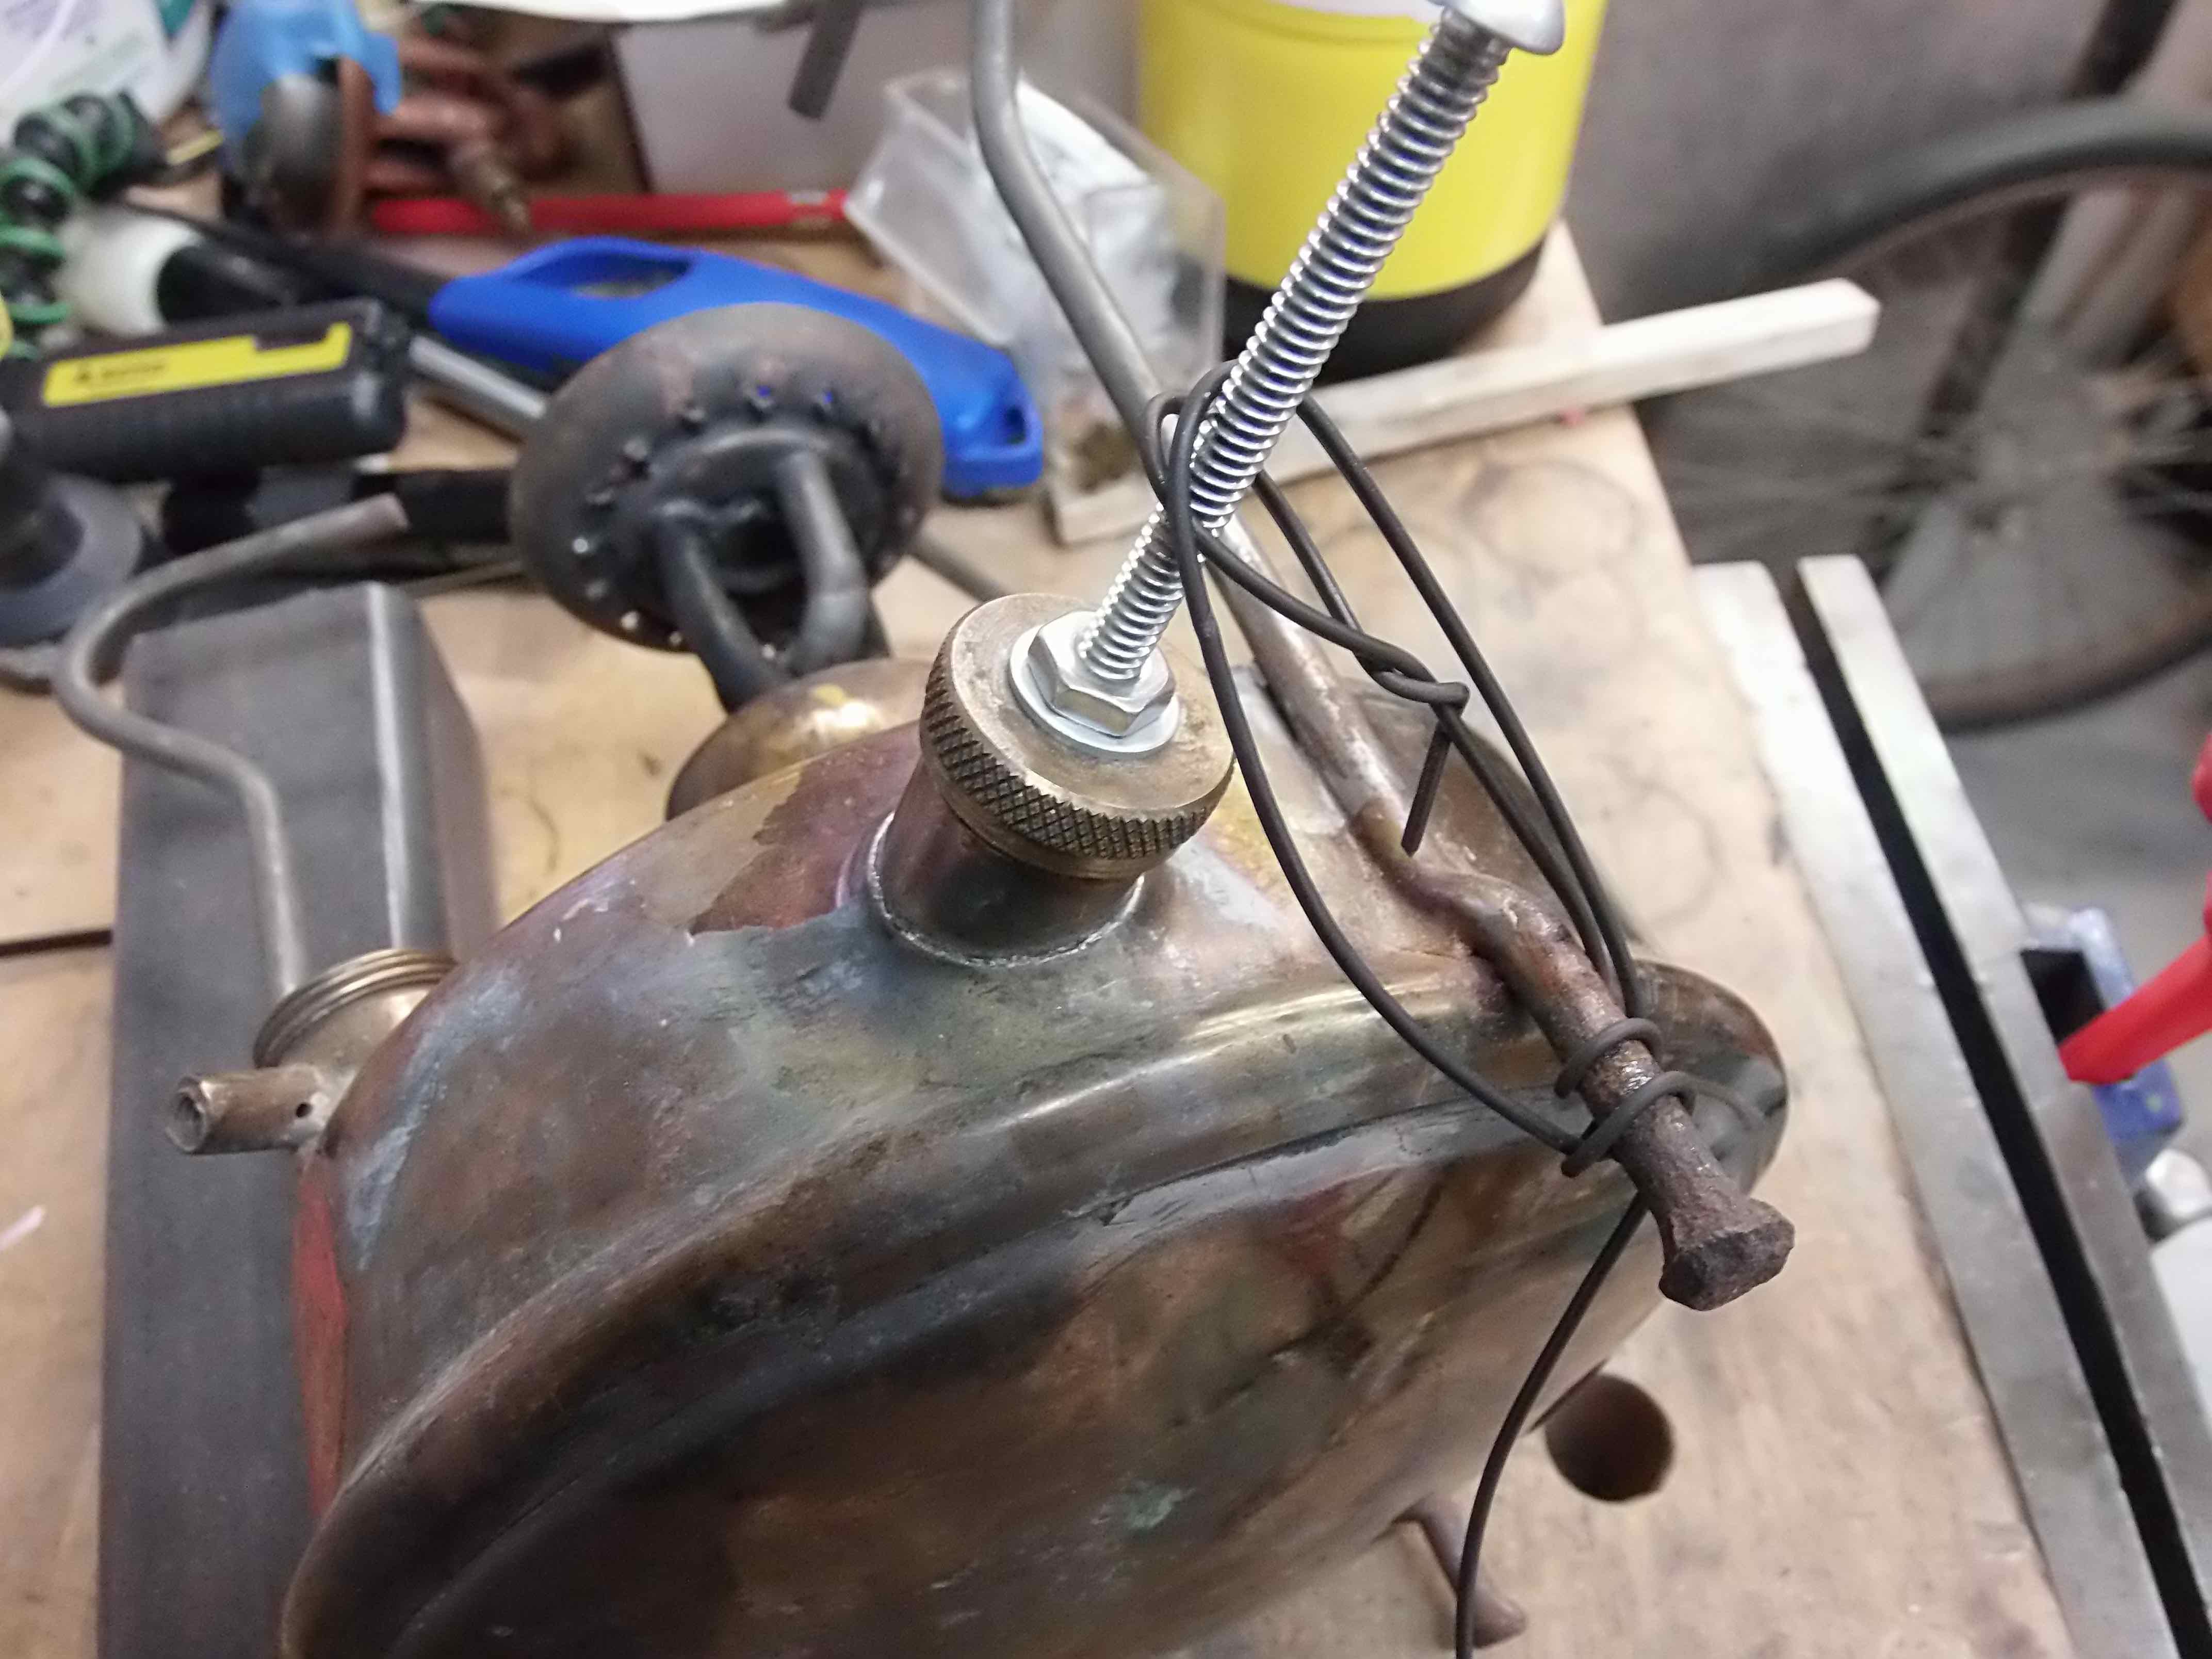
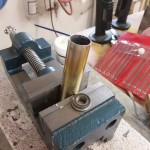
Here I’ve used my simple bolt-and-washer tool to set up the pump tube in the tank for soldering, holding it in place with some stiff wire jigging. This jigging setup allows me to use both hands – one for using the torch and one for applying solder to the pump tube/tank joint.

I use standard electrical solder and rosin paste flux to do stove soldering. The rosin flux is inert until heated and any flux residues trapped inside the joint will not erode the brass of the tank on down the road. Acid fluxes will erode the brass over time which is why acid fluxes should never, ever be used around vintage brass stove work.

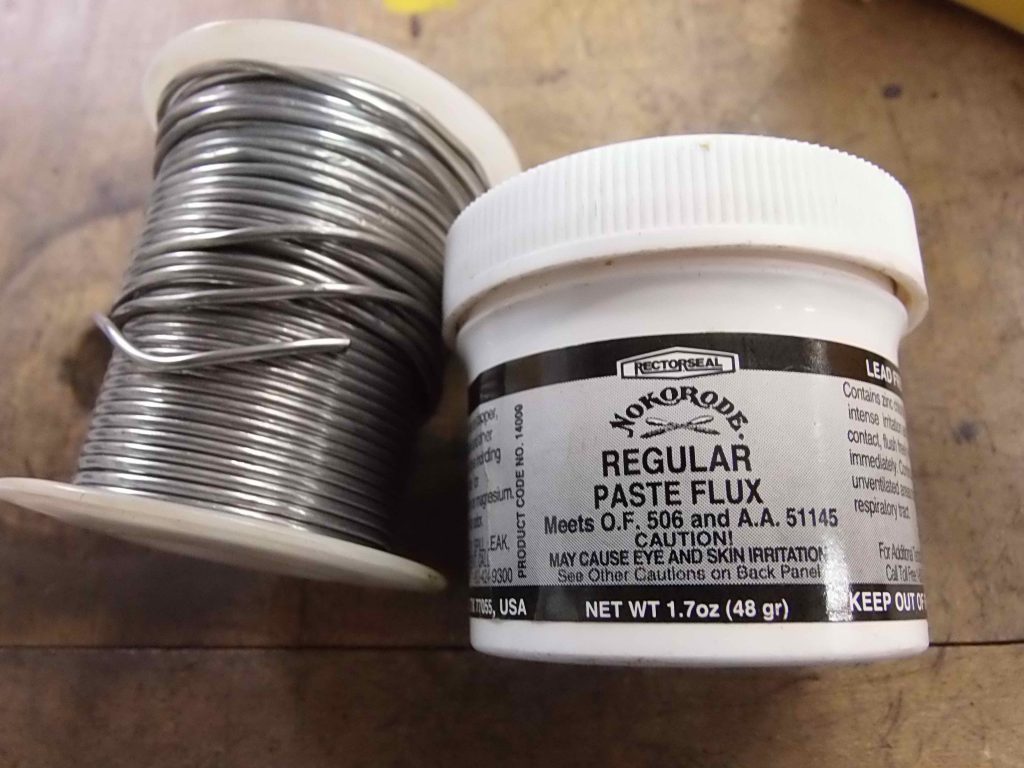
Thin diameter rosin-core electronics solder from Radio Shack and a paste rosin flux.

Inspecting the completed joint. I’m looking for any gaps or pits where solder may not have flowed into the joint. There should be a uniform silvery and liquid-looking seam of solder flowed in all round the joint.

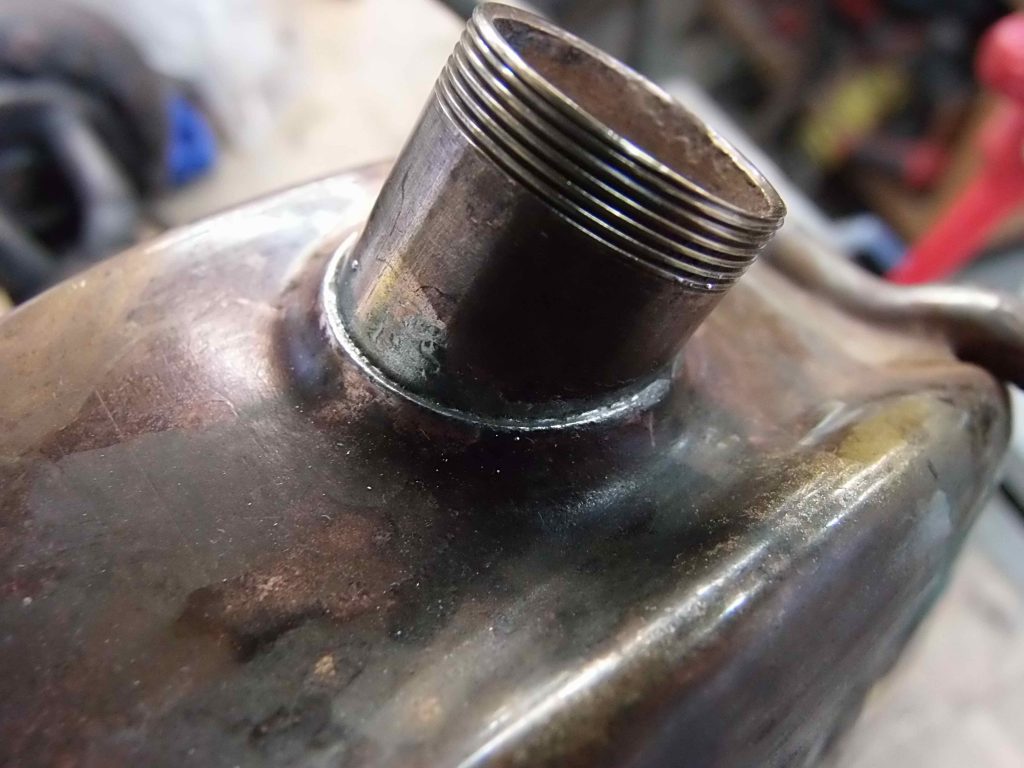
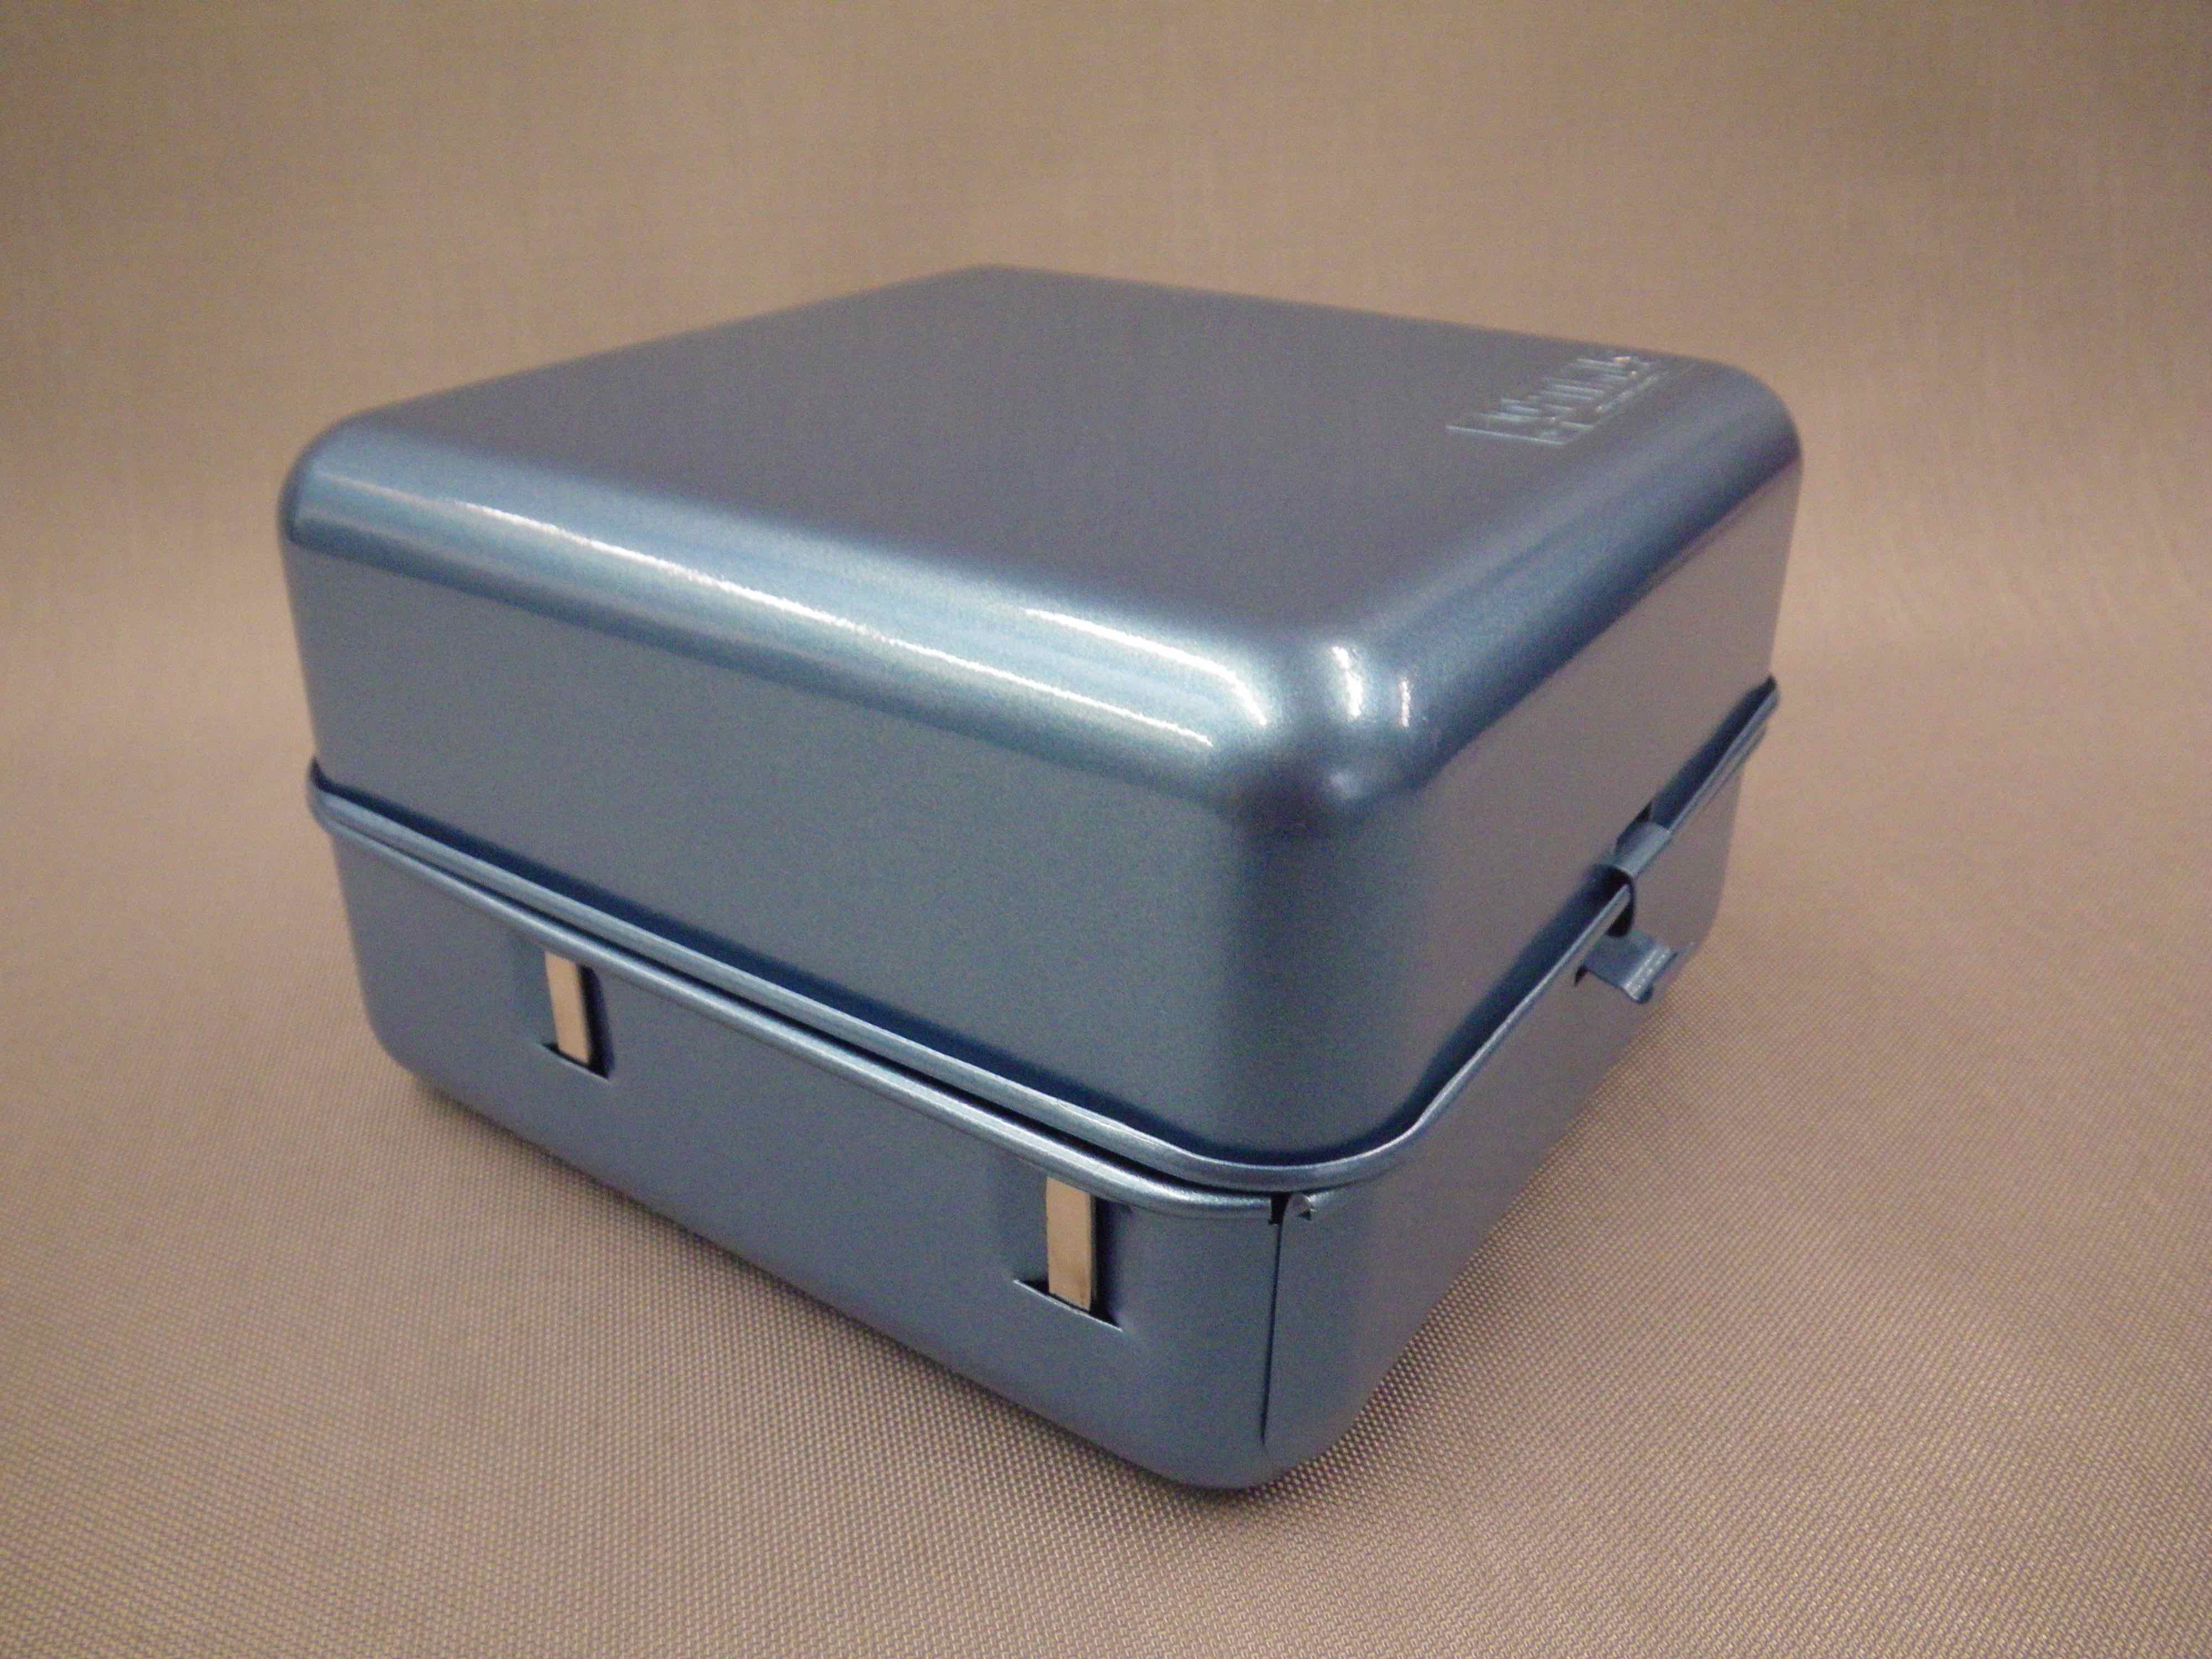
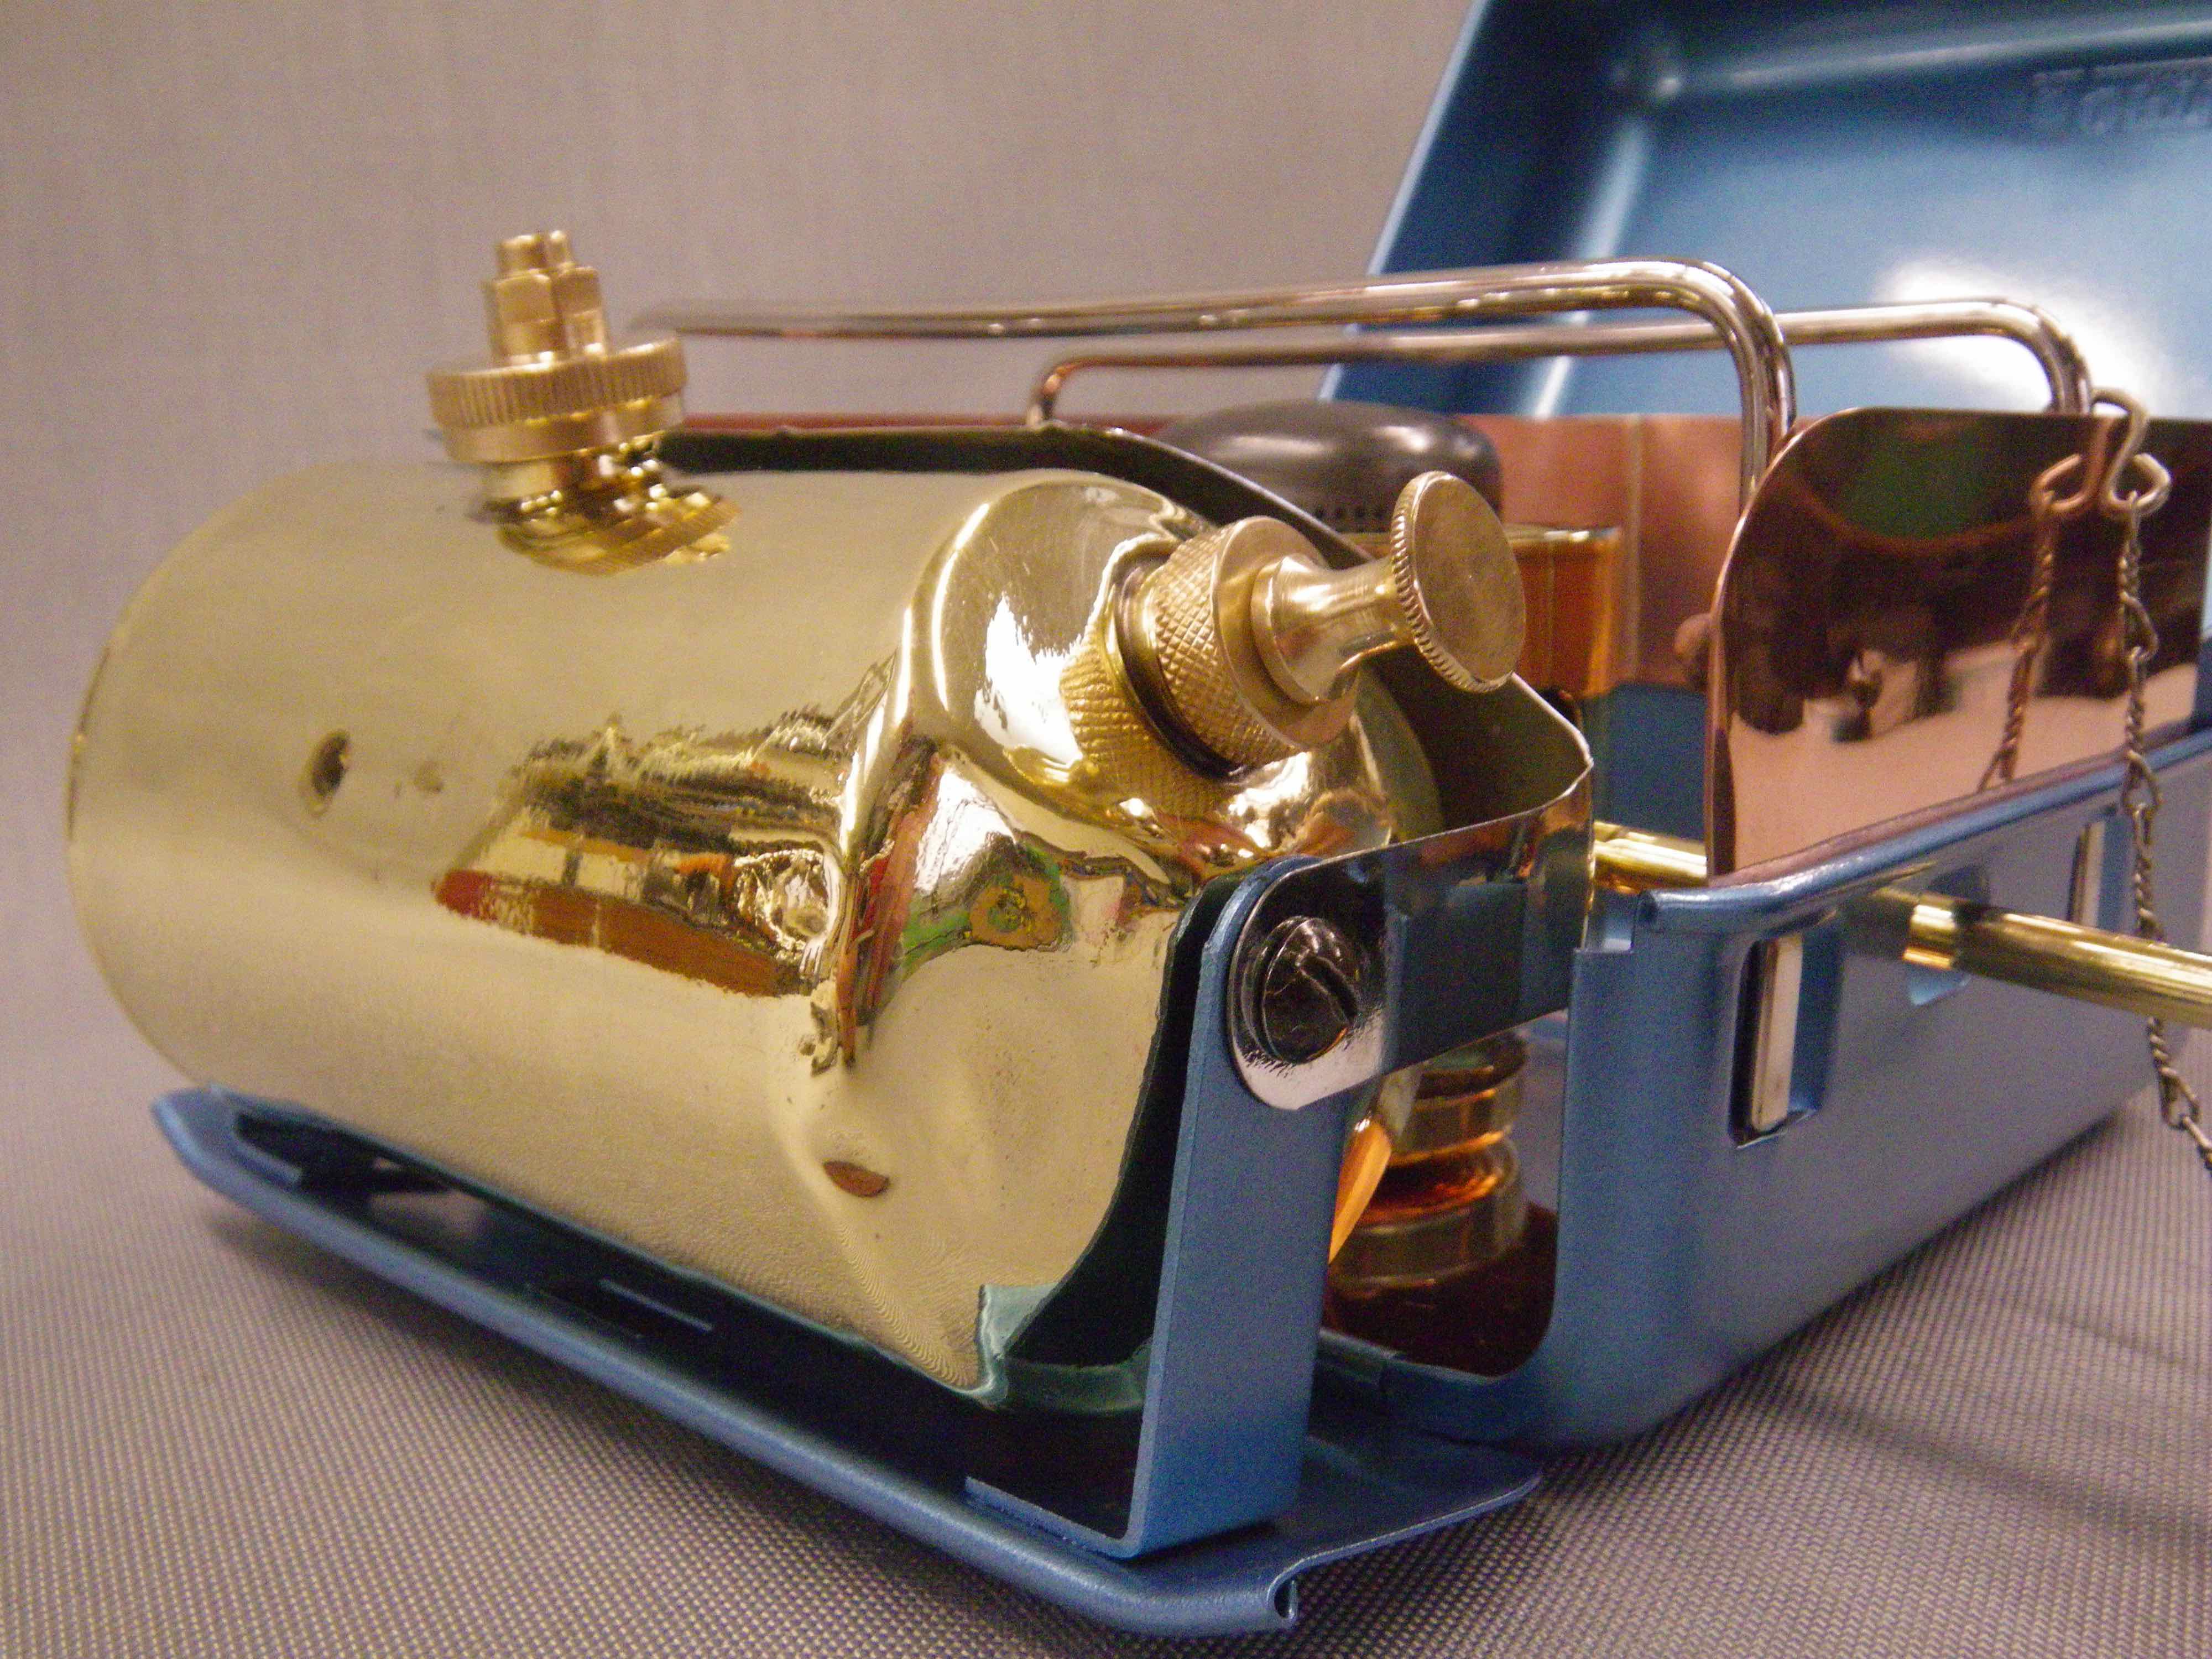
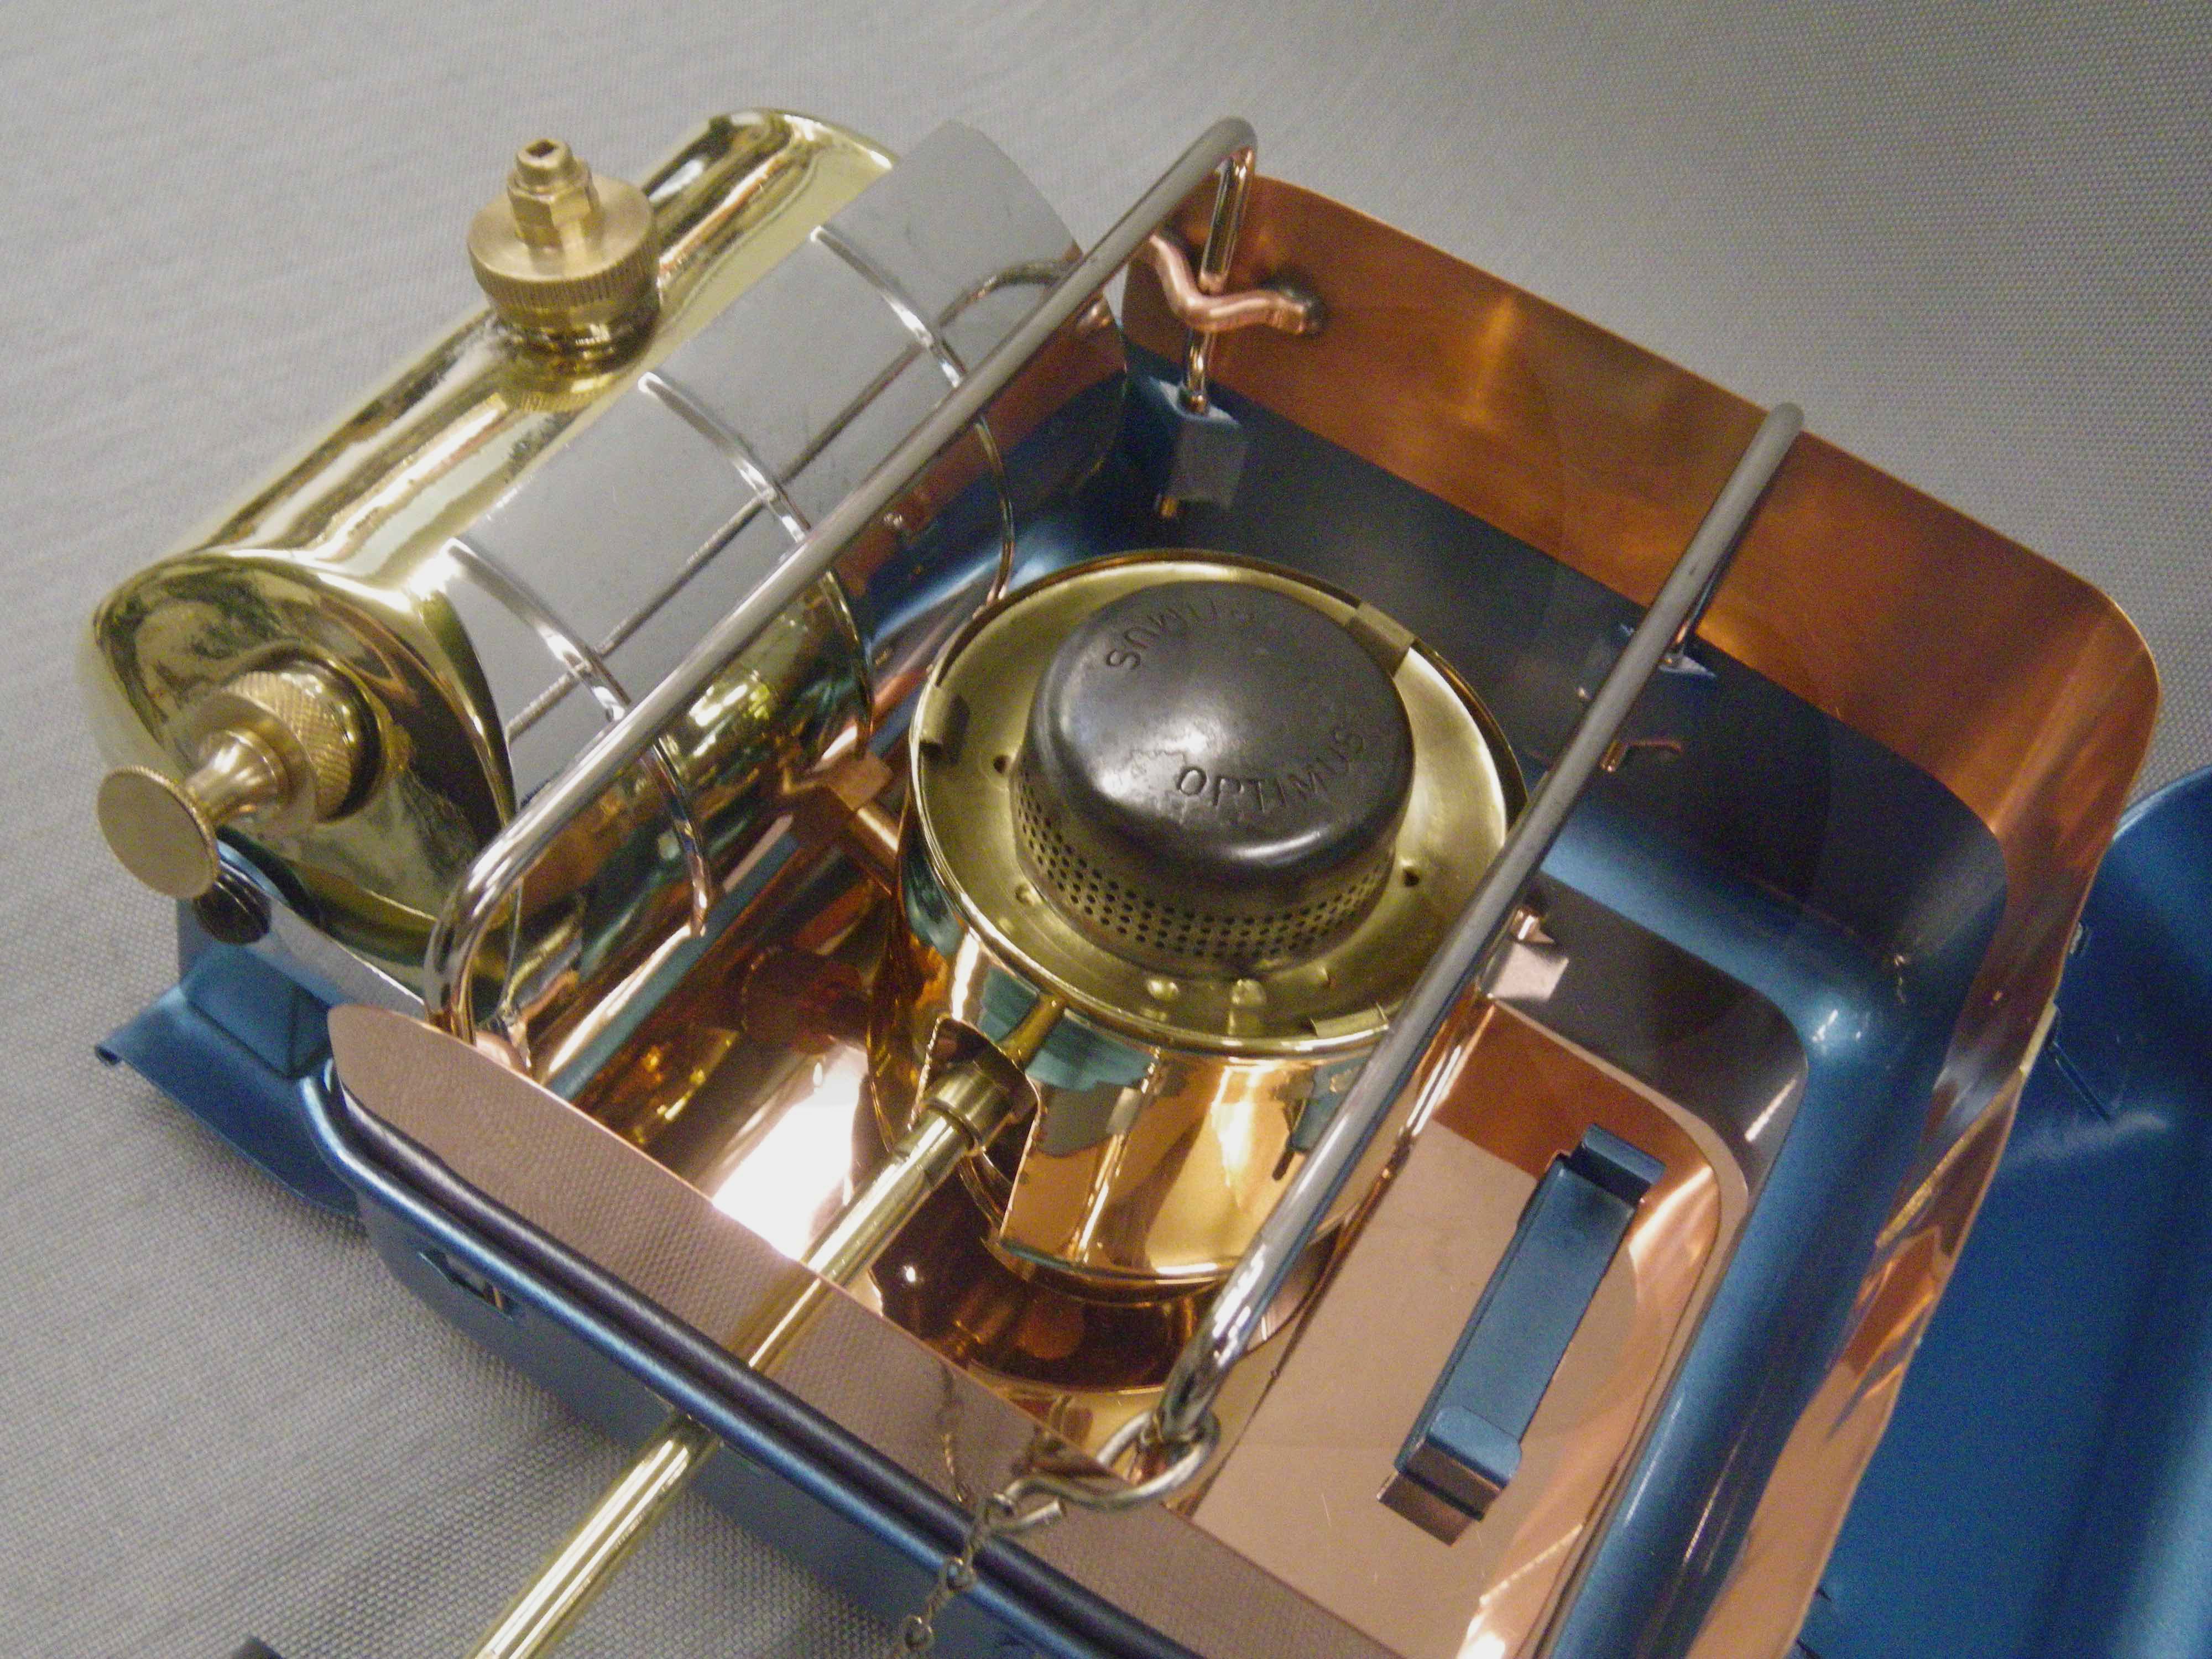
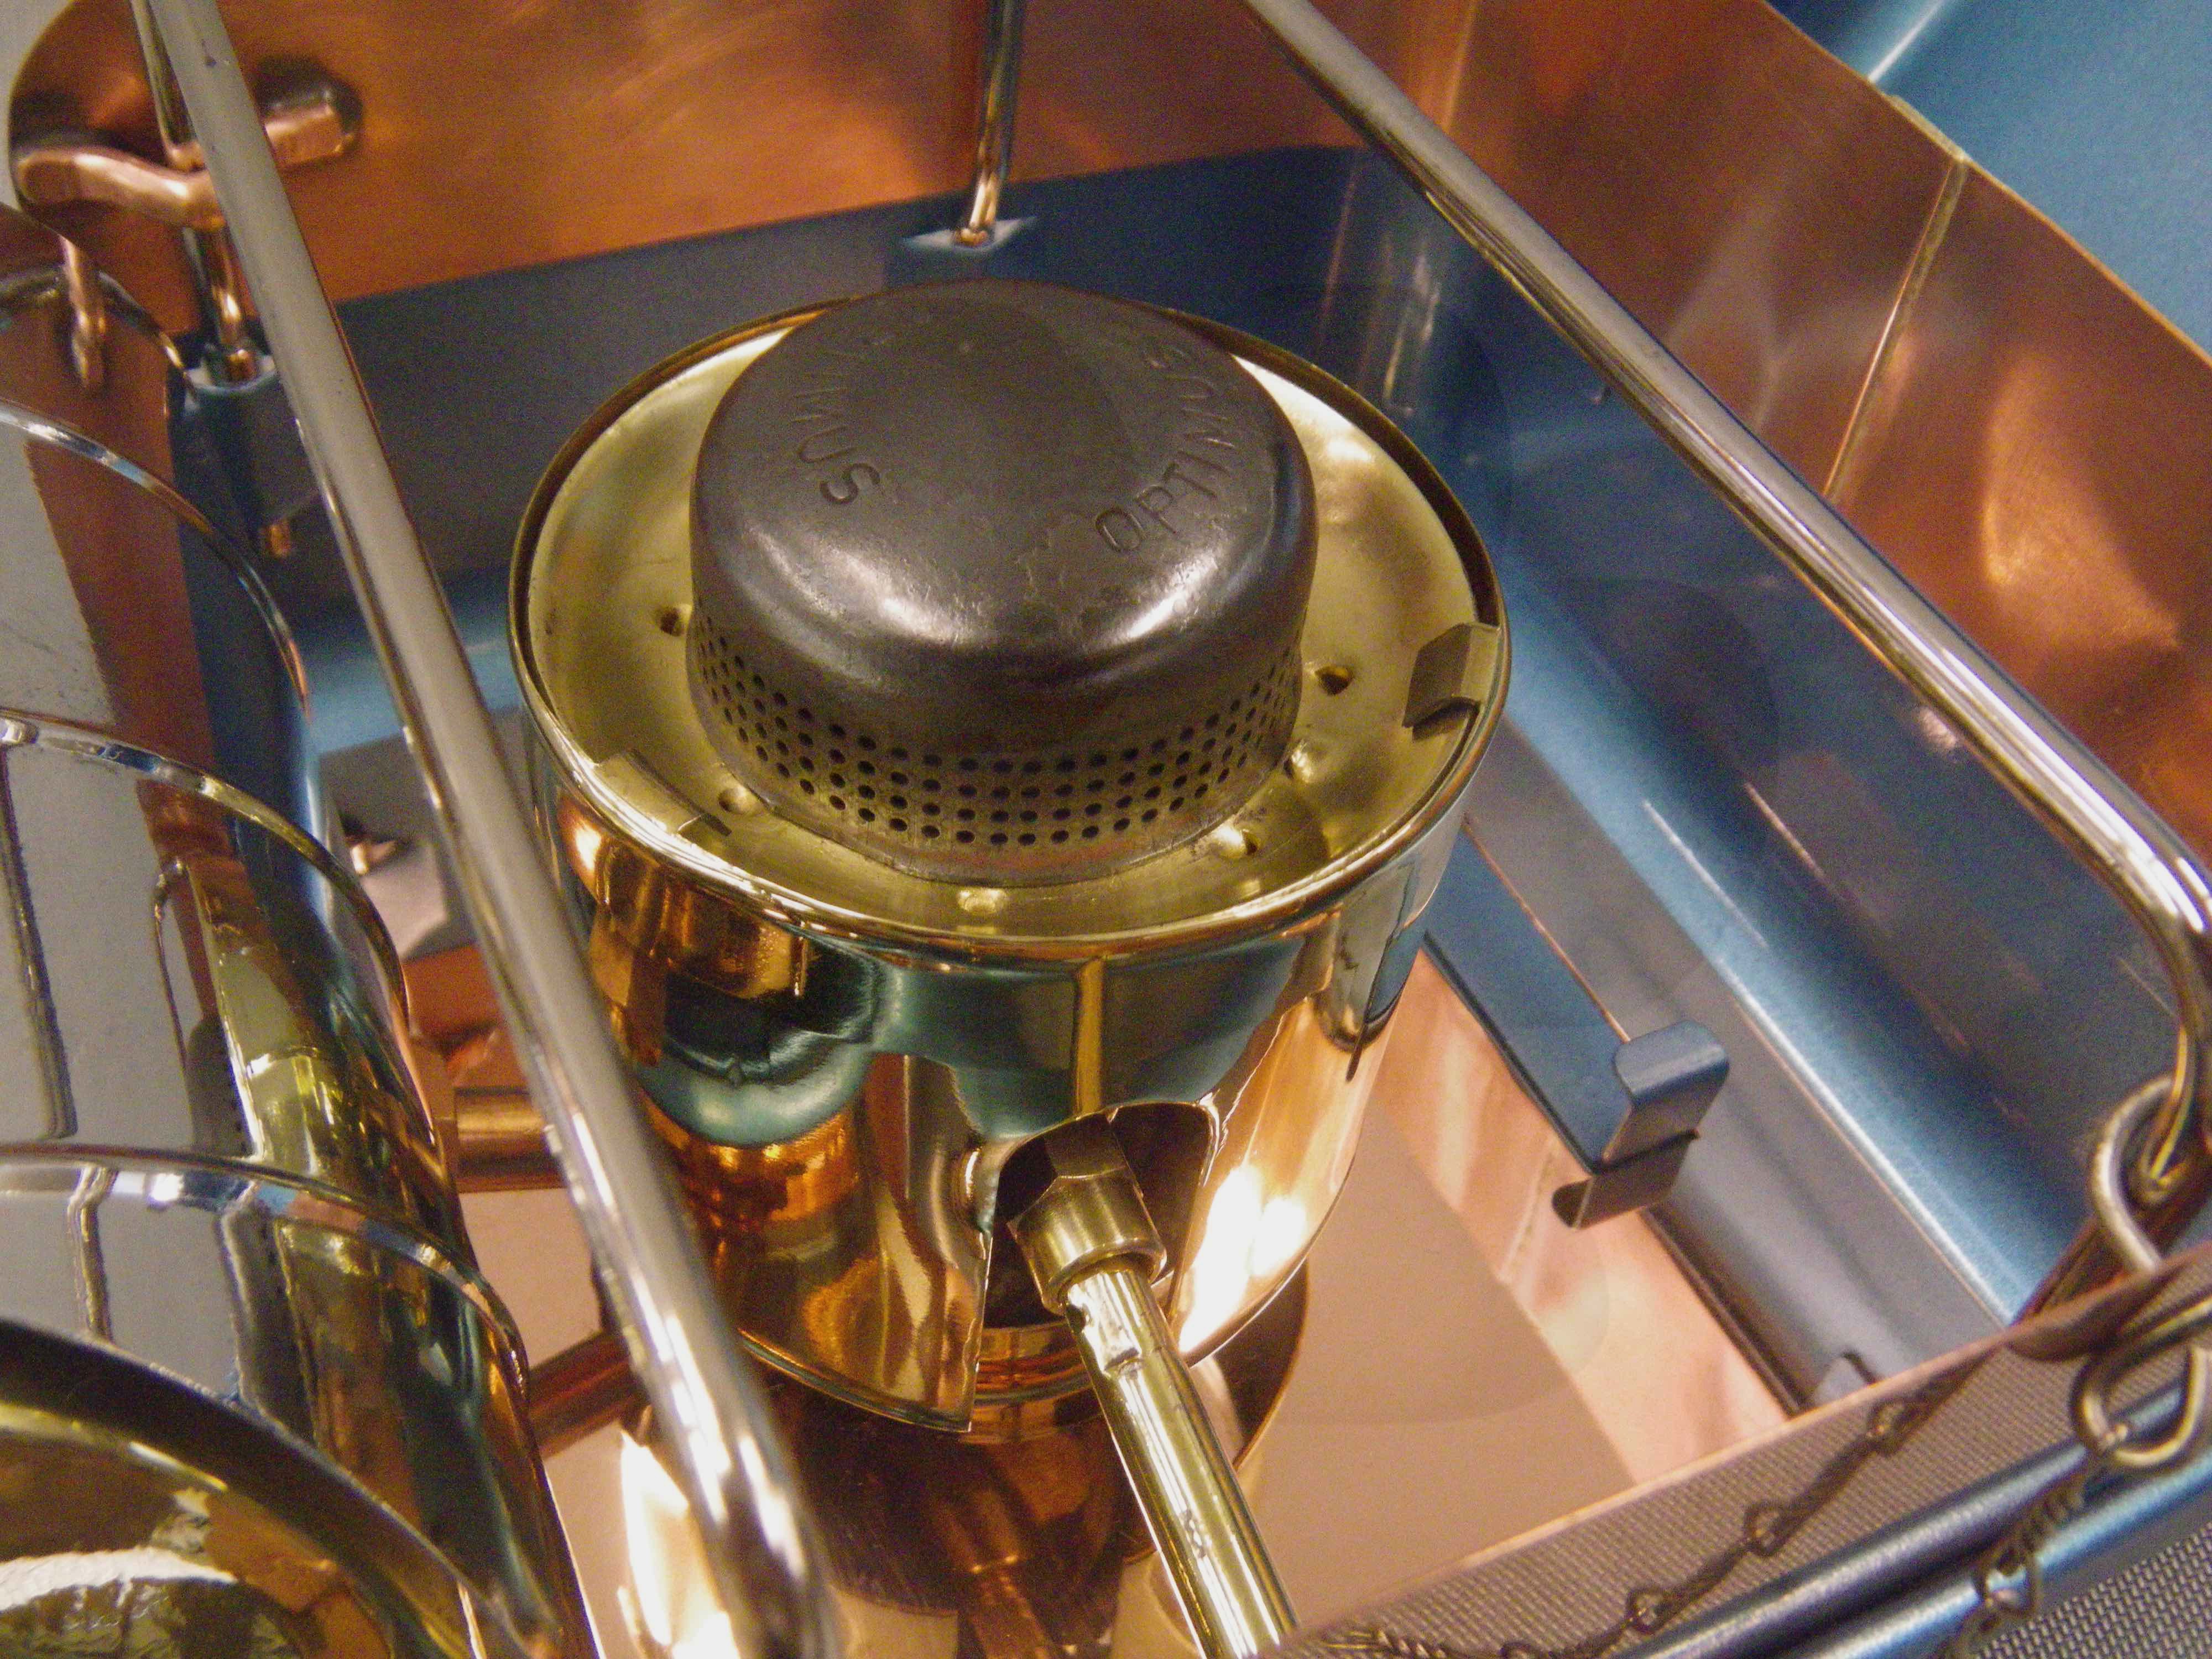
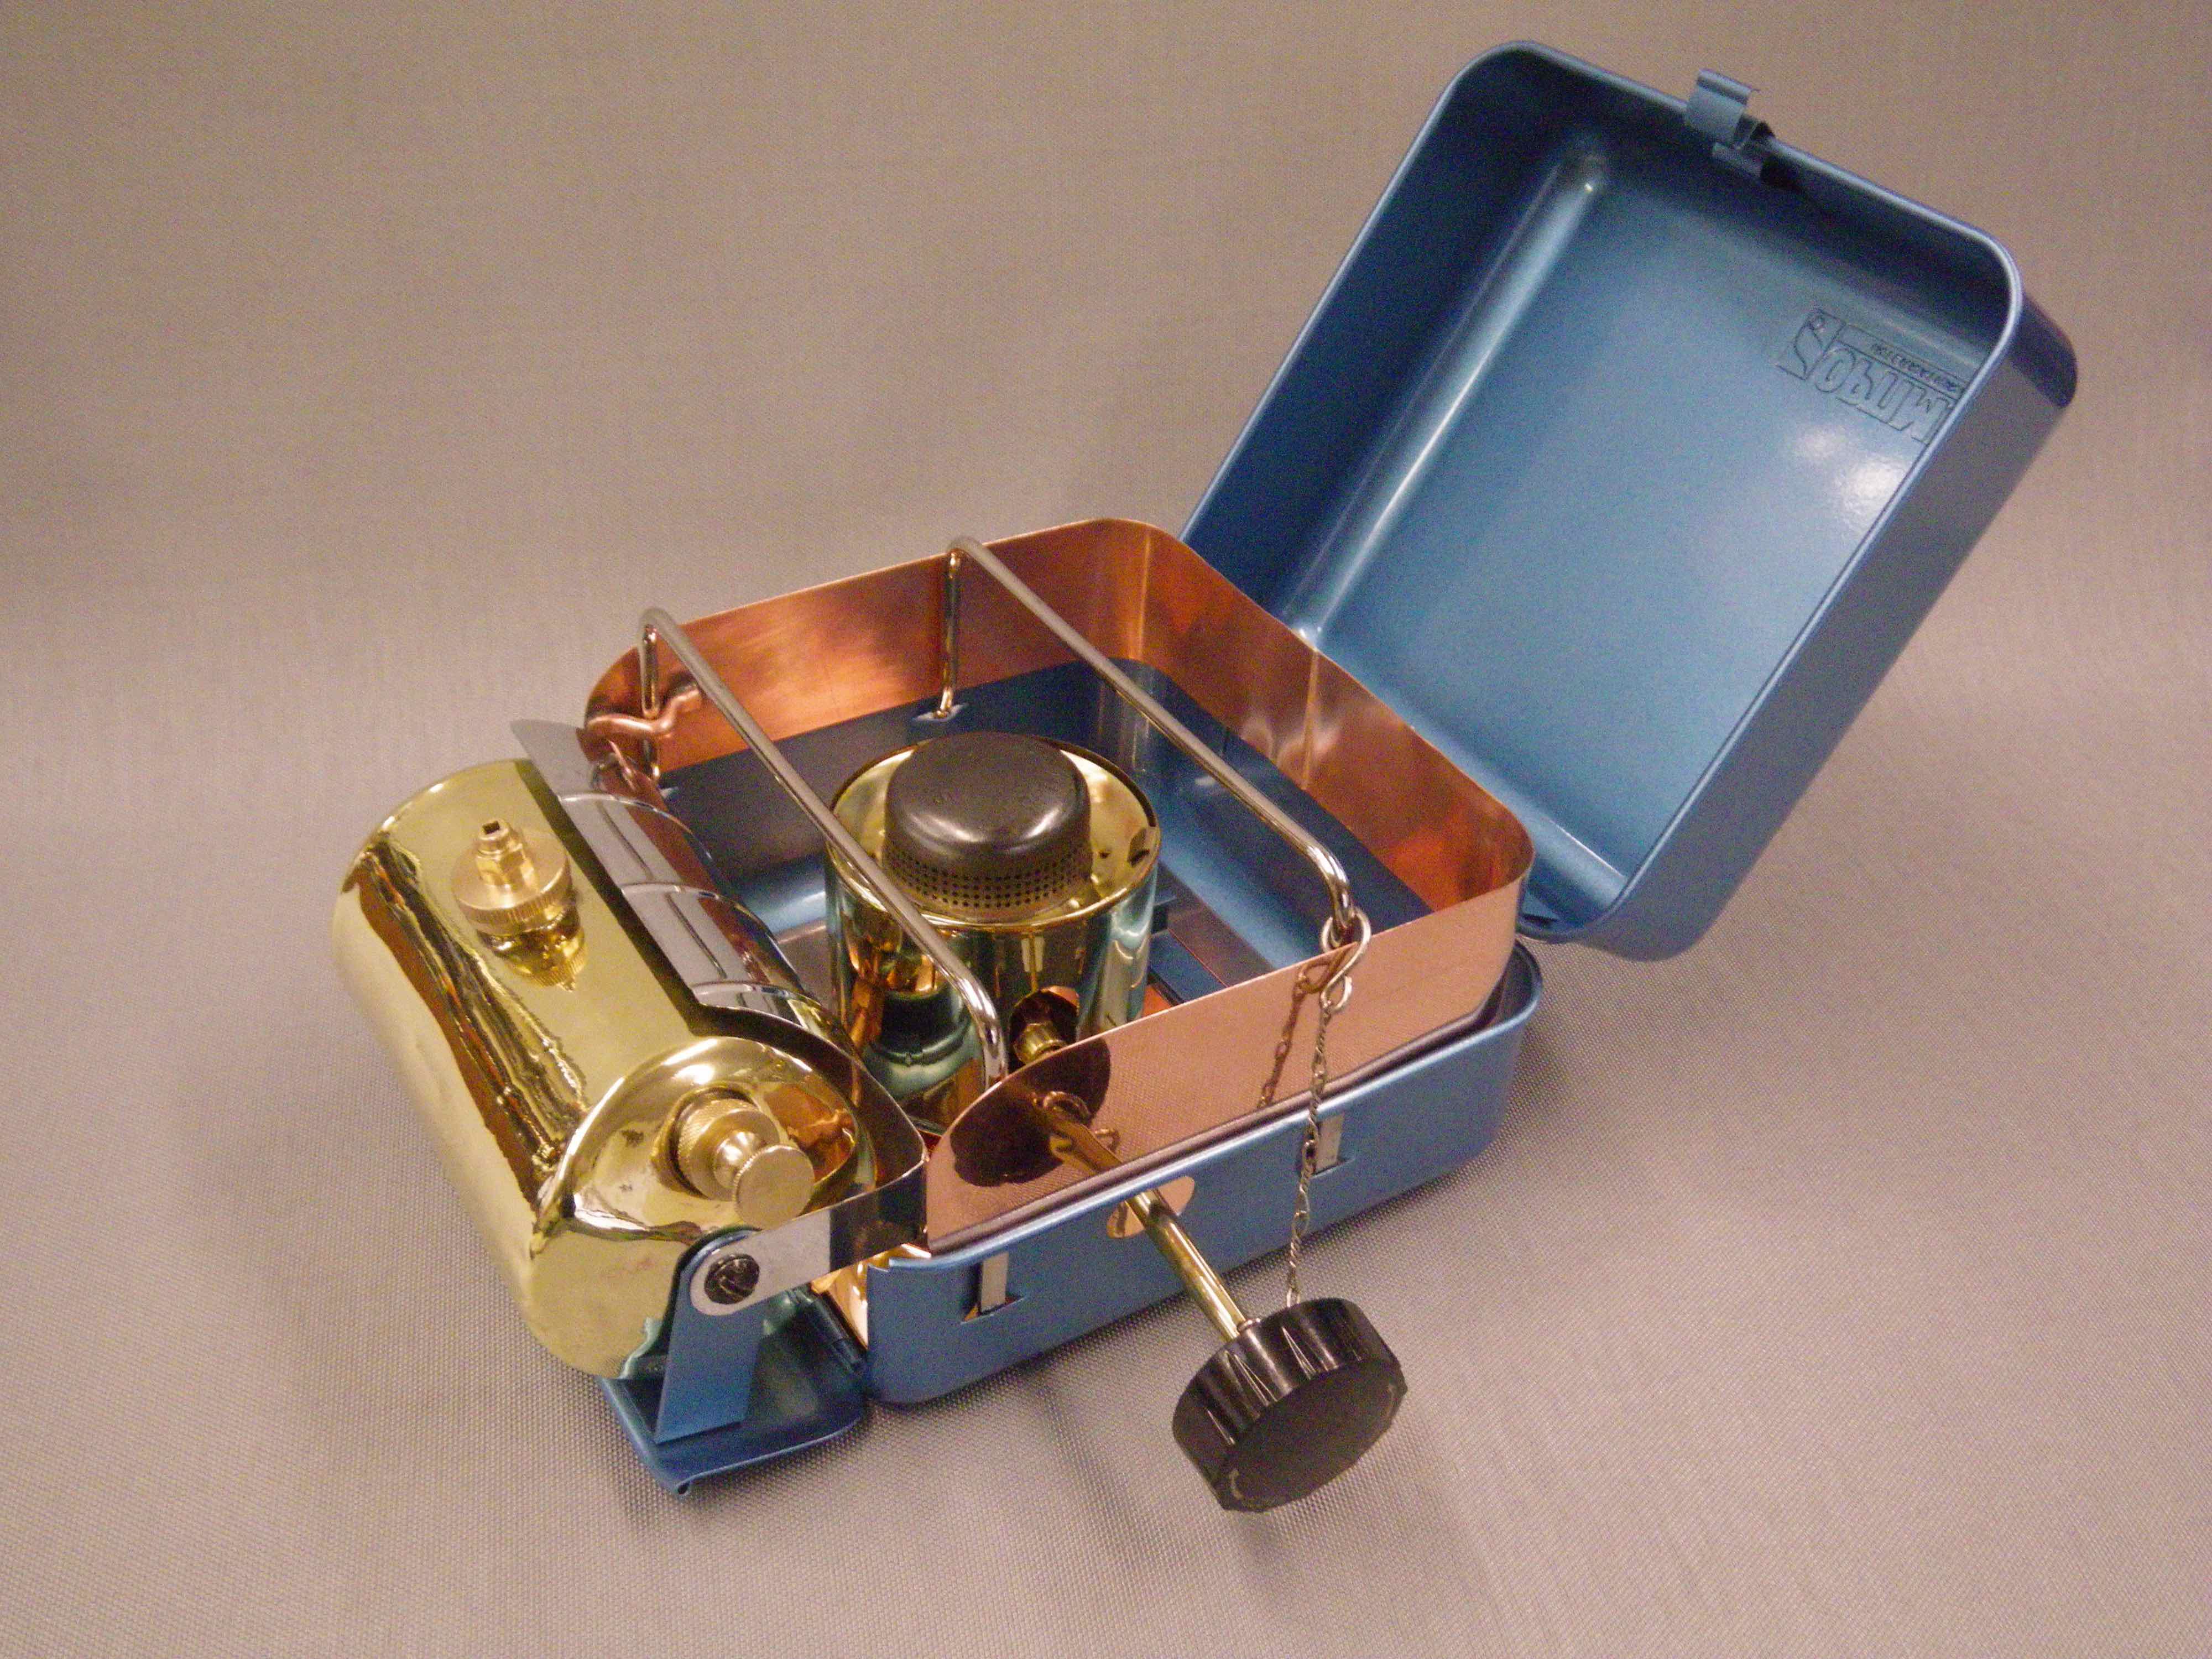
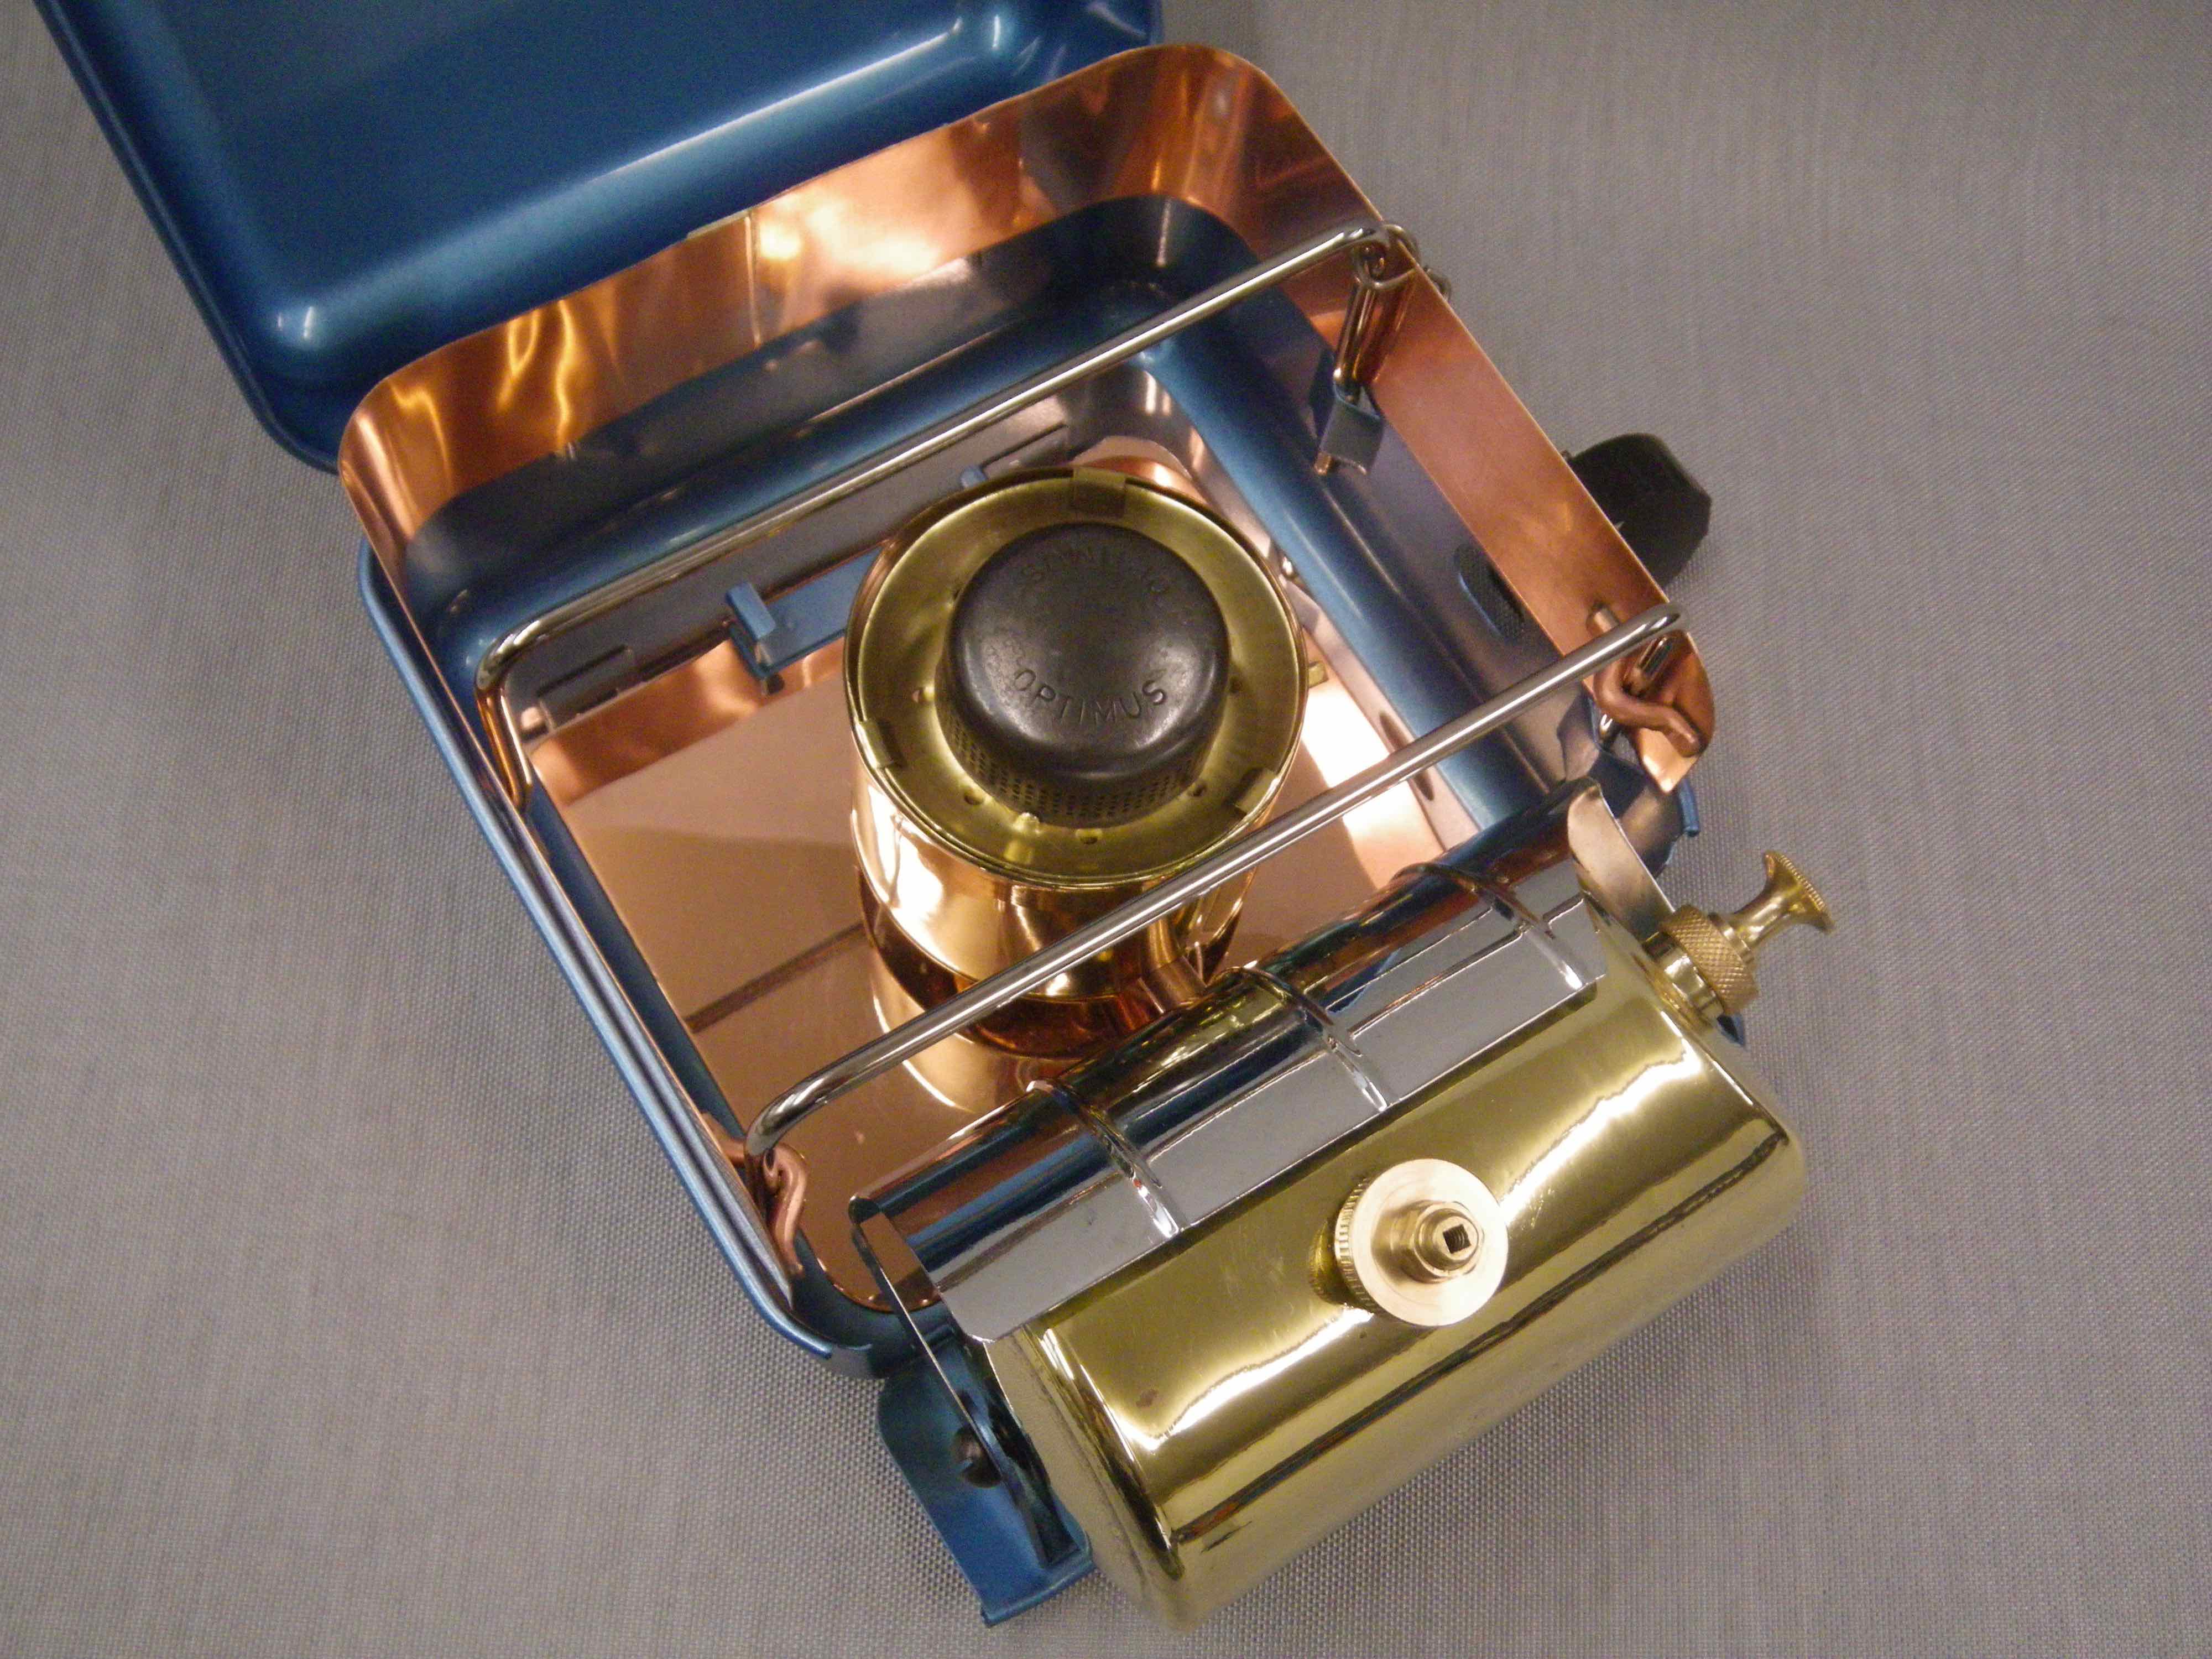
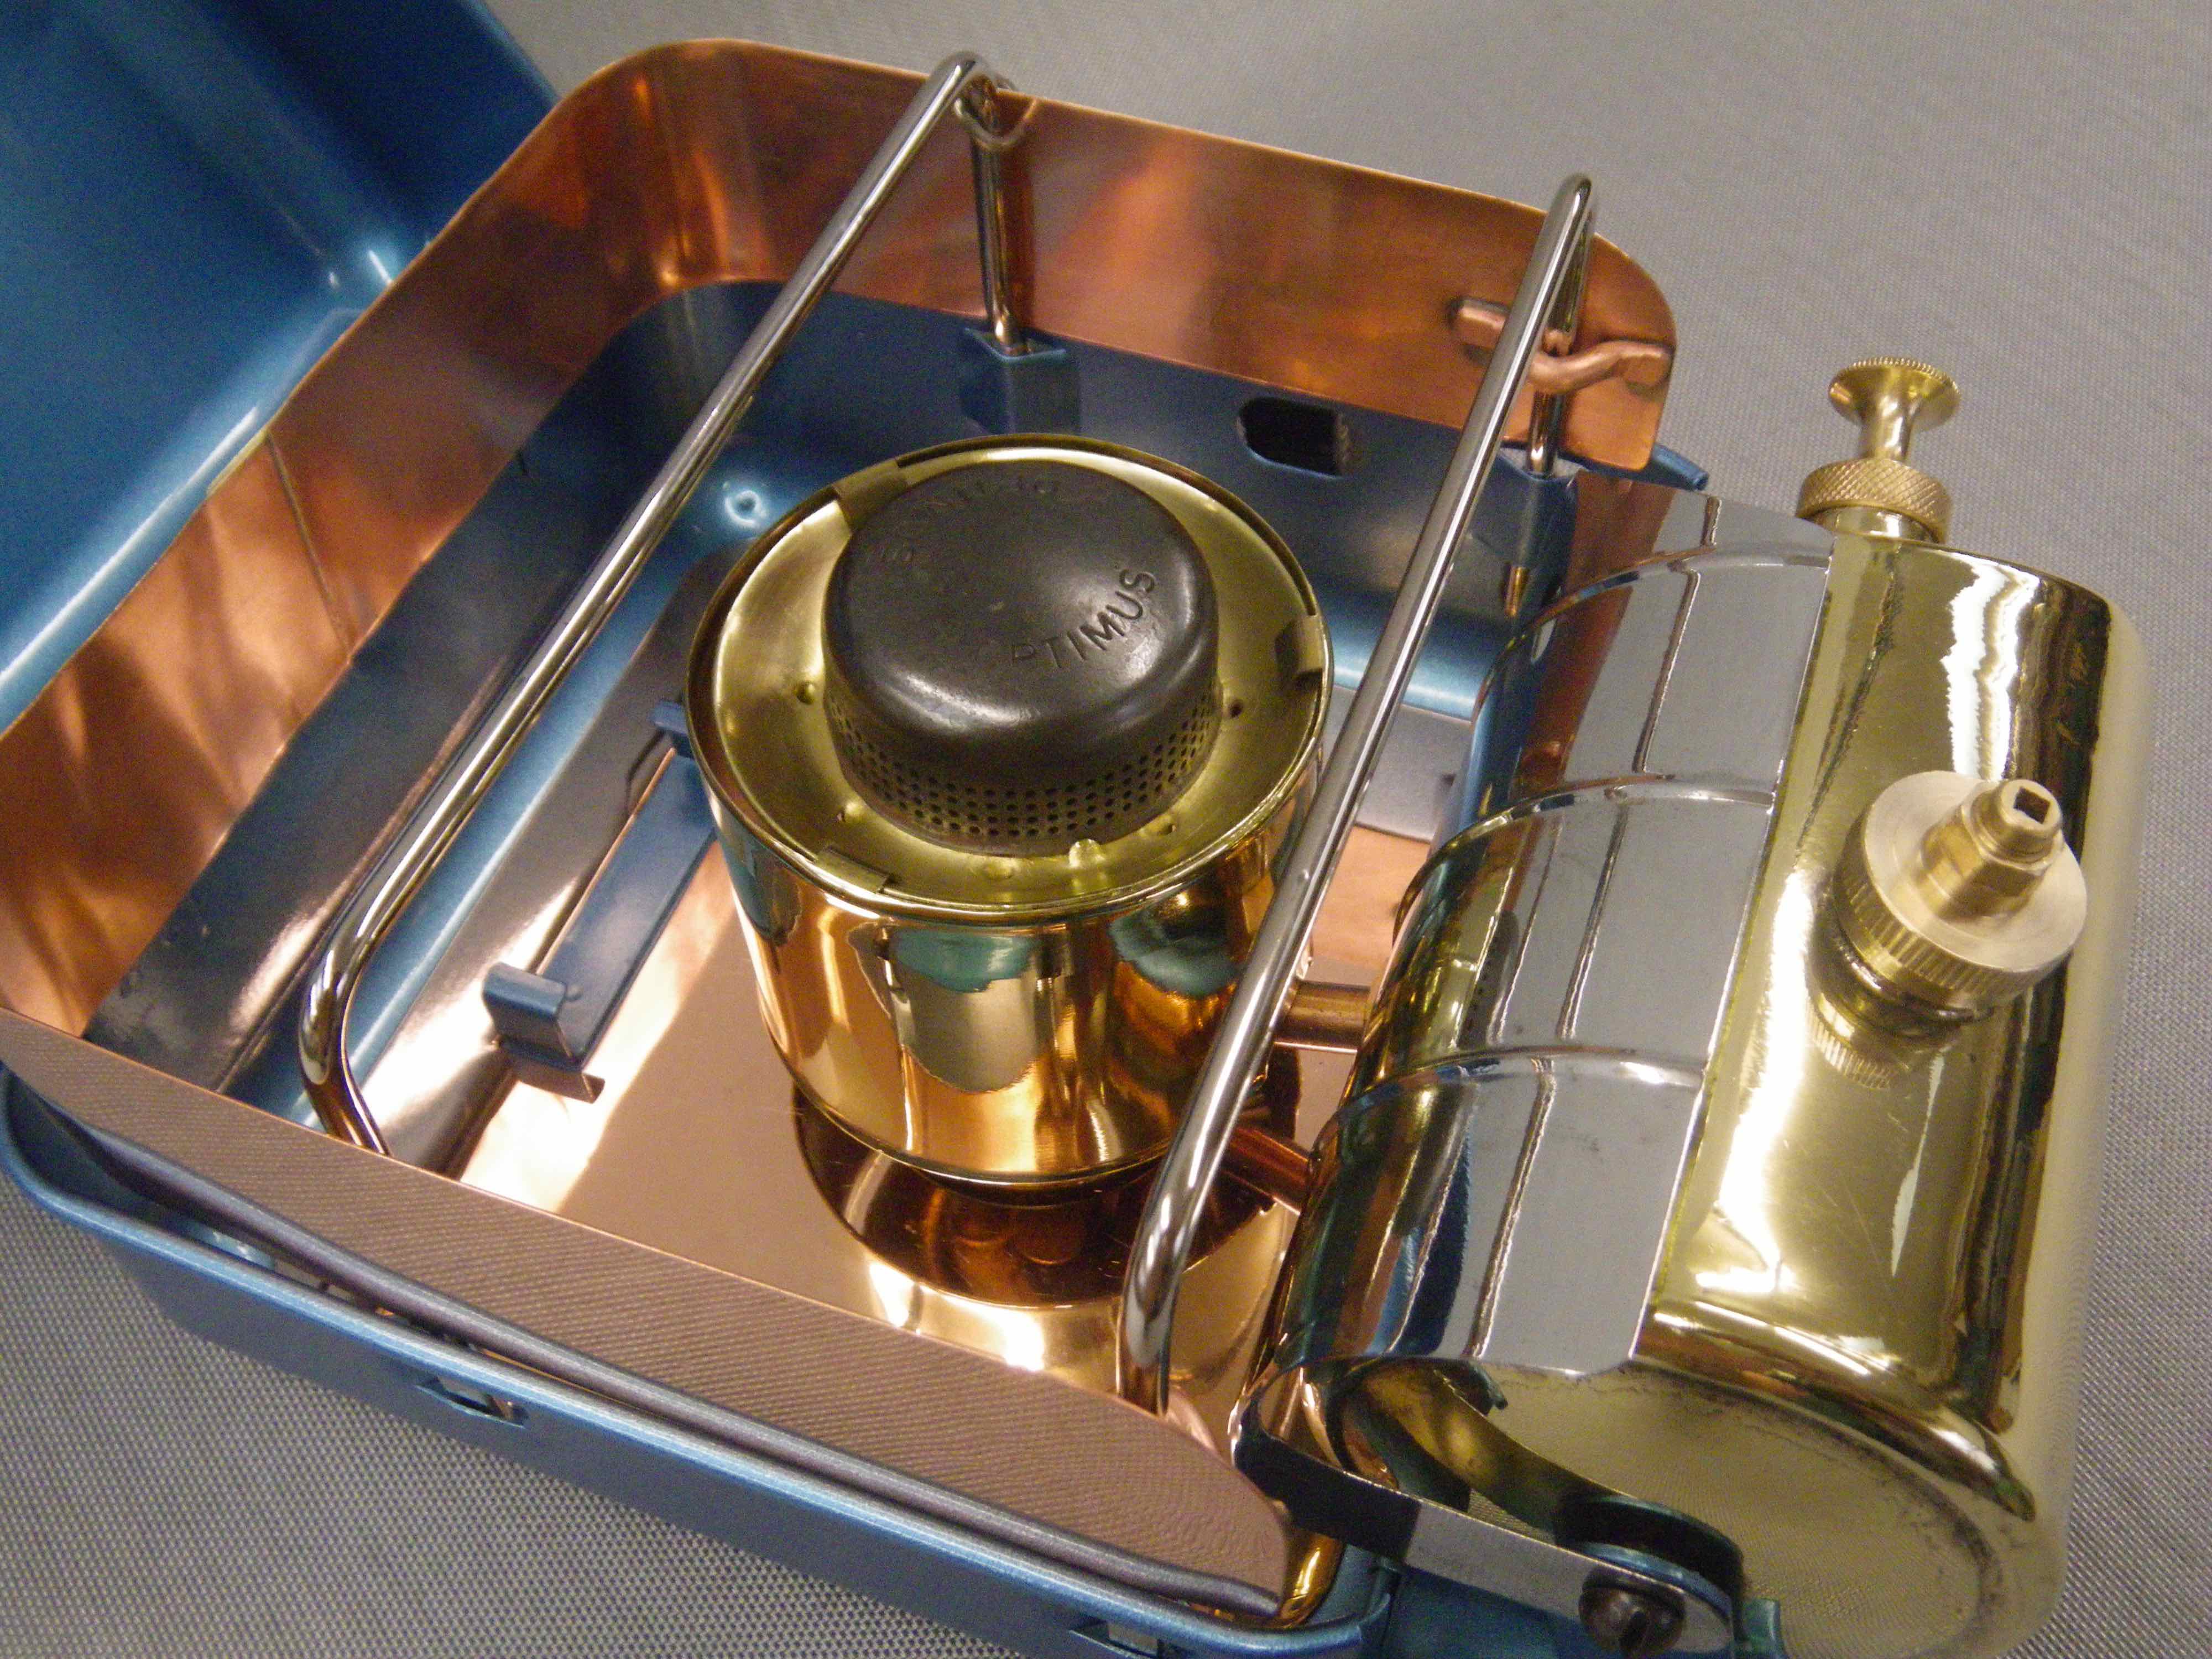
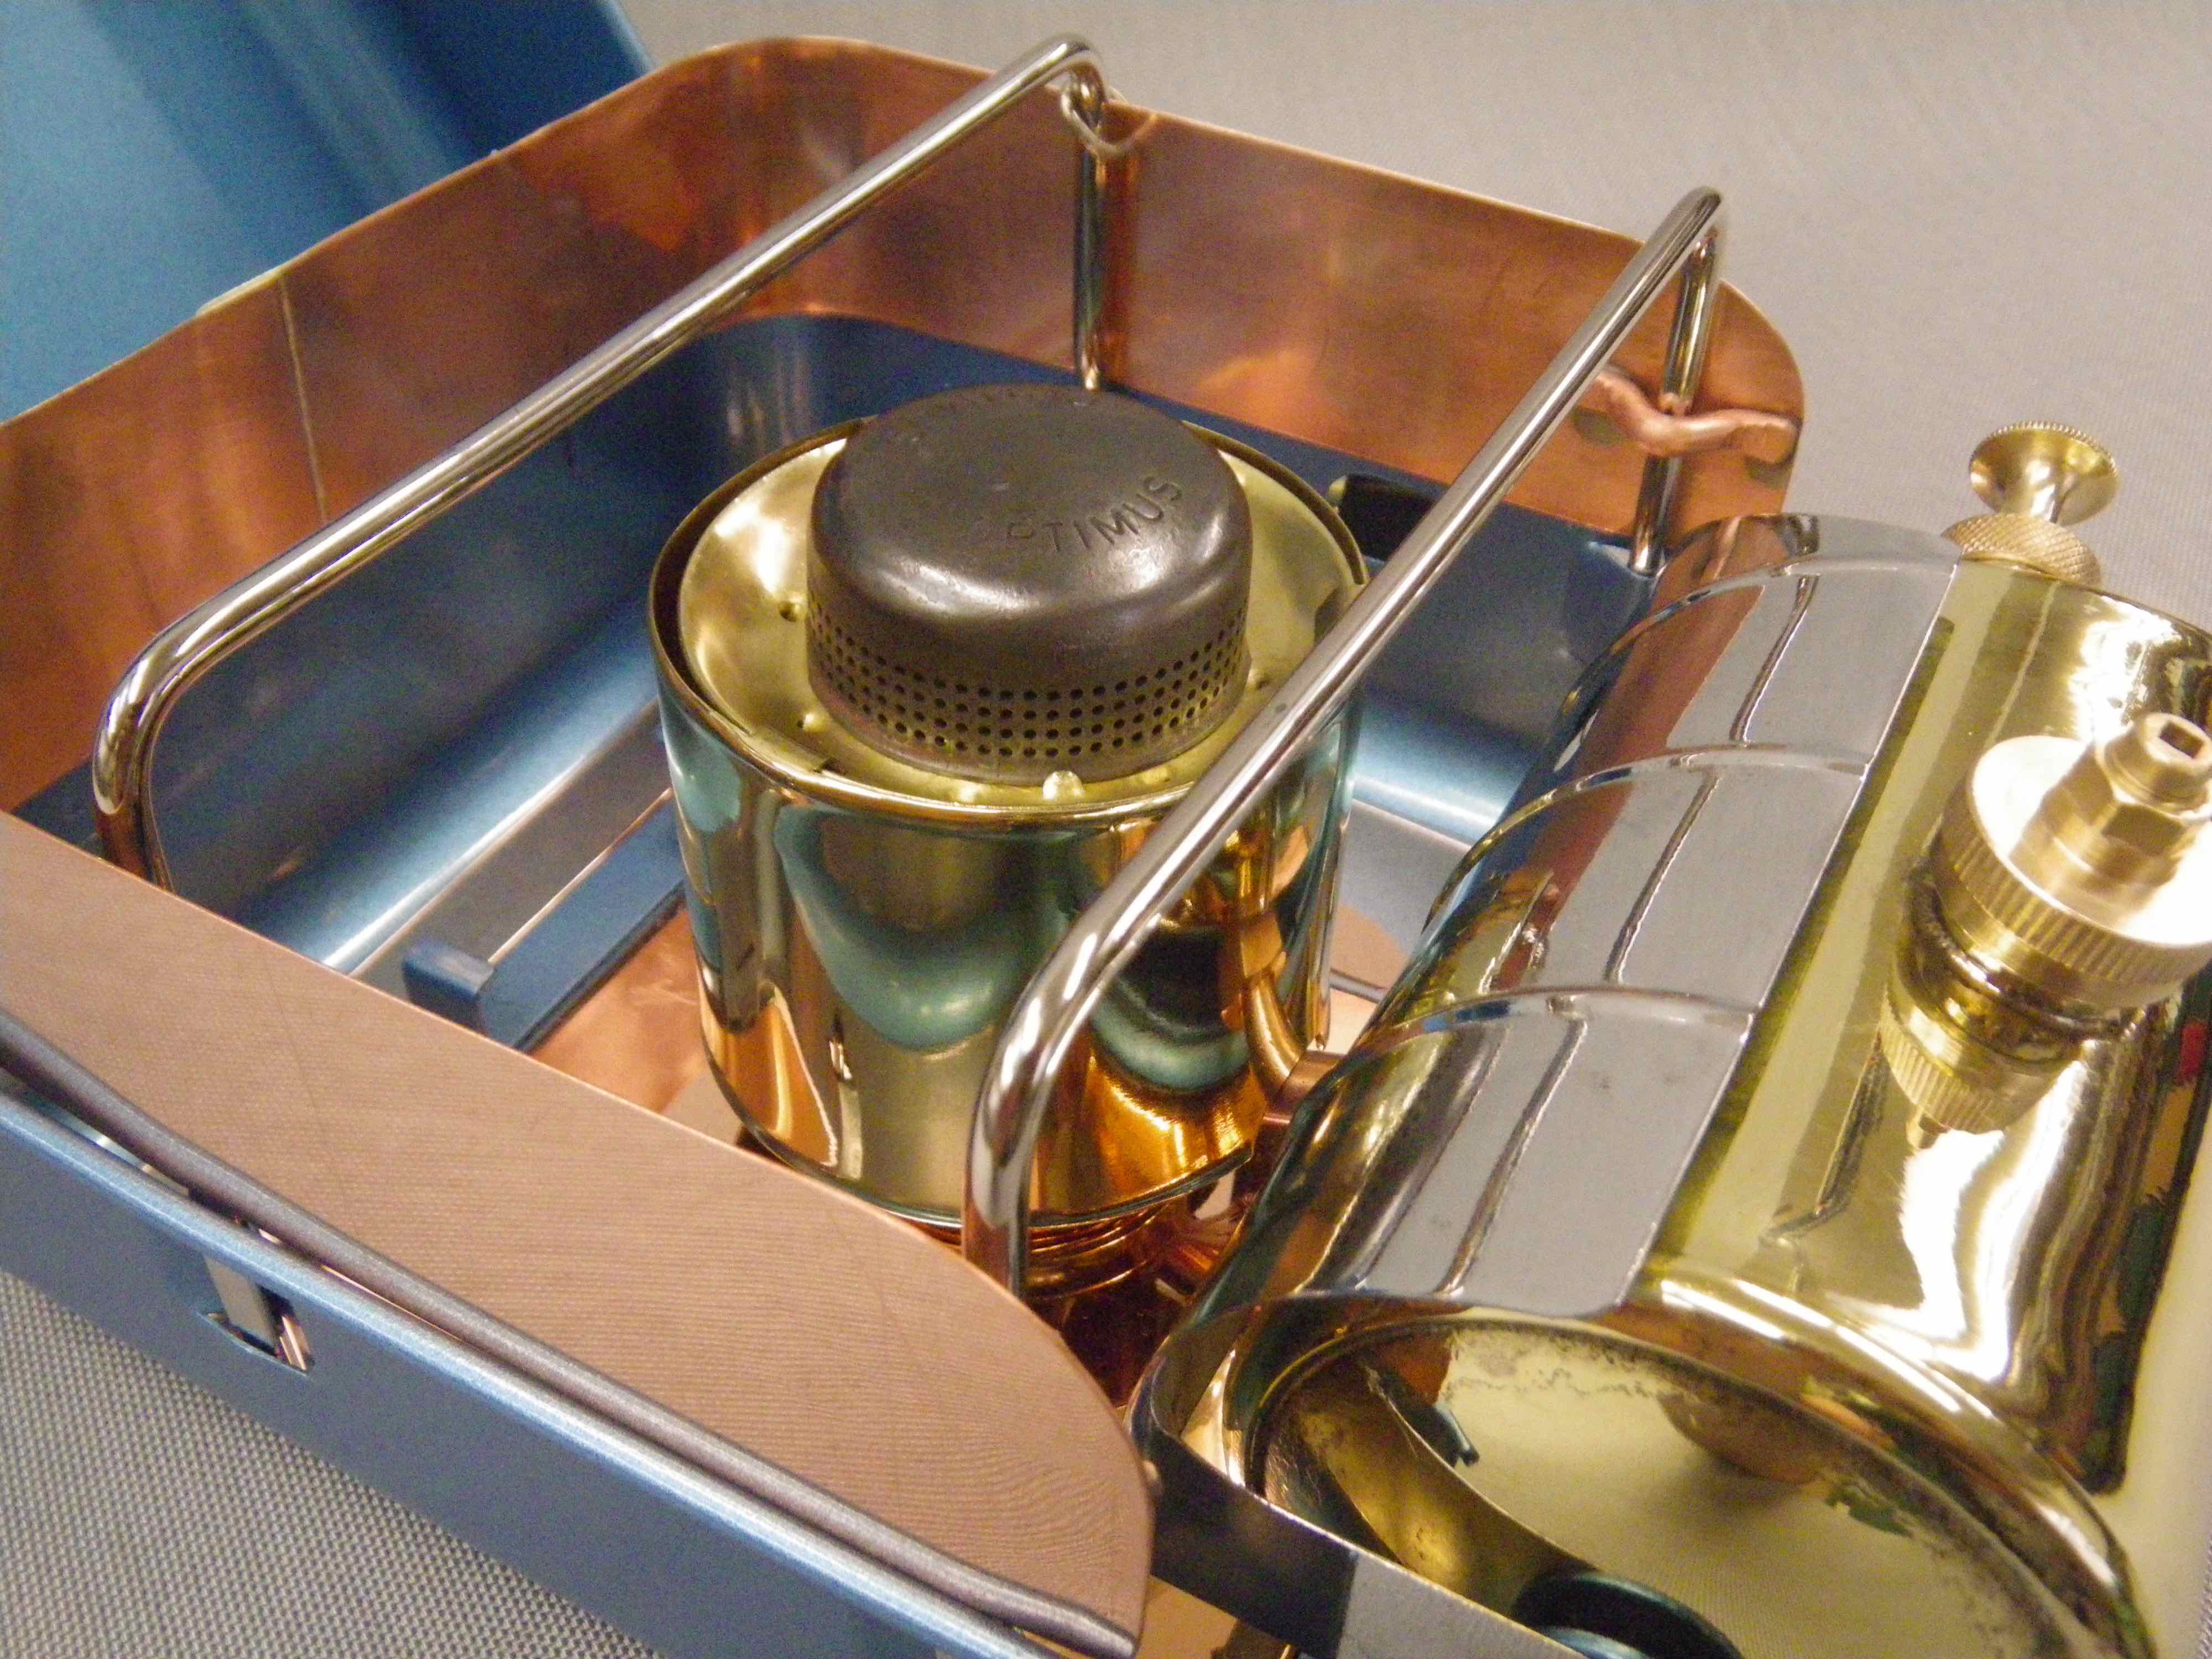
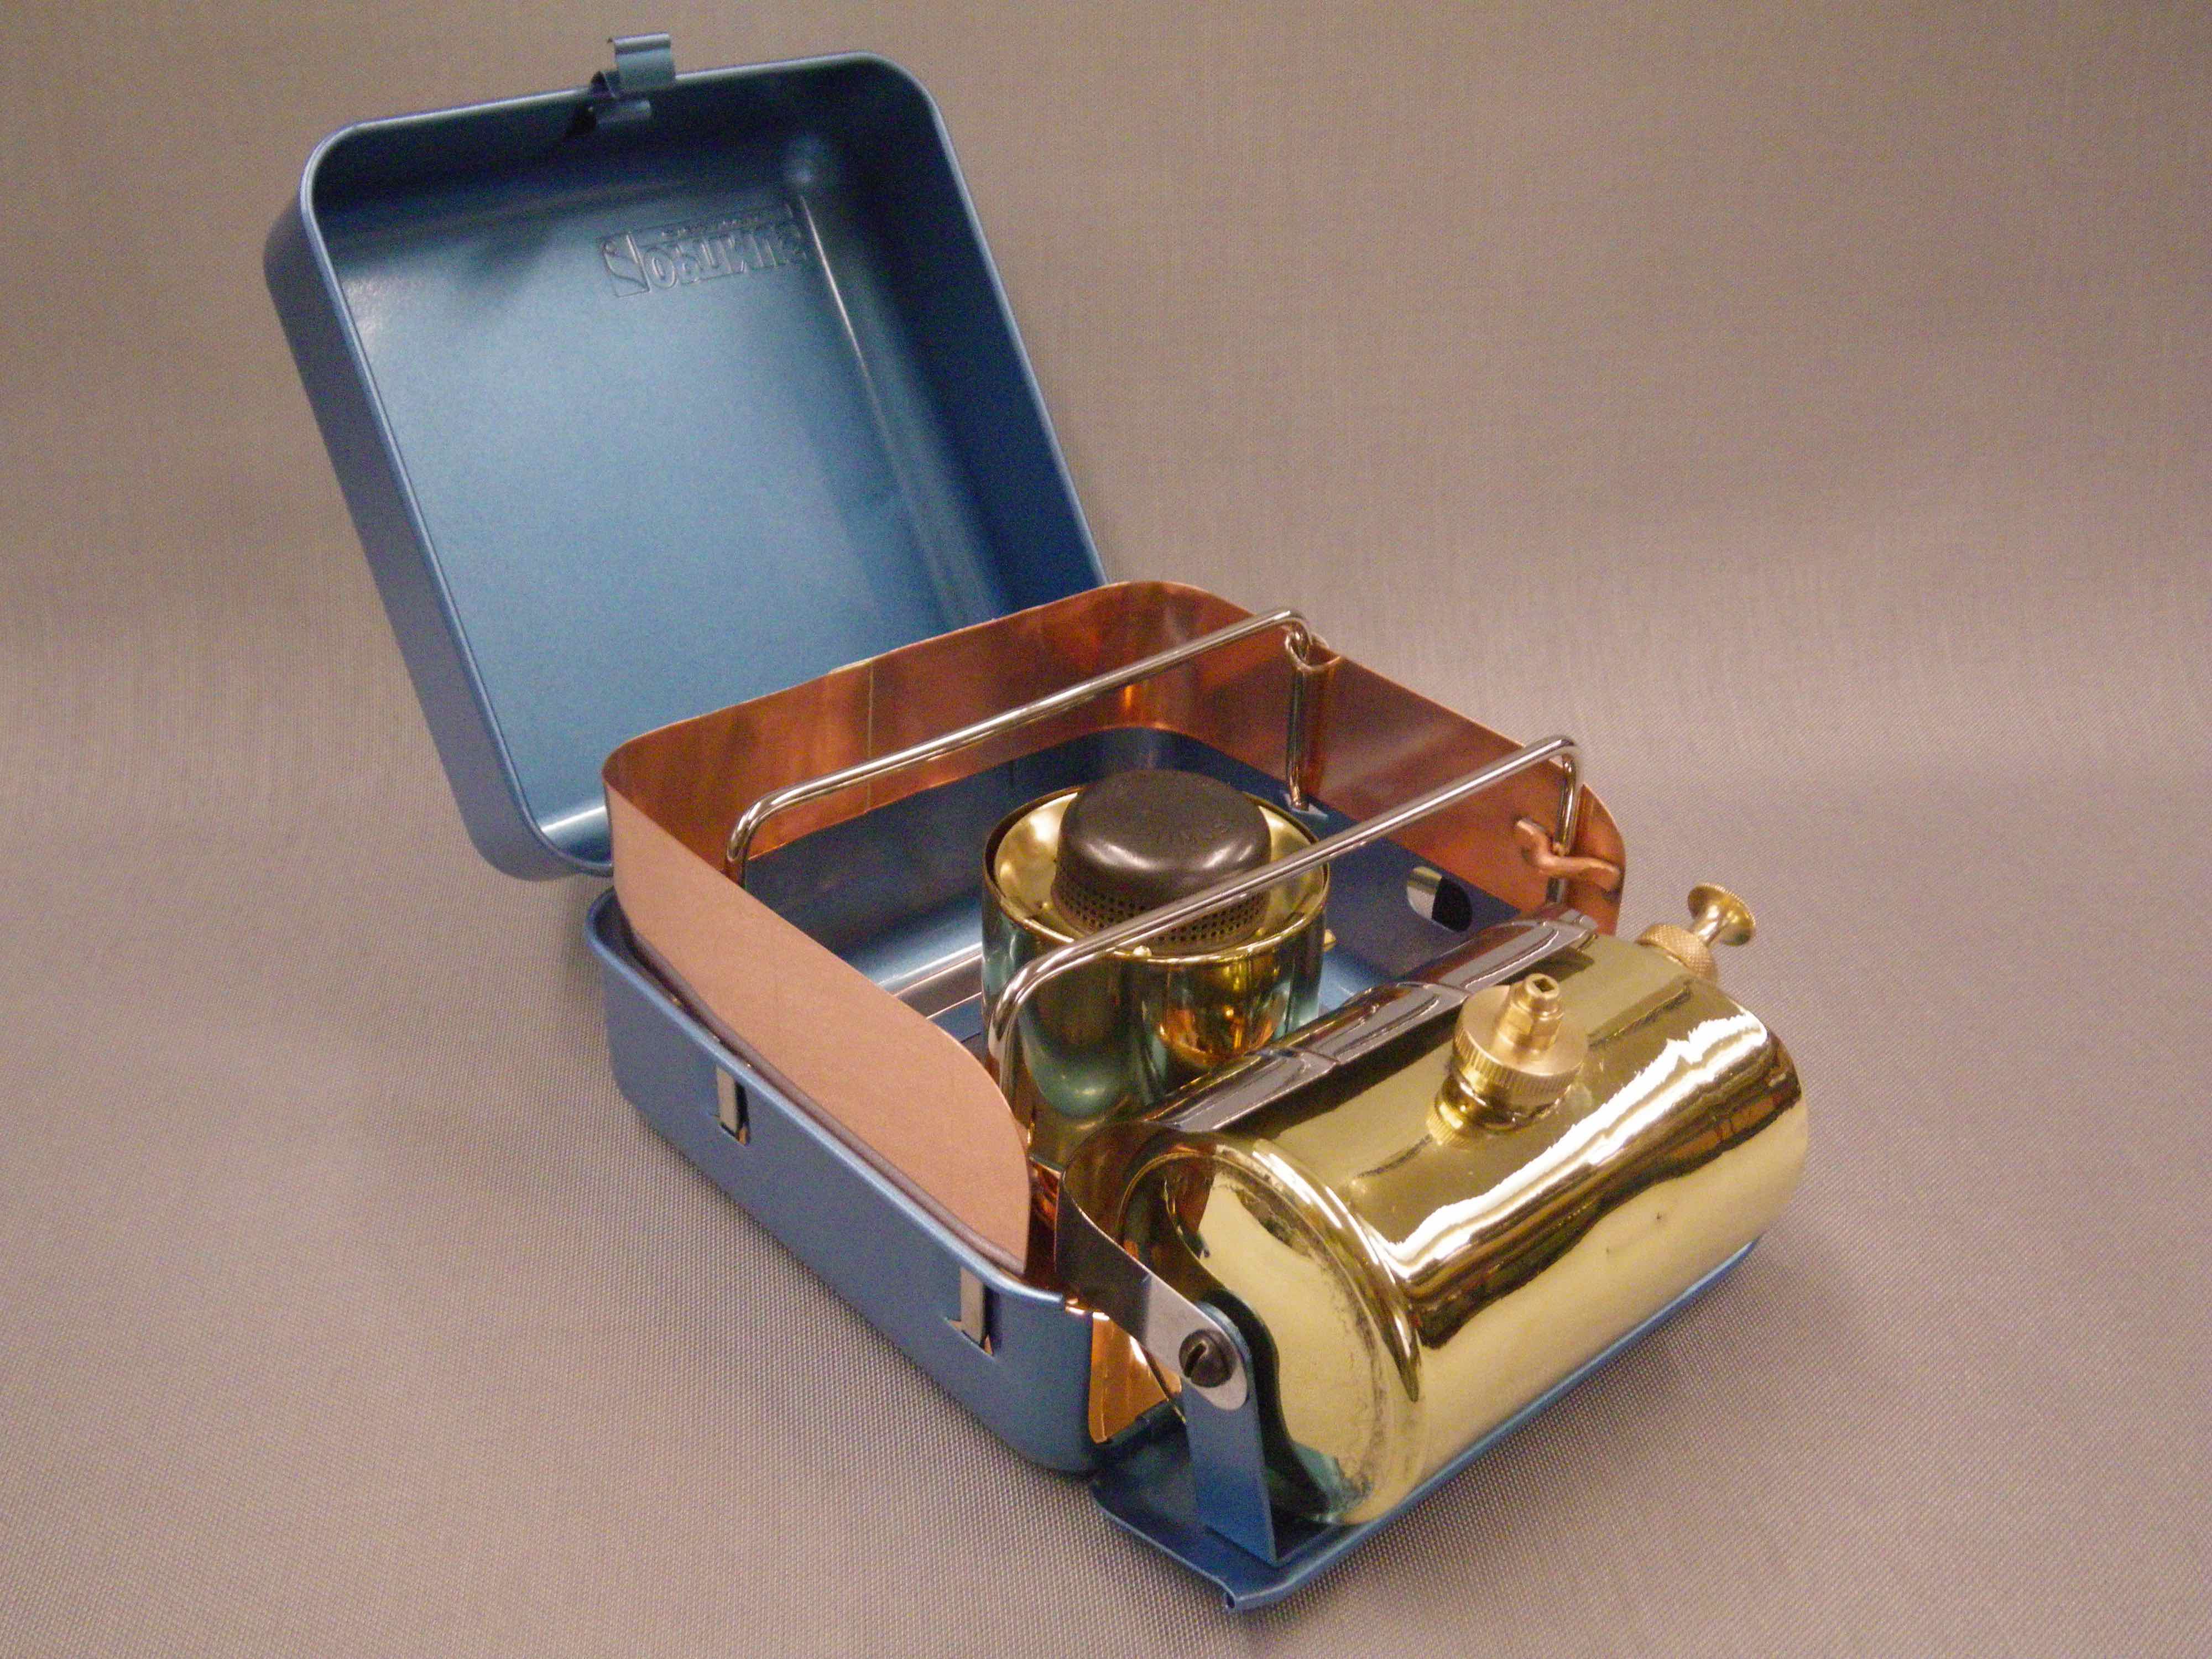
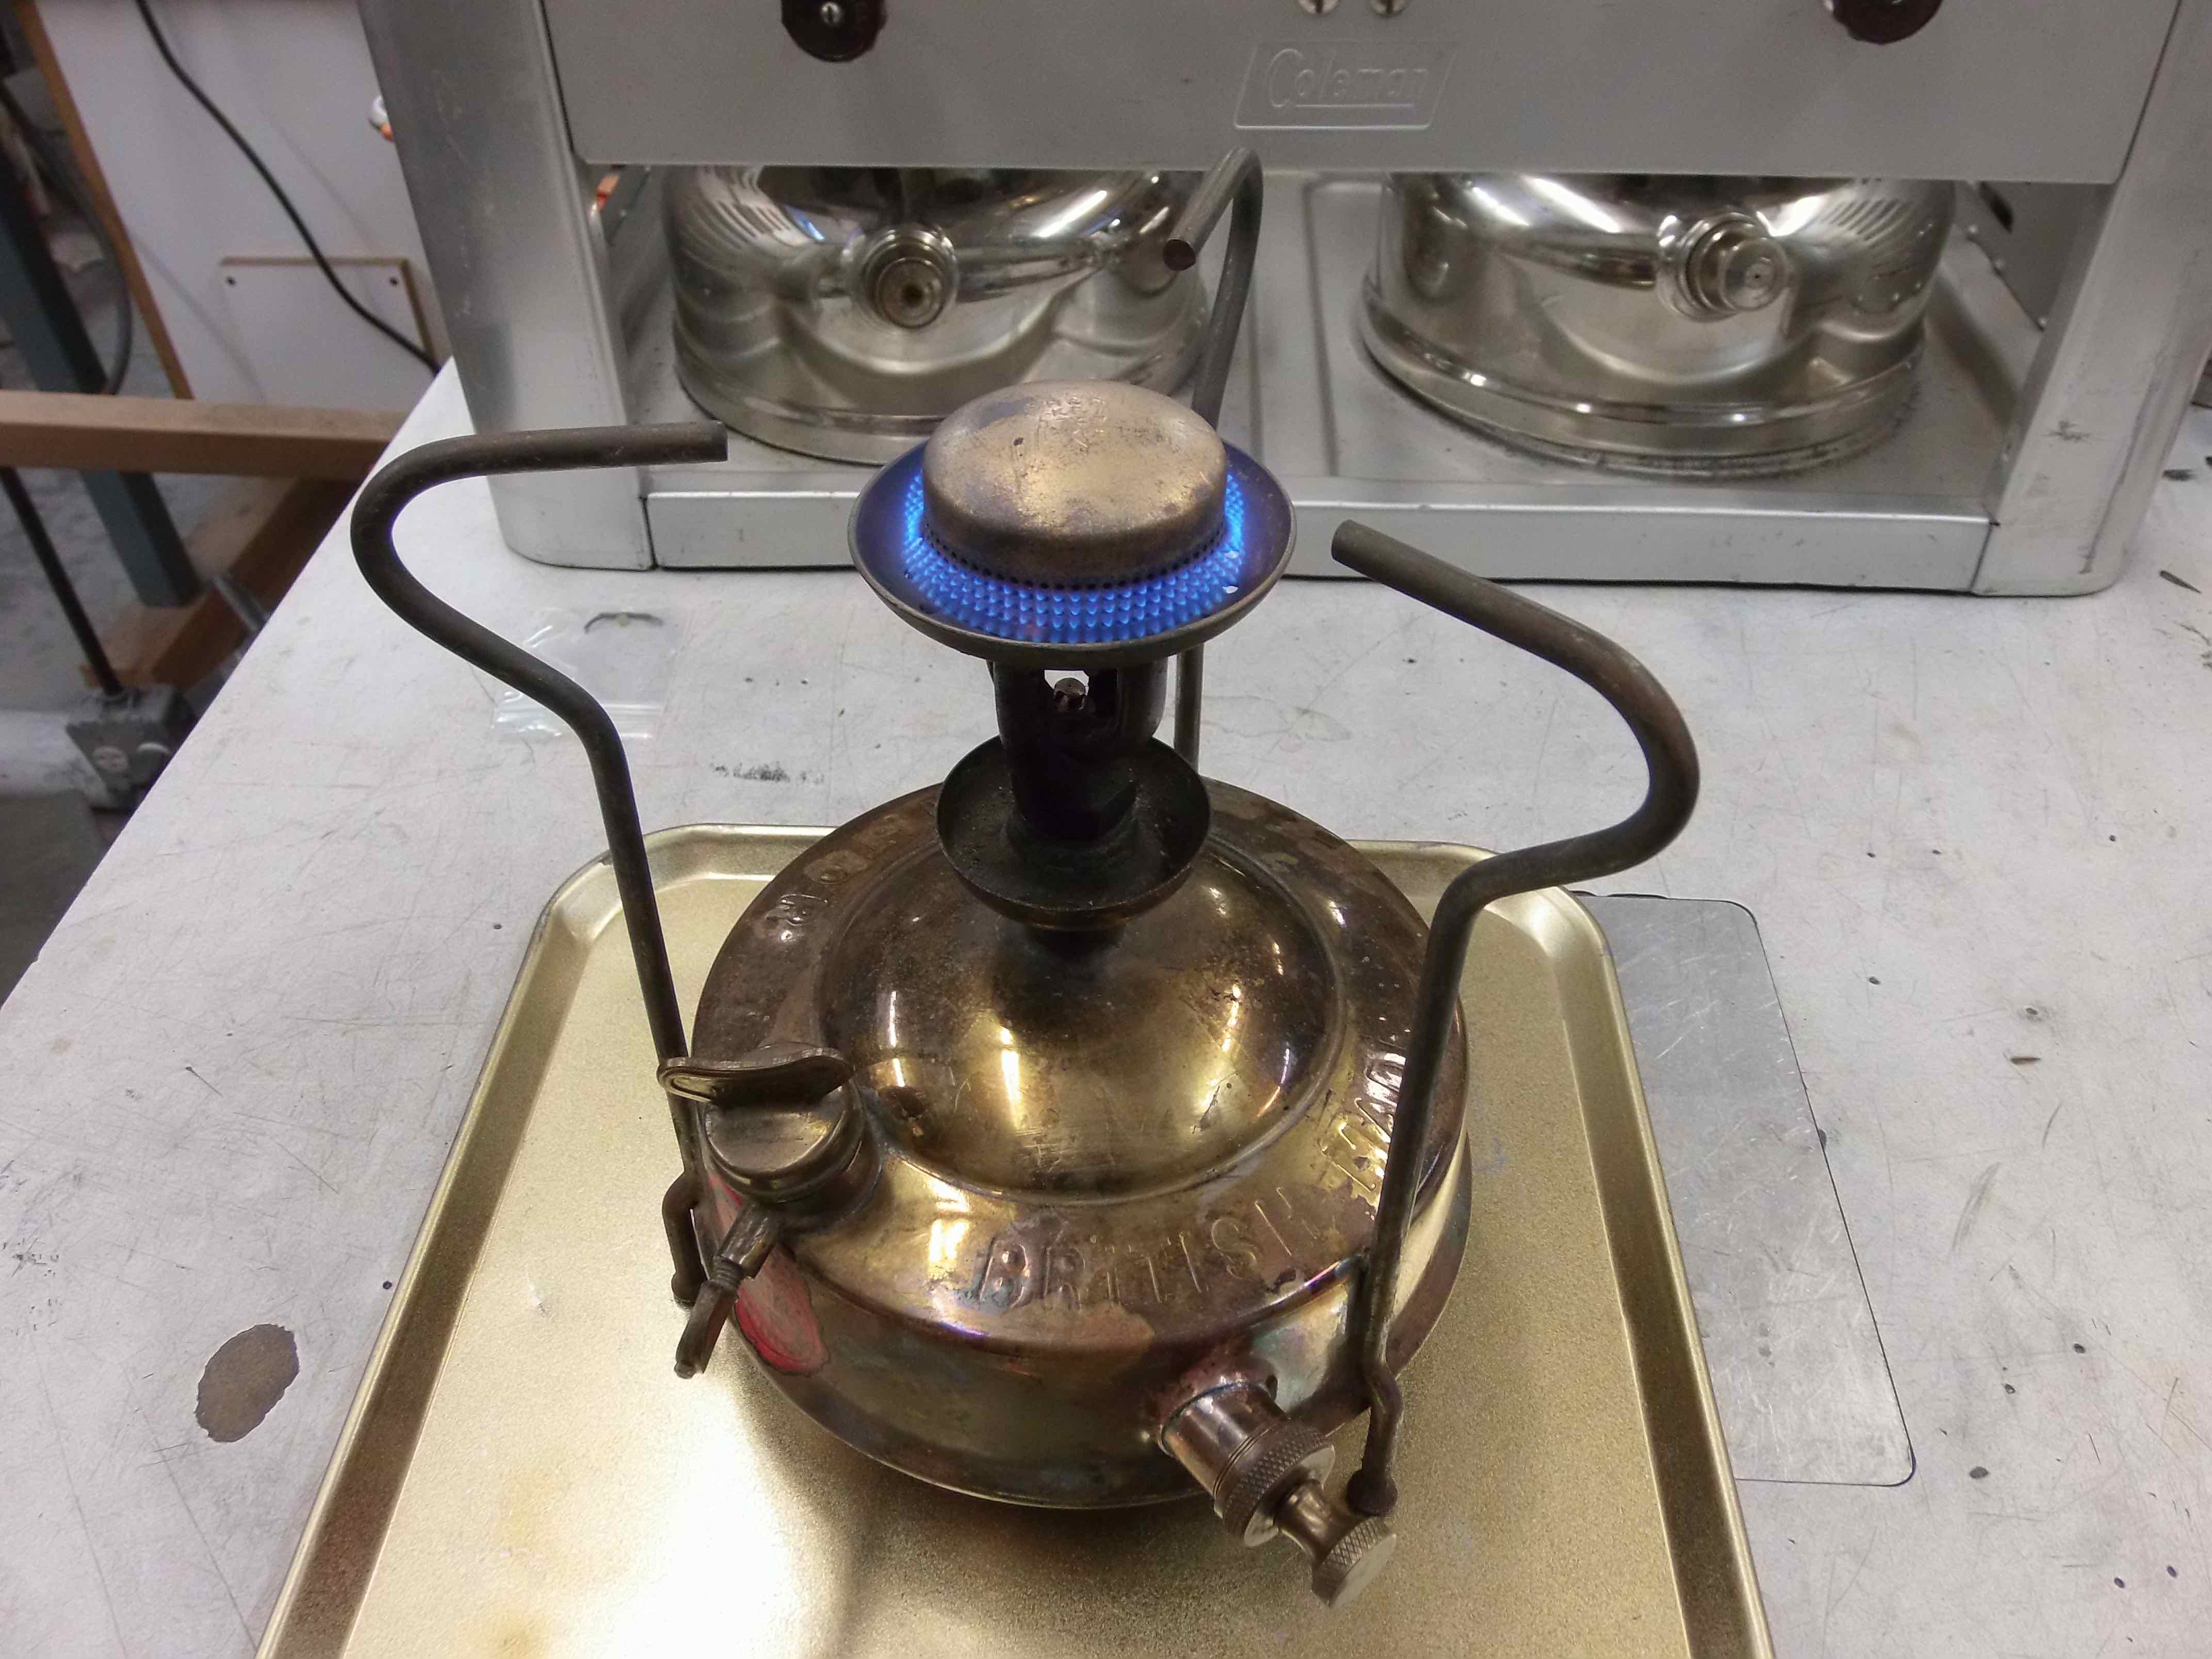
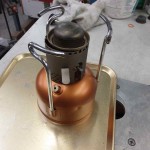
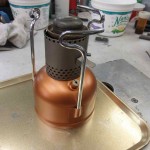
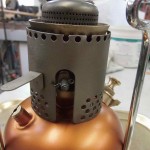
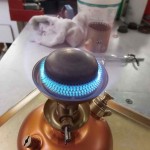
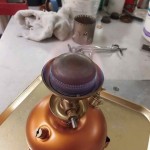
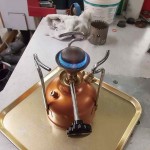
Here’s the repaired stove reassembled and fired up with no leaks and a great quality clear blue burn.
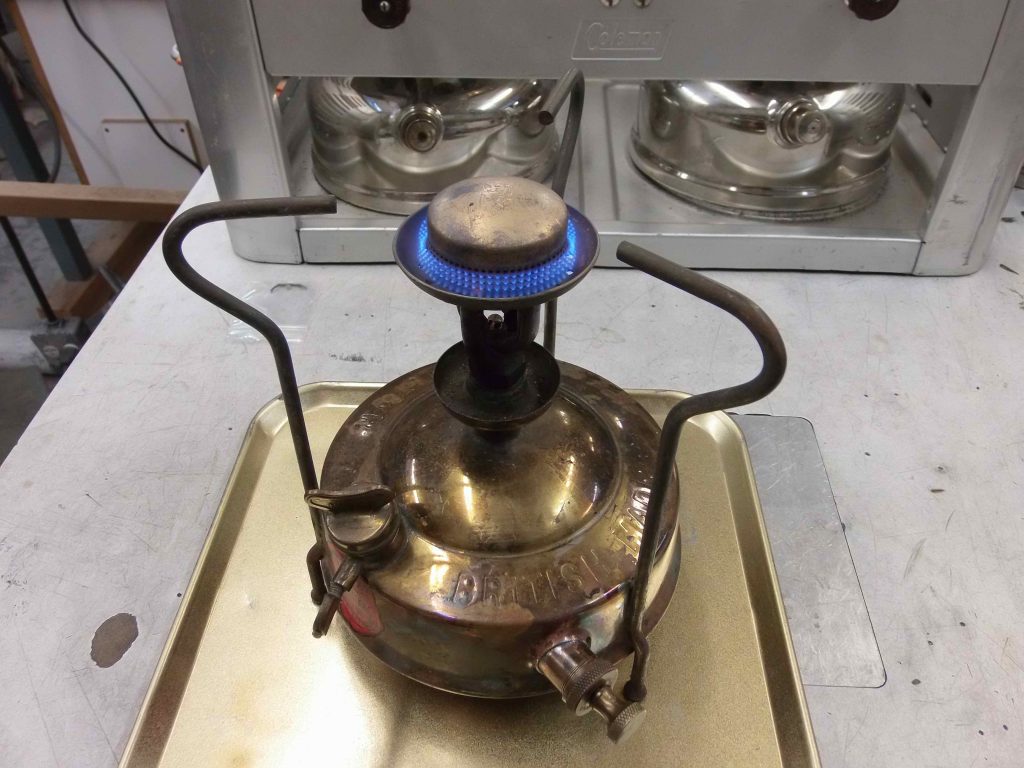
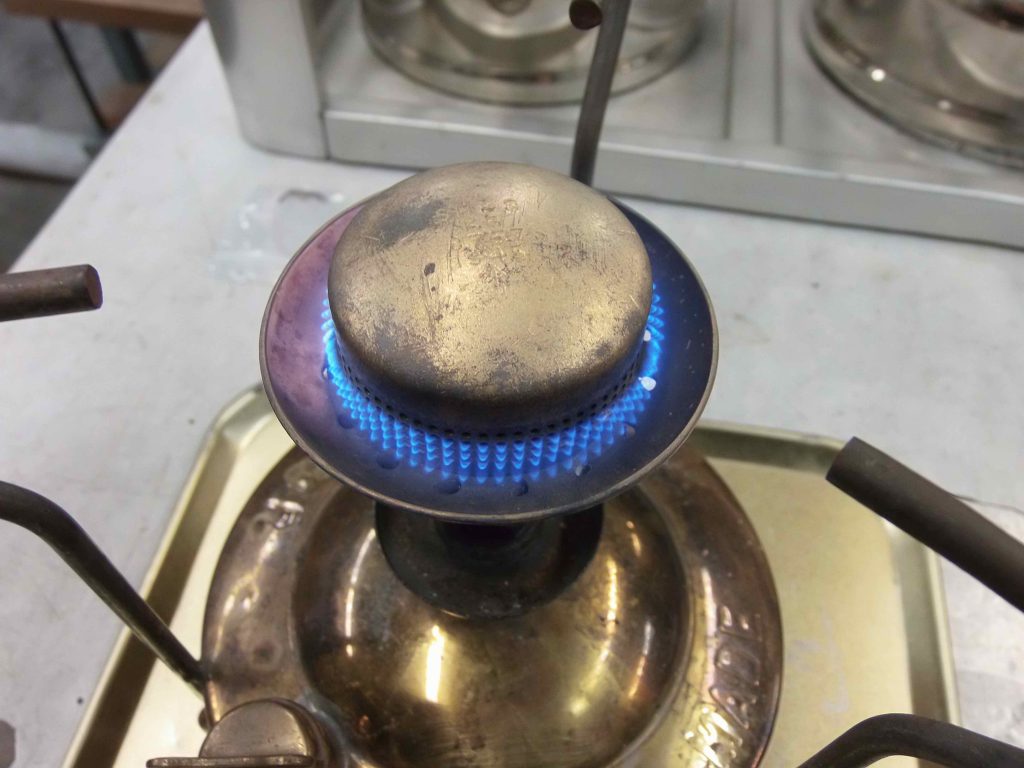
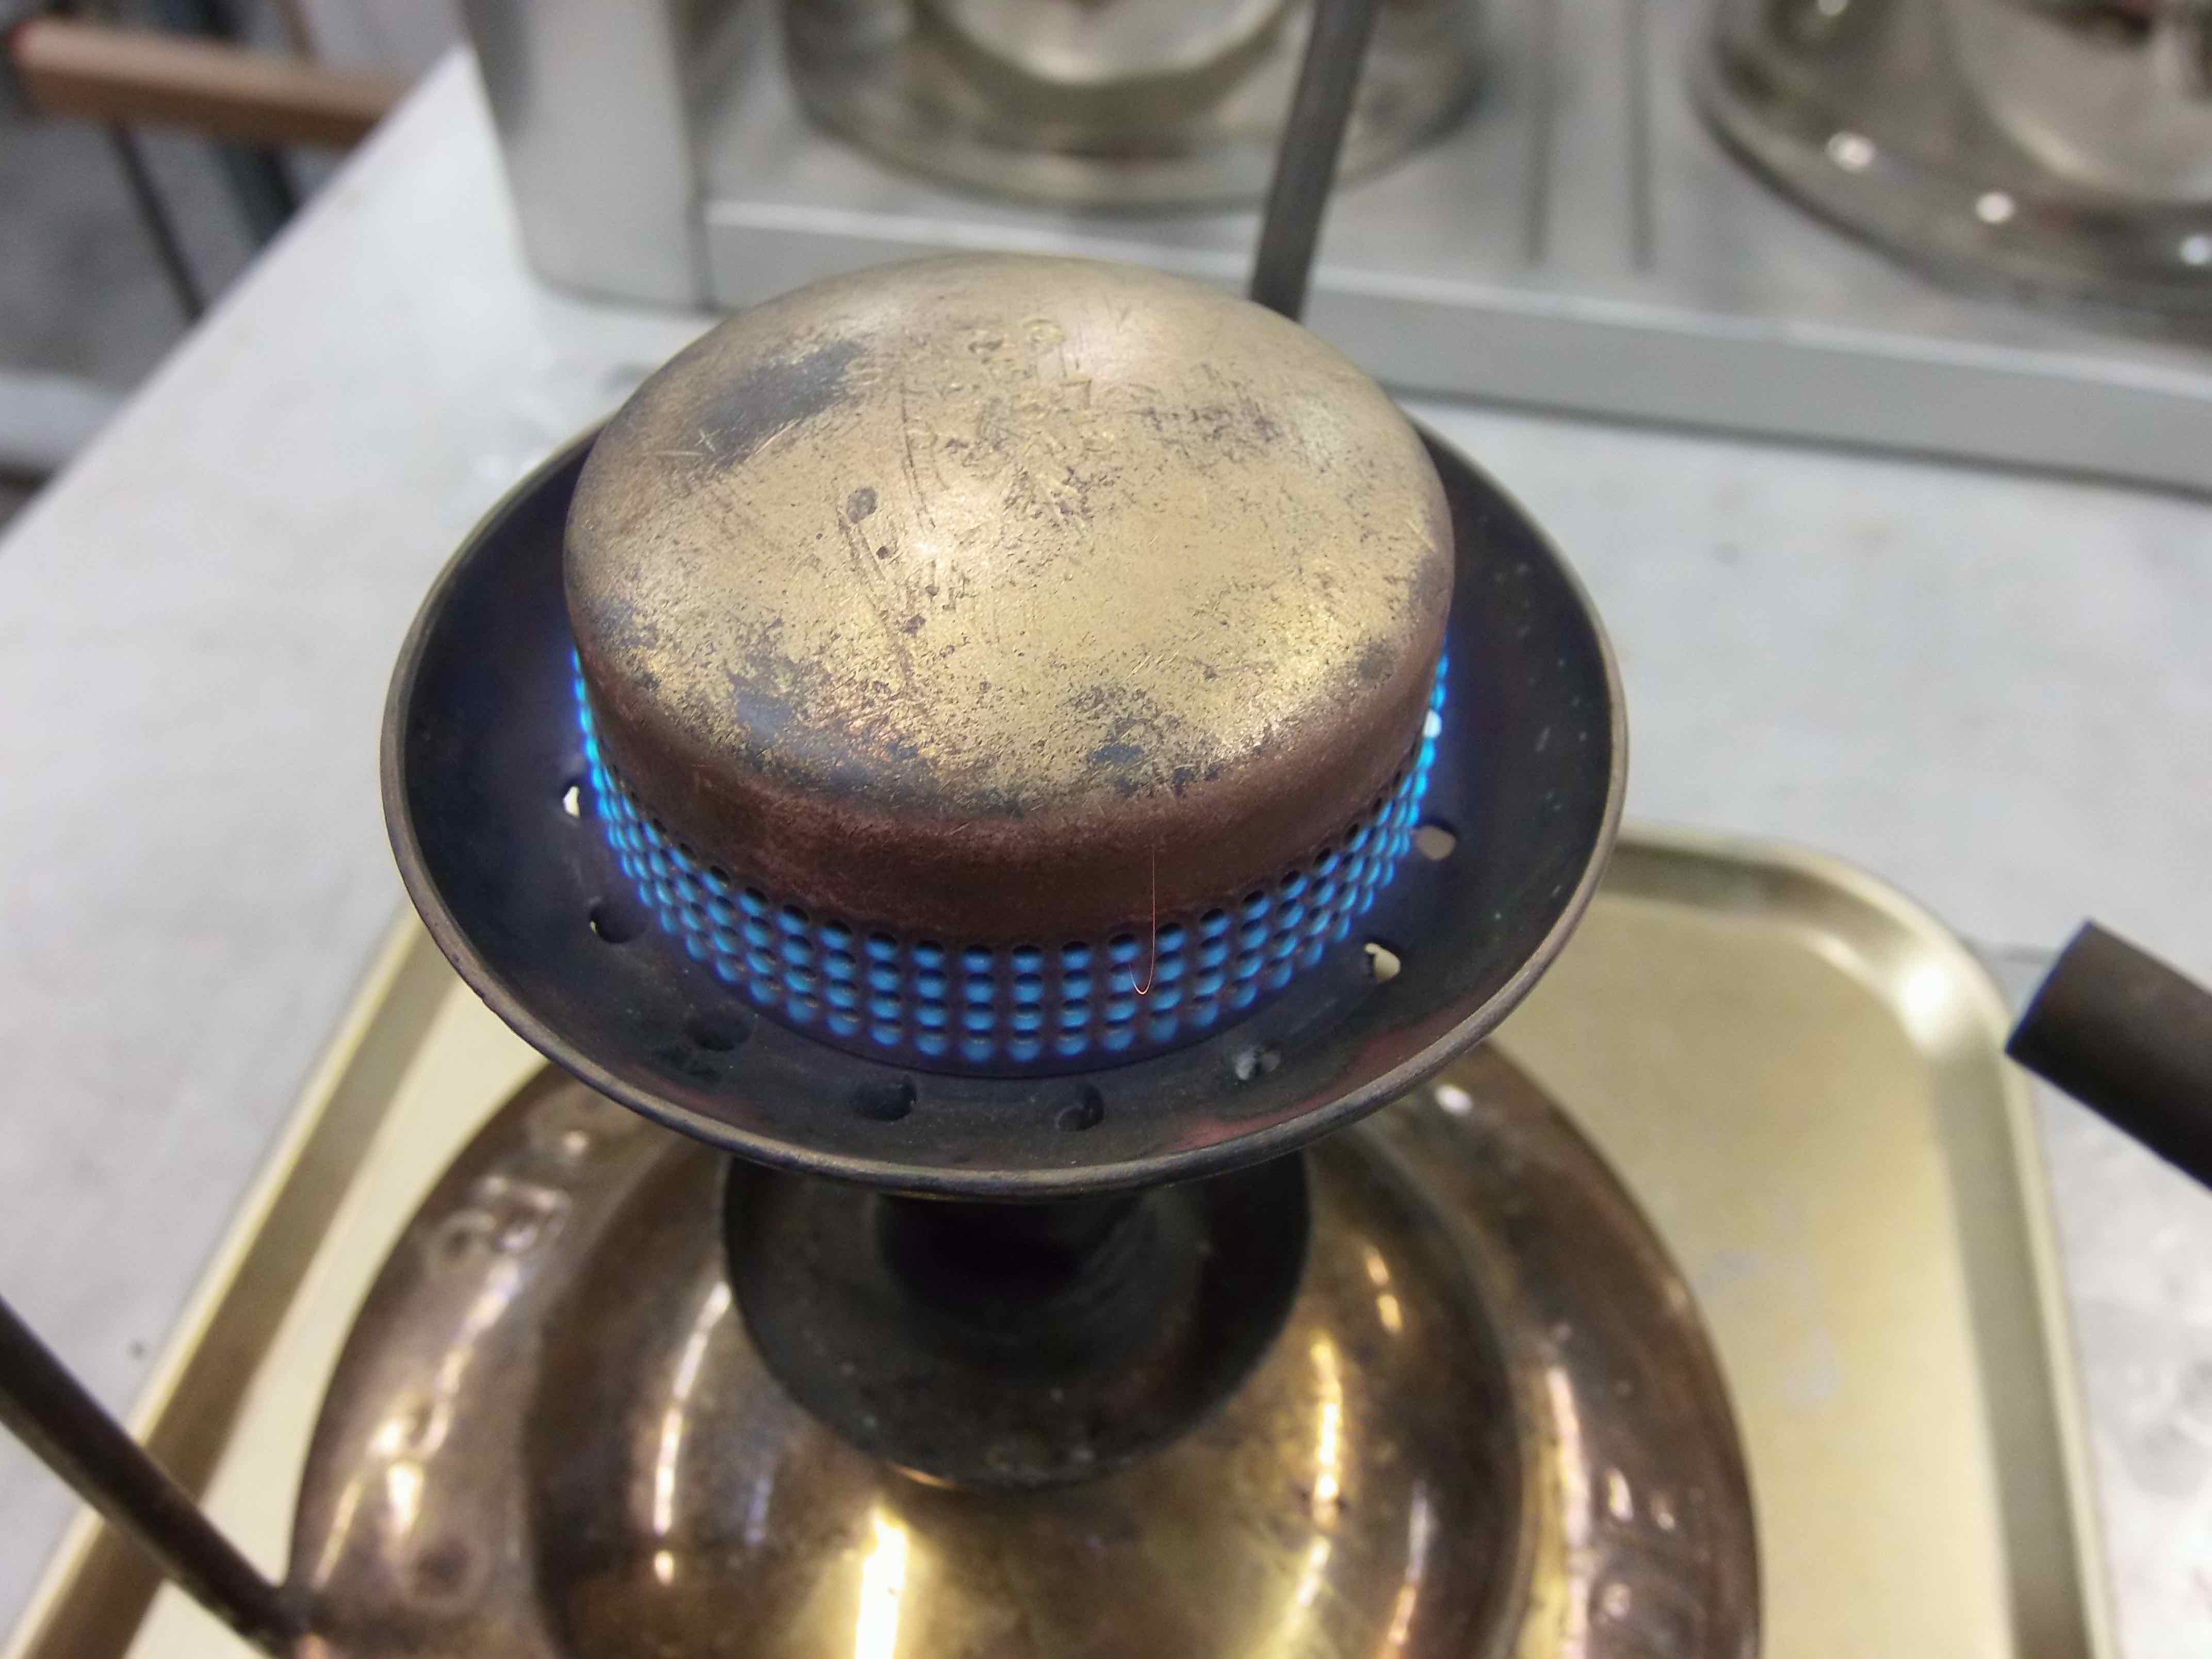
Simmering nicely.

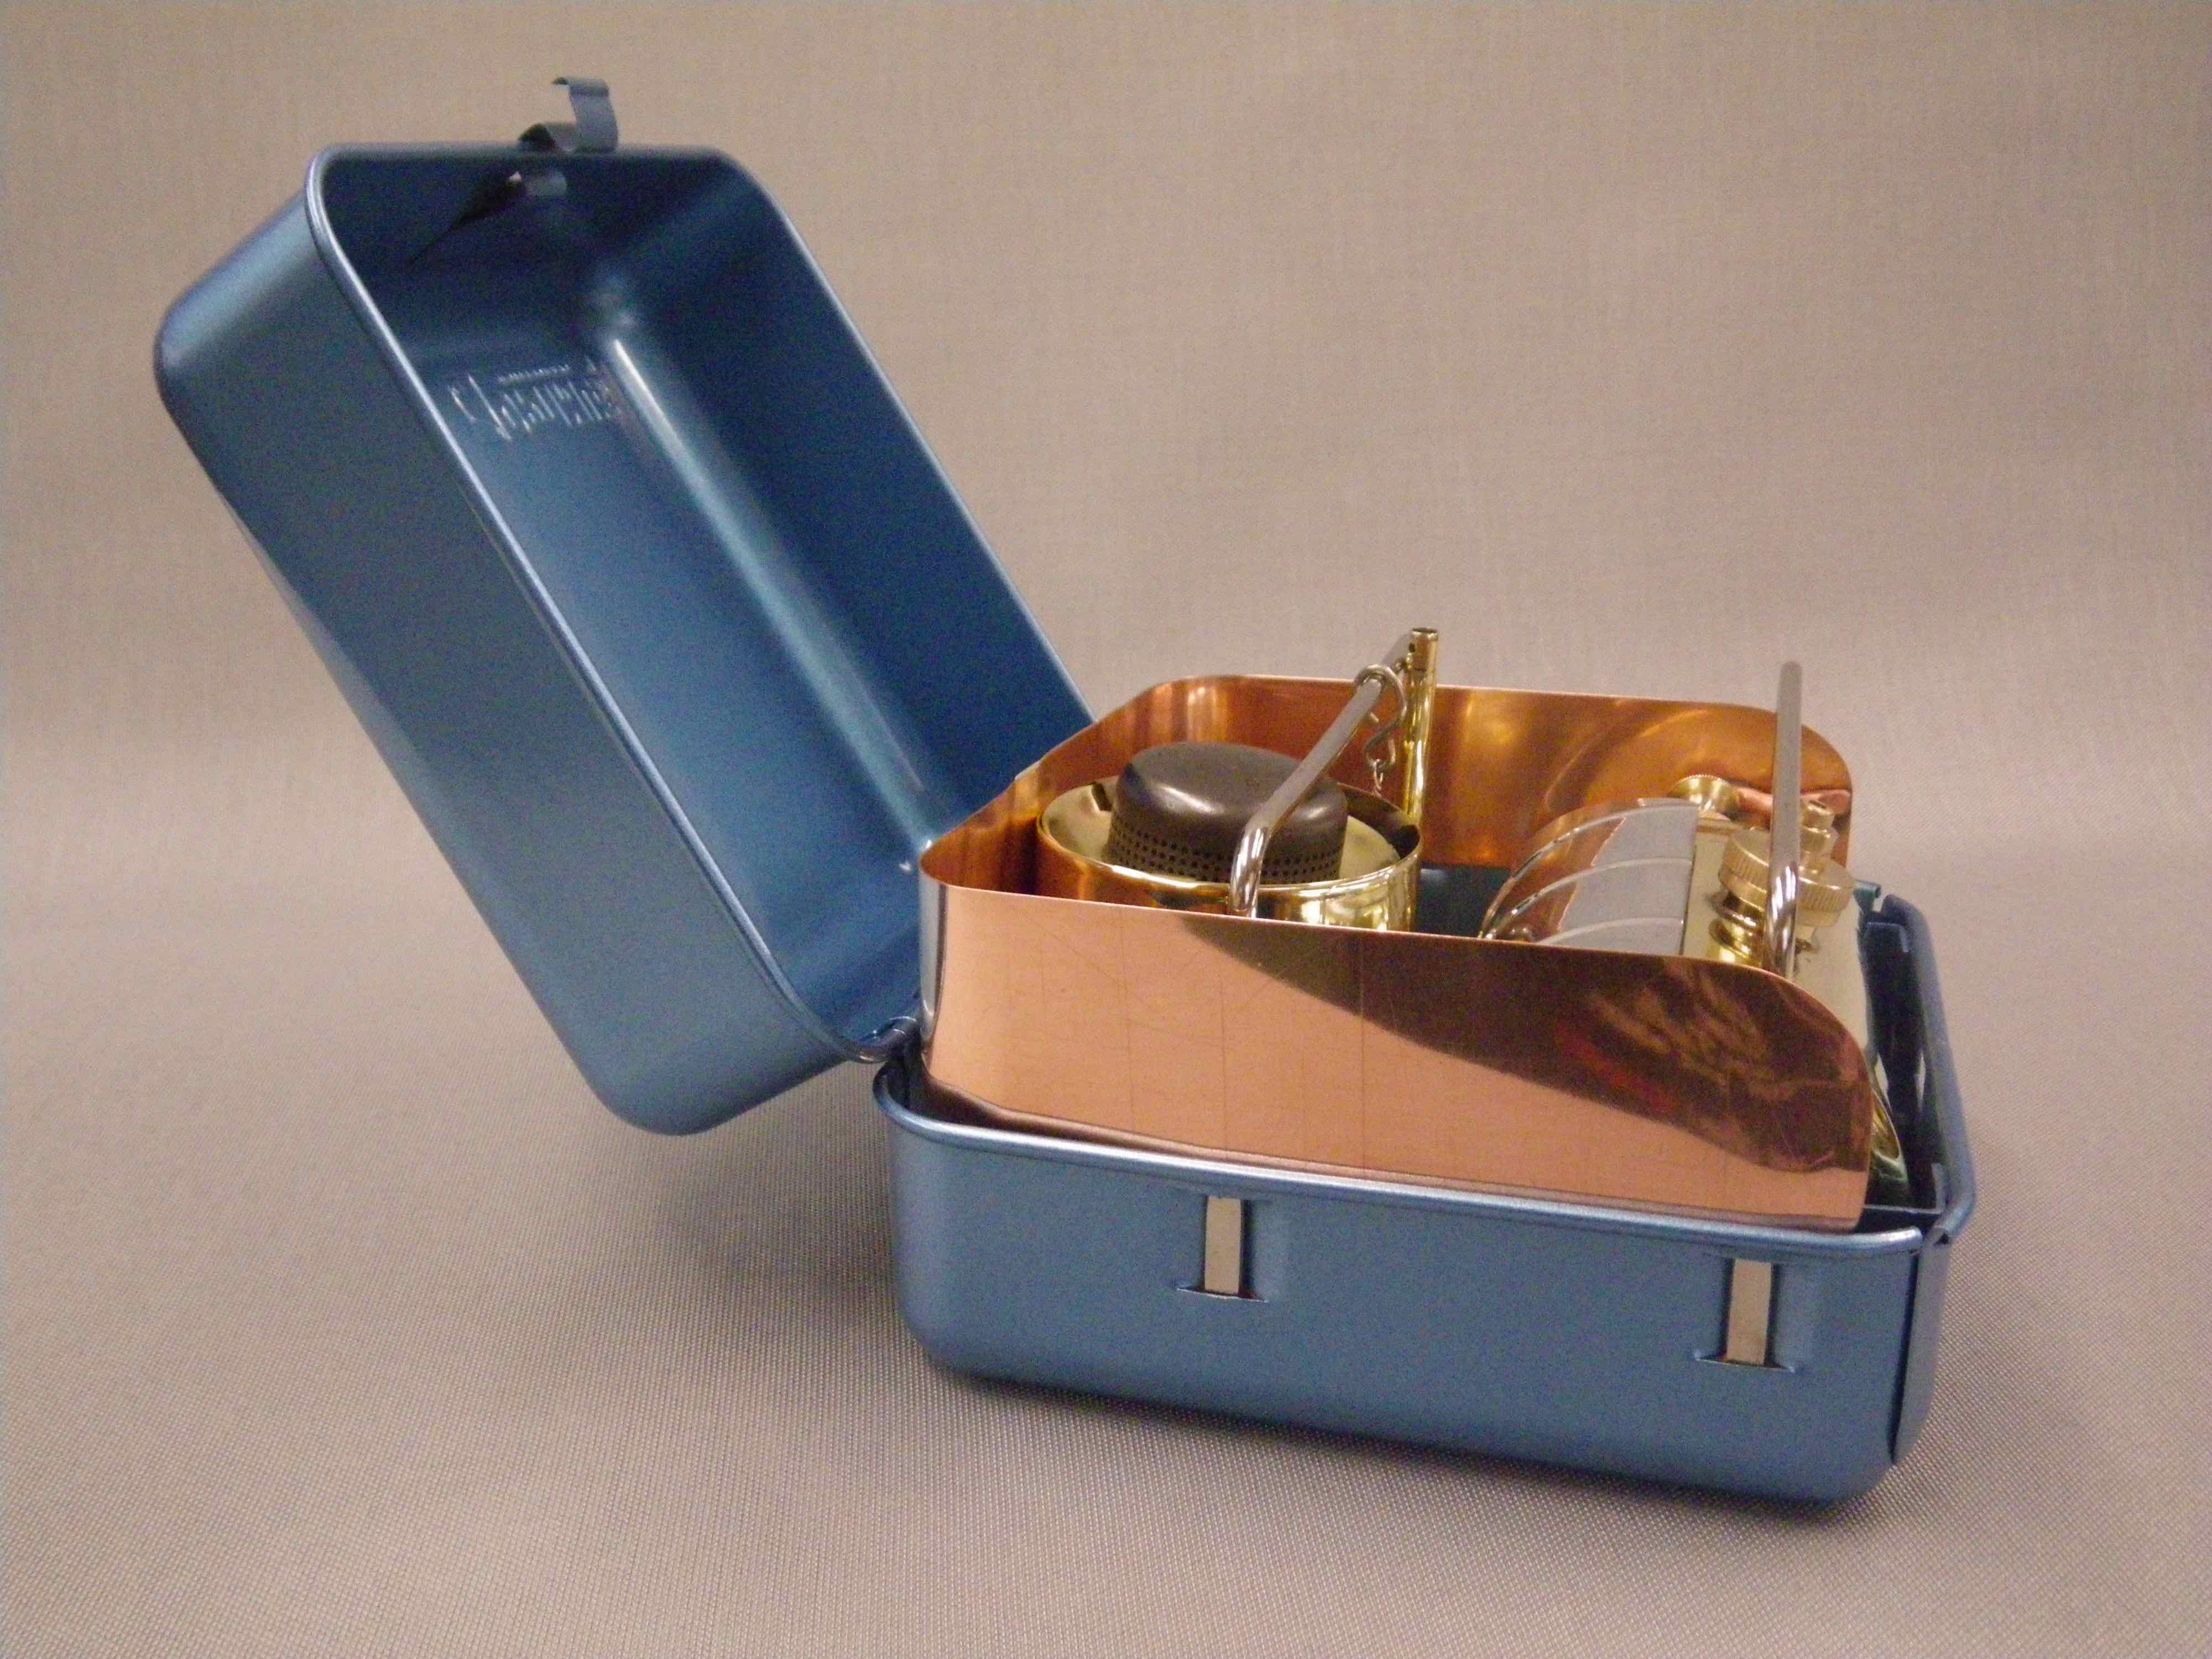
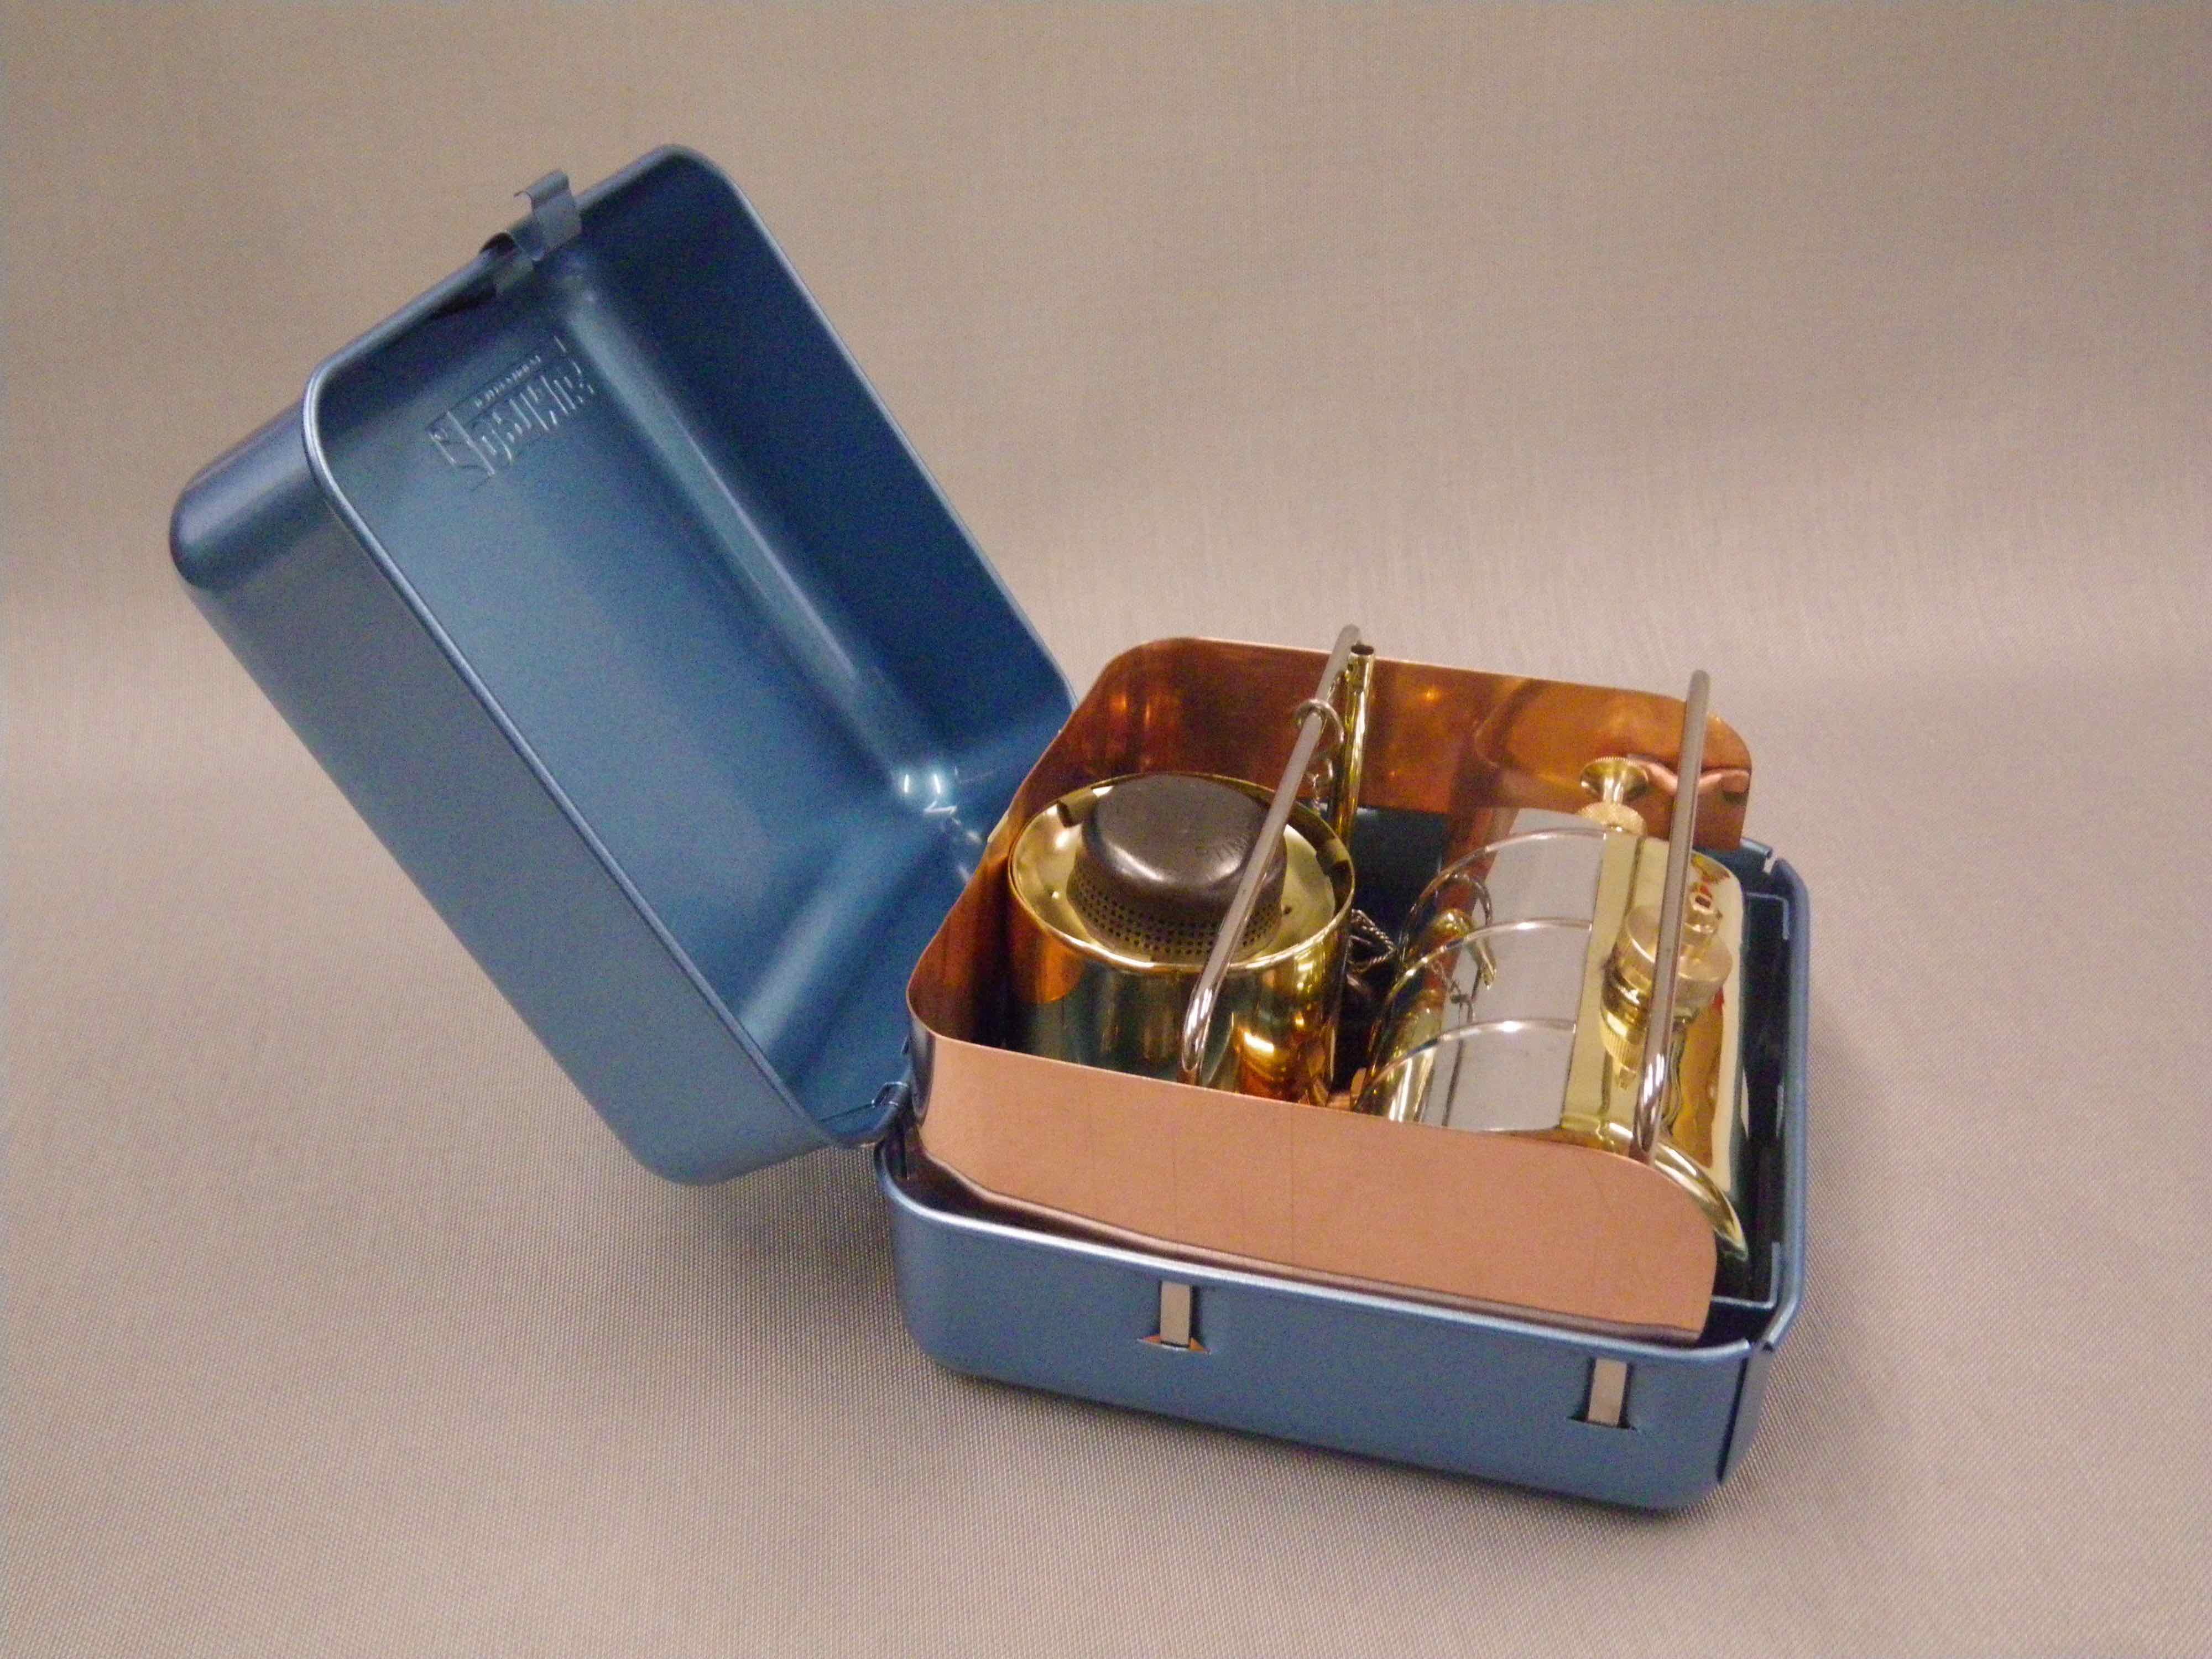
The owner of this stove is a competent stove collector who may or may not chose to polish the stove. I’ll leave that chore to them. I hope this overlong treatise maybe helped some readers who were considering repairing their own stoves.


Making a New Pump Tube

A Burmos 96 stove was sent to me for removal of a badly stuck NRV. After replacement of the NRV there was still leaking going on in the pump tube. I removed the pump while the stove was pressured and added some water in the pump tube. Using a small but strong flashlight, it could be seen there were several locations emitting streams of bubbles around the inside of the pump tube. This was likely caused by poorly drawn brass tubing that left stresses in the tubing back when the stove was made.

The pump tube was pulled and the tube was replaced with one I manufactured to match here in the BD Labs. Those photos follow.

“click” an image to enlarge


Phoebus 625 Restoration

Here’s a quick post of a recent restoration of a Phoebus 625. This was one of a pair I bought on eBay as a two-stove Buy-It-Now package deal. Both stoves seemed mostly complete though this one of the pair was missing it’s spindle knob. And, of the two, this one came in a stuff sack while the other sported an actual tin.

Here are some shots of the process. click image to enlarge

The tank was stripped and glass bead blasted to provide a good surface for new paint. All the parts were degreased and cleaned. The pot supports were polished up on my buffing wheels. The tank was sprayed with VHT Engine Paint SP402 Burnt Copper. I like this color because it’s about the closest rattle can color to the original, plus it’s rated to 650 deg F (240 deg C) in heat resistance. Well-cured for three to four weeks, it’s pretty much proof to Coleman fuel.

The windshield was glass bead blasted and then painted with VHT “Flame Proof” SP998 Cast Iron. This is a paint rated even more heat resistant at 2000 deg F (1100 deg C). Unlike some of the other VHT Flame Proof paints, this one doesn’t seem to “brown” as much with exposure to direct flame. Good idea as the wind shield gets a lot of that from the preheat flames.

I added a brass preheat pan between the tank riser and the burner base so that the preheat alcohol will stay off the tank. Here’s how it turned out. click image to enlarge