Hi BernieDawg
I have a short question about the bernie dawg silencer caps. Does the Omnifuel Cap fit to the Multifuel Burner?
Best regards,
Stove Guy
Hi Stove Guy
Thanks for your questions.
I’m not sure from your question which “Multifuel burner” you are meaning. Primus has made several different stoves they have called the “Multifuel”. And, Trangia has sold two different types of “Multifuel”-named burners. All this makes things confusing if you don’t go by model numbers or full product names.
Sooo… I’ll cover them all. Sometimes “short questions” need long answers. Sorry about that. This is a bit complicated, so please read through this carefully.
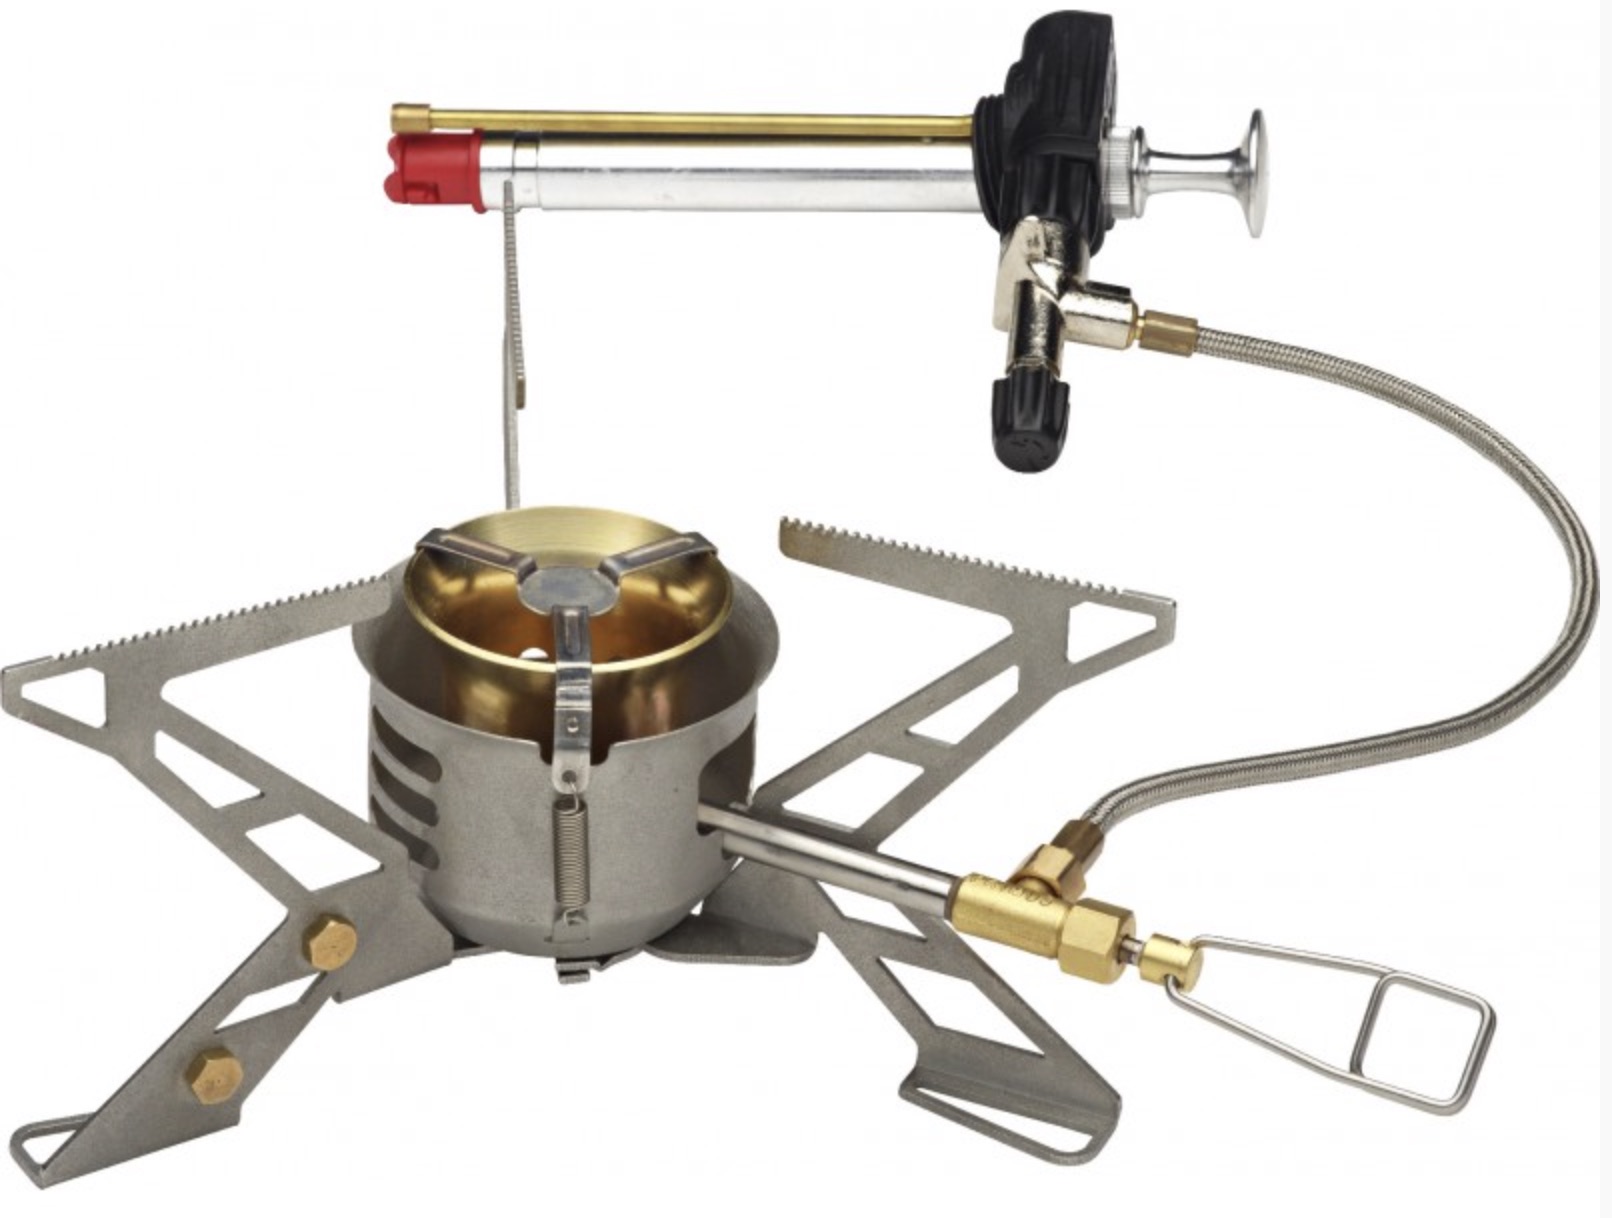
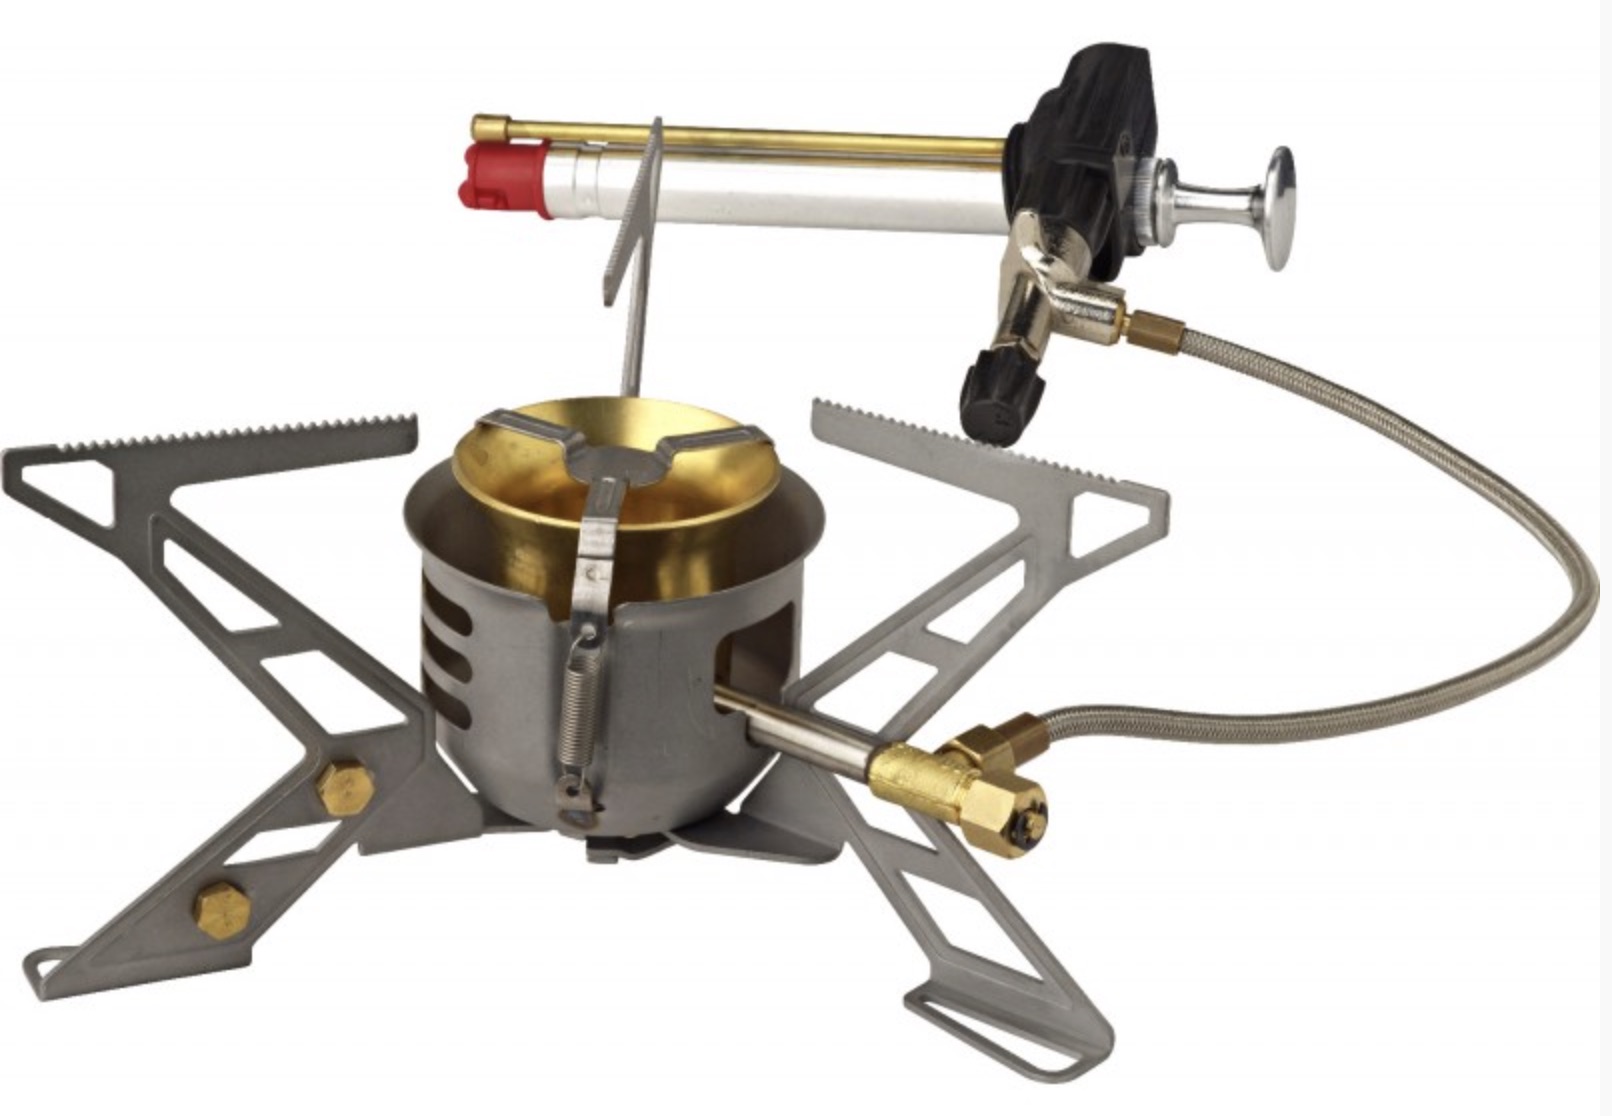
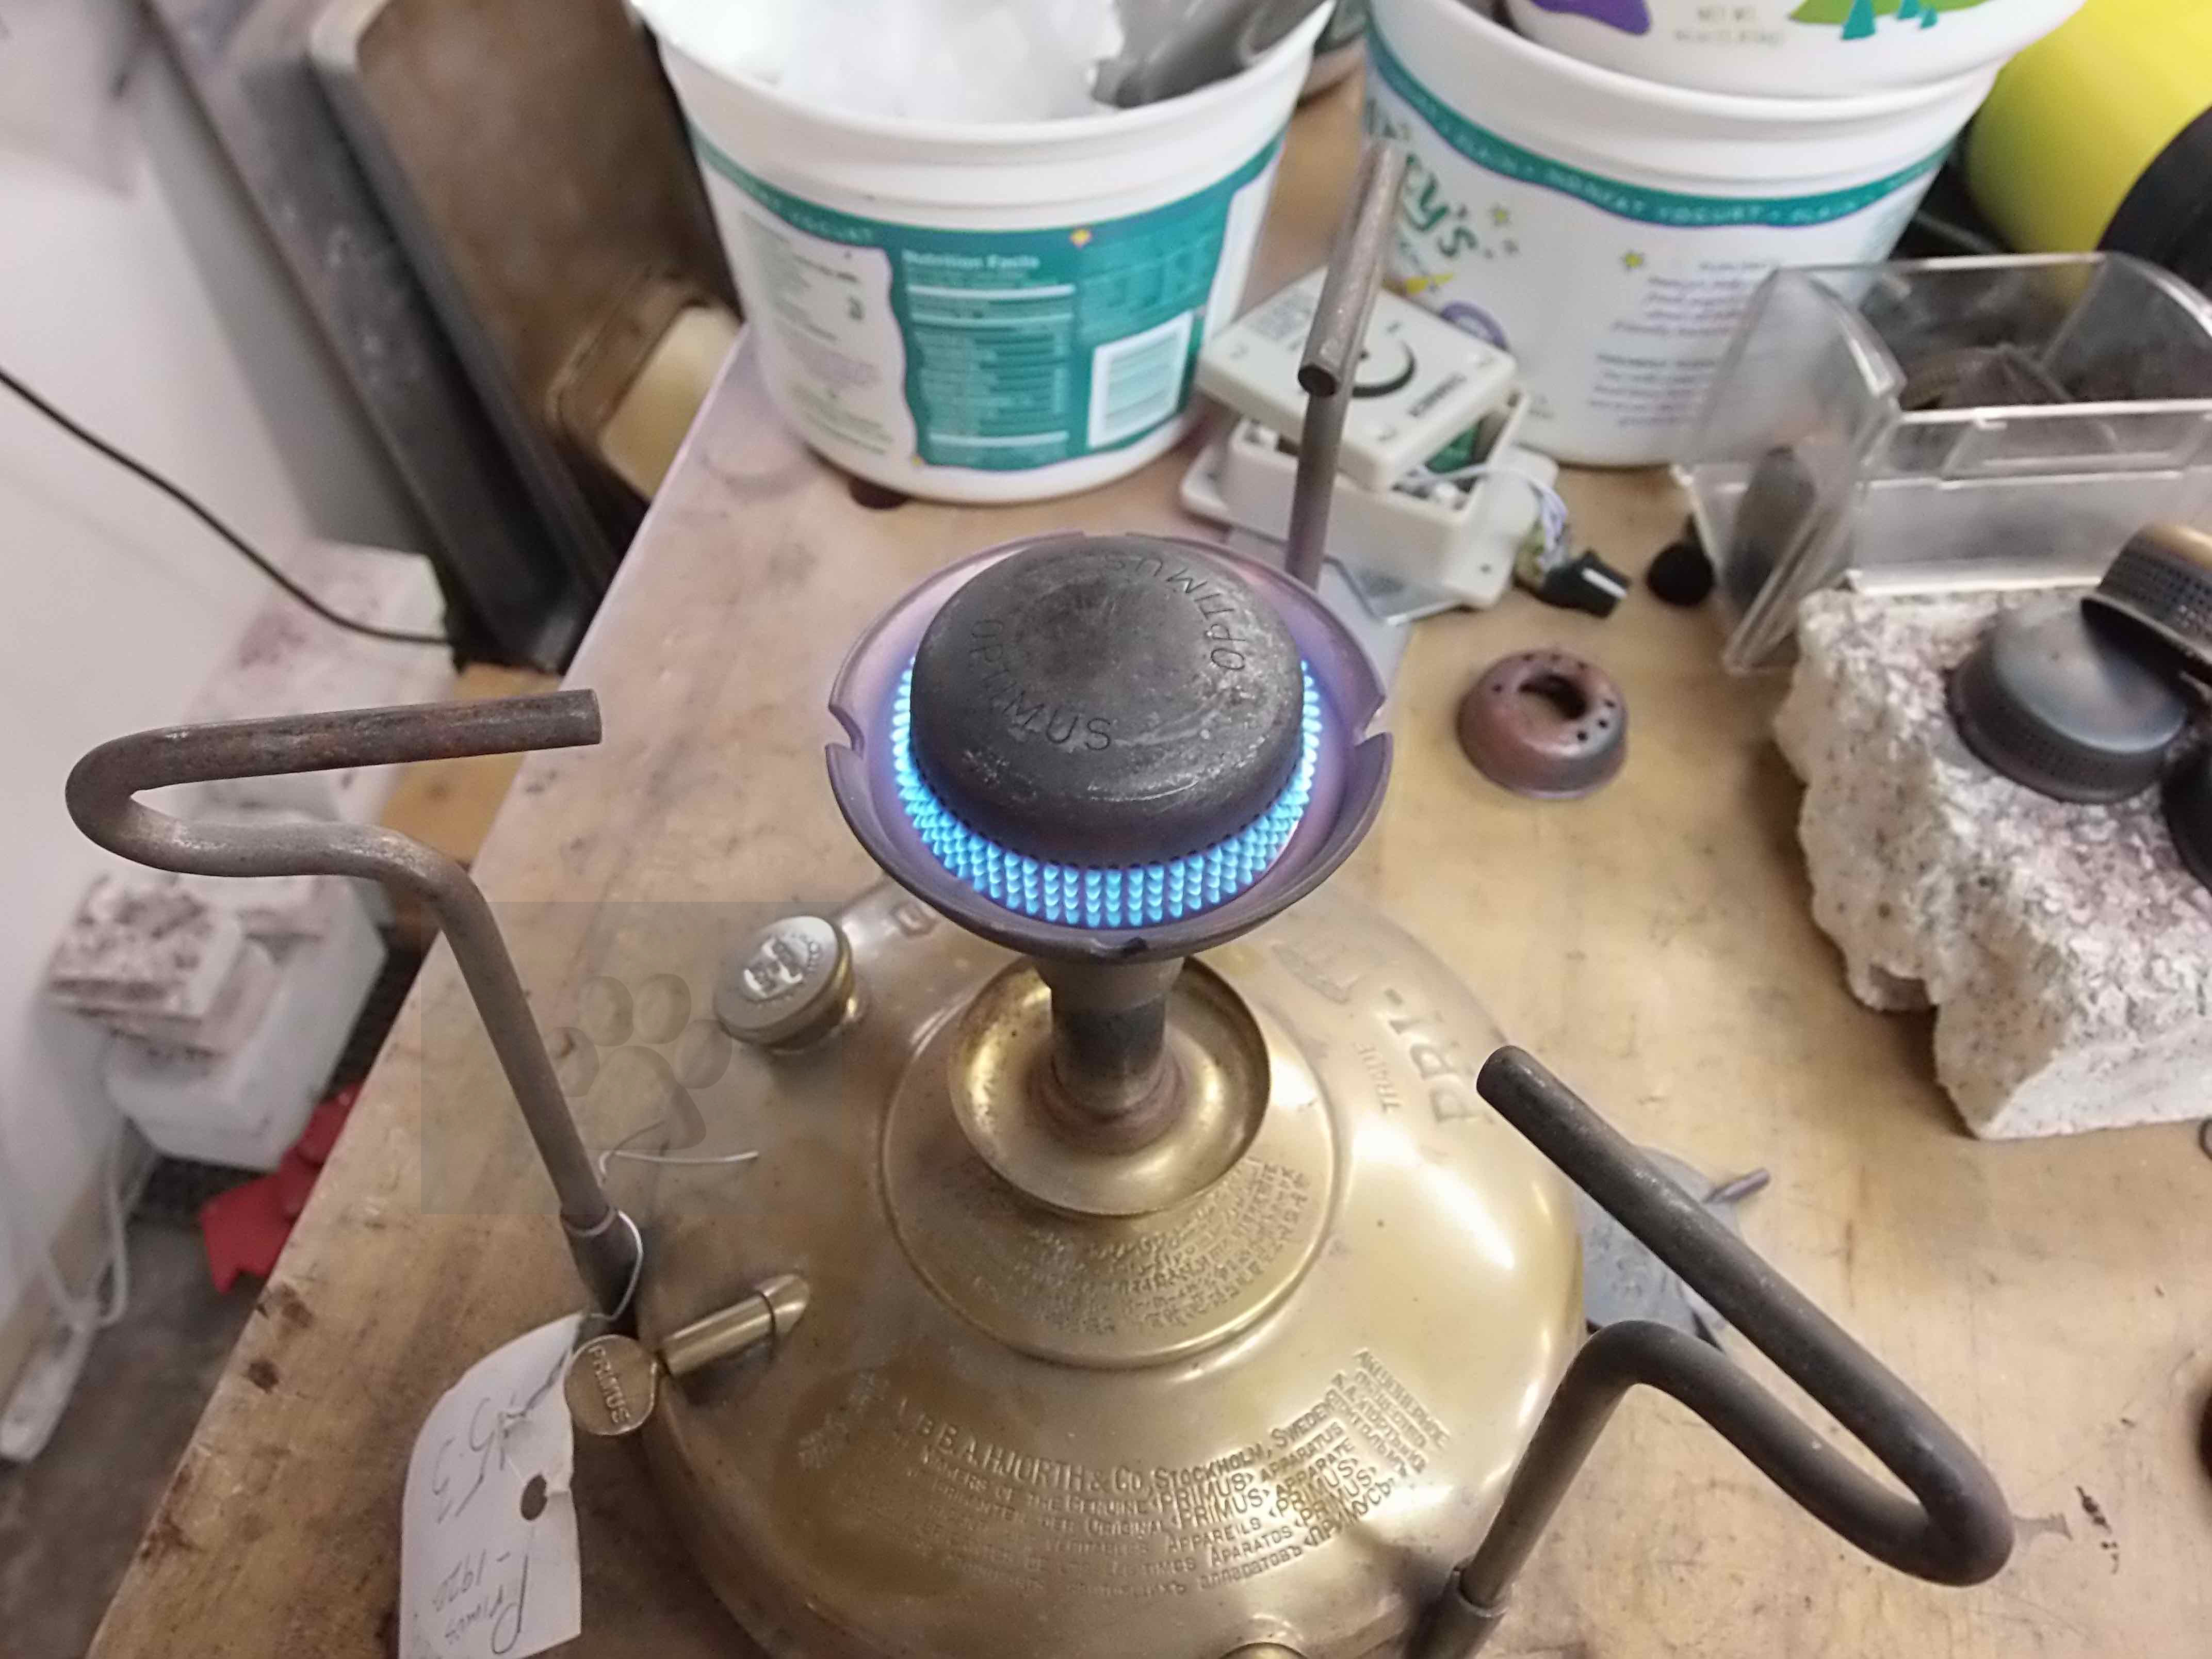
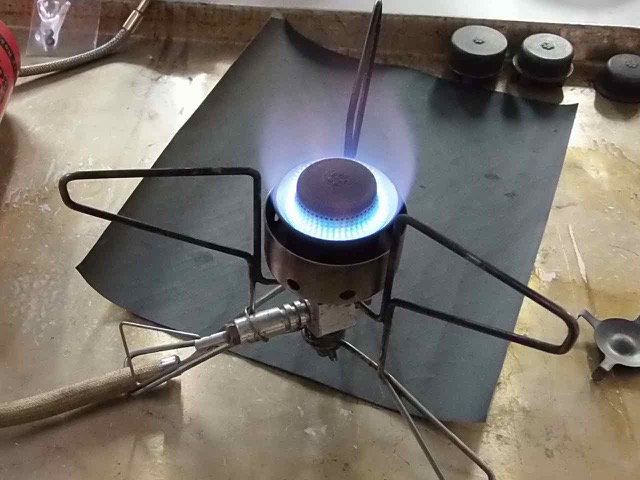
Omnifuel 3289
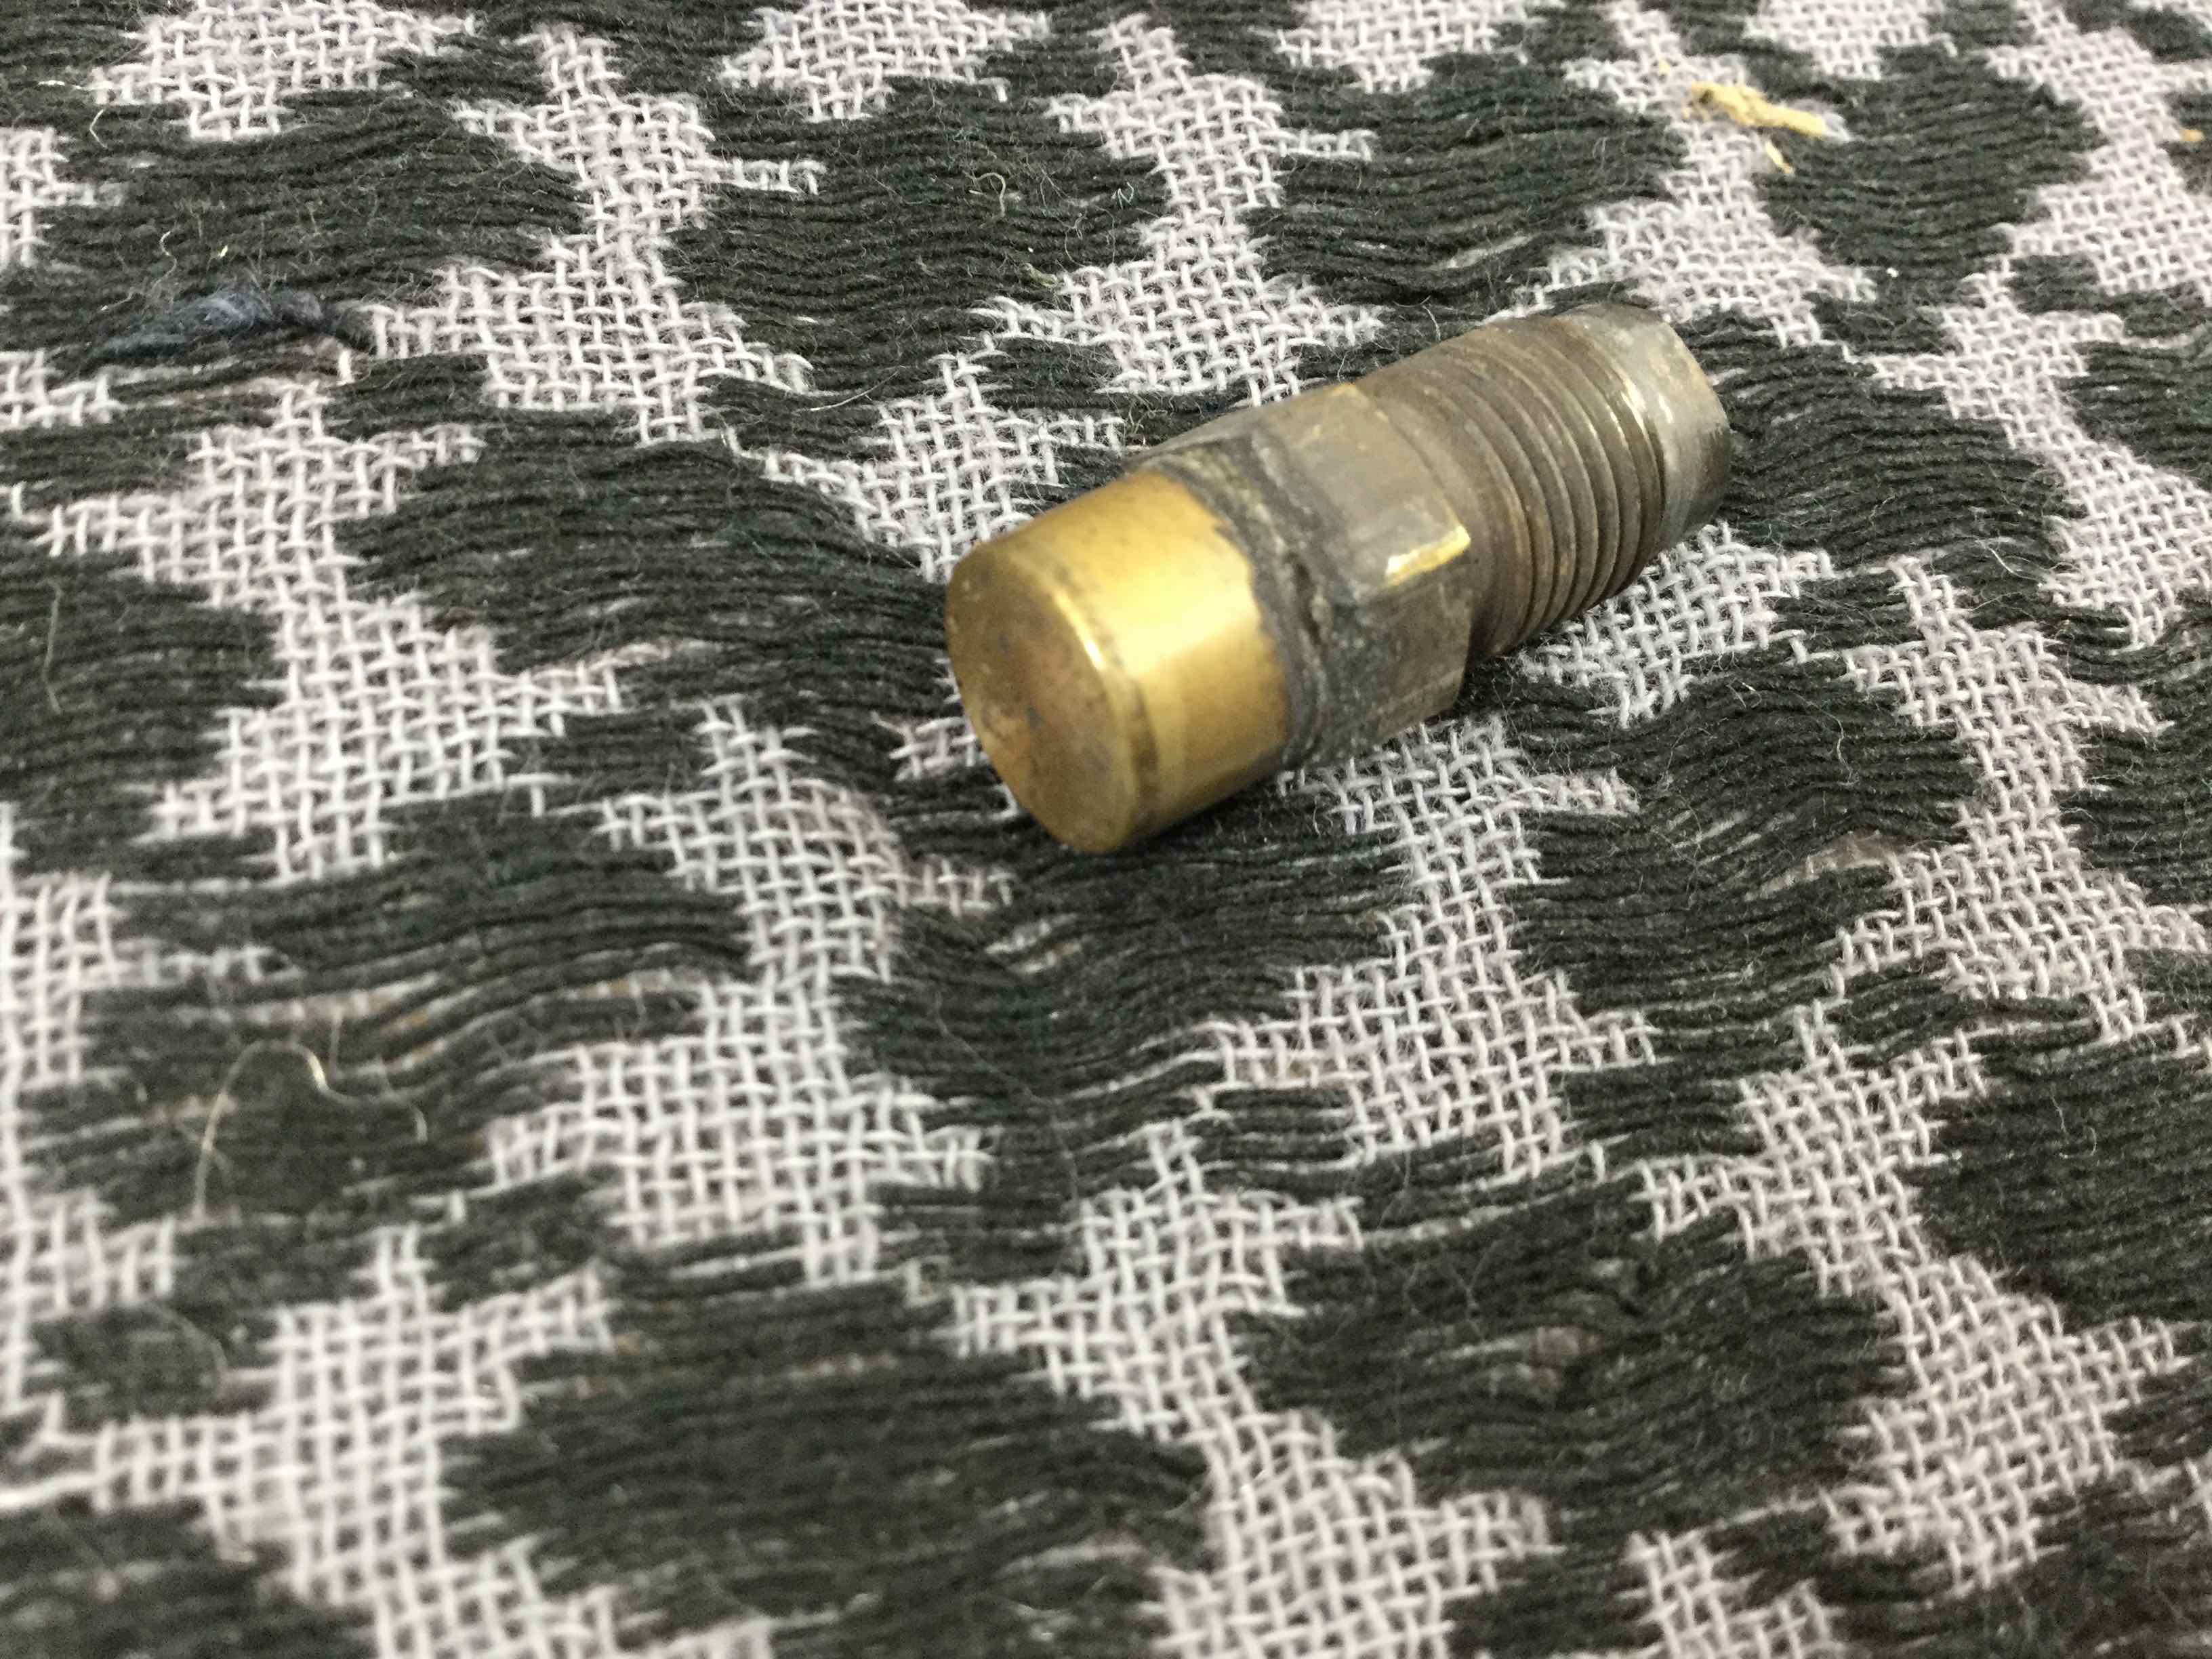
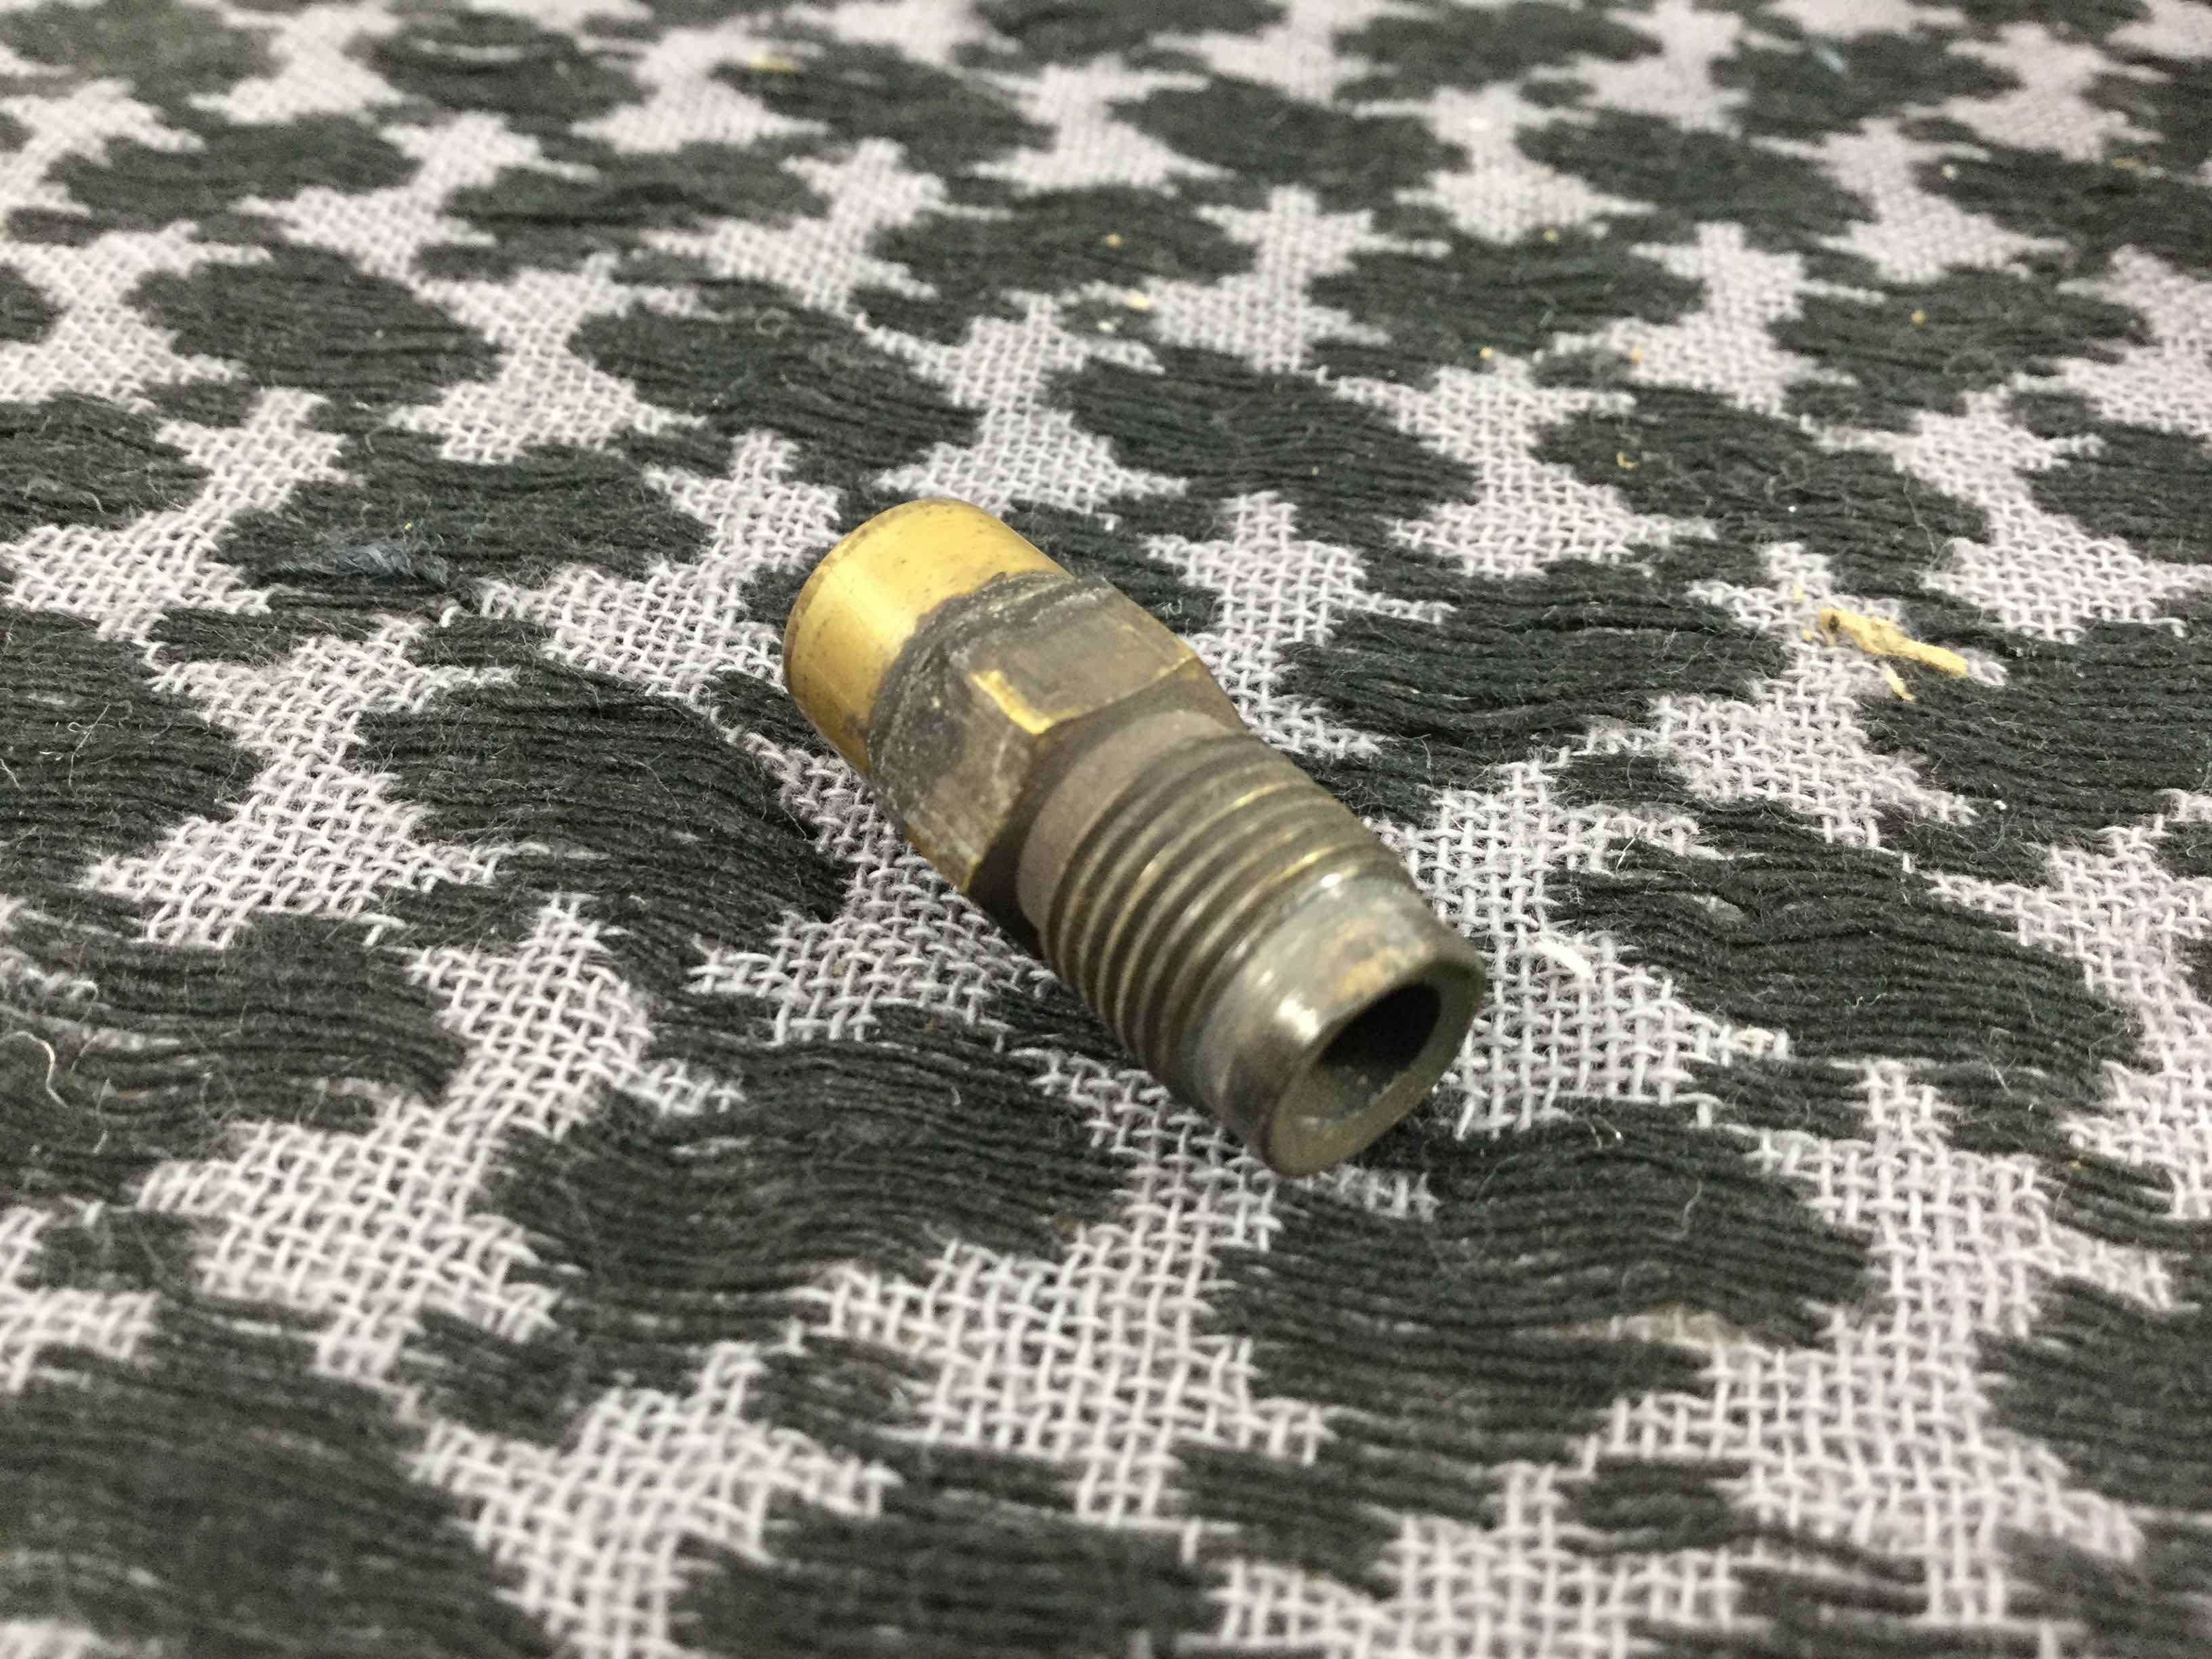
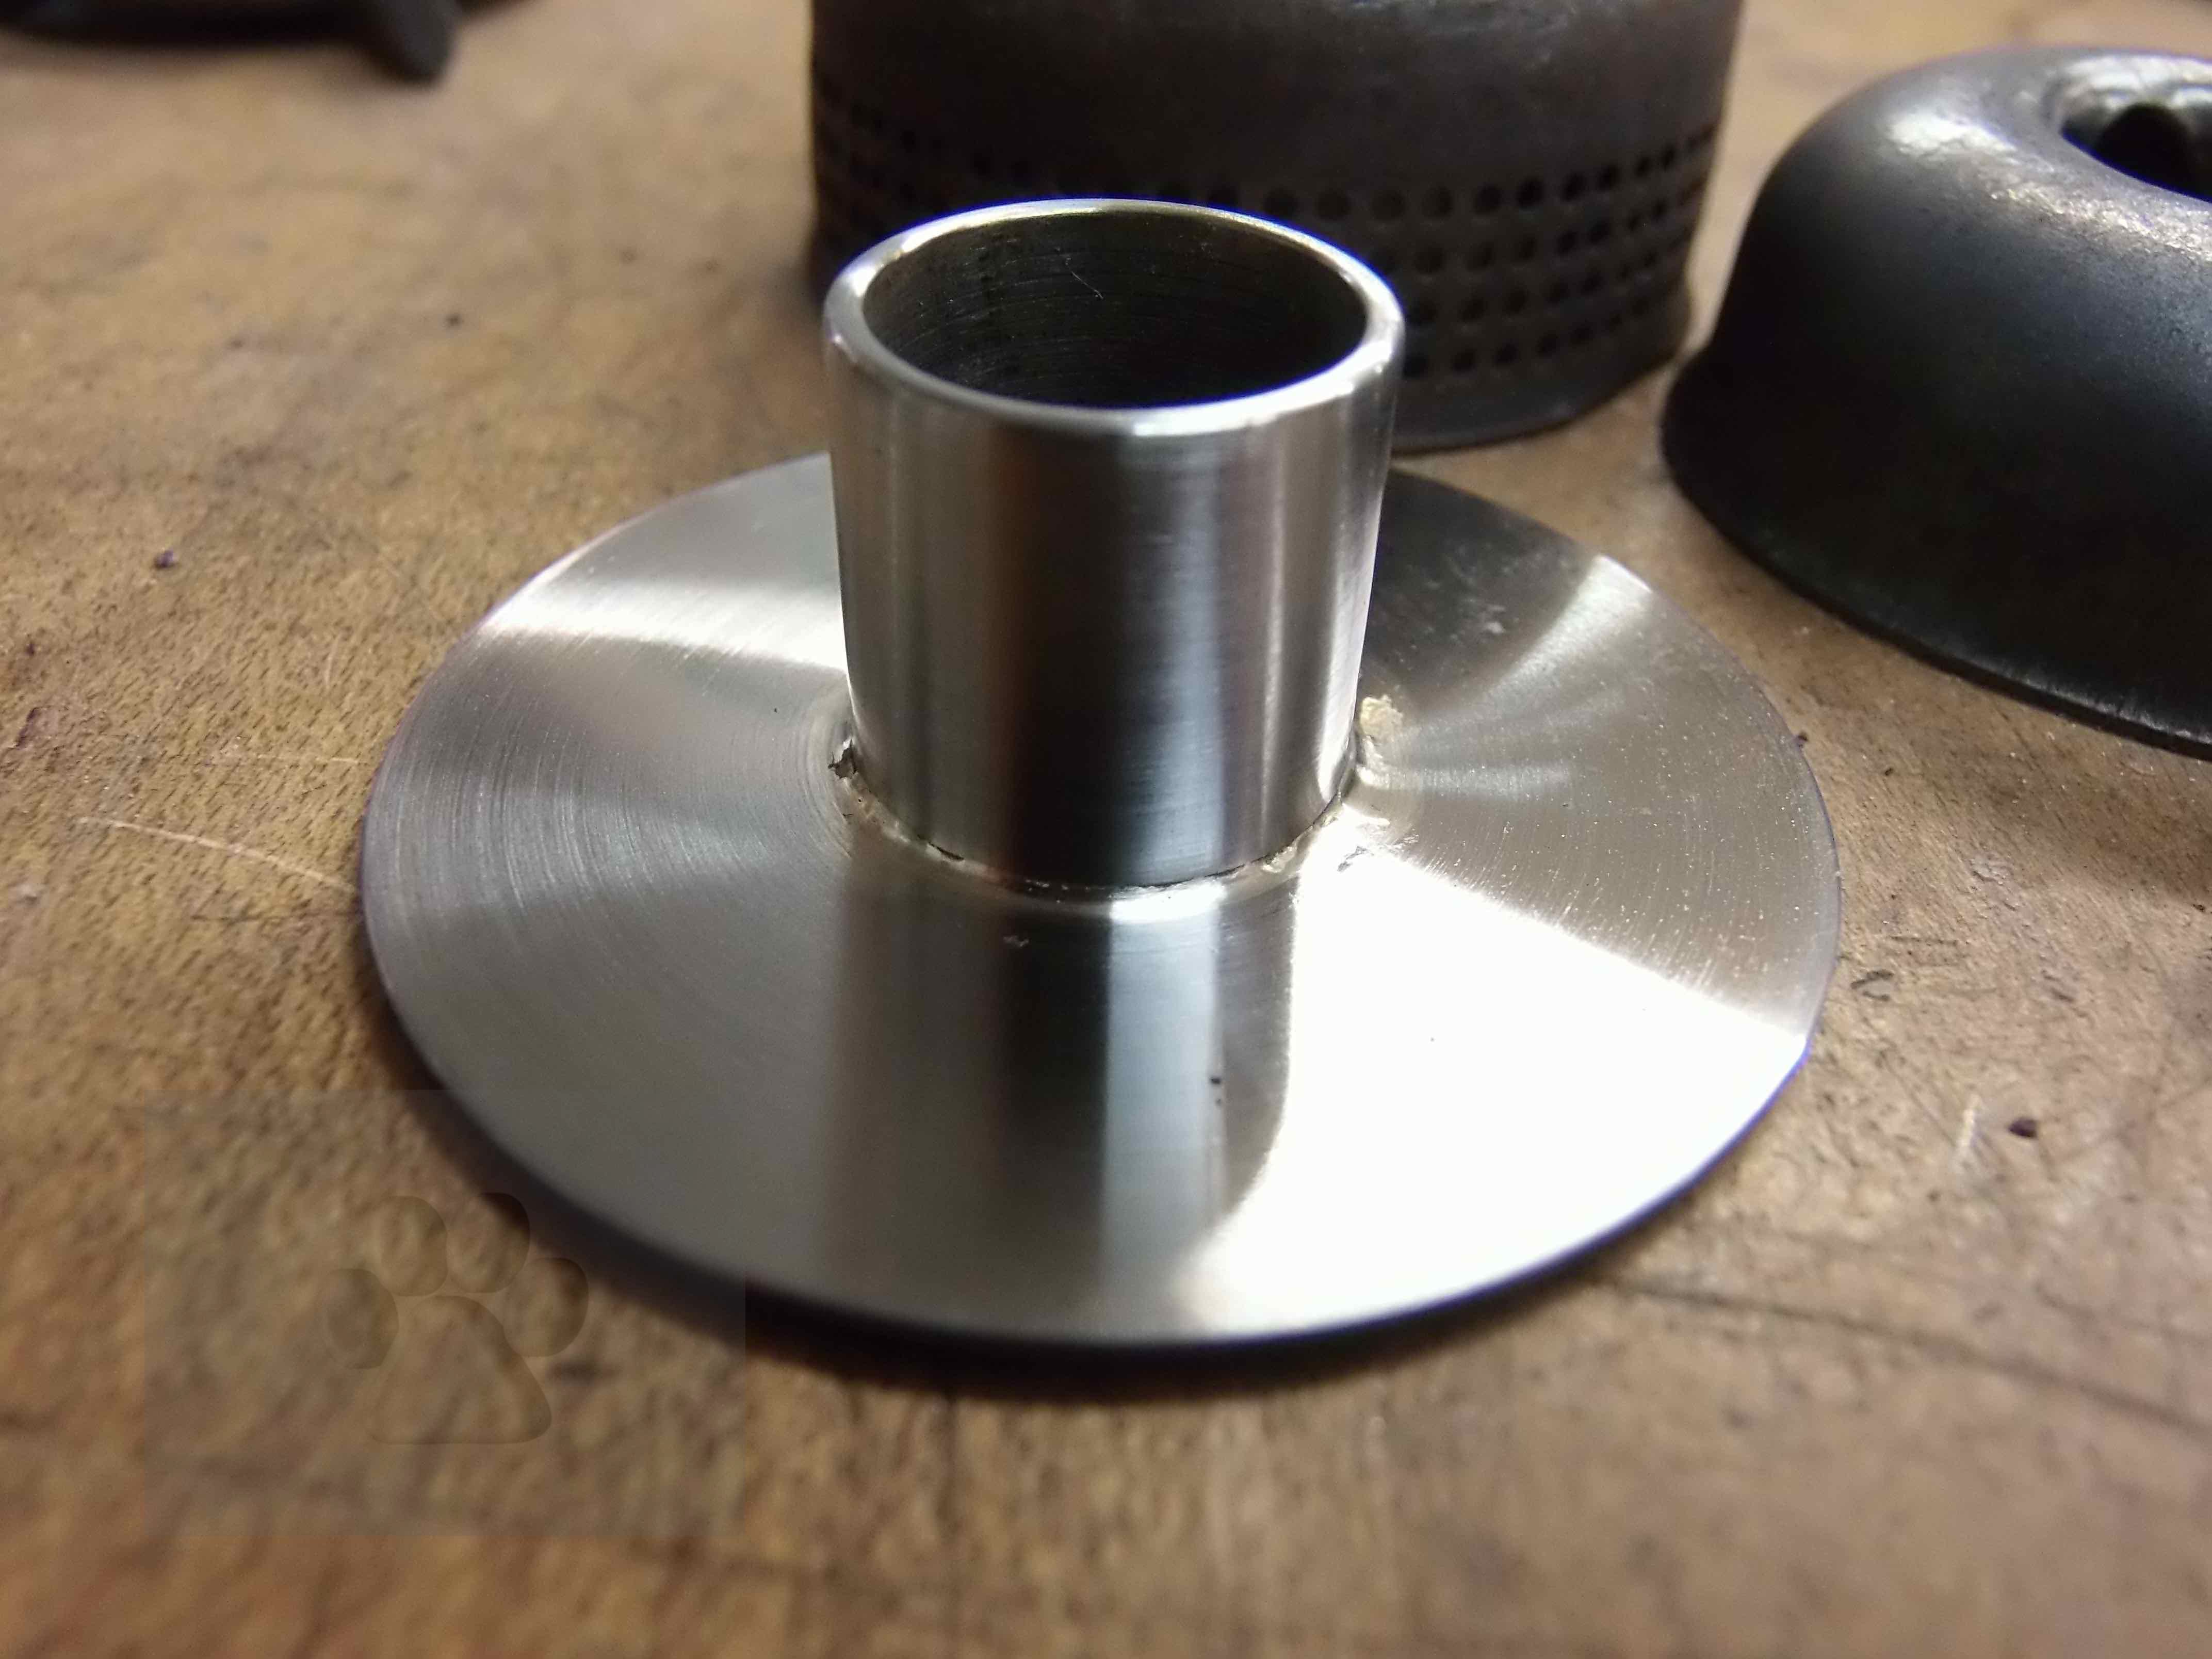
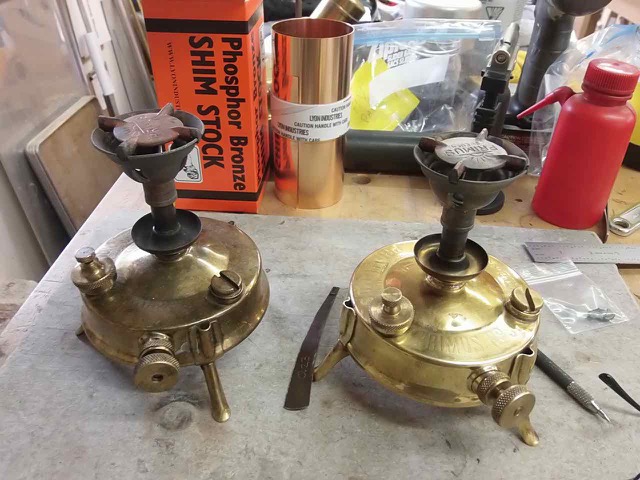
The OmniDawg cap is for the Primus Omnifuel 3289 stove.

Omnifuel 3289
Trangia X2 Multifuel 750001 Burner made for Trangia by Primus – current production
The Trangia X2 Multifuel 750001 burner is made for Trangia by Primus, but it is made in a way so that it is not as powerful a burner as the Omnifuel. It looks like an Omnifuel, but it’s less powerful because of the reduced power jet supplied with the X2 for use with the preferred fuels (isobutane canisters and white gas). This is also a very expensive burner for what it is. You can usually find used or even new Omnifuel stoves for less than the cost of the greatly overpriced X2. You’ll also retain the precision control and simmering using an Omnifuel due to its spindle control (absent on the X2).
For the reduced power Trangia X2 Multifuel burner, the PolarDawg silent damper cap works best using isobutane canisters and white gas due to the smaller jet supplied for those fuels. The DragonTamer is a pretty good second choice for these fuels. Trangia makes it pretty clear in their product manual that isobutane canisters and white gas are the fuels of choice for this burner. If you intend to use kerosene with this burner (I discourage this fuel for this burner), then the supplied same-size-as-the-Omnifuel (0.28mm) jet that comes with the X2 will need to be used. This turns the burner back into a simmer-disabled Omnifuel burner, so you should use the OmniDawg cap if you decide you absolutely must use kerosene.
Some clever stove users have changed out the jets on their Trangia X2 Multifuel burners so that the X2 runs the same jets as the Omnifuel. For example, using a 0.37mm jet will let you run the X2 burner with white gas at the same power as the Omnifuel. Using a 0.45mm jet will let you run the burner with isobutane at the same power as the Omnifuel. If you intend to do that, it may cause melting of your Trangia windscreen surrounds if you are not careful and attentive. But, using the more powerful jets makes the X2 more like the Omnifuel, and a OmniDawg cap would be the right one to use. If you use a 0.25mm jet with kerosene (not recommended), thereby reducing the output of the burner, you can use the PolarDawg or the DragonTamer. Confusing isn’t it?
Caution! I do not recommend the use of a re-jetted X2 with an OmniDawg cap with the Trangia 27 sets as the small size of the surrounds puts the surrounds too close to the flame. Trangia 25 sets are okay… if you are careful.
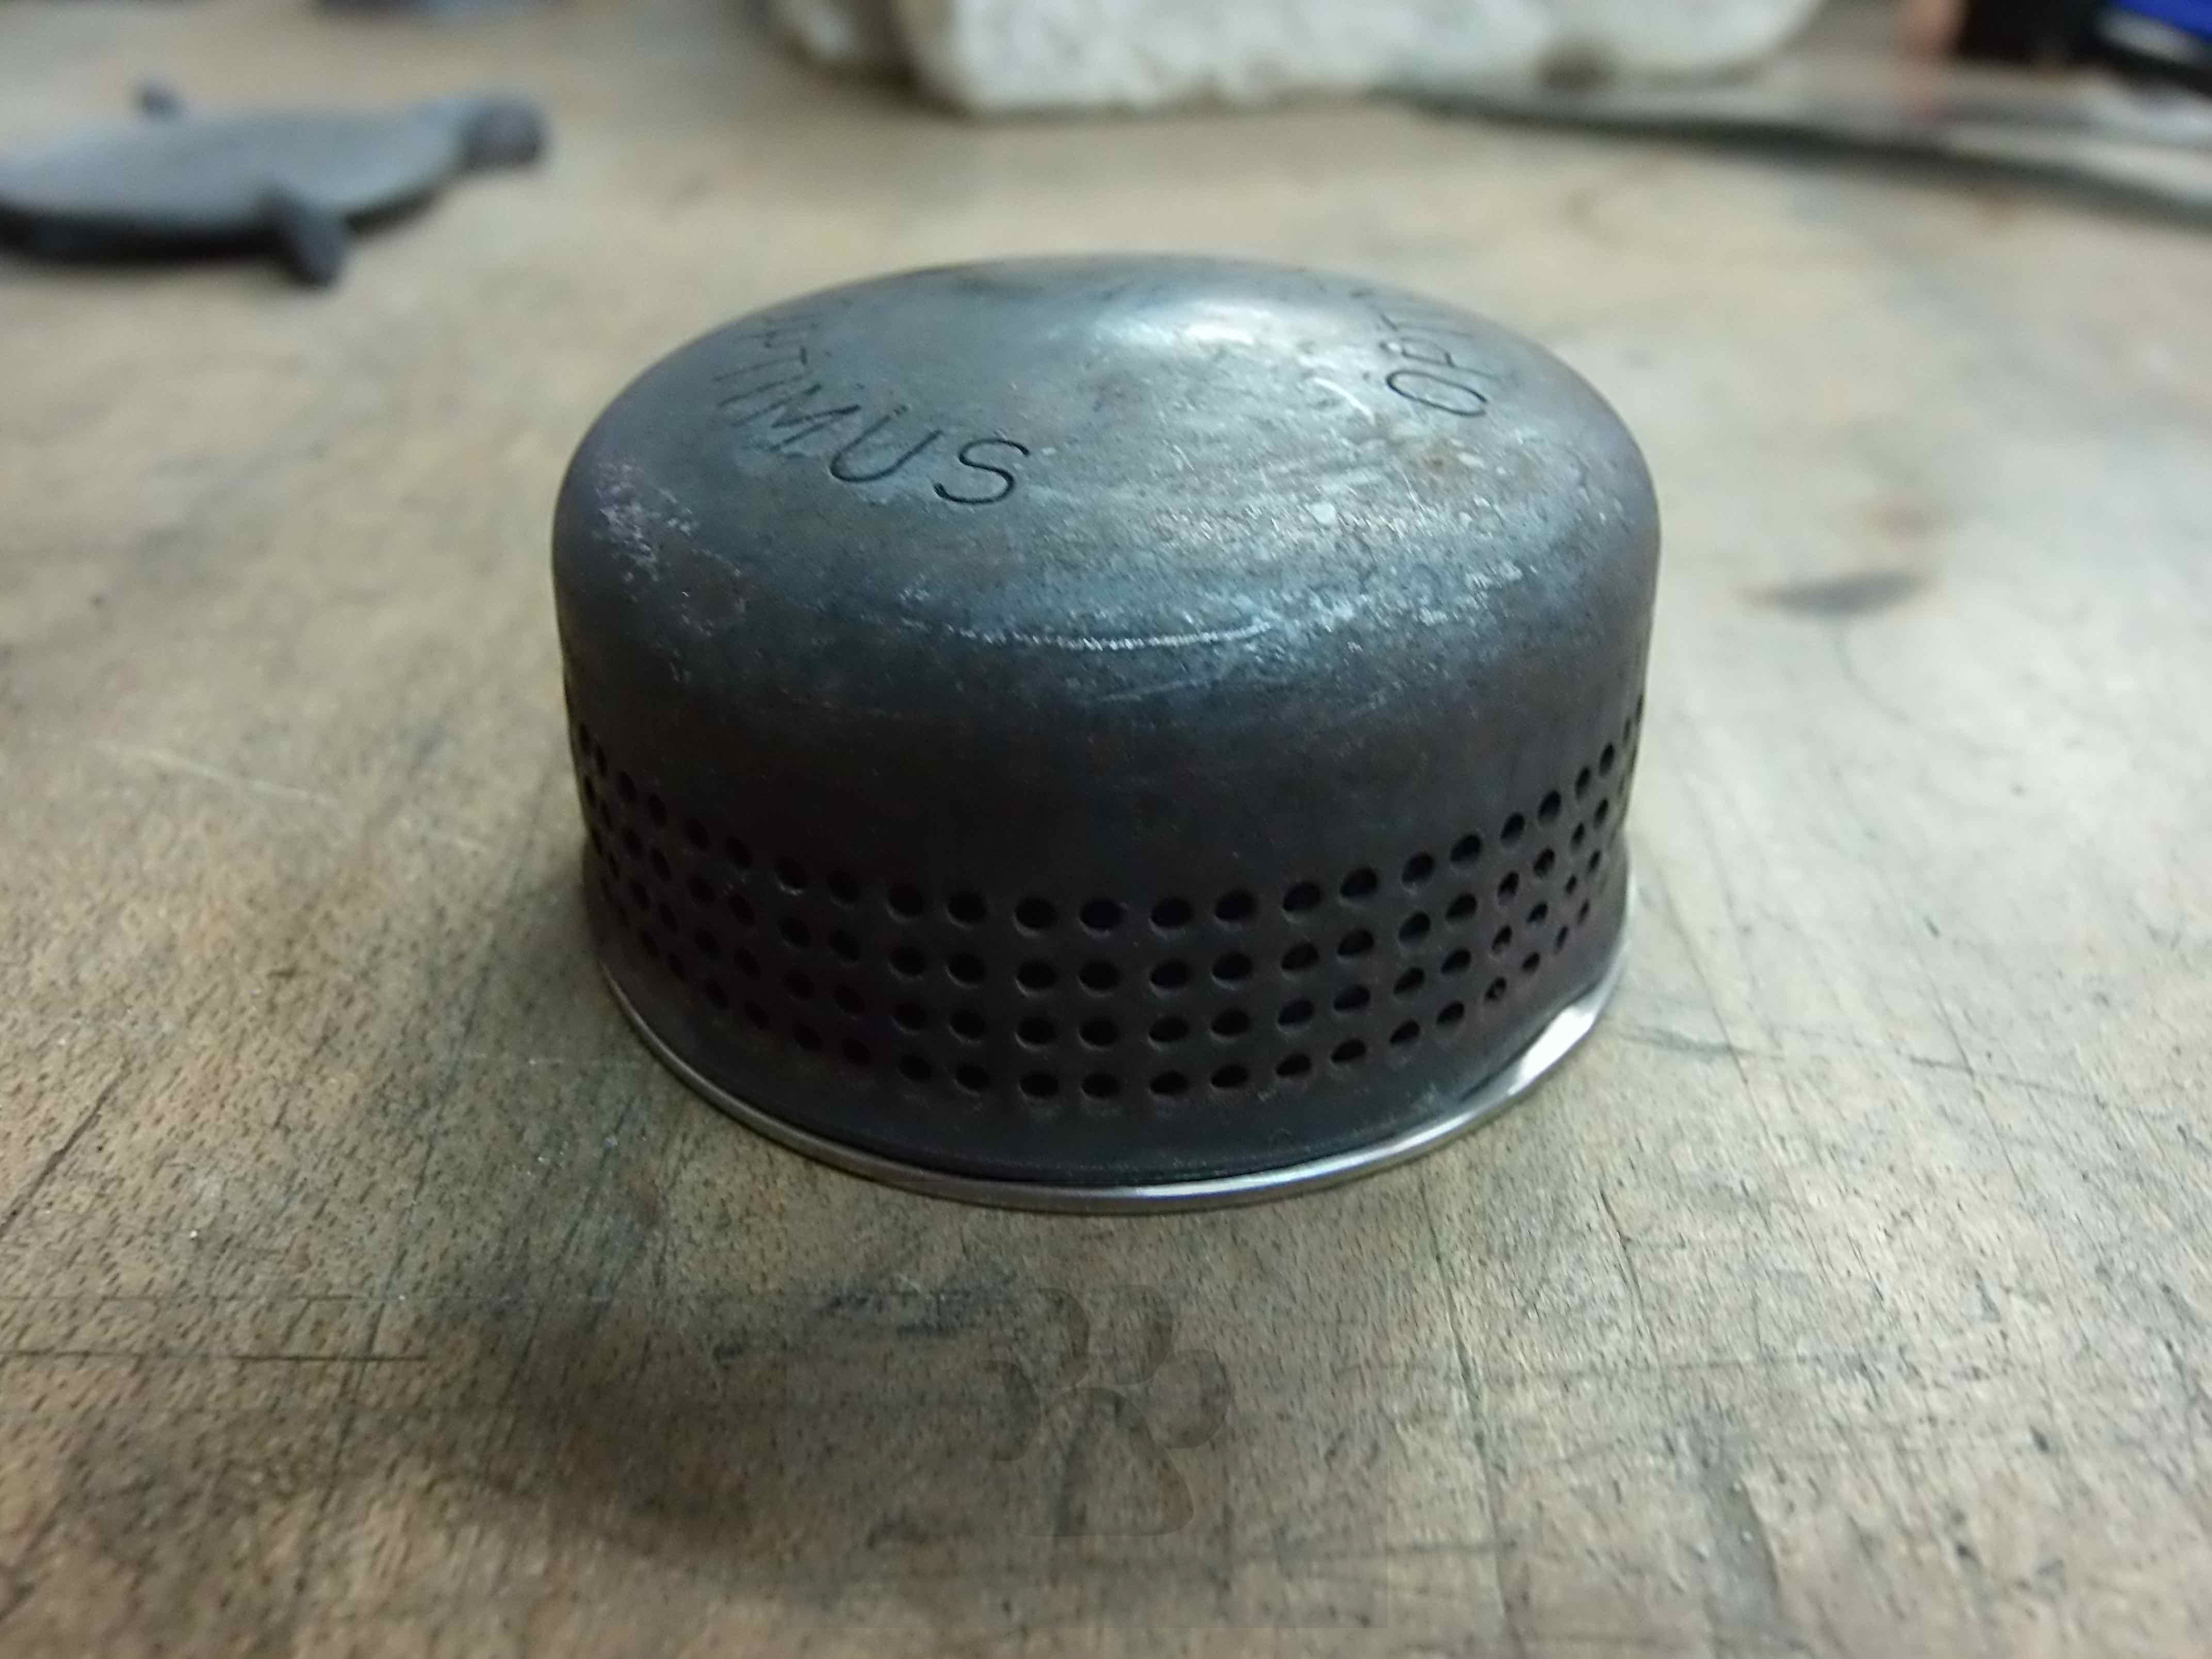
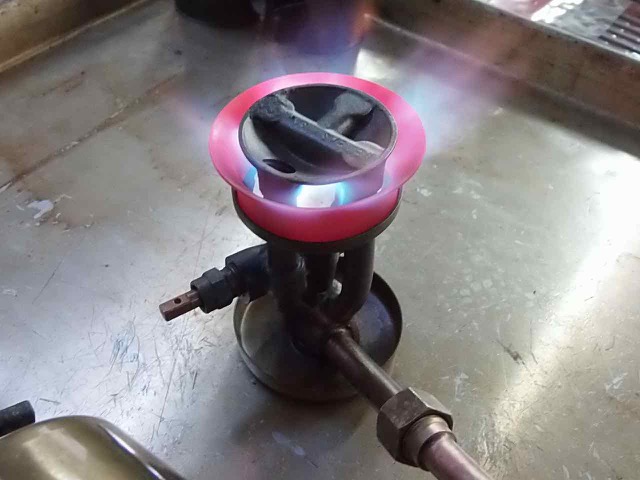
Trangia Multifuel Burner 780001 made for Trangia by Optimus – discontinued product
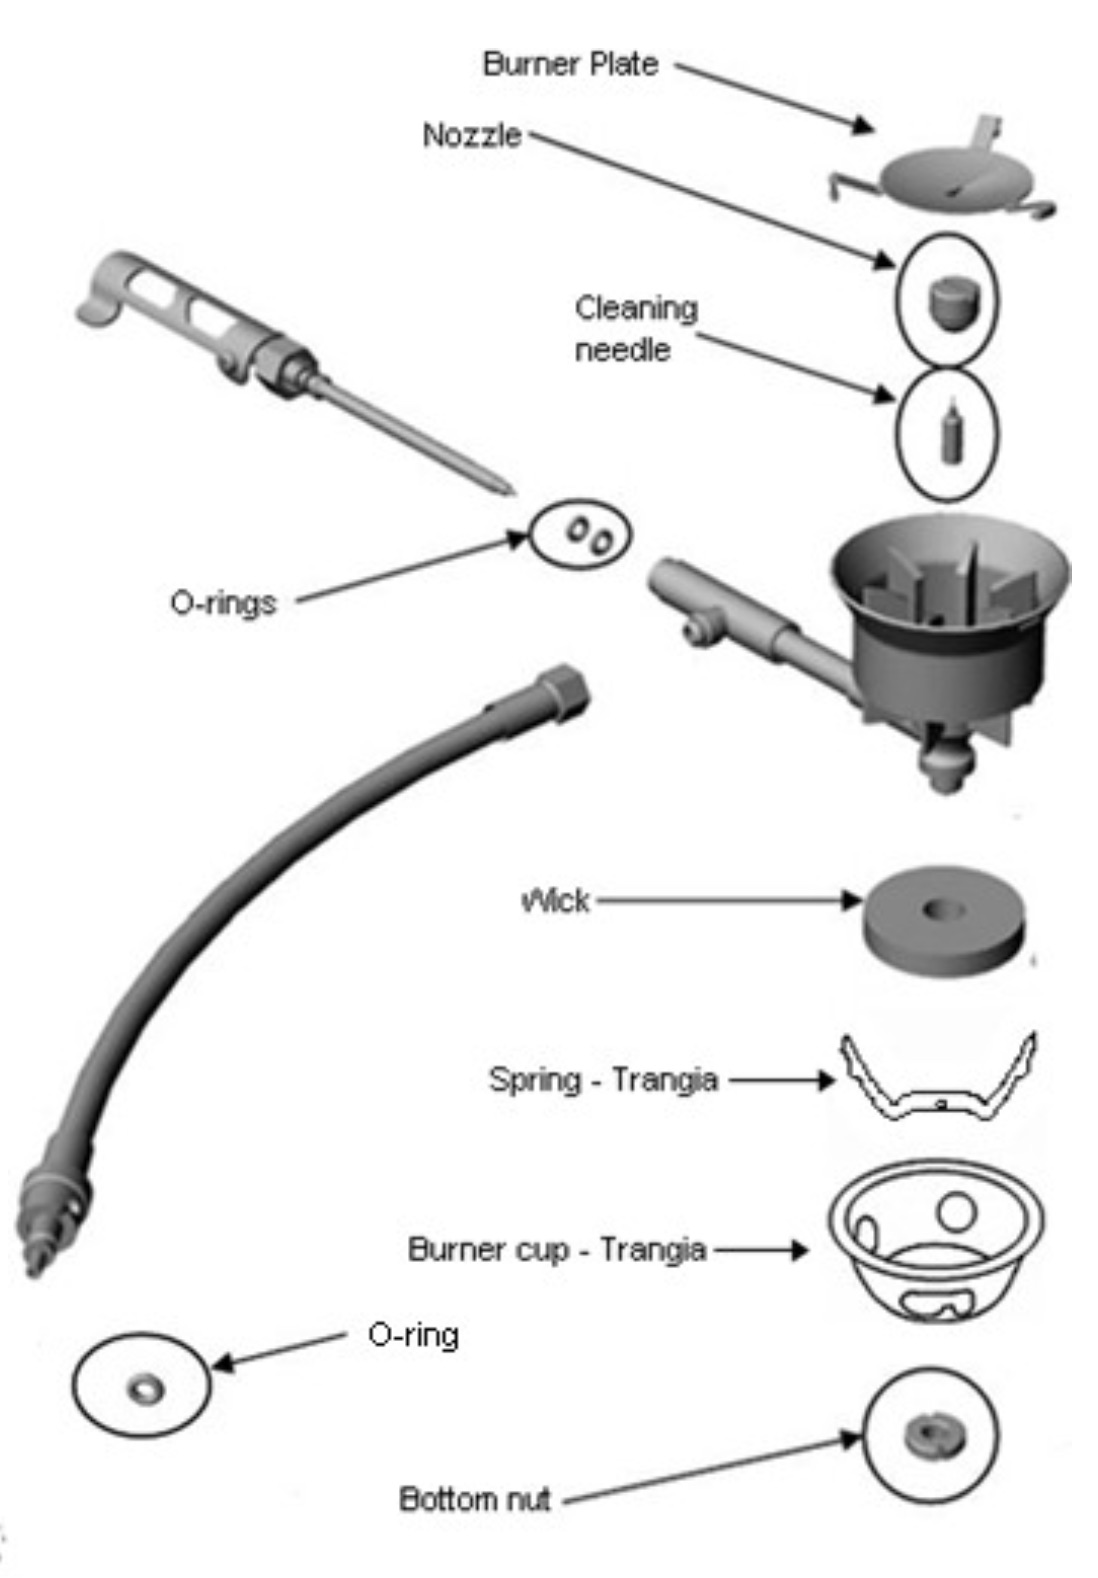
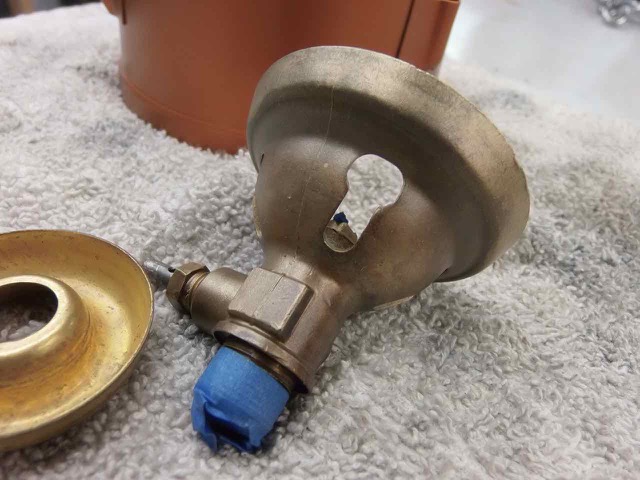
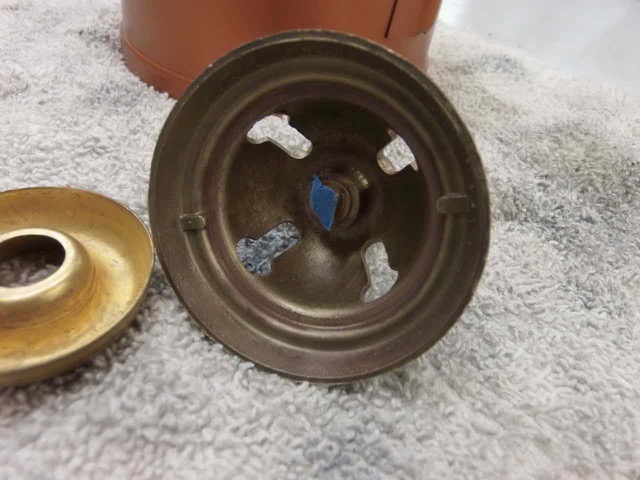
The original Multifuel 780001 burner sold by Trangia was made for them by Optimus and is a stripped-down Nova burner. There are “fins” inside the burner bell of this burner.
The proper silent cap for this burner is the Dawg-A-Nova cap.
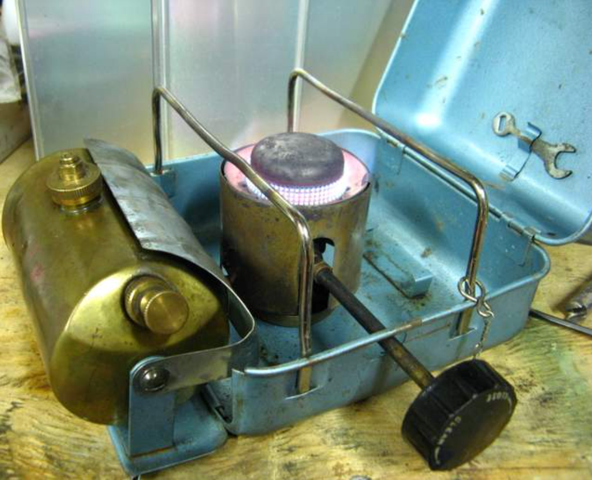
Primus 328894 and 328896 Multifuel
The newer 3288 (correctly termed the 328894 or the newer 328896) Multifuel is a reduced feature (no stove-side control spindle) Omnifuel-based stove. Sort of a Omnifuel “lite” stove.

Multifuel 328894 or 328896
For a bit more money you can get a real Omnifuel and the additional cost is well worth it for the control spindle. Because the Omnifuel is also much more popular, you can even commonly find new Omnifuels at discount for prices well below the retail cost of the 328894 or 328896 Multifuel. The 328894 or 328896 Multifuel comes with a reduced size jet set compared to the Omnifuel. While the Omnifuel has 0.45mm, 0.37mm and 0.28mm jets for isobutane, white gas, and kerosene, respectively, the Multifuel comes with 0.37mm, 0.32mm and 0.28mm jets for those fuels. This is why the Omnifuel produces 3000 watts of power while the Multifuel only produces 2700 watts of power. If you plan on mostly kerosene use, get the OmniDawg for this stove. If you plan on white gas or isobutane and intend to use the correct jets for the Multifuel, then you need a slightly less powerful cap like the DragonTamer or the PolarDawg to match up with the lower output of the Multifuel.
You can also “cheat” a bit if you are planning on using white gas by using the 0.37mm jet that came with the Multifuel for white gas. This will increase the white gas flame output and let you use the OmniDawg cap just like with an Omnifuel stove.
Sorry that this is a bit confusing. Primus is marketing a strange beast with the Multifuel. Your best bet is to bypass the odd Multifuel stove and go directly to the full-featured, award-winning, and more powerful Omnifuel.
But, in a nutshell… If yours has the full sized jets (0.28, 0.37, 0.45, 3000W stove) then an OmniDawg cap would be better suited. If yours has the smaller jet set (0.28, 0.32, 0.37, 2700W stove) then the DragonTamer is a better choice.
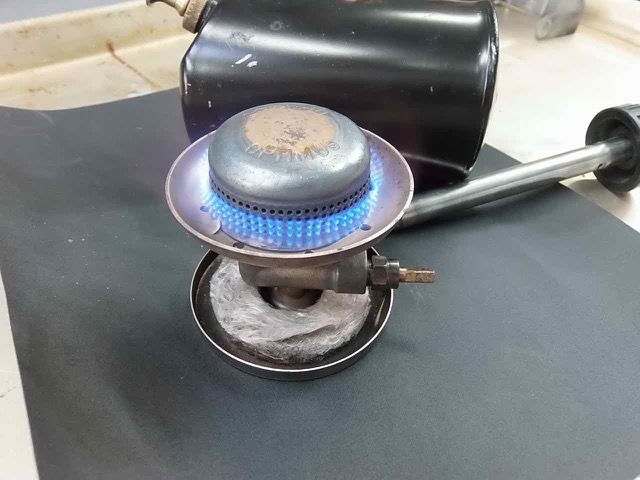
Primus Himalaya Varifuel 3278 and Multifuel 3288 – discontinued product
These are two long discontinued stoves from Primus that I am often asked about. Both stoves feature small diameter burner bells and smaller jets than the Omnifuel.
Both stoves, the Varifuel 3278 and the Multifuel 3288 work well with the Minicap without Legs, but make sure to get the one without legs – the bell is so narrow that the legged Minicap won’t fit. If you would like the flexibility to use your Minicap on other small self-pressurizing stoves like the Optumus 80, Radius 42, or Svea 123/123R, the Minicap without Legs will work for that, too.
Sorry for any confusion this may cause. Primus and Trangia haven’t been kind to us in naming so many stoves as a “Multifuel”. I hope my post will enable you to select the right cap for your stove.
Happy Camping!
BD
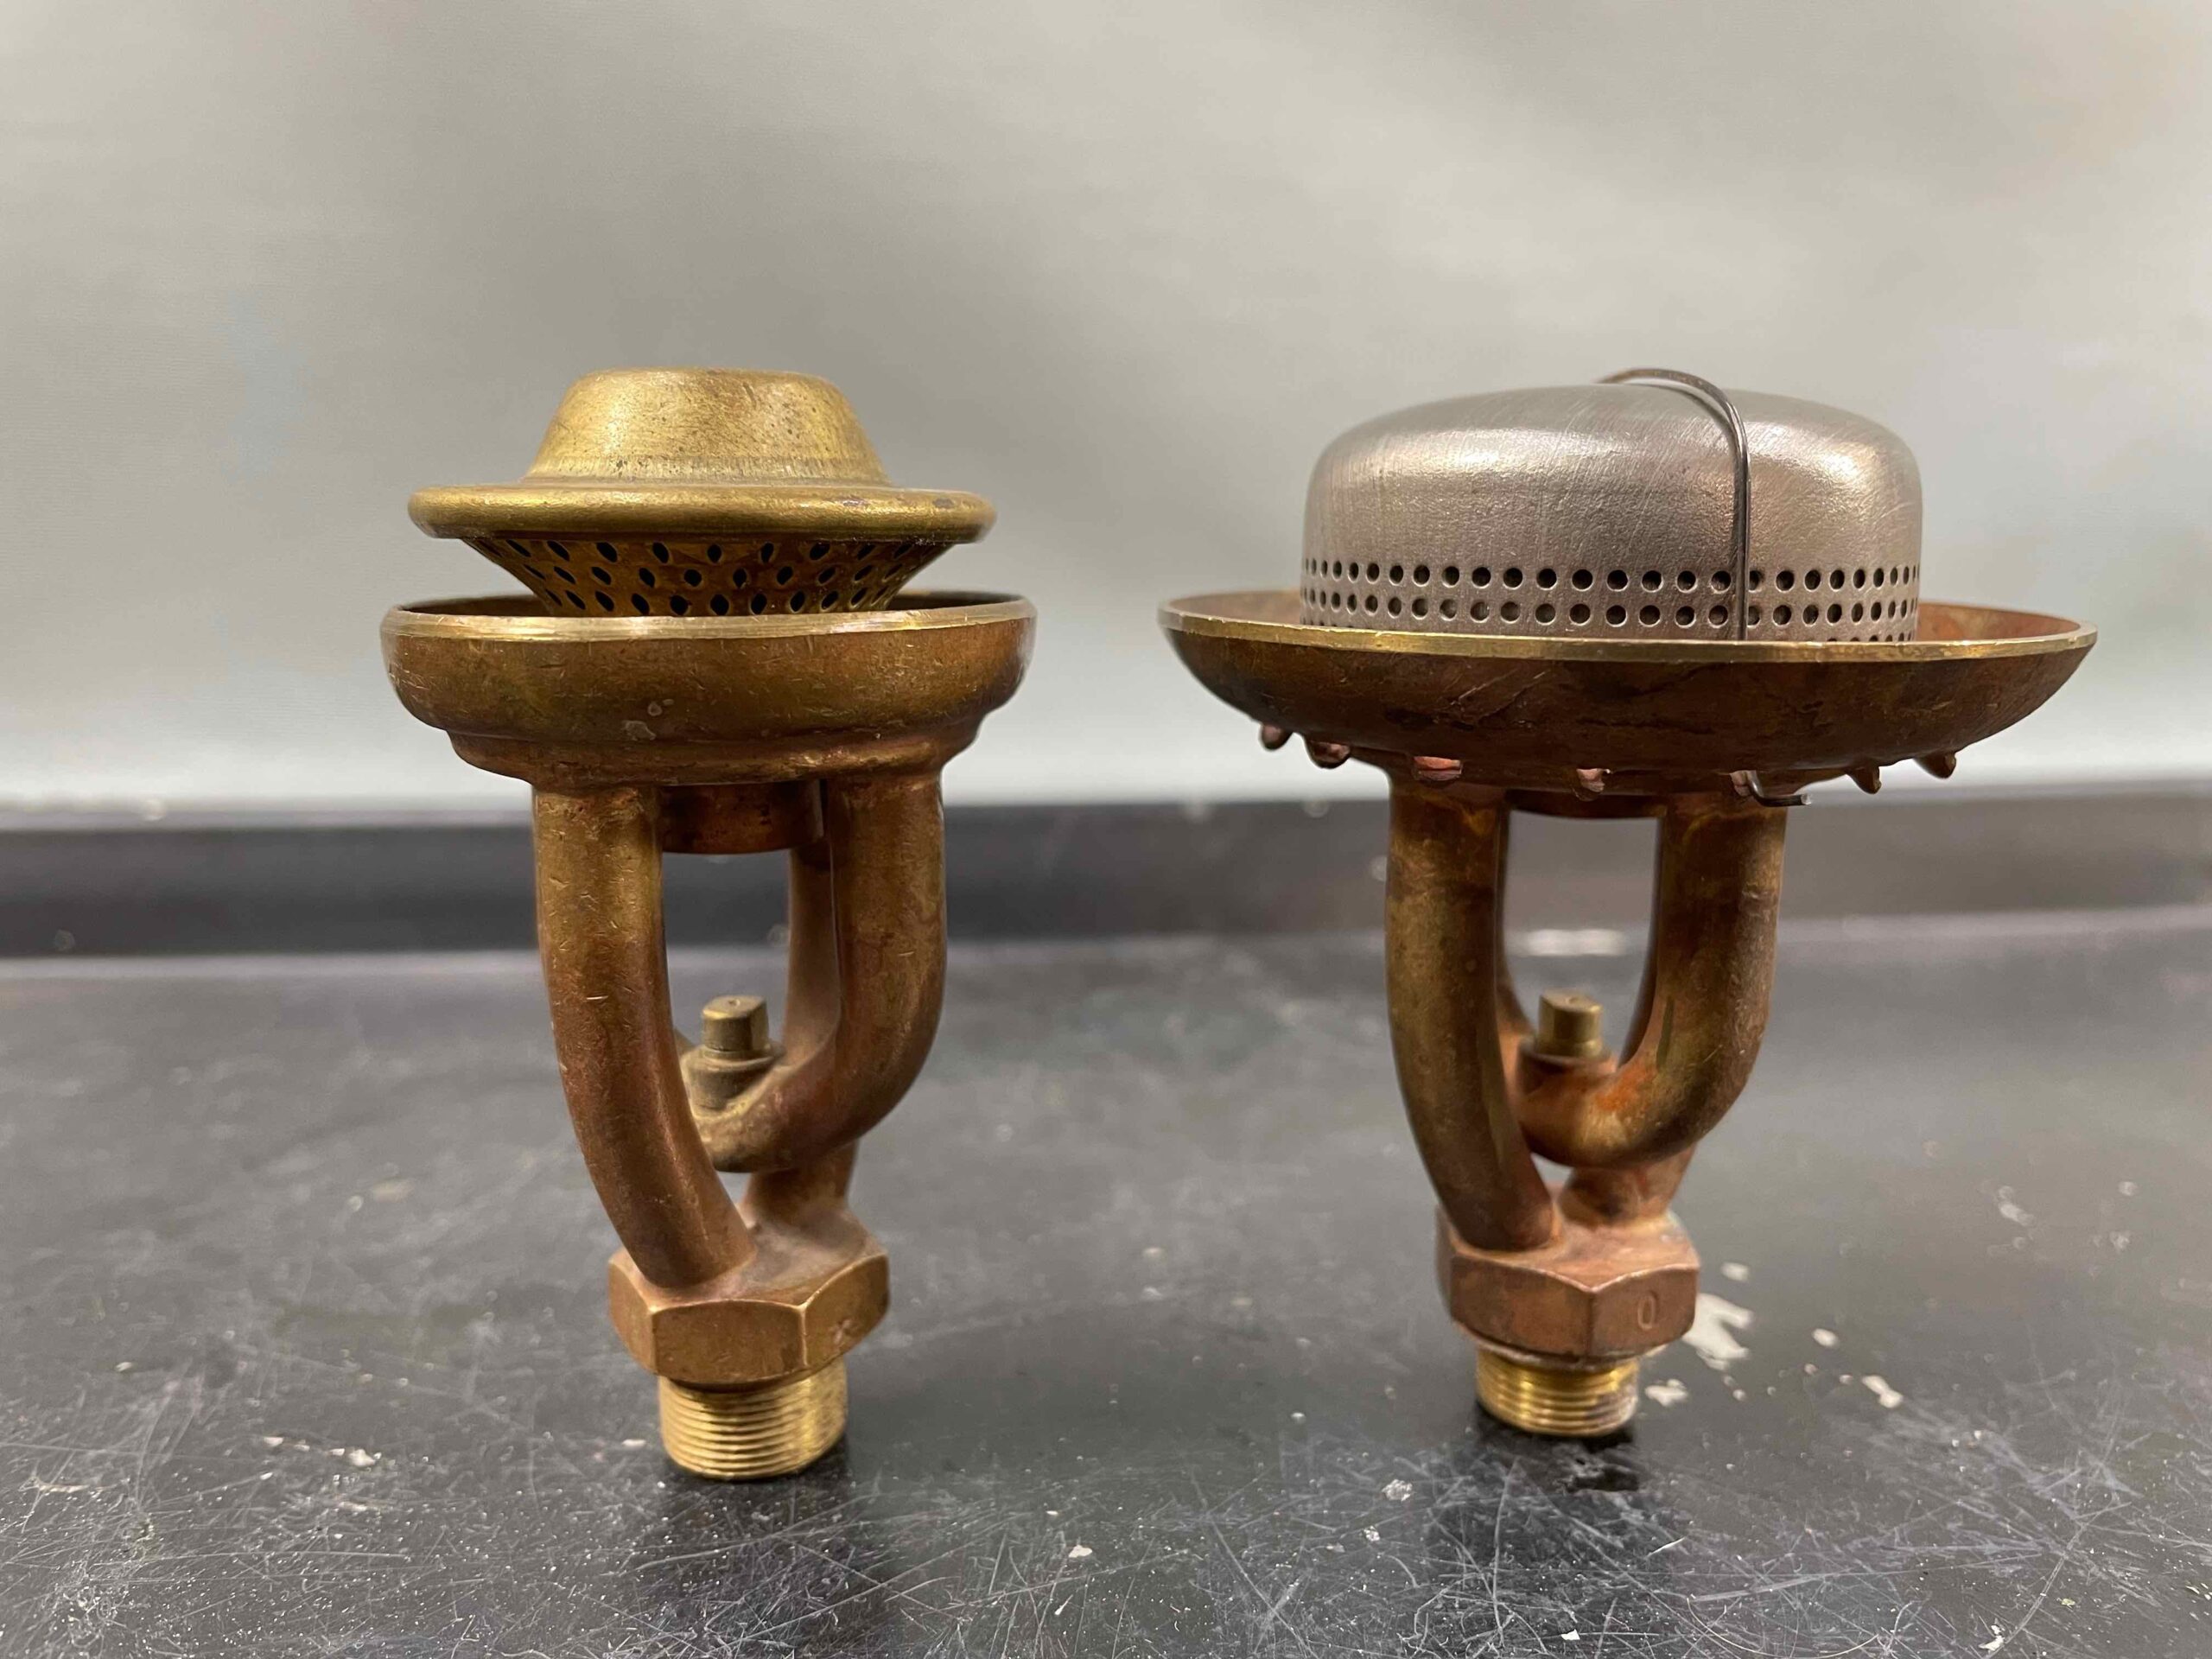
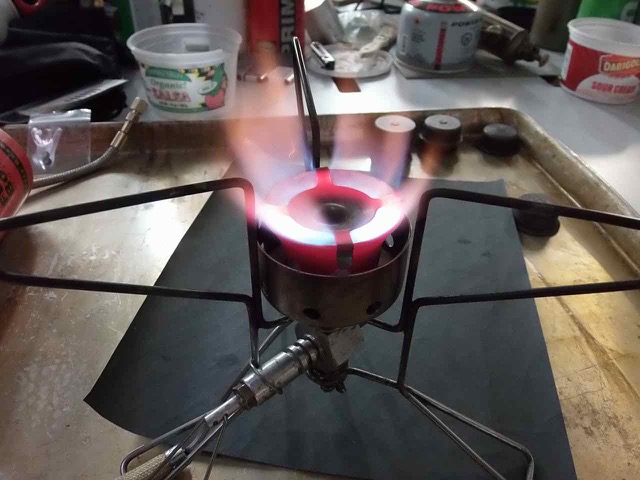
 If you have not got a #5 burner in hand, here’s how the “Special Silent” compares to a standard sized #1 roarer burner. Hope that helps. BD