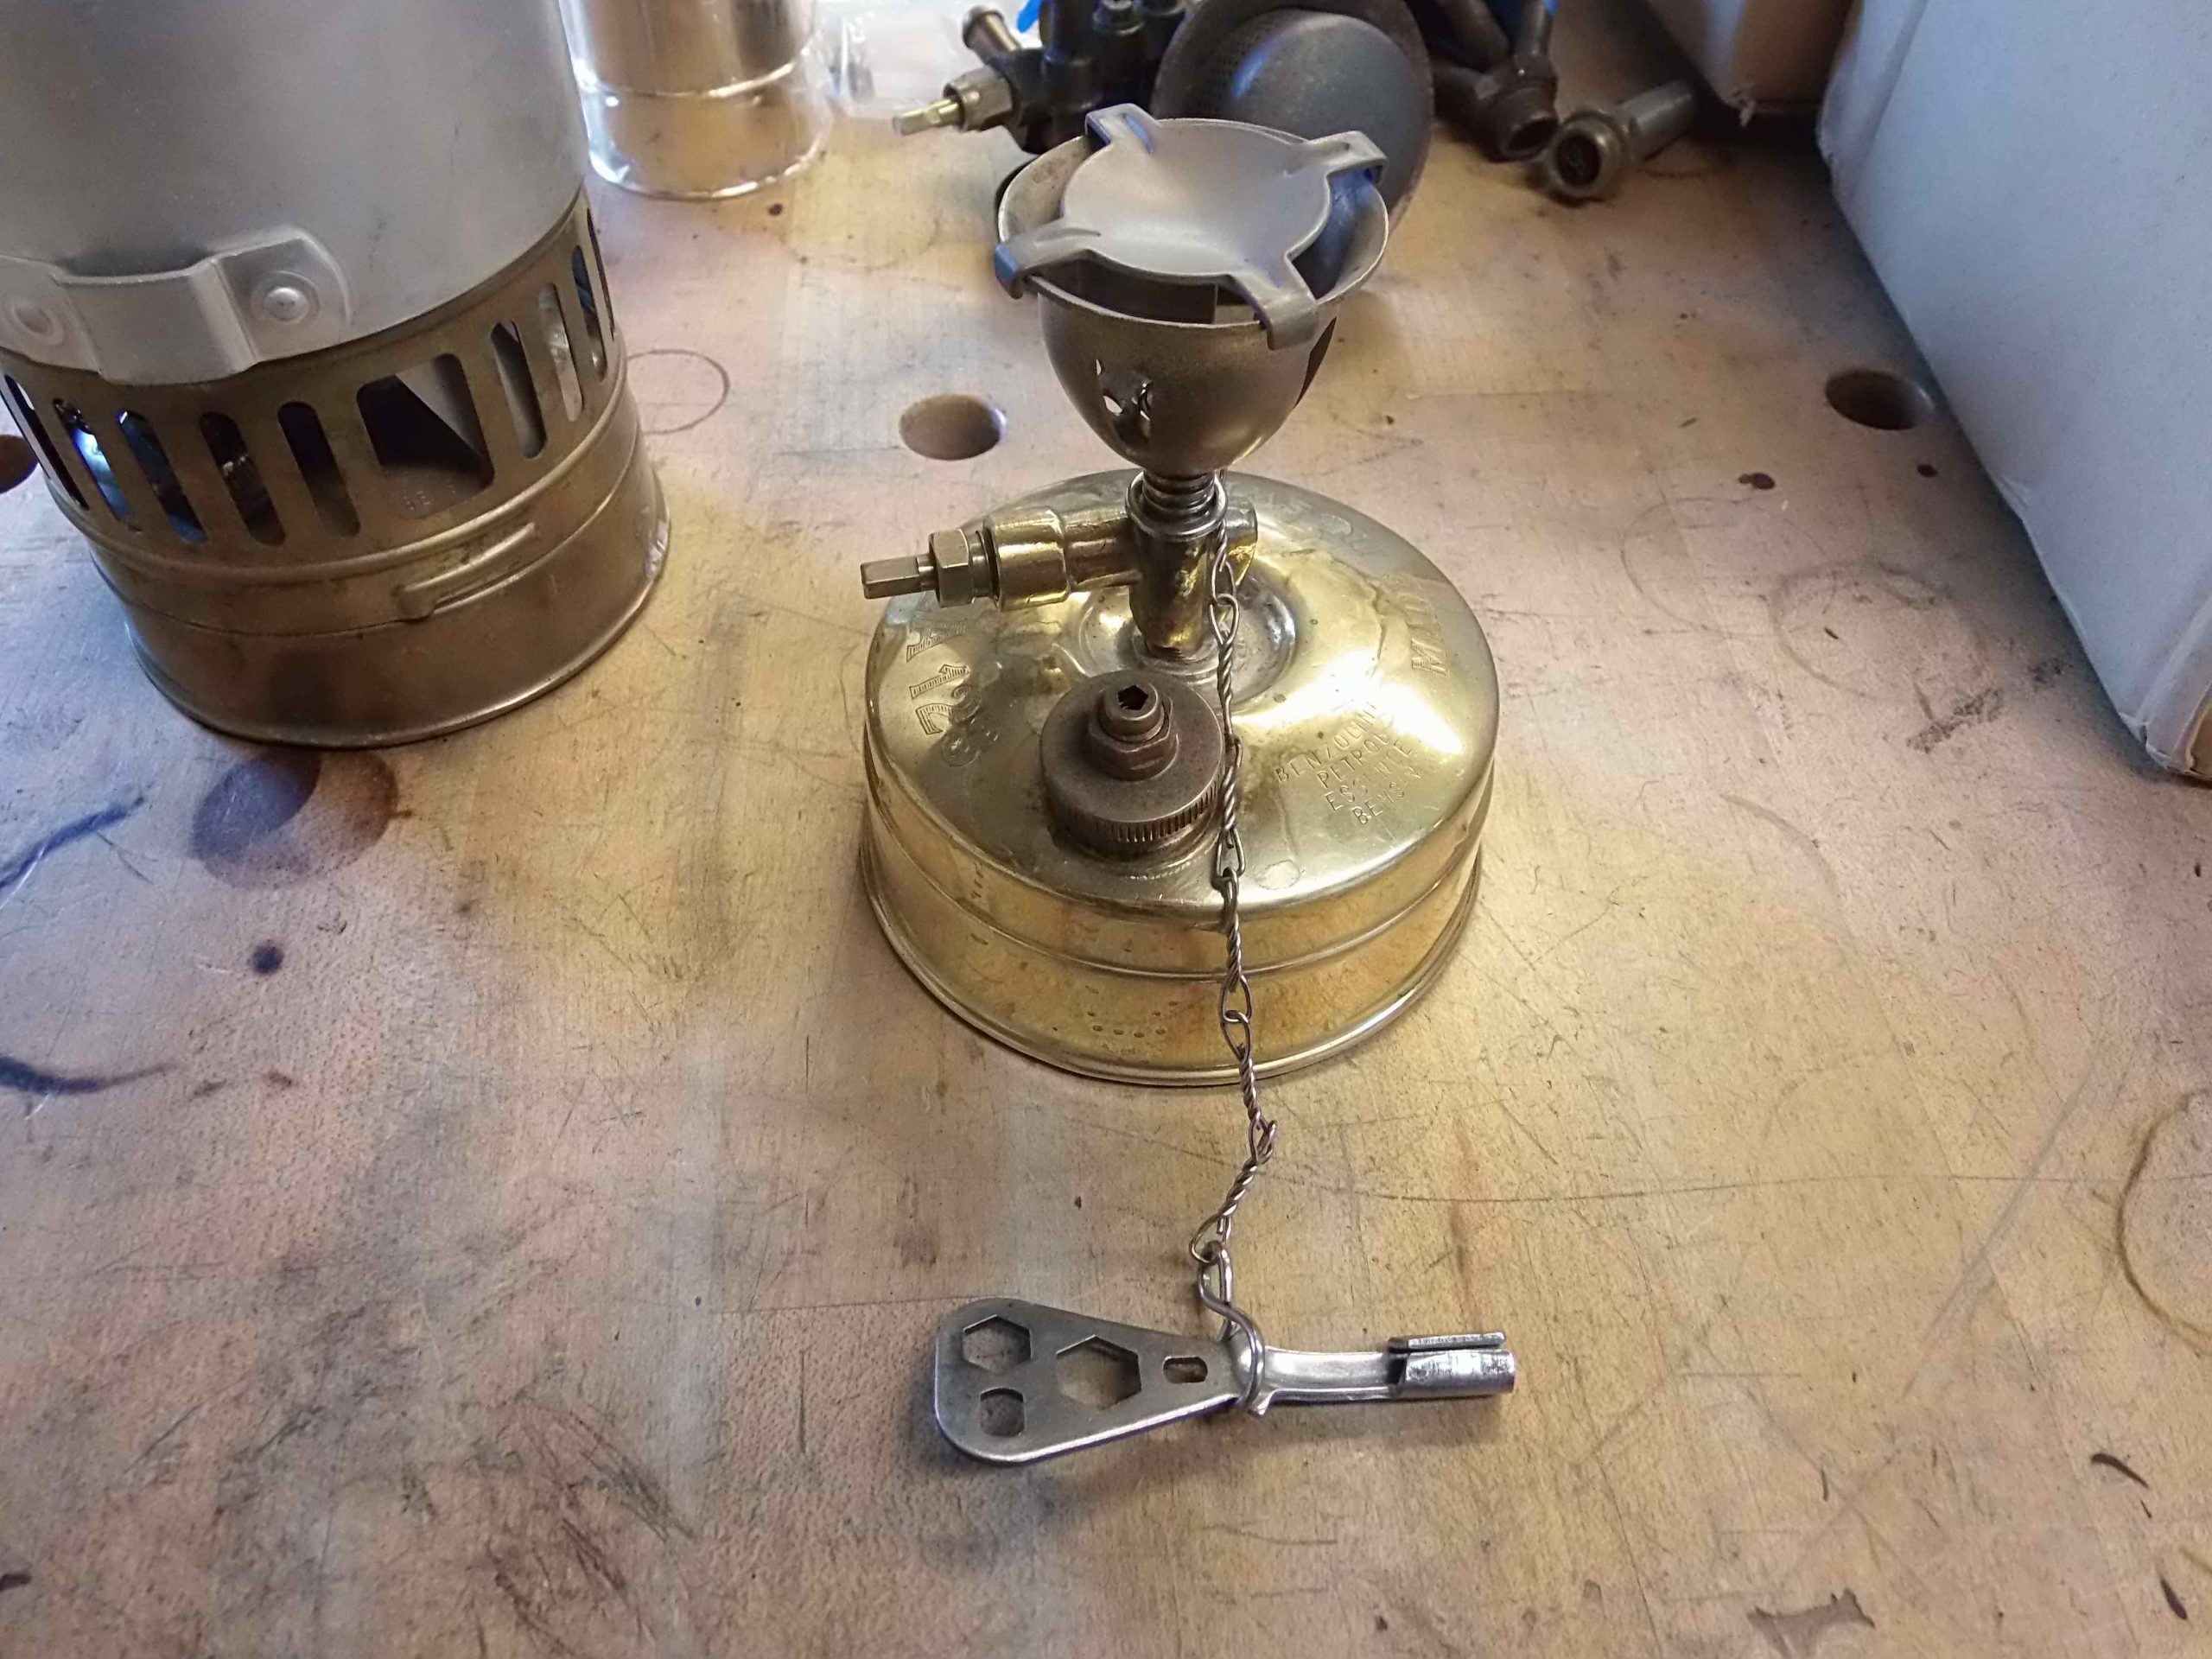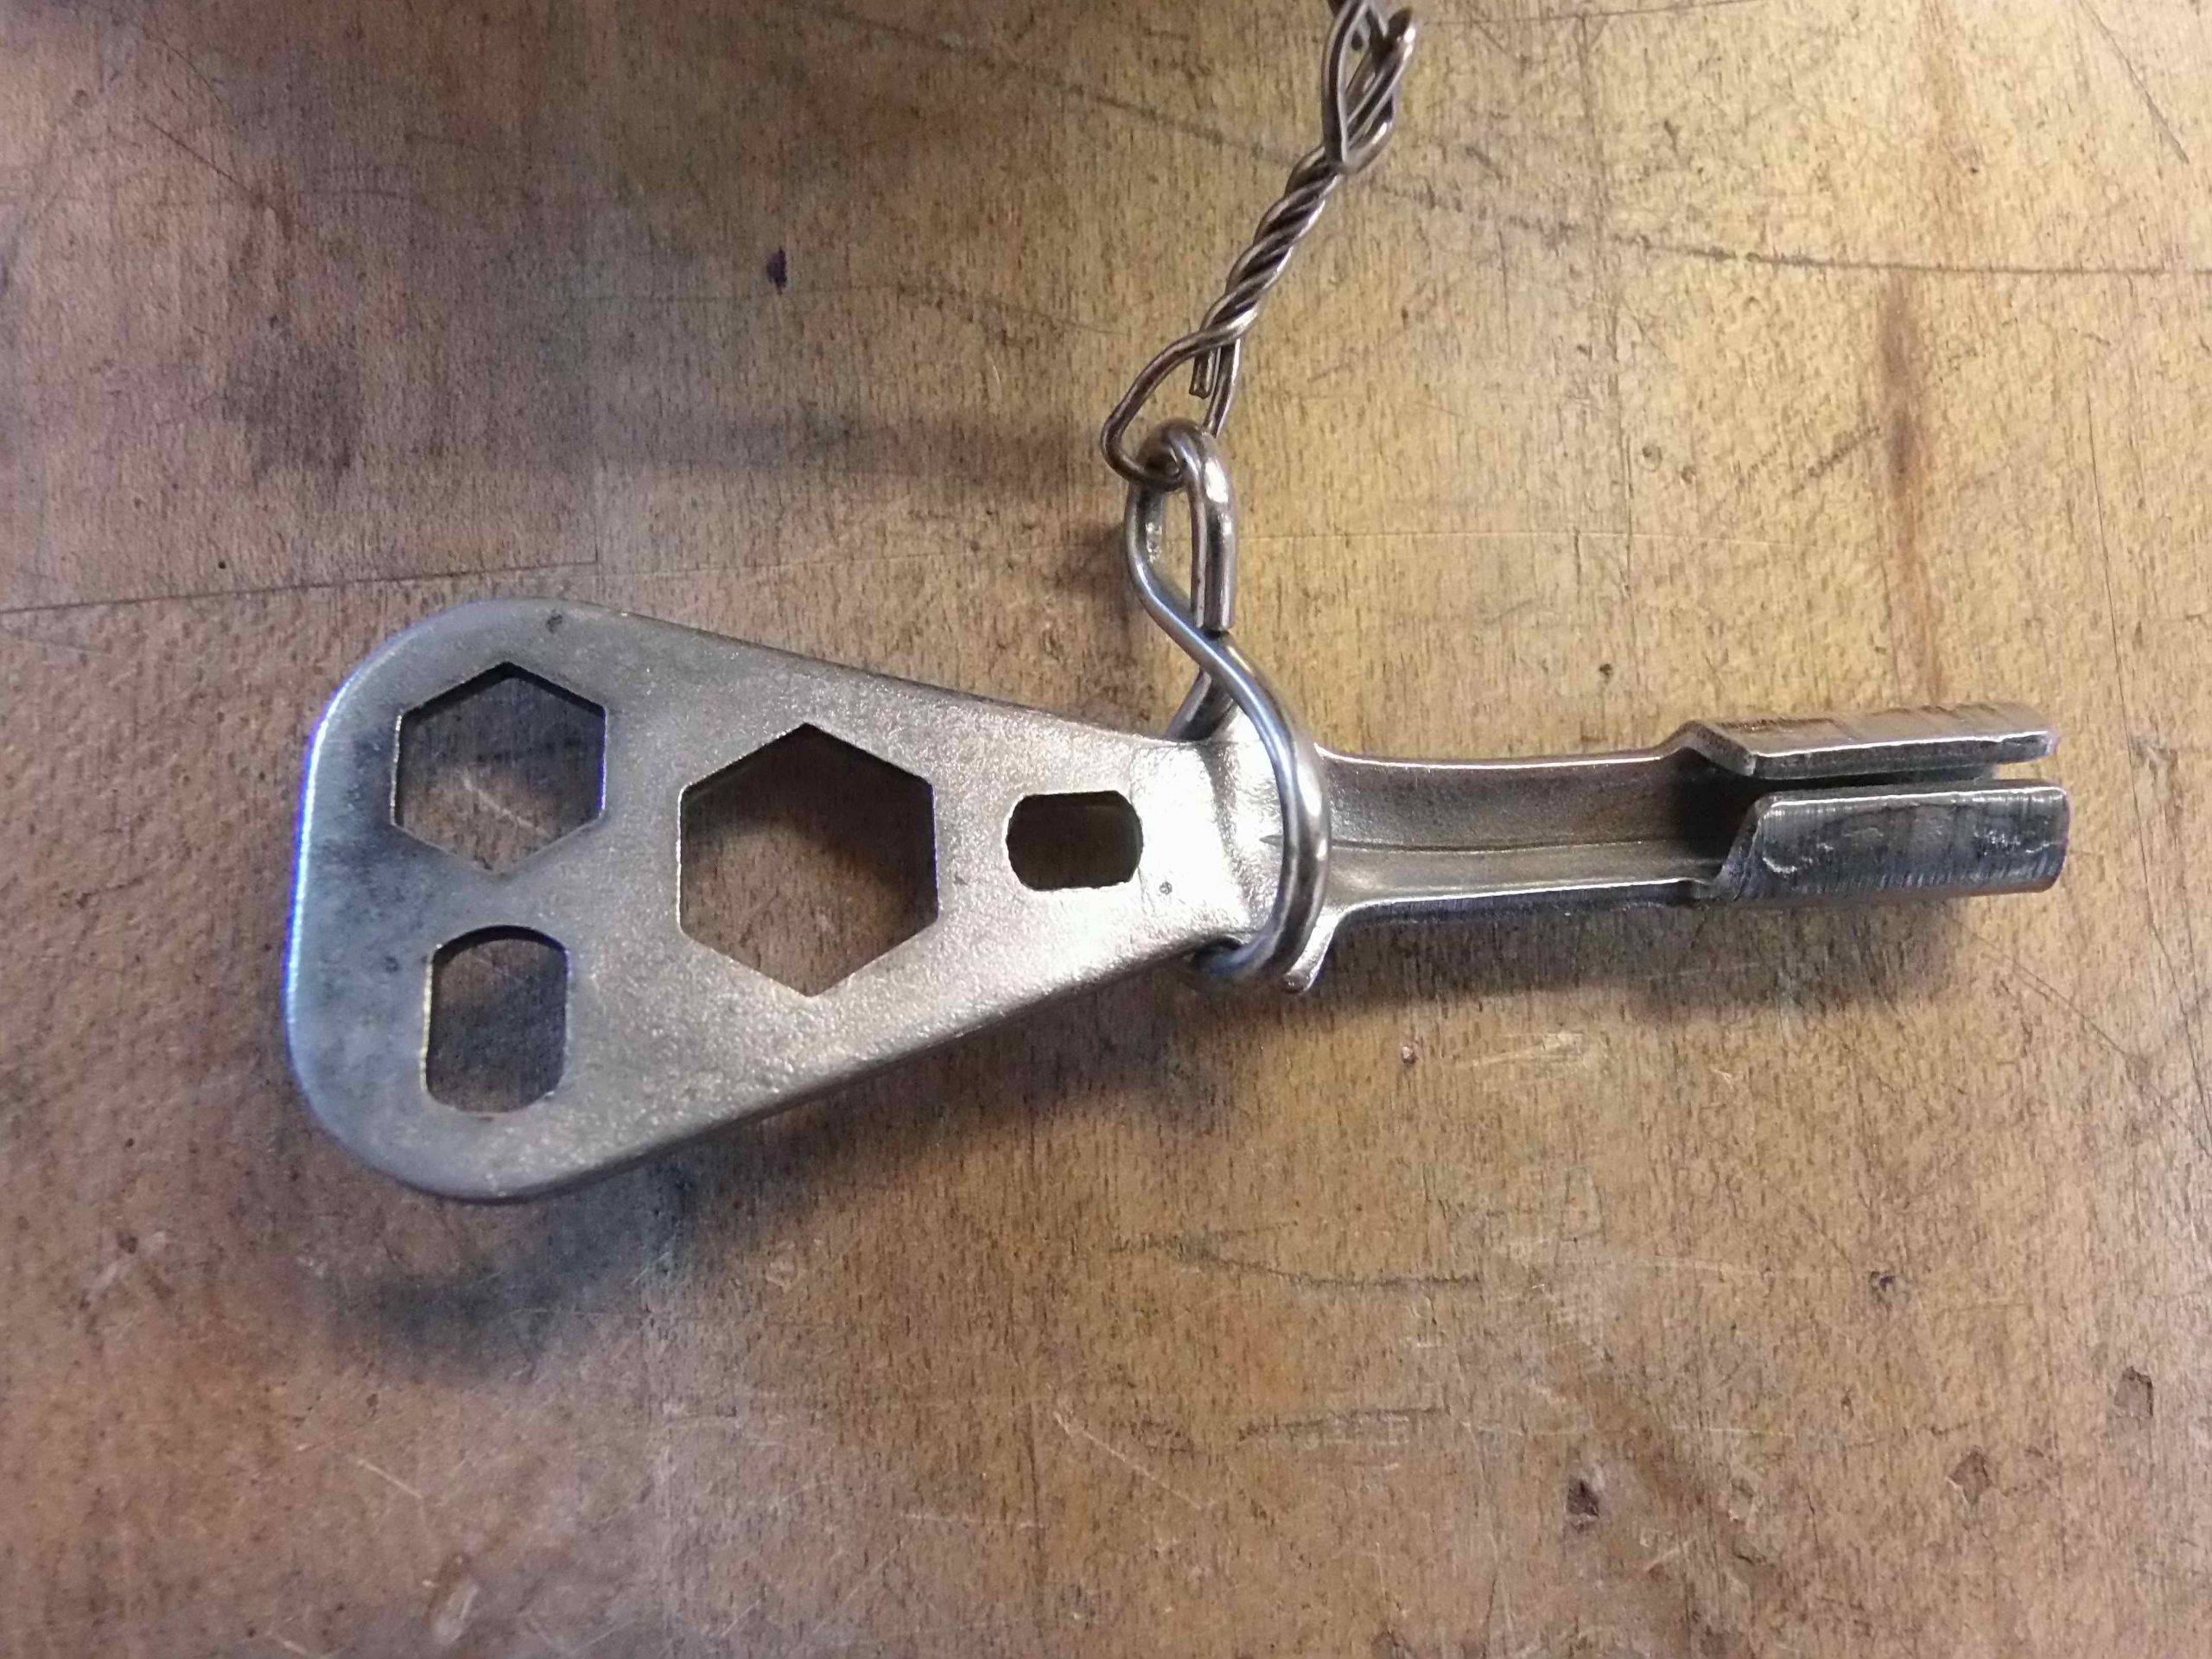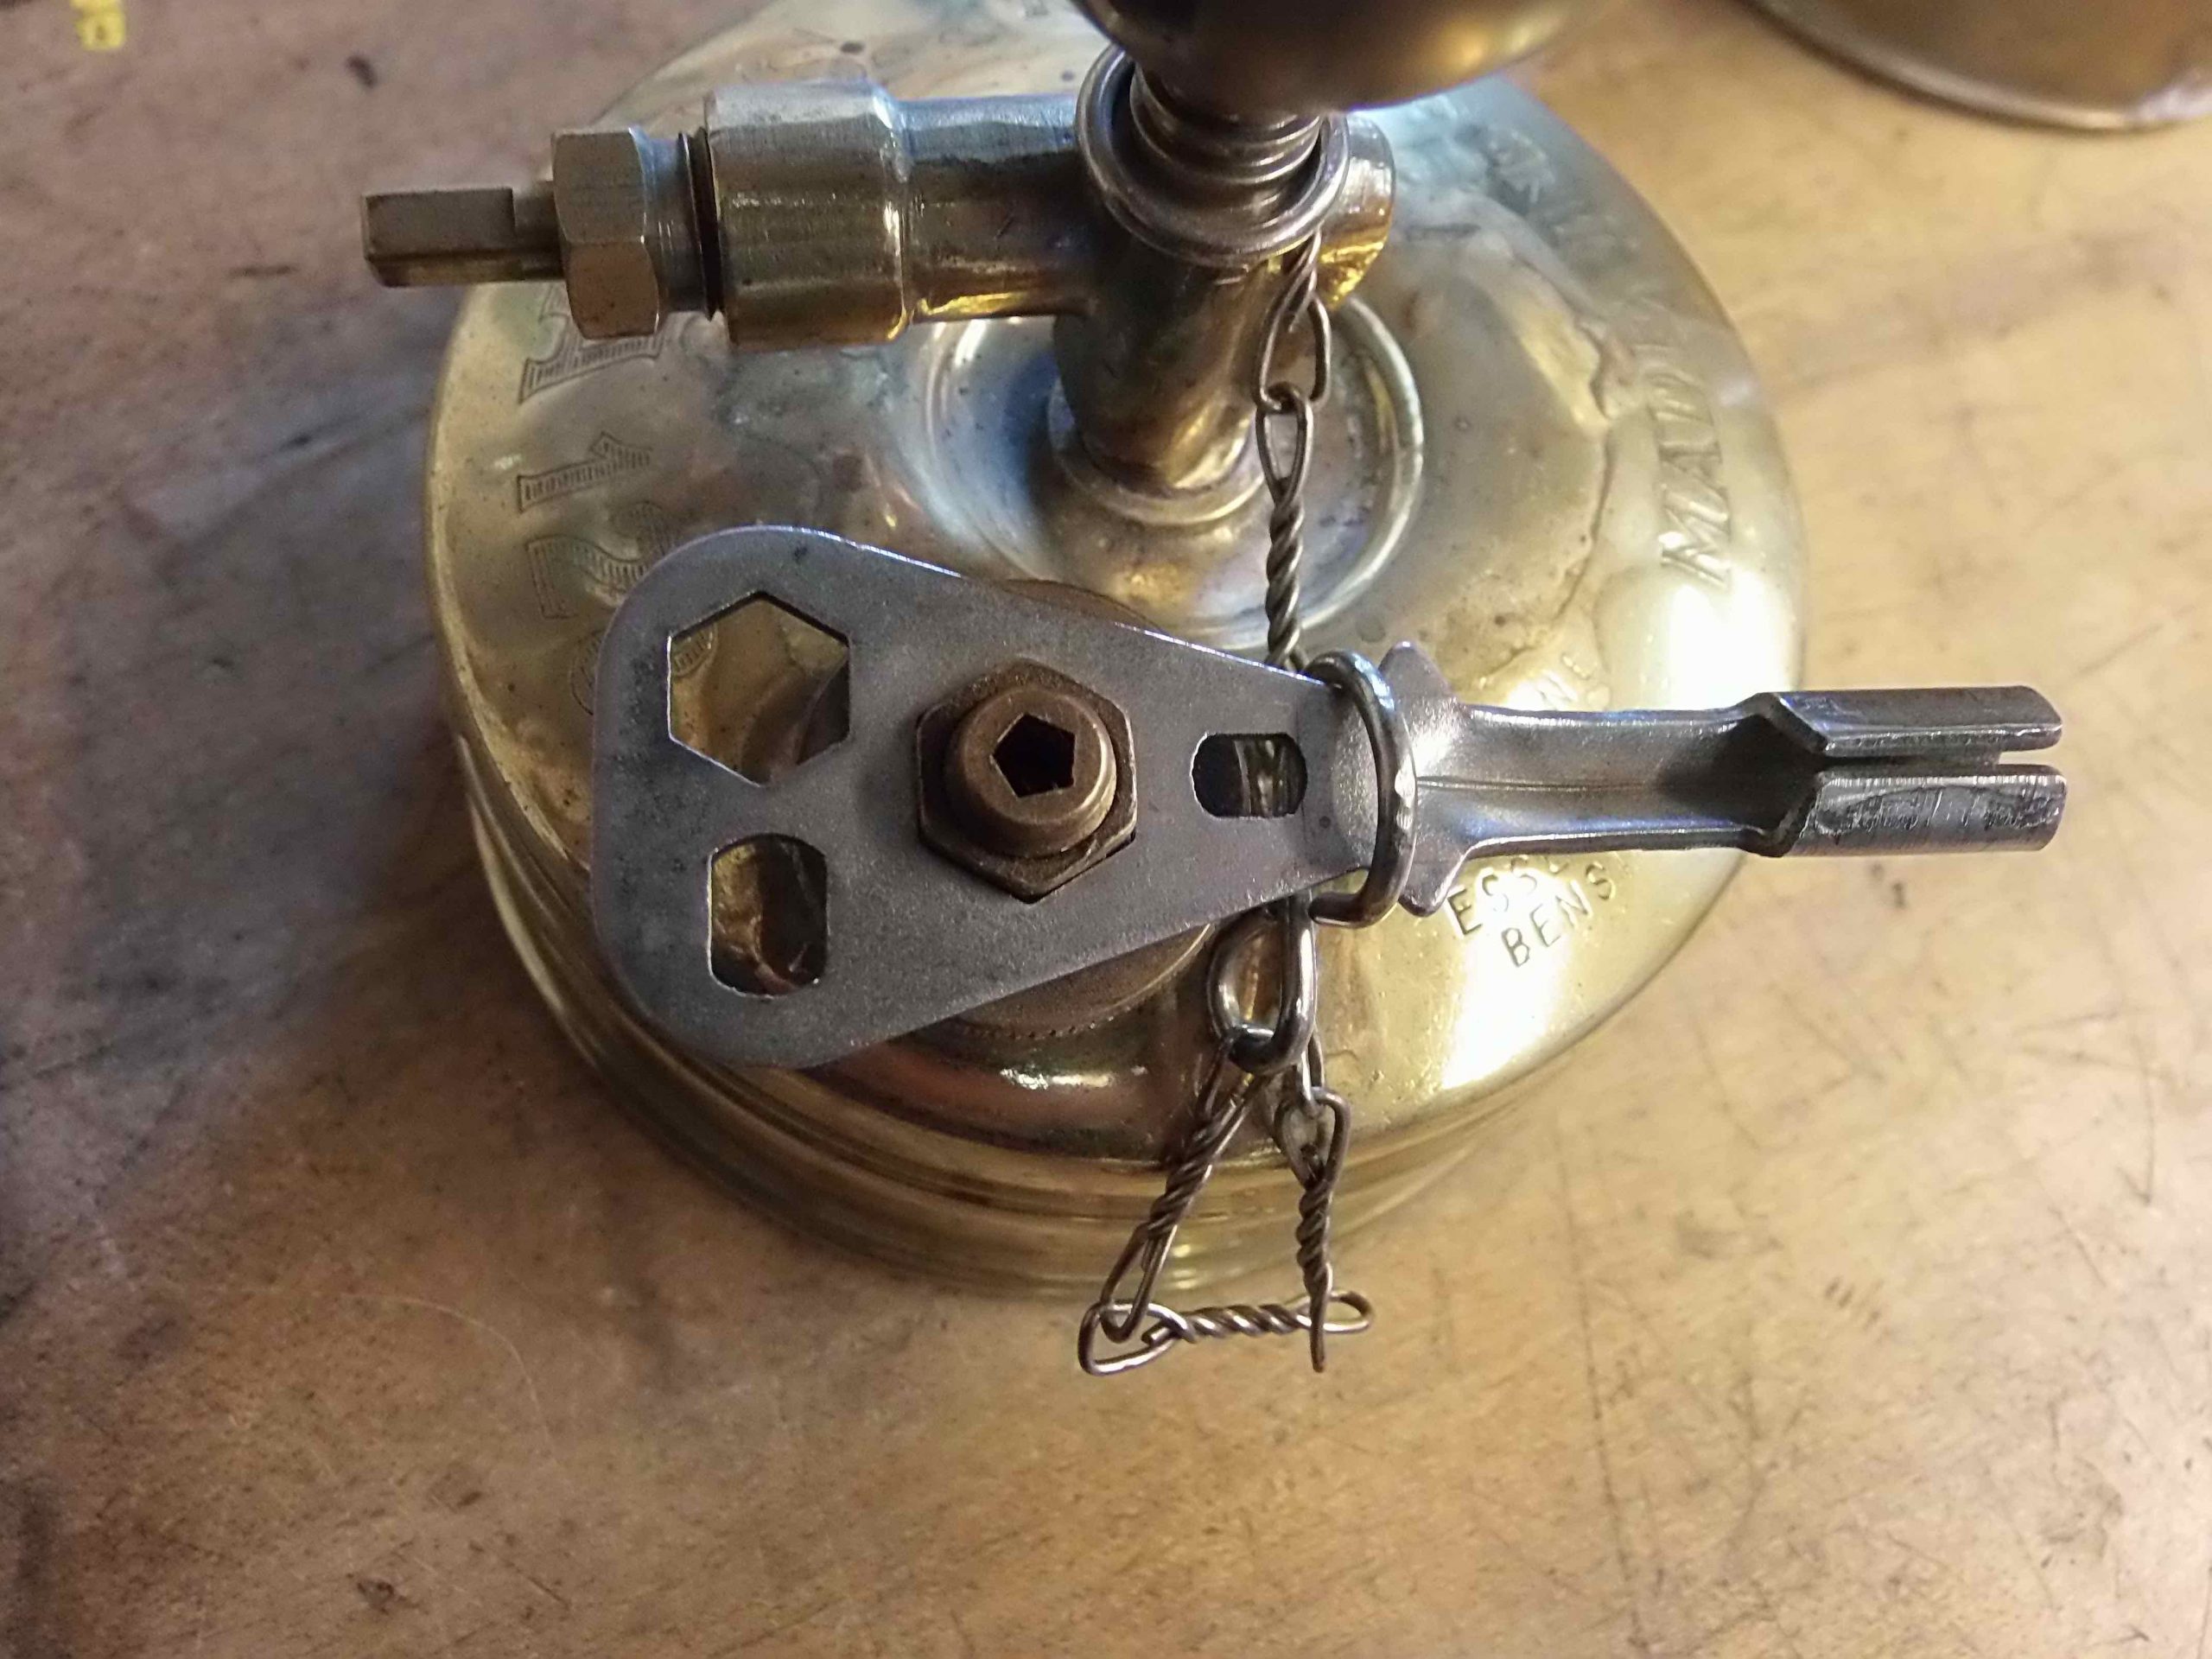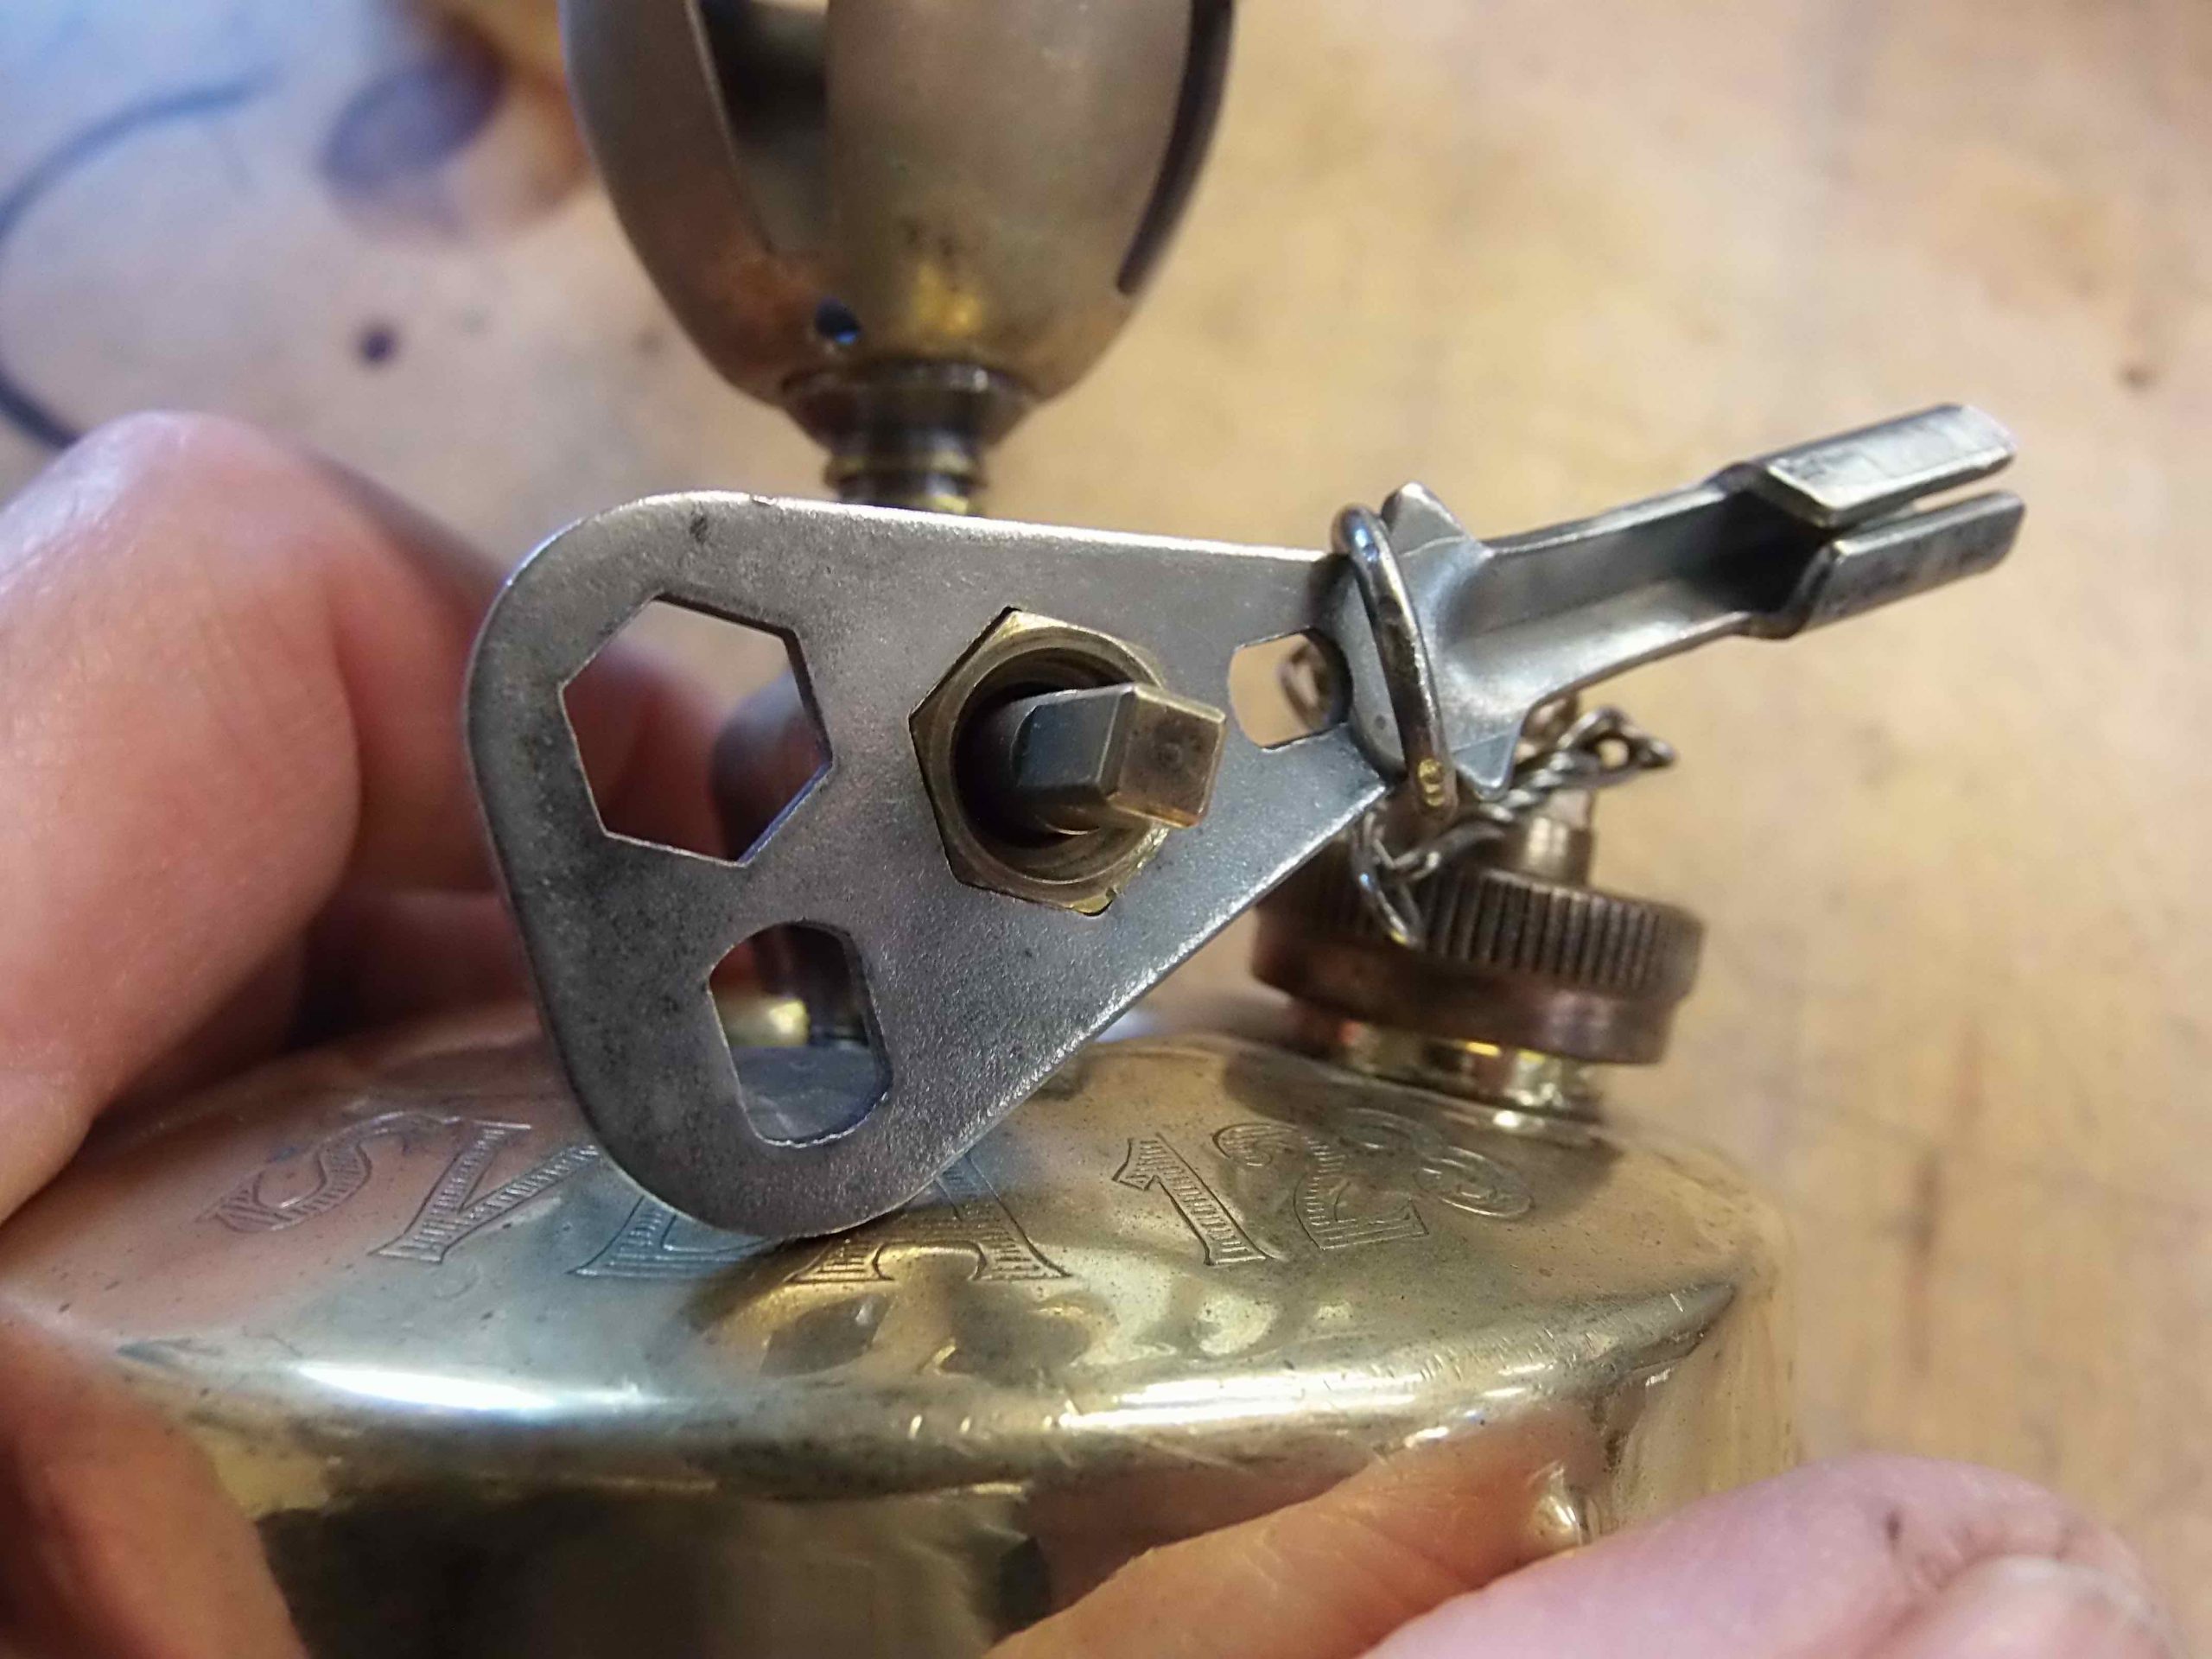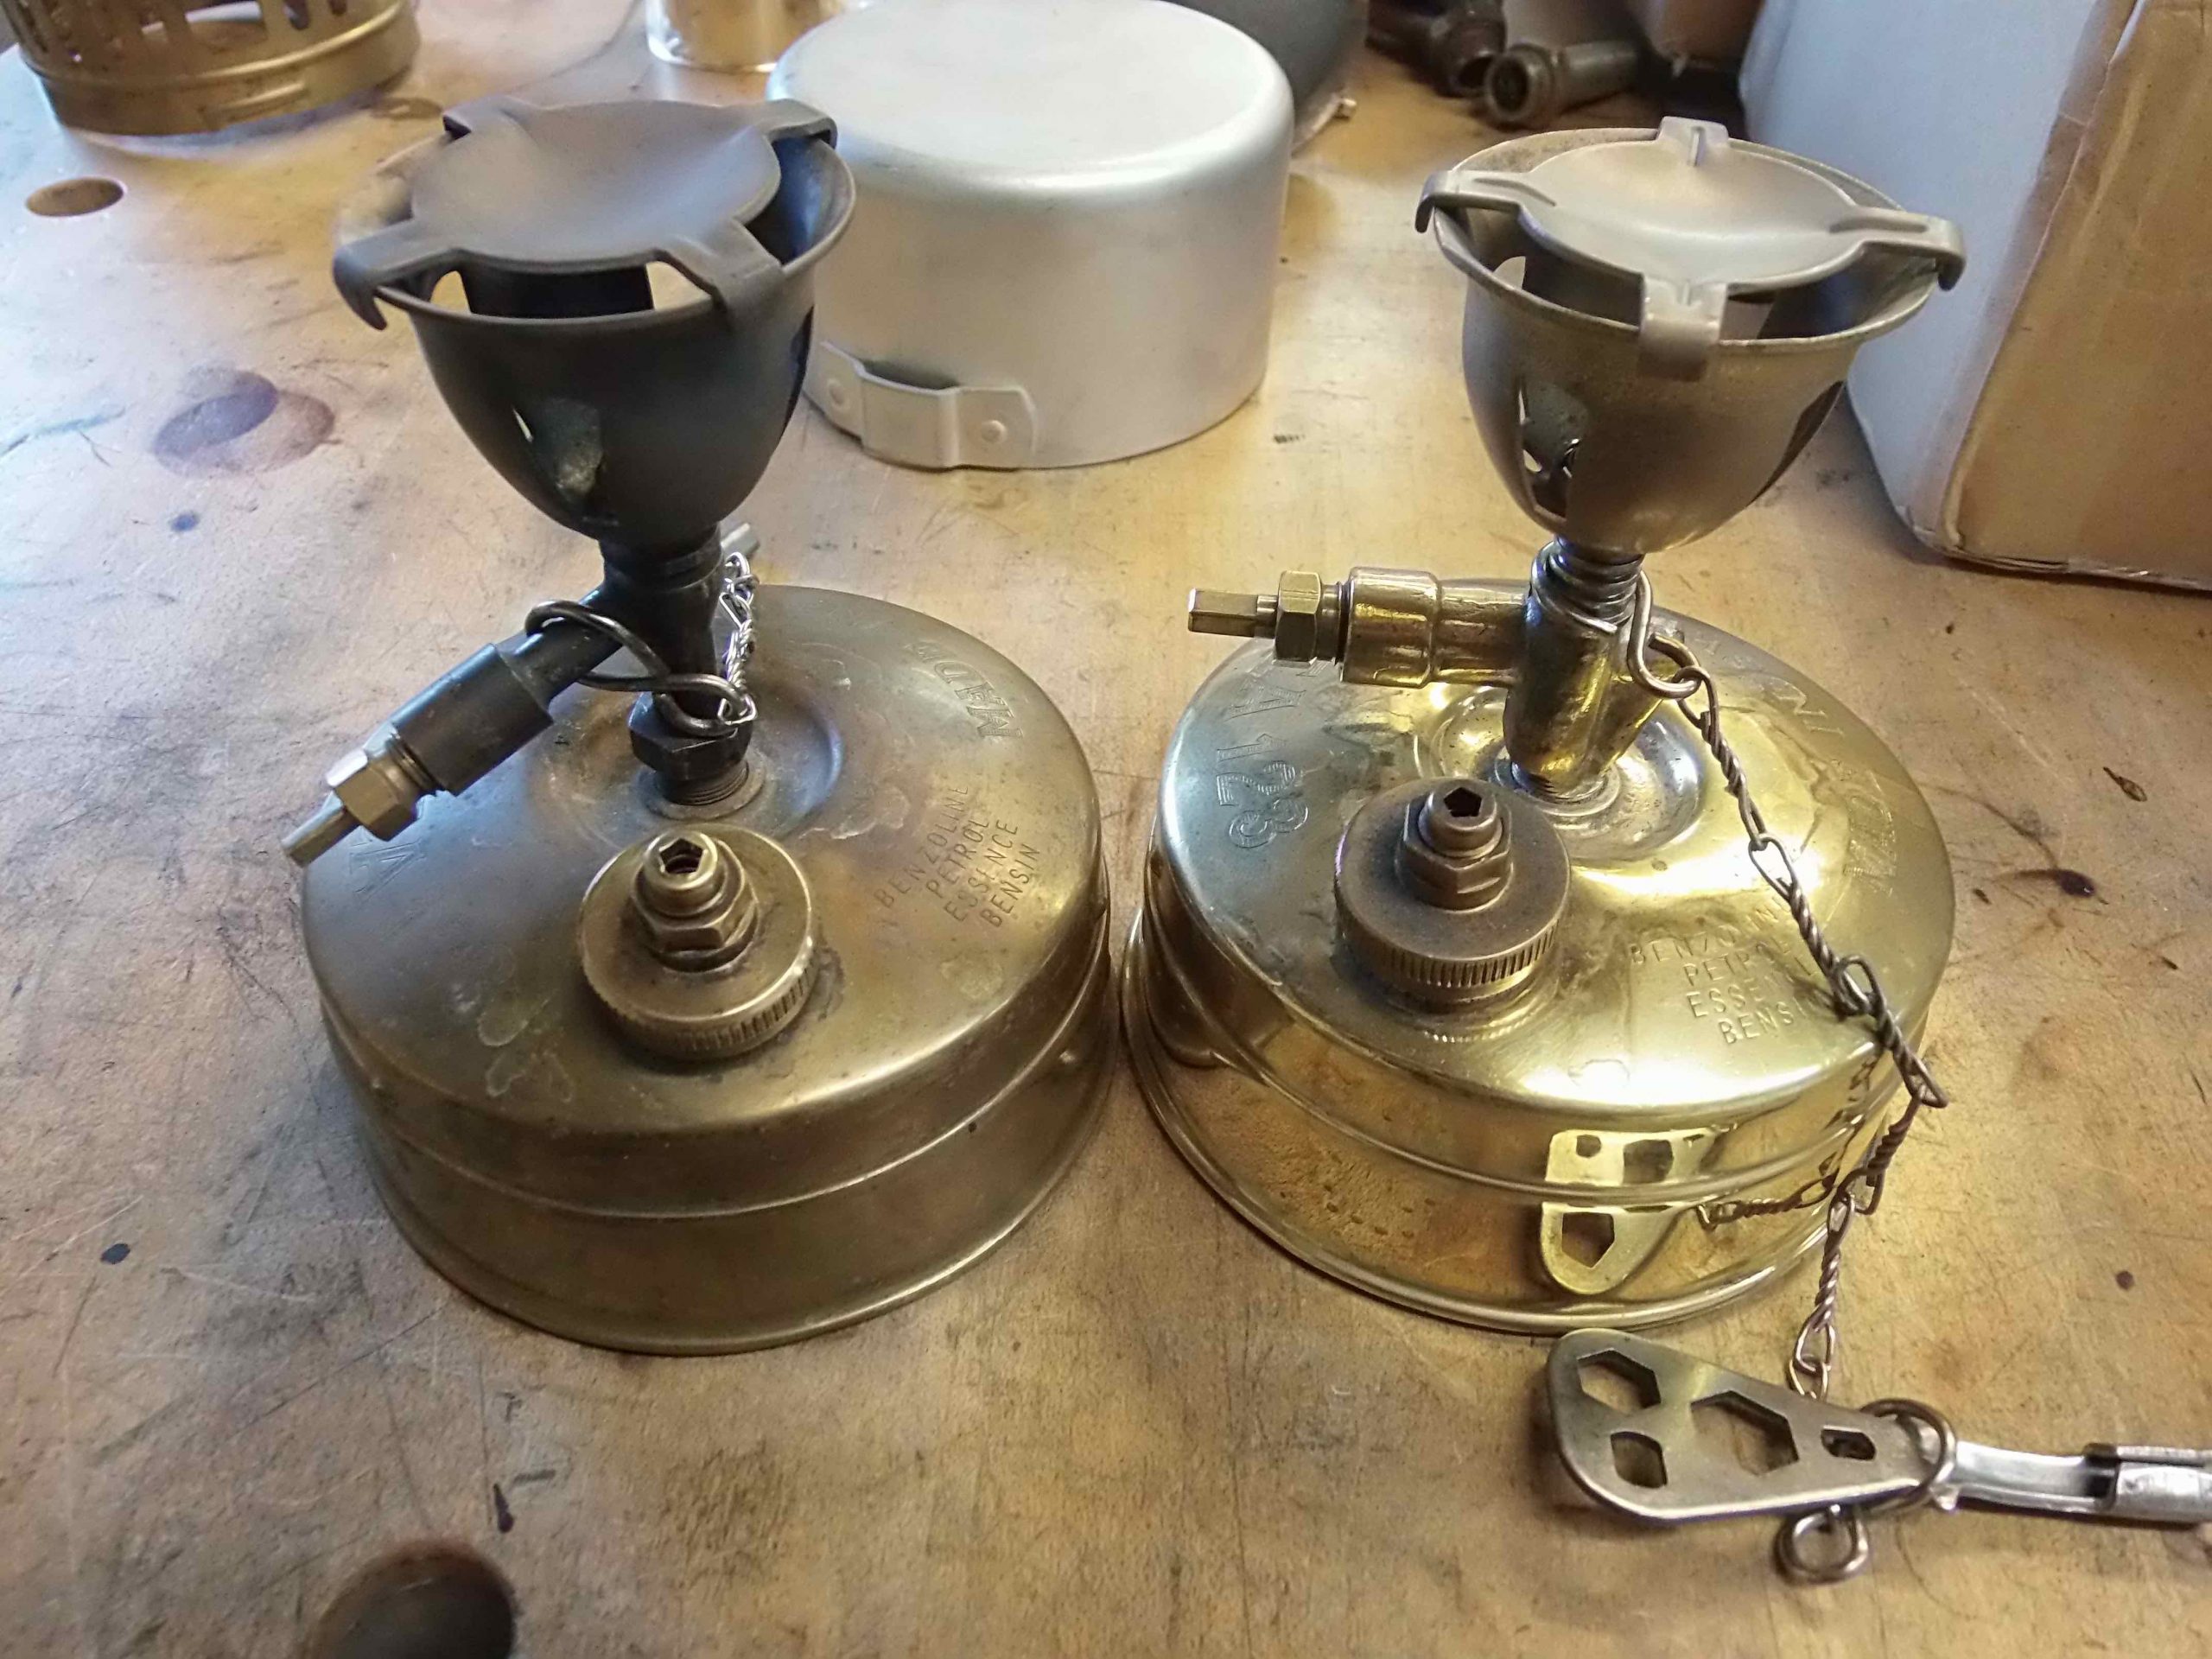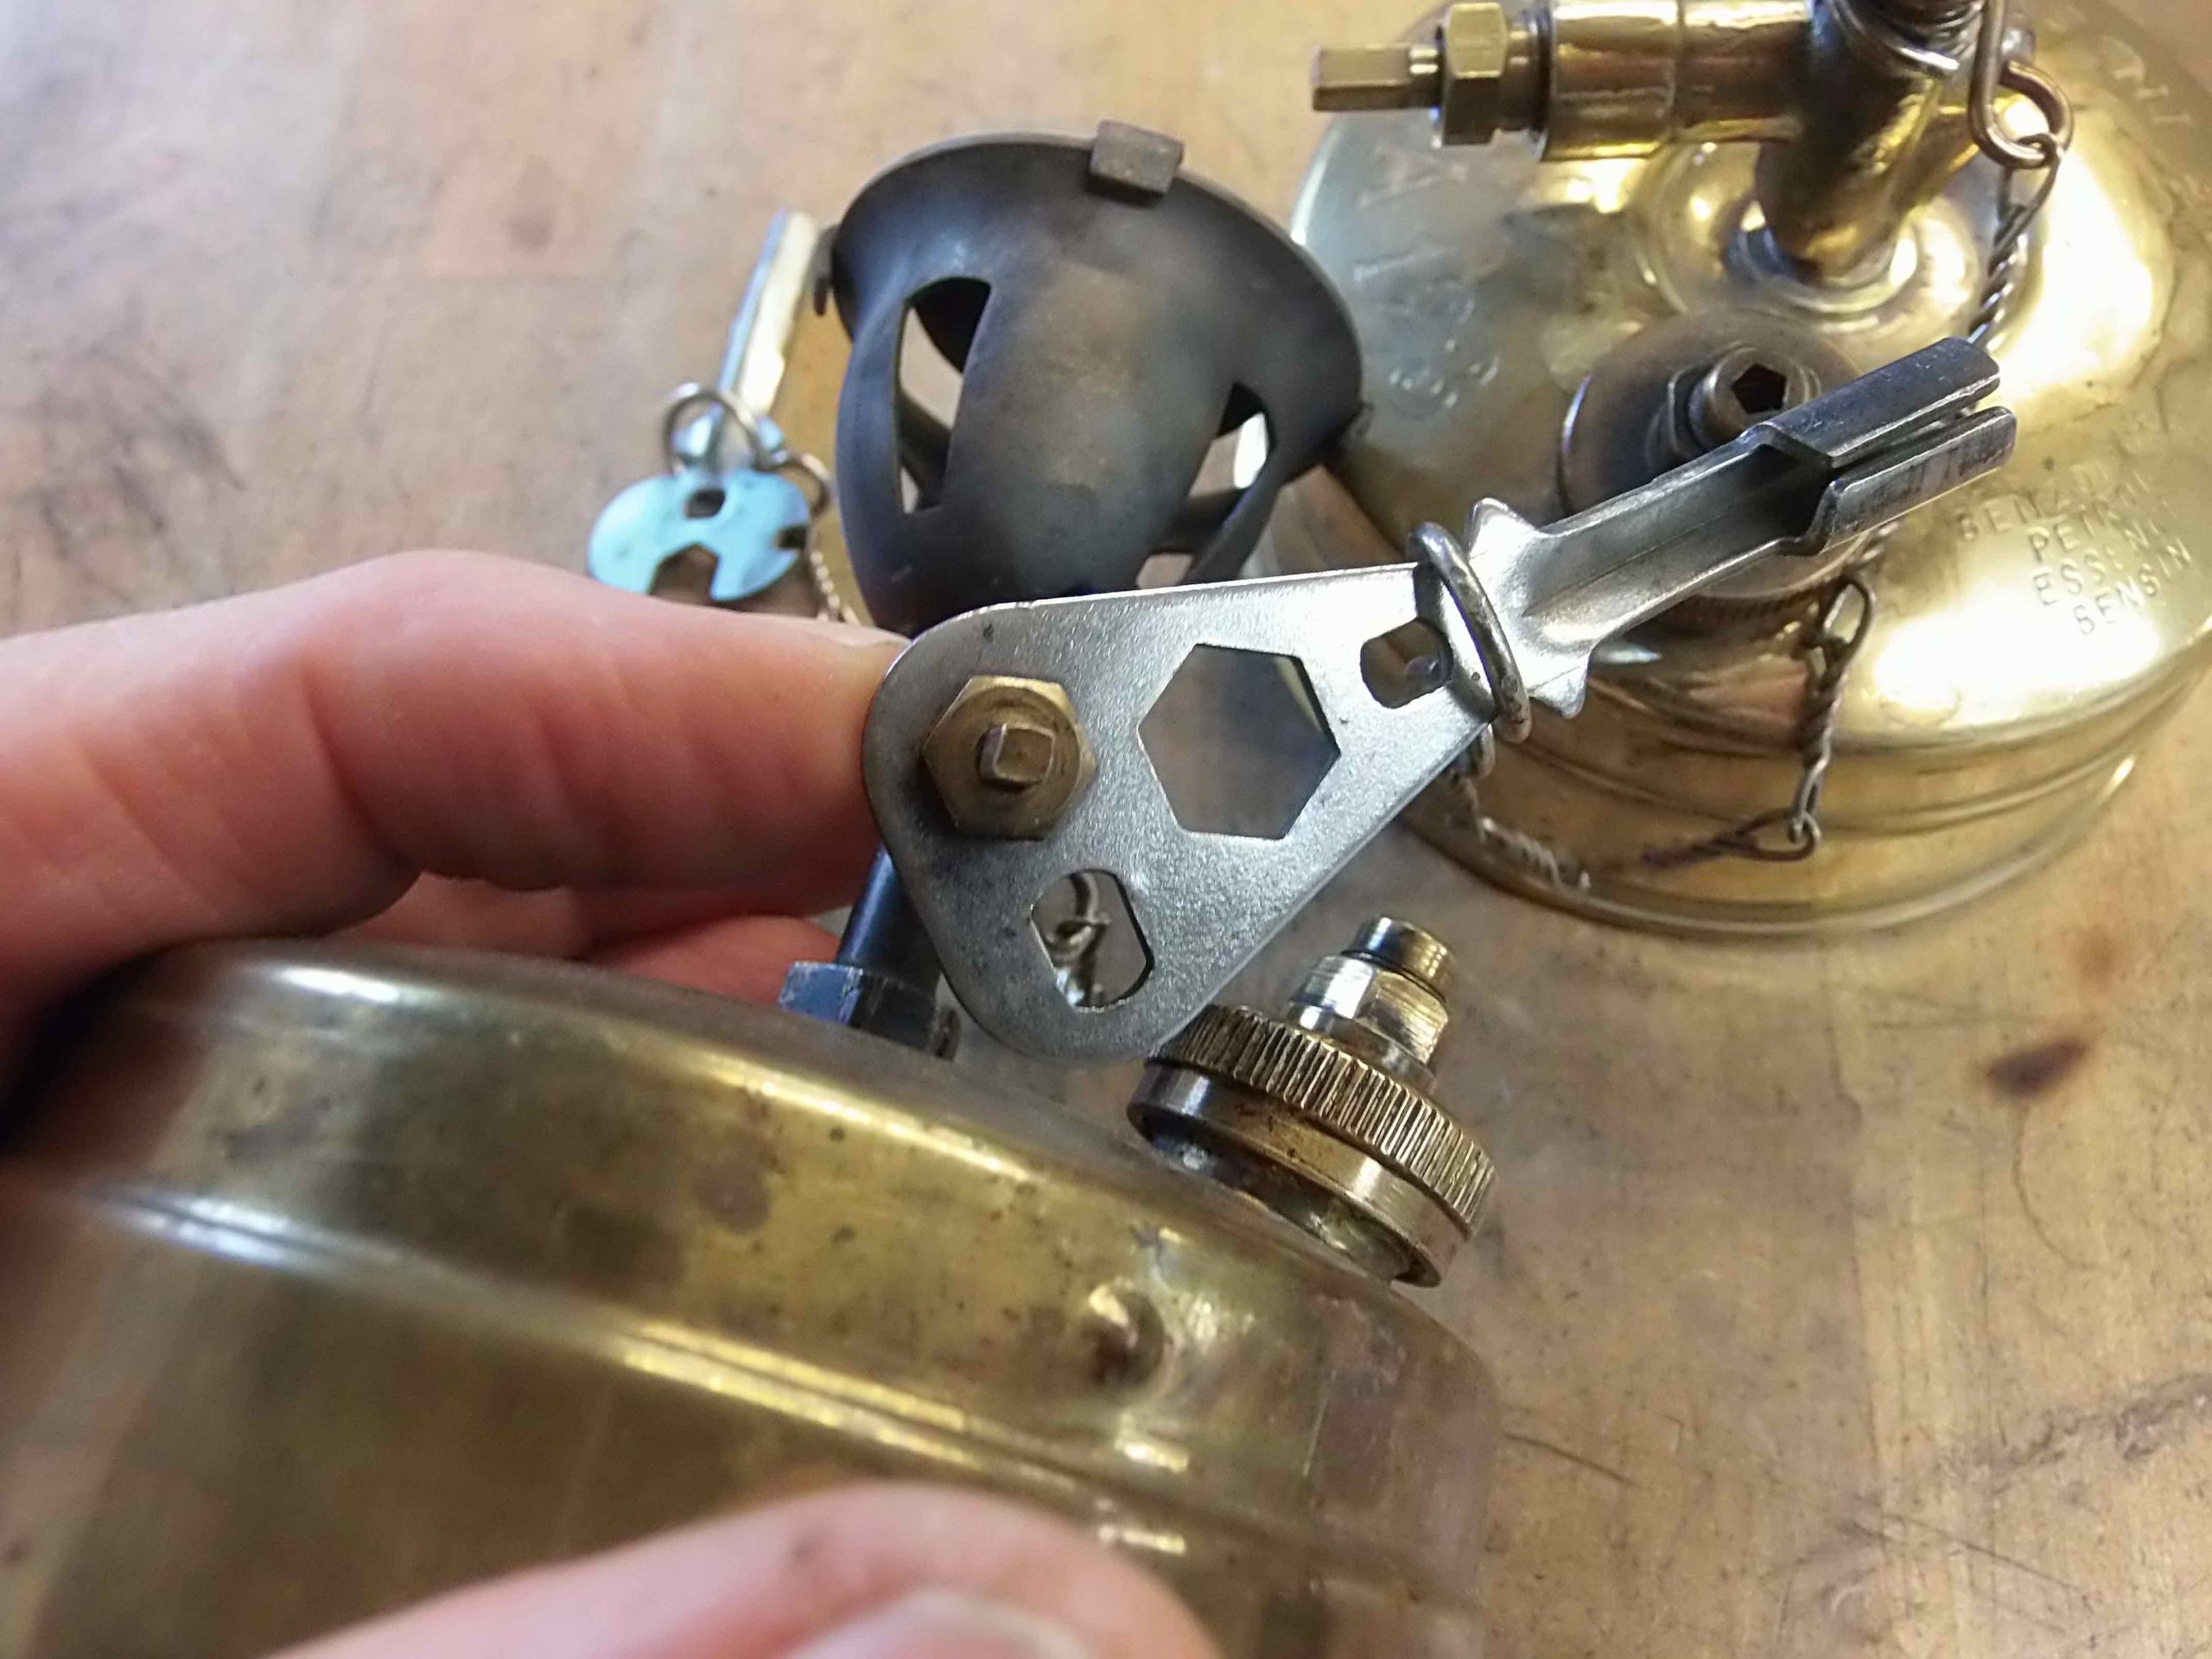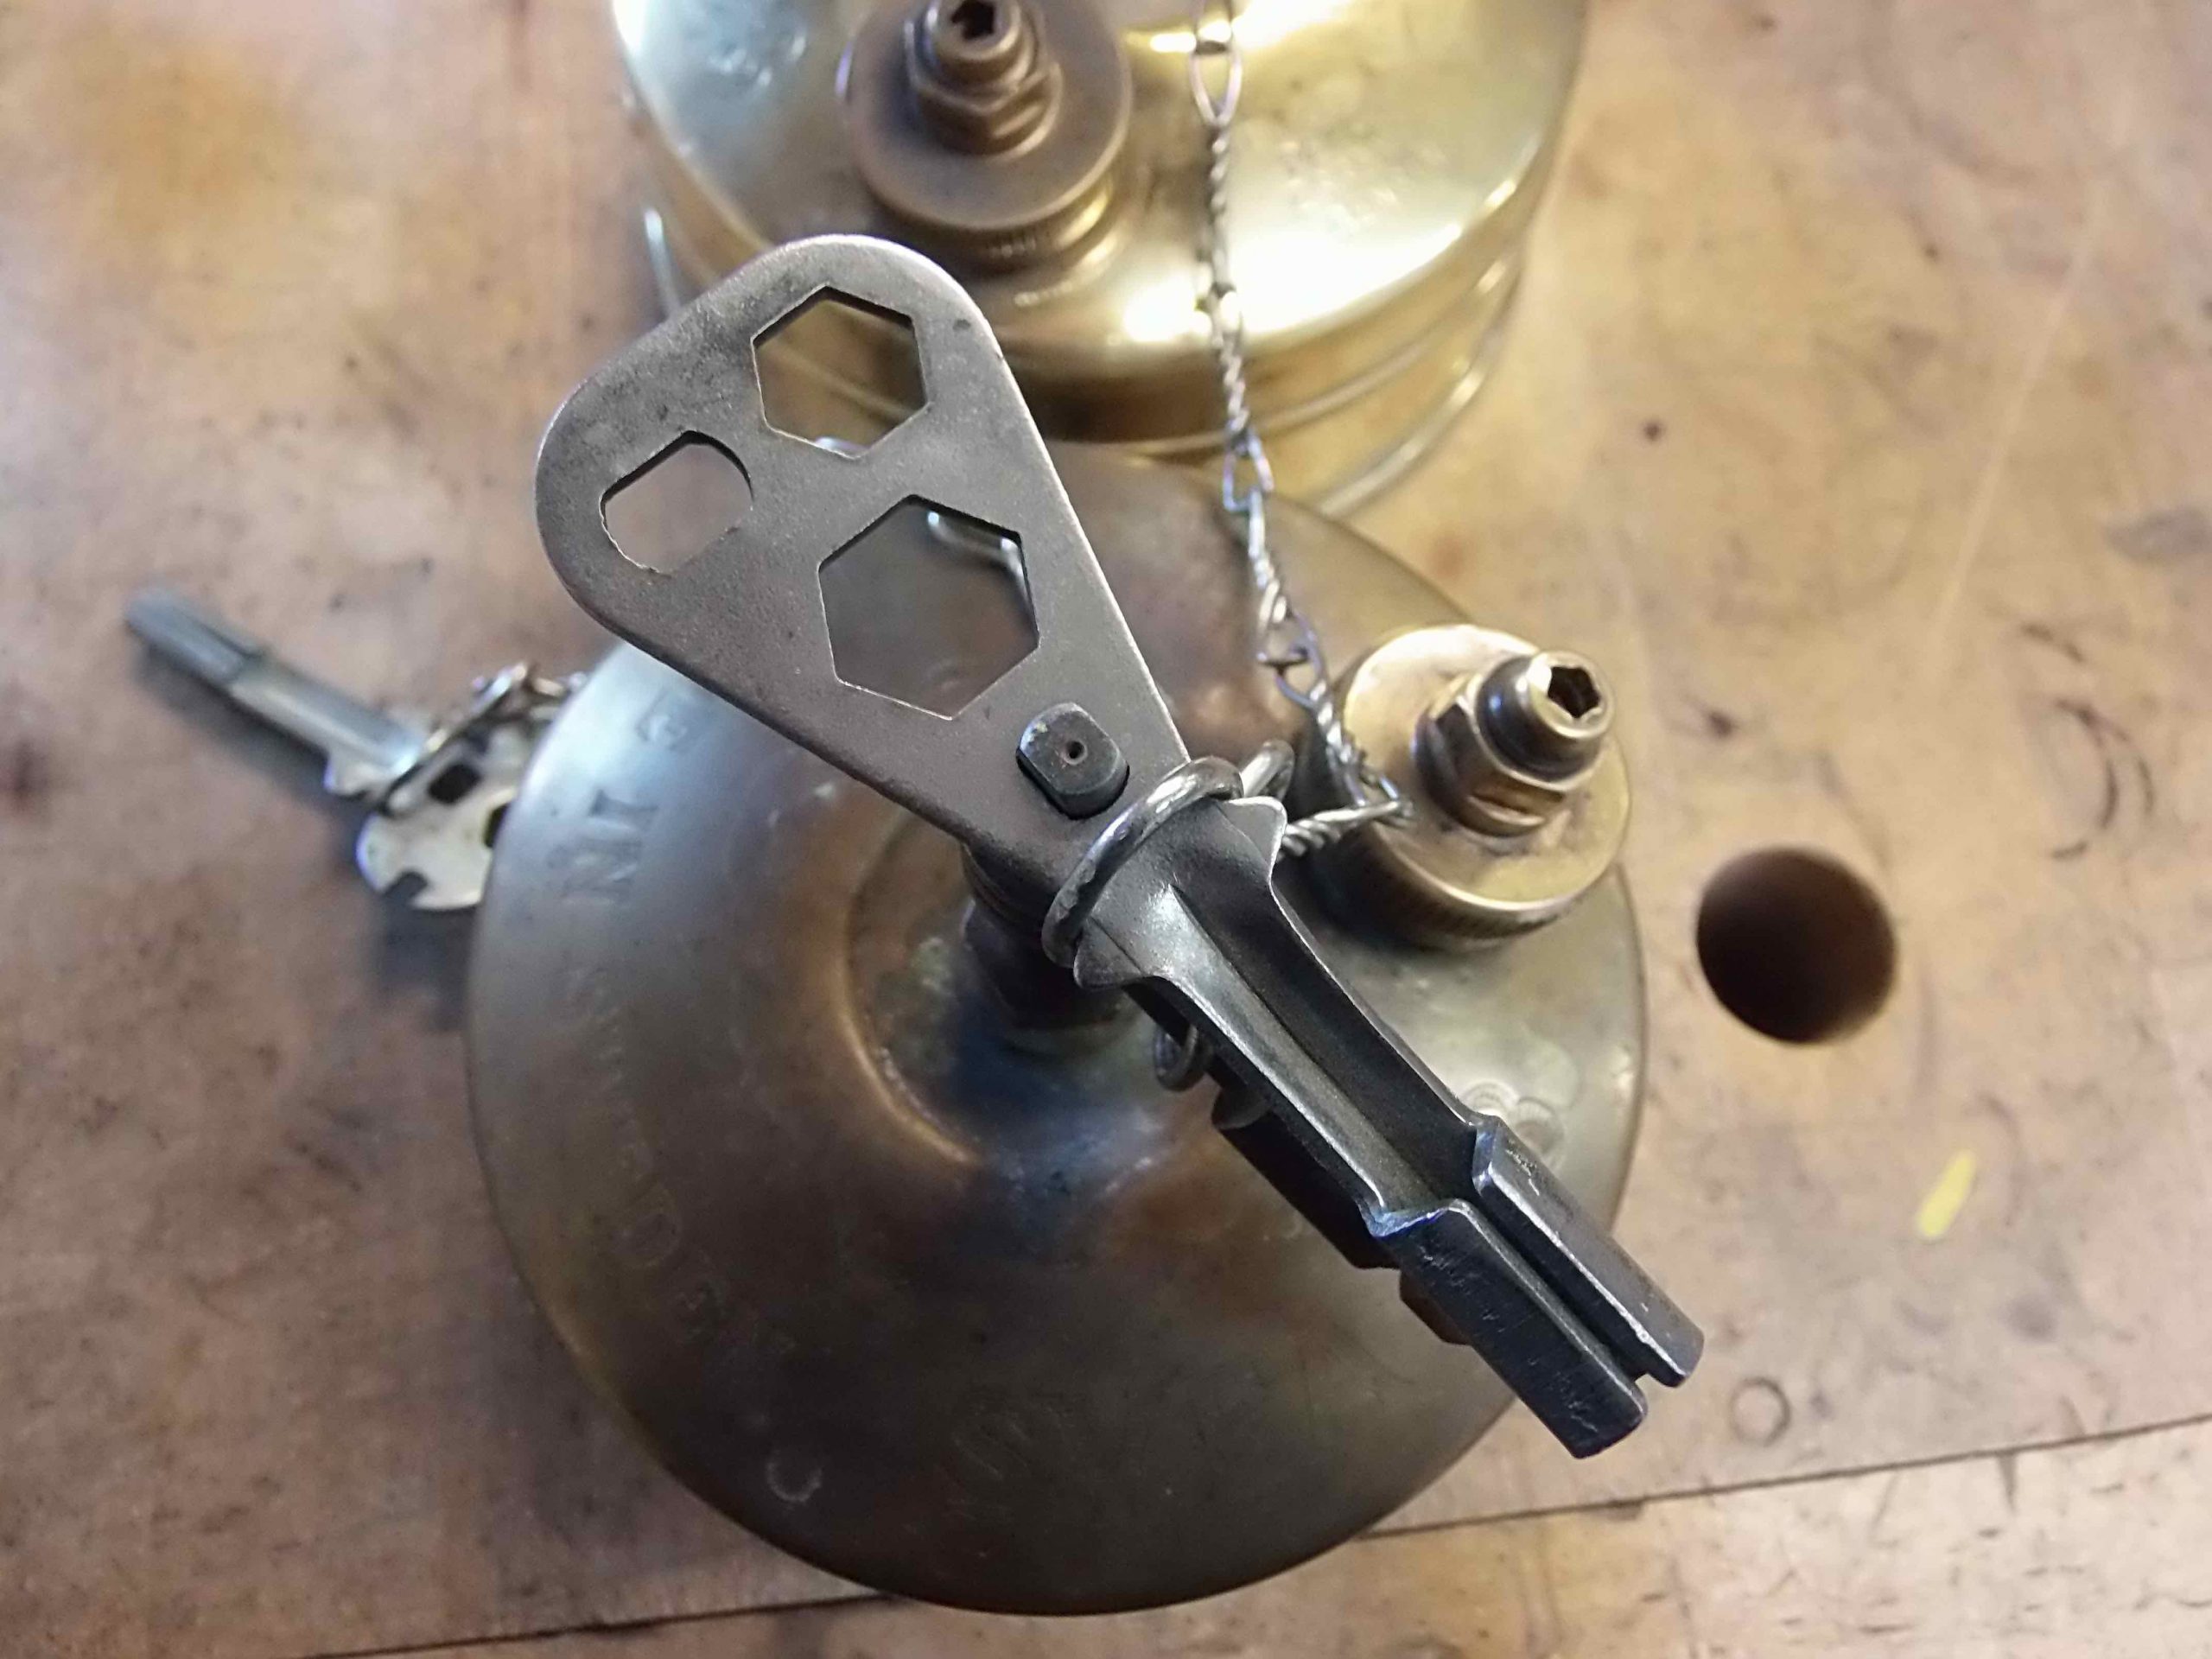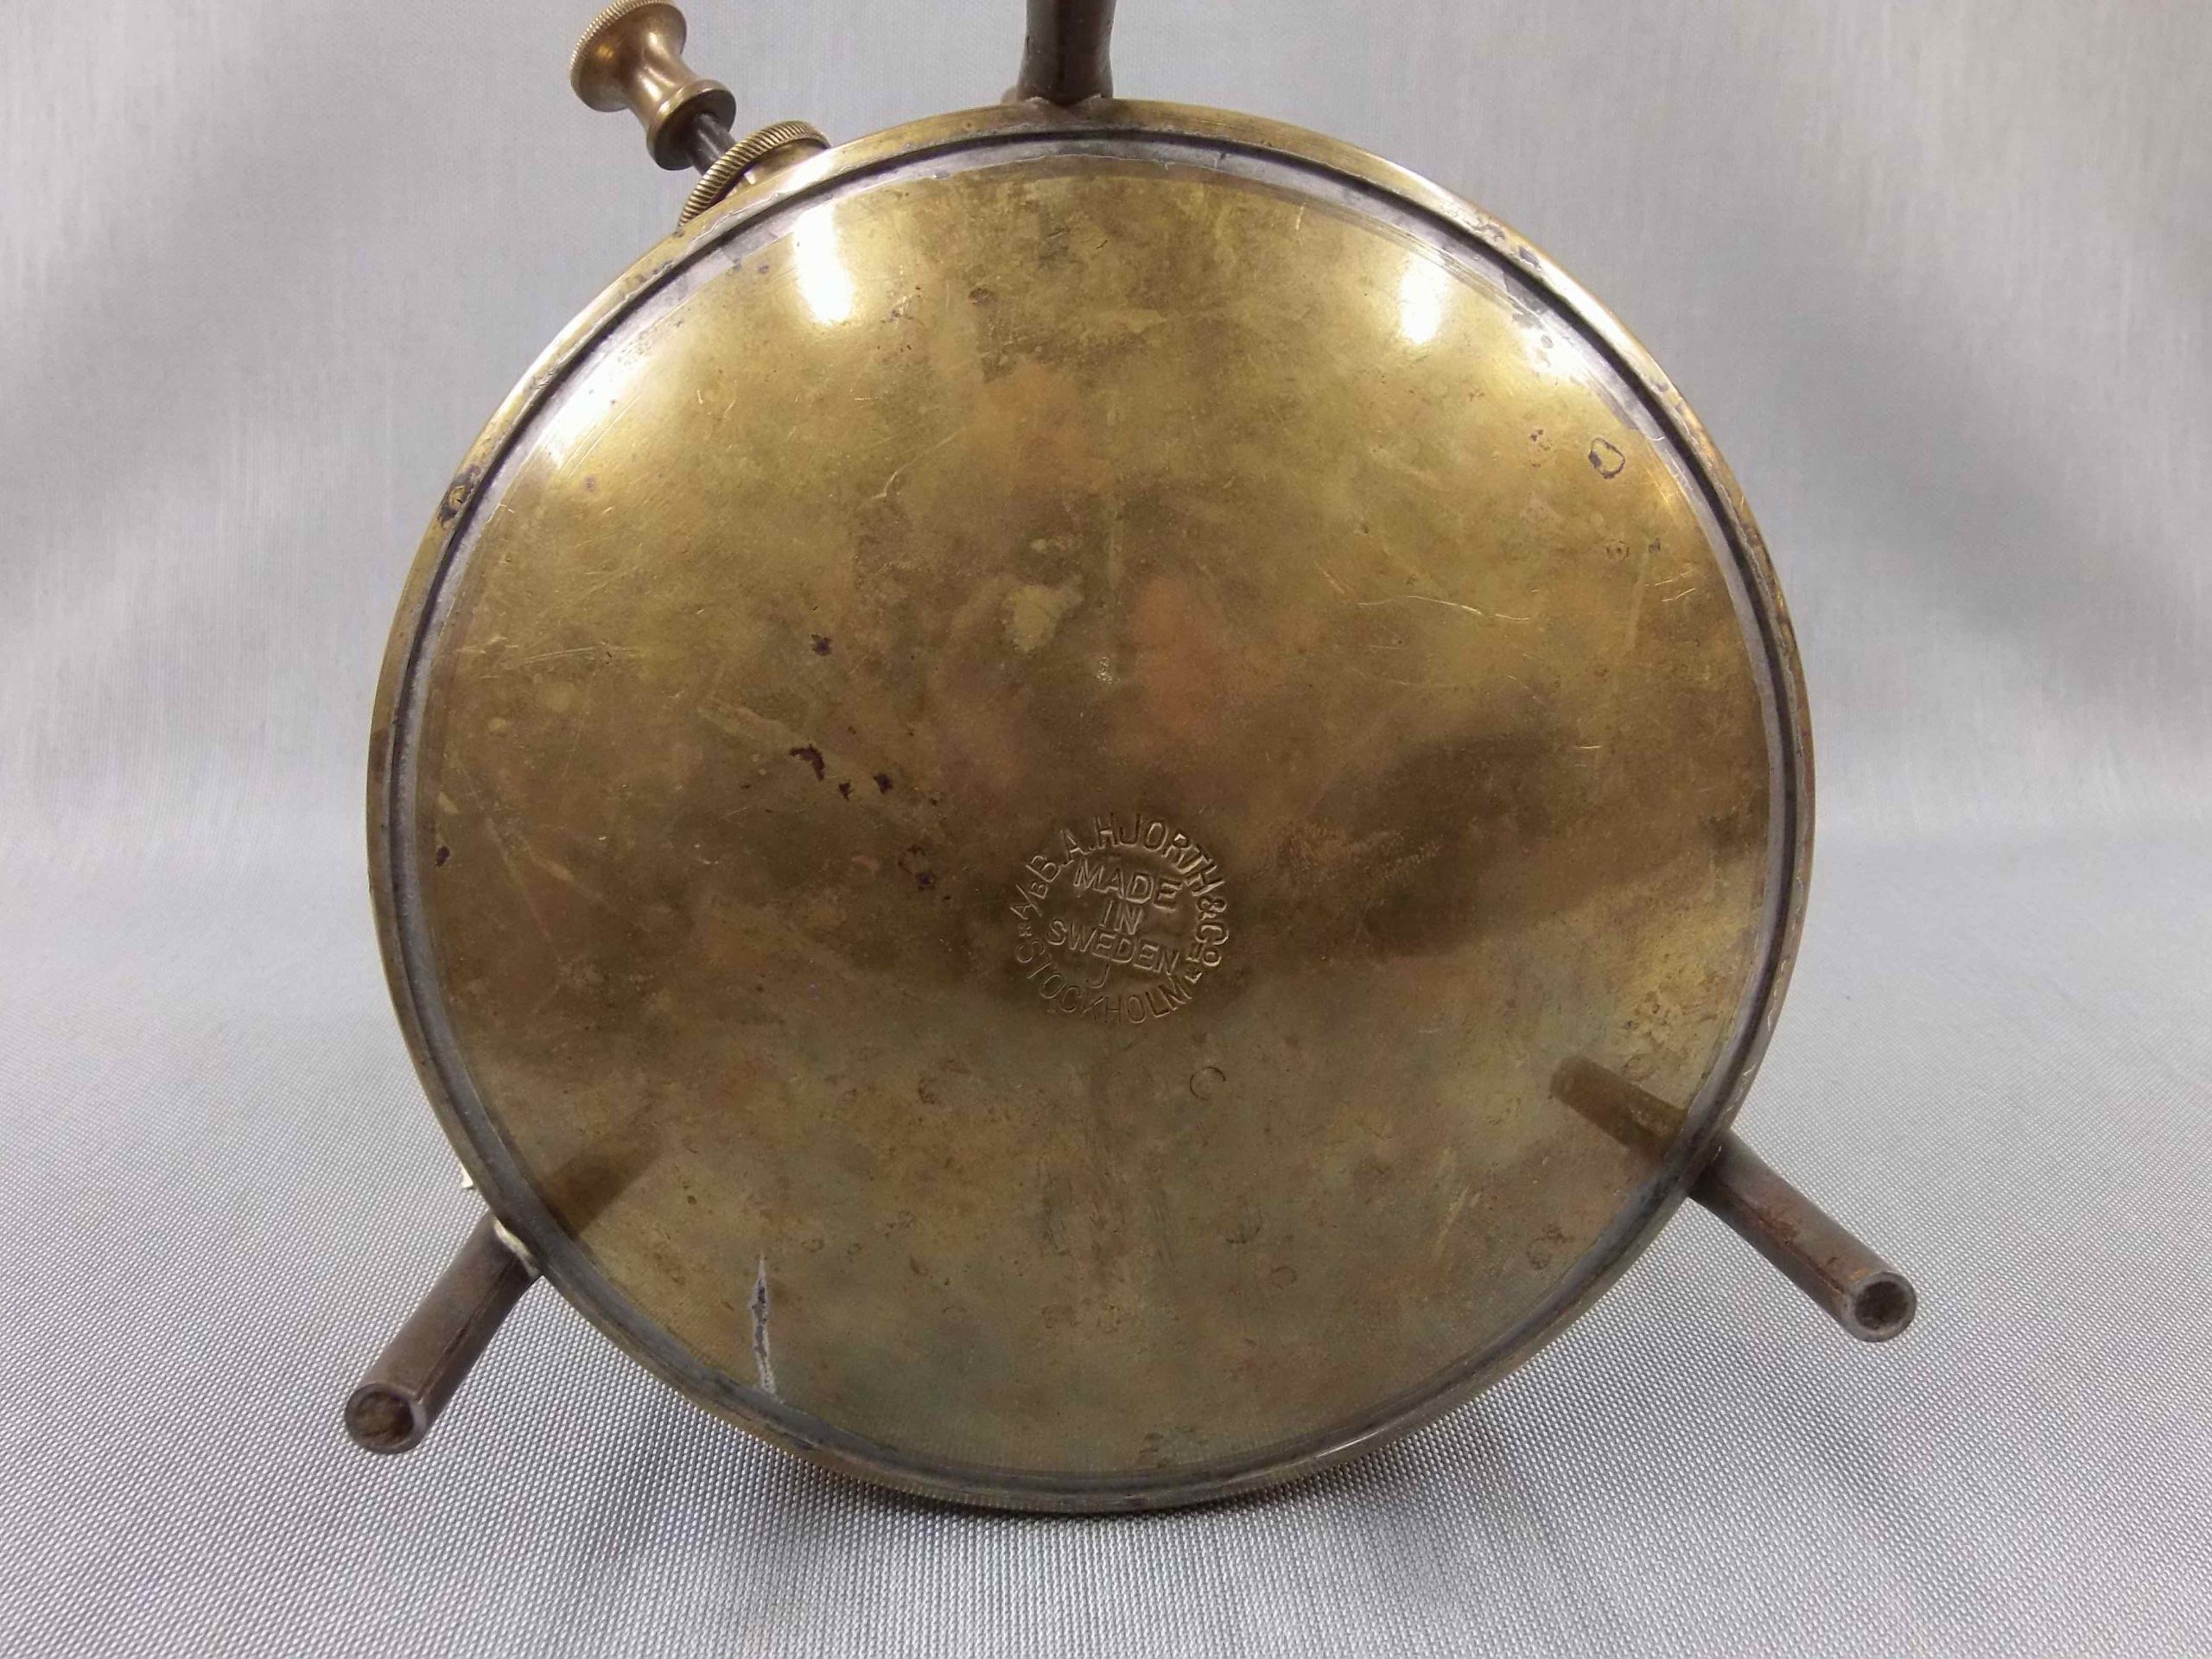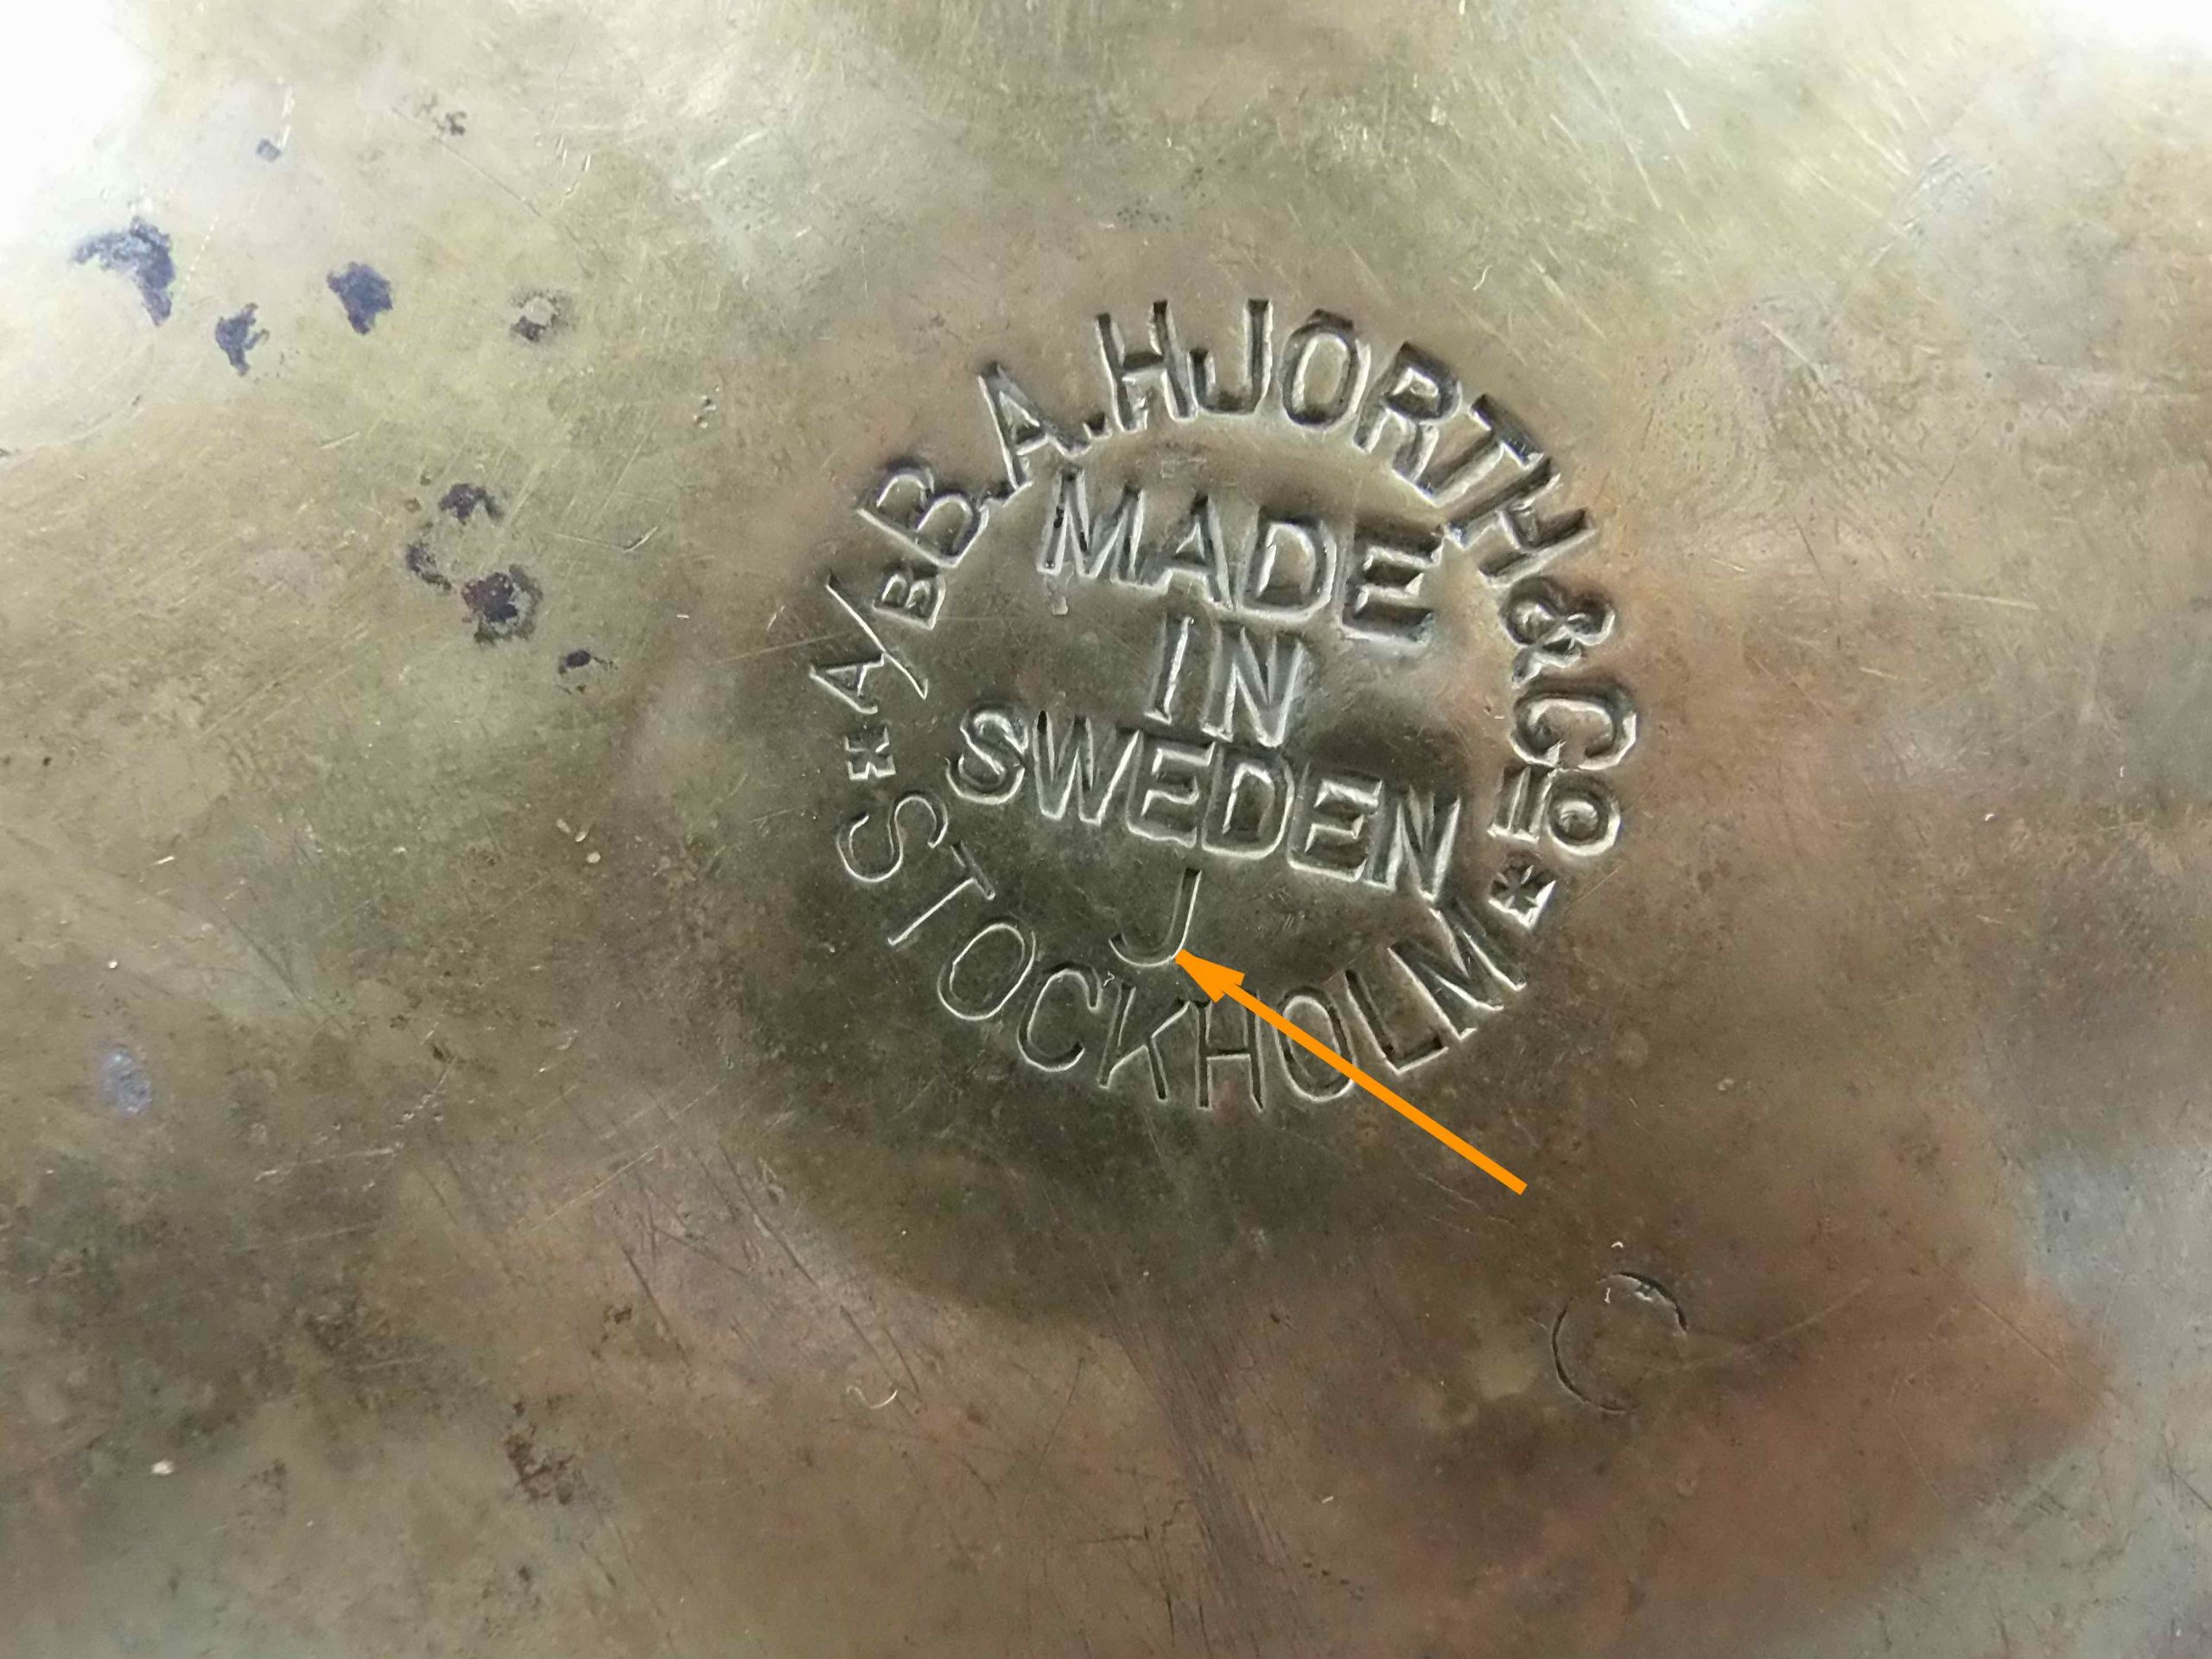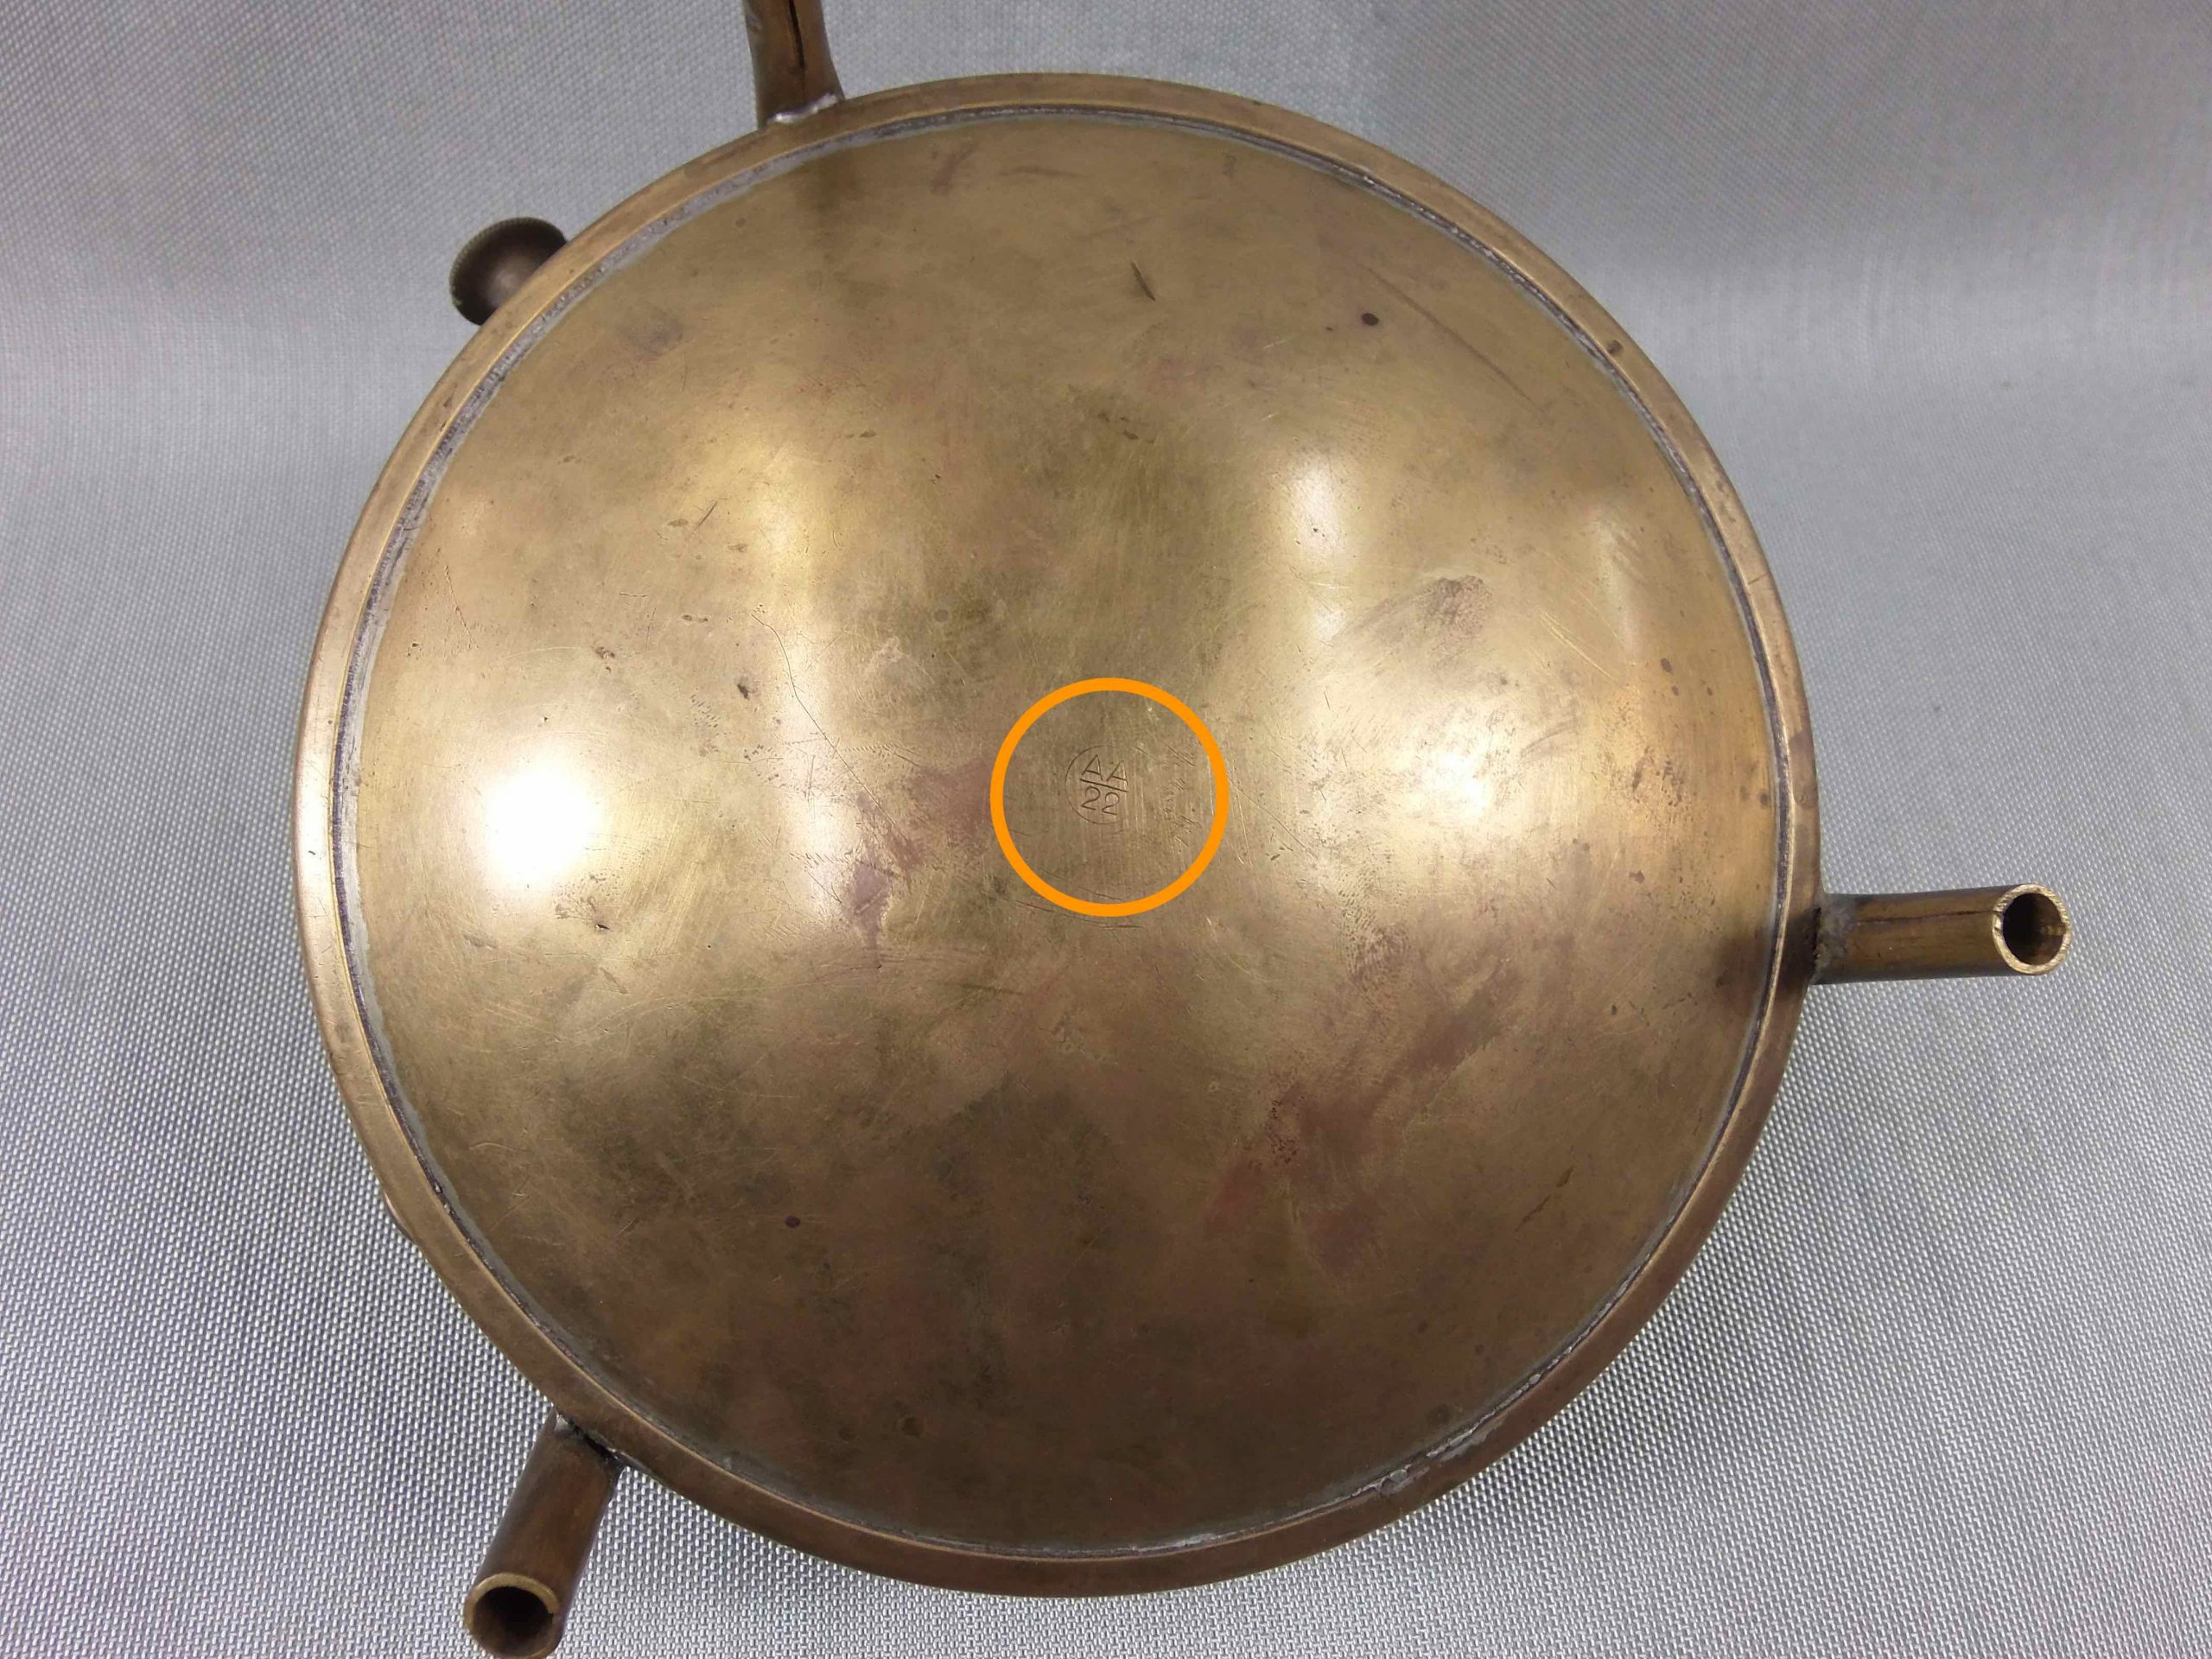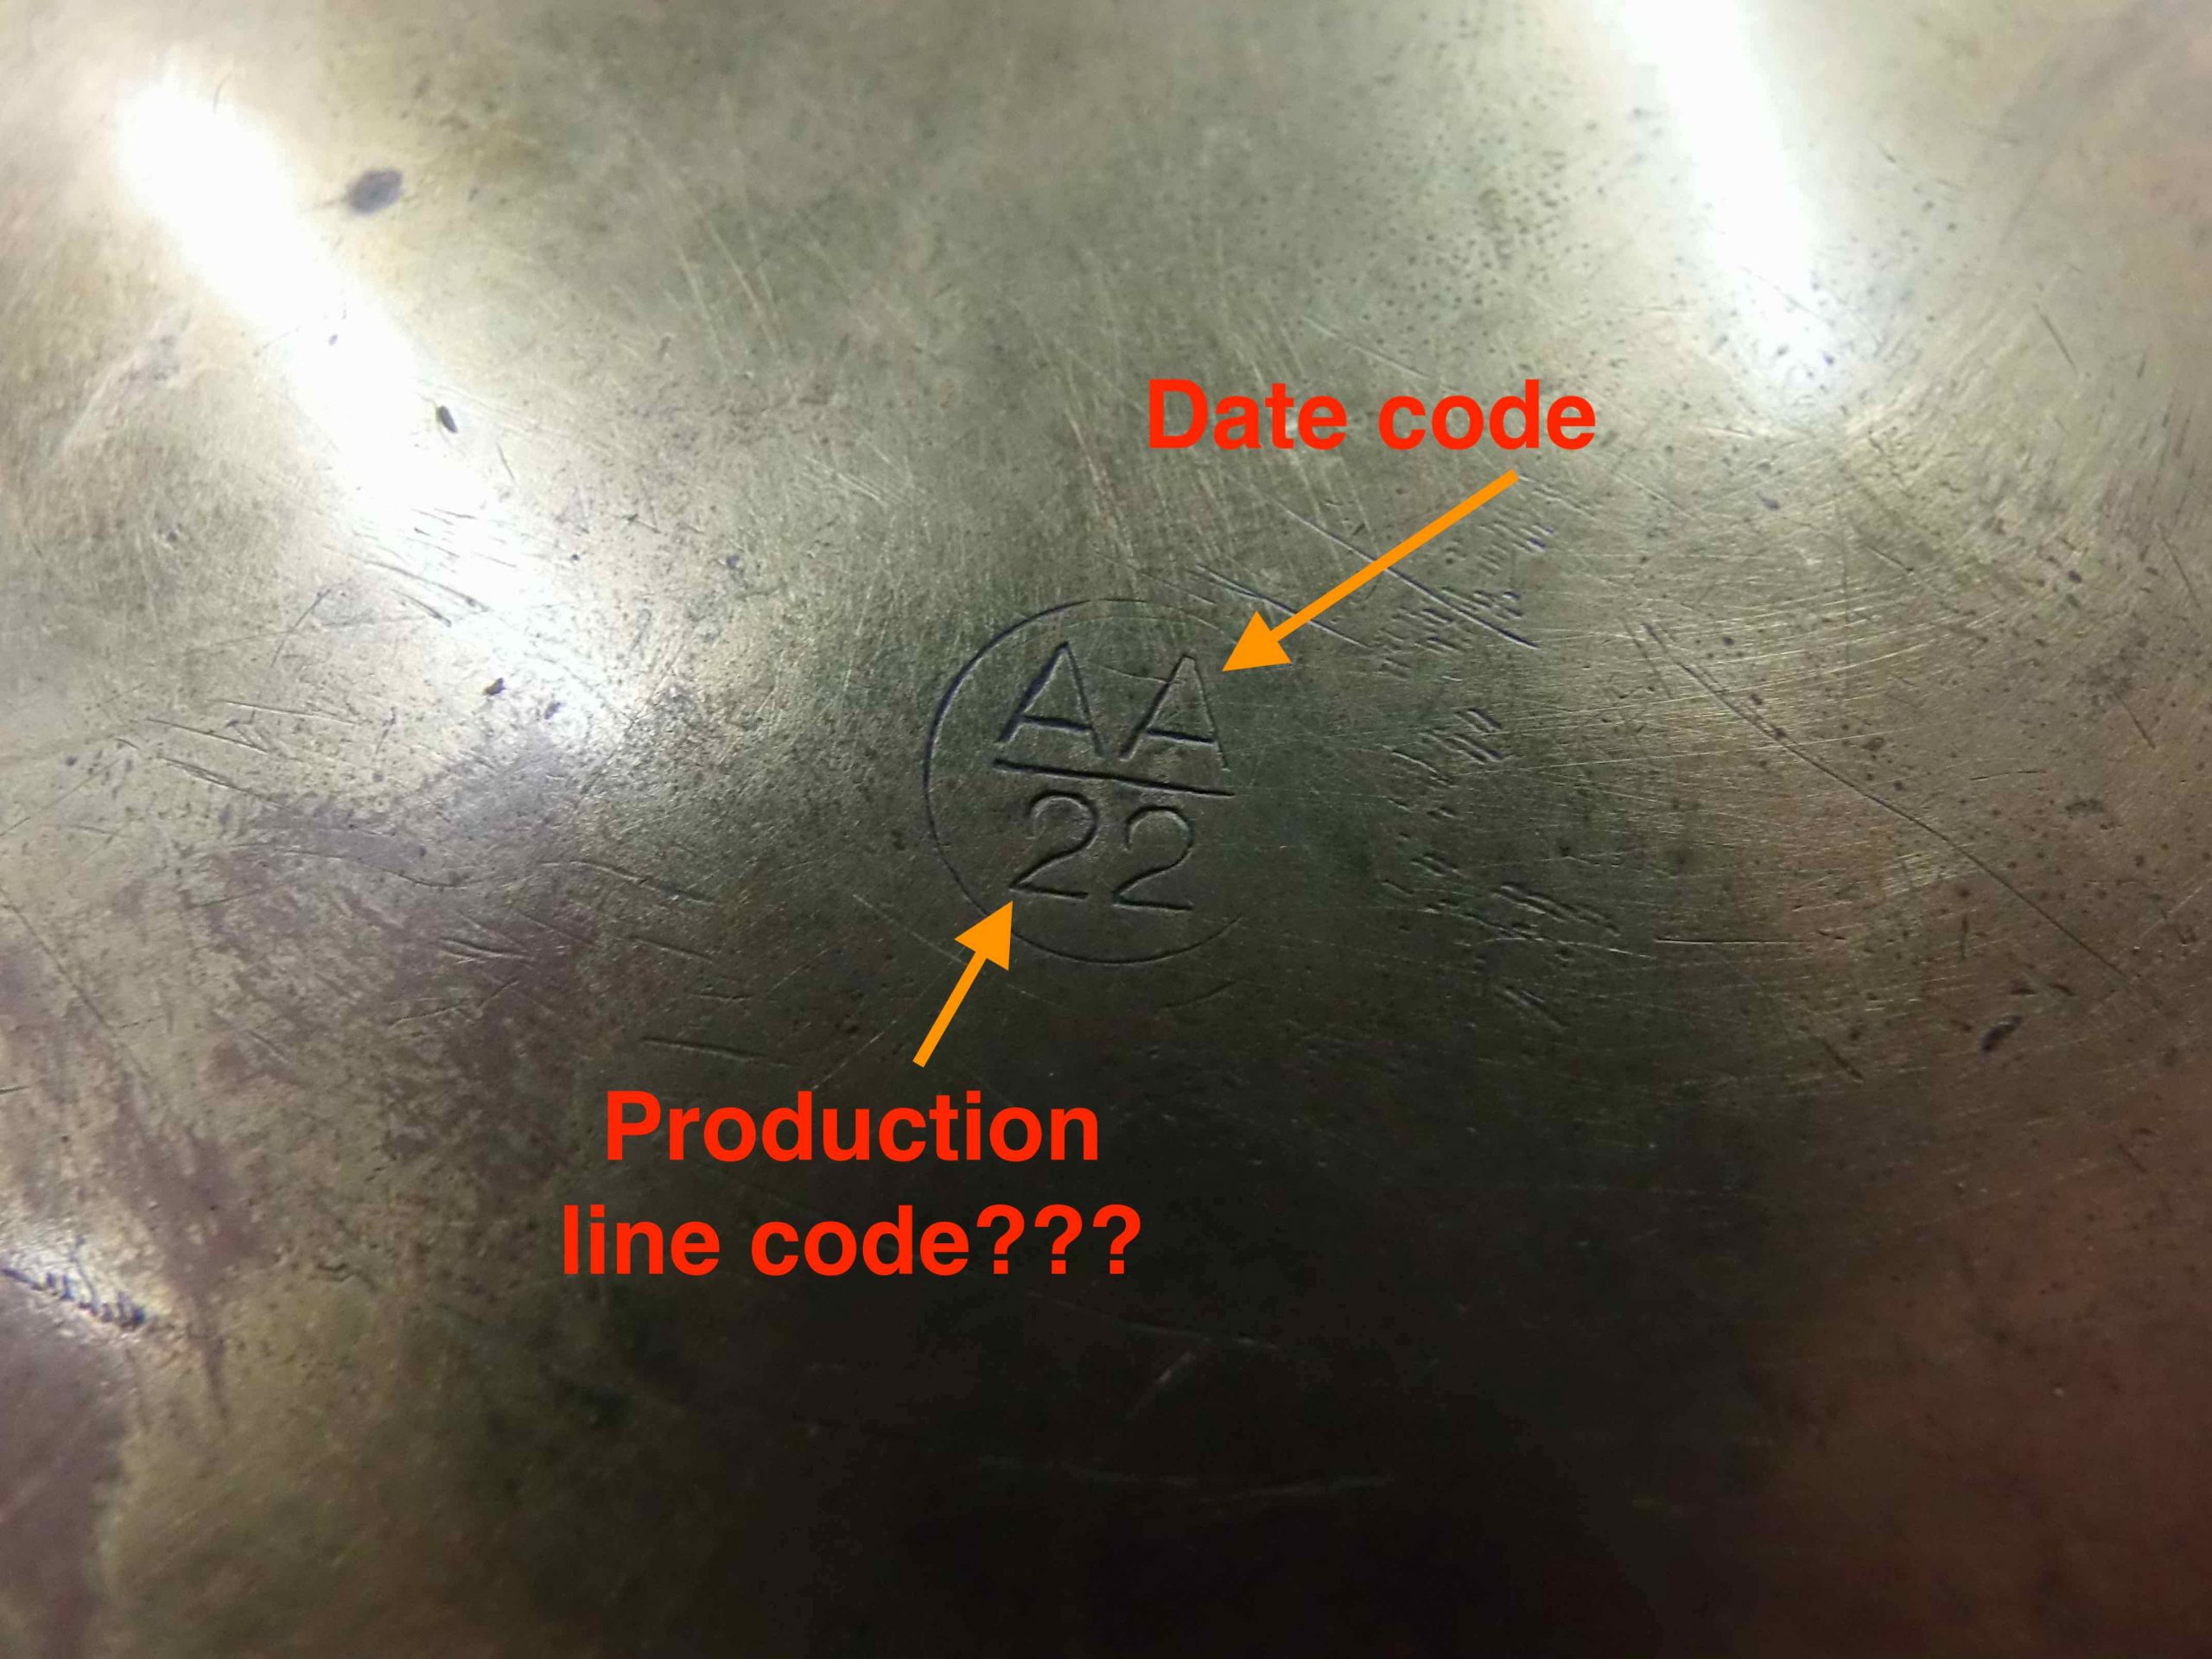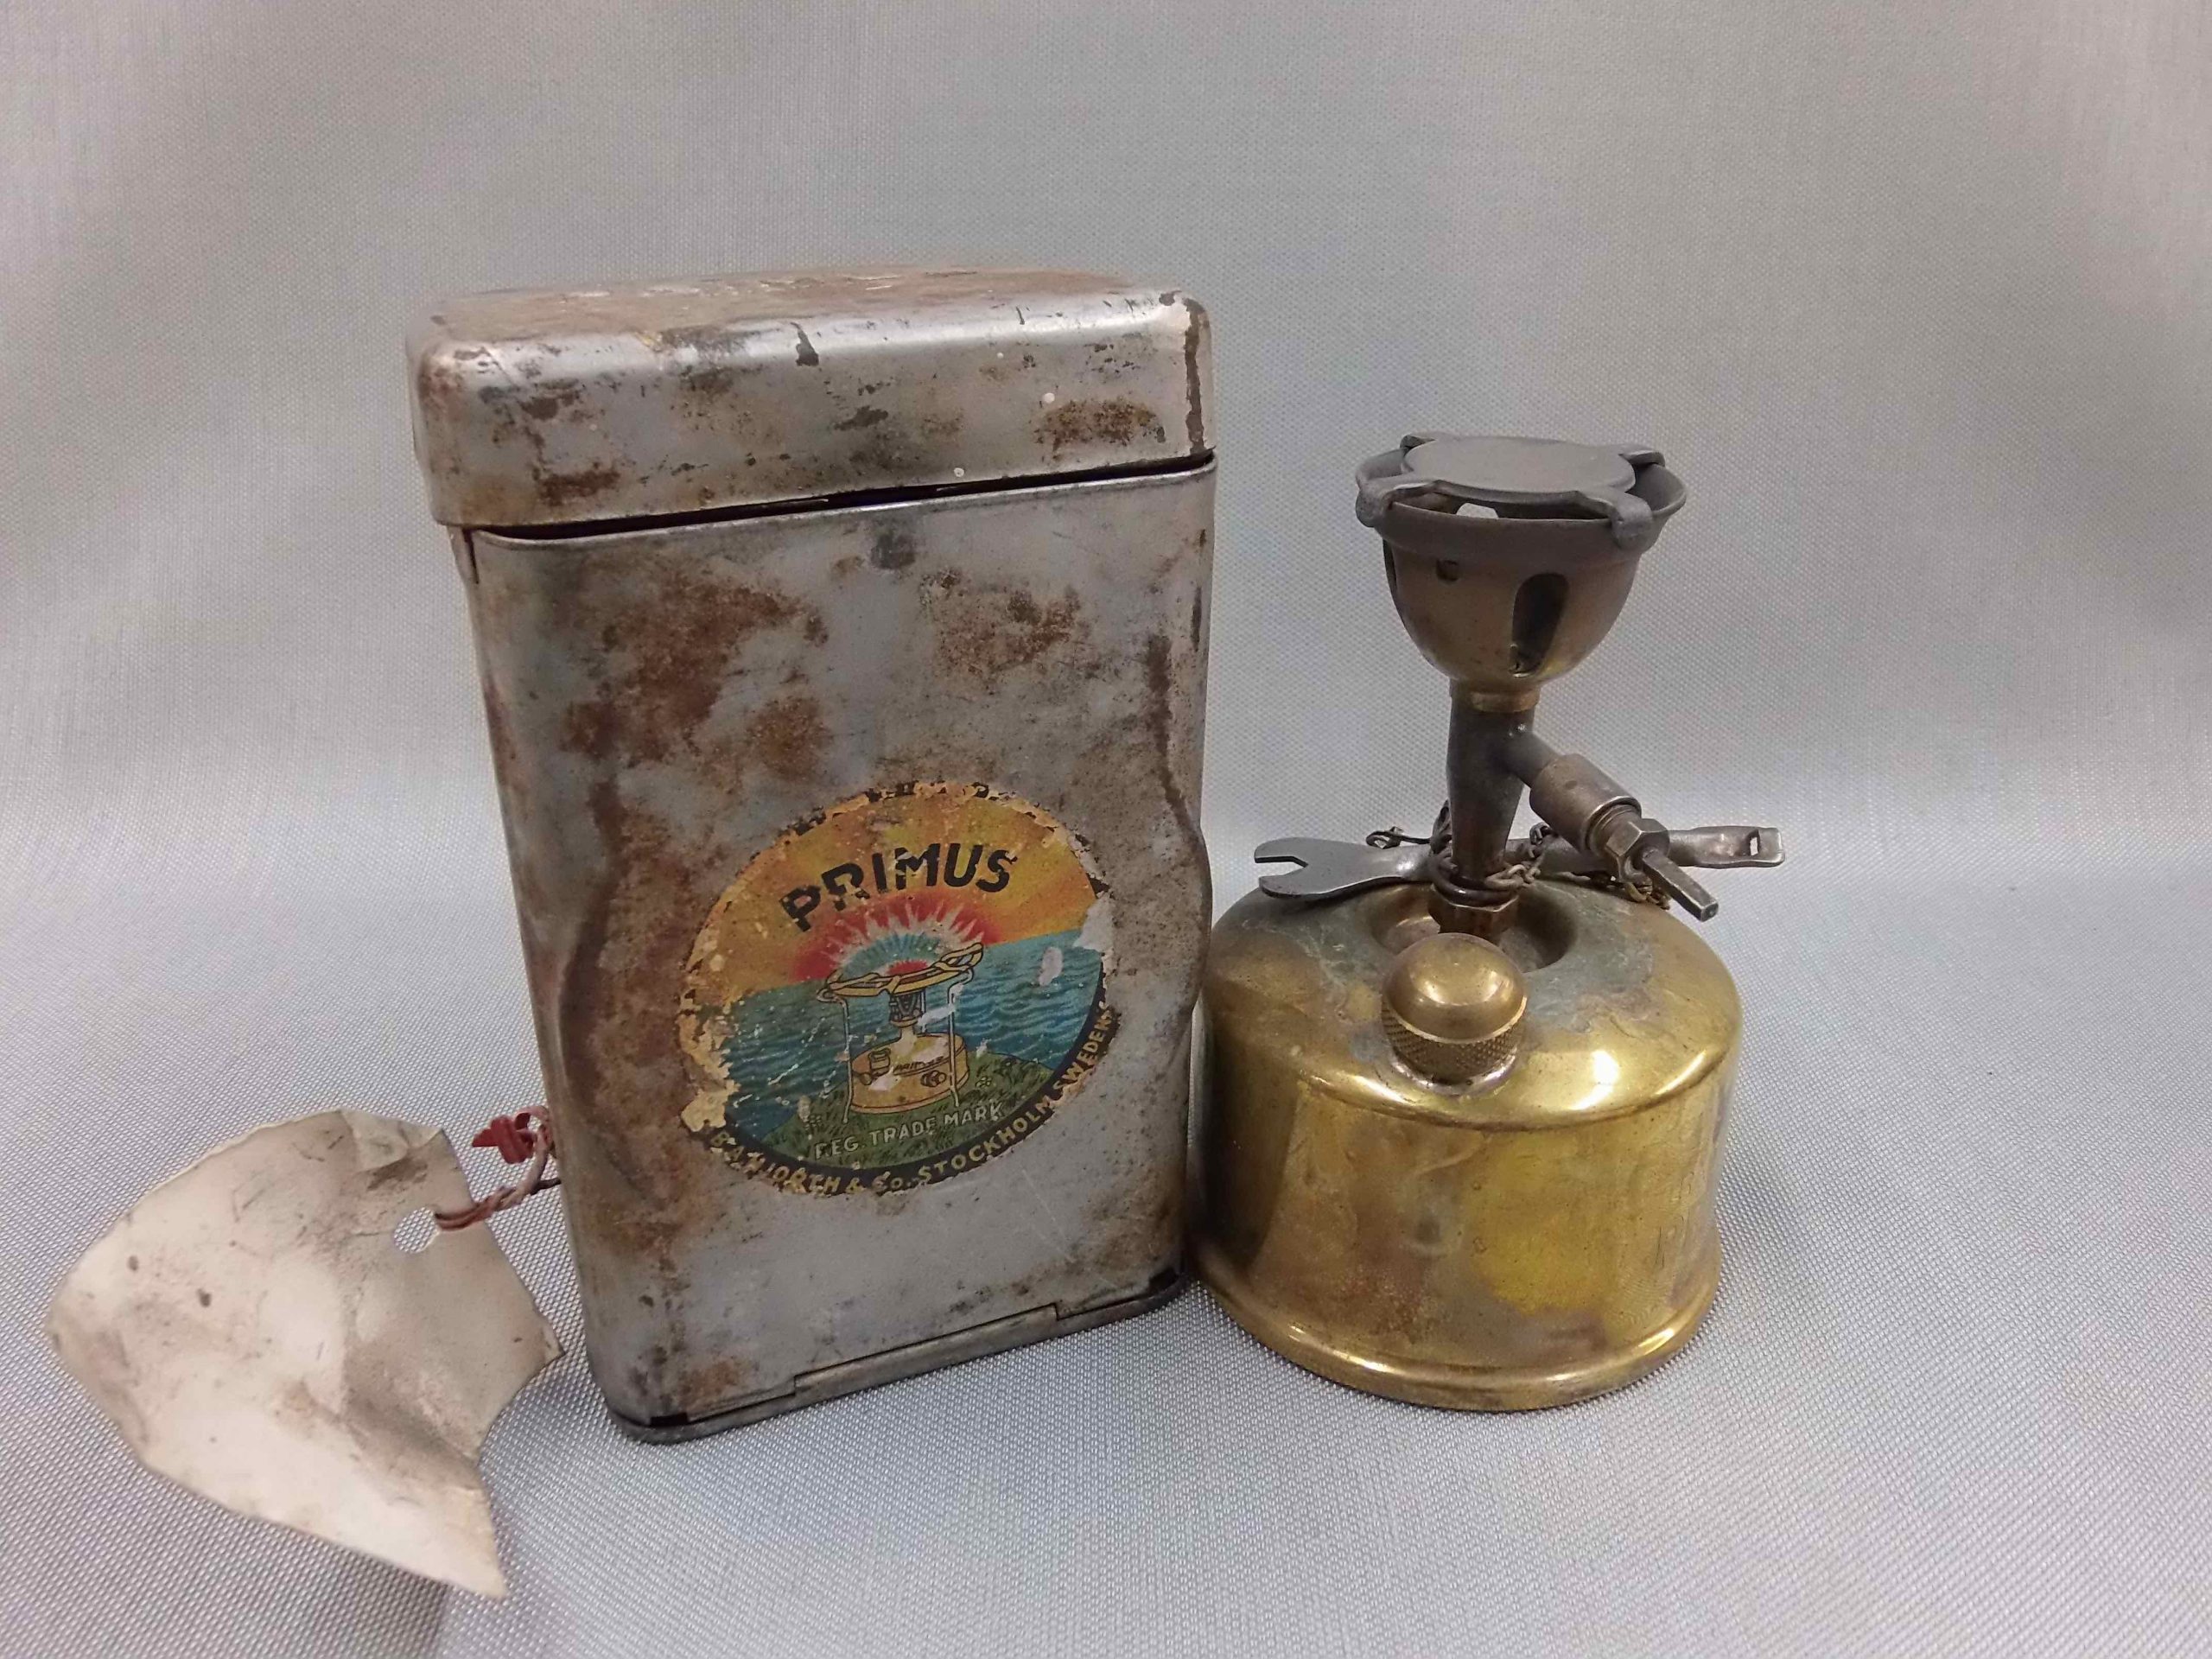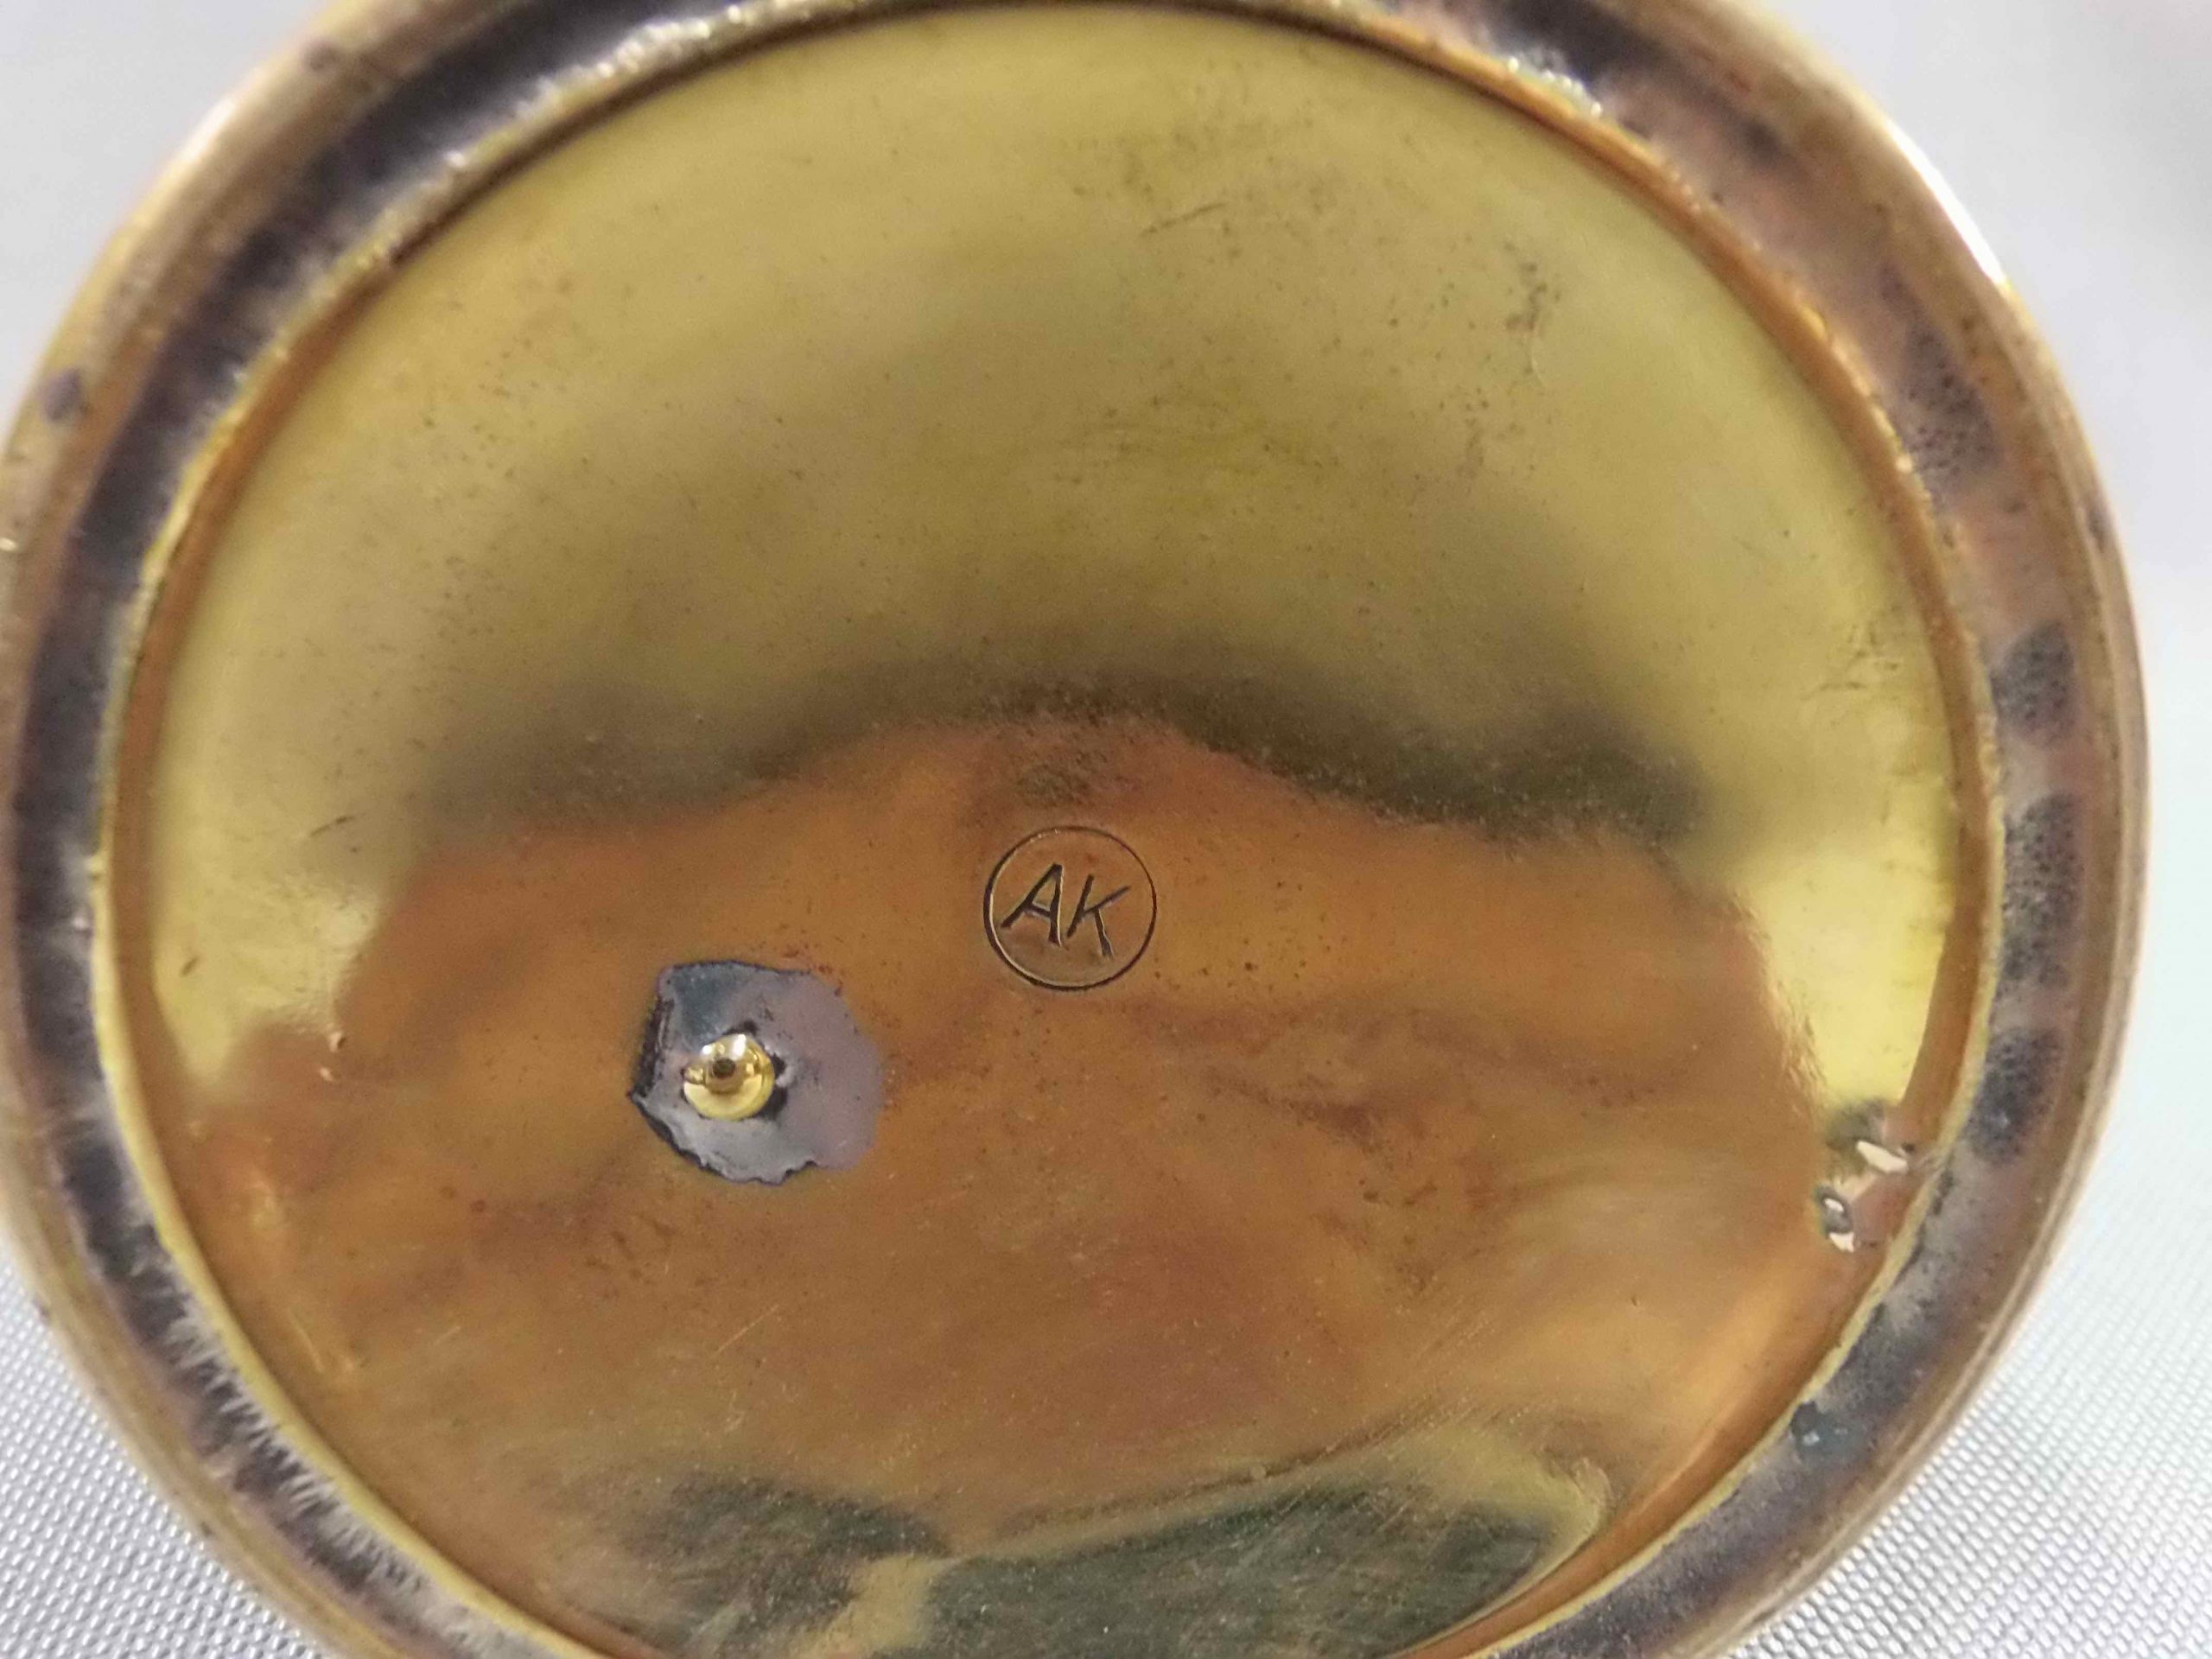
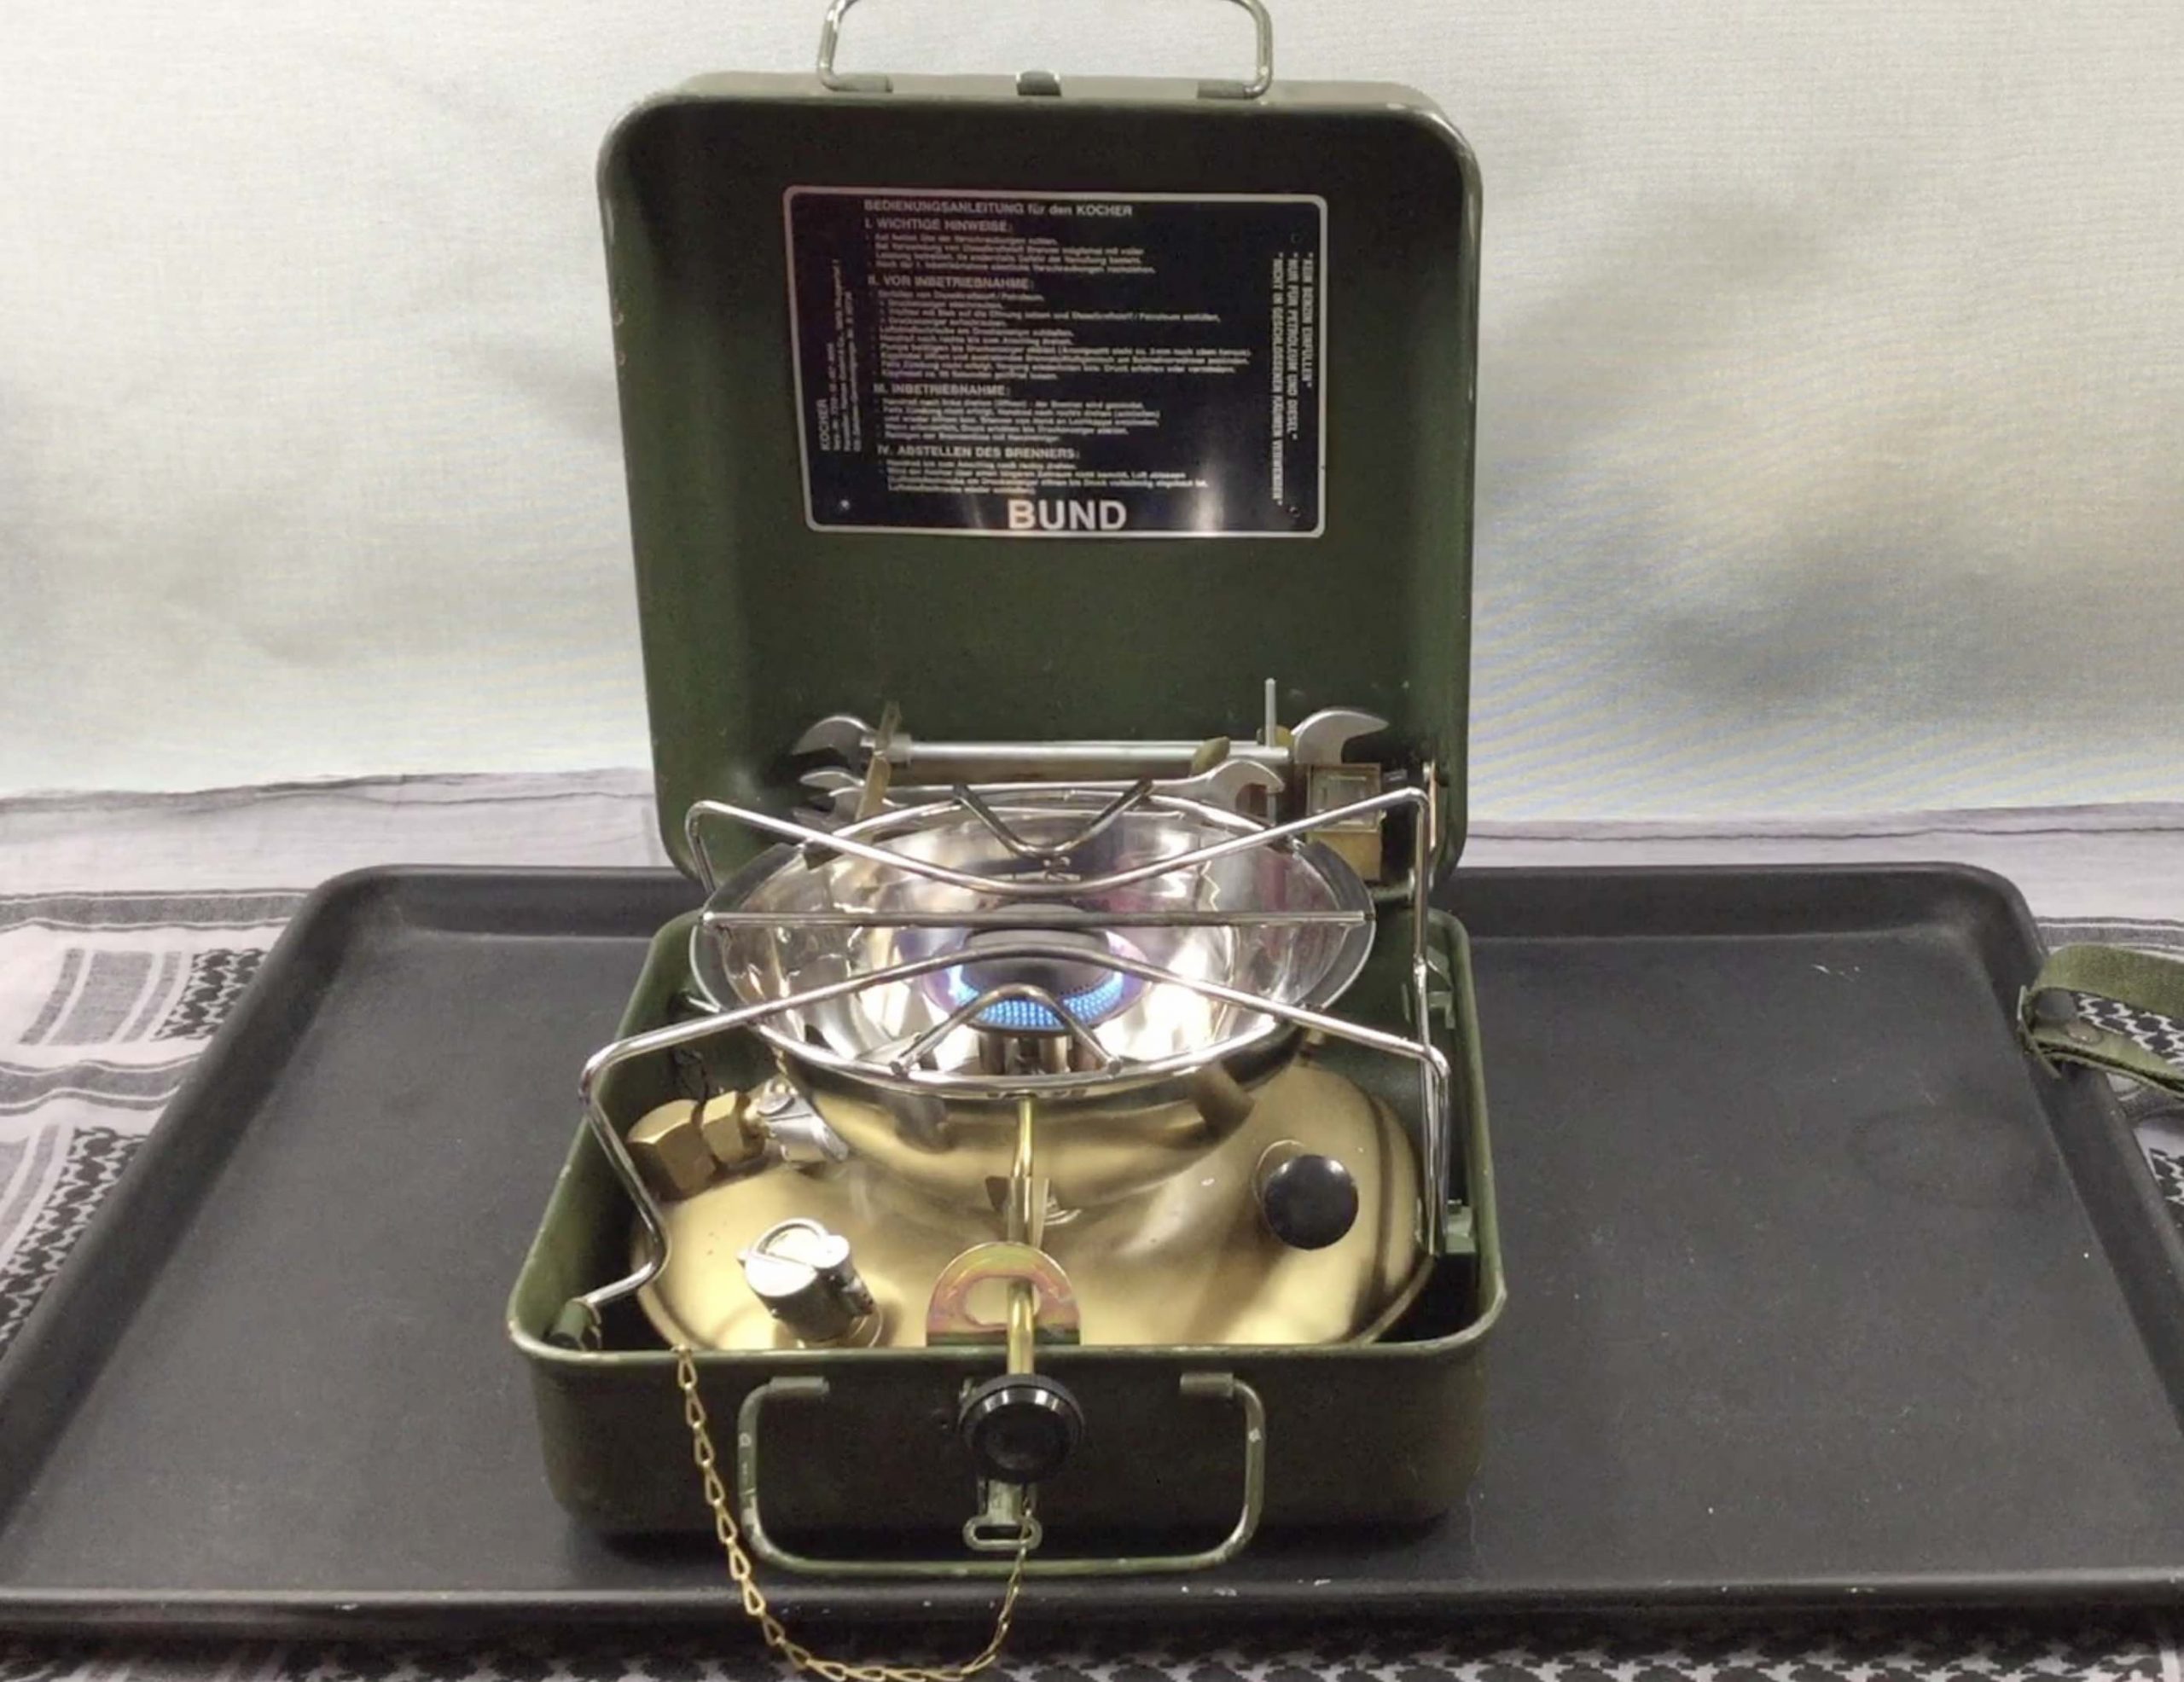
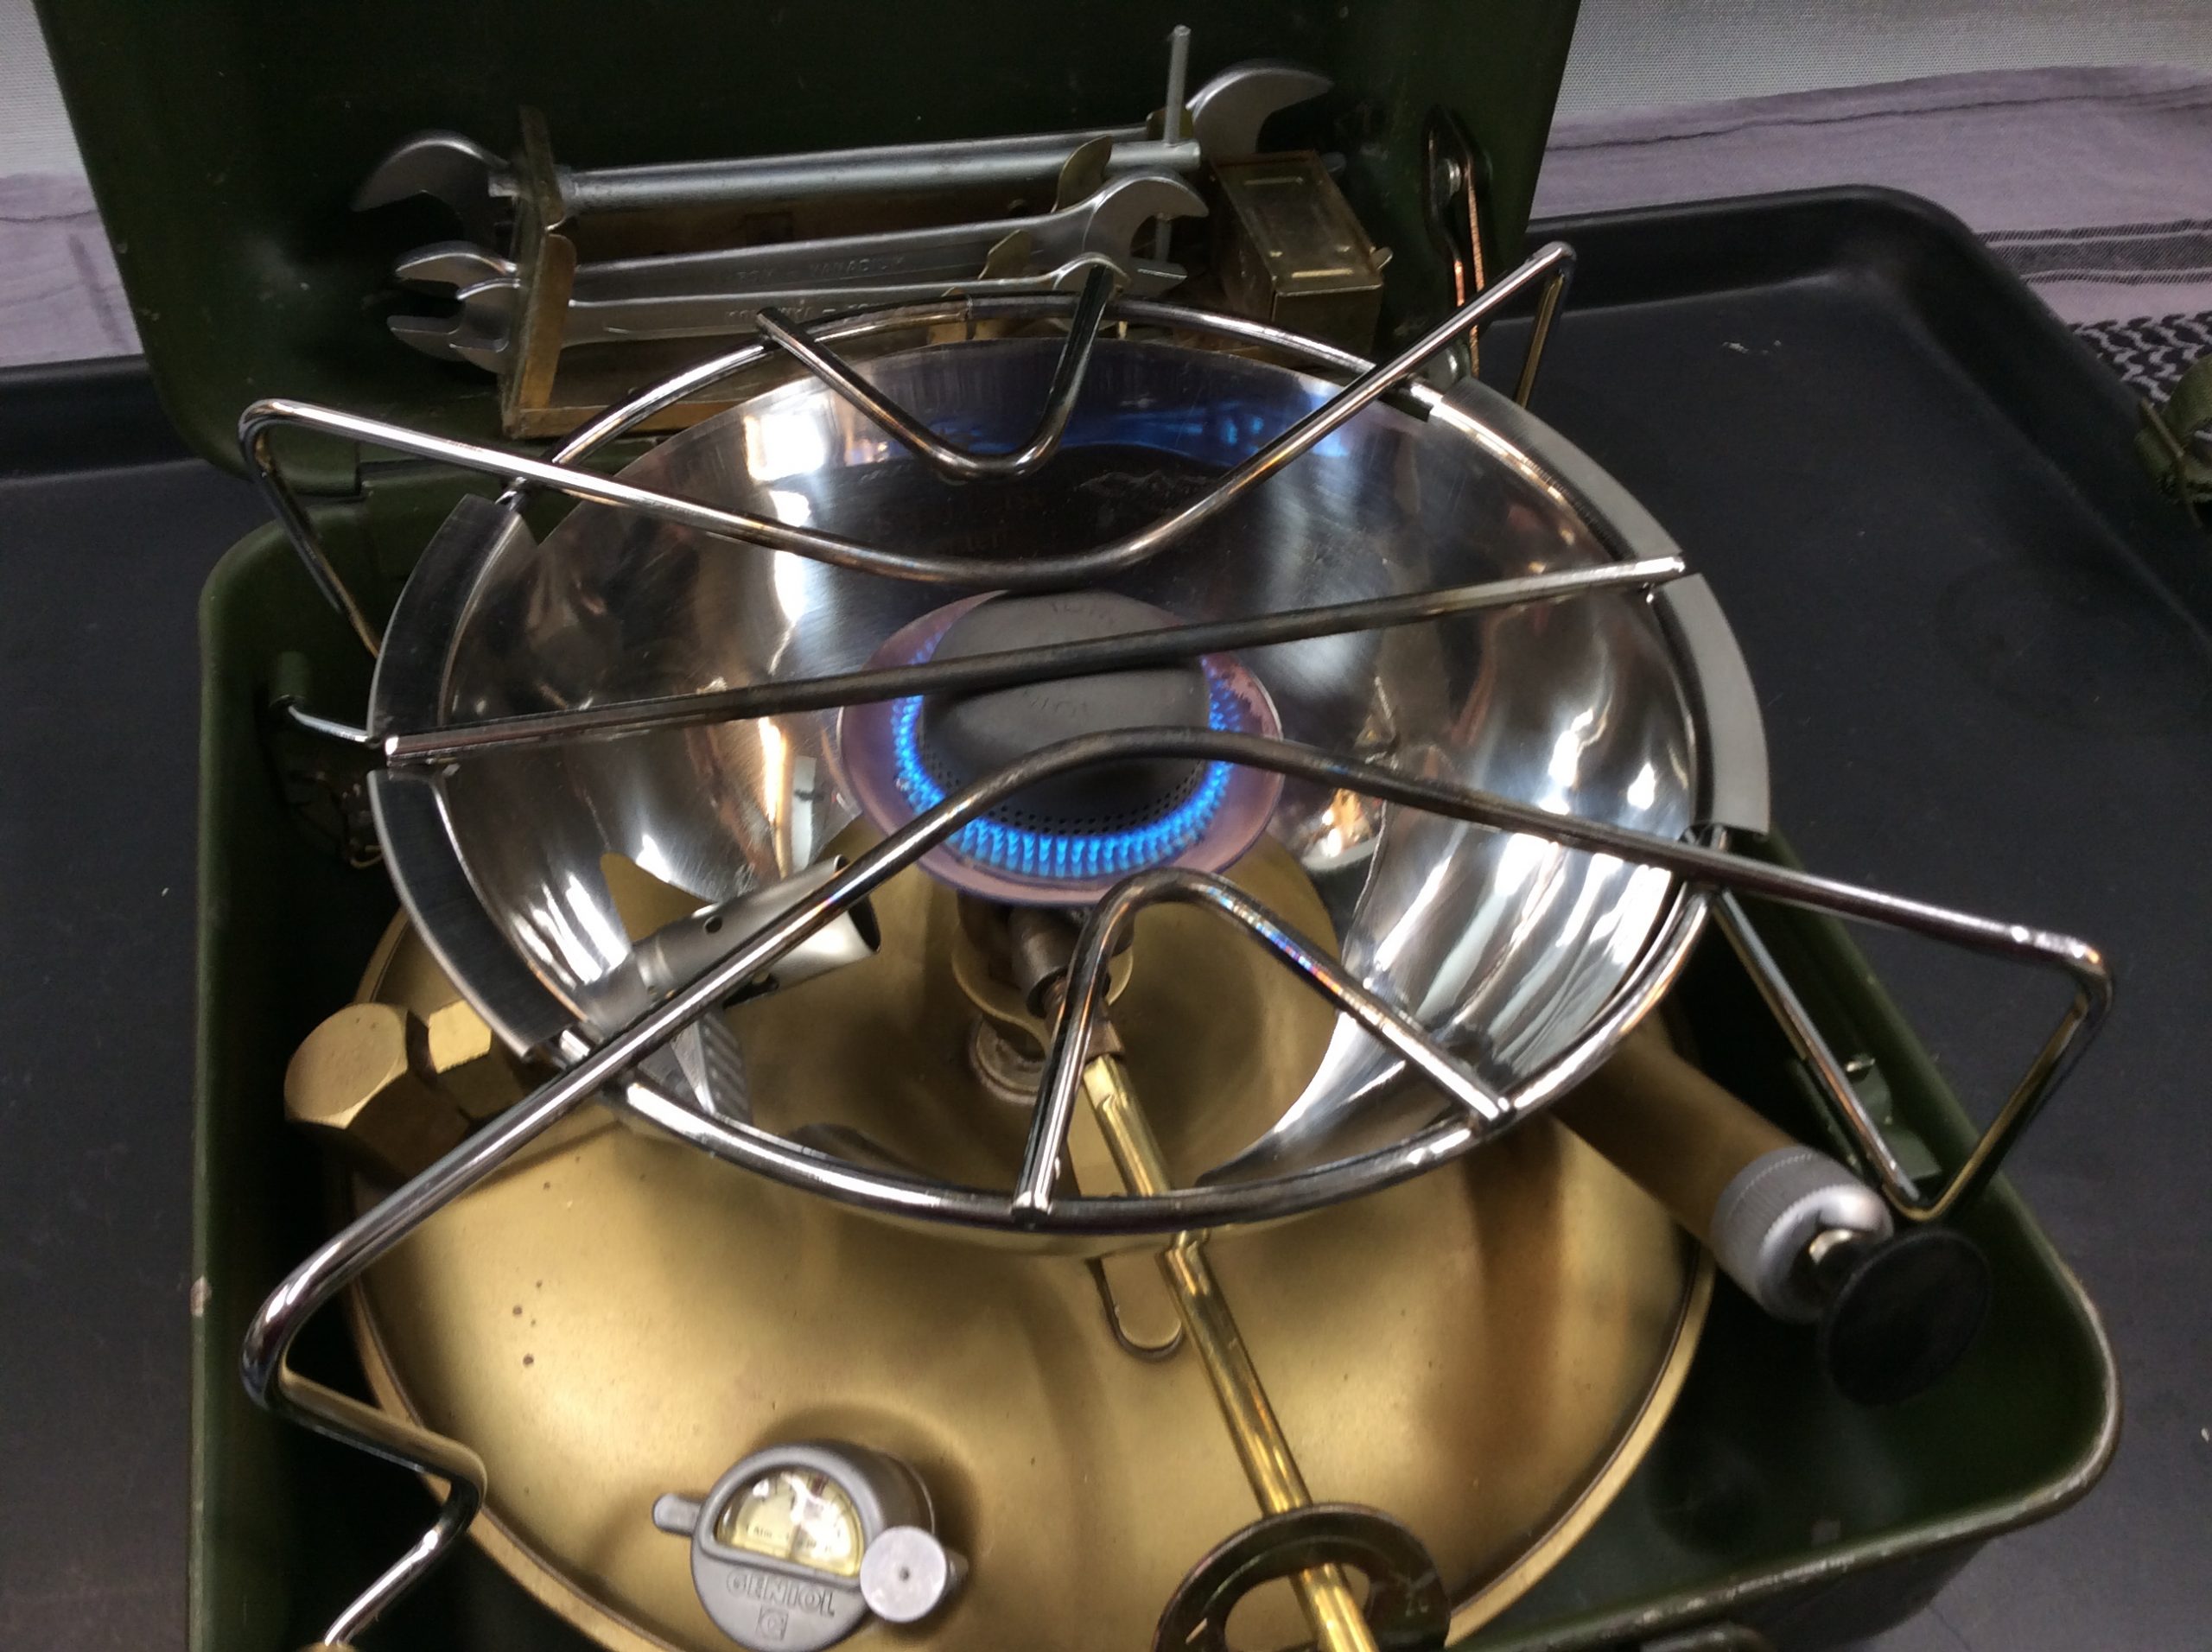
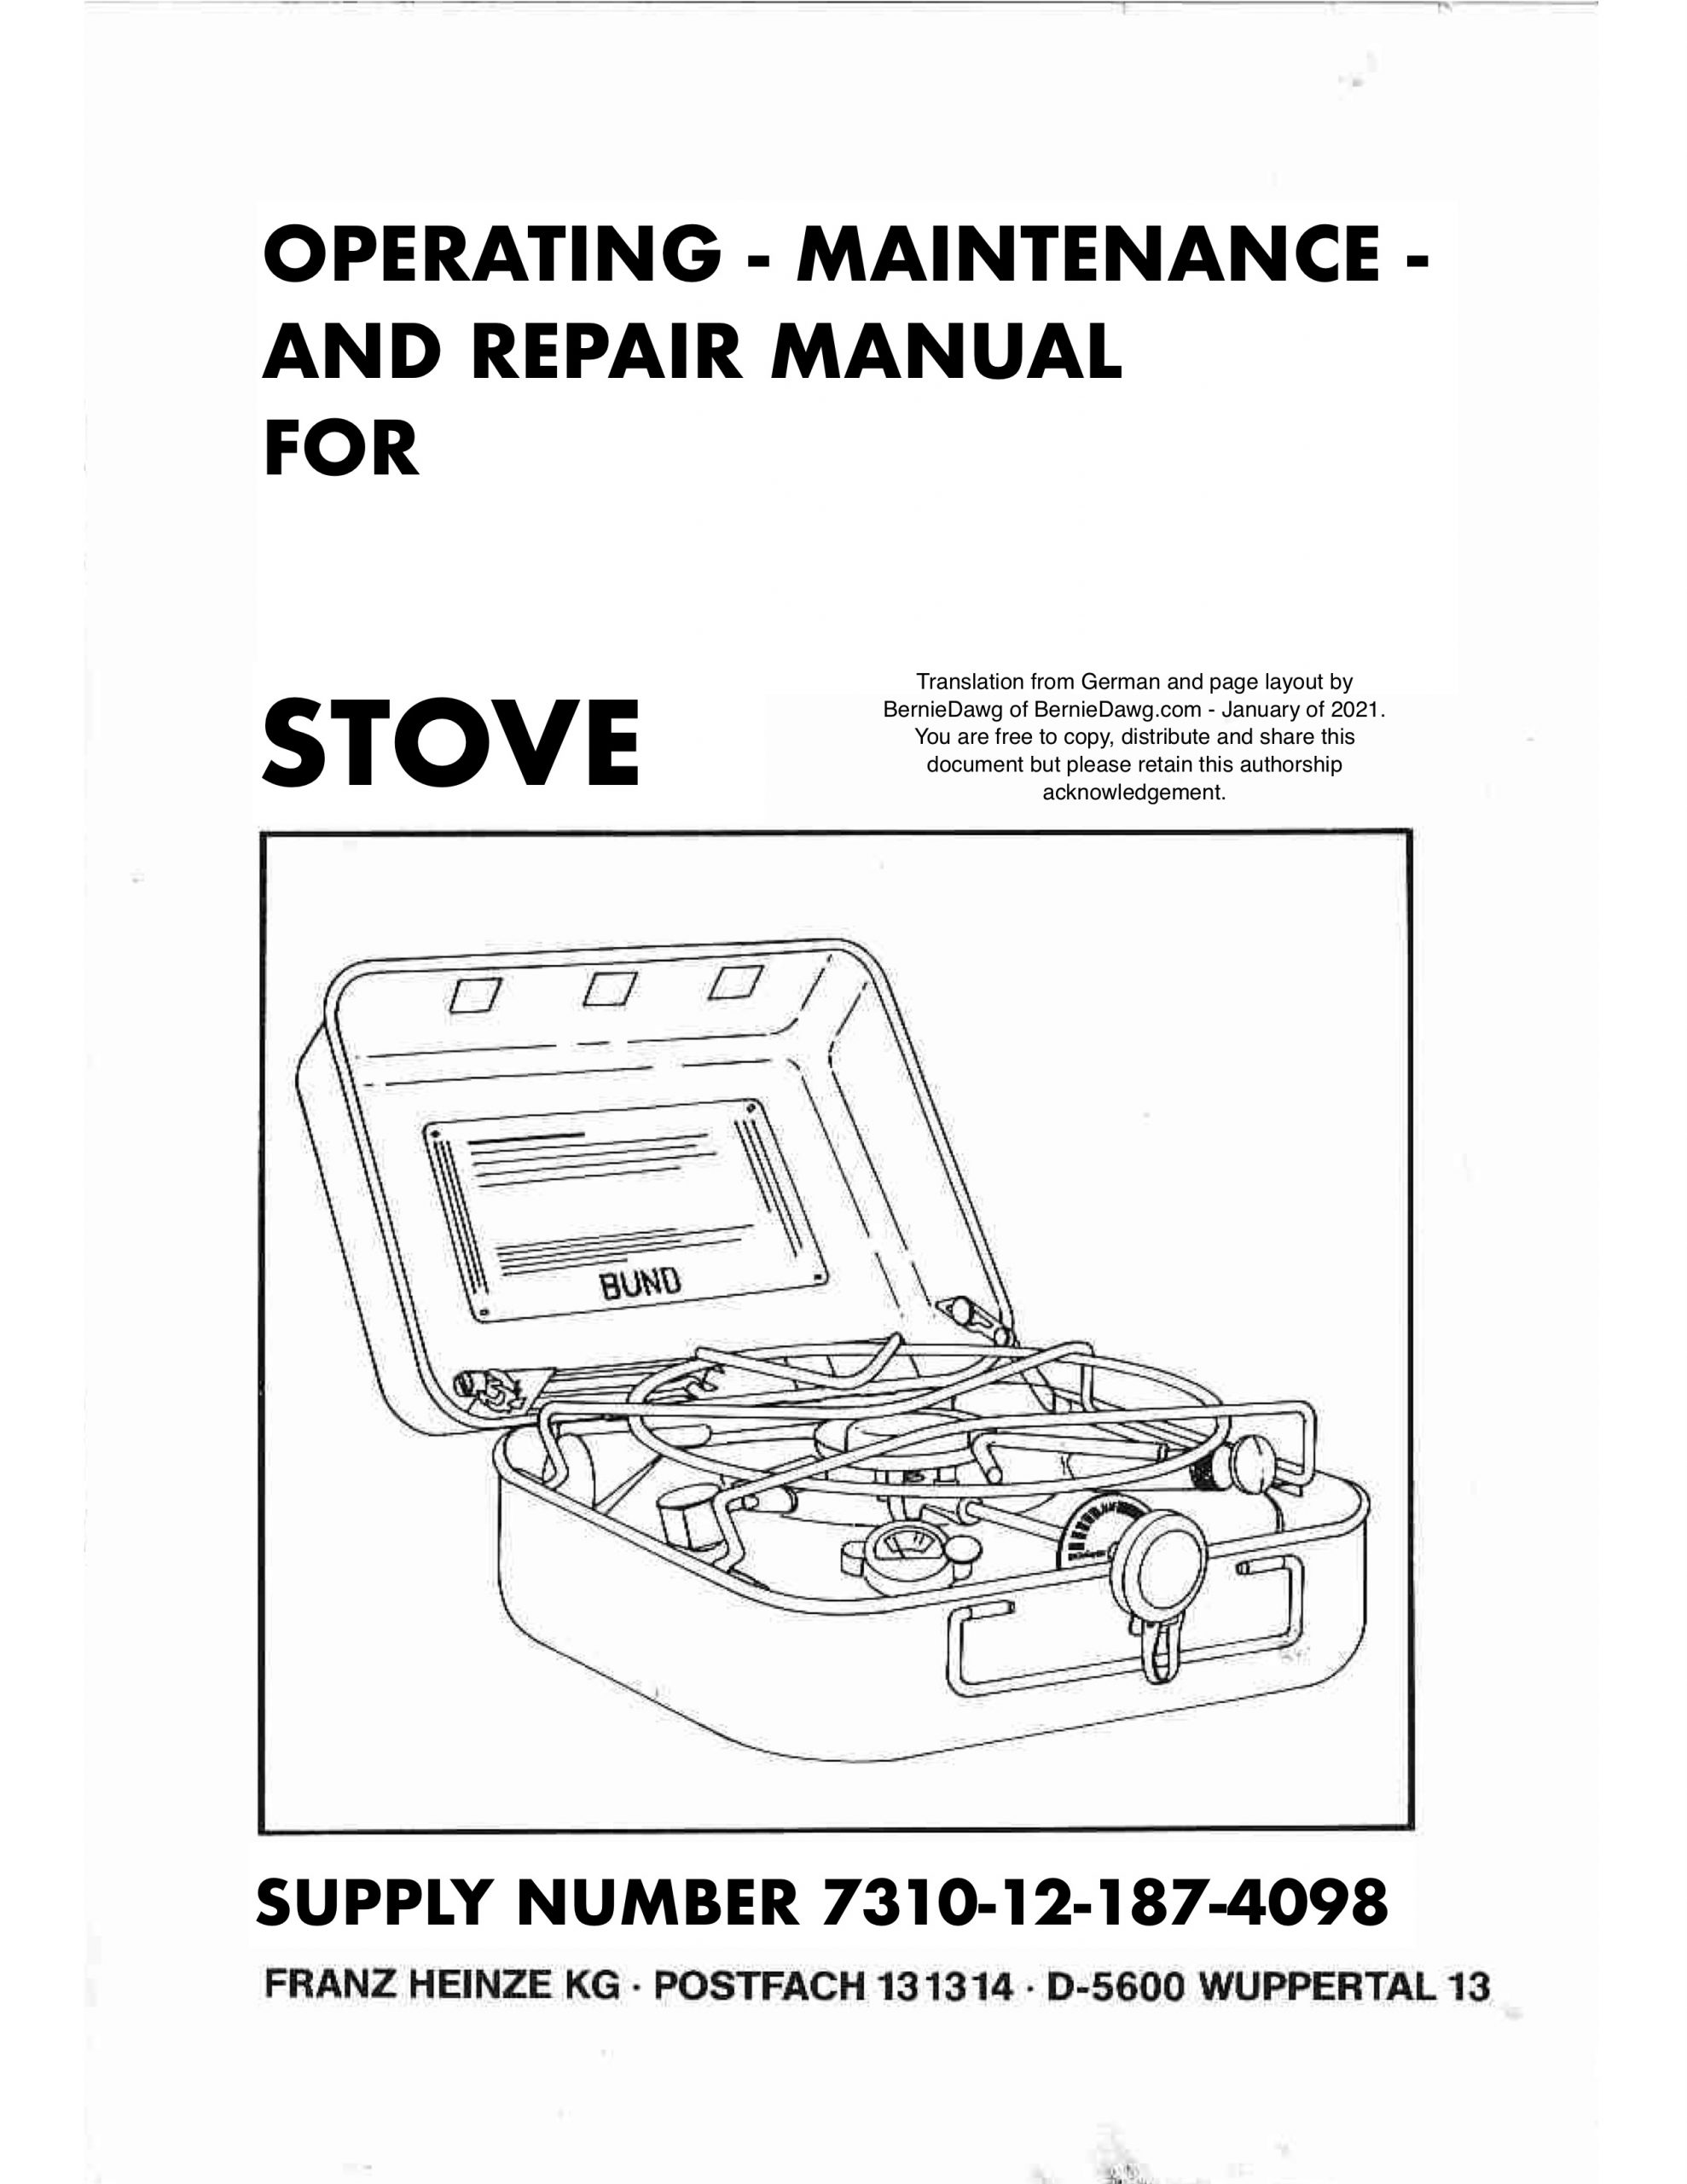
Down below I have some English translations of the Heinze Geniol German Army Stove manuals and box lid placard. Here are some photos of the stove I’m talking about.
I have a short video at my YouTube channel showing how to light one up with the quick lighter device: https://youtu.be/TEYuNicFRWE
The video has some links to both the storage bag and the windshield I show with the stove.
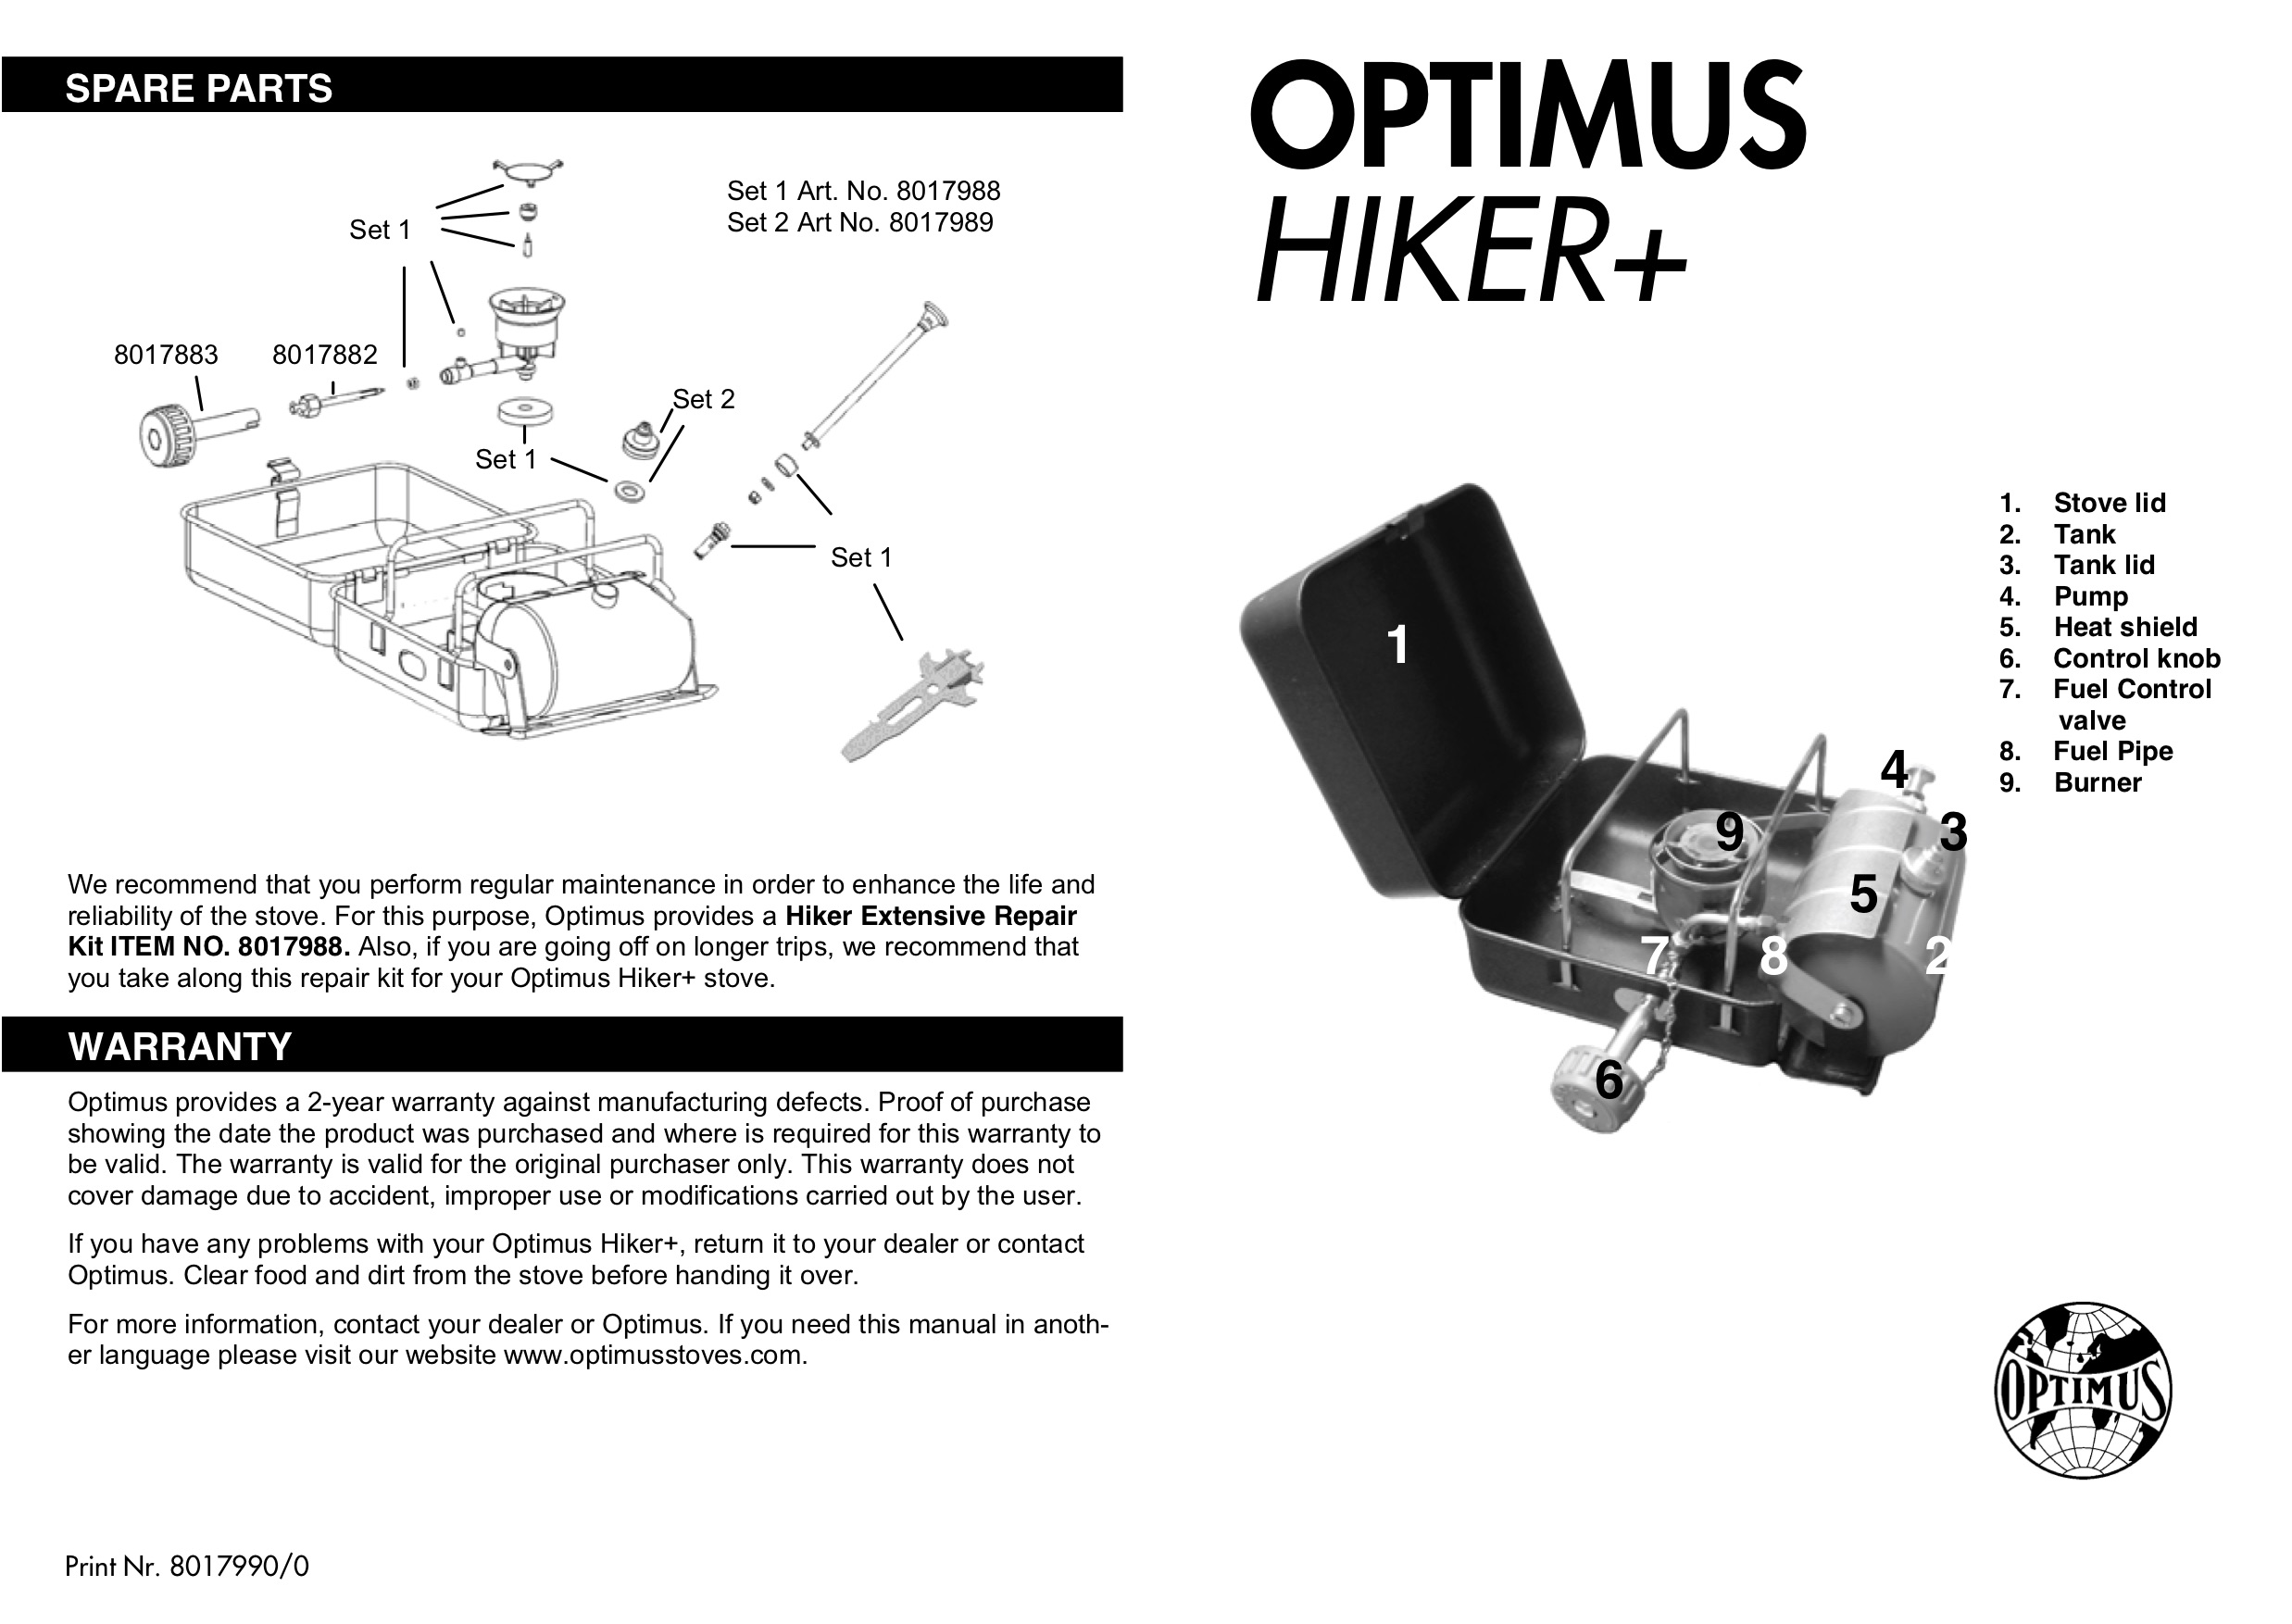
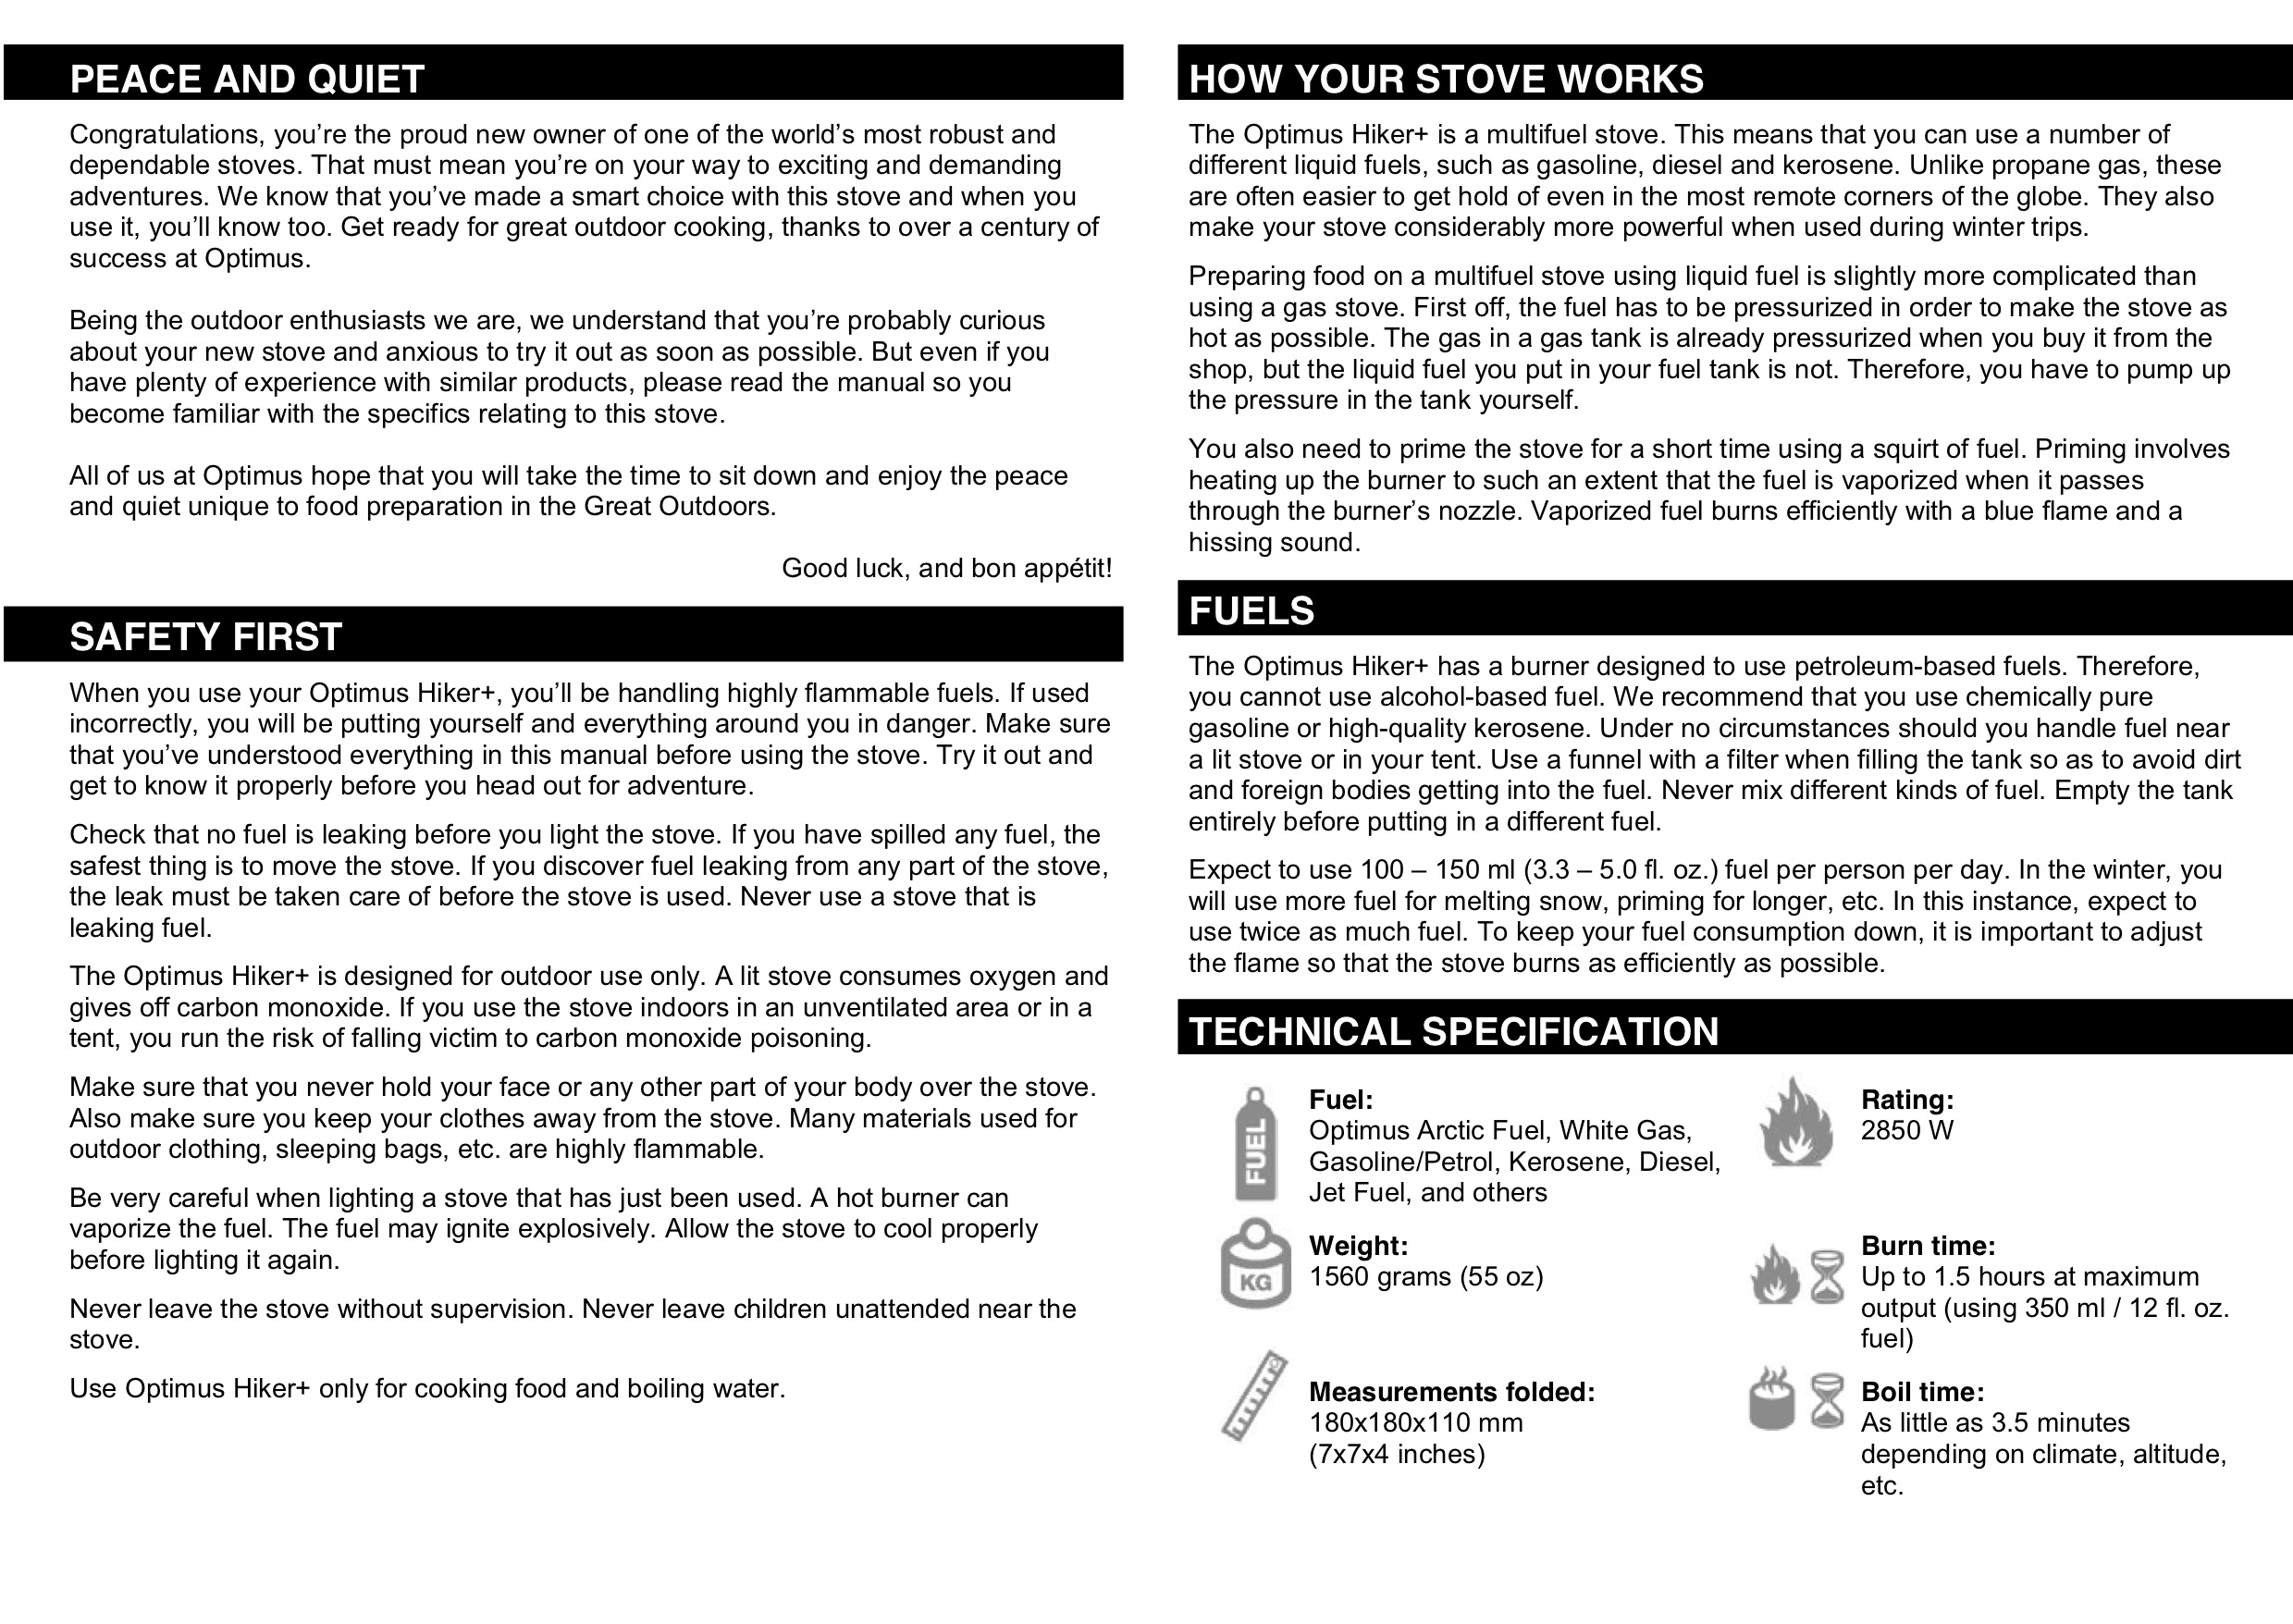
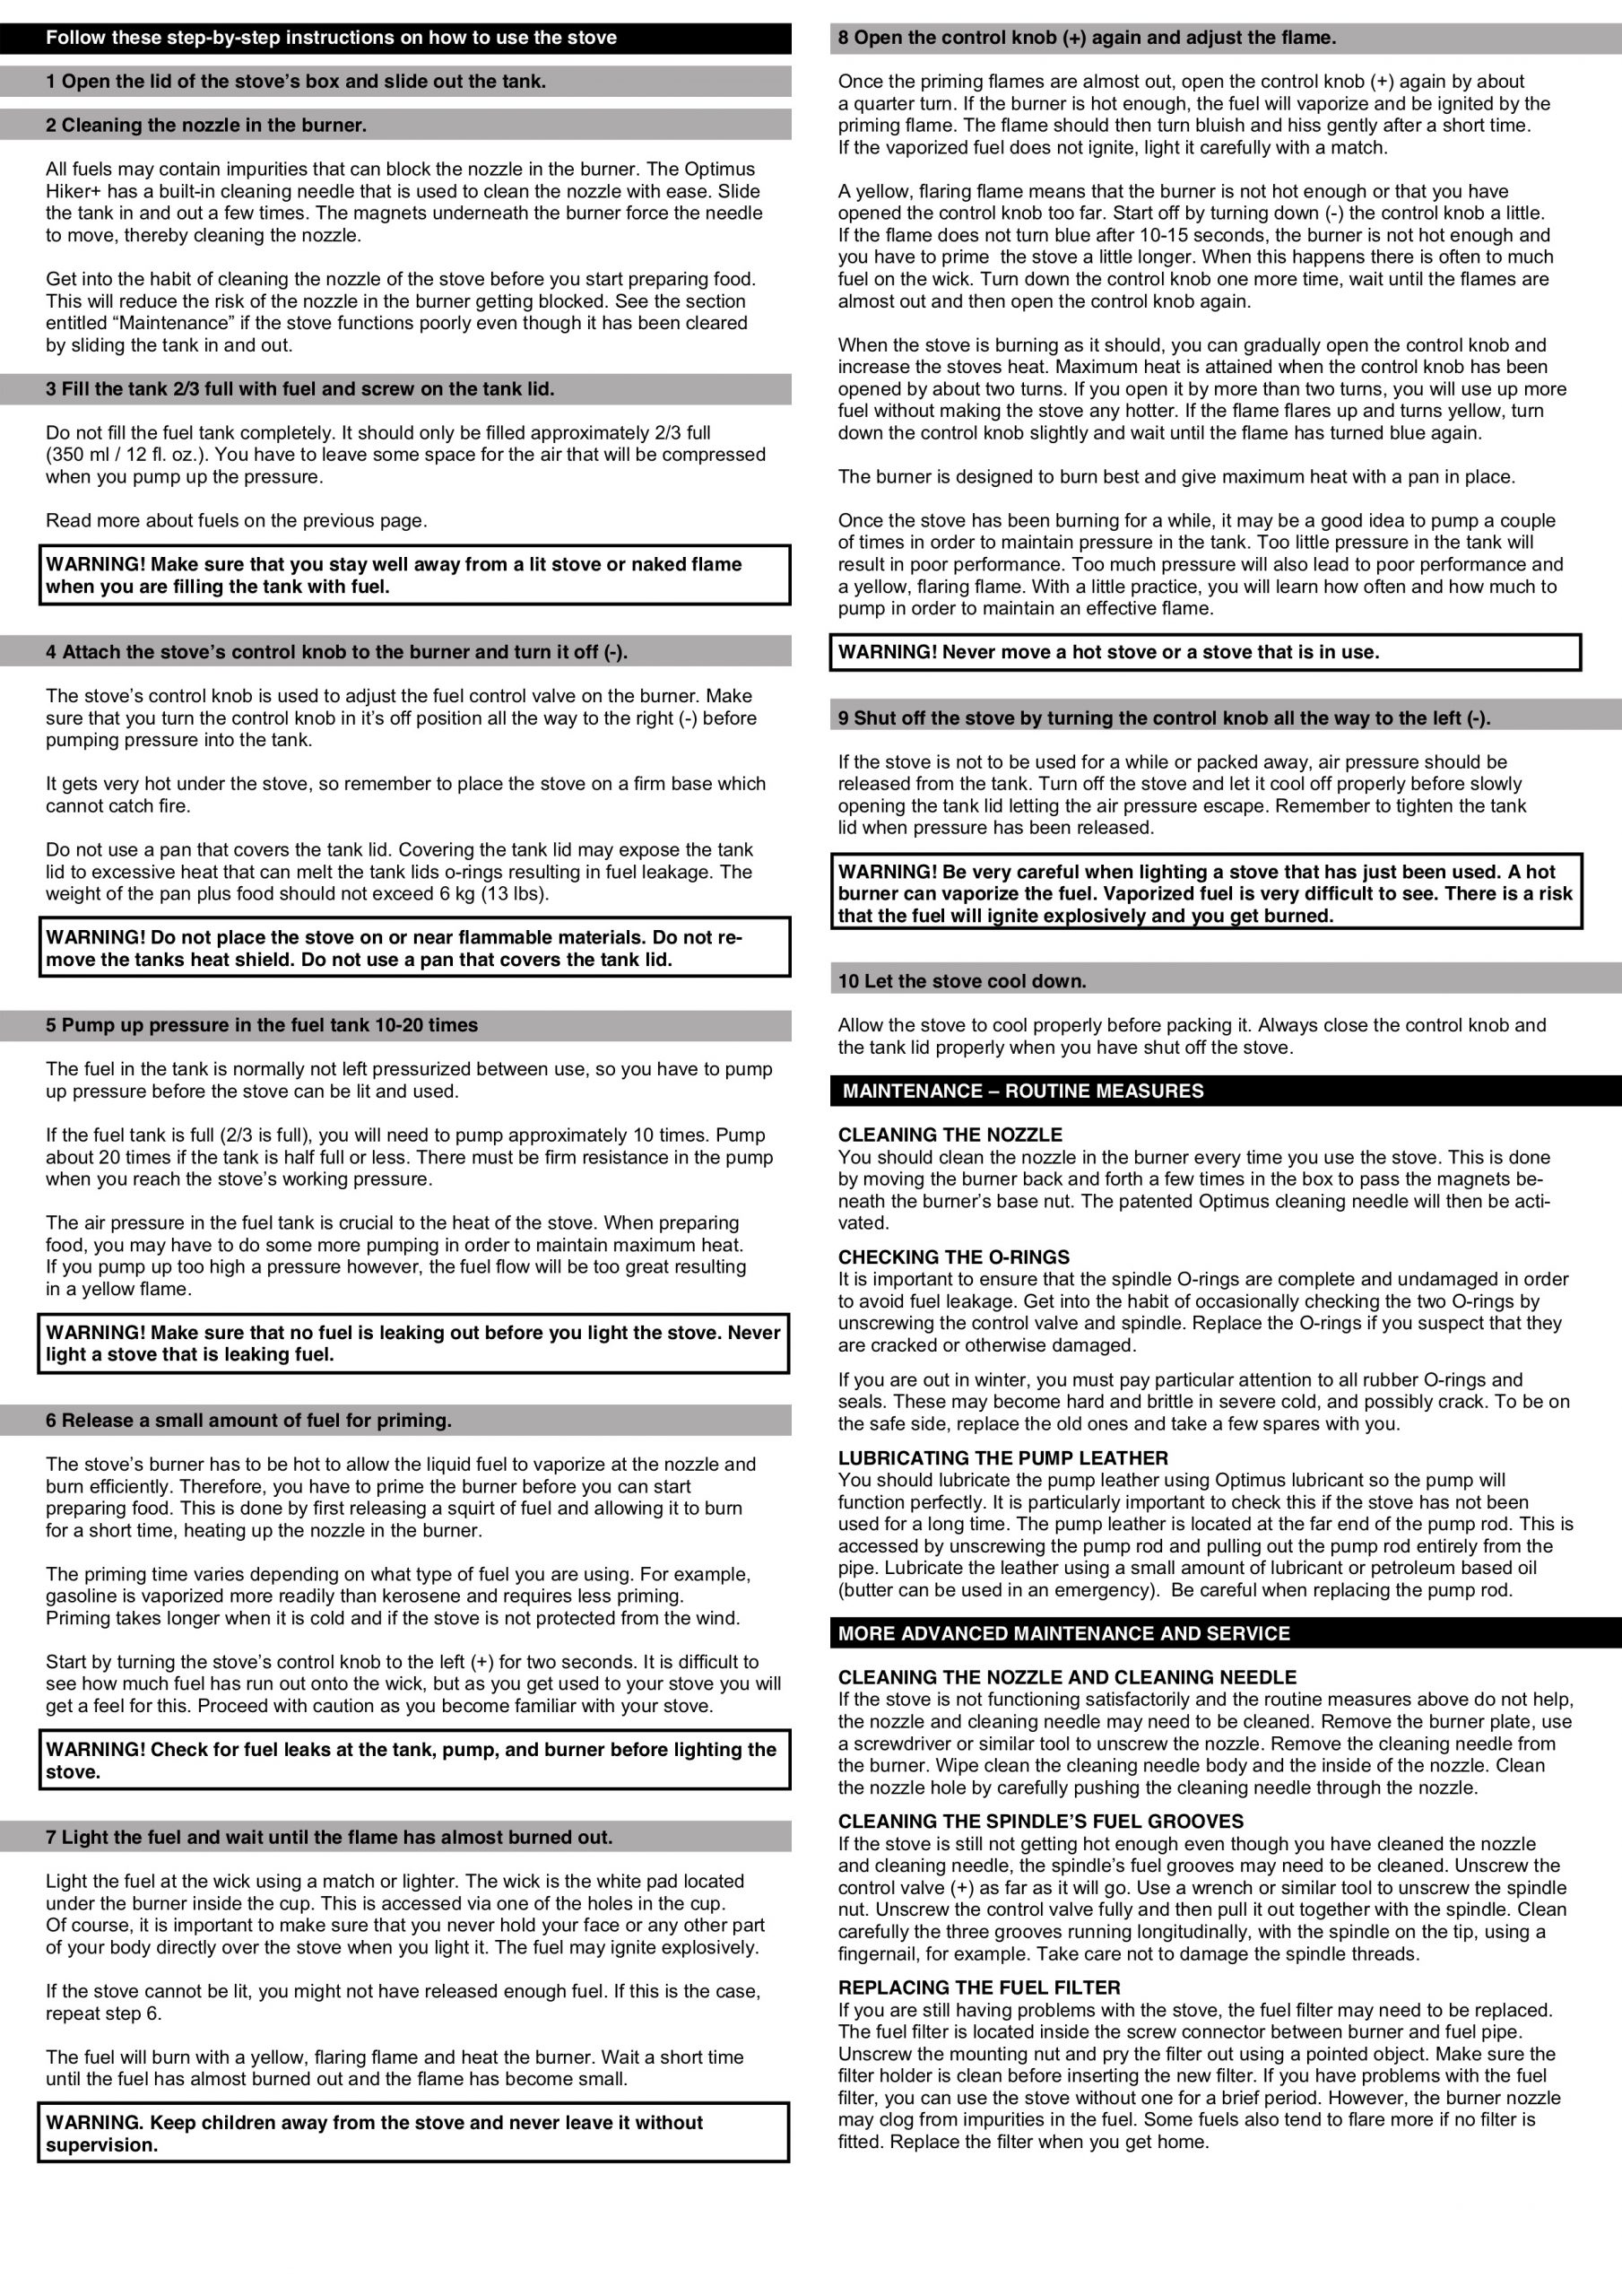
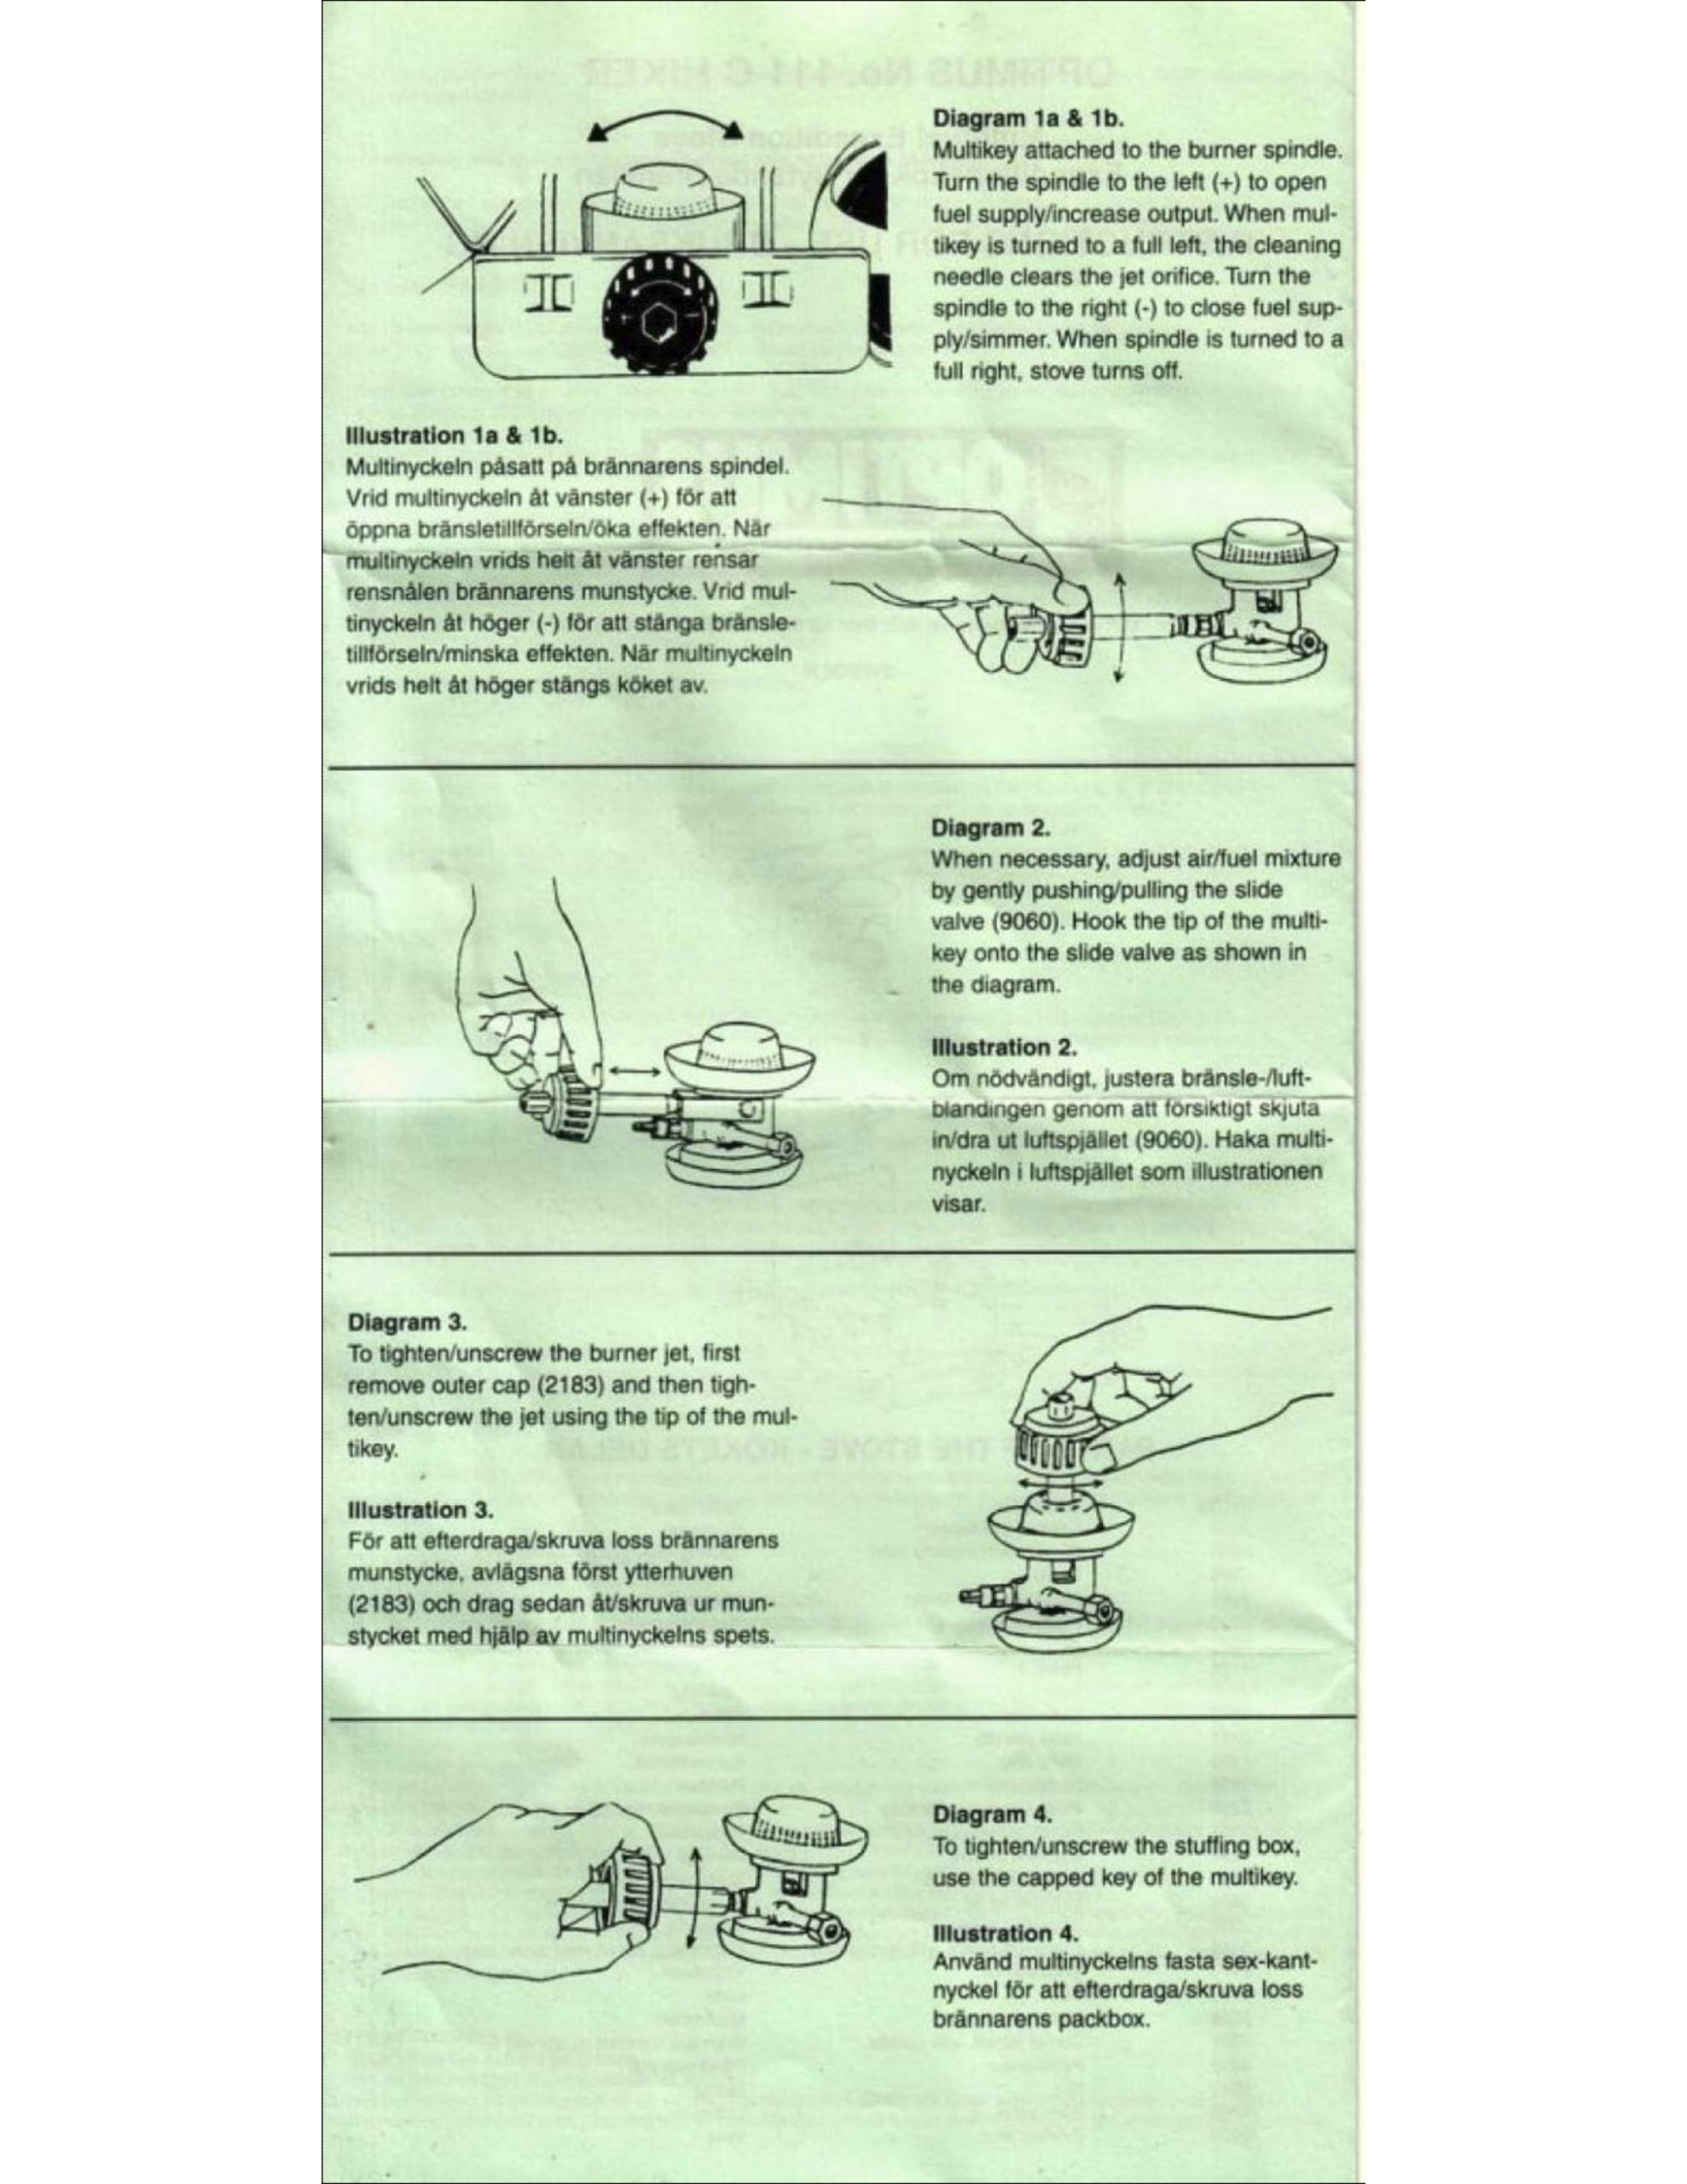
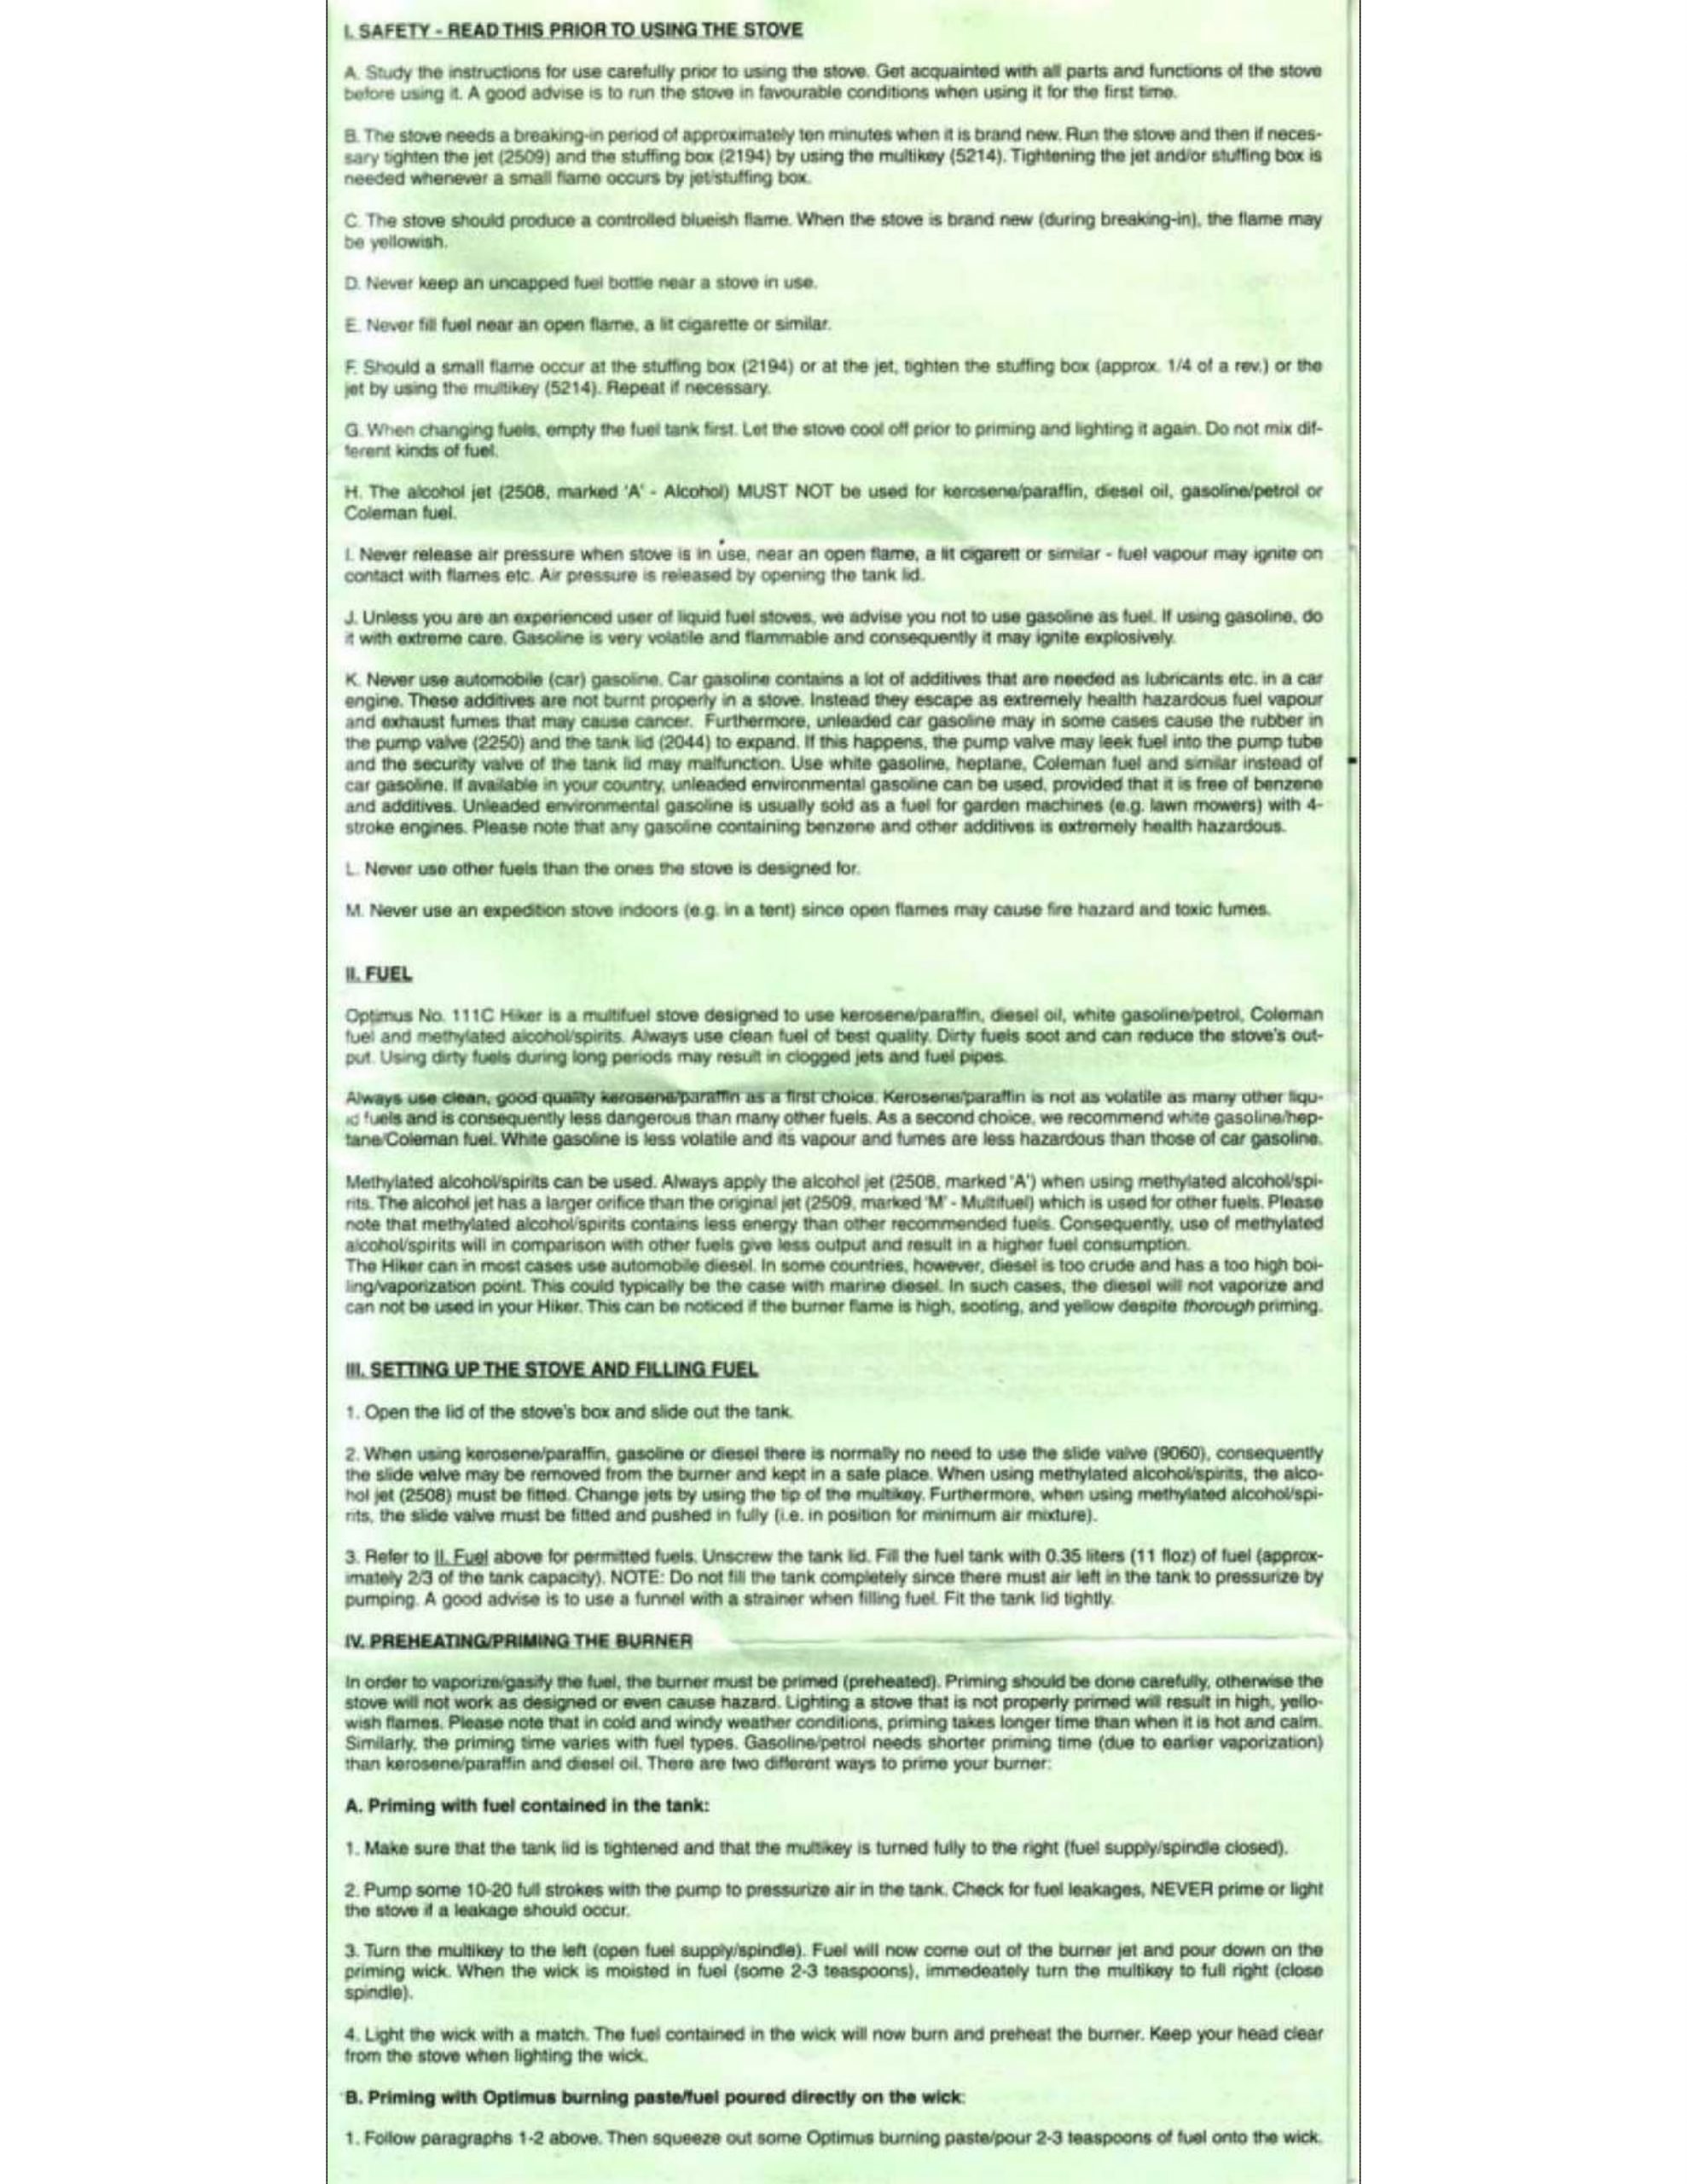
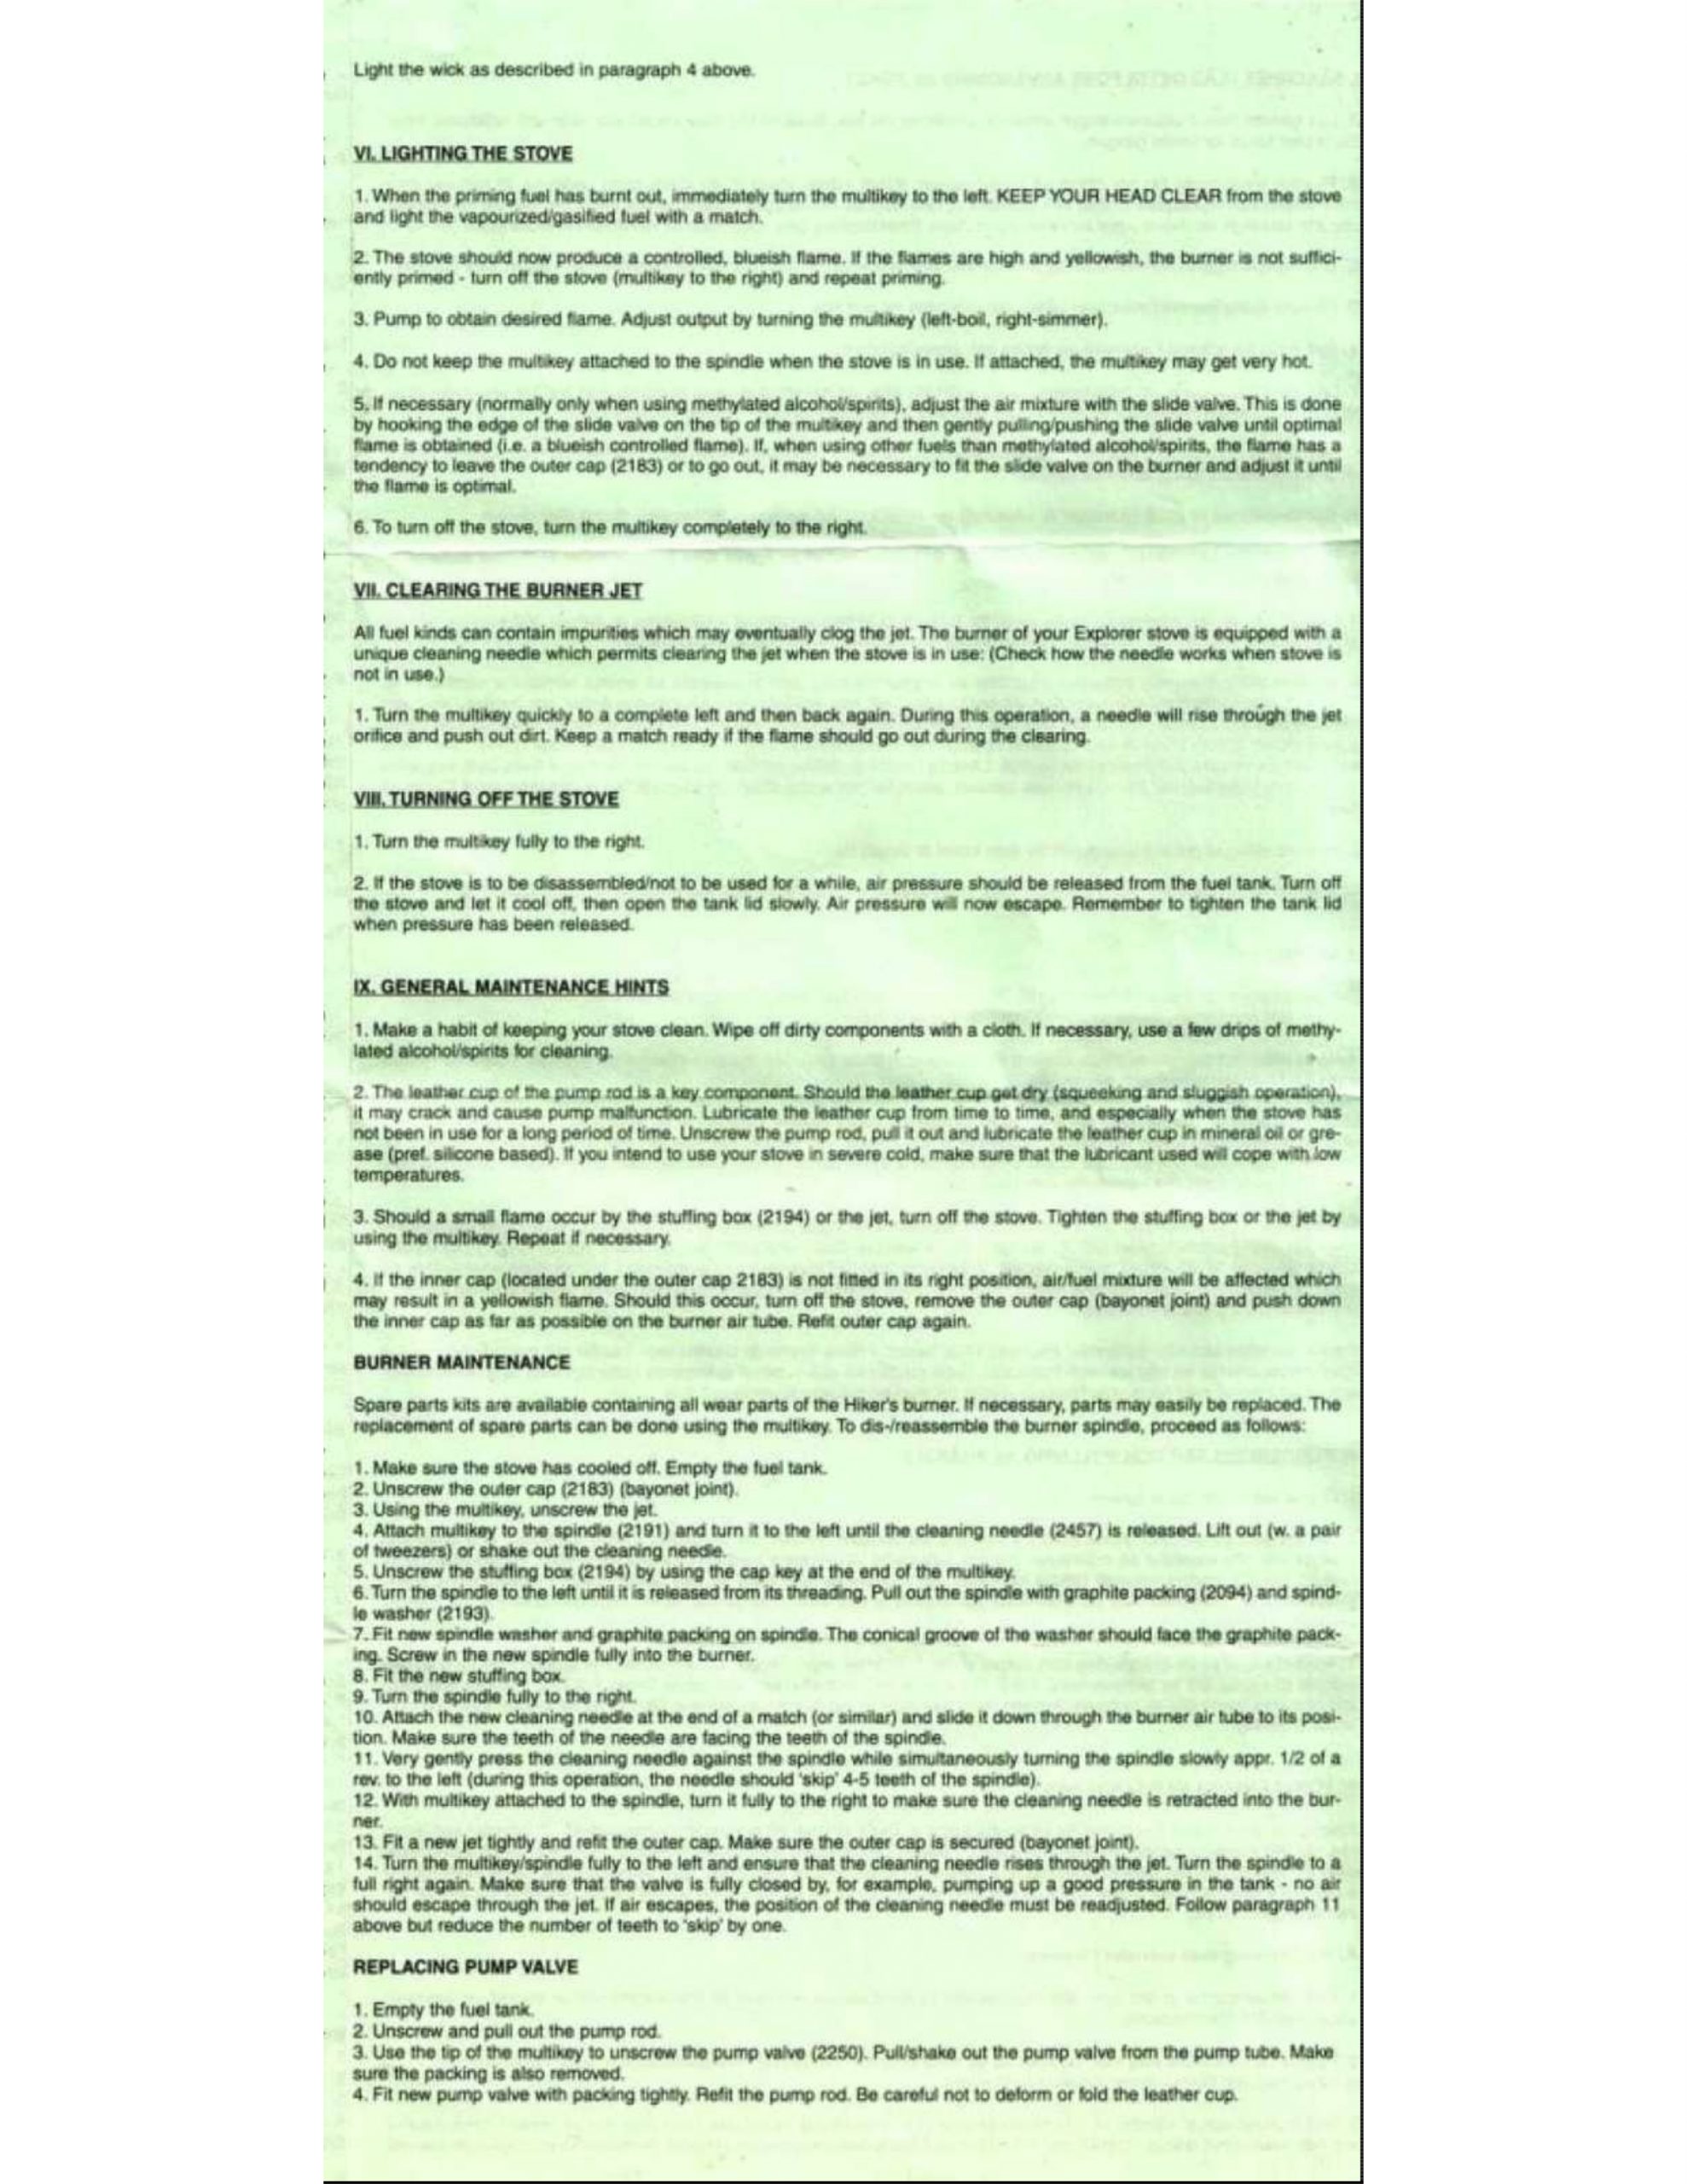
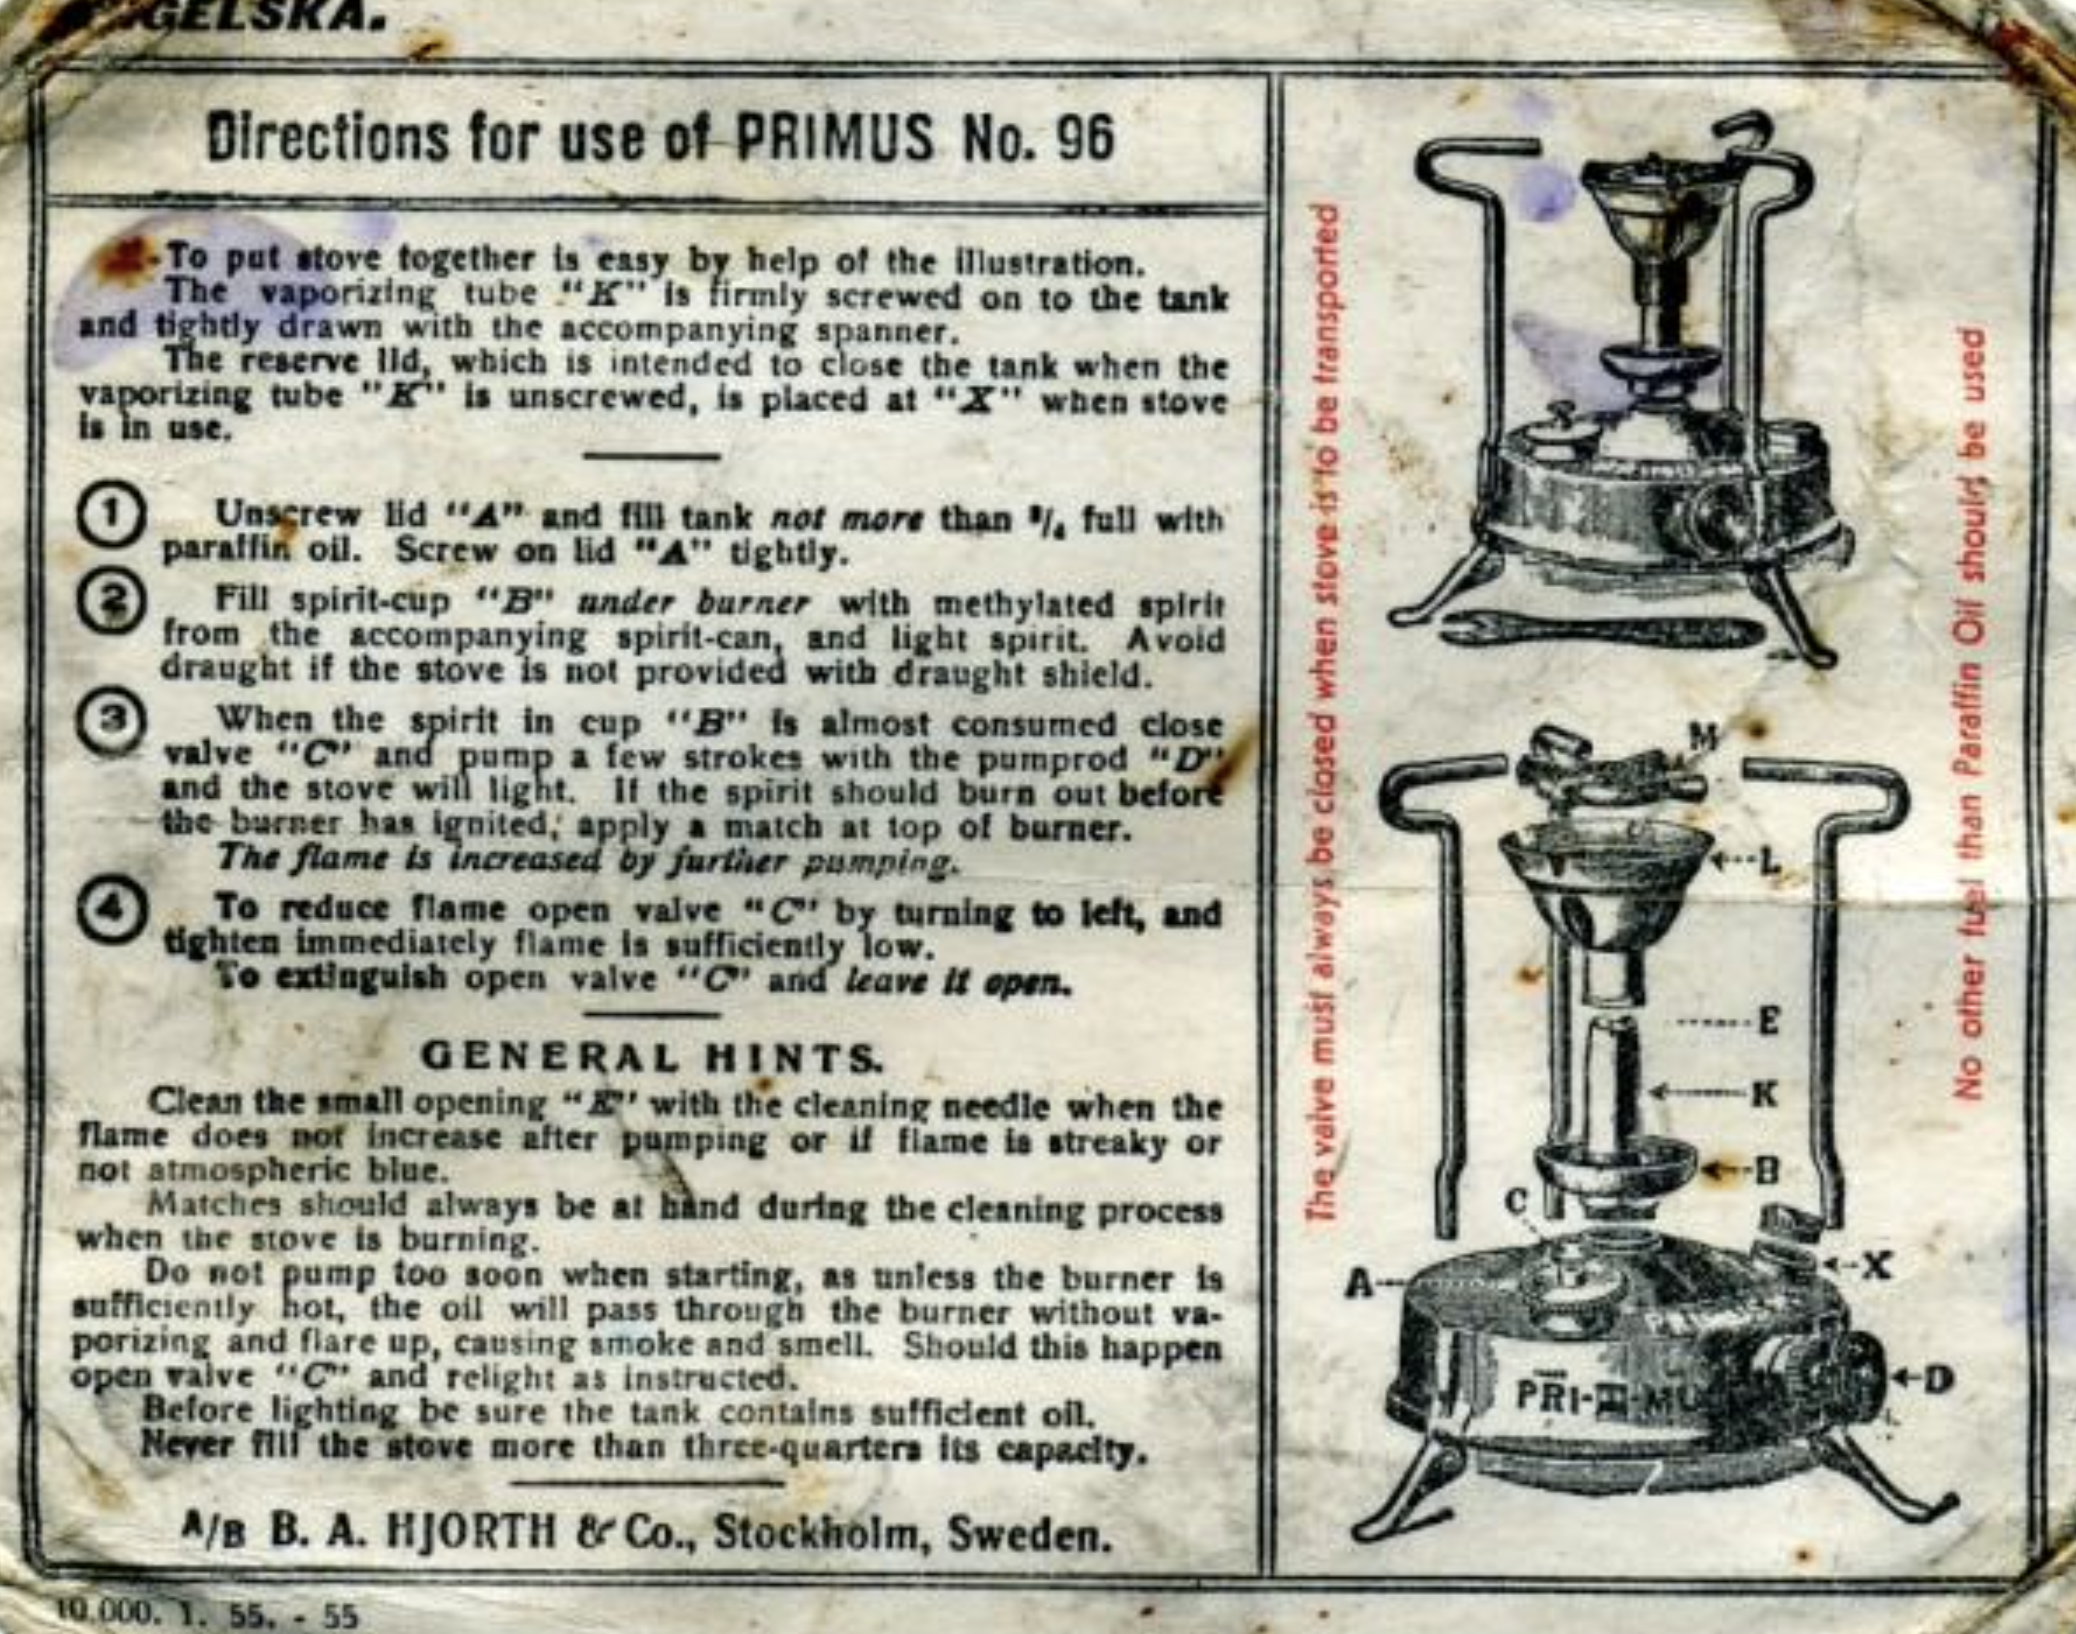
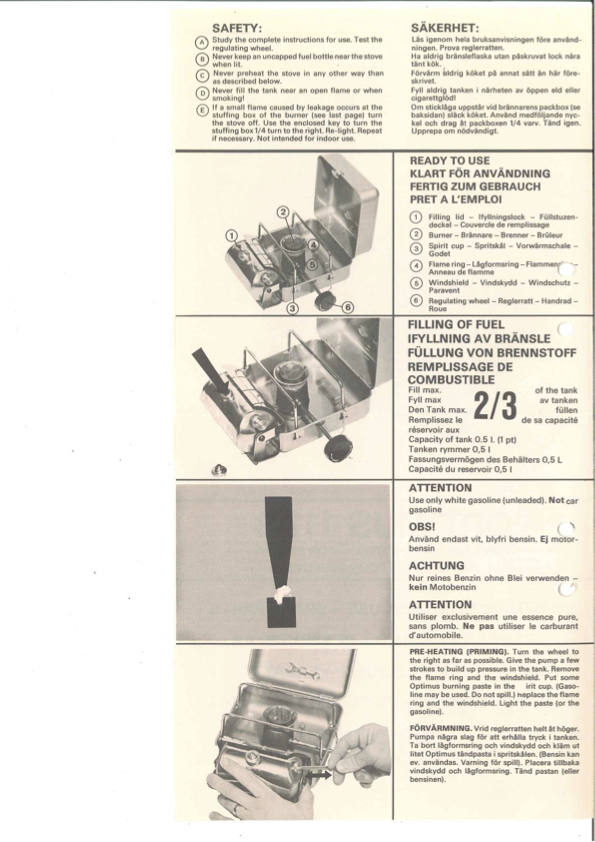
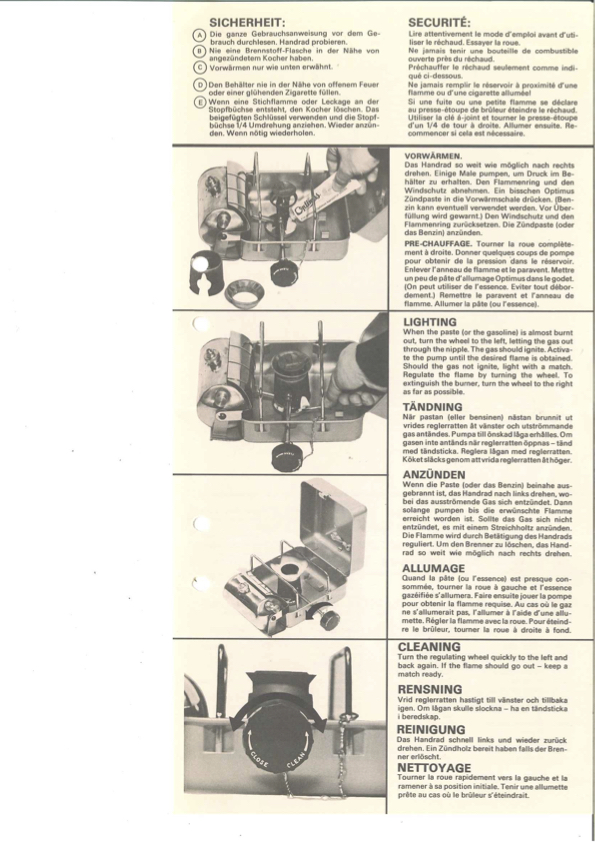
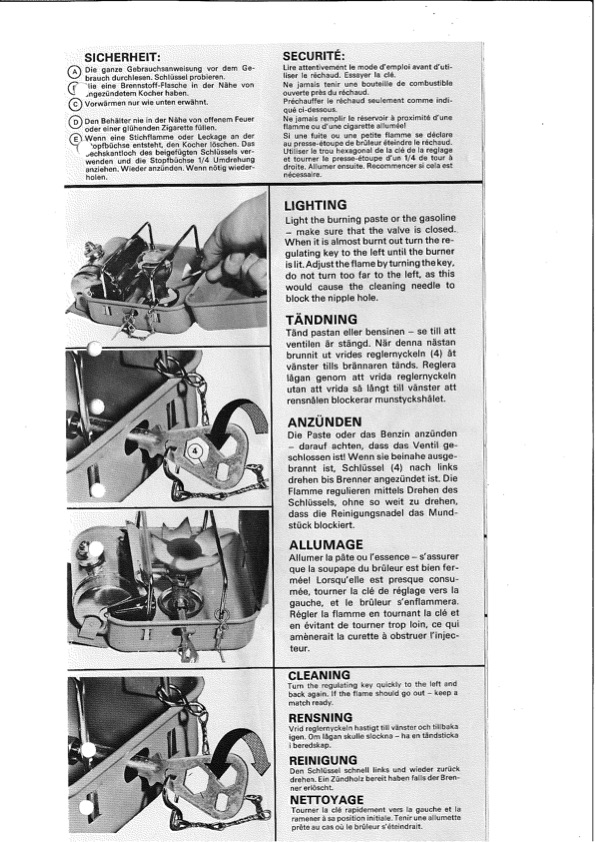
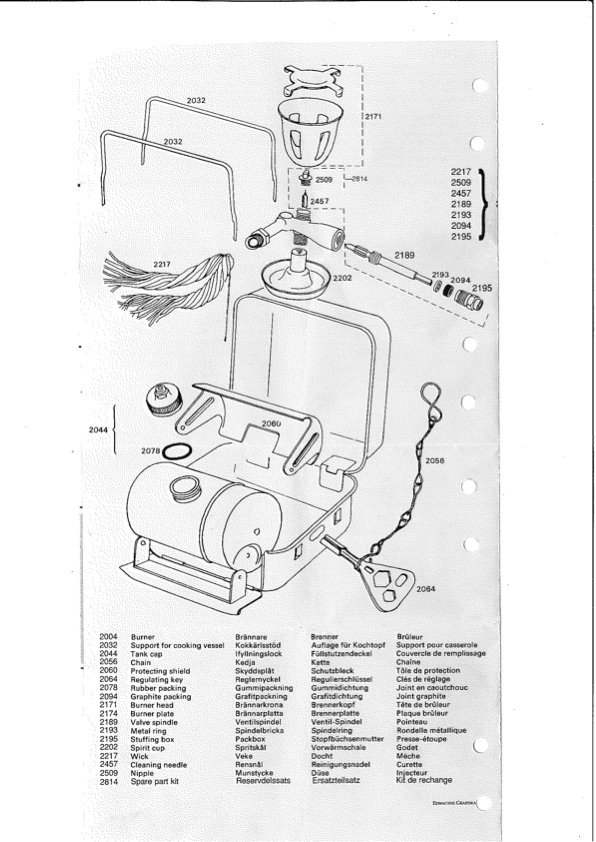
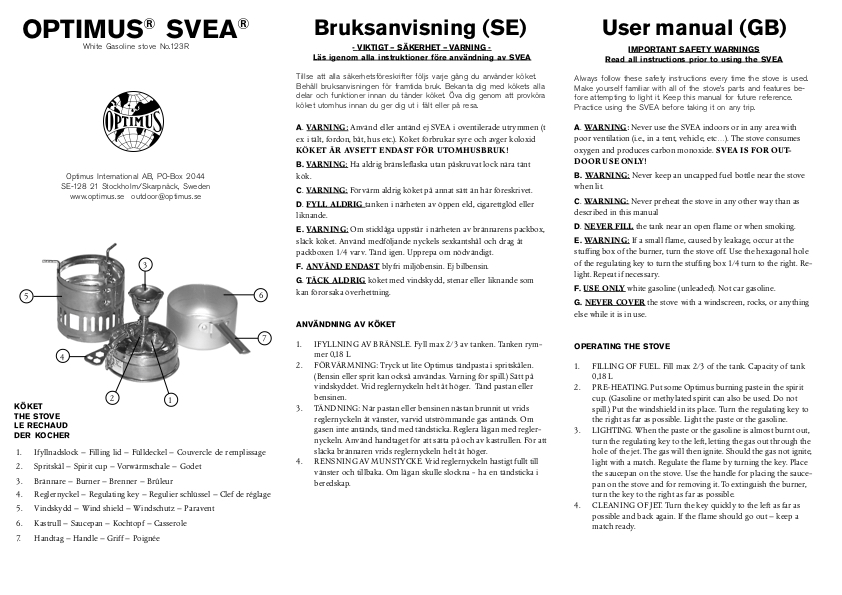
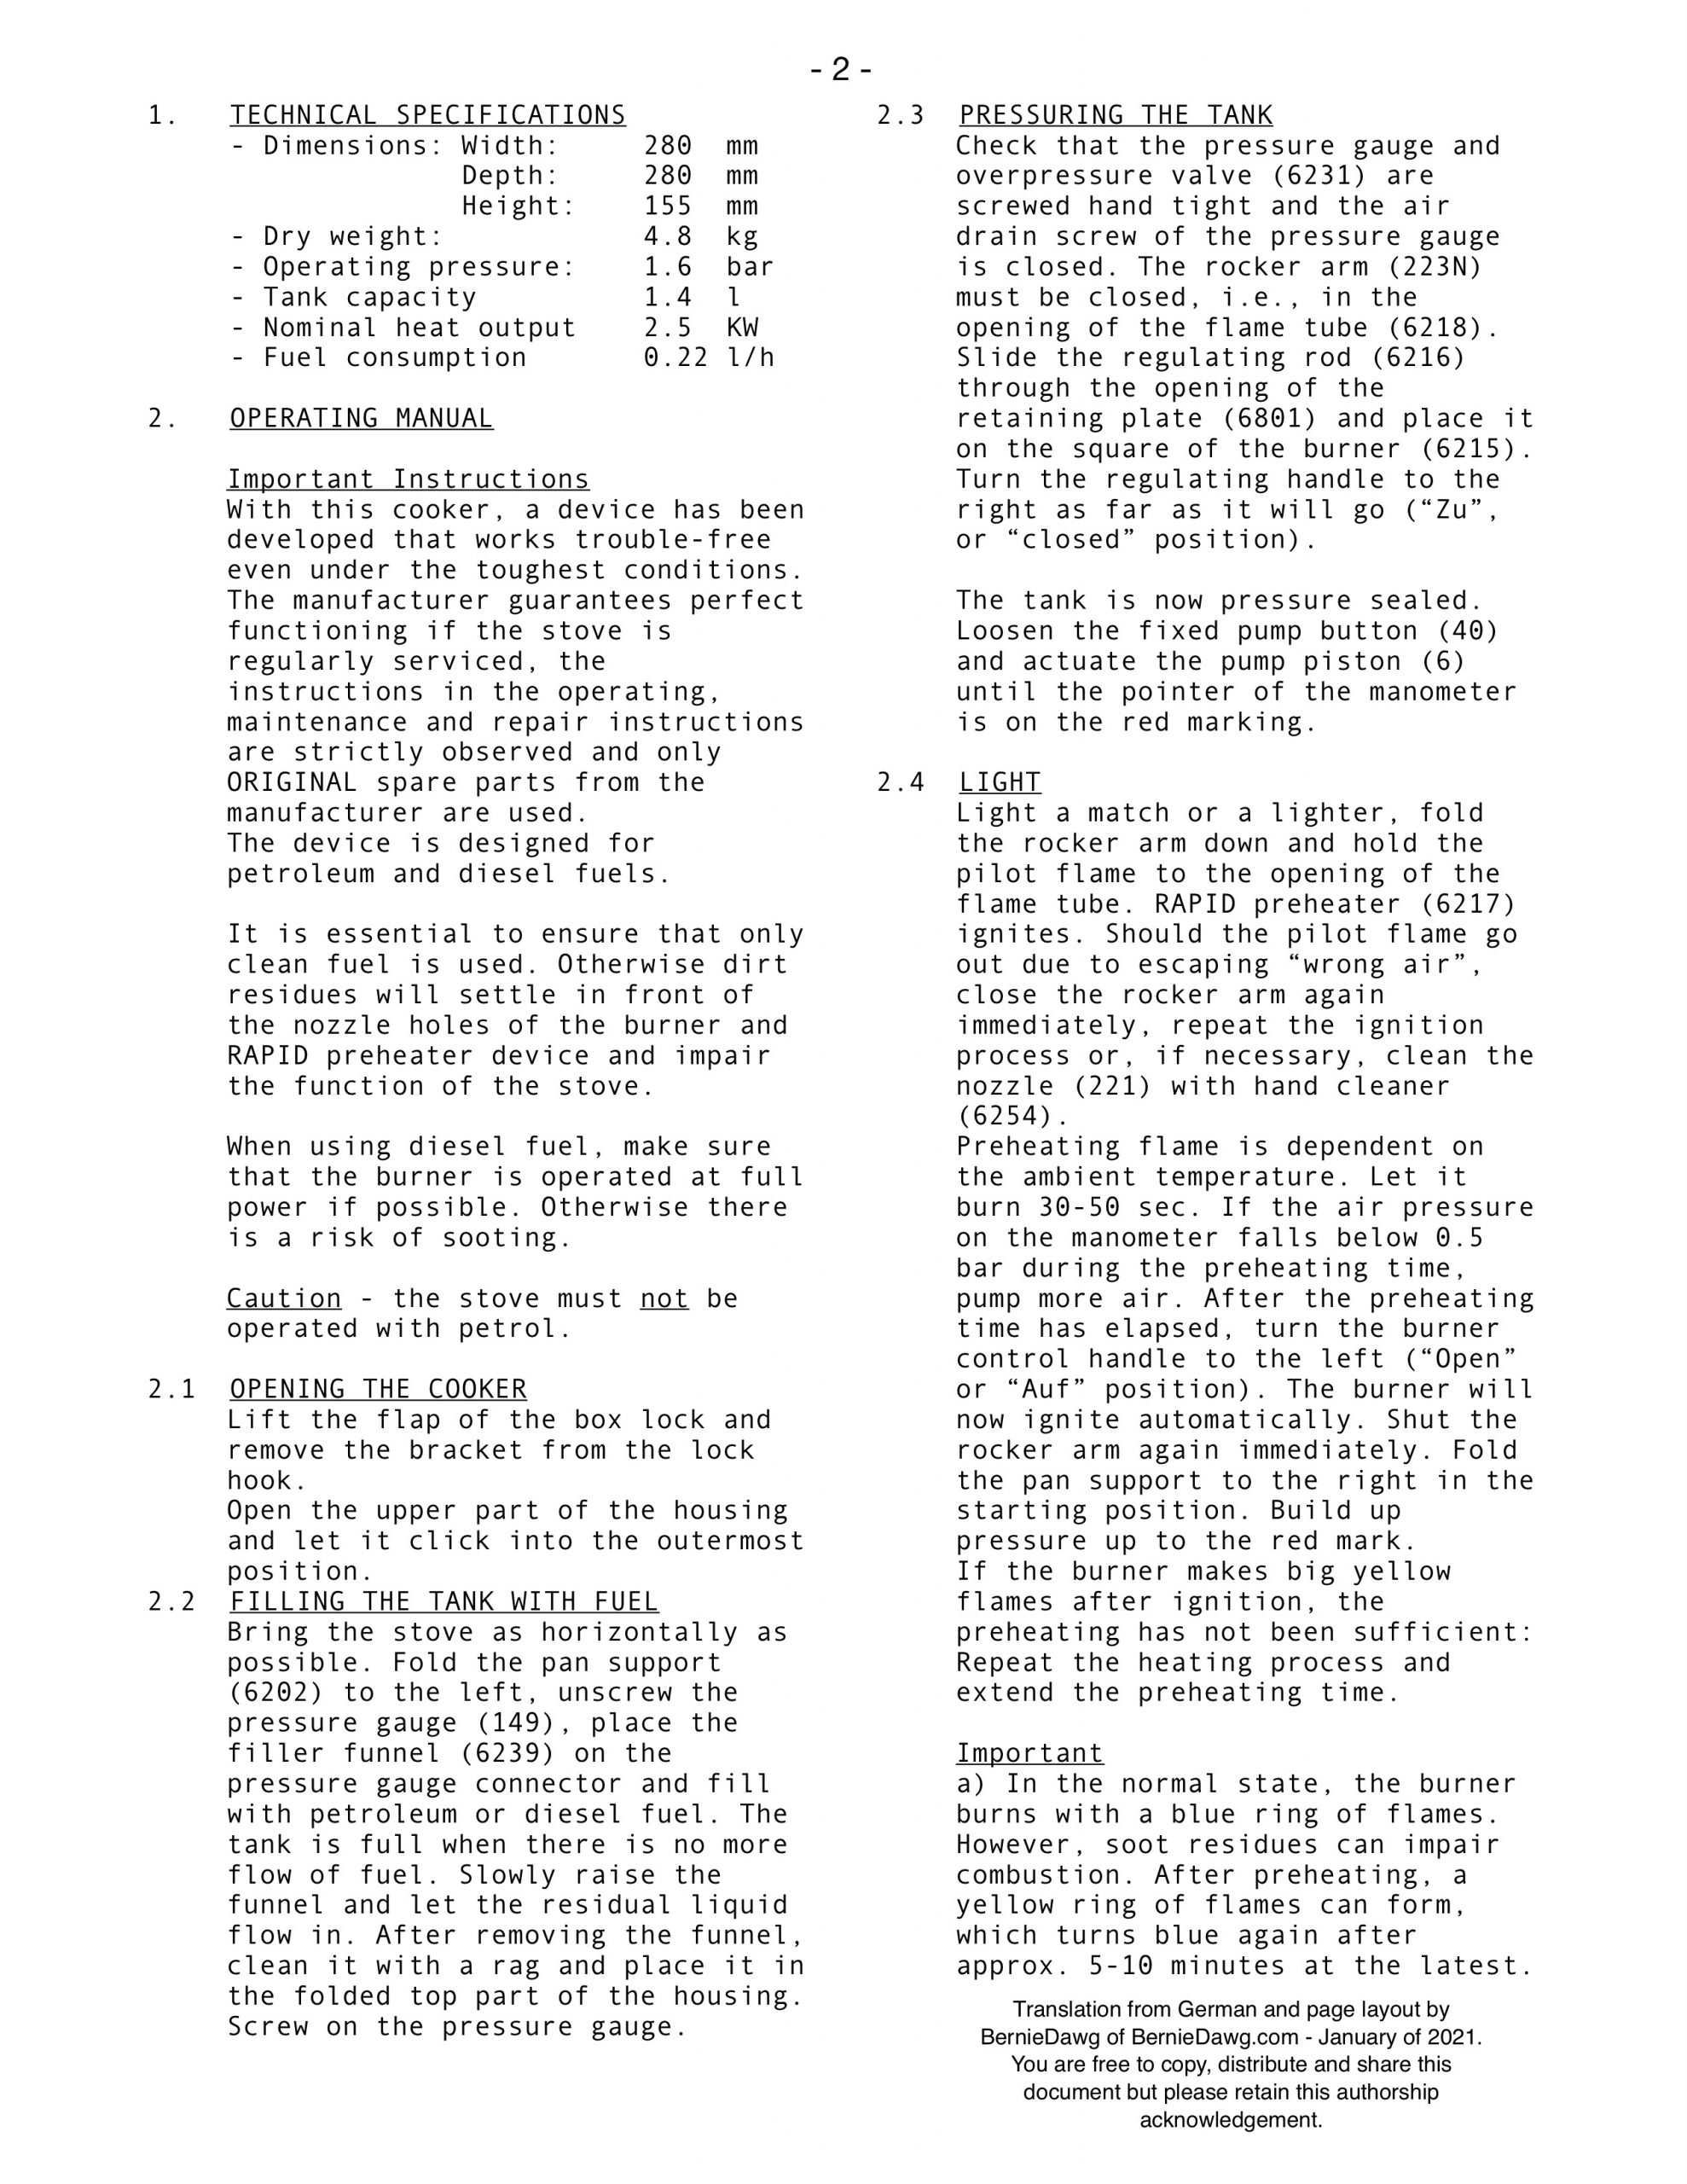
The stove comes with a multi-page pamphlet that describes operating, maintenance and repair procedures. It’s in German.
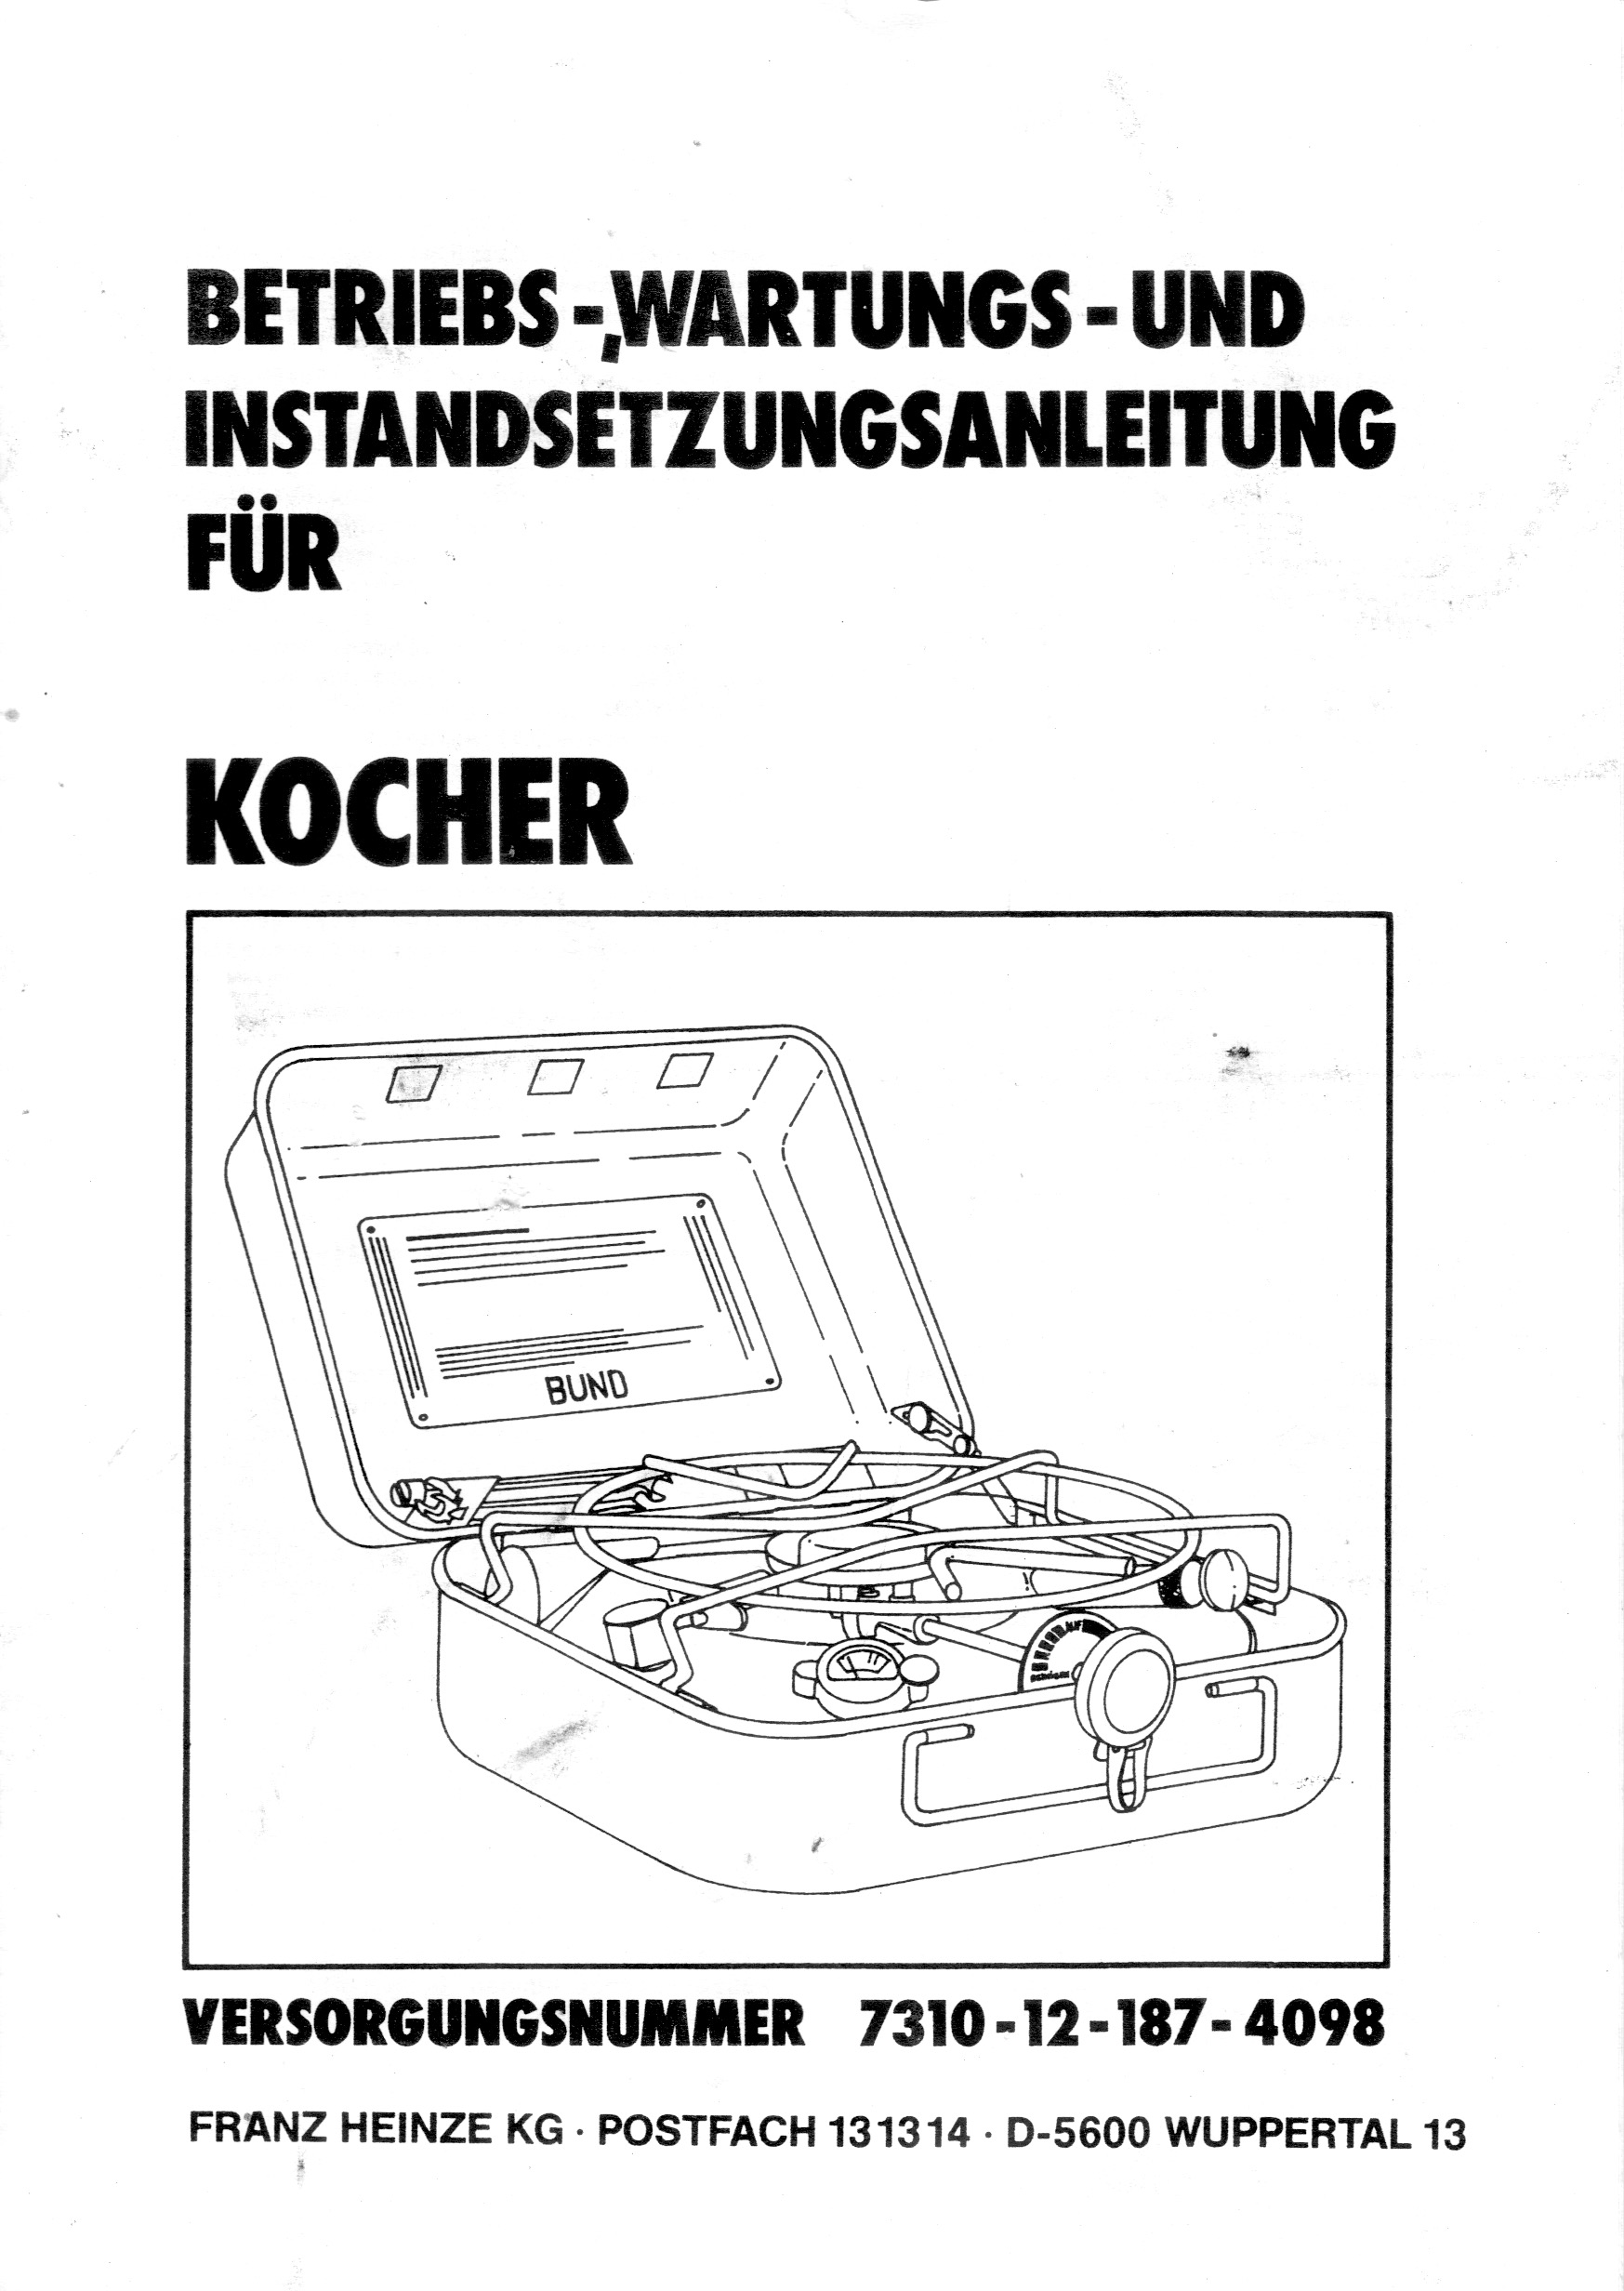
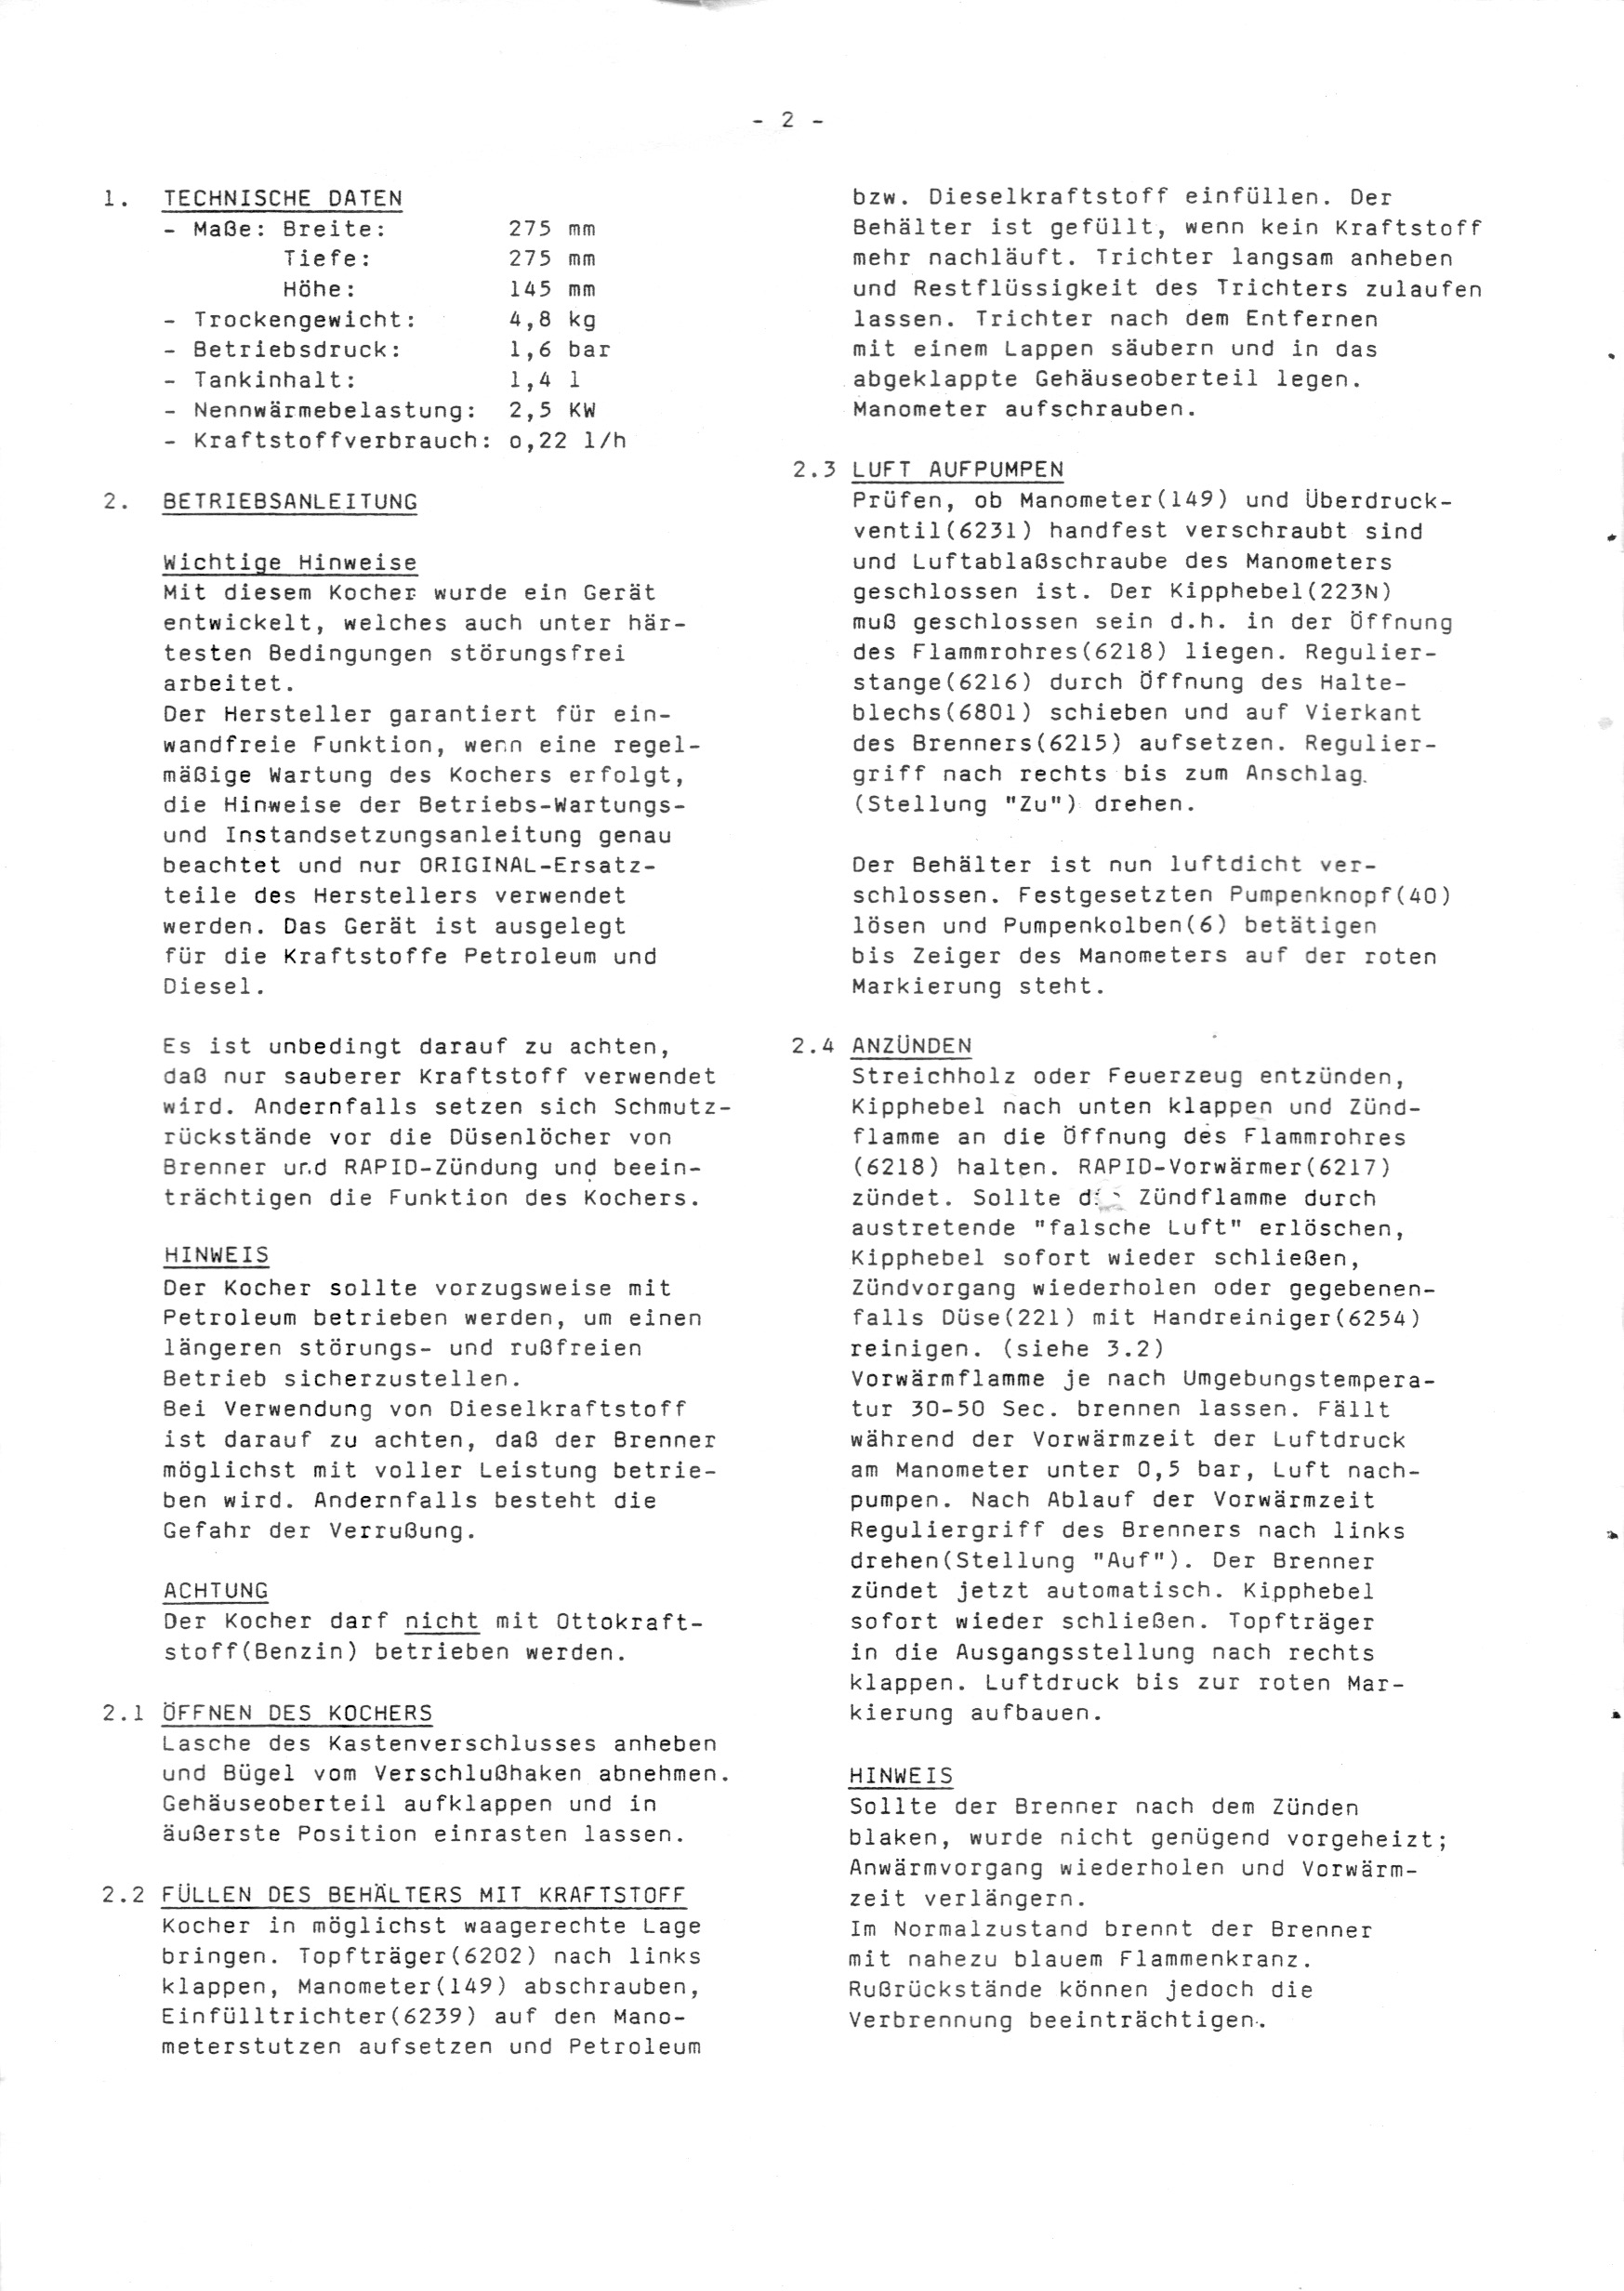
But, I’ve translated it into English. Just a couple of pages as a teaser for the PDF documents you can download below.
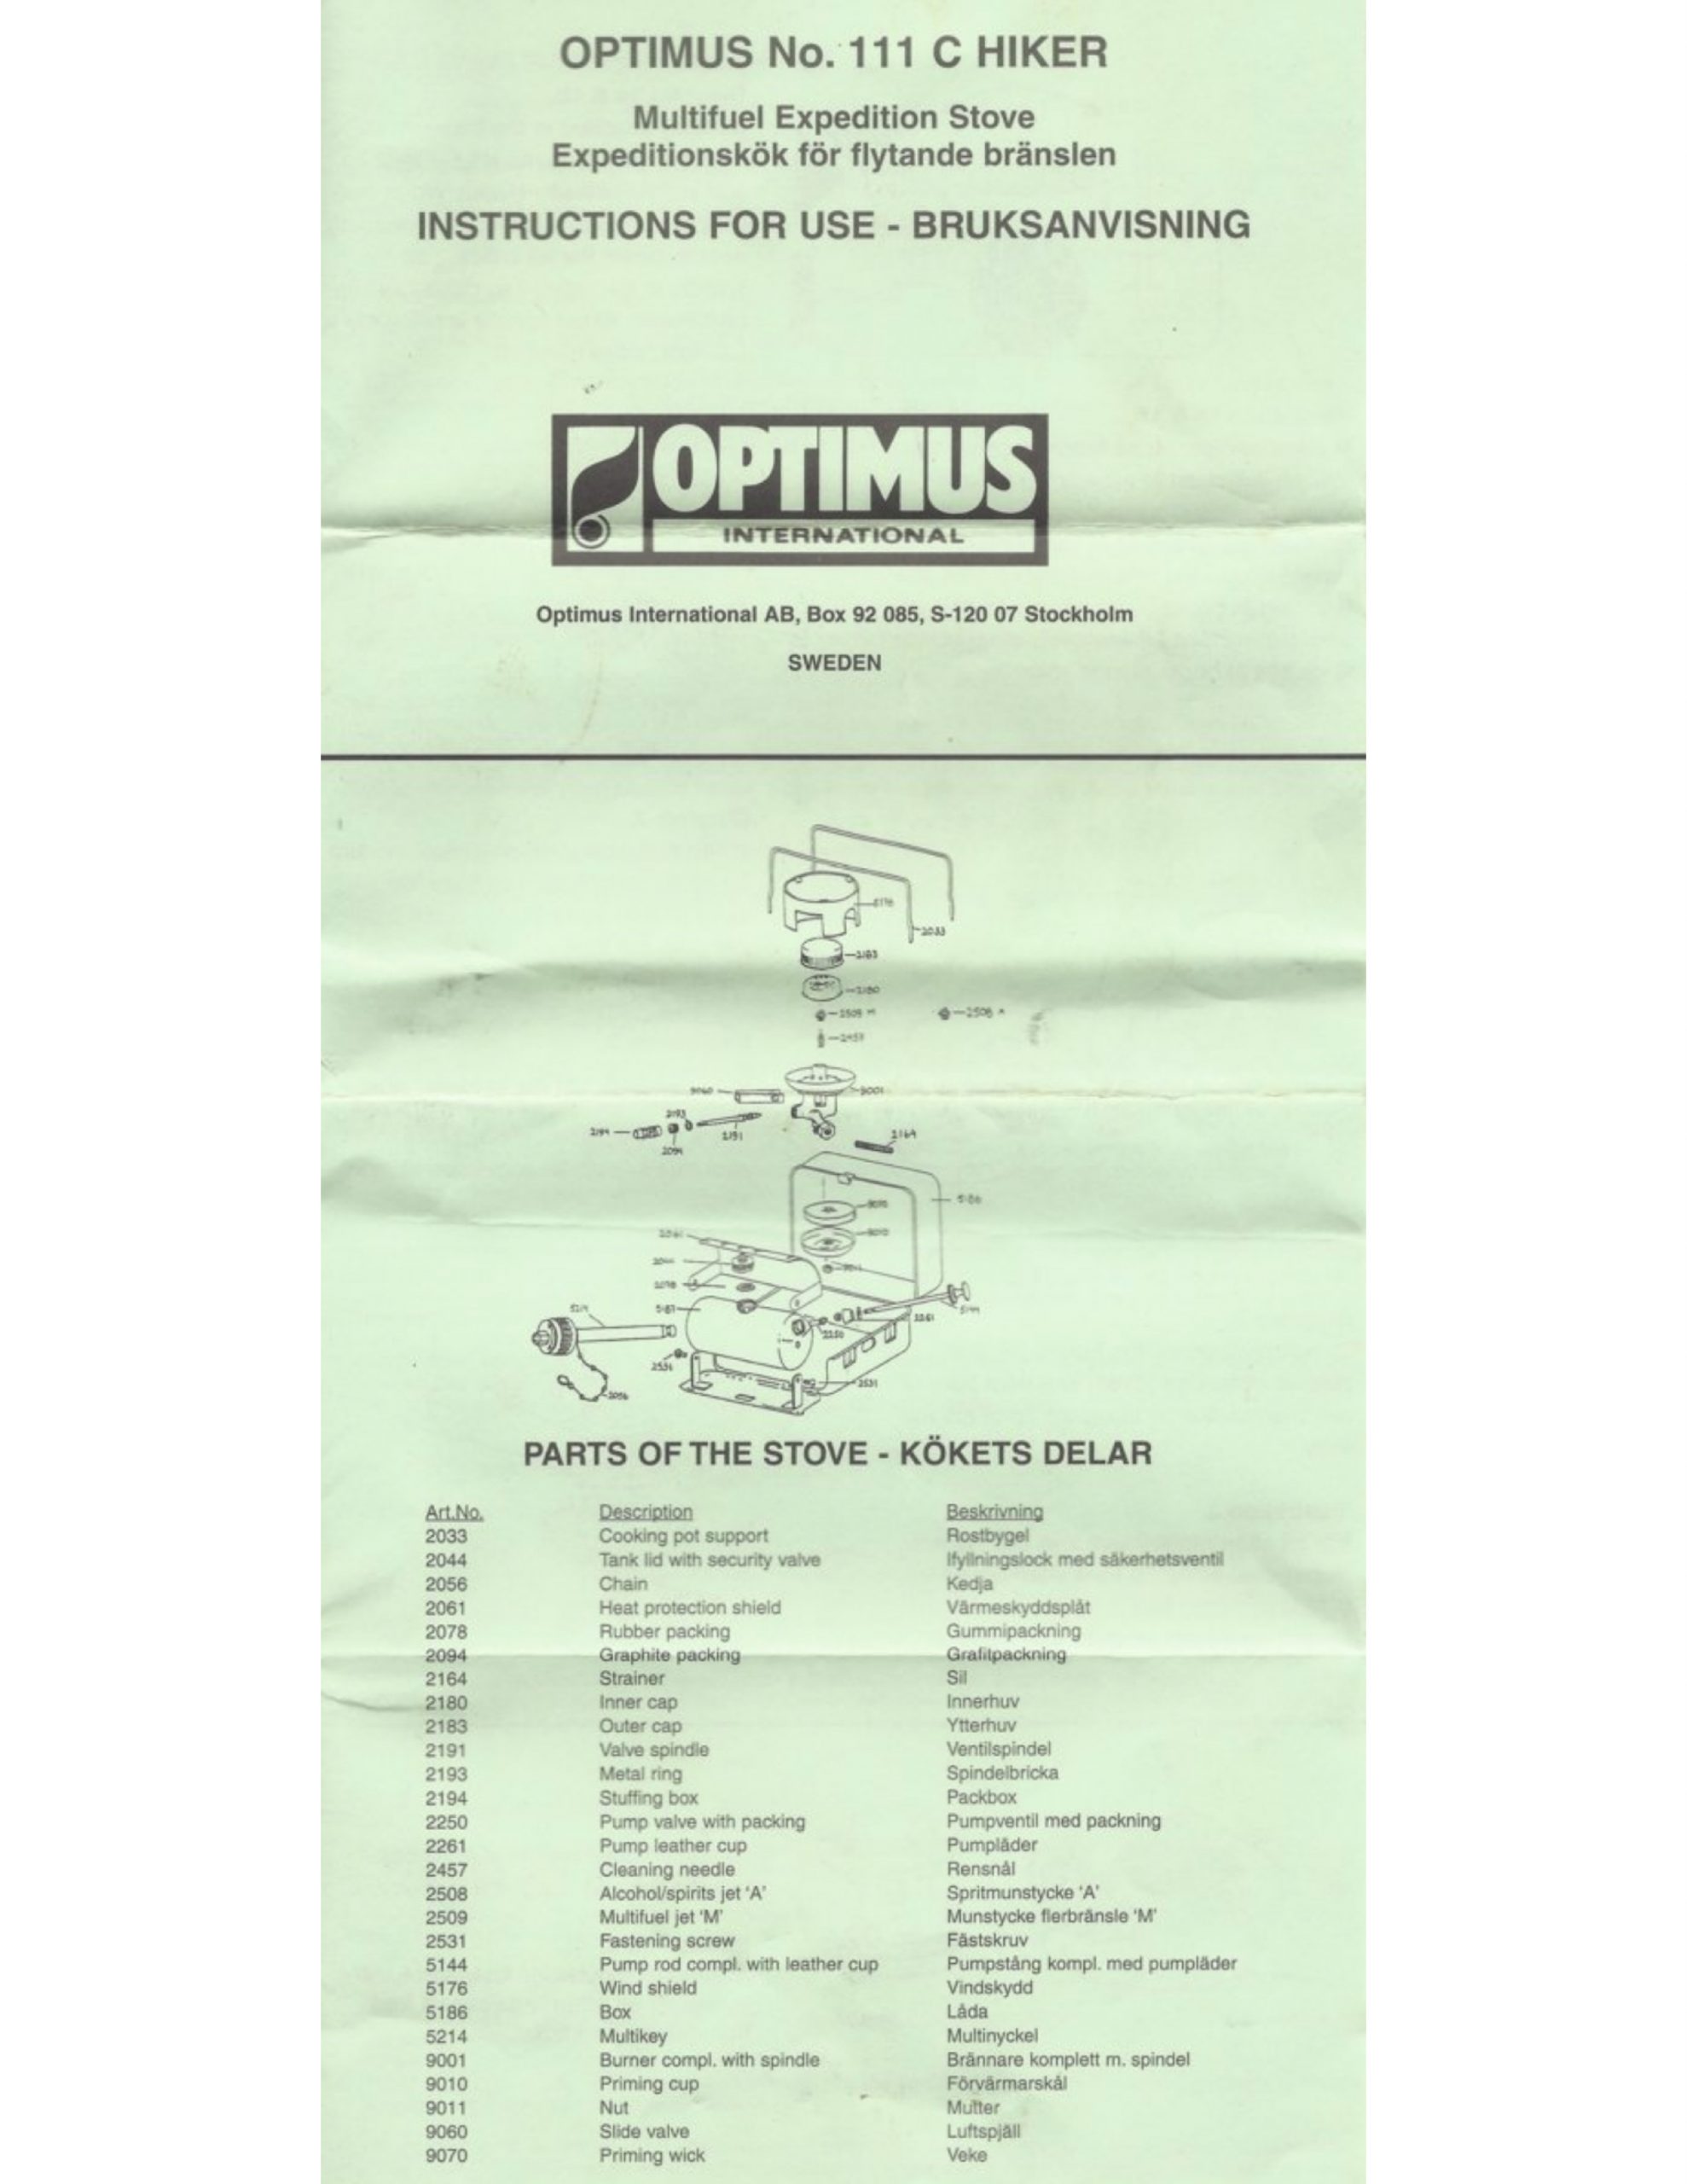
And, as it turns out, there are two different versions of the German language manual. I found this version one manual online here:
https://www.prela.ch/Anleitungen/bwkocher.pdf
Here’s the Version 1 in German which you can download here from my site or from the site at that link just above:
Heinze Geniol Army Kocher Manual Version 1 German
Here’s the Version 2 in German which came with one of my kochers and has some edits to create new sections and some corrections from version one:
Heinze Geniol Army Kocher Manual Version 2 German
So, I translated both versions. Here are the two smaller files that just show single pages:
Heinze Geniol Cooker Manual Ver.1 English Single page
Heinze Geniol Cooker Manual Vers.2 English Single page
For a booklet style view on your computer or device, download one or both of these slightly larger files:
Heinze Geniol Army Kocher English Manual Version 1 for viewing
Heinze Geniol Army Kocher English Manual Version 2 for viewing
For a document that you can print double-sided and get the pages located in the proper order (to make your own hard copy booklet), download one or both of these files:
Heinze Geniol Army Kocher English Manual Version 1 for booklet printing
Heinze Geniol Army Kocher English Manual Version 2 for booklet printing
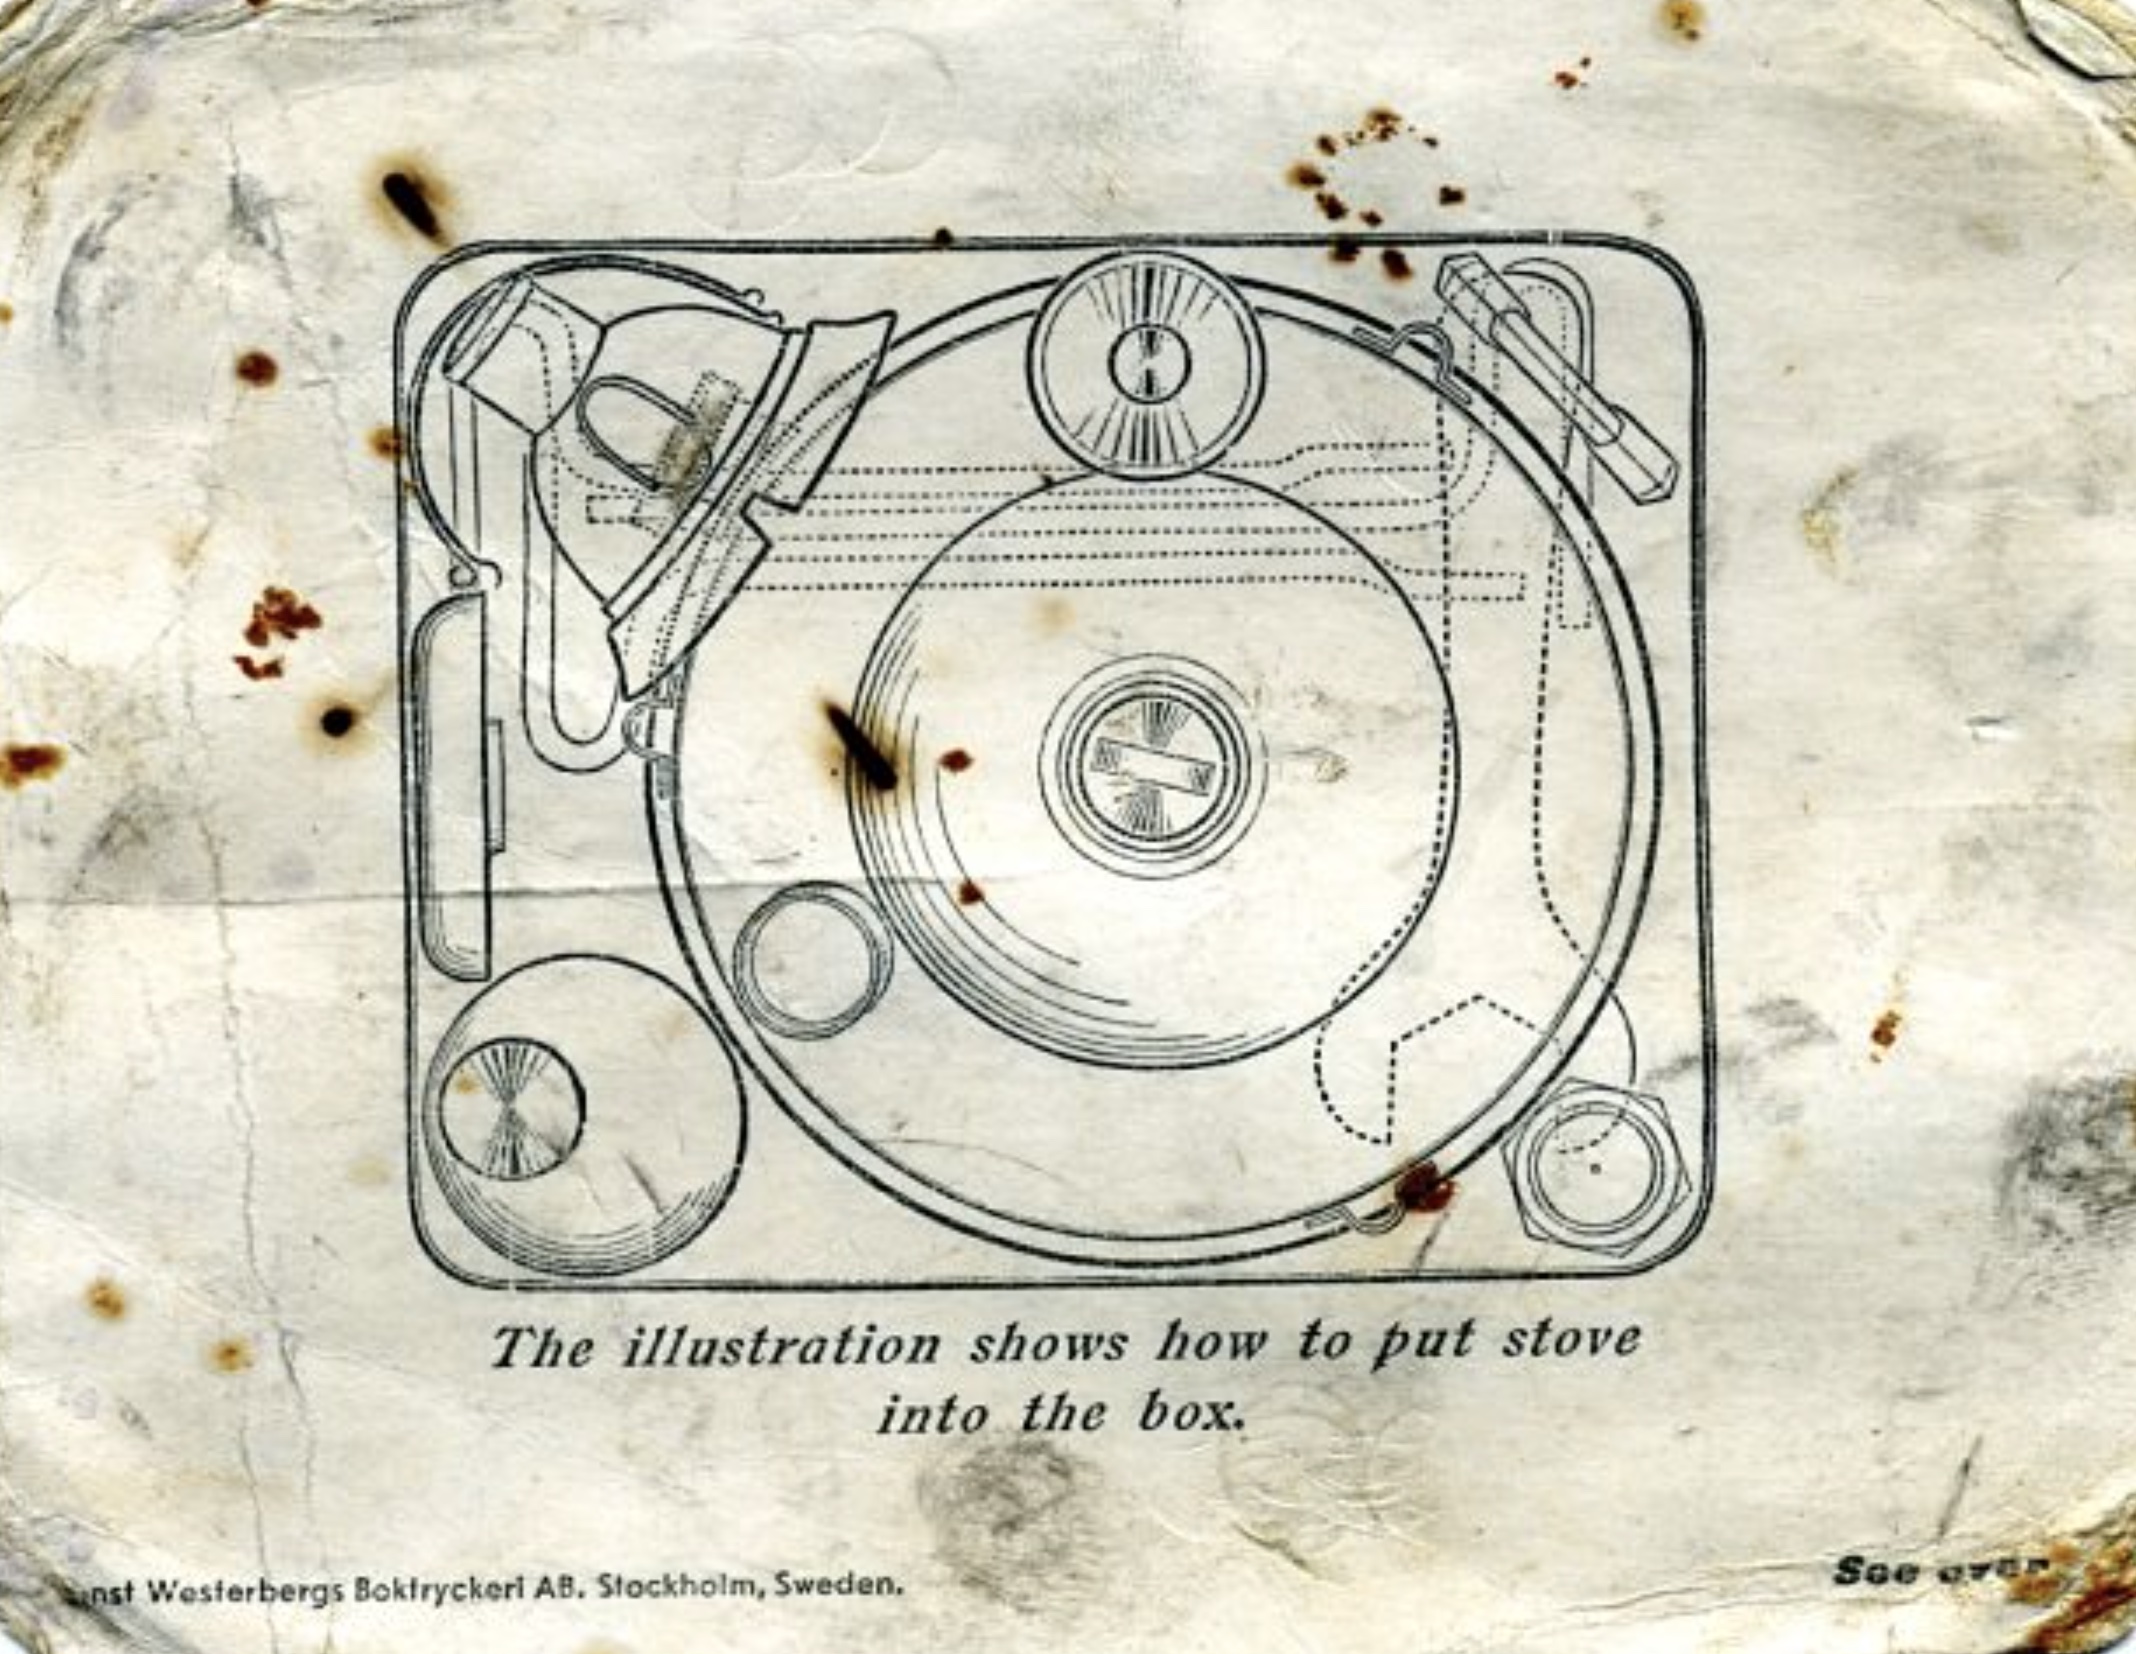
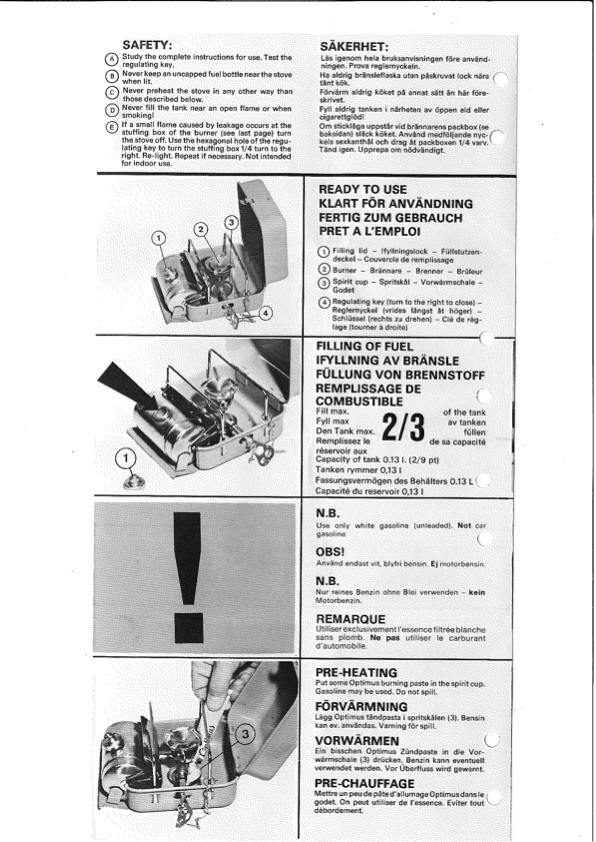
There are instructions under the lid, too. They are not as good as in the manual.
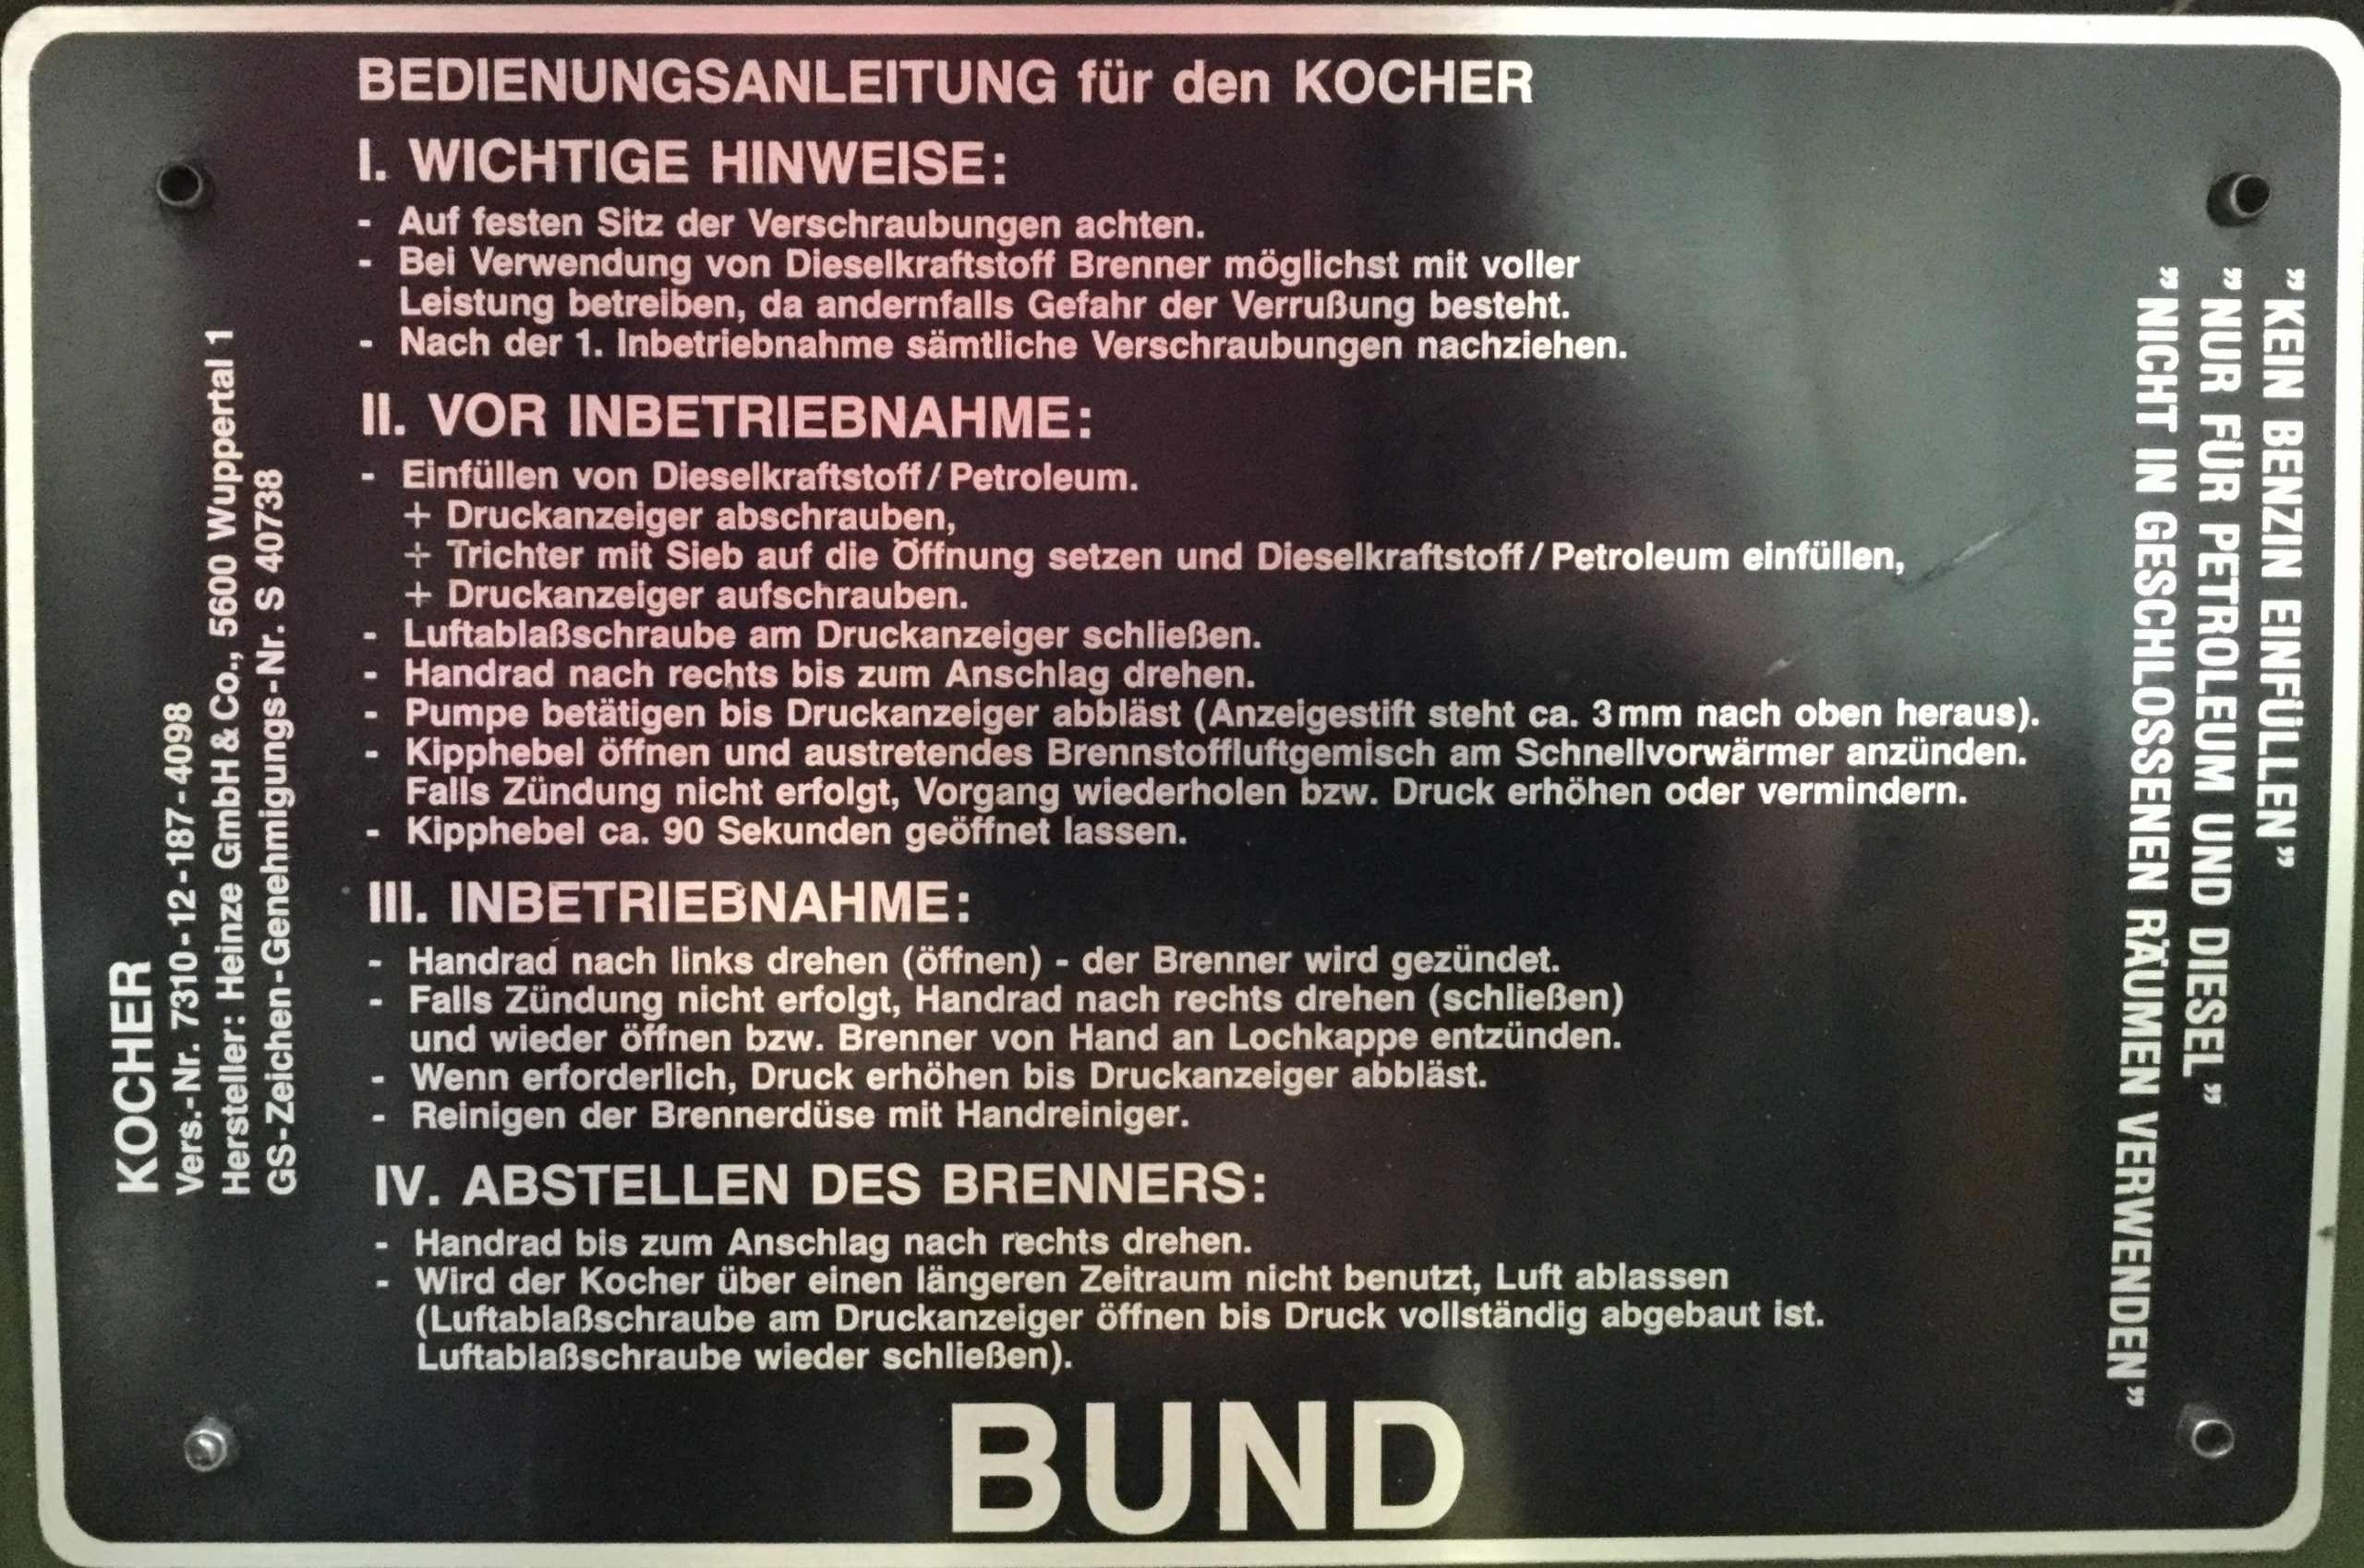
Here’s the translation of those, too.
Hey! You are free to download these and even share them around. Please retain my little credit to me I put on the translated pages. It took me a lot of days to translate, so it just seems fair. Download and share them for free – it’s knowledge! Let’s be decent humans and share our knowledge and resources! (I don’t believe in trying to make money on documents that I didn’t even print or author originally. Nor do I believe in creating a silly “monopoly” on knowledge by restricting knowledge to subscribers. 🙄 Those ideas are weirdly mean-spirited and not very nice.👎)
You’re welcome, stove fans! 🥳 BD