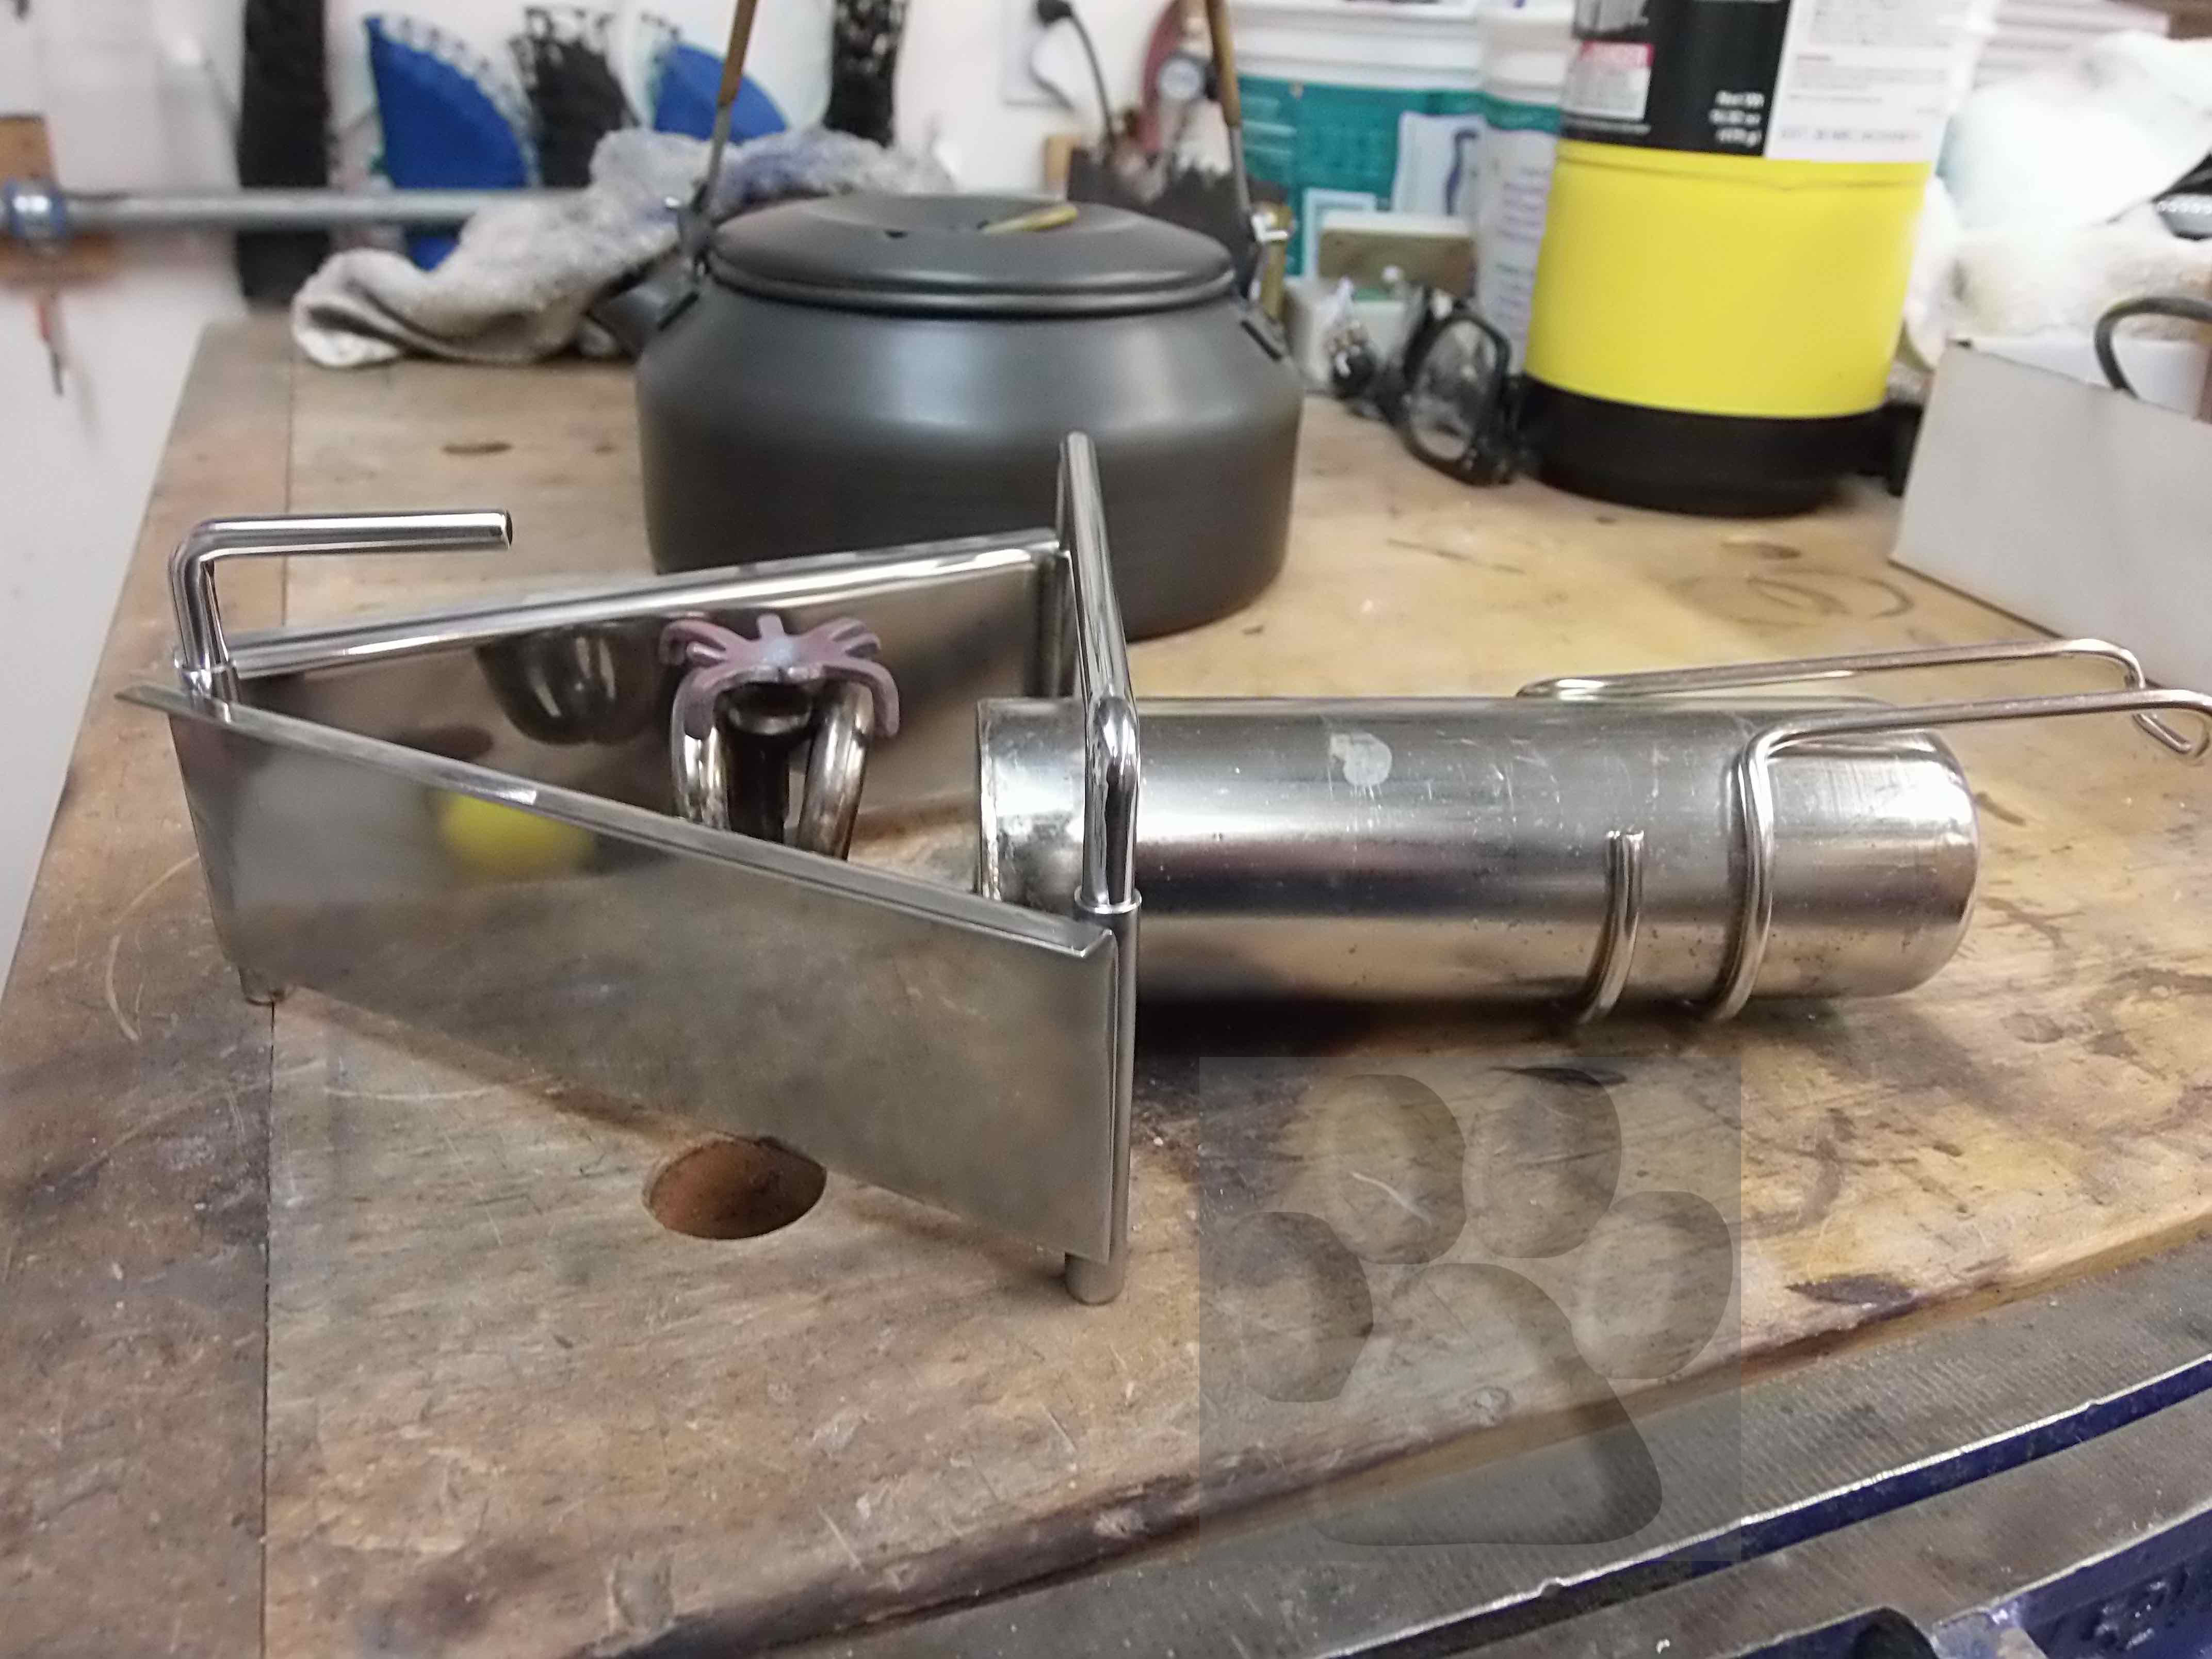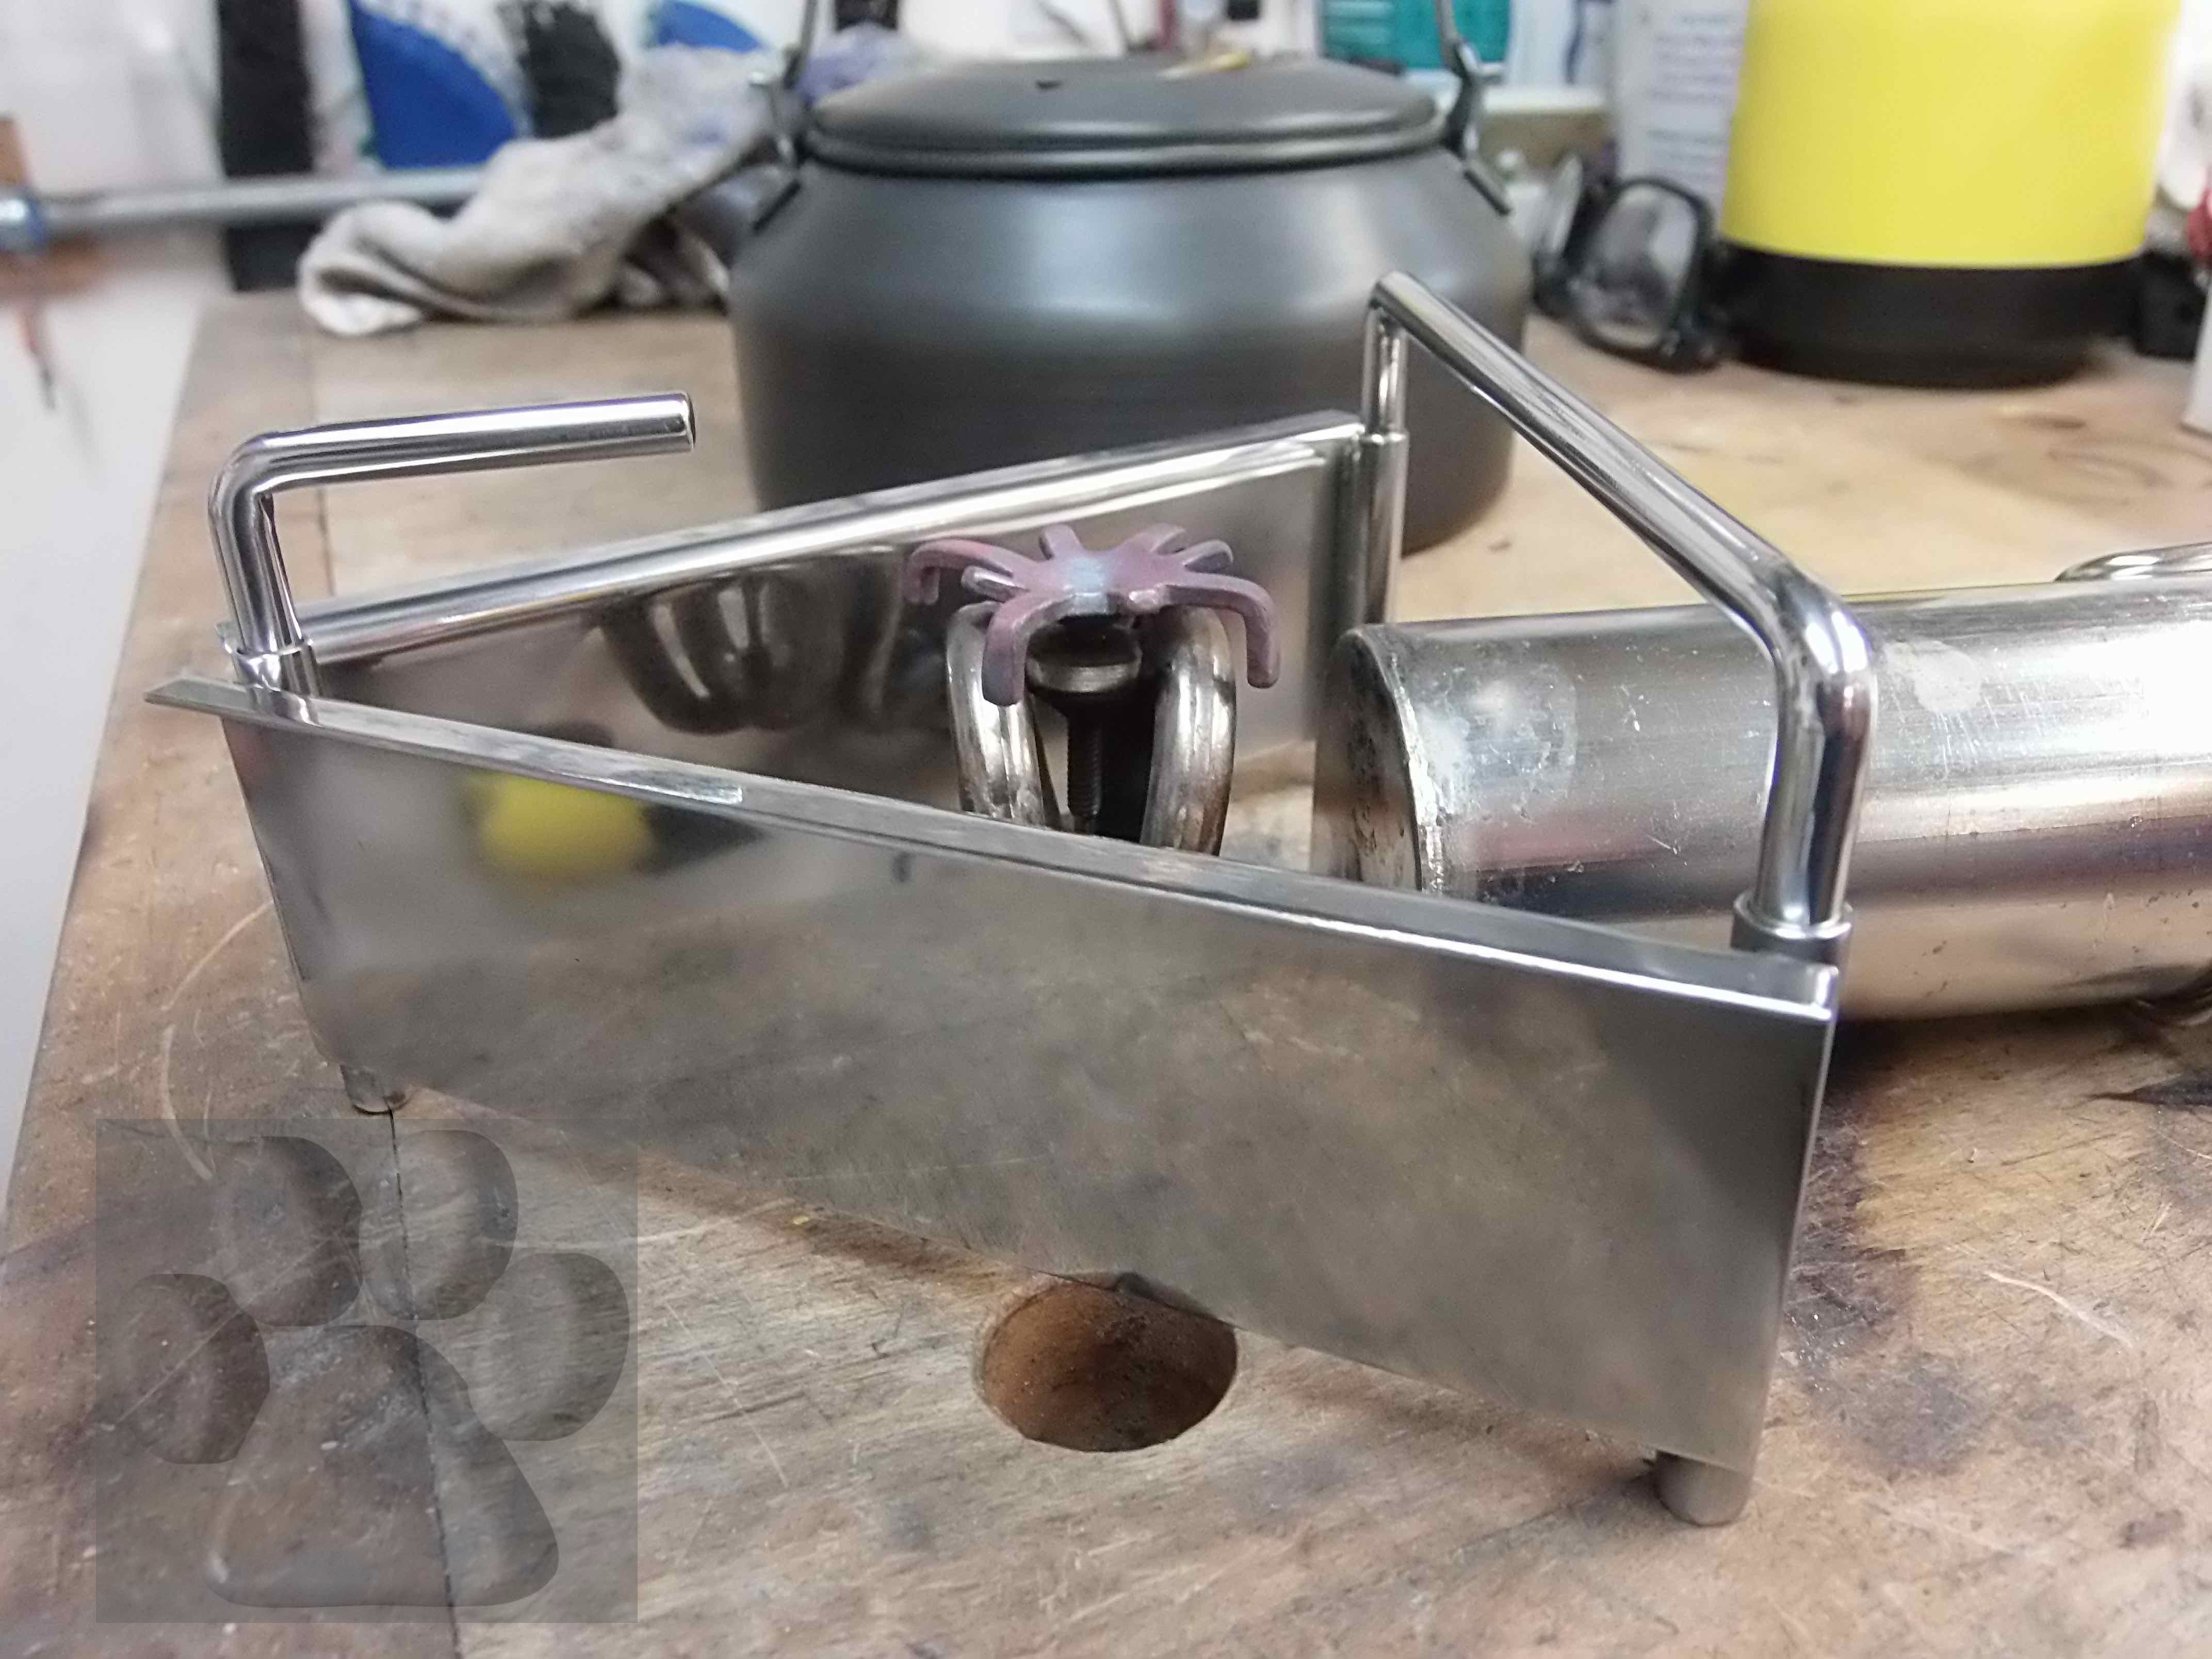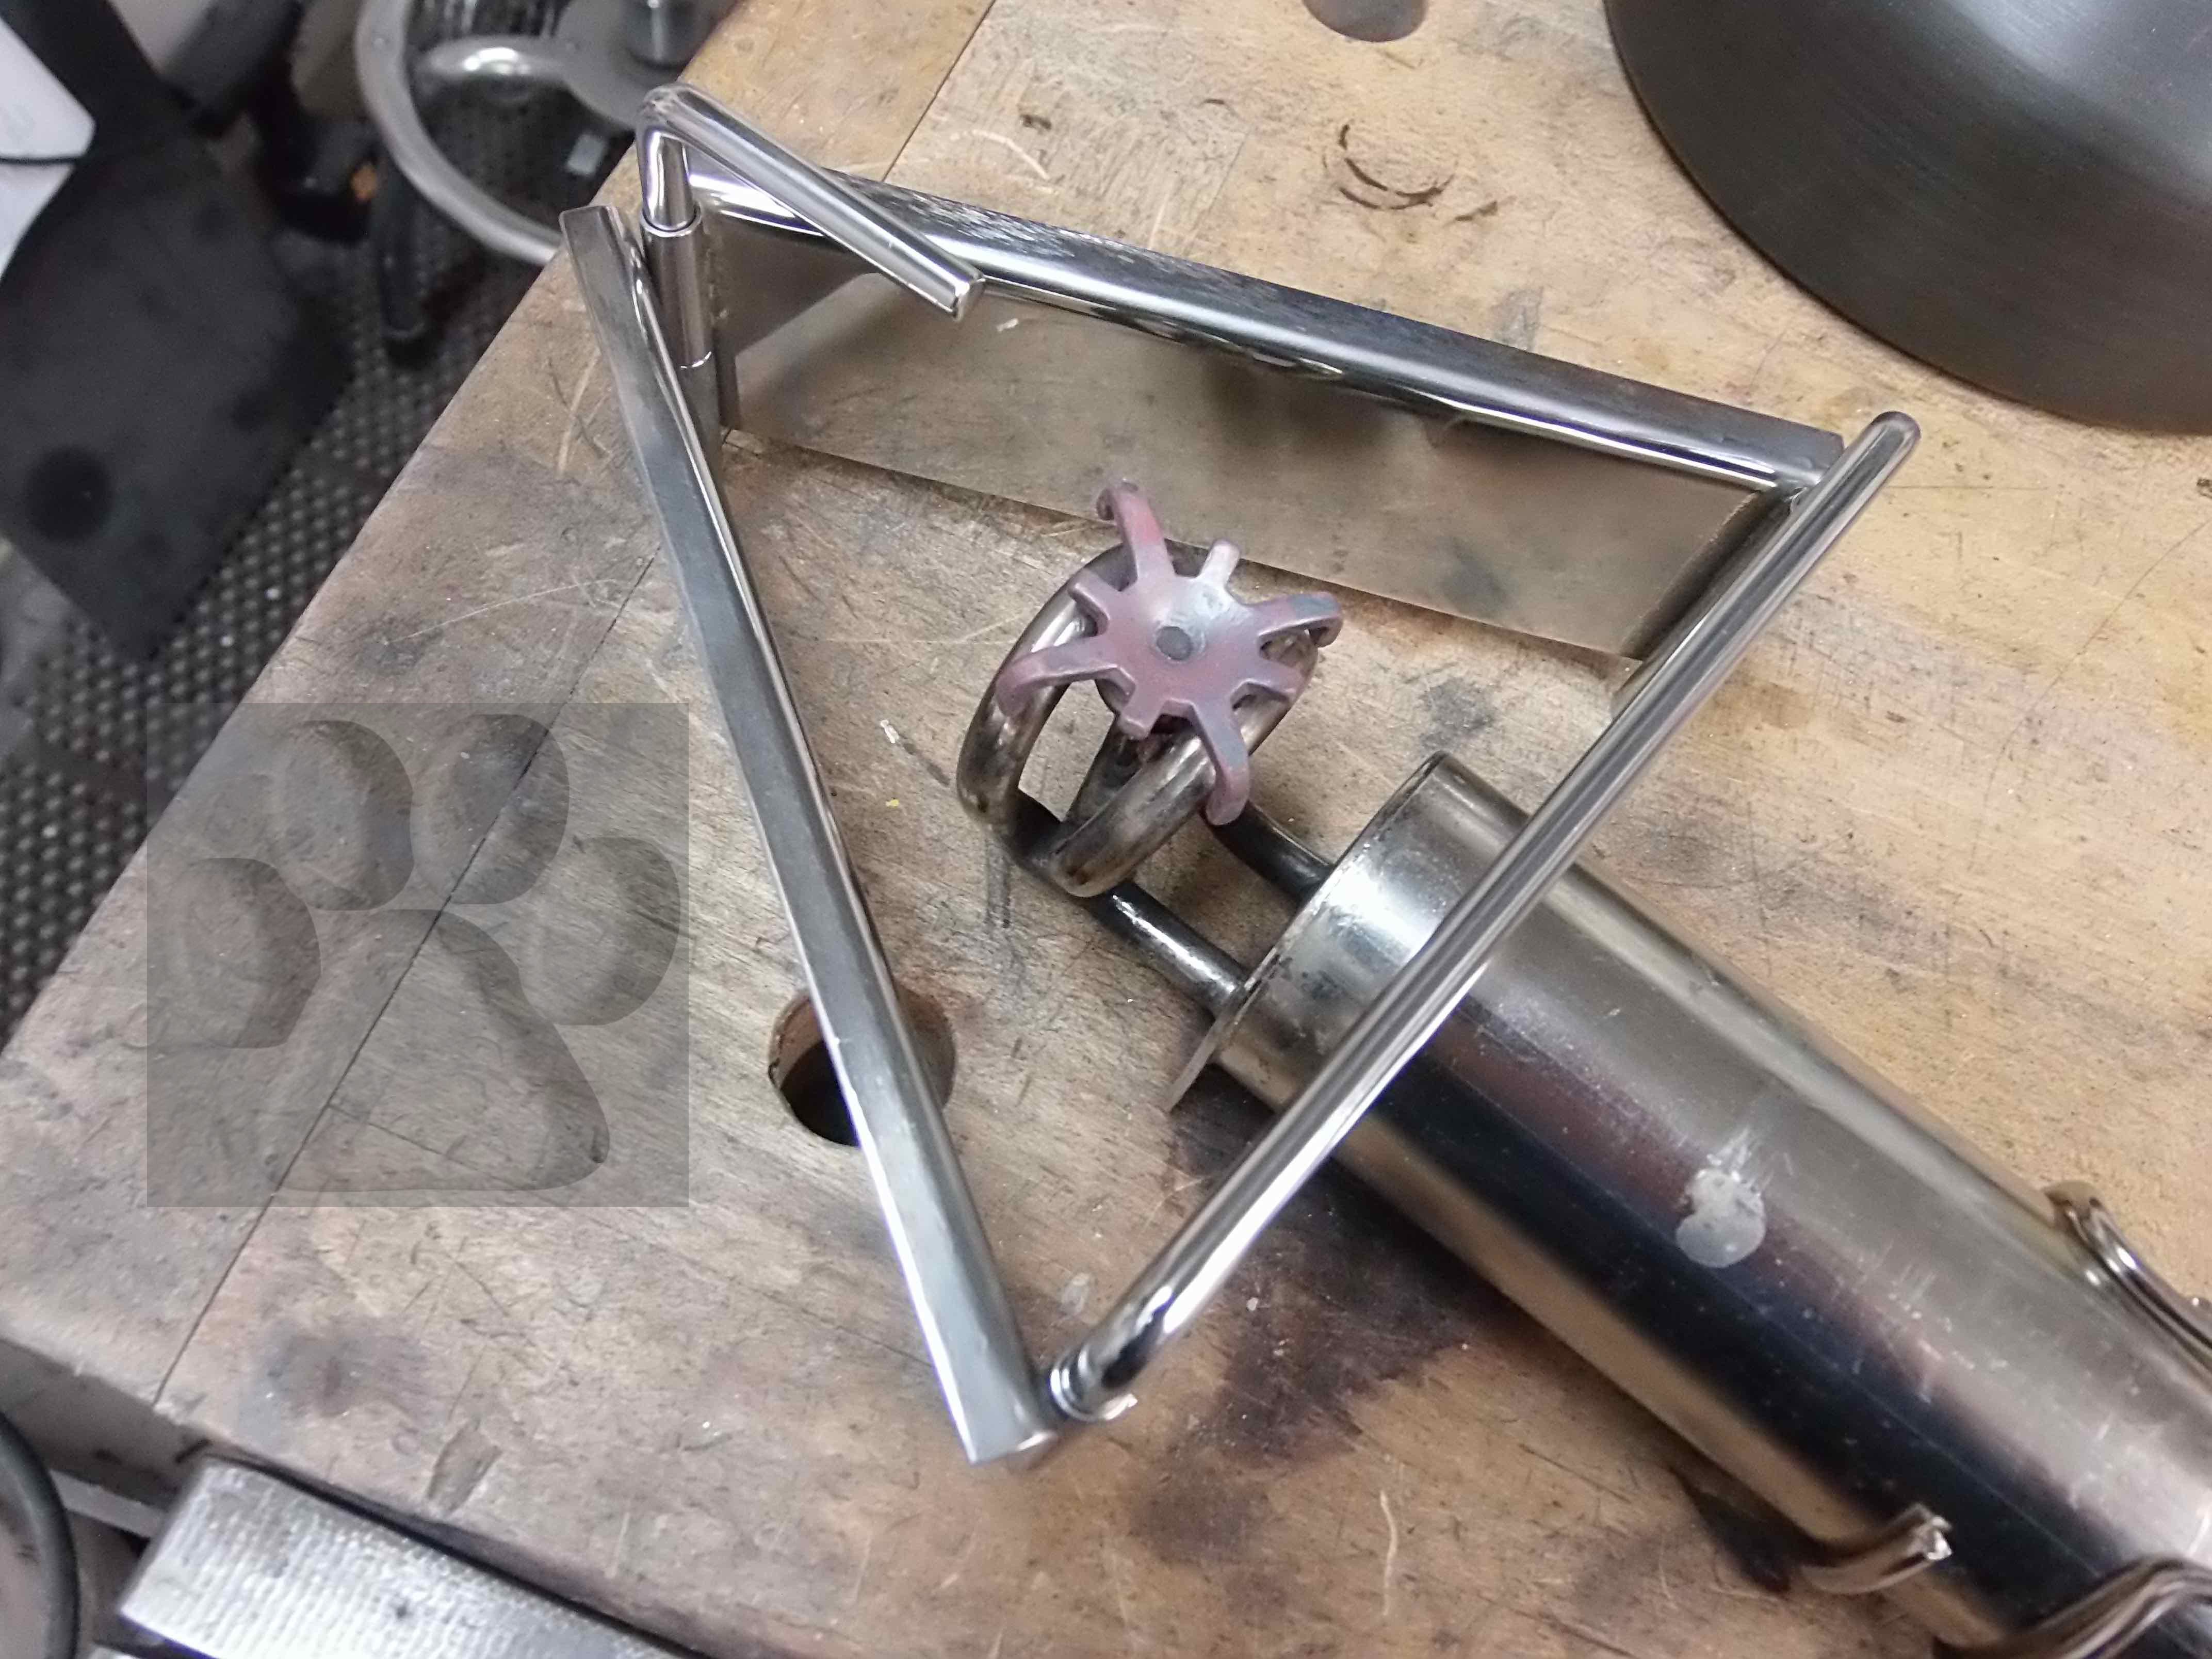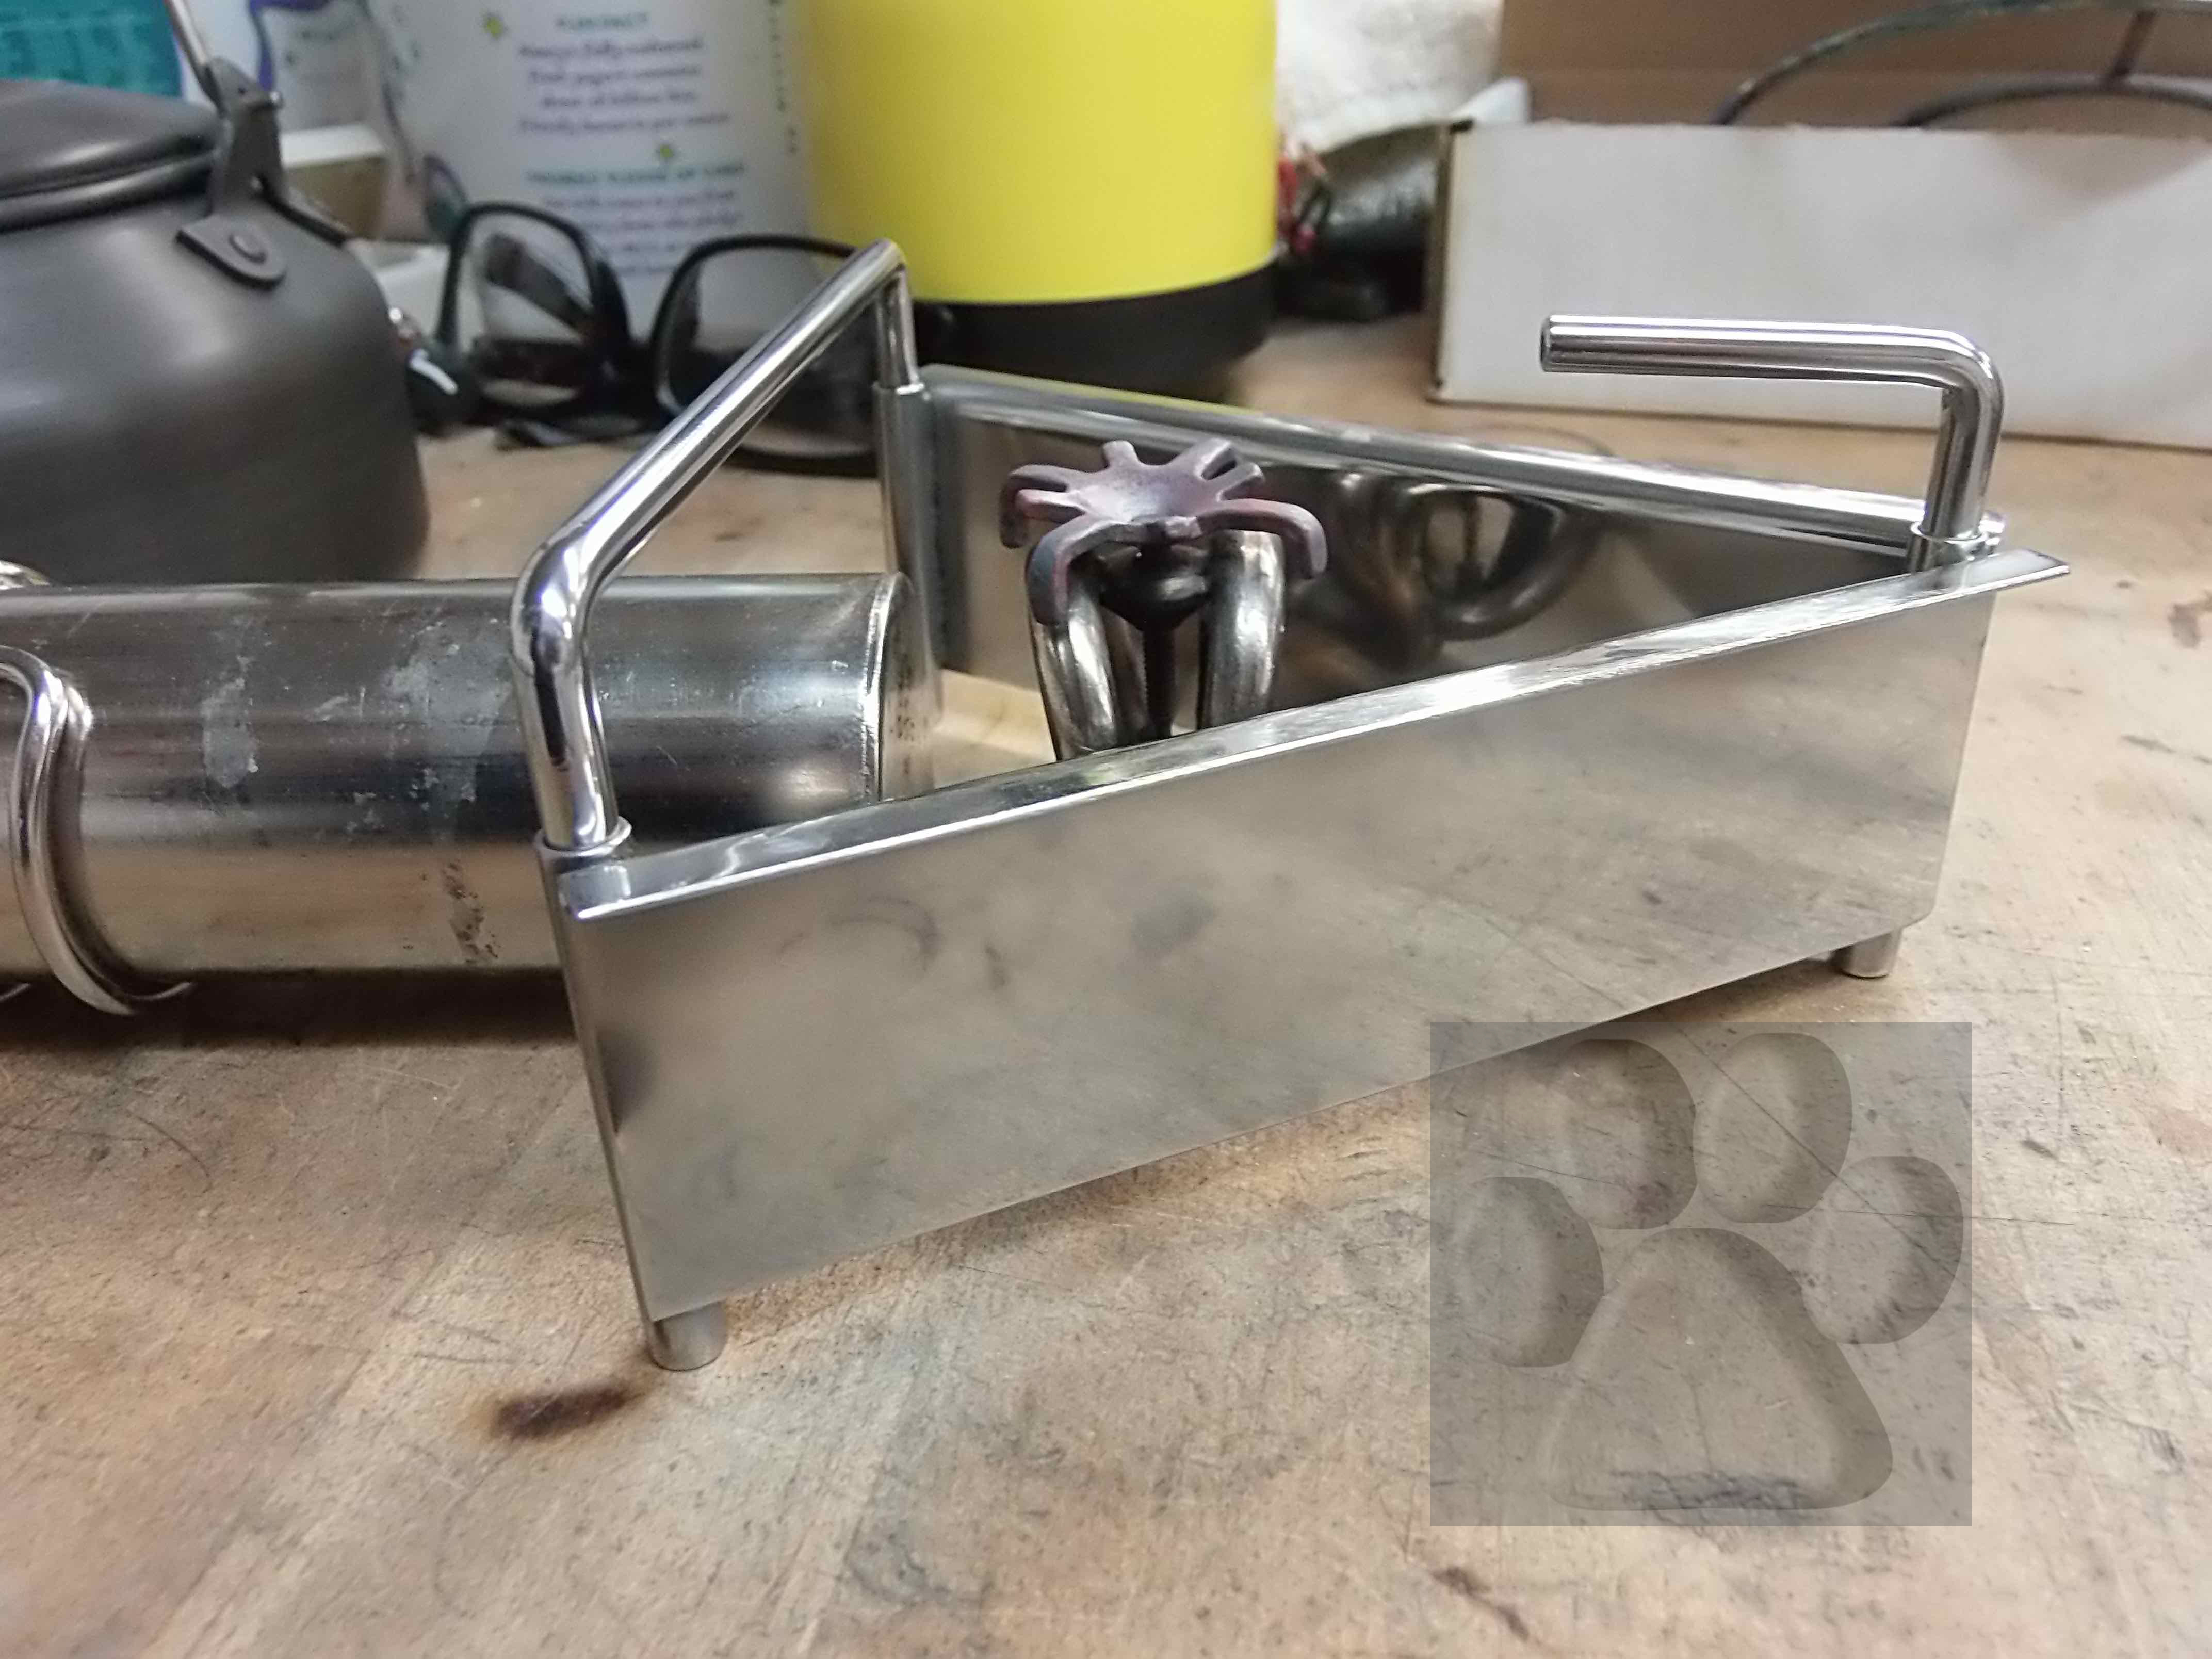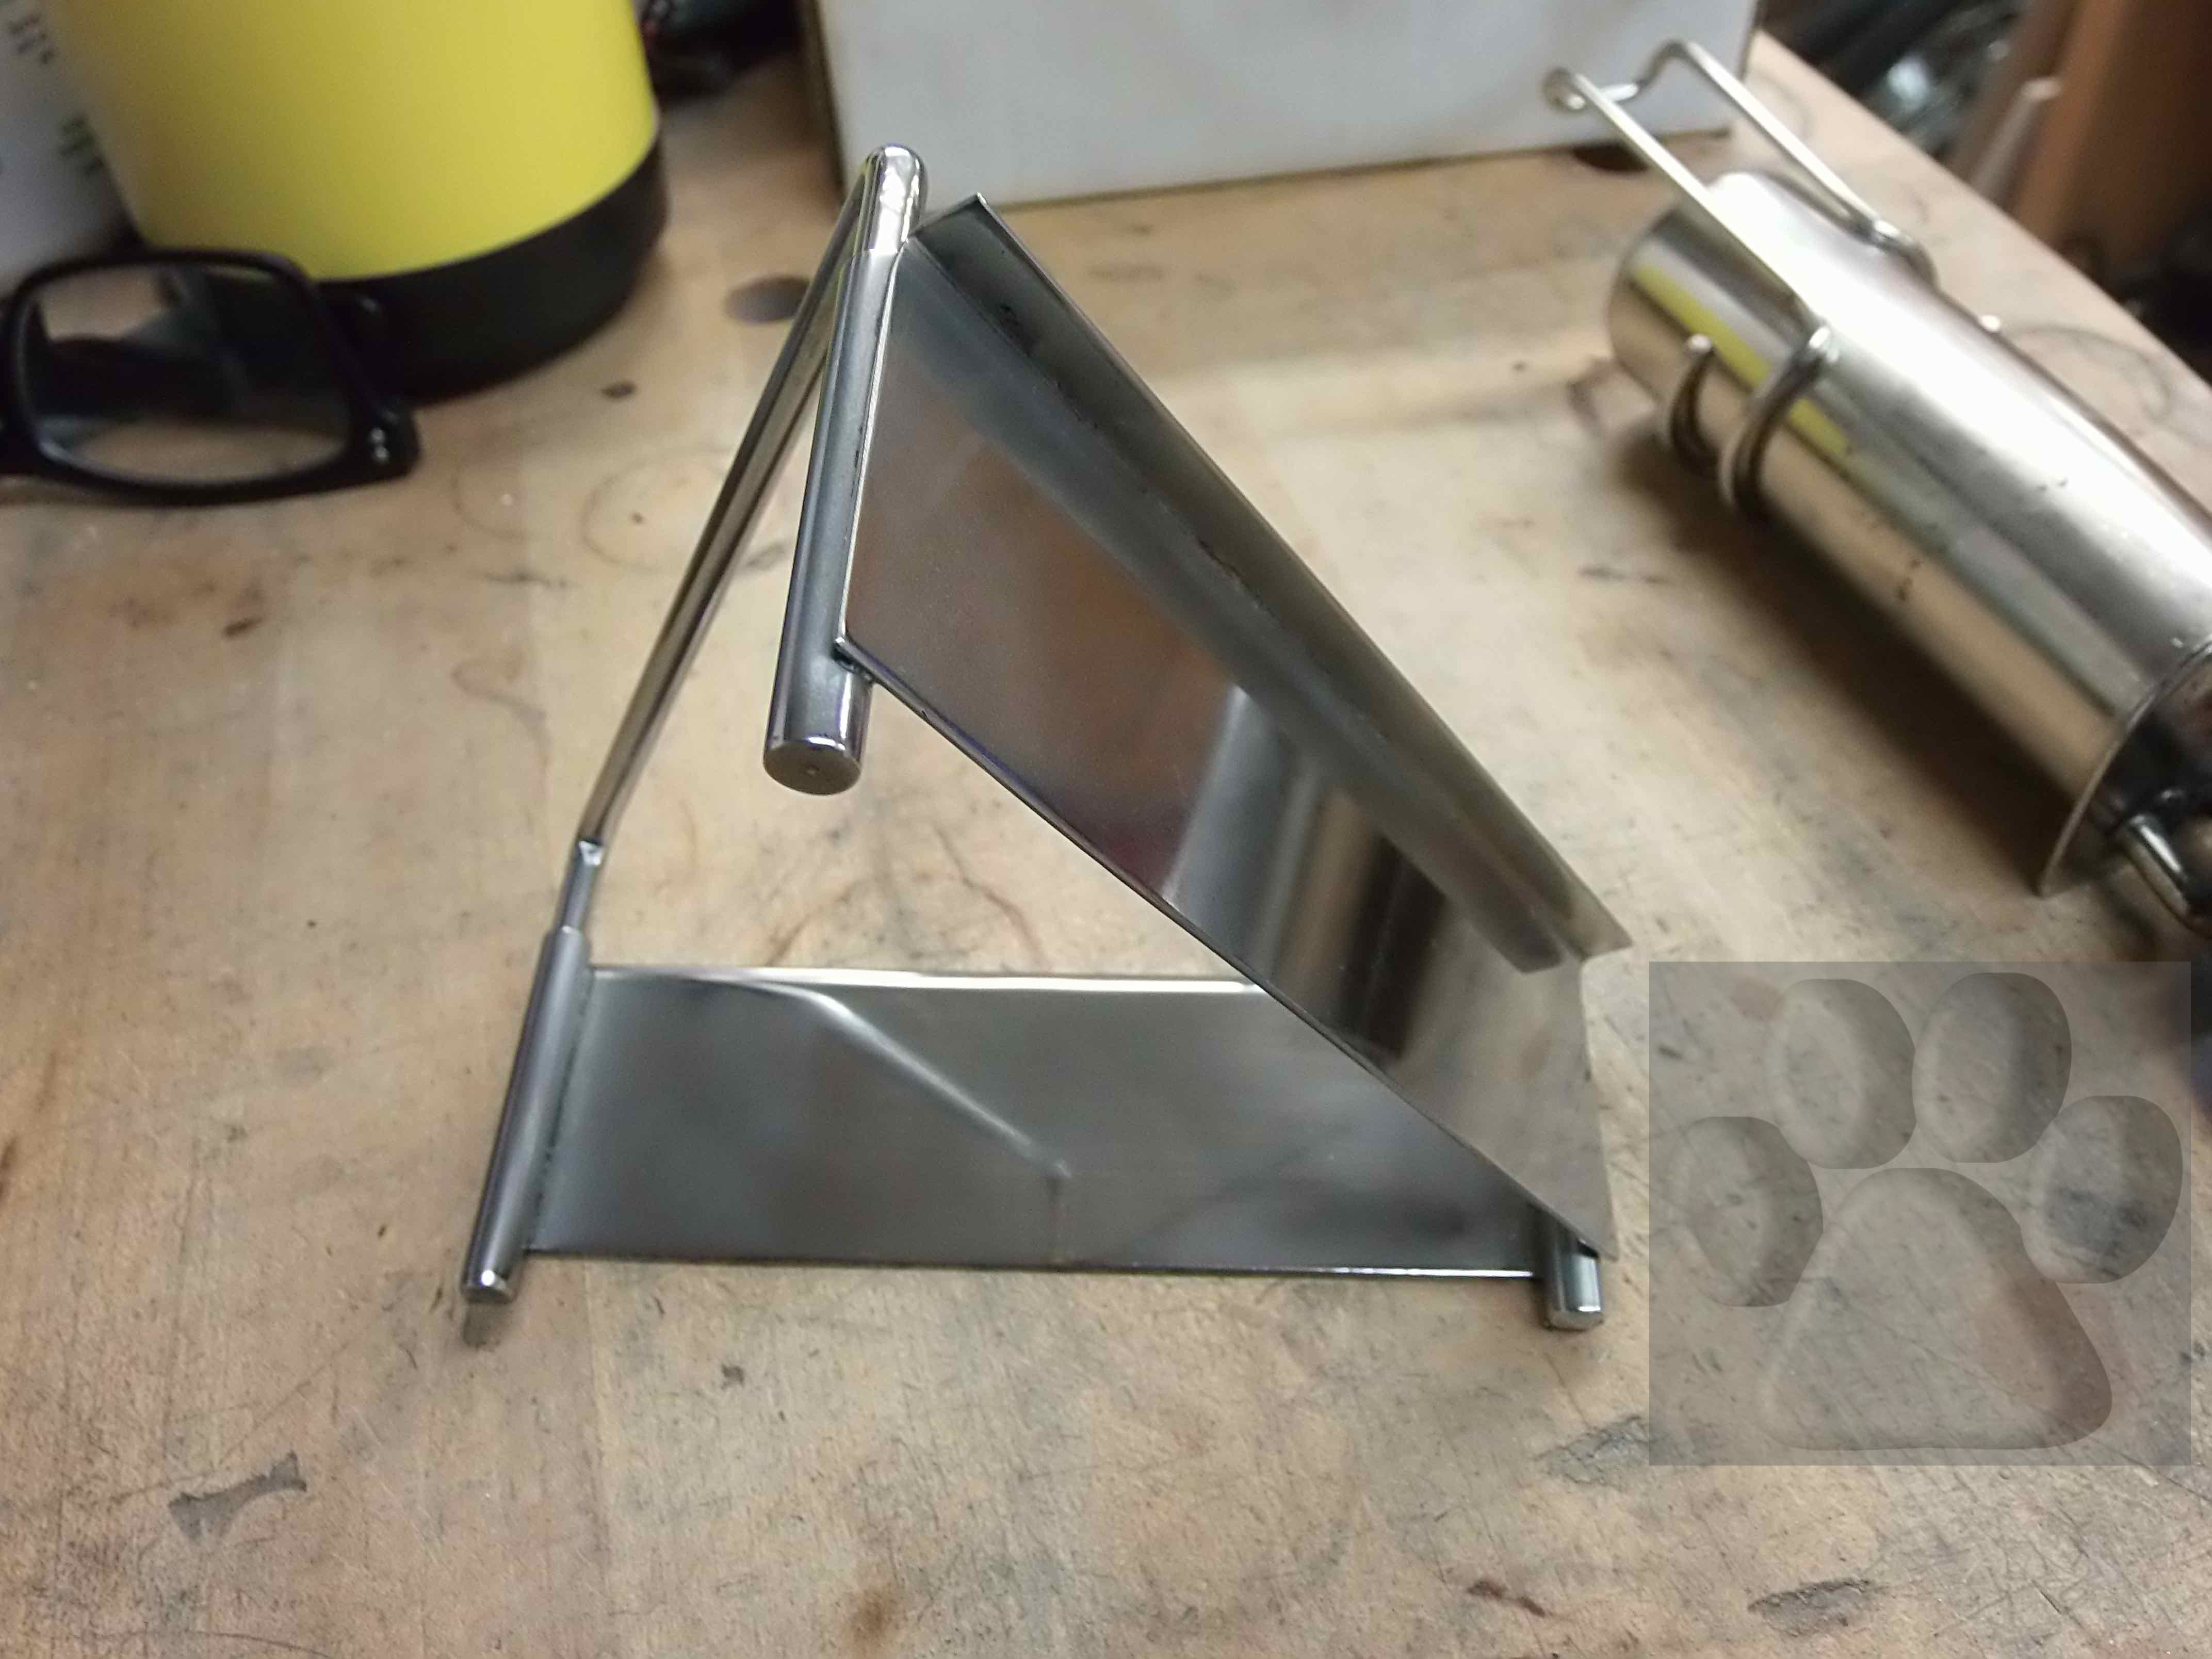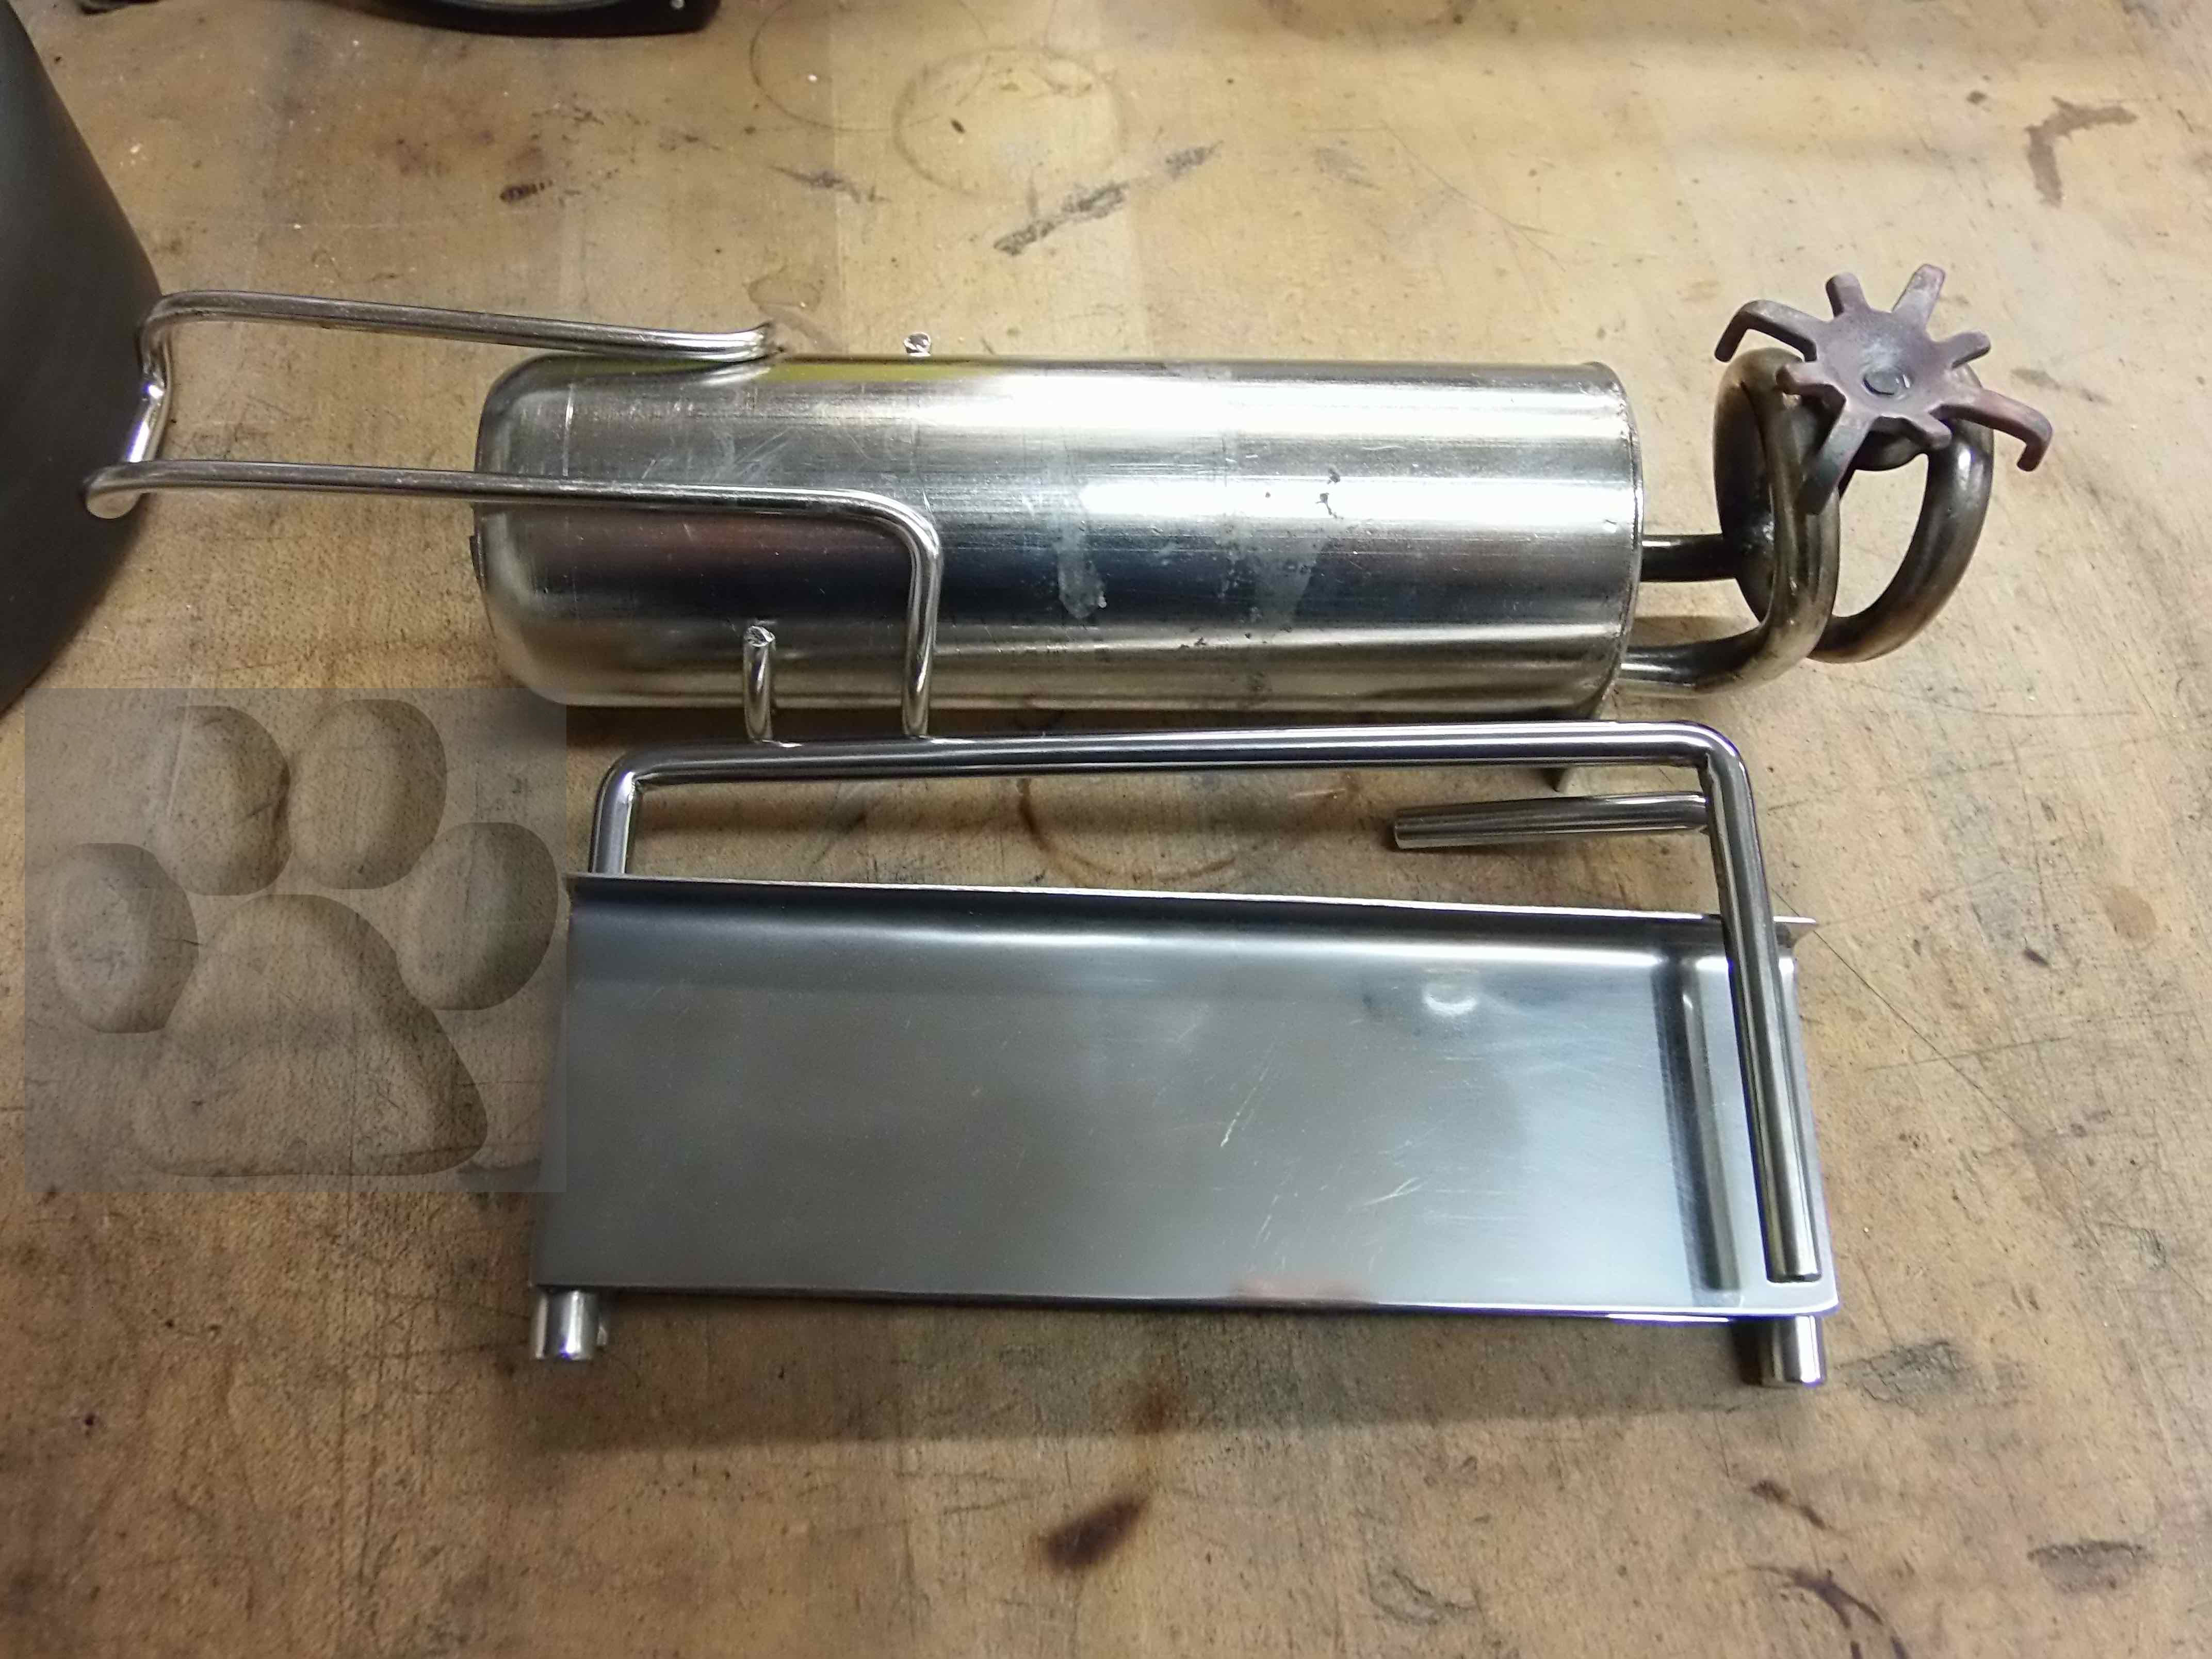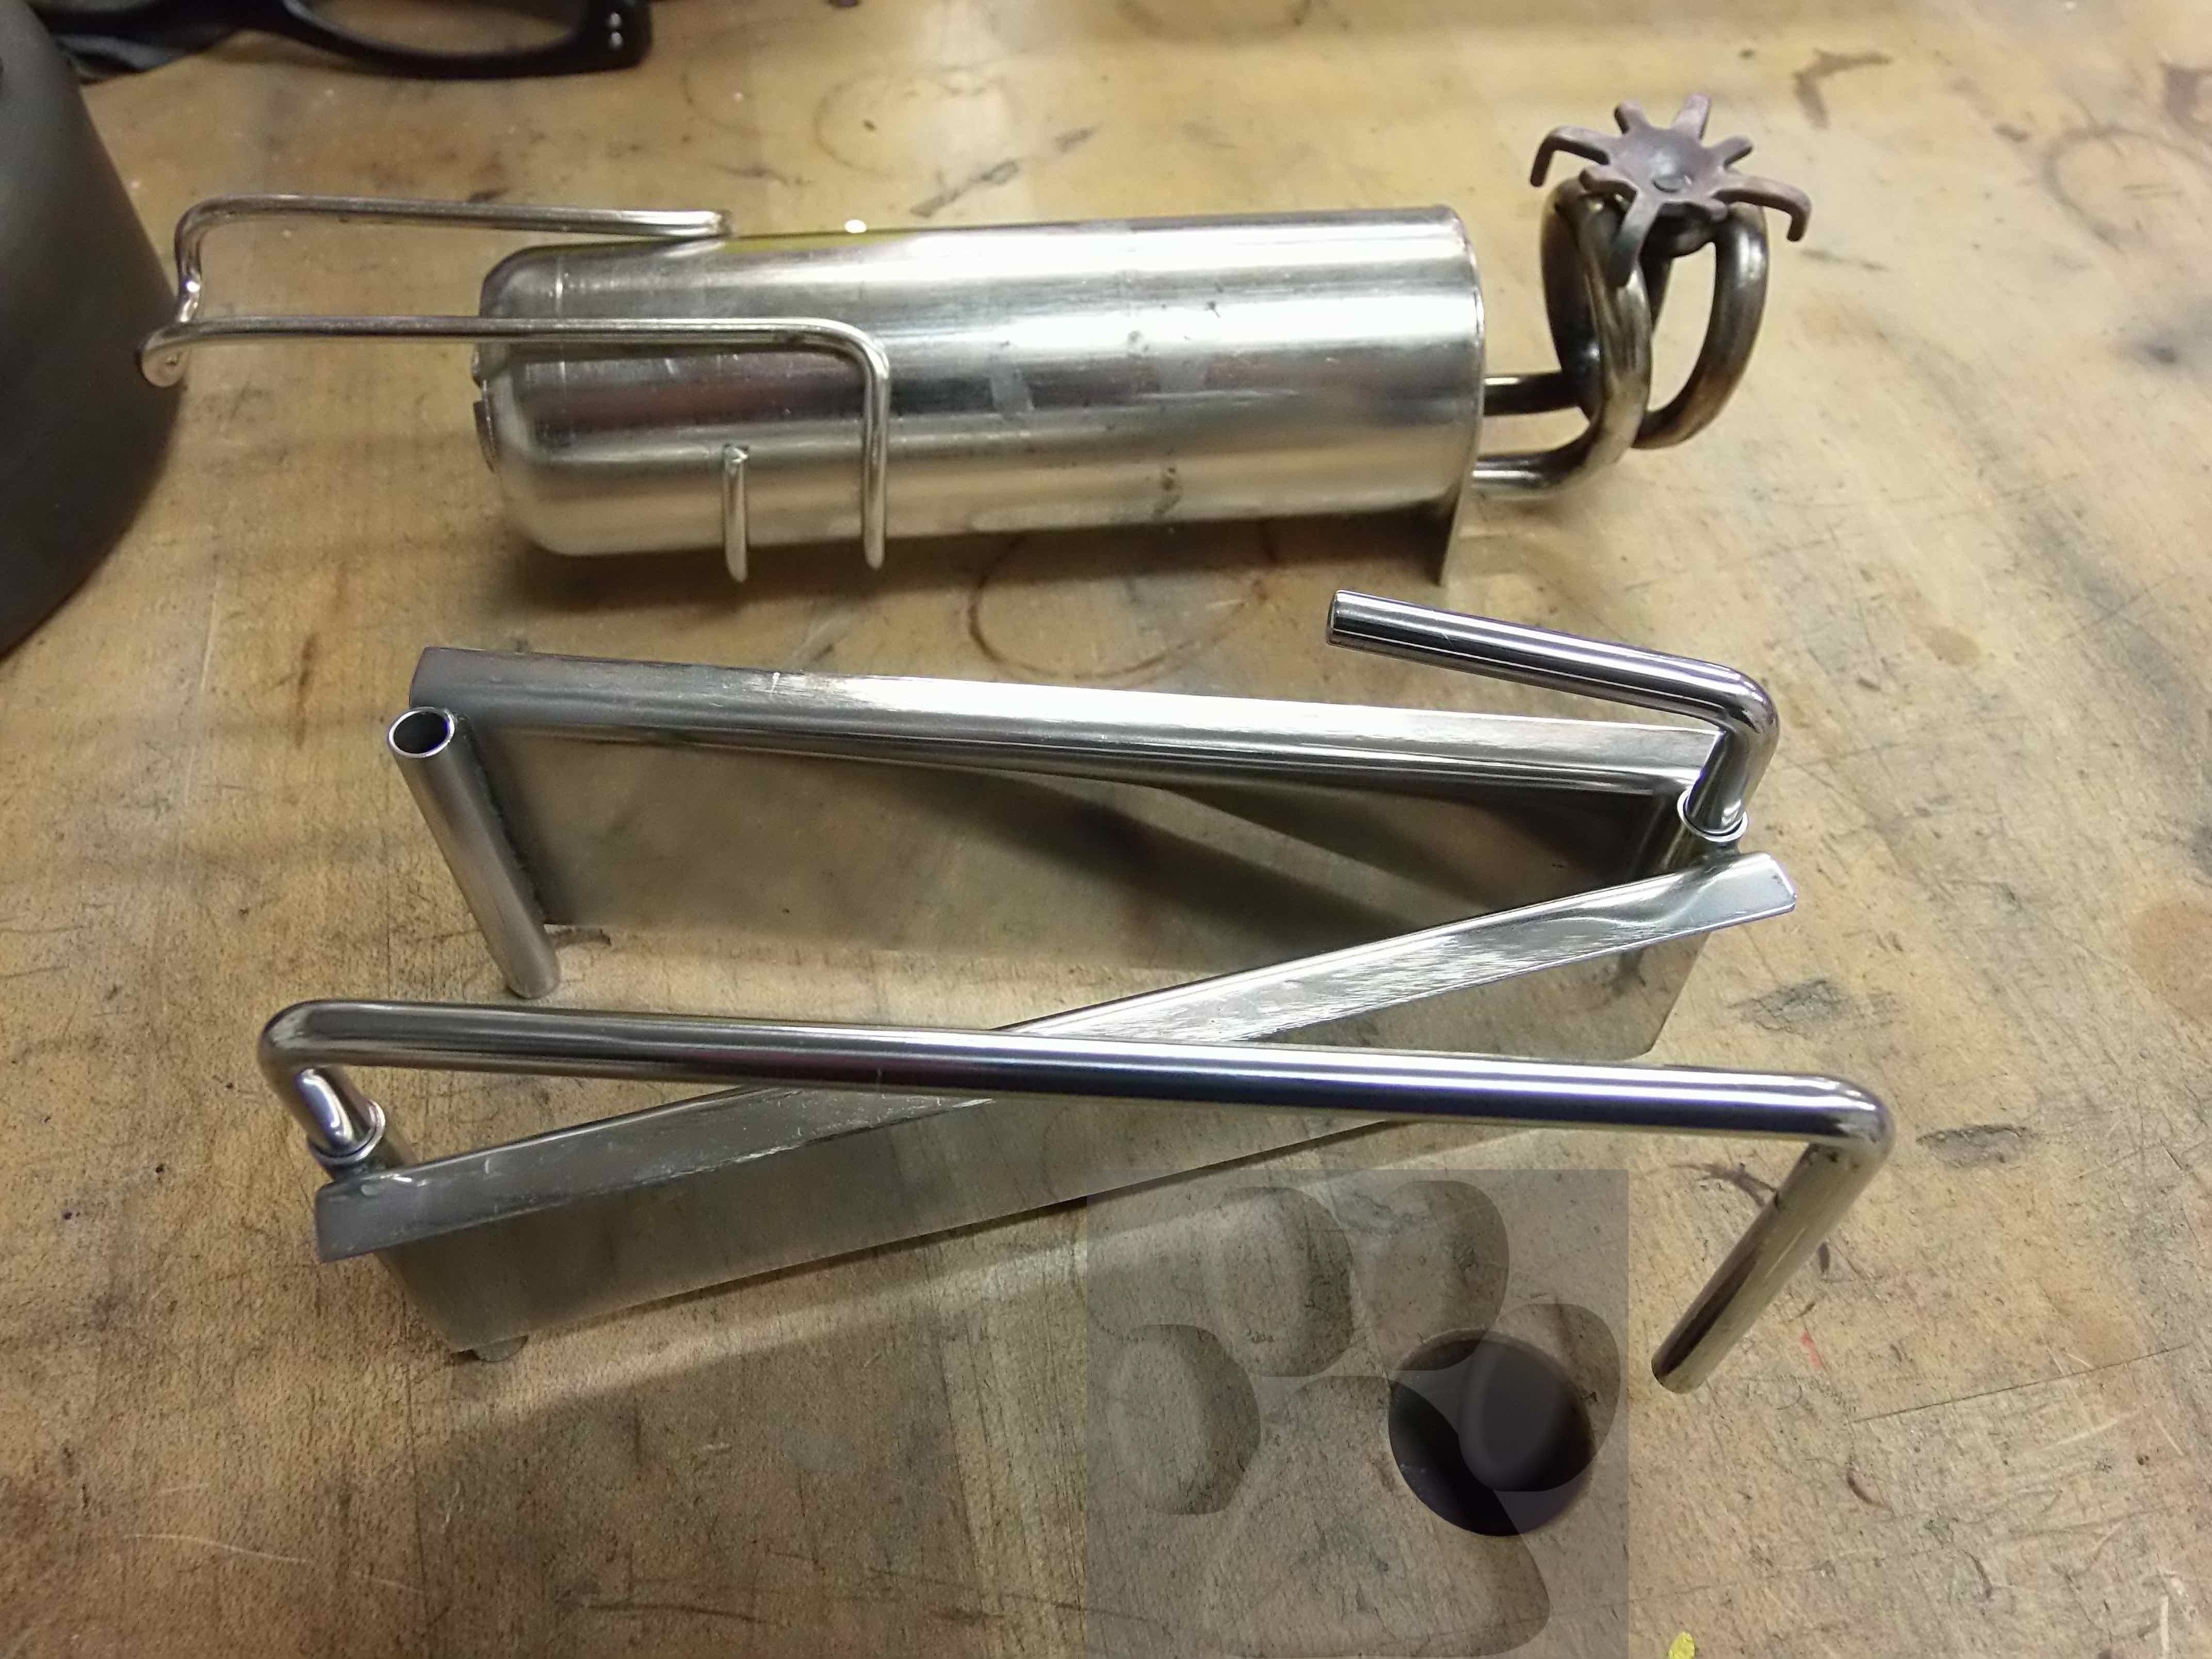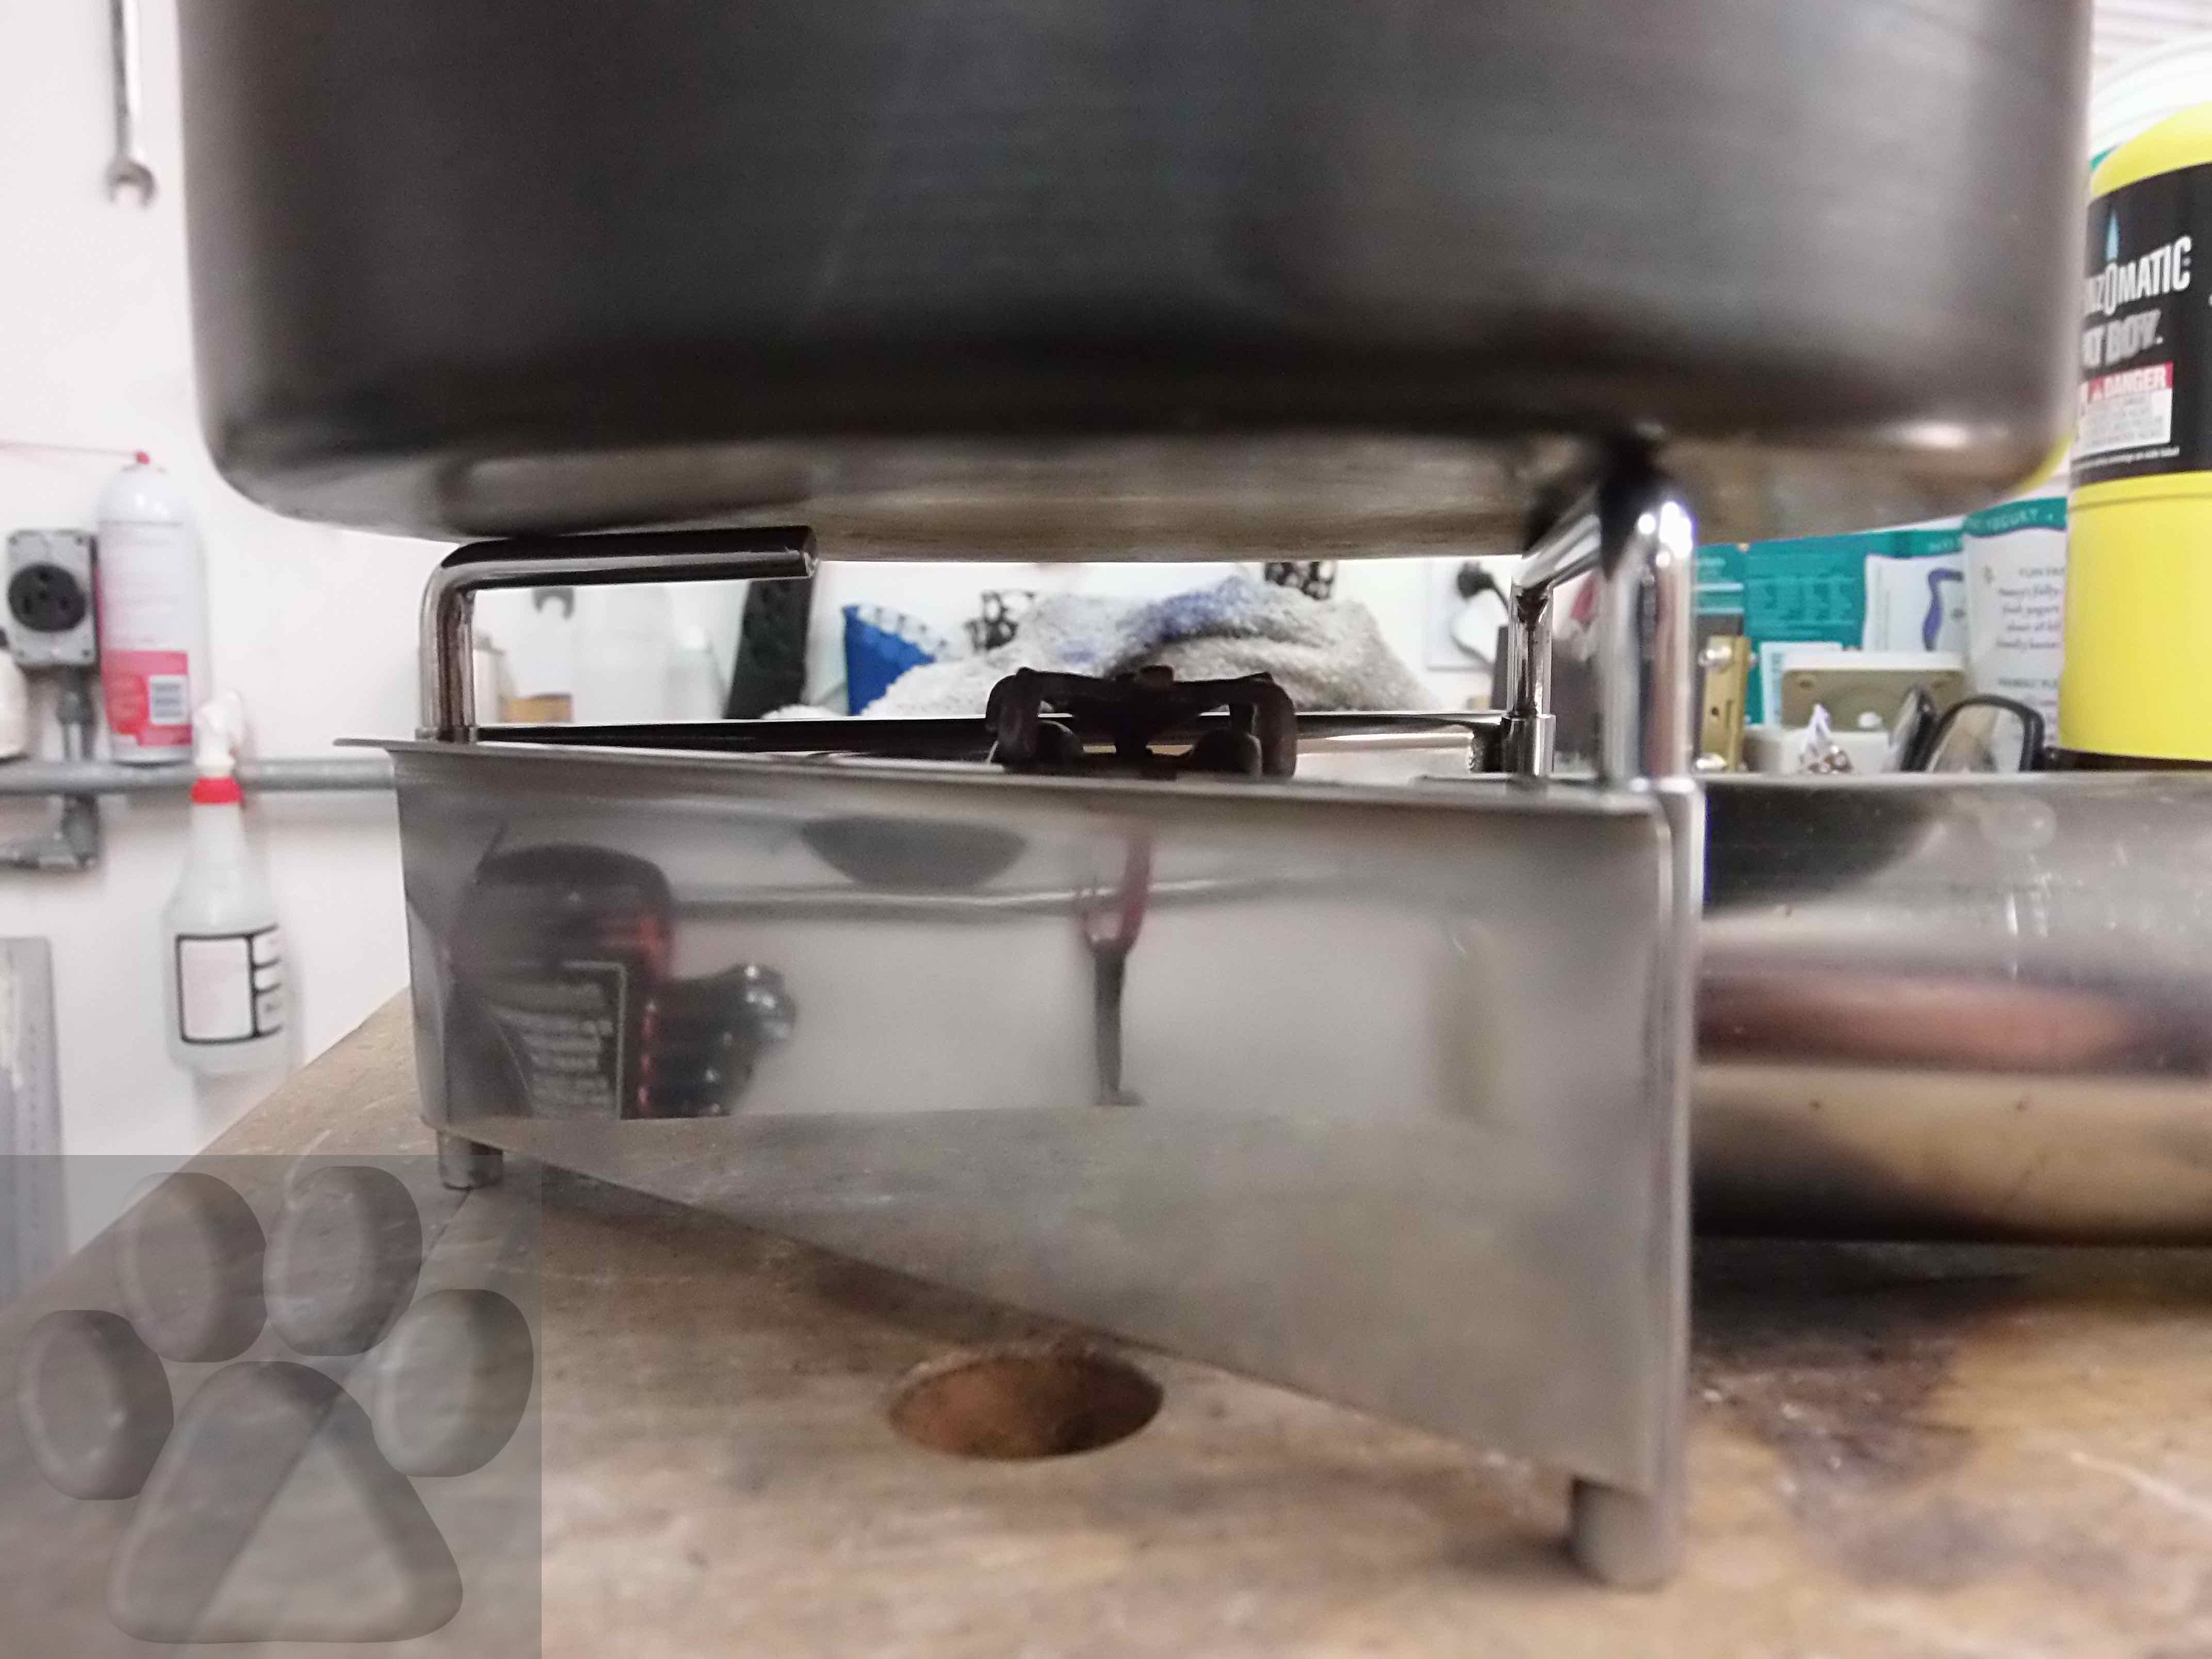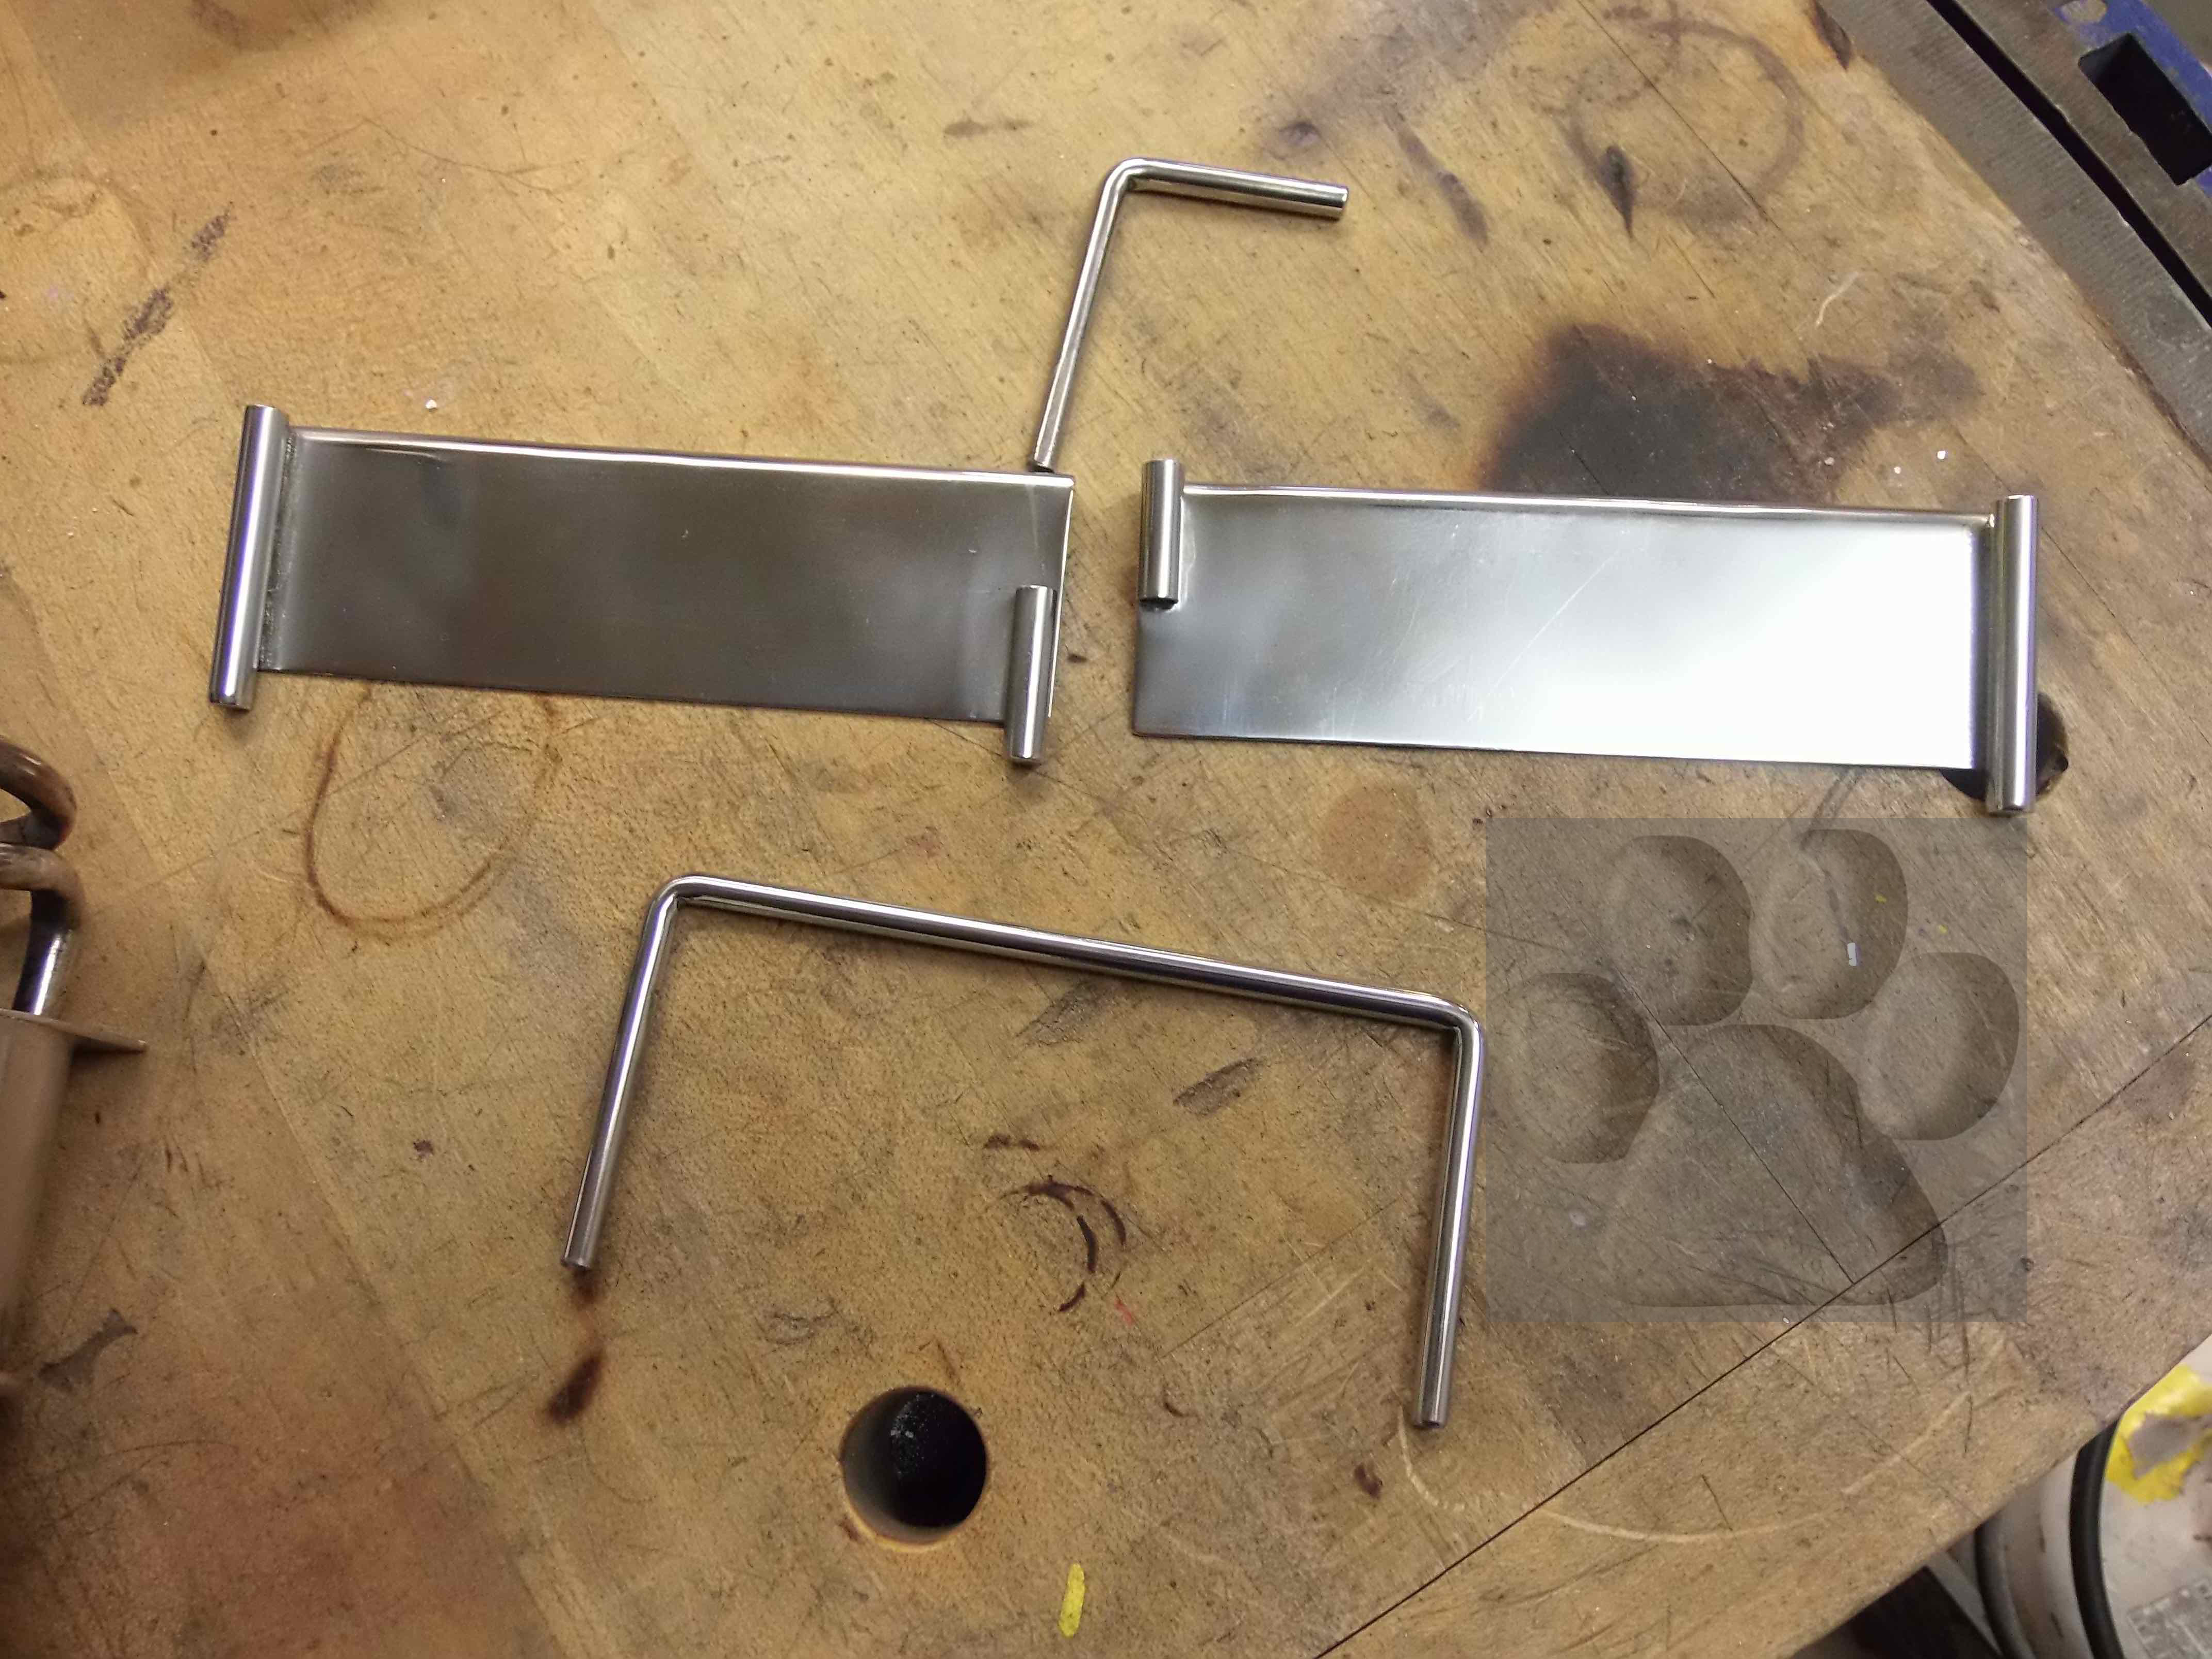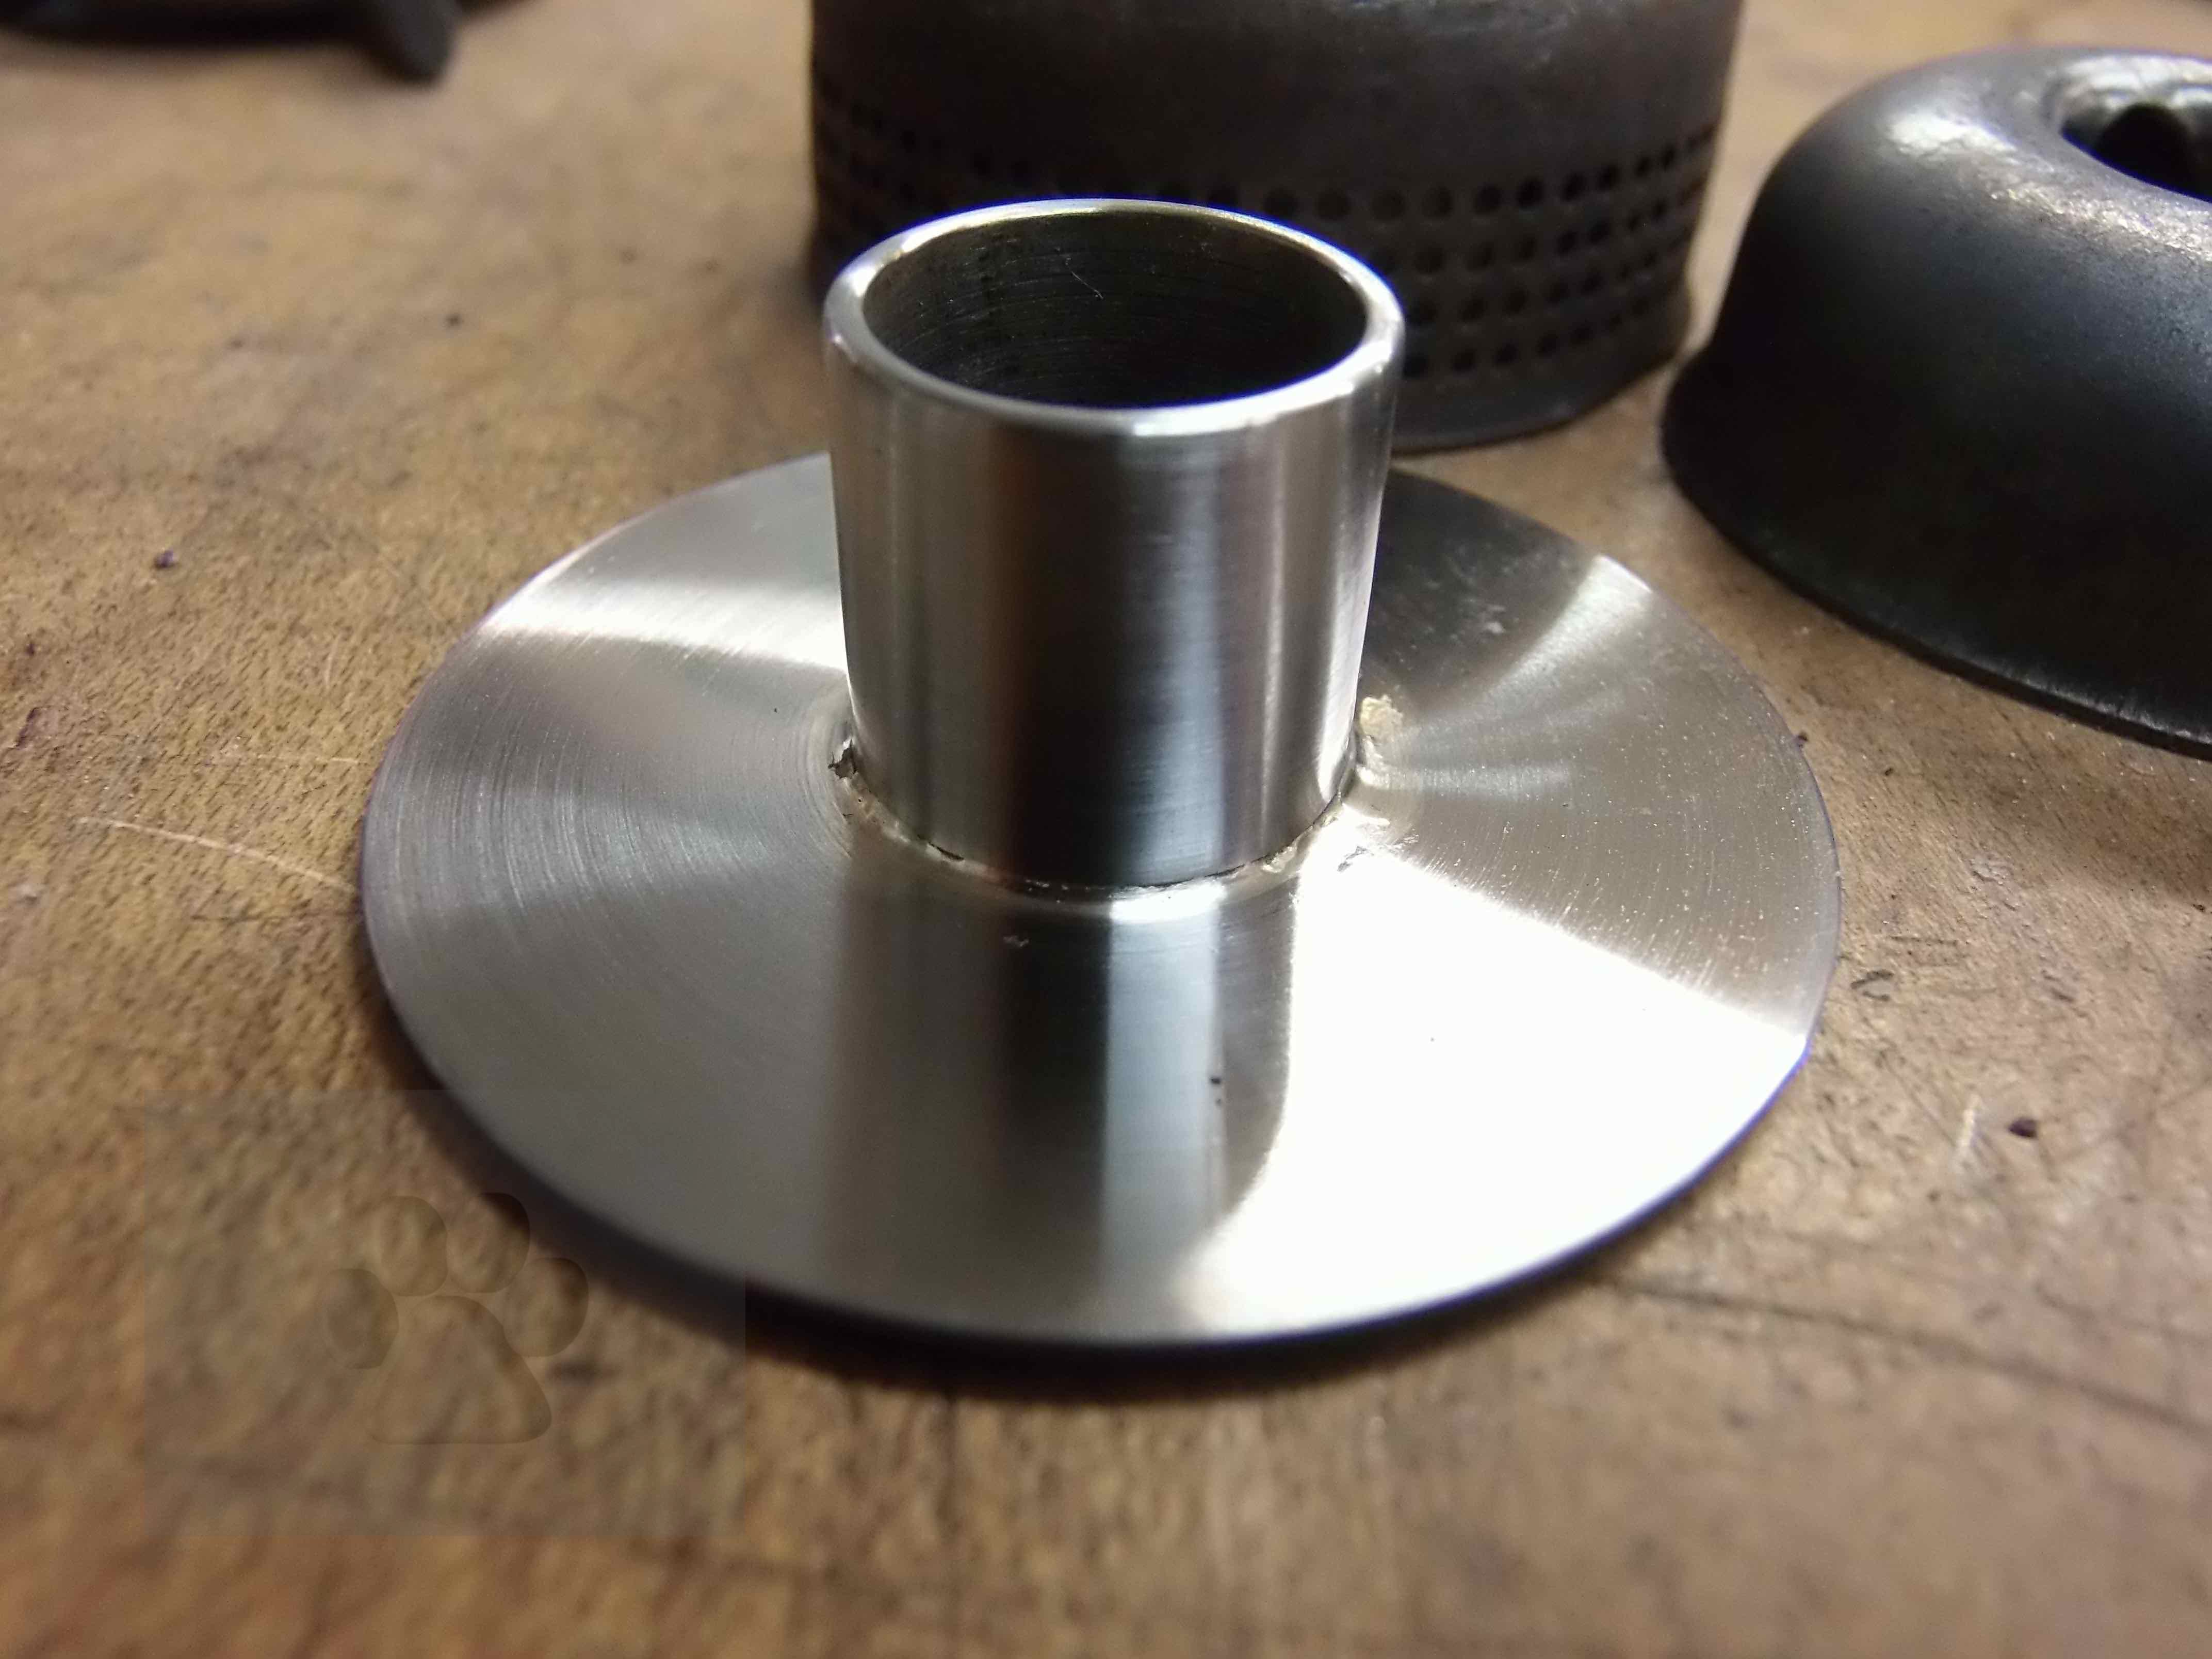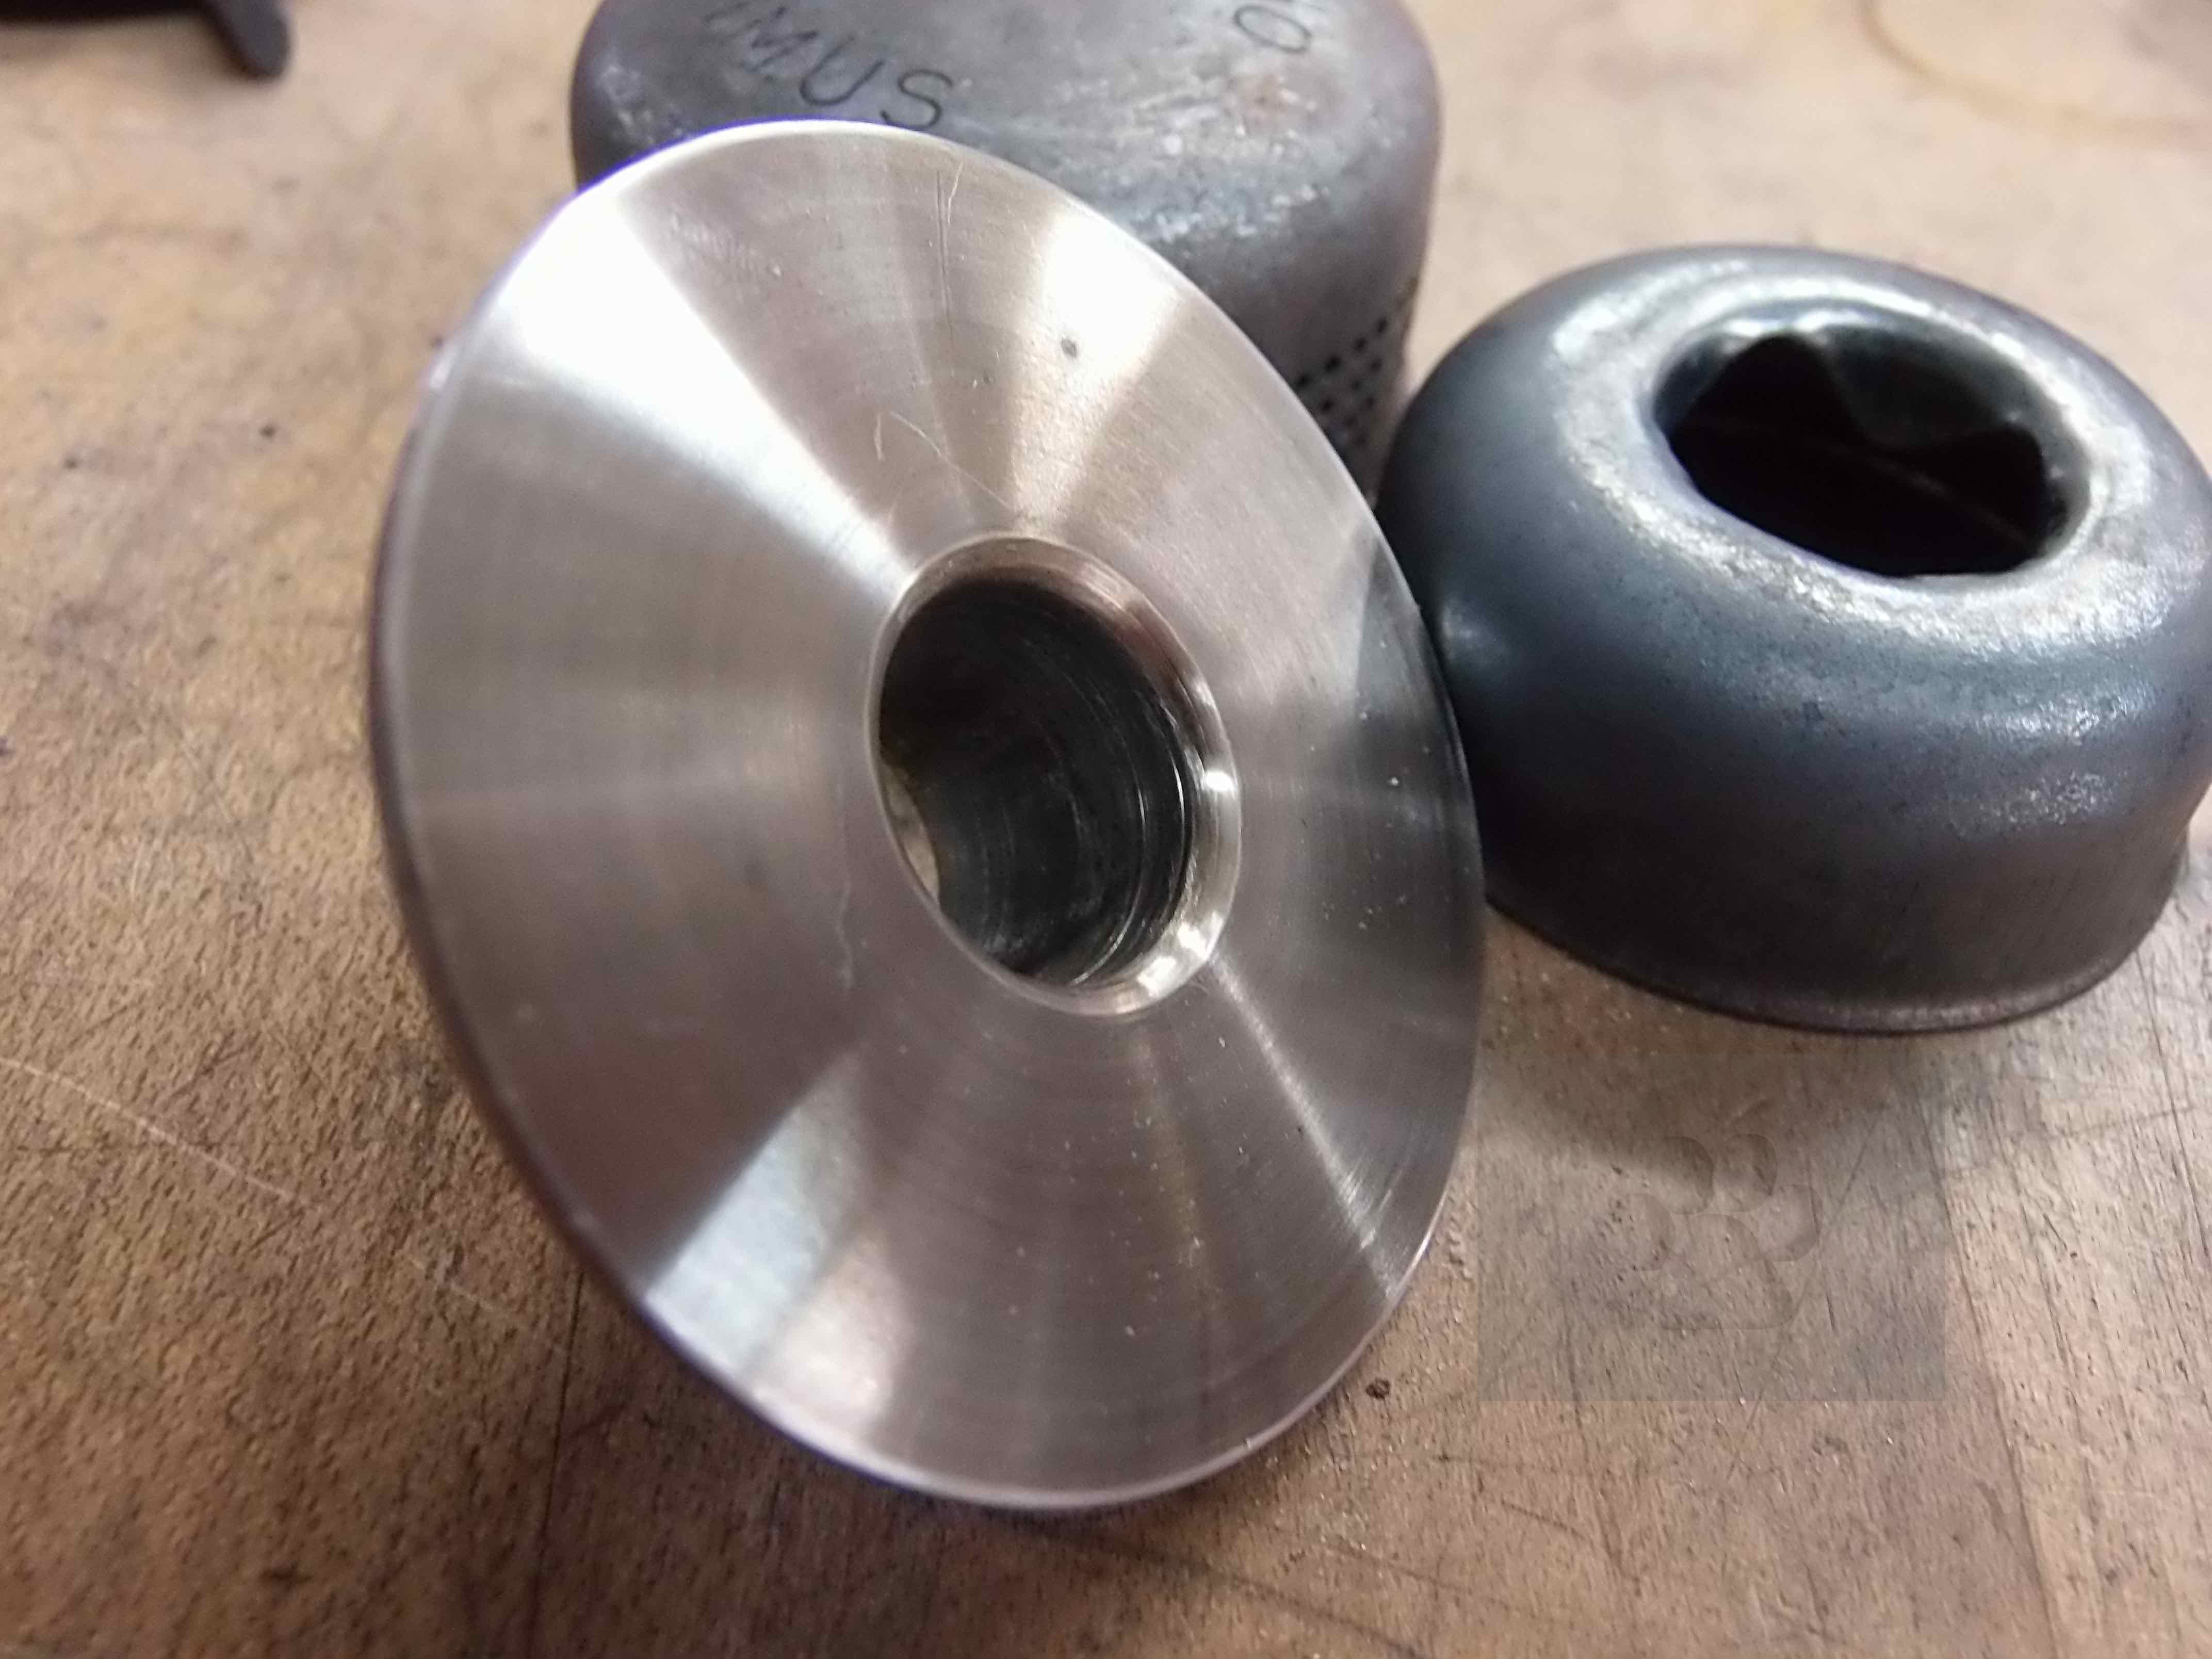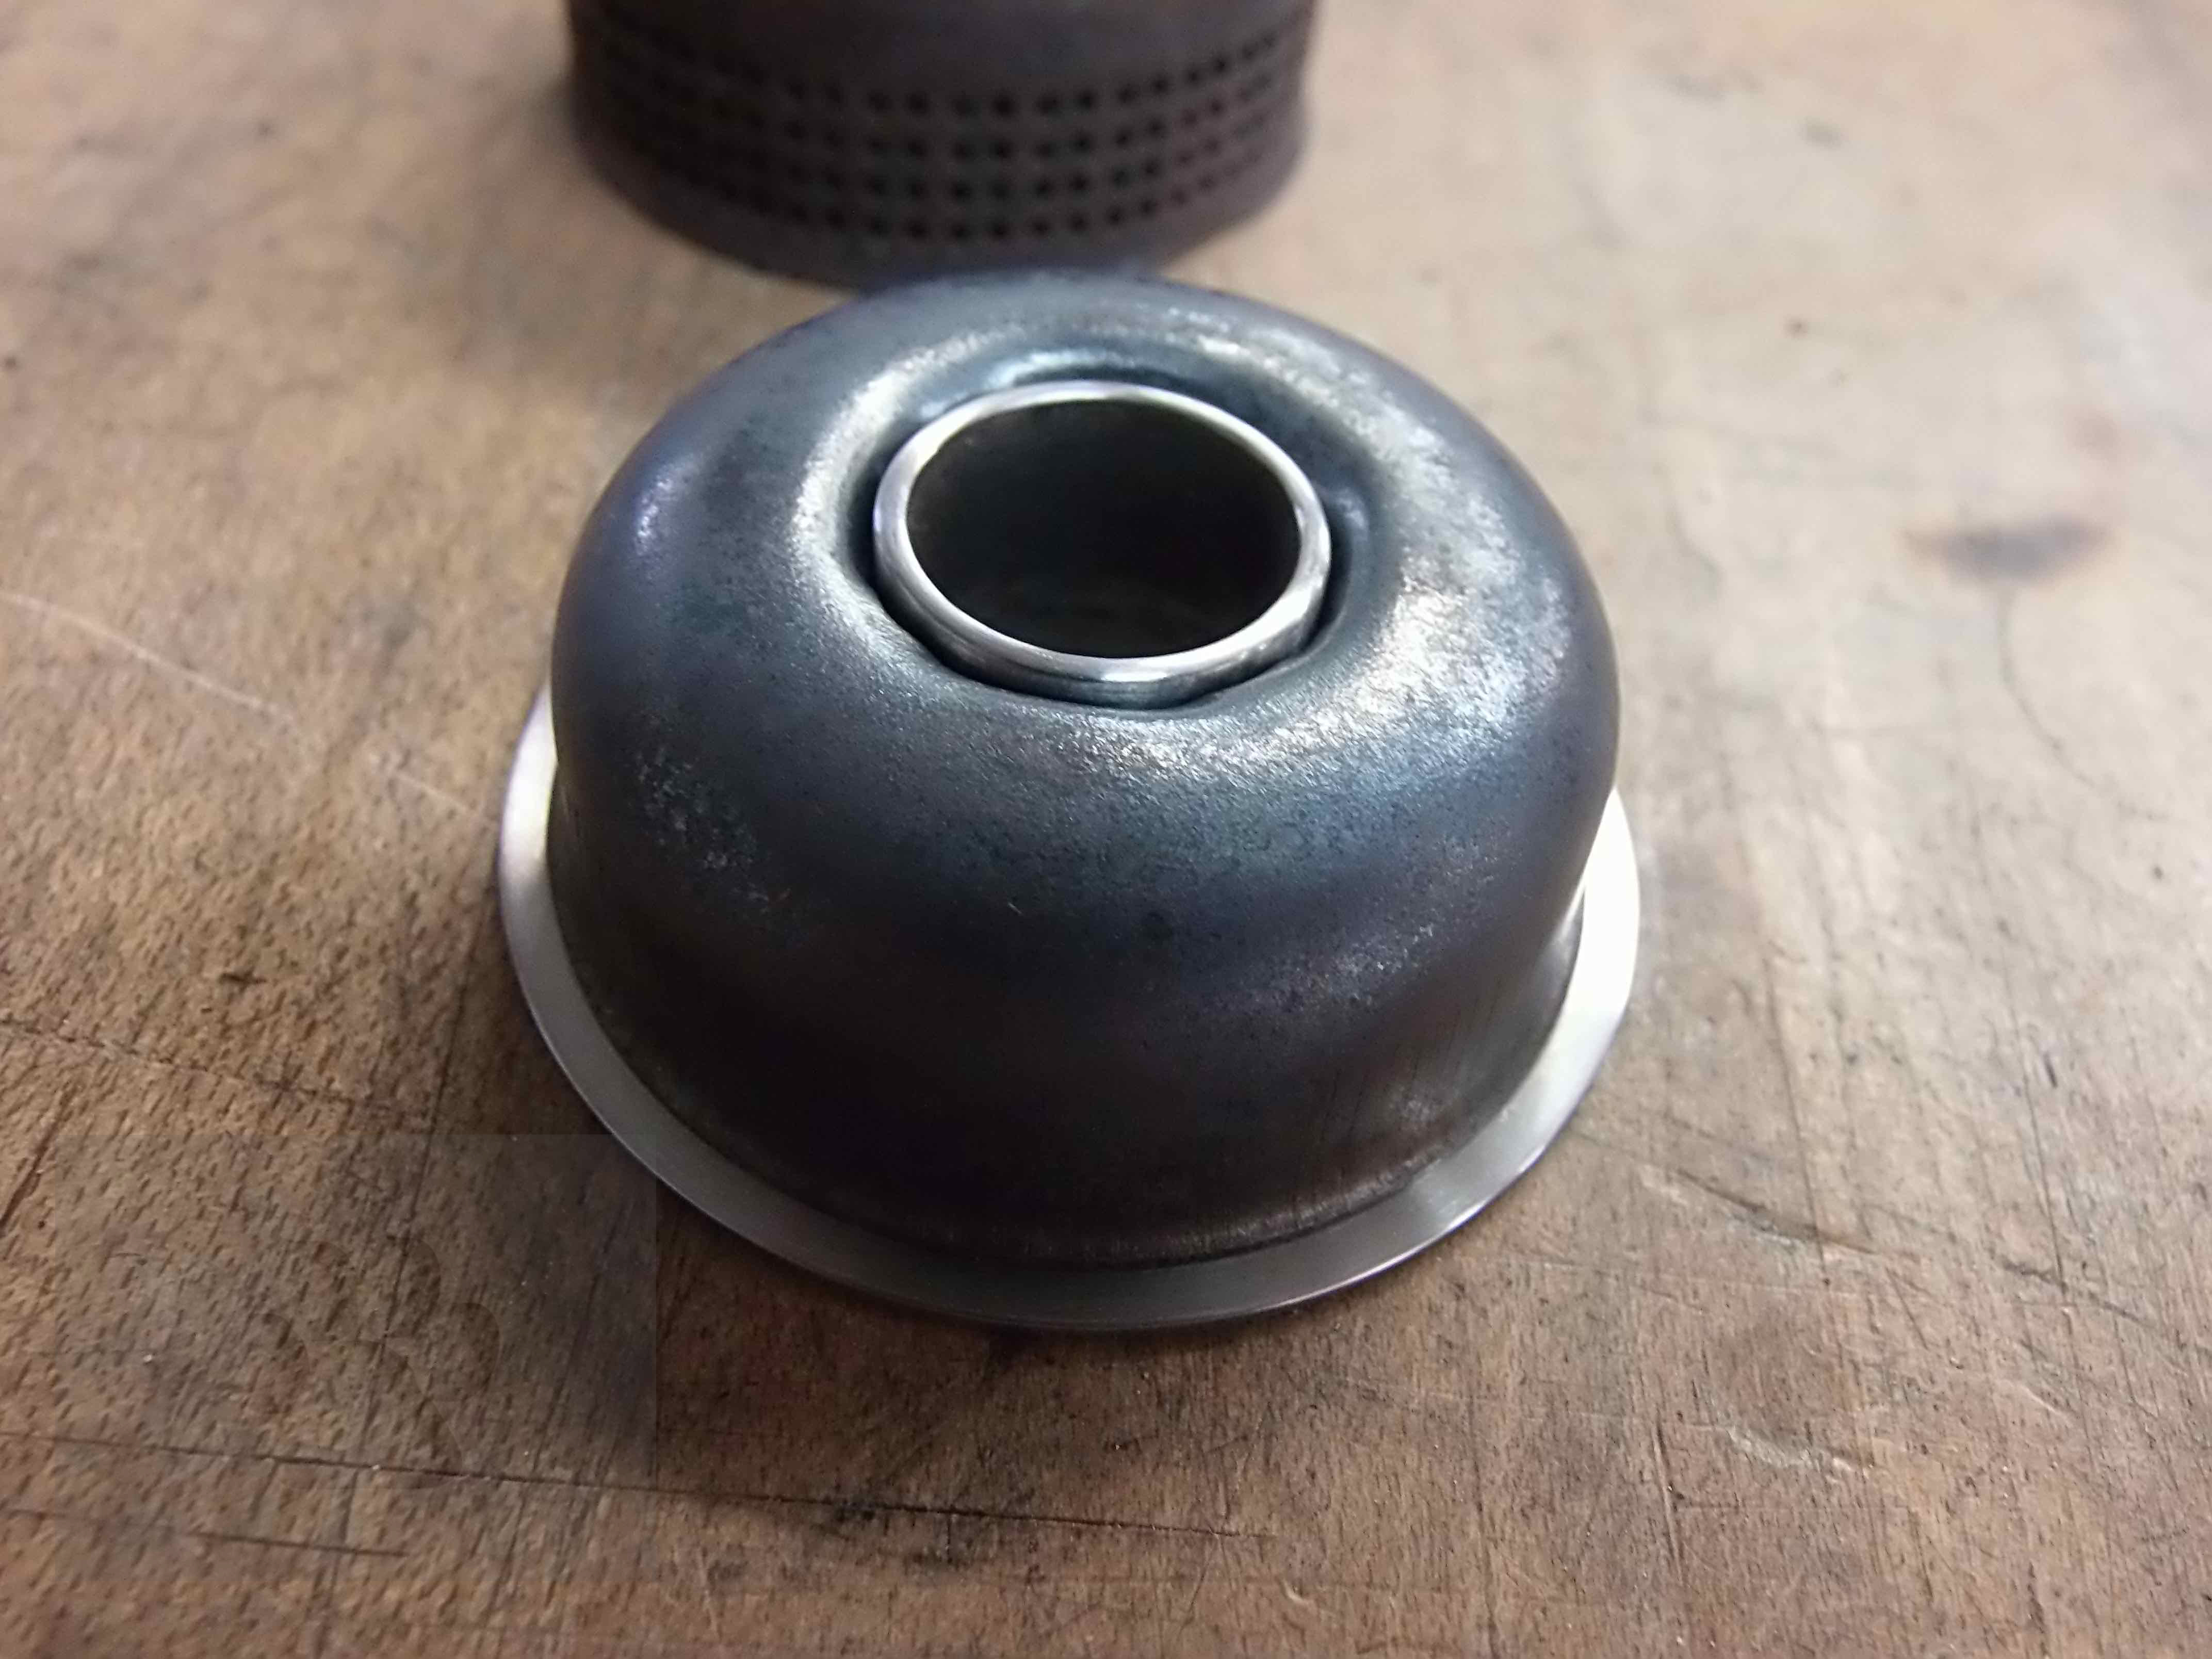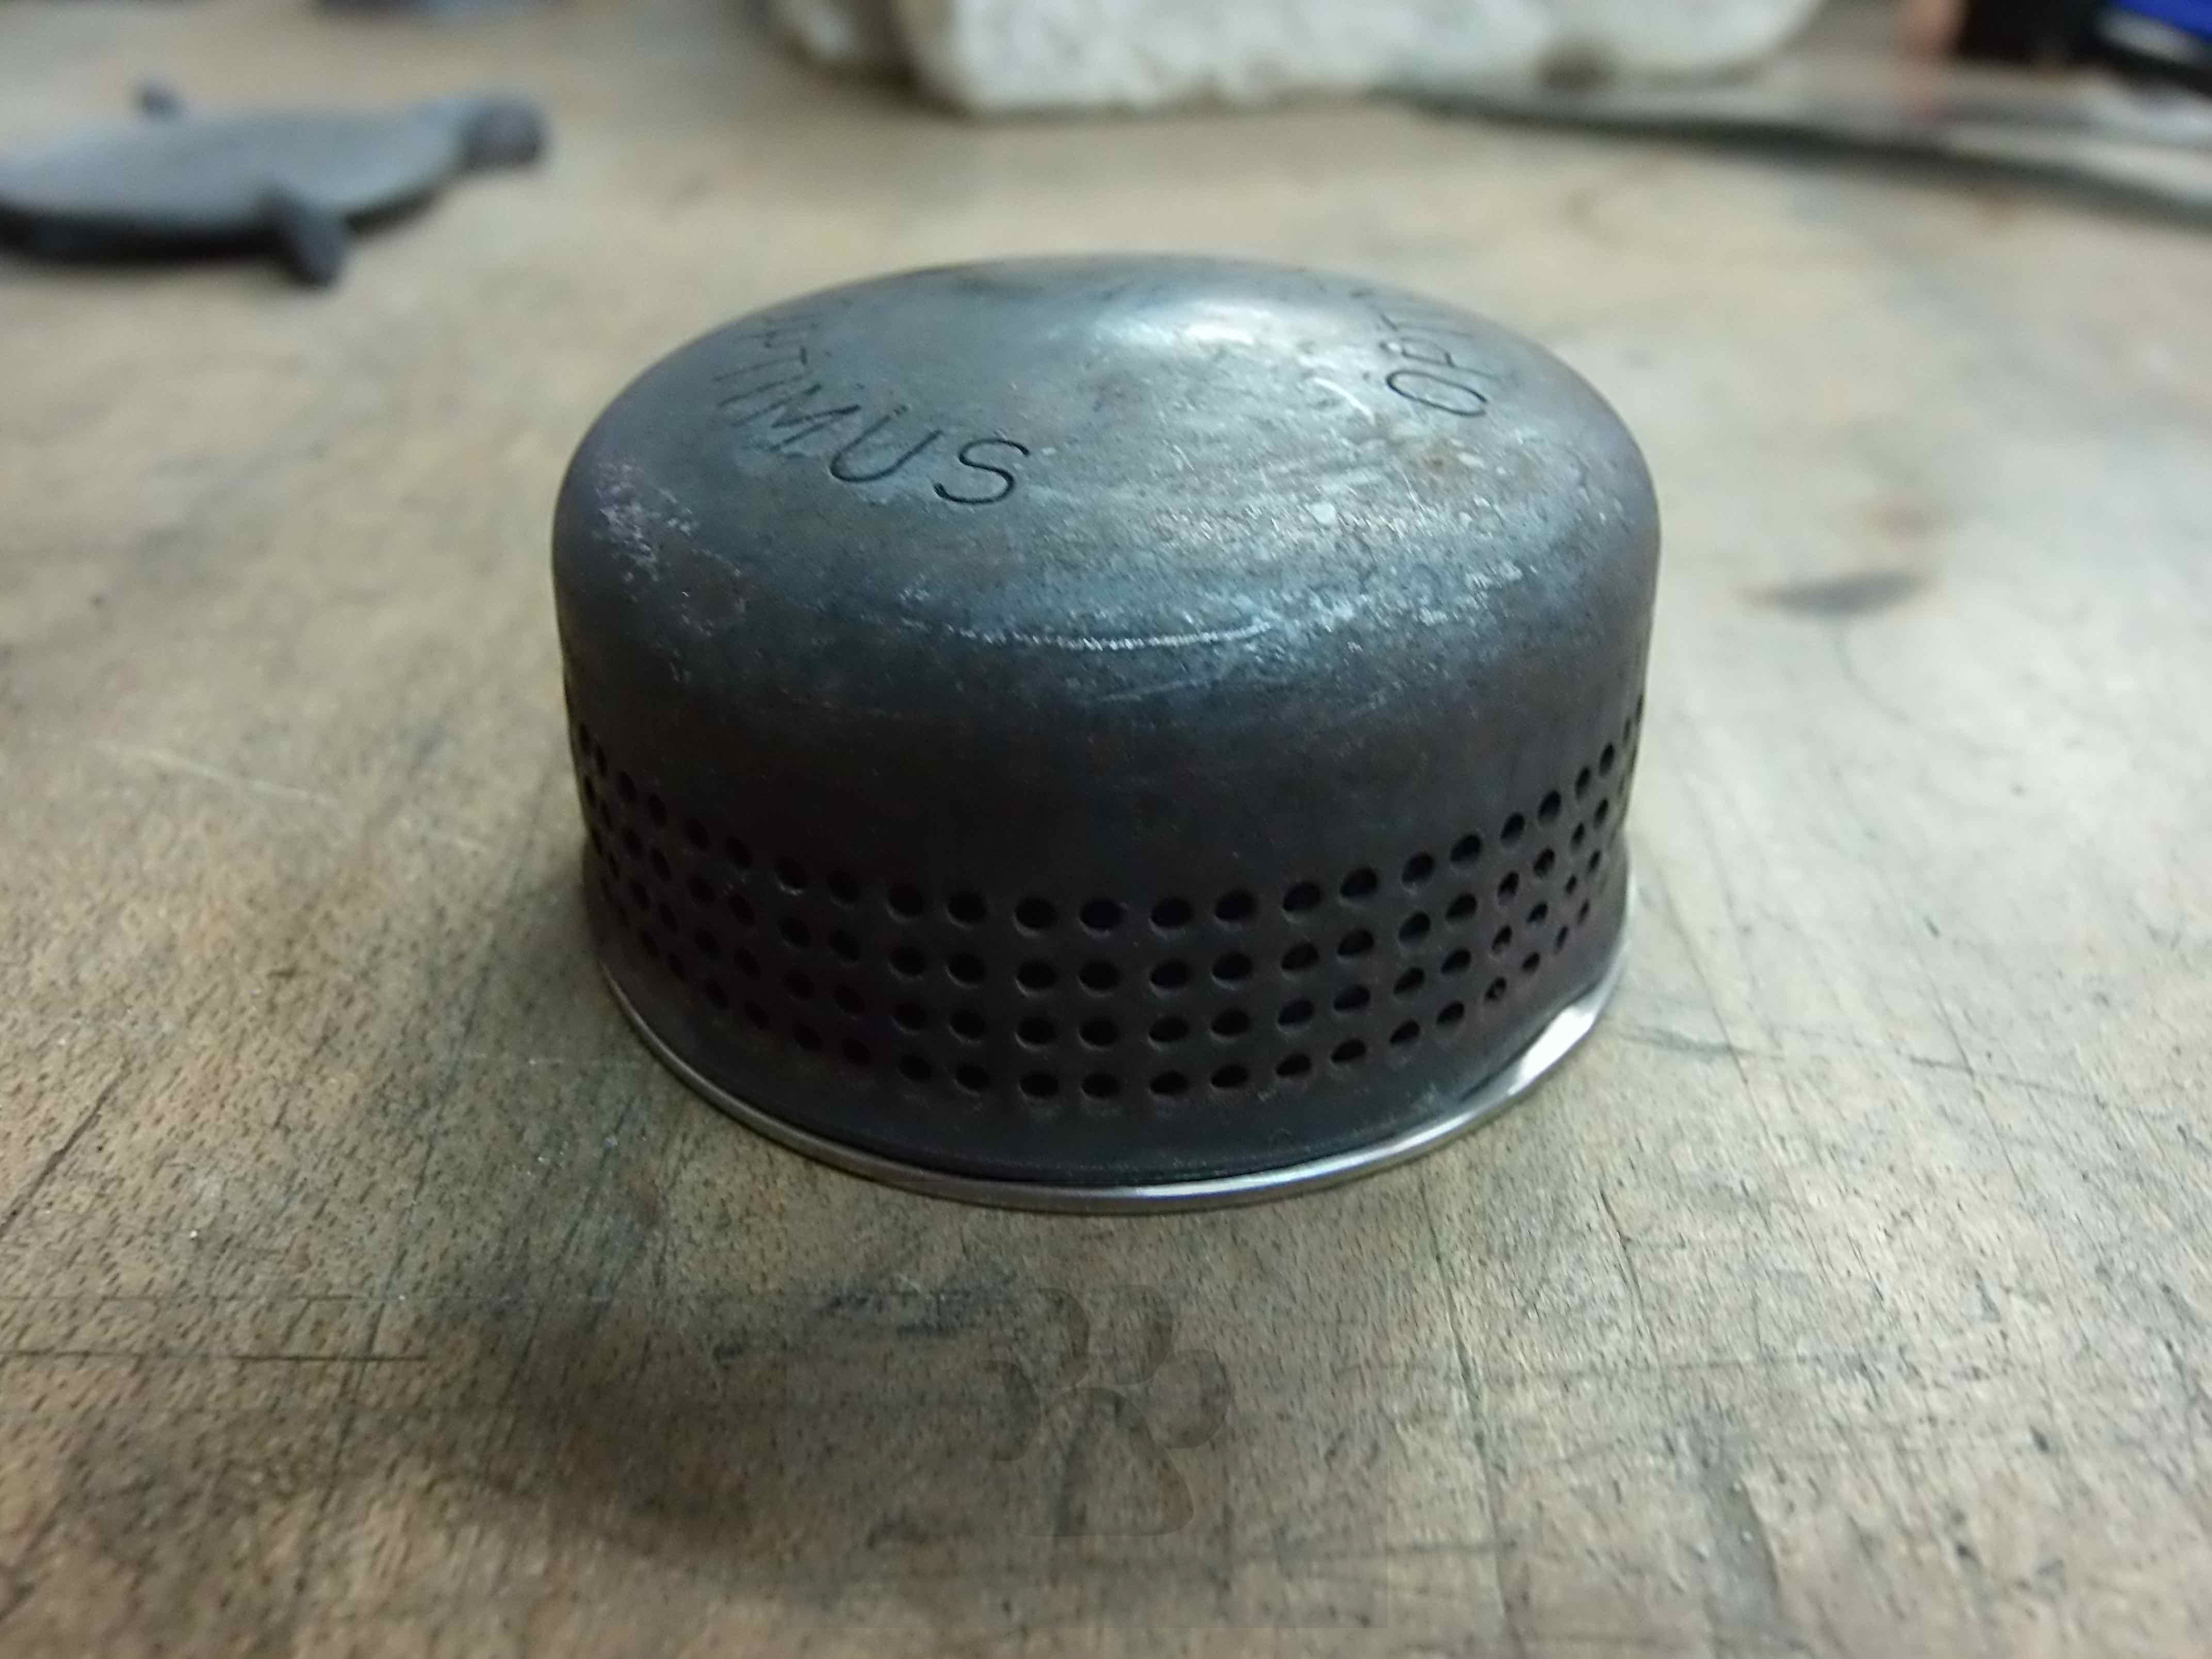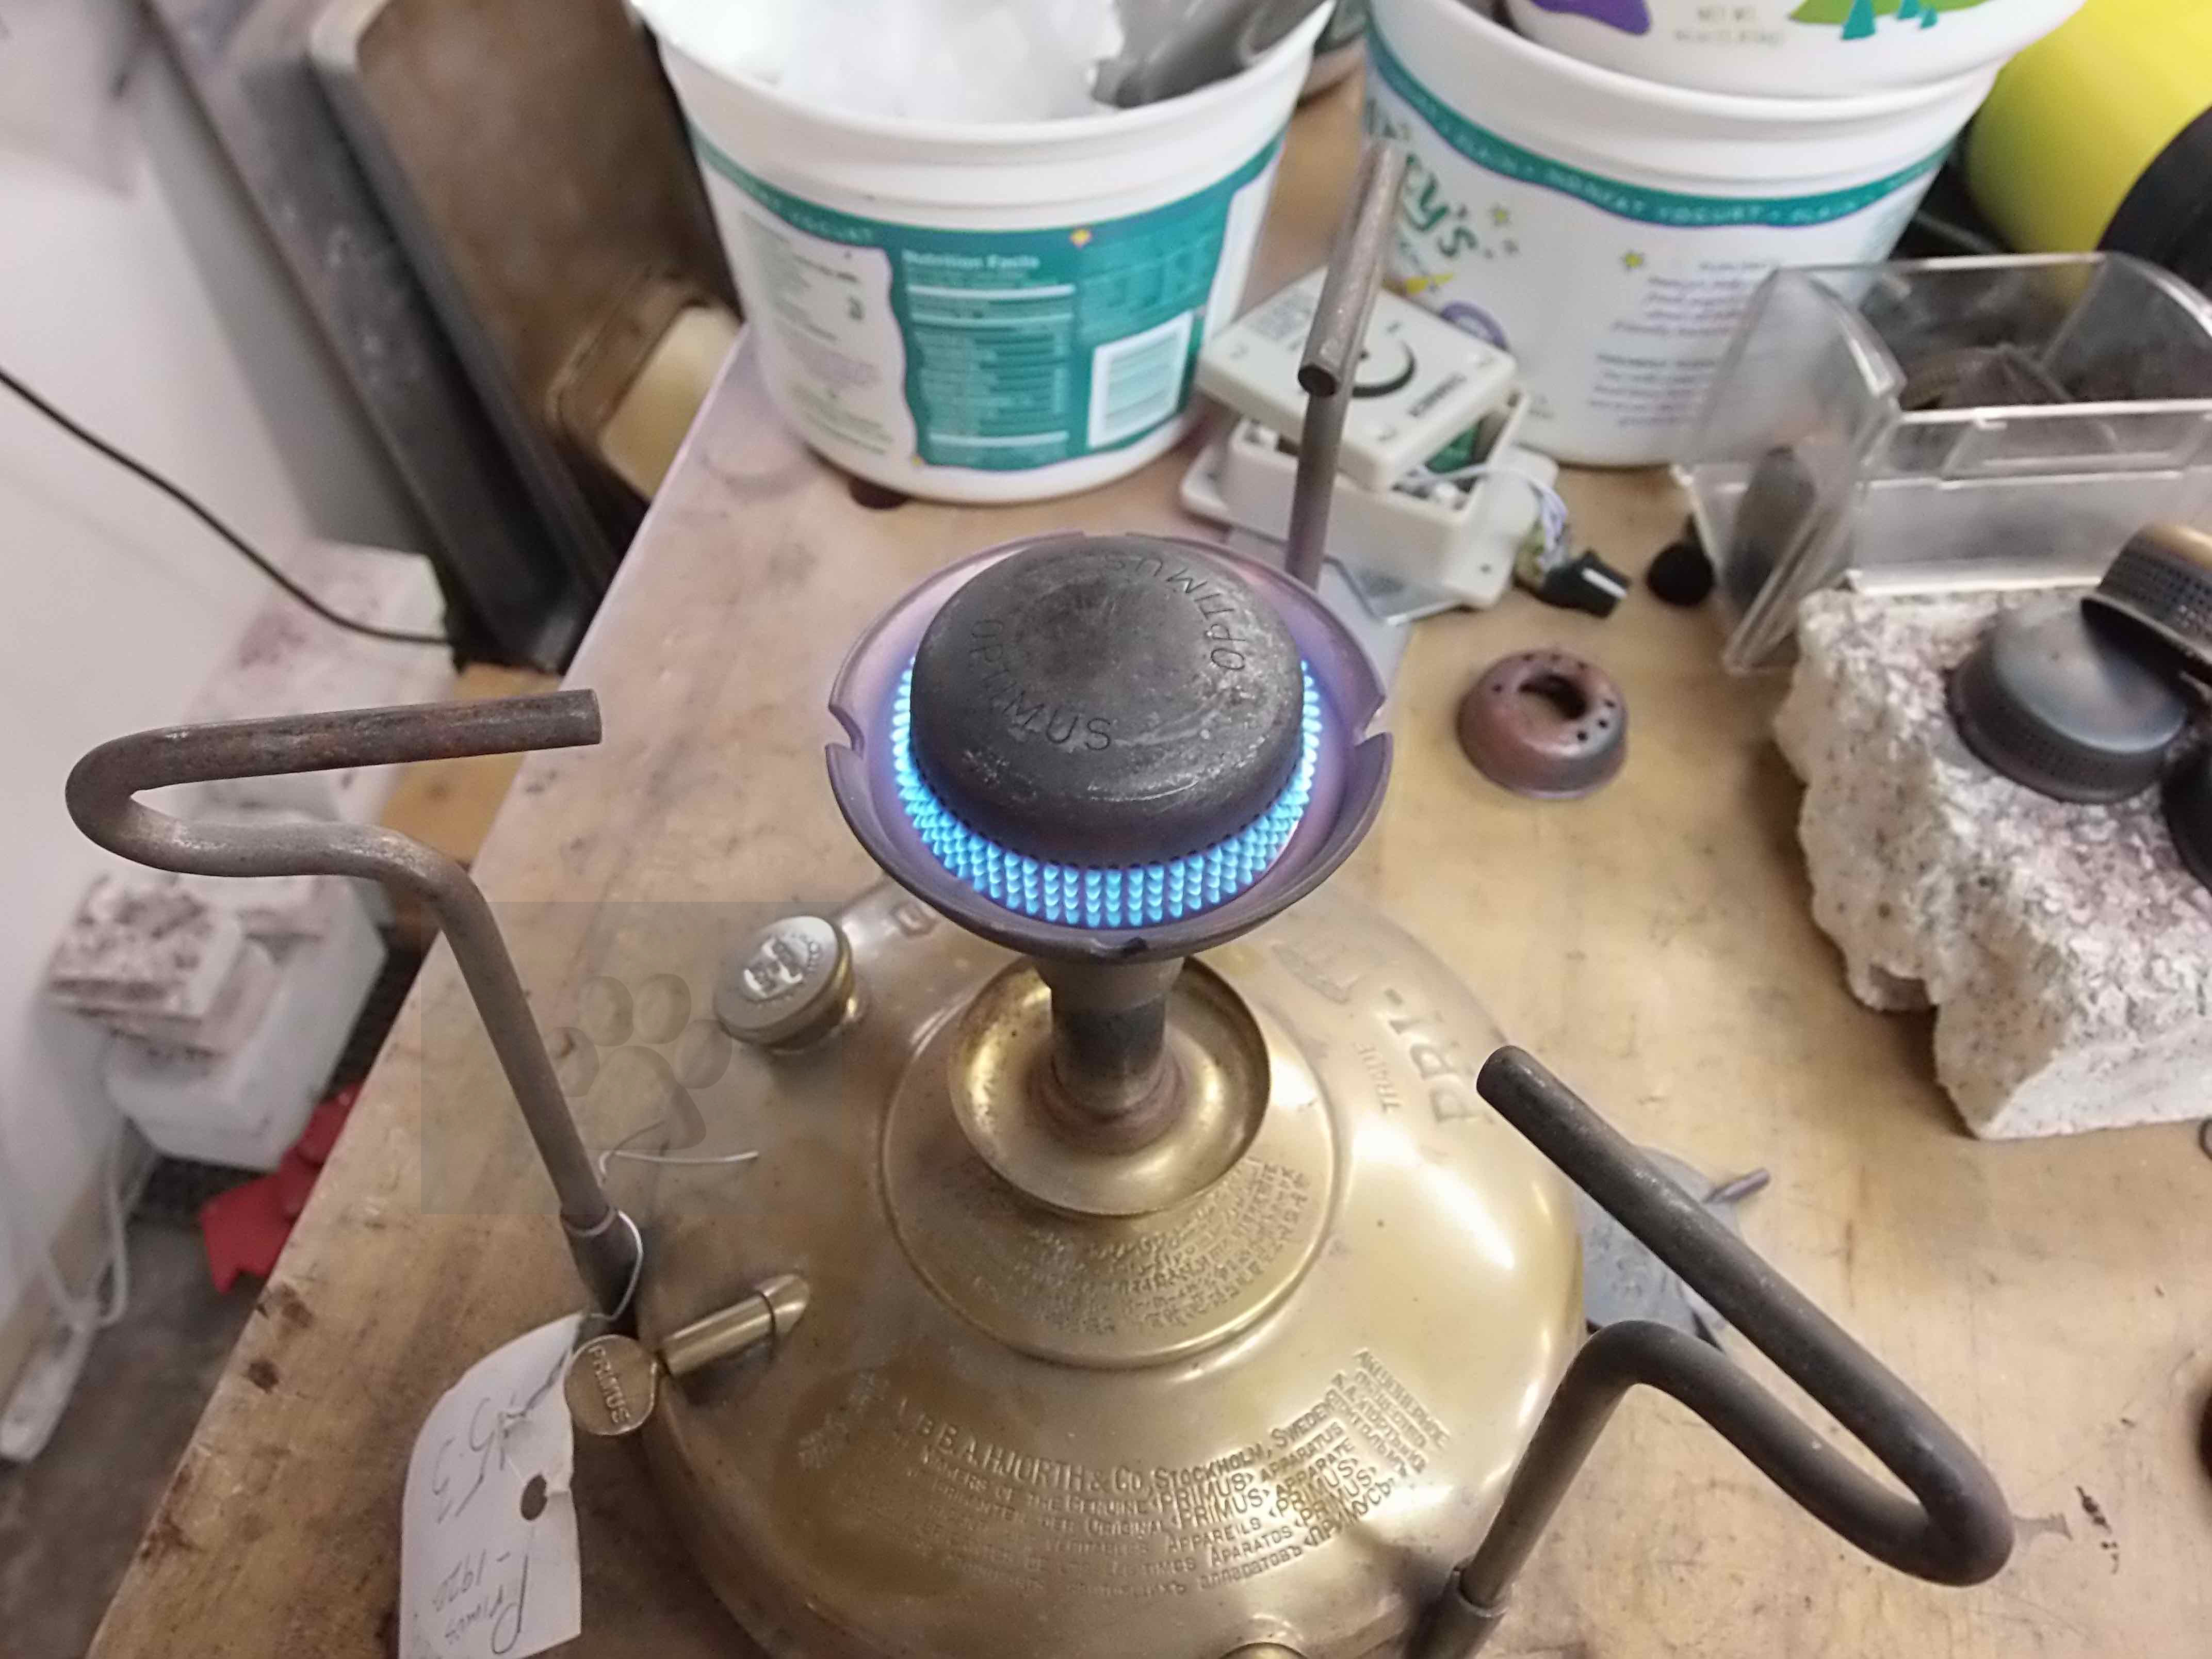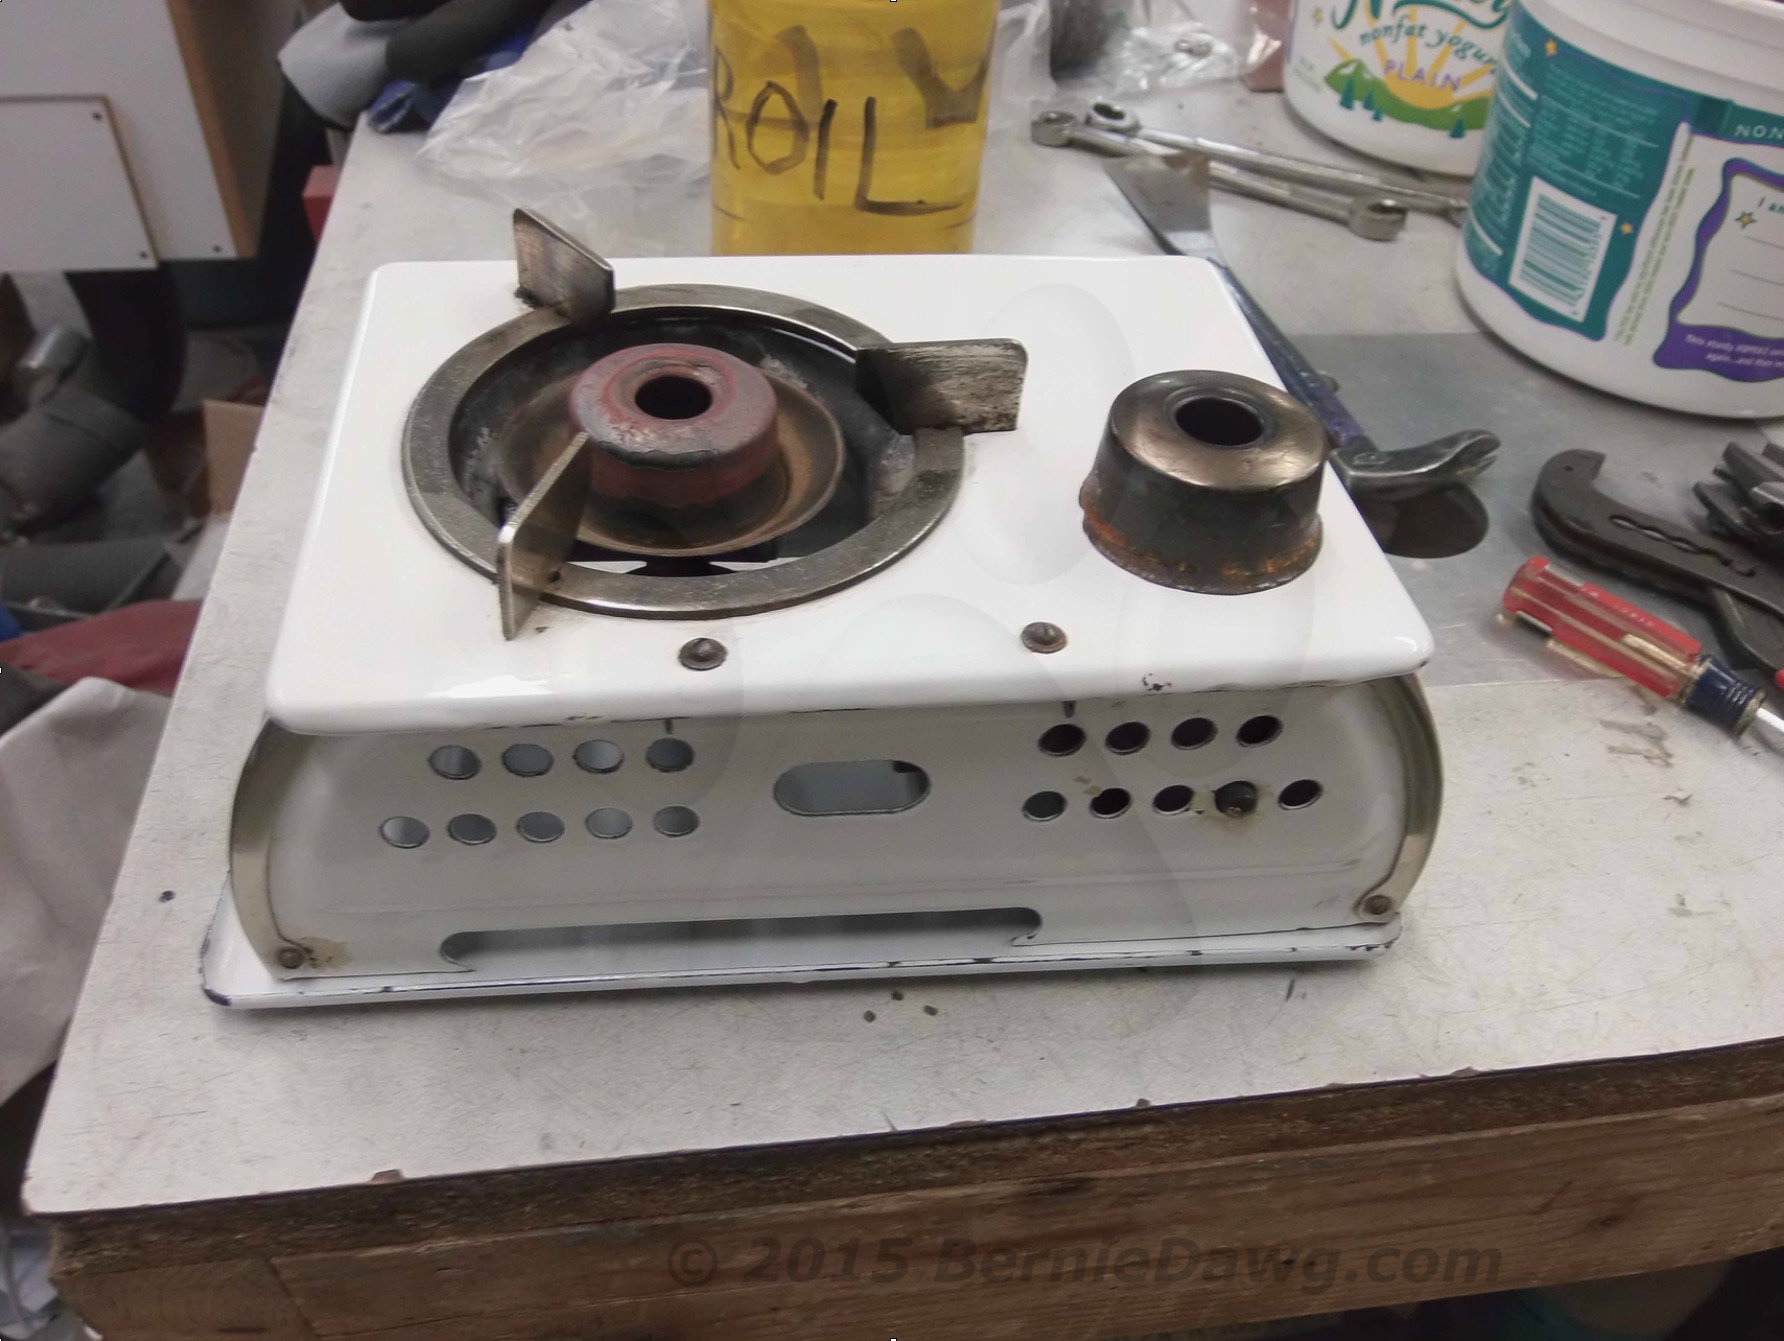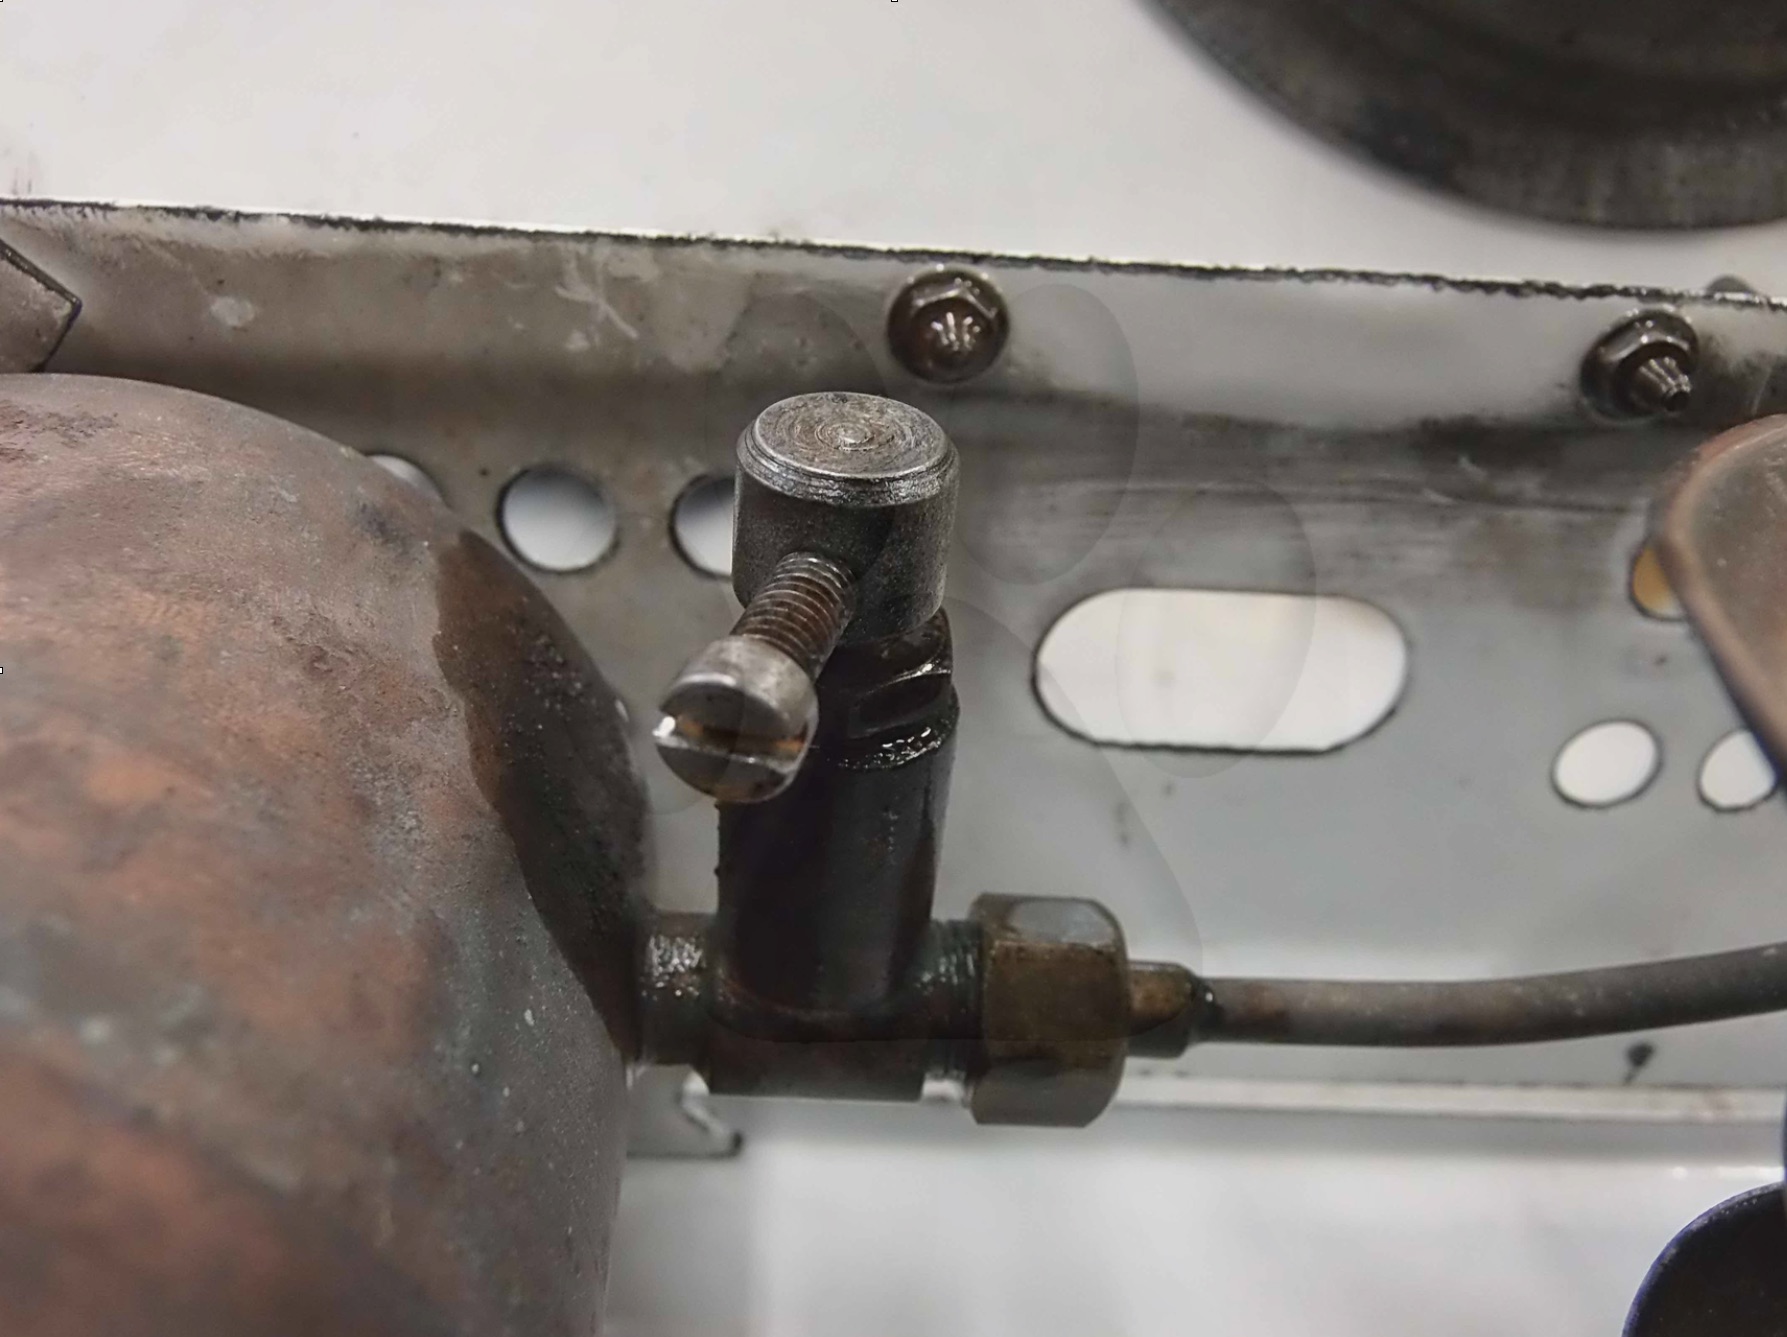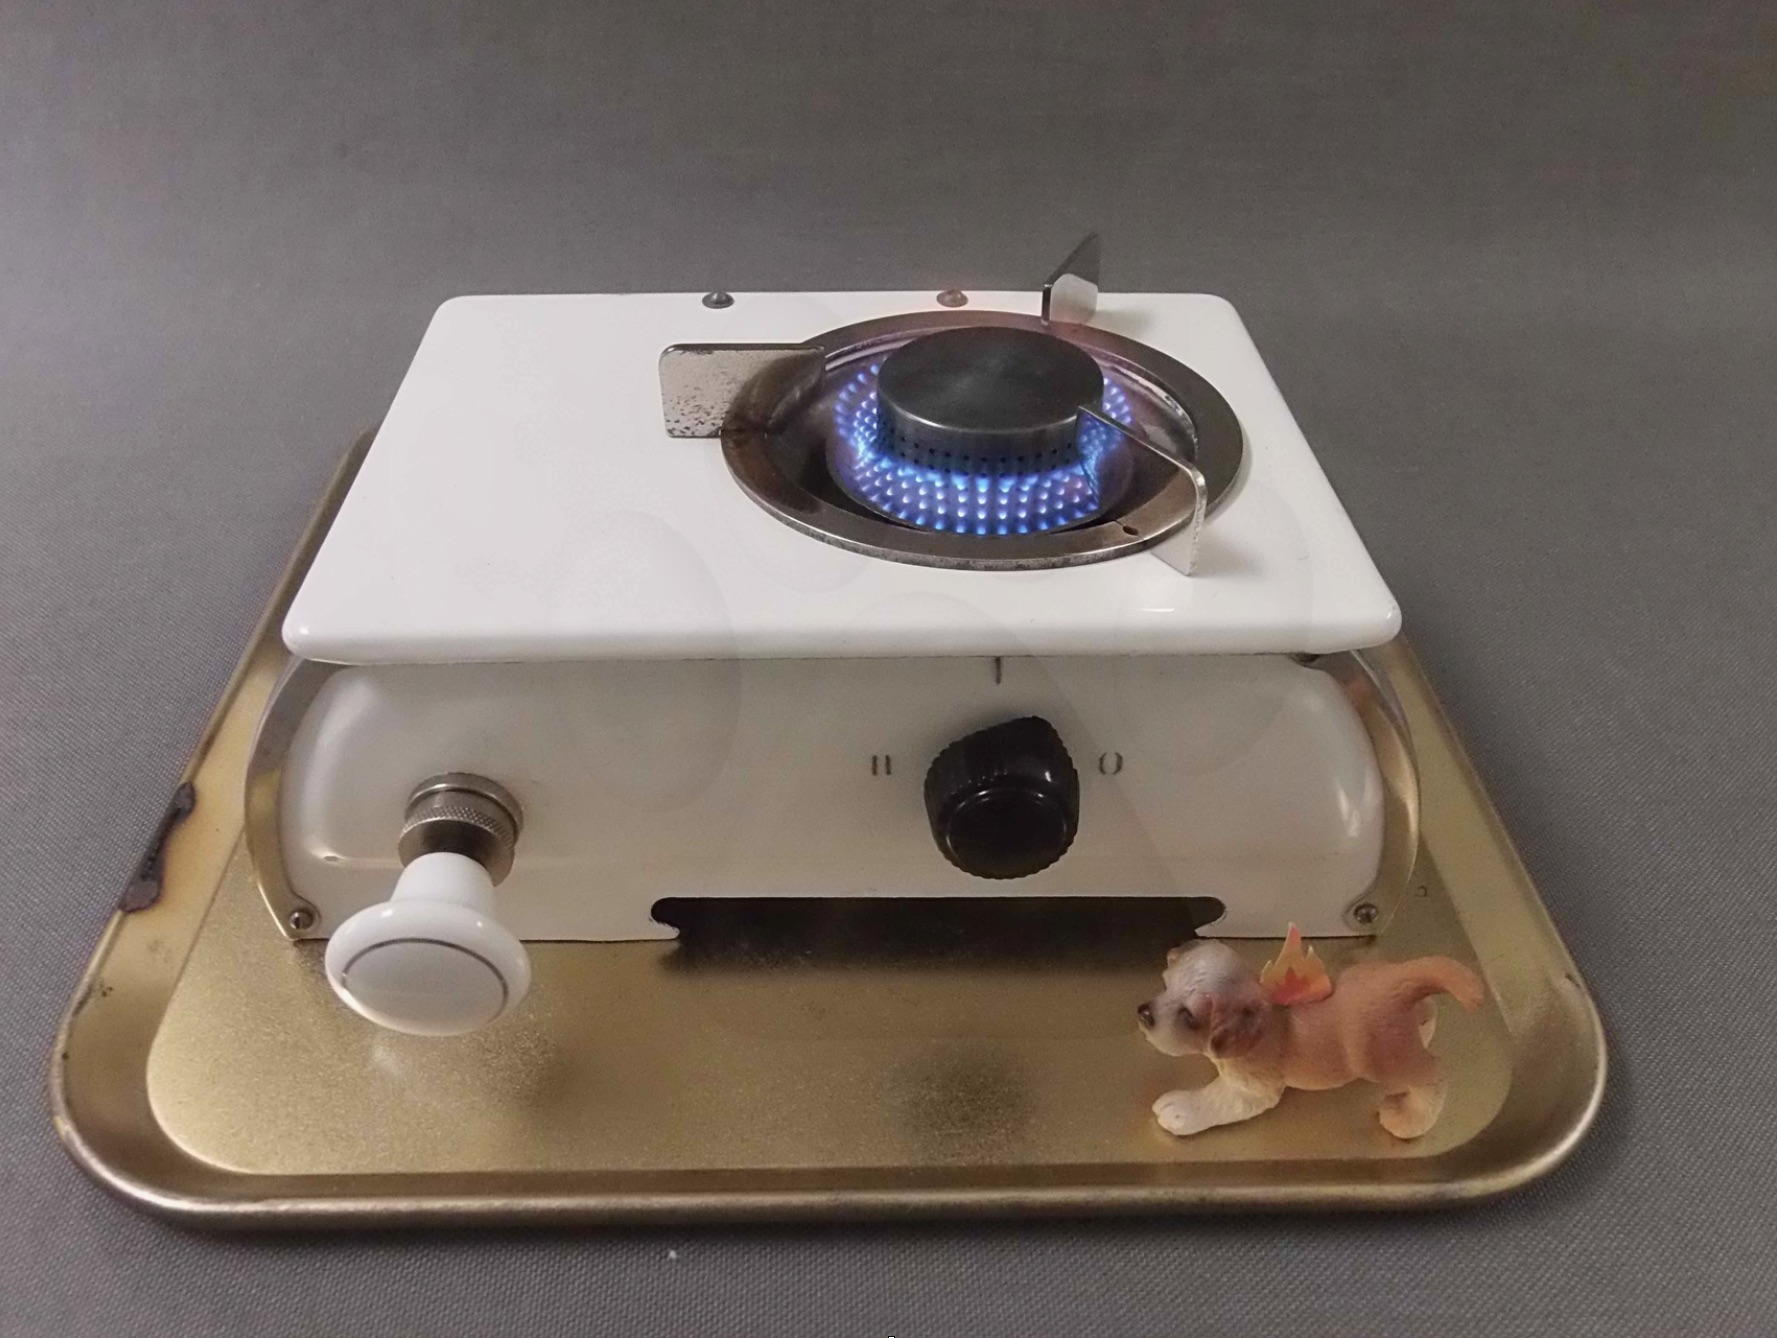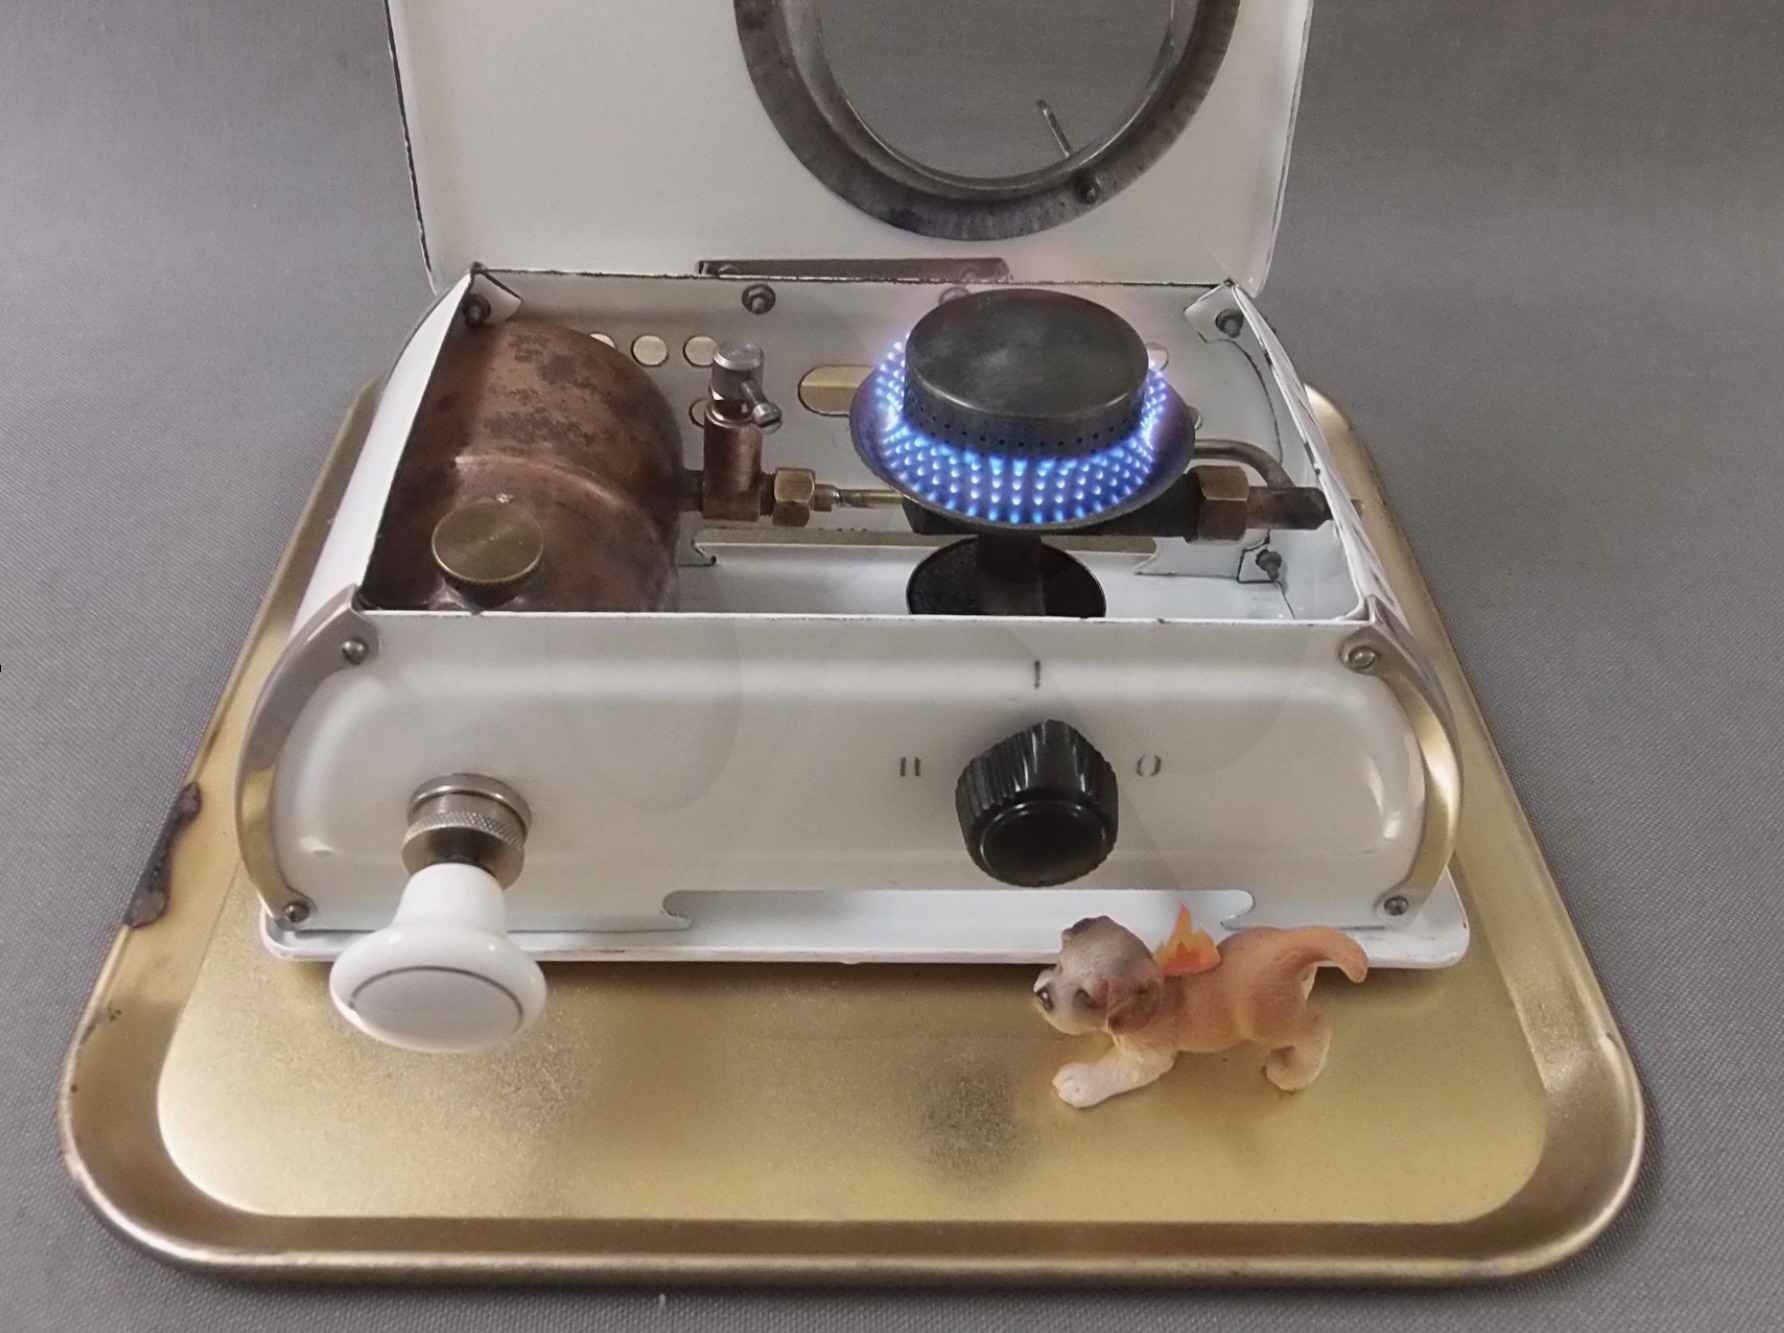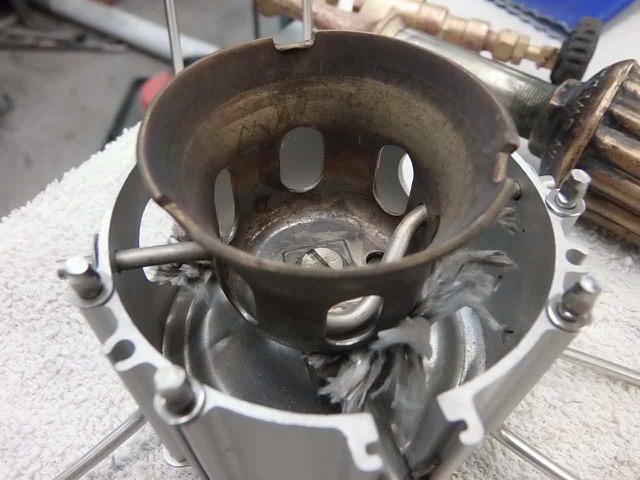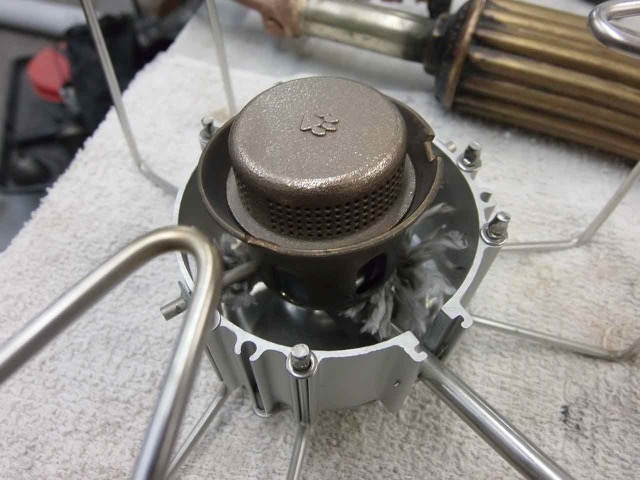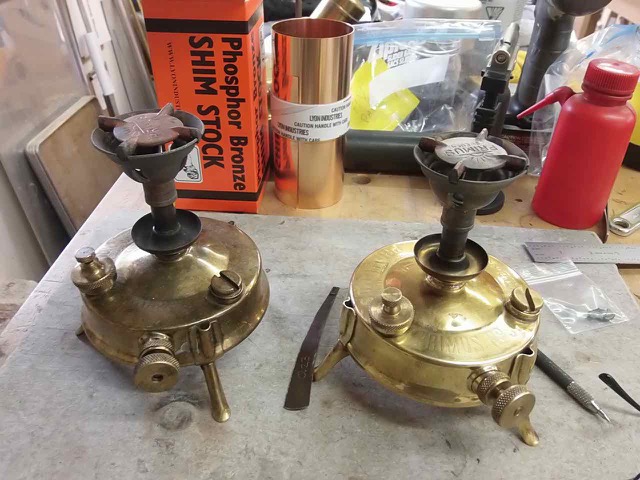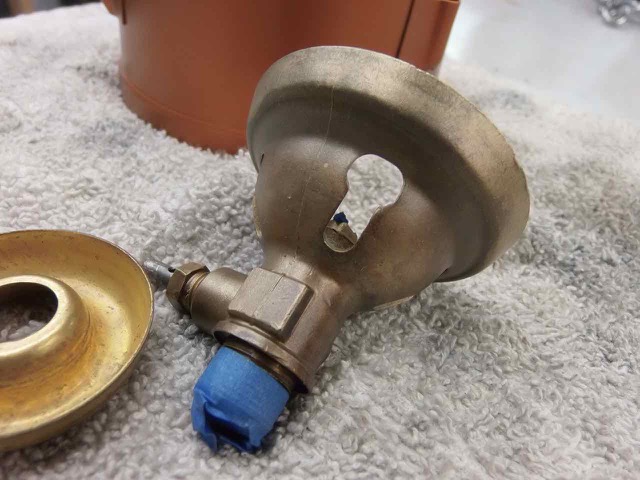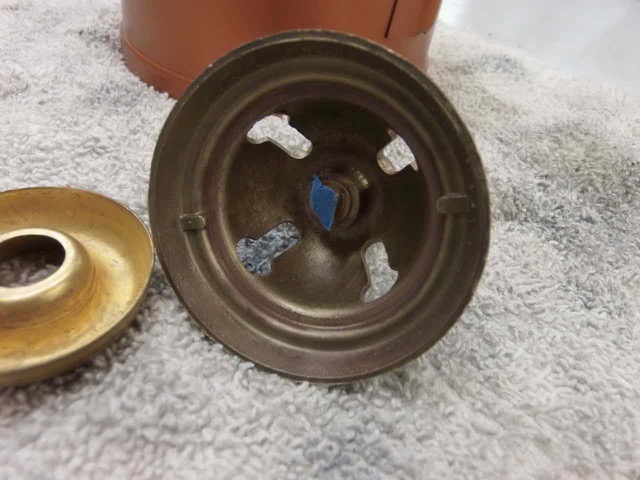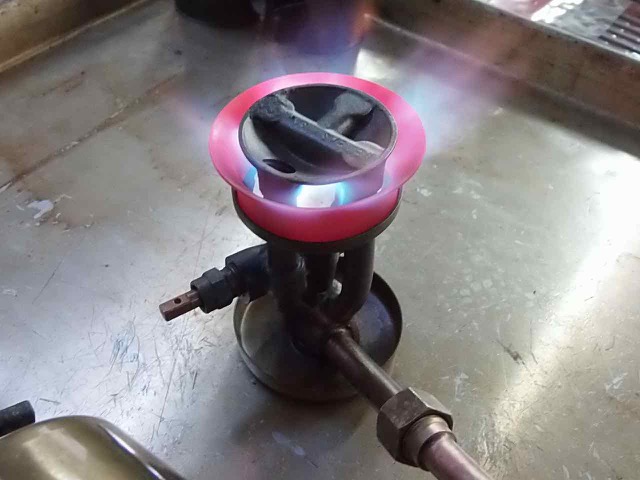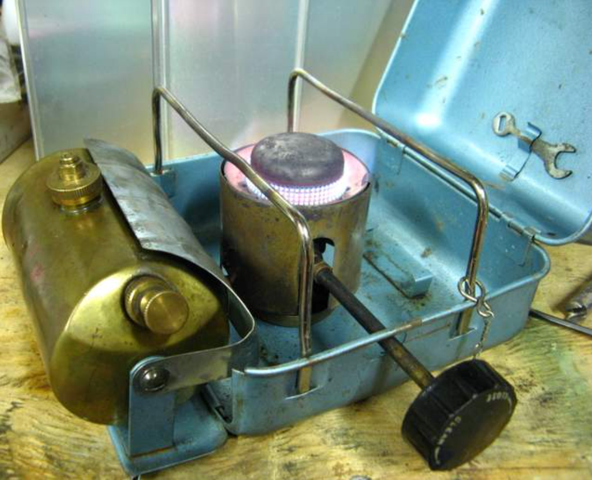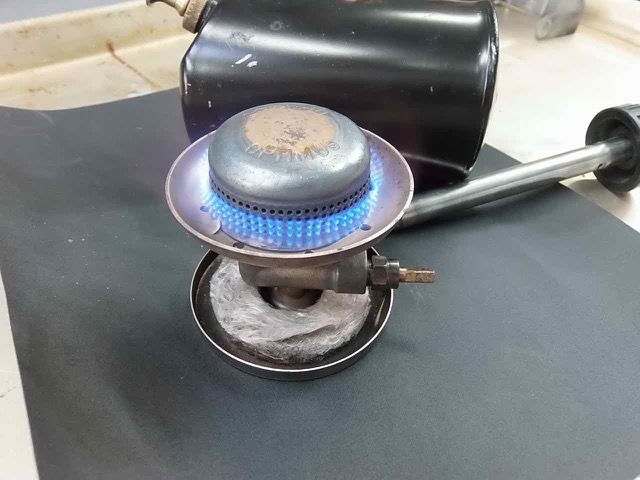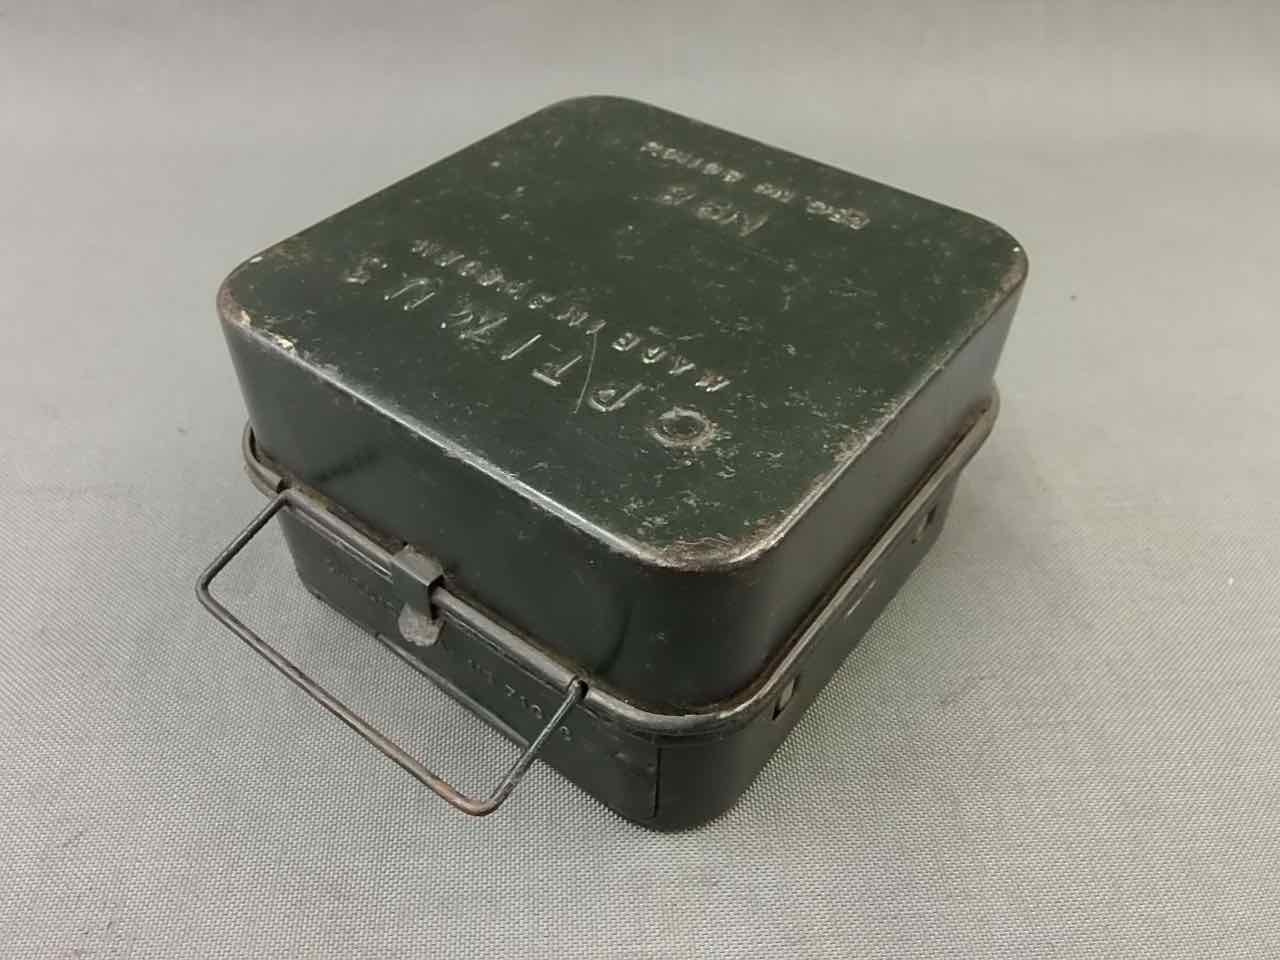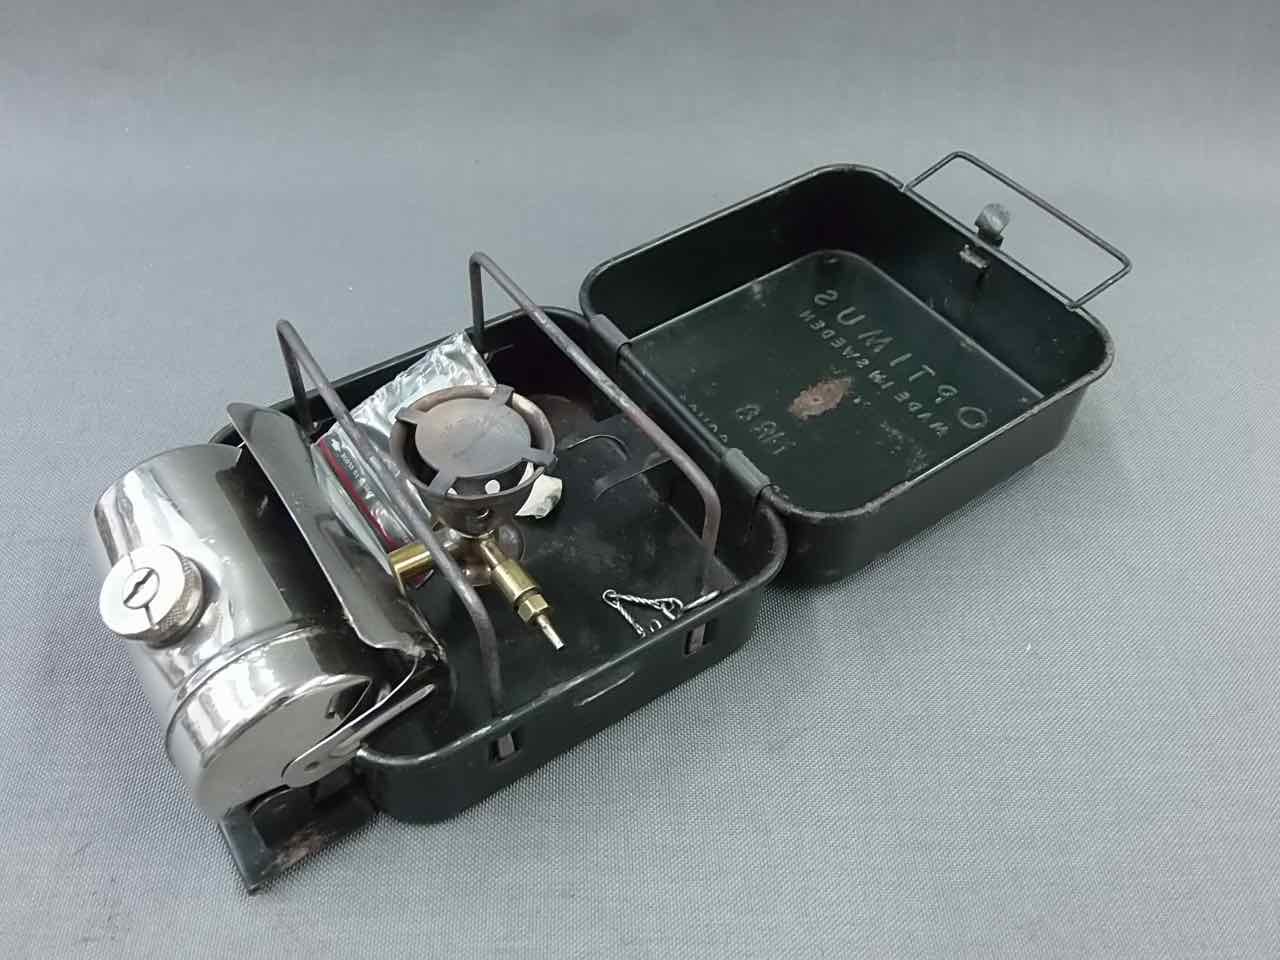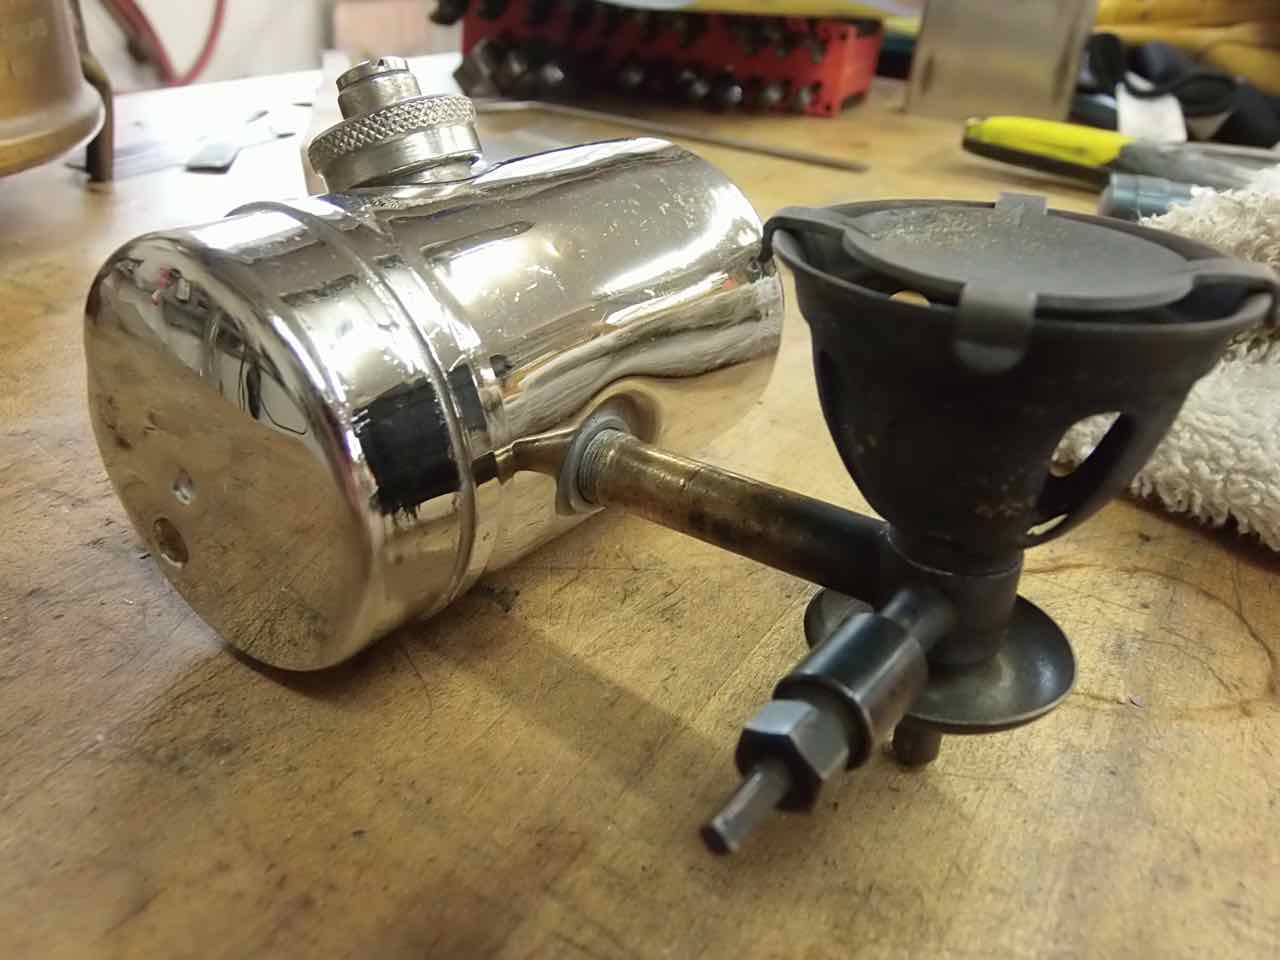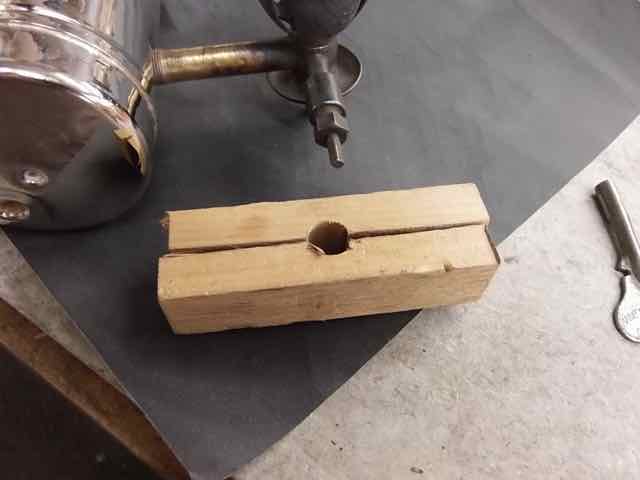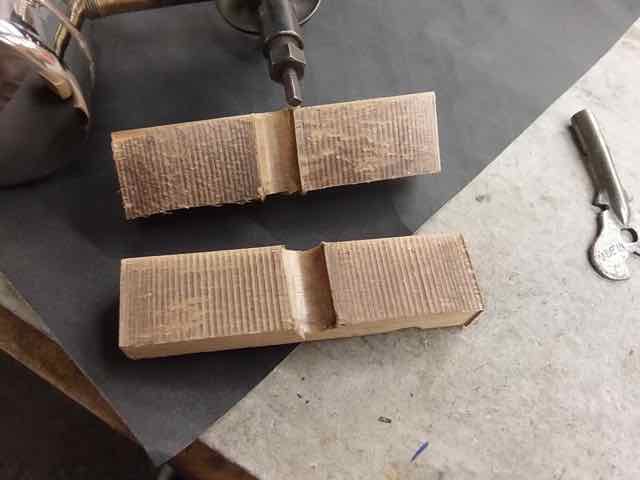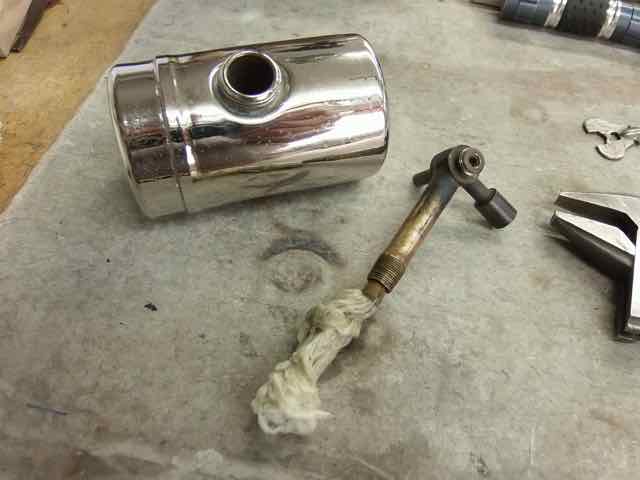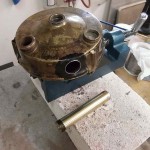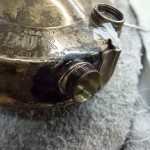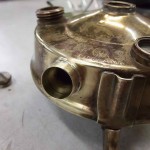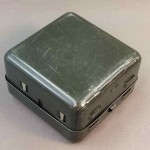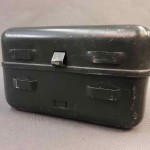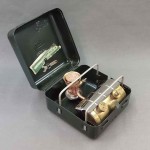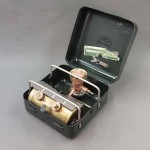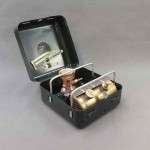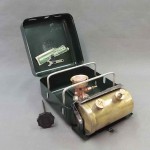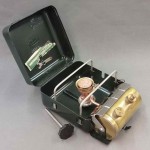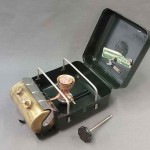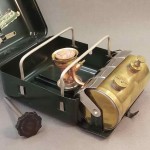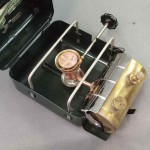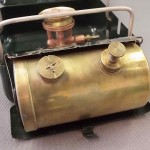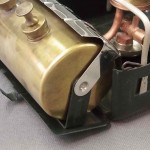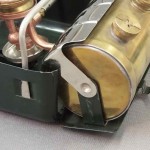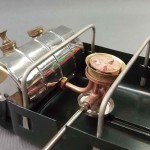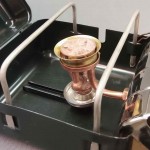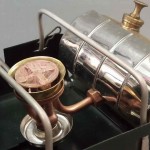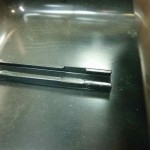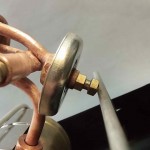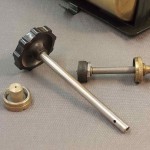
I’ve had this little Borde stove for some time. But, it came without a pot stand. I put this pot stand together from stainless steel sheet. The sheet is 0.032″ thick. The legs are from stainless steel tube 1/4″ in diameter. The pot support rods are 5mm stainless steel rod. All the stainless is 304. I made 1/4″ long plugs of some of the rod which I TiG welded into the ends of the pot support legs. The 1/4″ tubing legs are silver brazed to the sheet sides. The stand forms a triangle about 5″ long per side.
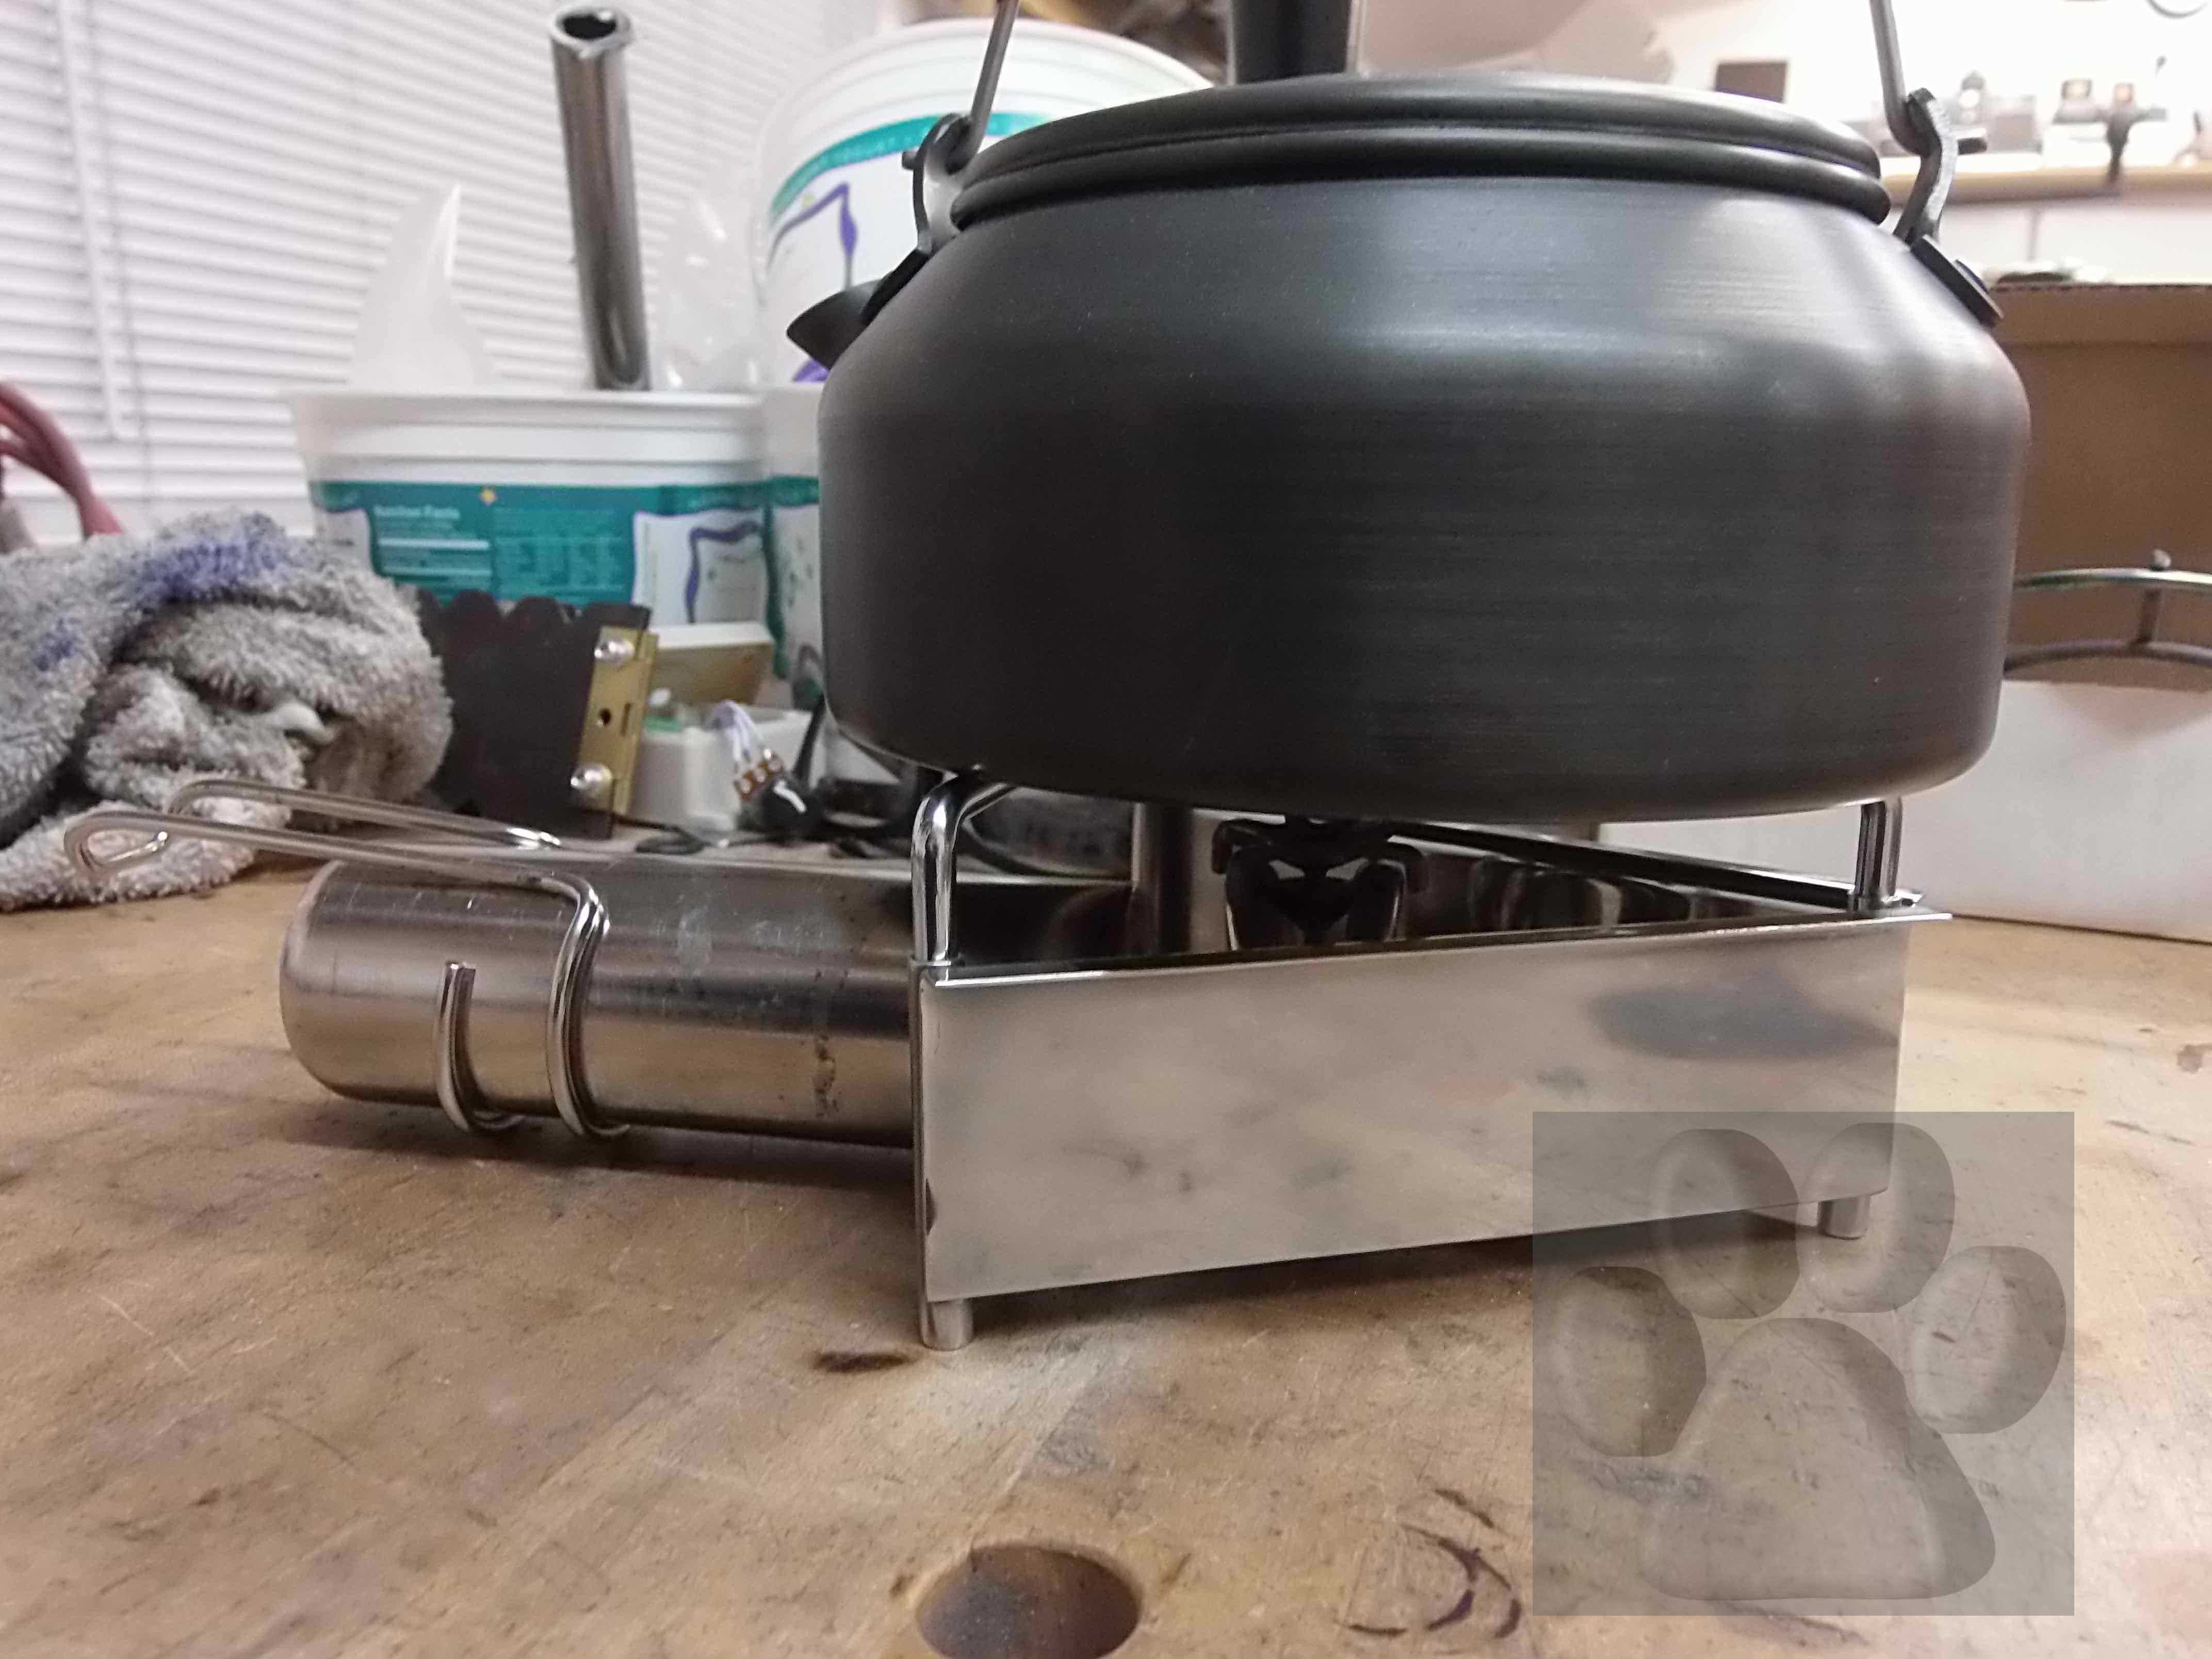
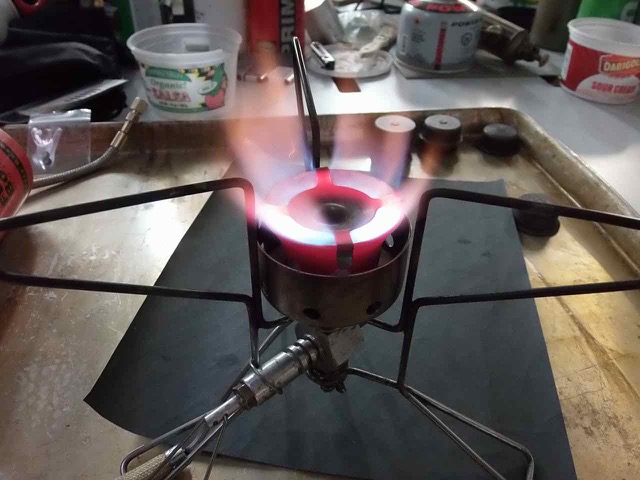
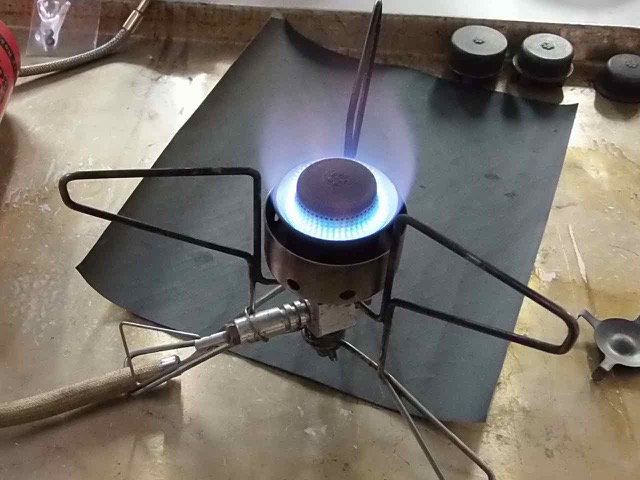
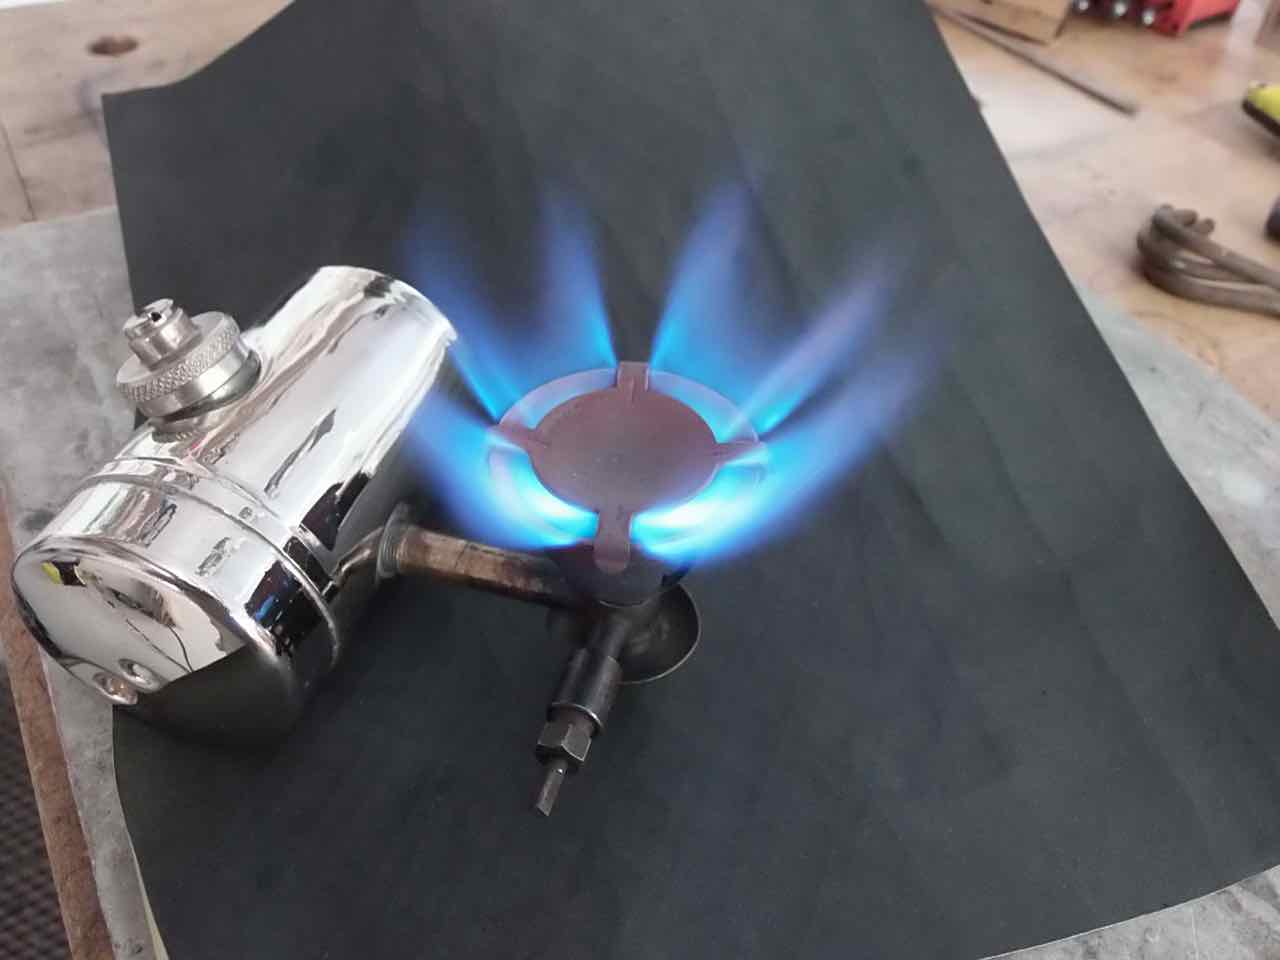
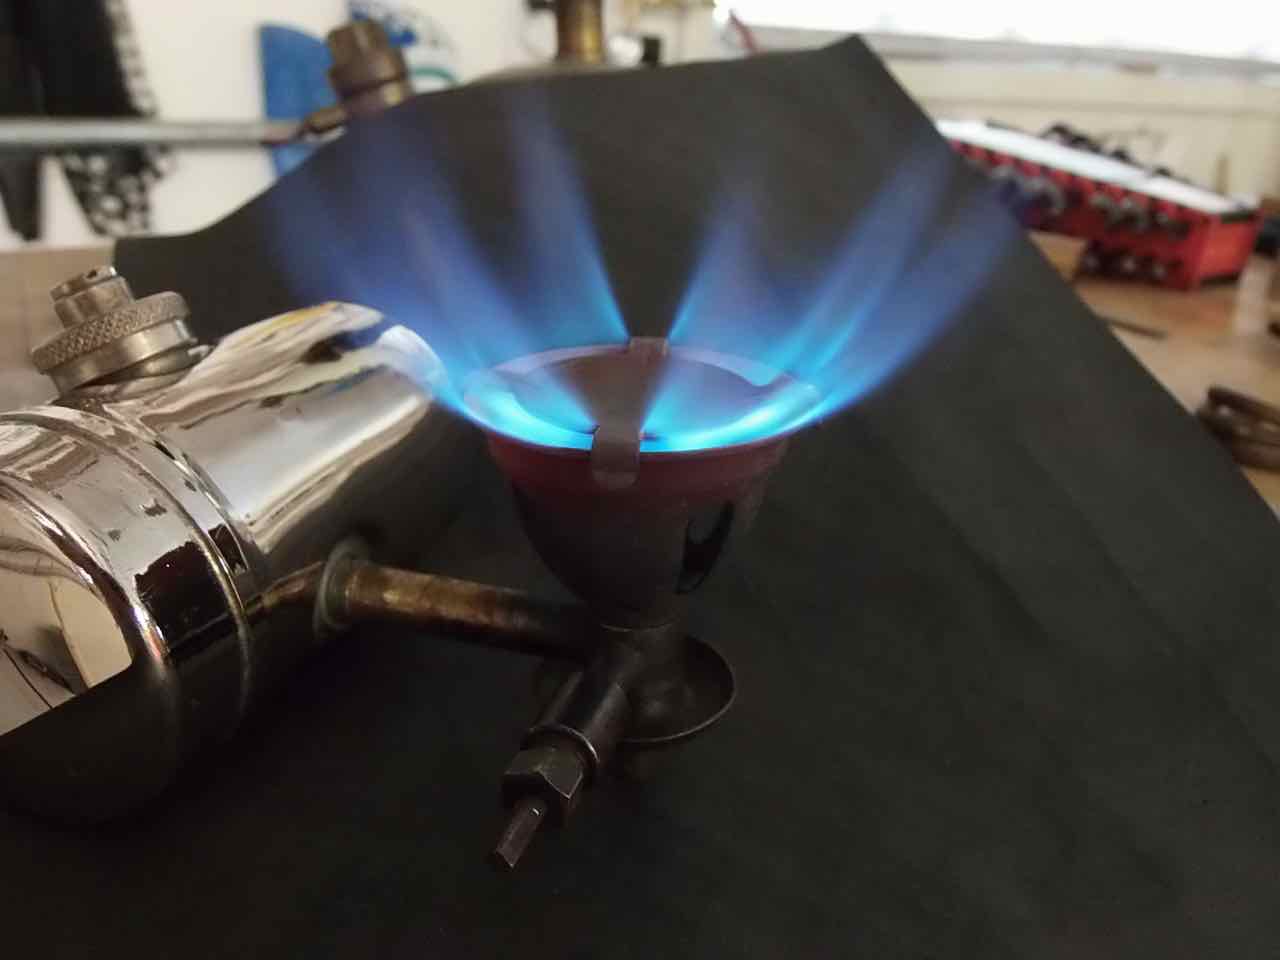
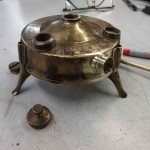
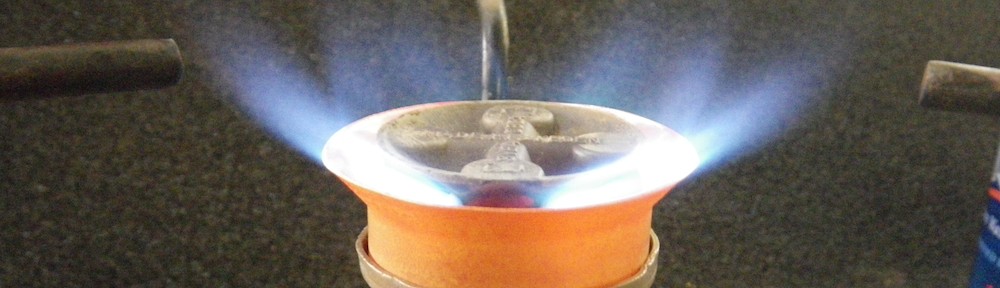
After all the fabbing work was done, I gave the whole thing a polish up to make it look pretty. You can see the stand in use in a YouTube video at my BernieDawg Cinema channel: https://youtu.be/I_GQG8TbO_s
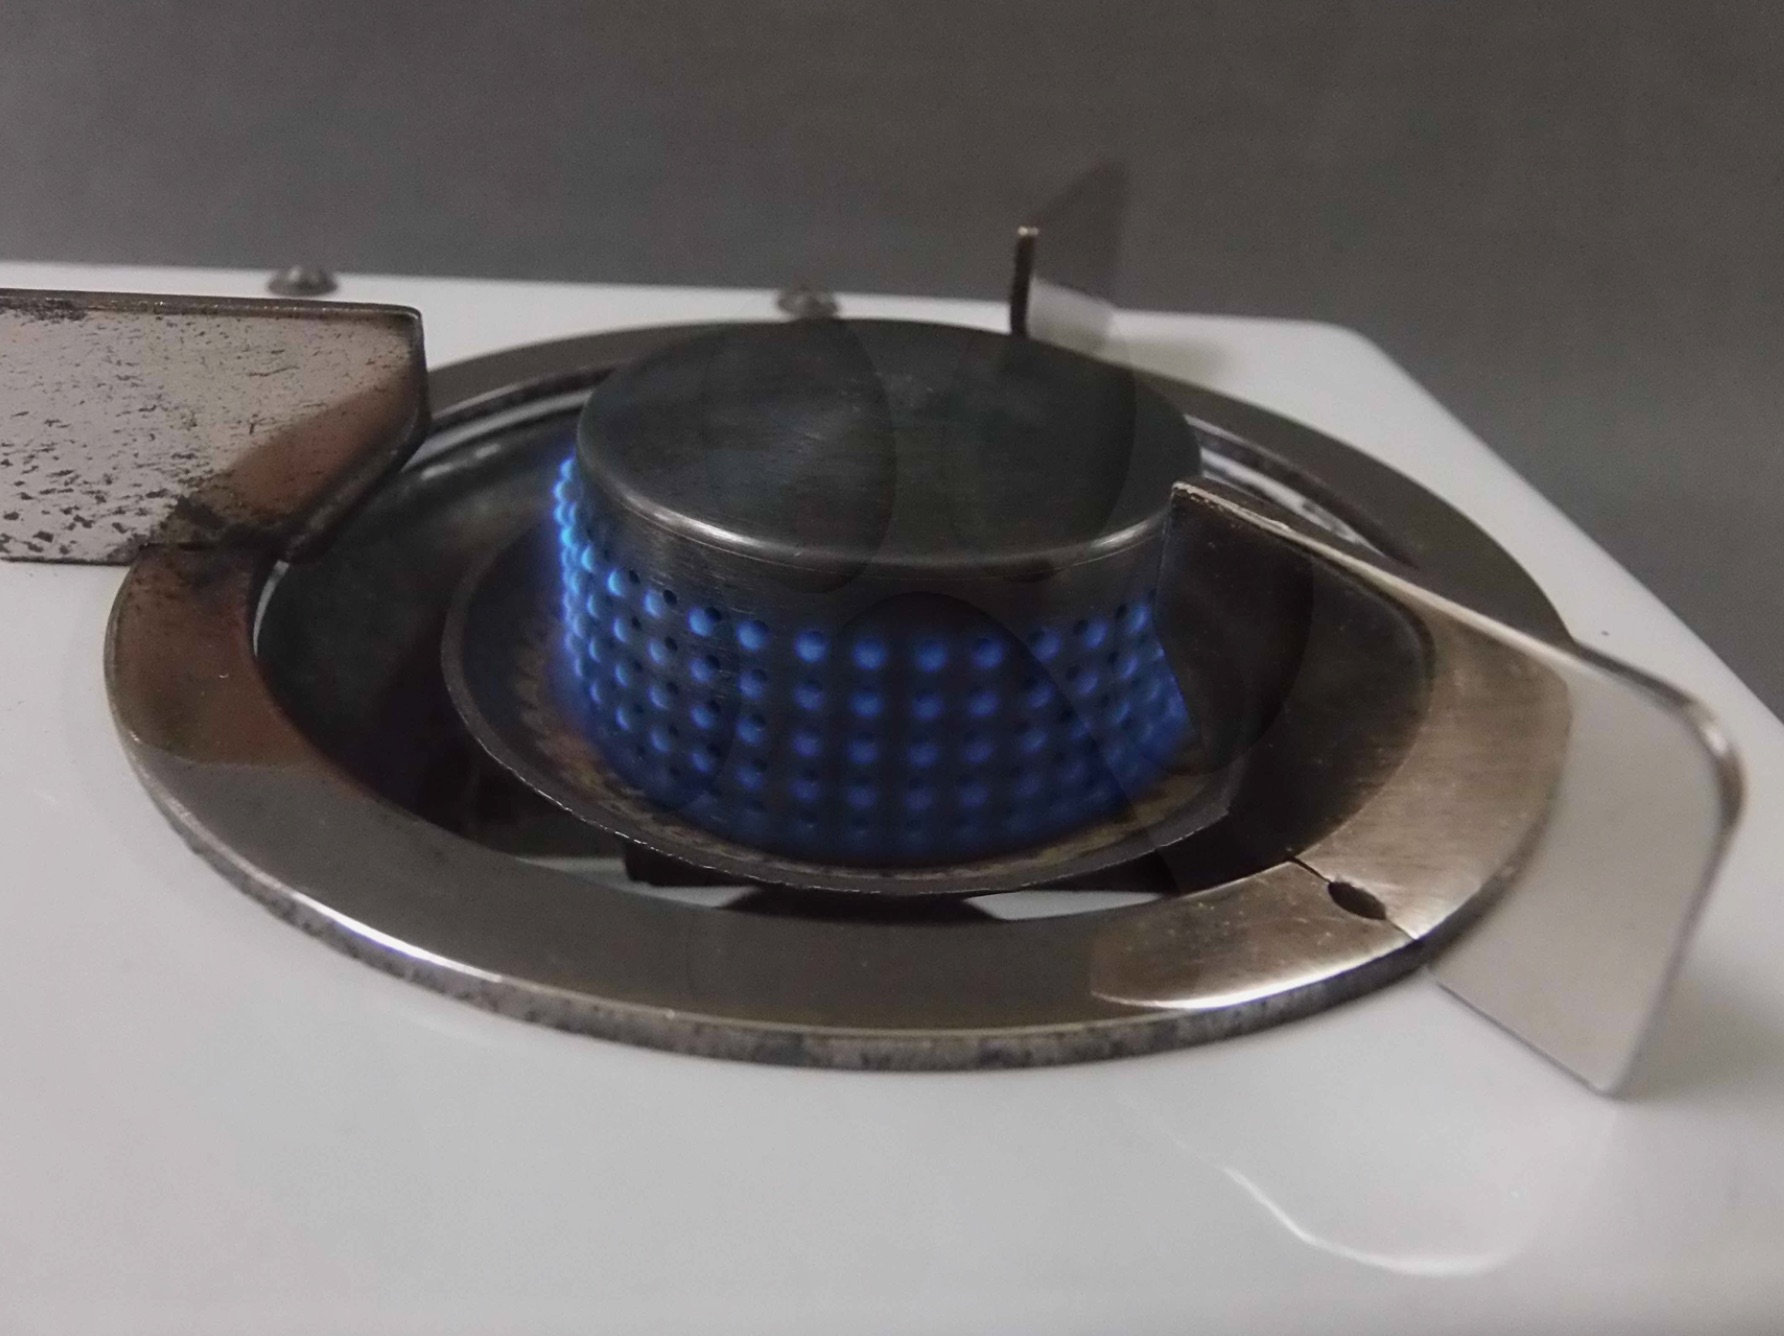
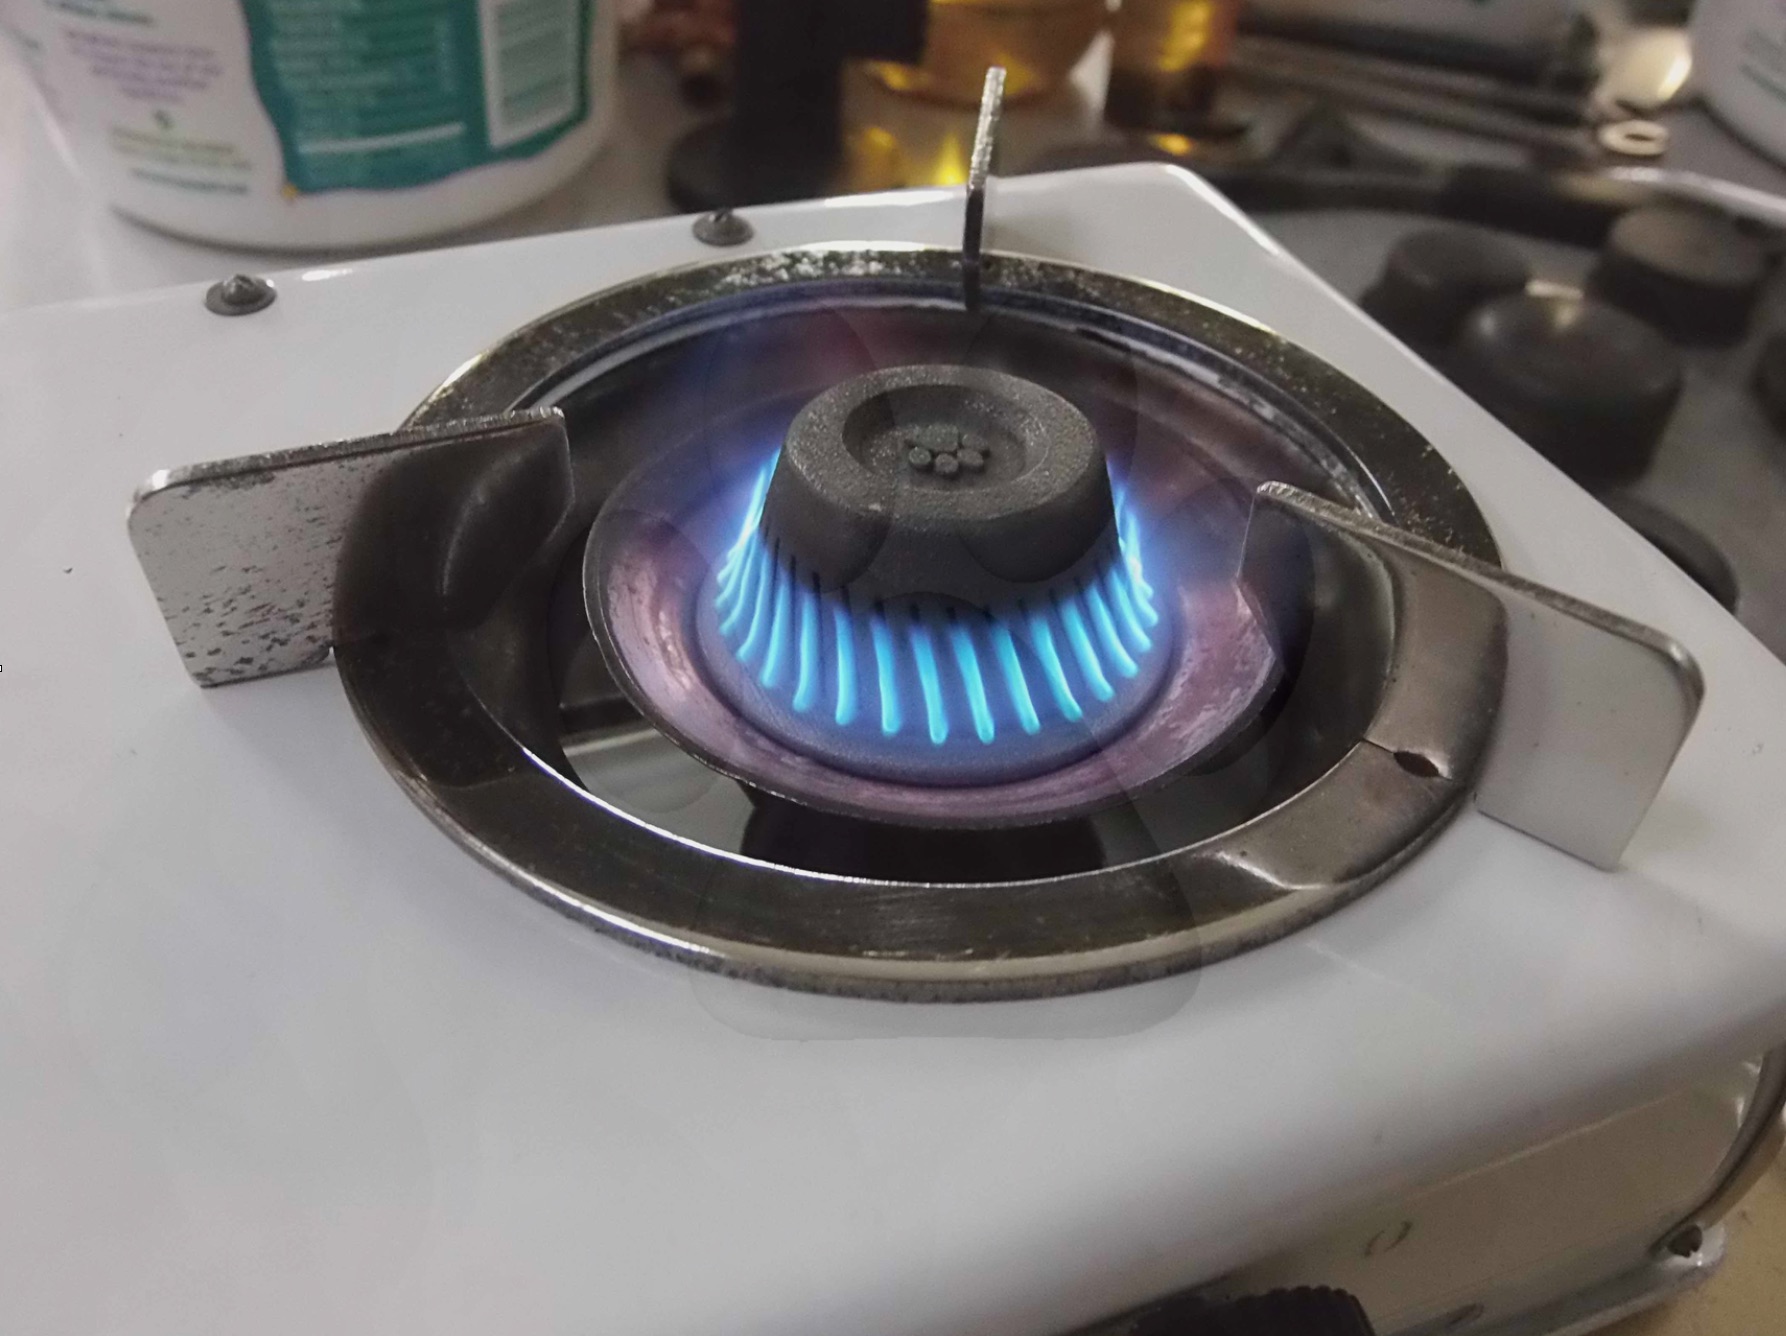
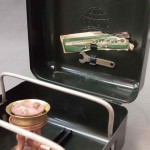
It works great and folds down small. A-OK by me. You can click on the images for bigger views. Maybe this will give you some ideas or inspire you to try to make something for your stoves. Gear-building is fun!