Which Cap for a “Multifuel”?

Hi BernieDawg
I  have  a  short  question  about  the  bernie dawg silencer caps. Does the Omnifuel Cap fit to the Multifuel Burner?
Best regards,
Stove Guy
Hi Stove Guy
Thanks for your questions.
I’m not sure from your question which “Multifuel burner” you are meaning. Primus has made several different stoves they have called the “Multifuel”.  And, Trangia has sold two different types of “Multifuel”-named burners. All this makes things confusing if you don’t go by model numbers or full product names.
Sooo… I’ll cover them all. Sometimes “short questions” need long answers. Sorry about that. This is a bit complicated, so please read through this carefully.
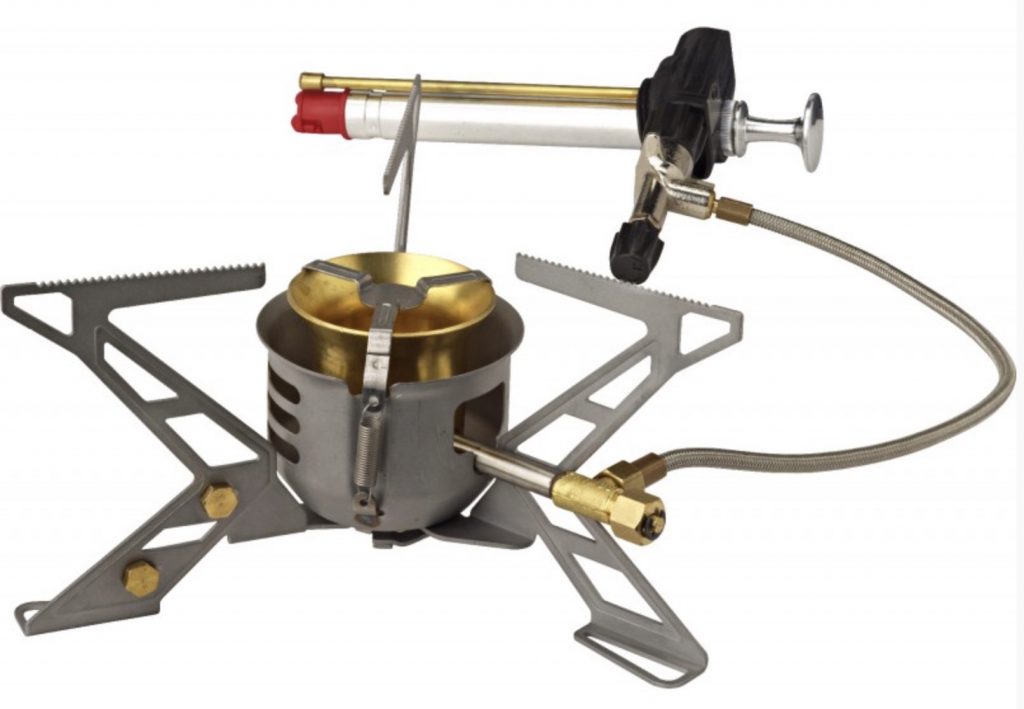
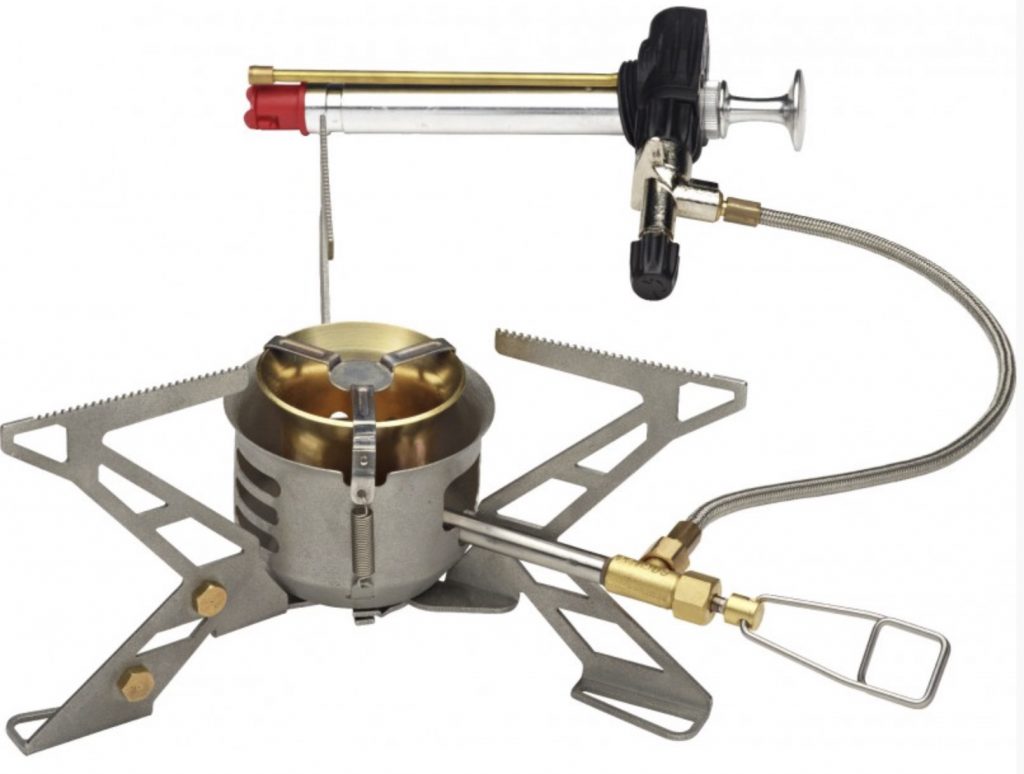
Omnifuel 3289
The OmniDawg cap is for the Primus Omnifuel 3289 stove.

Omnifuel 3289

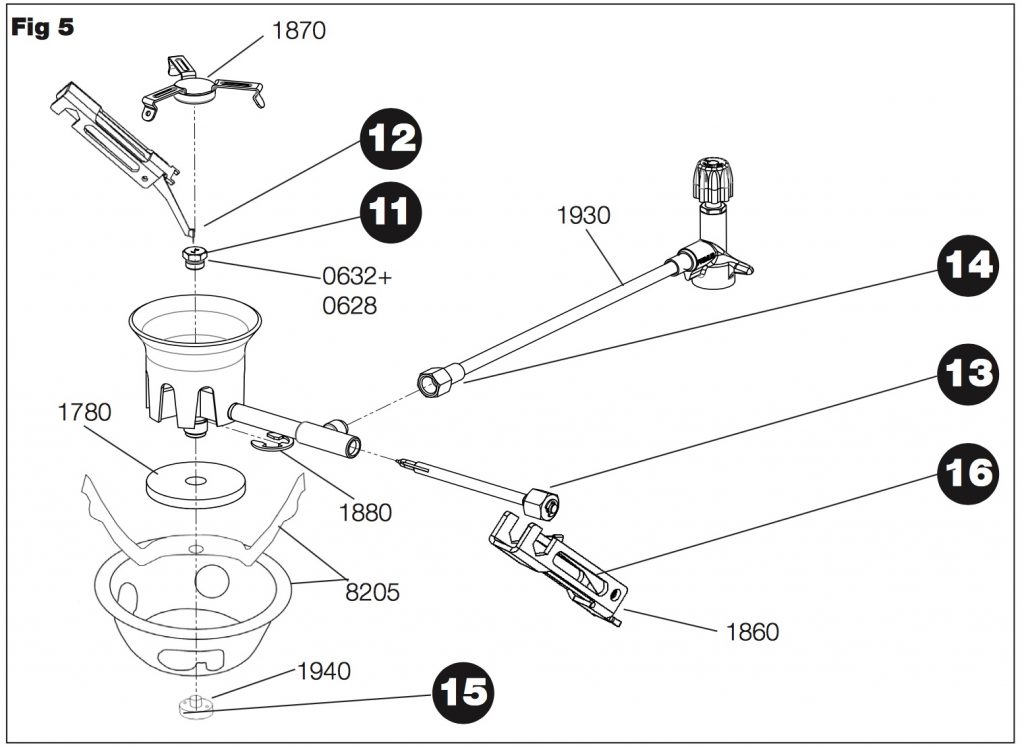
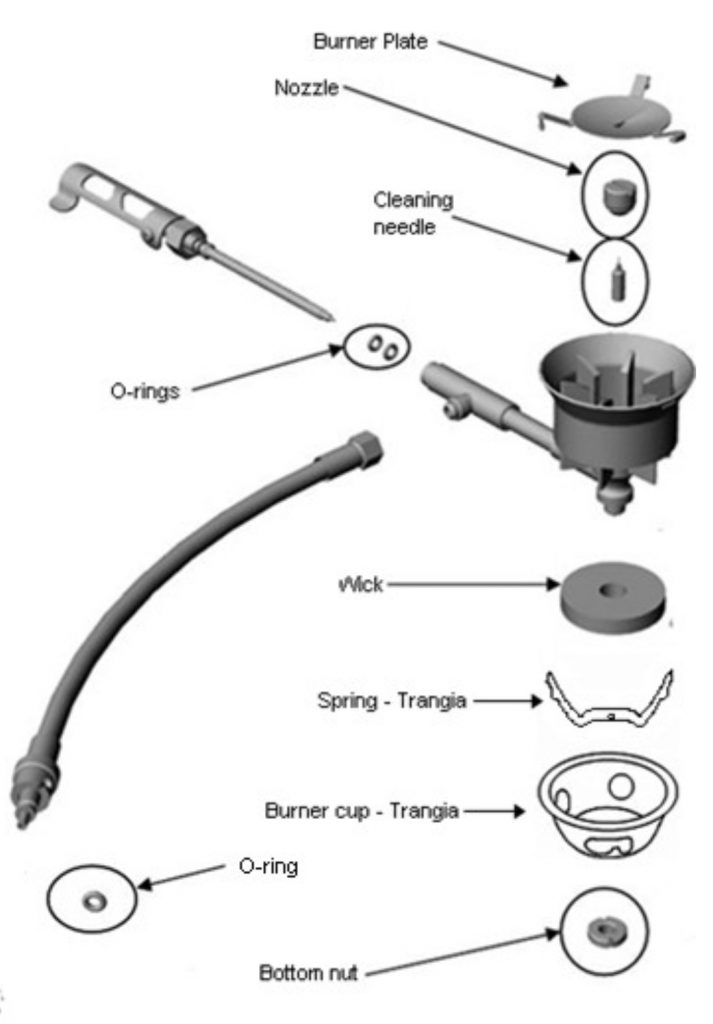
Trangia X2 Multifuel 750001 Burner made for Trangia by Primus – current production
The Trangia X2 Multifuel 750001 burner is made for Trangia by Primus, but it is made in a way so that it is not as powerful a burner as the Omnifuel. It looks like an Omnifuel, but it’s less powerful because of the reduced power jet supplied with the X2 for use with the preferred fuels (isobutane canisters and white gas). This is also a very expensive burner for what it is. You can usually find used or even new Omnifuel stoves for less than the cost of the greatly overpriced X2. You’ll also retain the precision control and simmering using an Omnifuel due to its spindle control (absent on the X2).

For the reduced power Trangia X2 Multifuel burner, the PolarDawg silent damper cap works best using isobutane canisters and white gas due to the smaller jet supplied for those fuels. The DragonTamer is a pretty good second choice for these fuels. Trangia makes it pretty clear in their product manual that isobutane canisters and white gas are the fuels of choice for this burner. If you intend to use kerosene with this burner (I discourage this fuel for this burner), then the supplied same-size-as-the-Omnifuel (0.28mm) jet that comes with the X2 will need to be used. This turns the burner back into a simmer-disabled Omnifuel burner, so you should use the OmniDawg cap if you decide you absolutely must use kerosene.
Some clever stove users have changed out the jets on their Trangia X2 Multifuel burners so that the X2 runs the same jets as the Omnifuel. For example, using a 0.37mm jet will let you run the X2 burner with white gas at the same power as the Omnifuel. Using a 0.45mm jet will let you run the burner with isobutane at the same power as the Omnifuel. If you intend to do that, it may cause melting of your Trangia windscreen surrounds if you are not careful and attentive. But, using the more powerful jets makes the X2 more like the Omnifuel, and a OmniDawg cap would be the right one to use. If you use a 0.25mm jet with kerosene (not recommended), thereby reducing the output of the burner, you can use the PolarDawg or the DragonTamer. Confusing isn’t it?
Caution! I do not recommend the use of a re-jetted X2 with an OmniDawg cap with the Trangia 27 sets as the small size of the surrounds puts the surrounds too close to the flame. Trangia 25 sets are okay… if you are careful.
Trangia Multifuel Burner 780001 made for Trangia by Optimus – discontinued product
The original Multifuel 780001 burner sold by Trangia was made for them by Optimus and is a stripped-down Nova burner. There are “fins” inside the burner bell of this burner.
The proper silent cap for this burner is the Dawg-A-Nova cap.
Primus 328894 and 328896 Multifuel
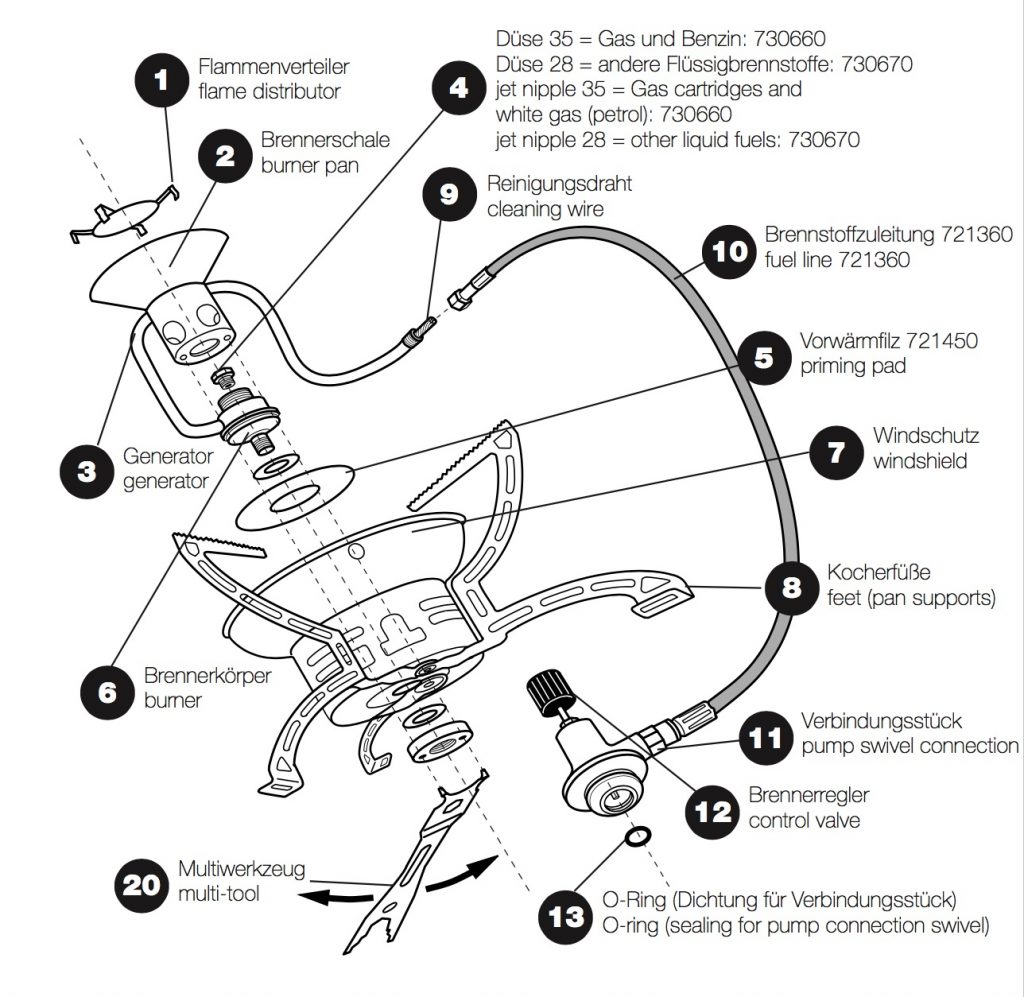
The newer 3288 (correctly termed the 328894 or the newer 328896) Multifuel is a reduced feature (no stove-side control spindle) Omnifuel-based stove. Sort of a Omnifuel “lite” stove.

Multifuel 328894 or 328896

For a bit more money you can get a real Omnifuel and the additional cost is well worth it for the control spindle. Because the Omnifuel is also much more popular, you can even commonly find new Omnifuels at discount for prices well below the retail cost of the 328894 or 328896 Multifuel. The 328894 or 328896 Multifuel comes with a reduced size jet set compared to the Omnifuel. While the Omnifuel has 0.45mm, 0.37mm and 0.28mm jets for isobutane, white gas, and kerosene, respectively, the Multifuel comes with 0.37mm, 0.32mm and 0.28mm jets for those fuels. This is why the Omnifuel produces 3000 watts of power while the Multifuel only produces 2700 watts of power. If you plan on mostly kerosene use, get the OmniDawg for this stove. If you plan on white gas or isobutane and intend to use the correct jets for the Multifuel, then you need a slightly less powerful cap like the DragonTamer or the PolarDawg to match up with the lower output of the Multifuel.
You can also “cheat” a bit if you are planning on using white gas by using the 0.37mm jet that came with the Multifuel for white gas. This will increase the white gas flame output and let you use the OmniDawg cap just like with an Omnifuel stove.
Sorry that this is a bit confusing. Primus is marketing a strange beast with the Multifuel. Your best bet is to bypass the odd Multifuel stove and go directly to the full-featured, award-winning, and more powerful Omnifuel.

But, in a nutshell… If yours has the full sized jets (0.28, 0.37, 0.45, 3000W stove) then an OmniDawg cap would be better suited. If yours has the smaller jet set (0.28, 0.32, 0.37, 2700W stove) then the DragonTamer is a better choice.

Primus Himalaya Varifuel 3278 and Multifuel 3288 – discontinued product
These are two long discontinued stoves from Primus that I am often asked about. Both stoves feature small diameter burner bells and smaller jets than the Omnifuel.

Both stoves, the Varifuel 3278 and the Multifuel 3288 work well with the Minicap without Legs, but make sure to get the one without legs – the bell is so narrow that the legged Minicap won’t fit. If you would like the flexibility to use your Minicap on other small self-pressurizing stoves like the Optumus 80, Radius 42, or Svea 123/123R, the Minicap without Legs will work for that, too.

Sorry for any confusion this may cause. Primus and Trangia haven’t been kind to us in naming so many stoves as a “Multifuel”. I hope my post will enable you to select the right cap for your stove.
Happy Camping!
BD

Stuck NRVs??

Hi BernieDawg
I have this great old Primus 100 stove that I’m trying to fettle. I’ve got the NRV loosened up, but it seems to be stuck in the bottom of the pump tube and won’t drop out of the tube. It’s hung up somehow. It wiggles around and is loose down there at the bottom of the pump tube. I wonder if there’s some gunk in the tank that’s hanging it up?
What can I do to get it free?
Sincerely,
Stuck and perplexed
____________________________

Hi Stuck

Well… I think this might make a good blog topic actually, because I get this question and this issue fairly frequently. And, don’t feel bad – it’s common and it happens to me, too. Here’s how I handle it.
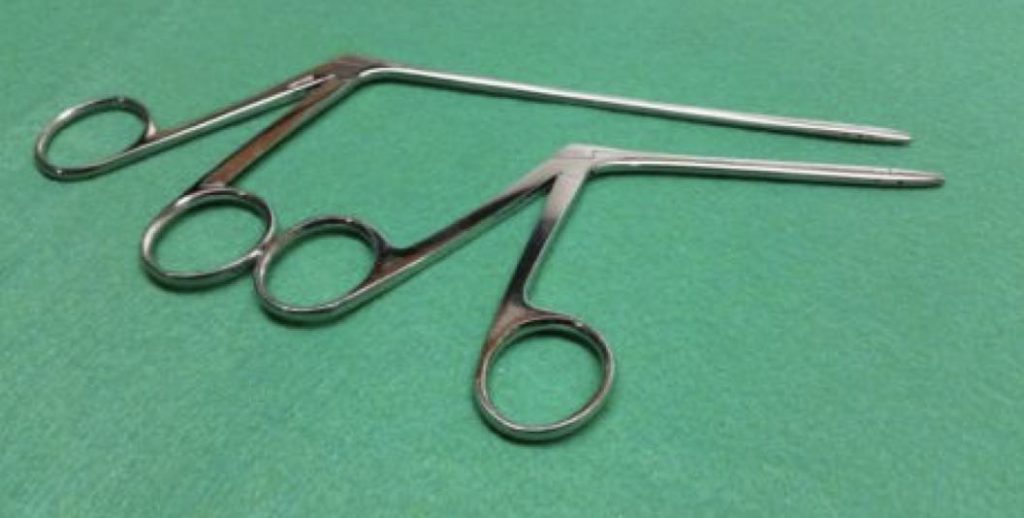
1. best thing is to buy a tool which can solve 75% of these sort of stuck NRV issues. What you want is an “ear forceps” aka an “alligator forceps”. They come out of Pakistan (for reasons I don’t understand) for pretty cheap. They are stainless steel. And they help you with other tank related stuff, say reaching into a tank to retrieve something, or at the end of the pump tube in case a rotted leather pump cup gets stuck down there. Check pricing on eBay, but here’s a screen shot of a pair I picked at random just so you can see what I’m talking about:
The larger one is about 6.5″ long and is a great size for pump tube and stove tank work. But, you can get them a lot longer, too. It was selling as a Buy-It-Now with free shipping for only $6.50.
2. next thing is to take your little flashlight and peer into the tank. Is it all black and gooey in there? If it is, then your idea about gooey stuff being on the end of the NRV barrel is probably right. Here’s how to fix that and clean your tank, too. Get a gallon of acetone at Home Depot, Lowes, or wherever. Fill the tank with it. Let it soak (plug the openings with some paper toweling to control evaporation). If you want to get really industrious, you can add some BB’s to the tank and shake it around. Pour out the acetone into a metal or glass container through a coffee filter for reuse – you can reuse it on many tanks. Shake out the BB’s, or use a magnetic pen tool to remove them. Rinse the tank with just a splash of acetone and you should be good to go. Acetone dissolves the black gooey crud (dried kerosene). It will dissolve the gooey crud on the end of the NRV barrel and then it should pop right out. This should take care of another 20% of the problems.
3. two other issues can cause the NRV to hang up in about 4% of cases.
a. there can be a little burr of brass where the vent hole in the side of the NRV barrel was punched in the barrel. You can use your alligator forceps gripping the NRV head with an unscrewing motion (like you are unthreading the NRV) to “unscrew” the burr past the opening in the pump tube end plate. Do it with the pump tube opening facing toward the floor to allow gravity to assist you. Use a little 400 grit wet dry sandpaper or a small file to remove the burr once you’ve got it out so it doesn’t give you problems again.
b. the other problem comes about from using lead NRV head washers. The lead will expand outward when the NRV head is tightened down, sometimes into the opening for the NRV head threads. This can hang up the NRV. Alligator forceps should help you to get it out, again with that unscrewing motion. Consider to switching to HDPE (#2 plastic) NRV head washers. You can punch them from the lids of food containers, so they are cheap to make and they almost never cause these hang-up problems. They last forever, too.
4. Lastly… for that final 1% of stubborn NRVs… if you have compressed air… set the air output to about 40 psi. Hold a rag in your hand over the pump tube opening to catch the NRV. Install the vent screw and apply a little compressed air into the burner mount opening with your thumb over the filler opening. Pop! Out shoots the NRV into the rag in your hand. These can shoot across the shop if you don’t use a rag to catch it and be difficult to fine otherwise.
Hope that helps!
Happy camping!
BD

Svea 175 Marine Stove

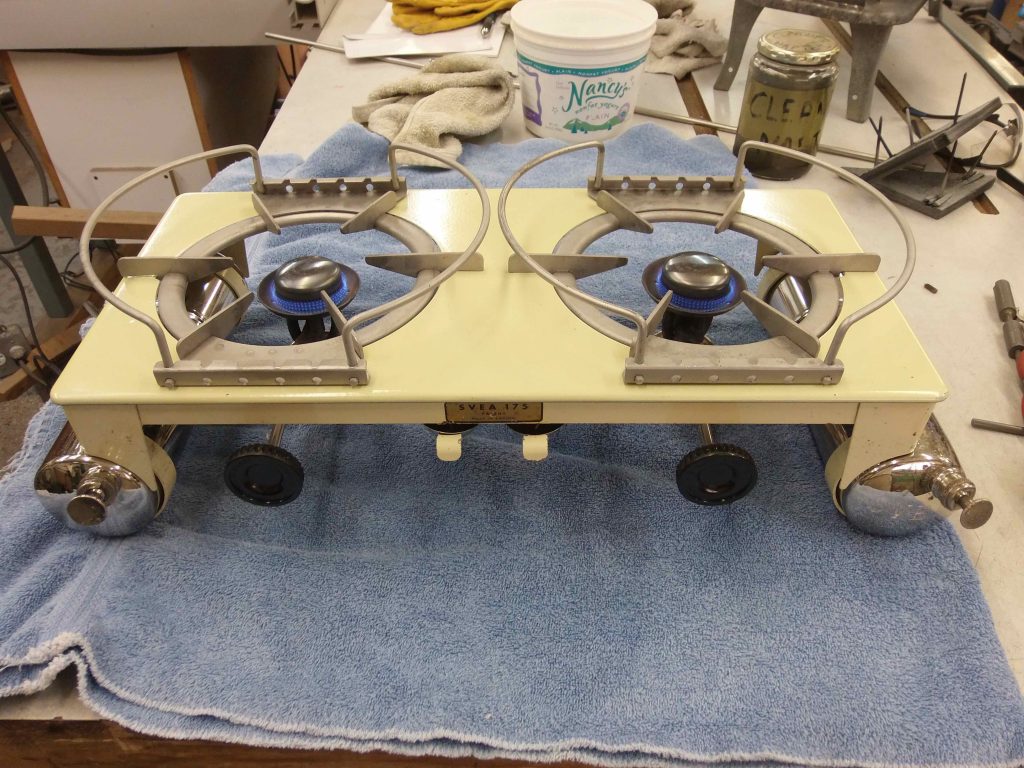
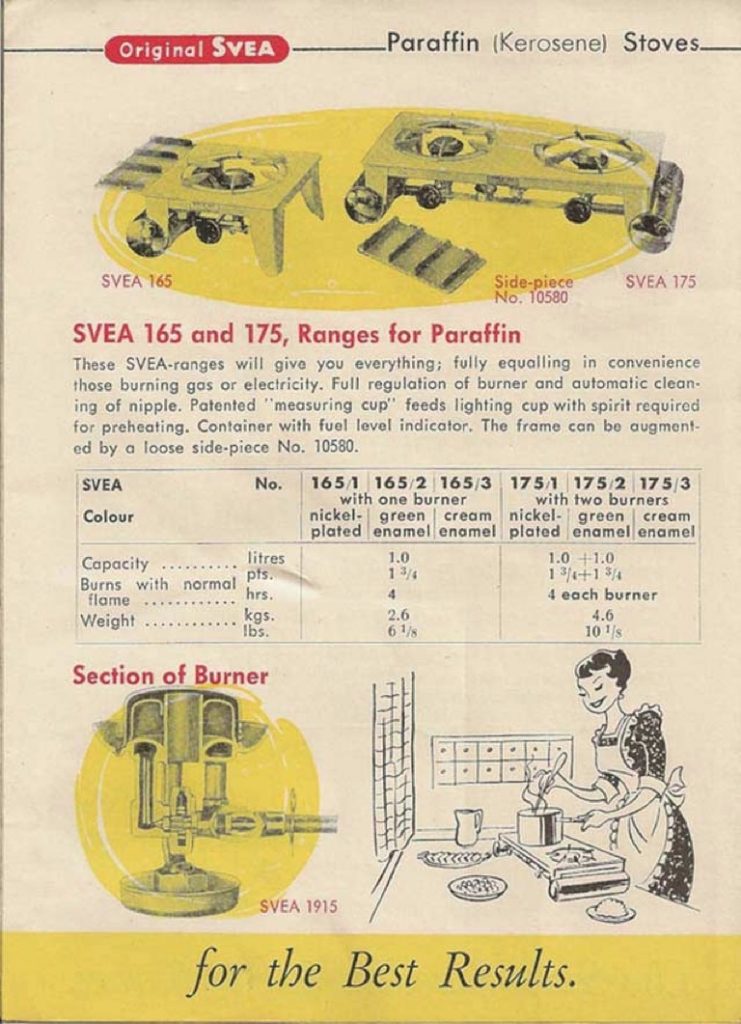
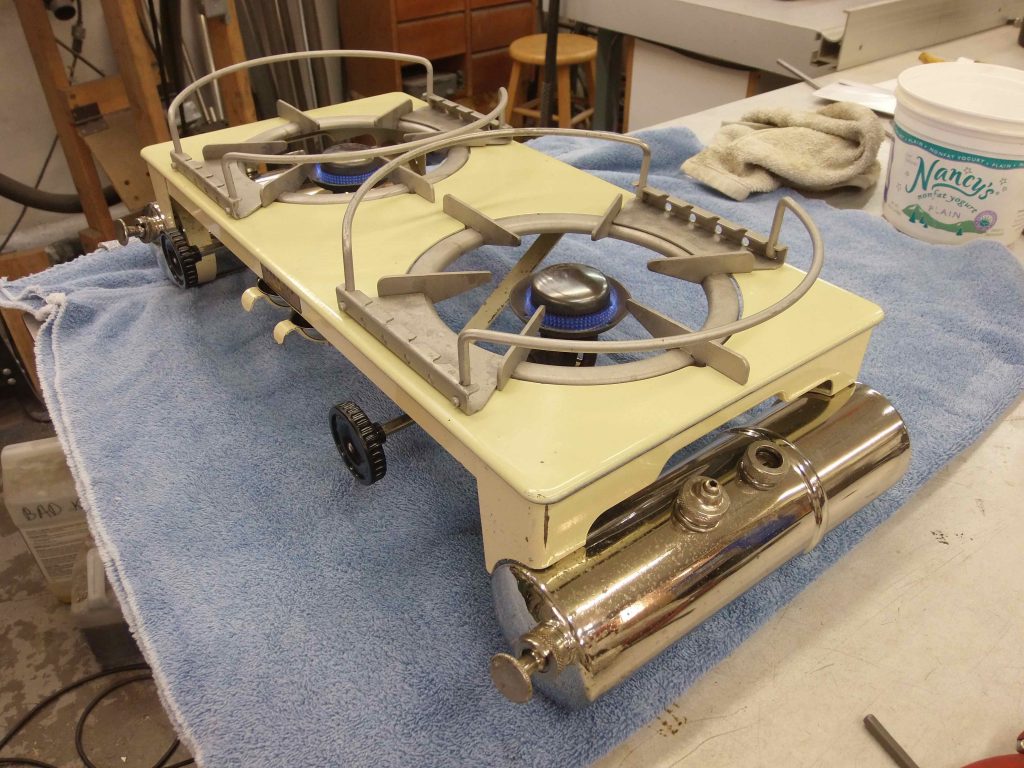
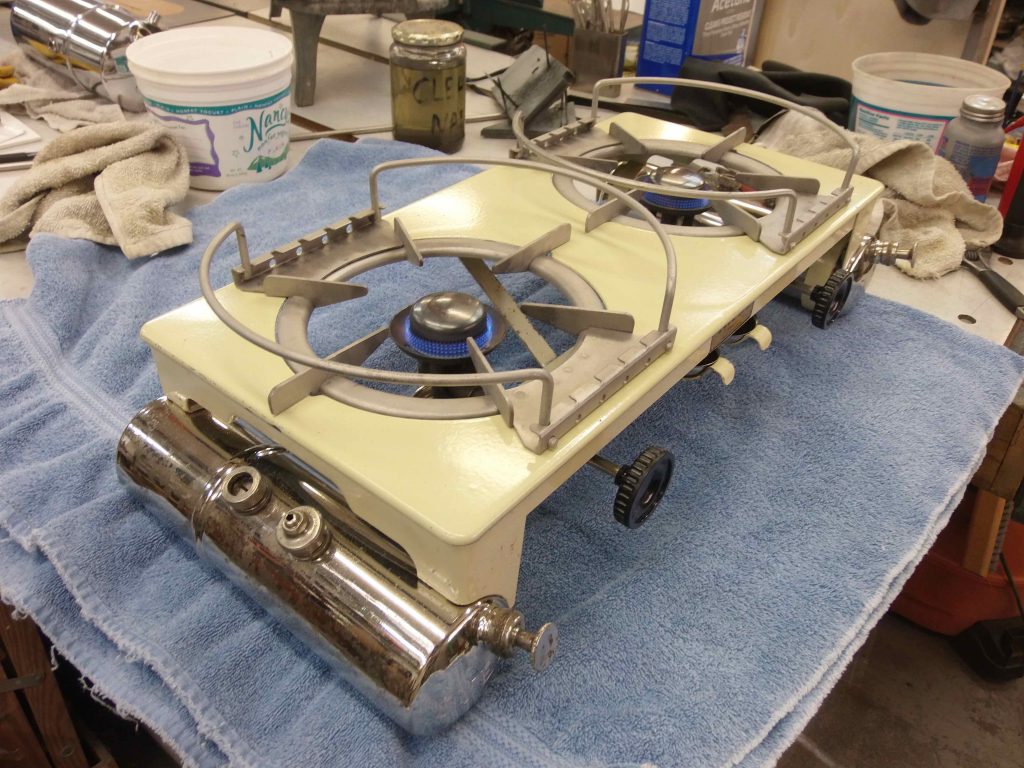
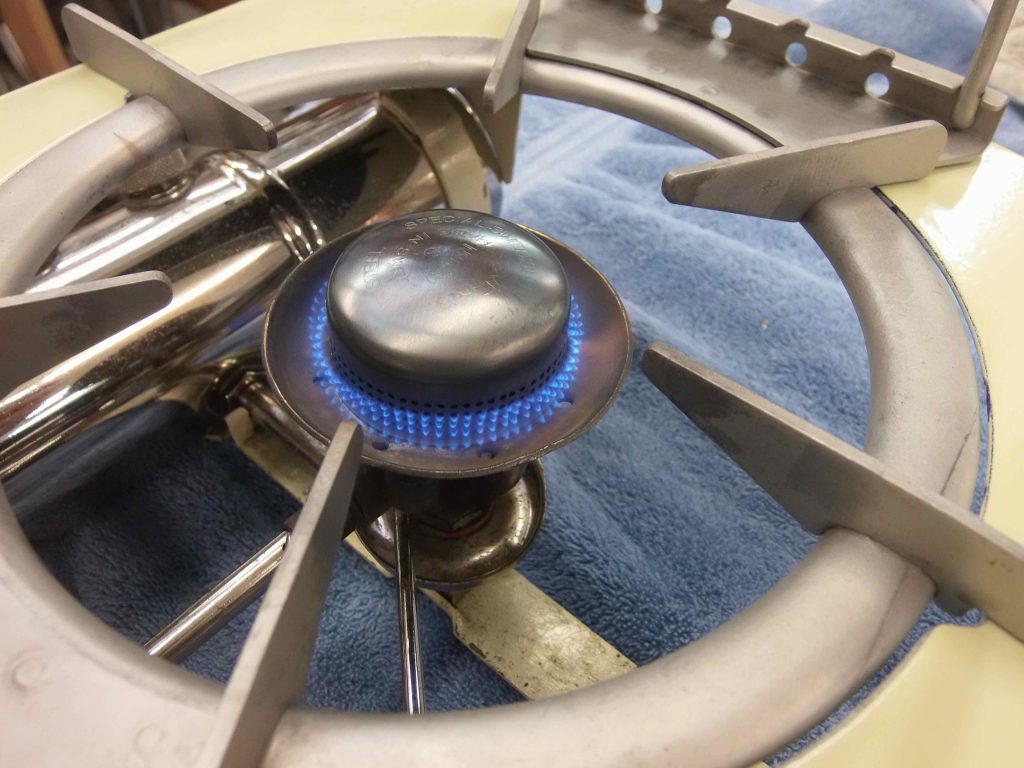
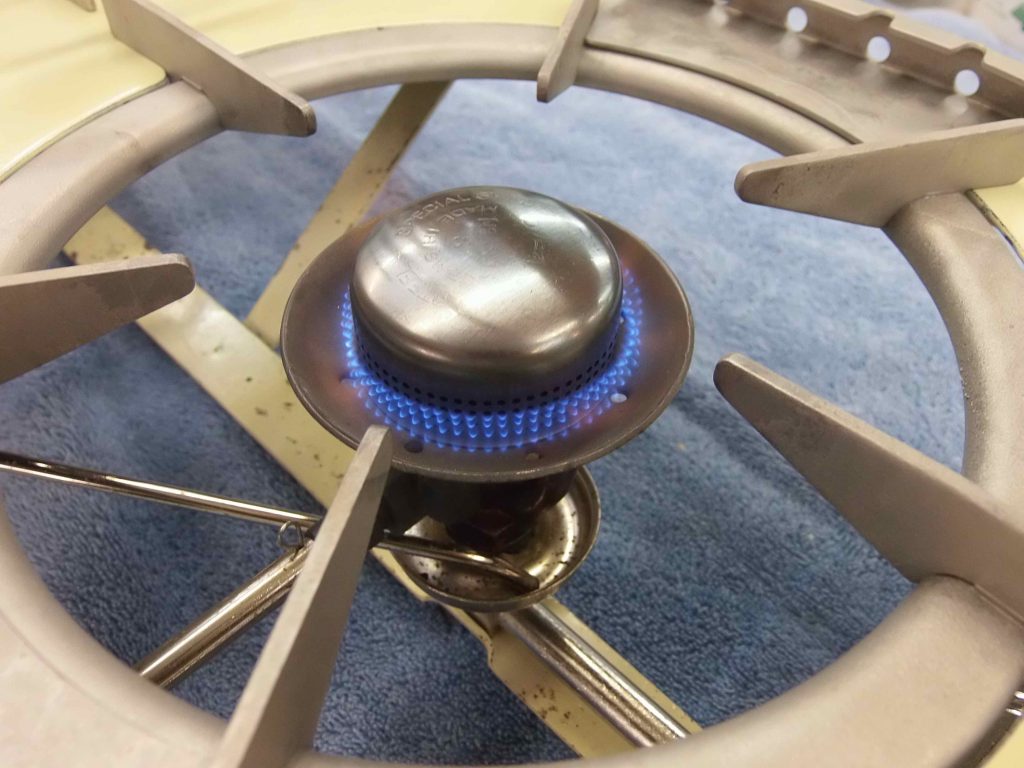
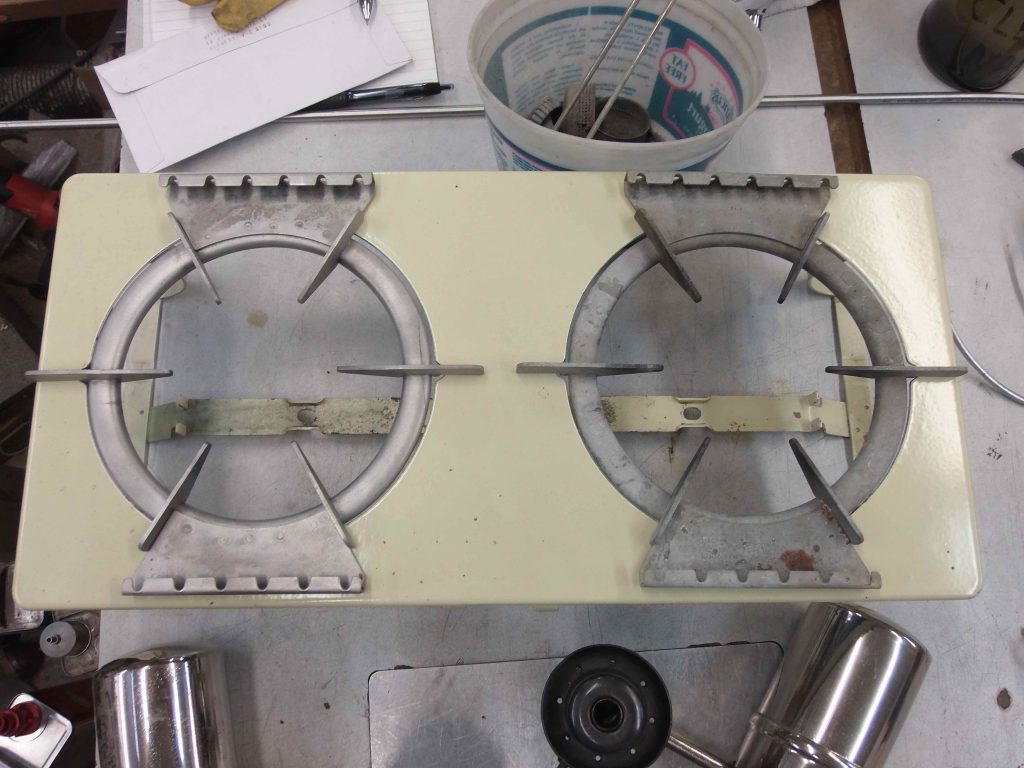
Here’s a Svea 175 that I restored. It’s a great old marine stove that came jetted for alcohol but which I converted to kerosene. The stove appears in an old 1958 Svea catalog. The marine trivets seem to be a special option. Gotta love those excellent Svea #1915 regulated burners.

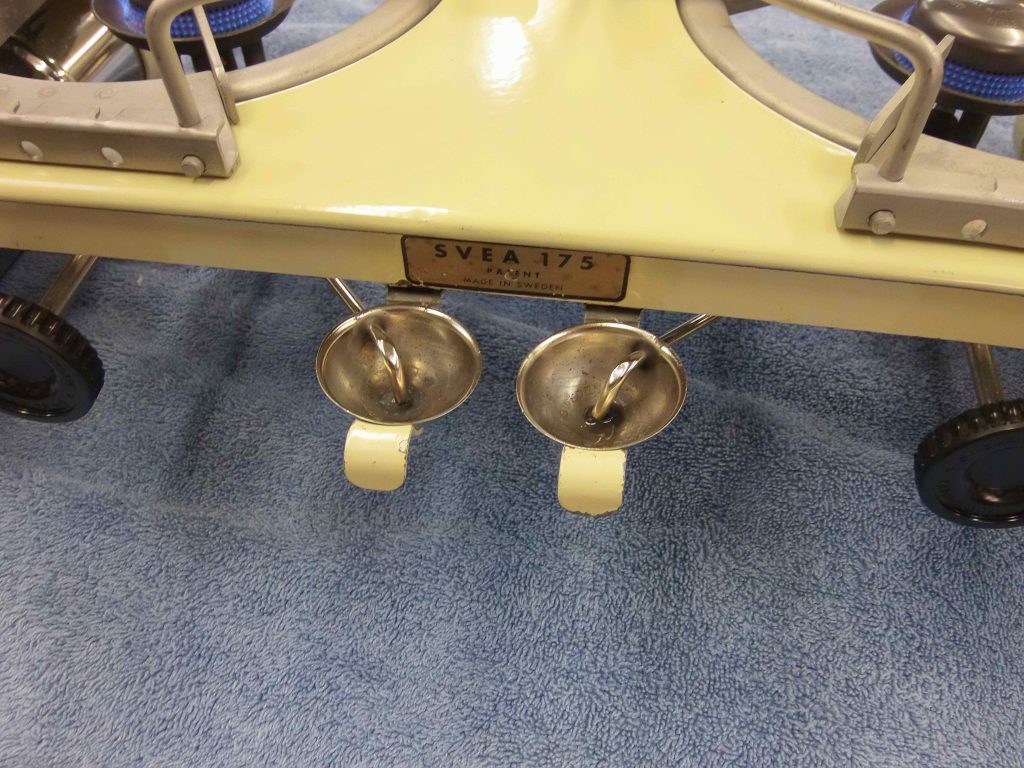
These slide out cups deliver the correct amount of preheating alcohol to the spirit cups under the burners via a long metal tube. The curved end inside the slide out cups automatically siphons the alcohol when the slide out cups are filled. Pretty slick!

The galvanized steel trivets were pretty well oxidized. I chose to gently glass bead blast the oxidation, but not the plating, off of the trivets. The one on the left is finished, the one on the right yet to go.

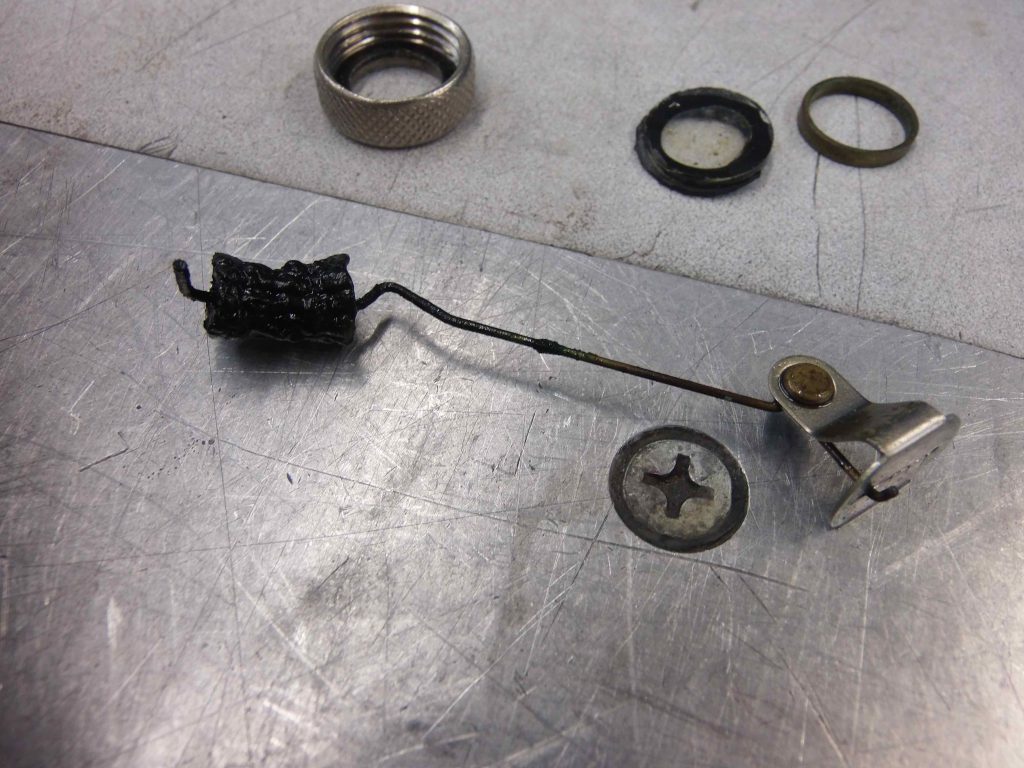
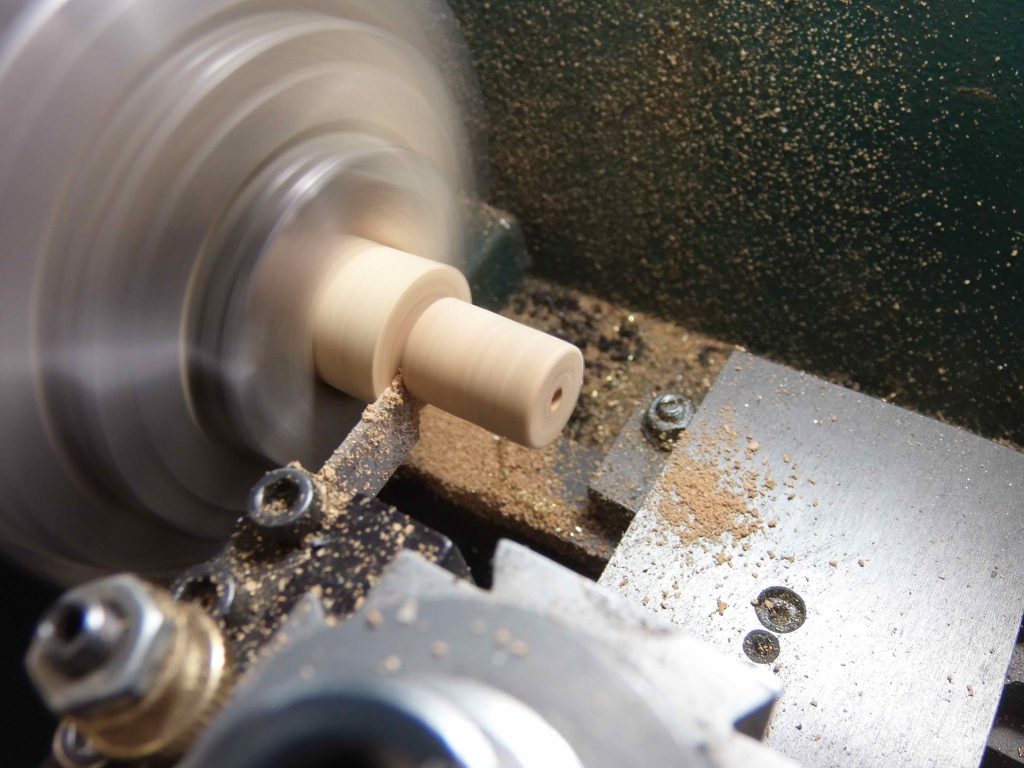
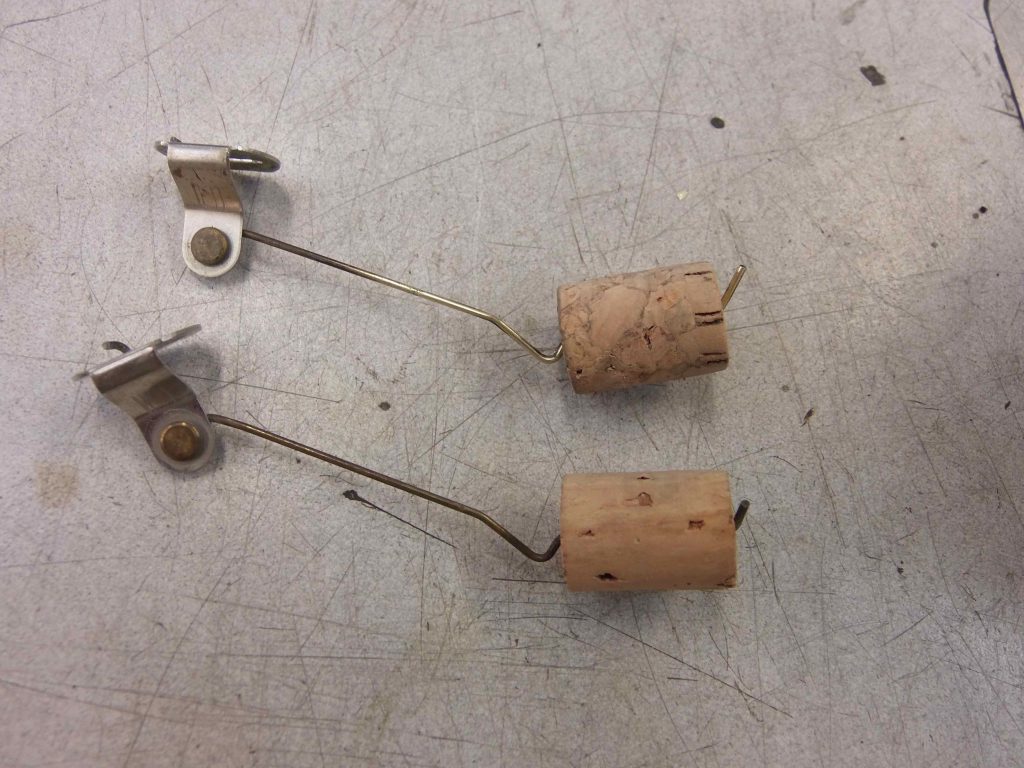
The cork fuel gauge floats on both of the tanks was perished. I turned new floats on the lathe from old wine corks.


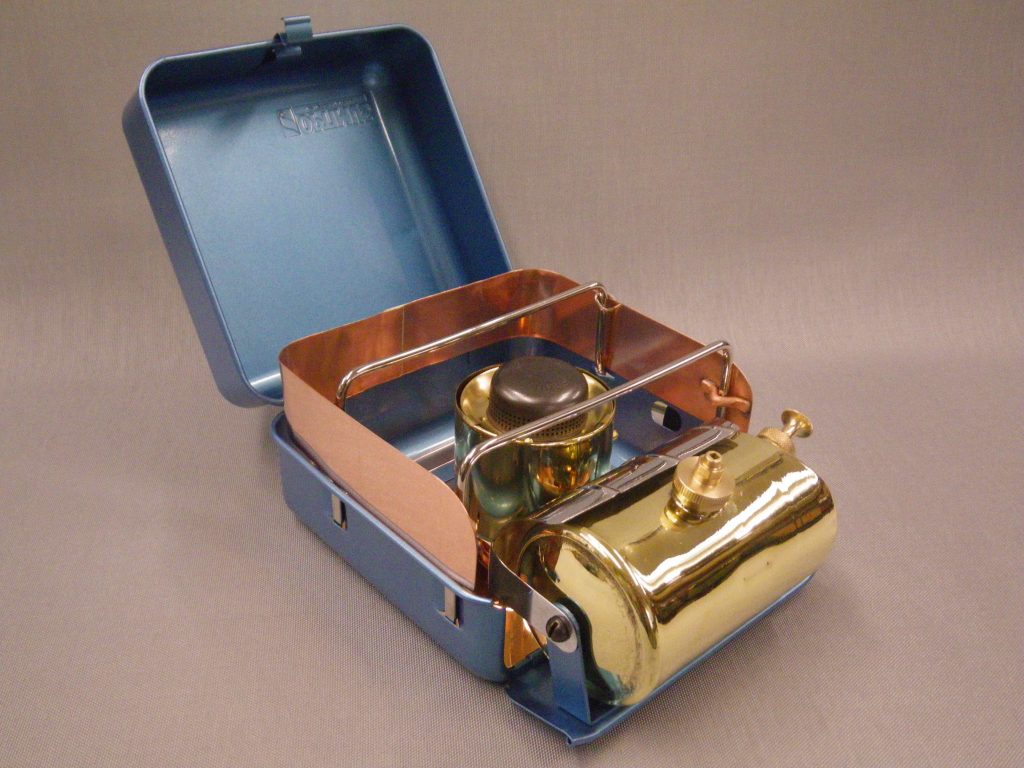
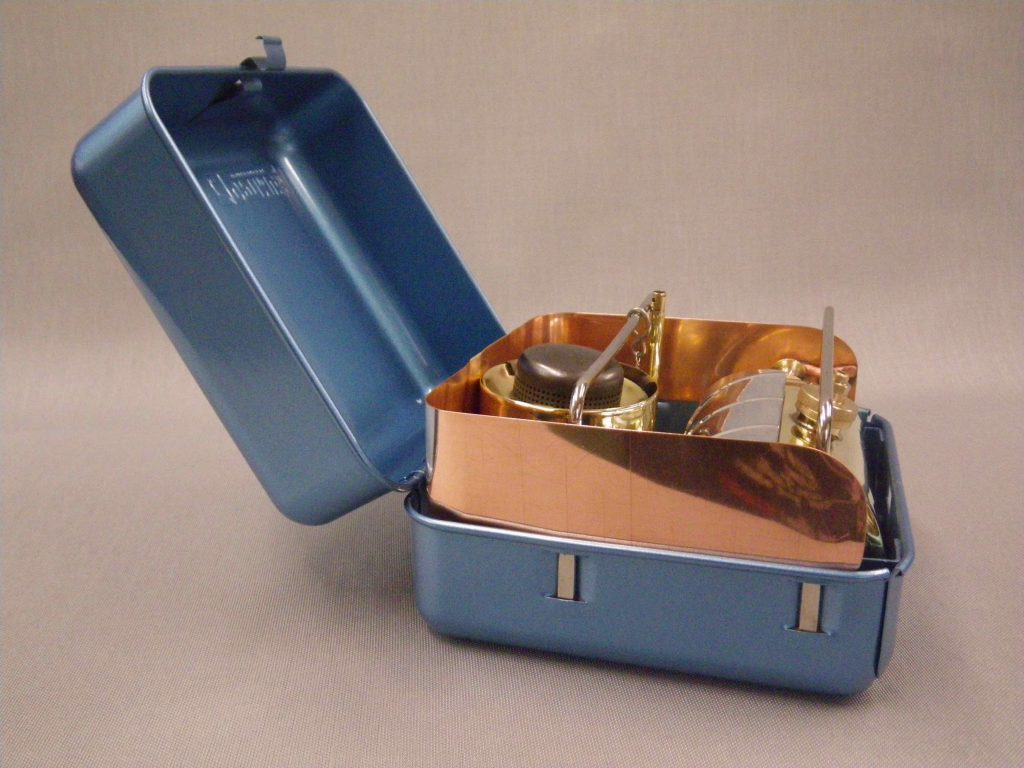
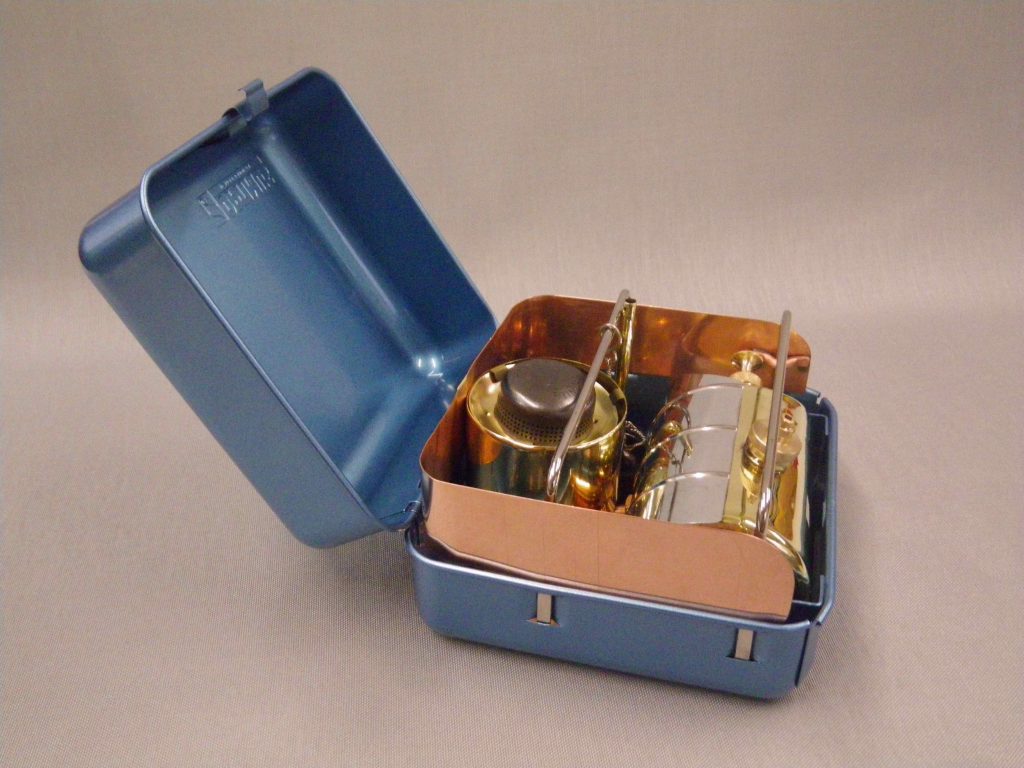
Optimus 111T “Bling” Restore

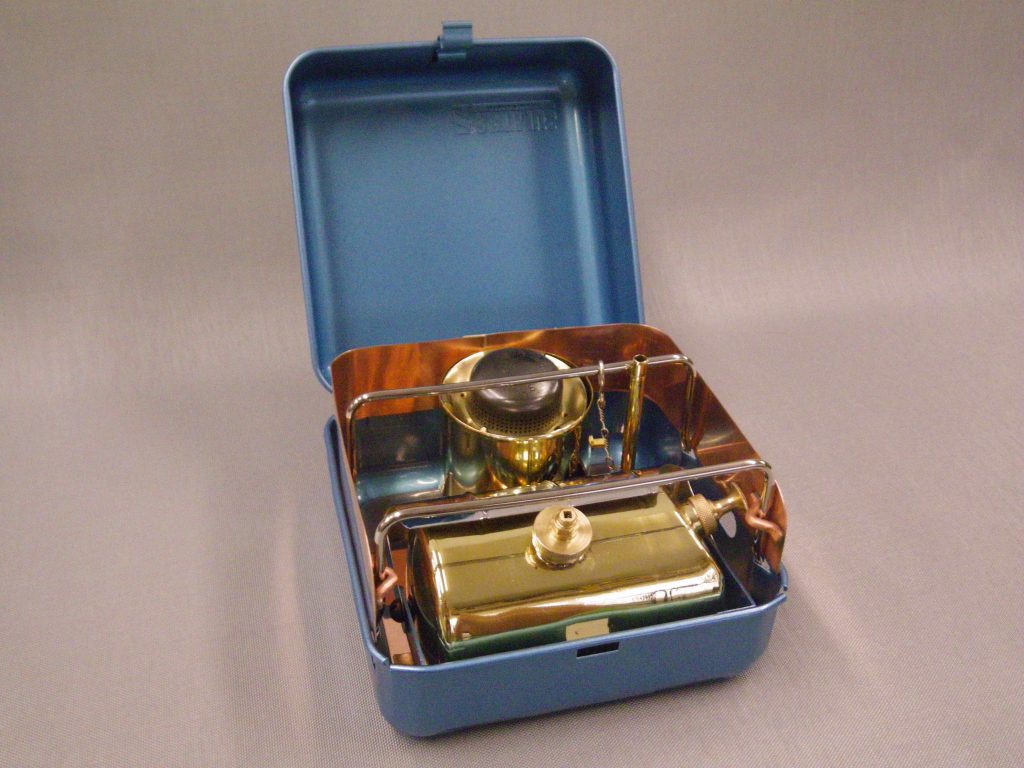
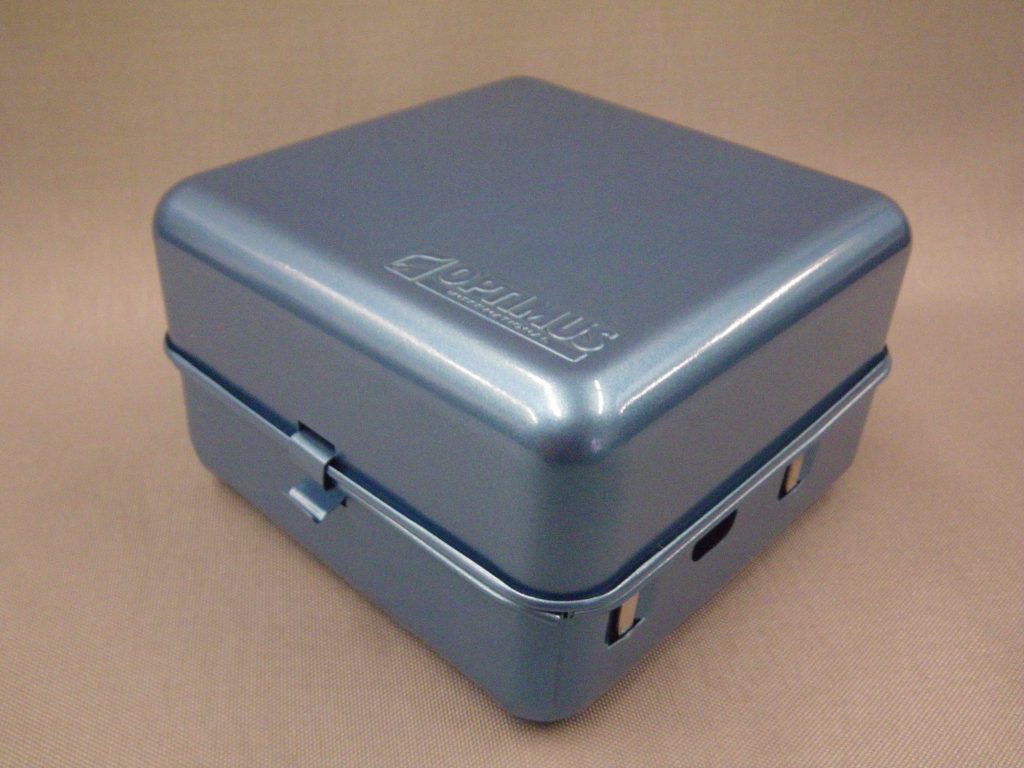
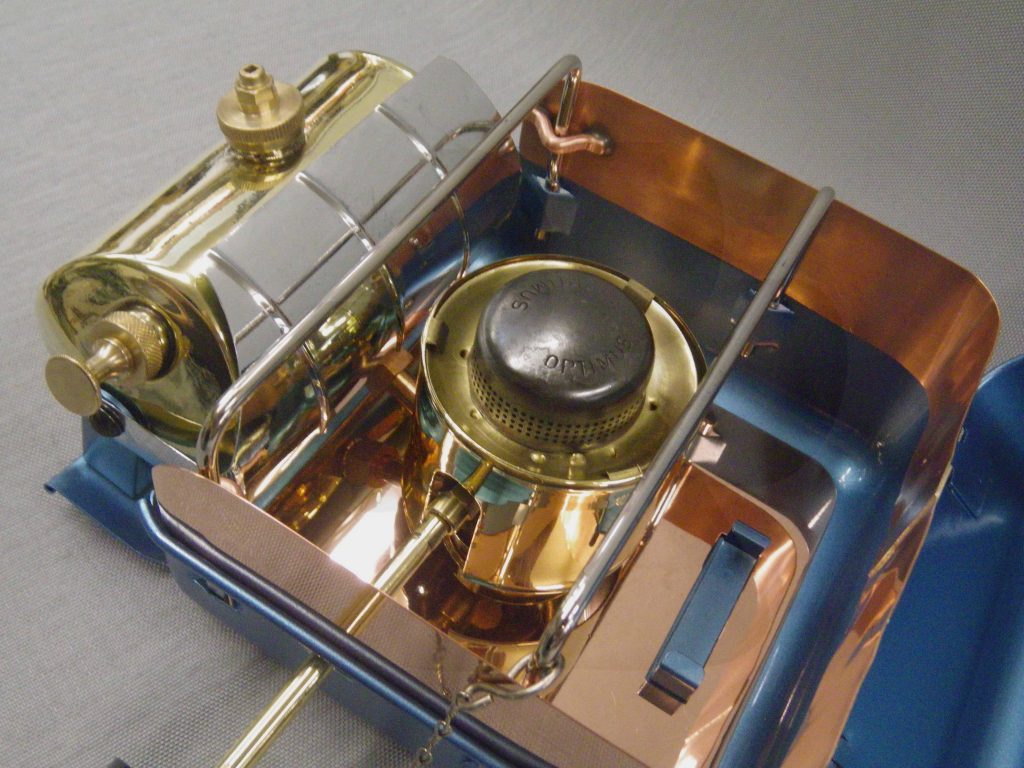
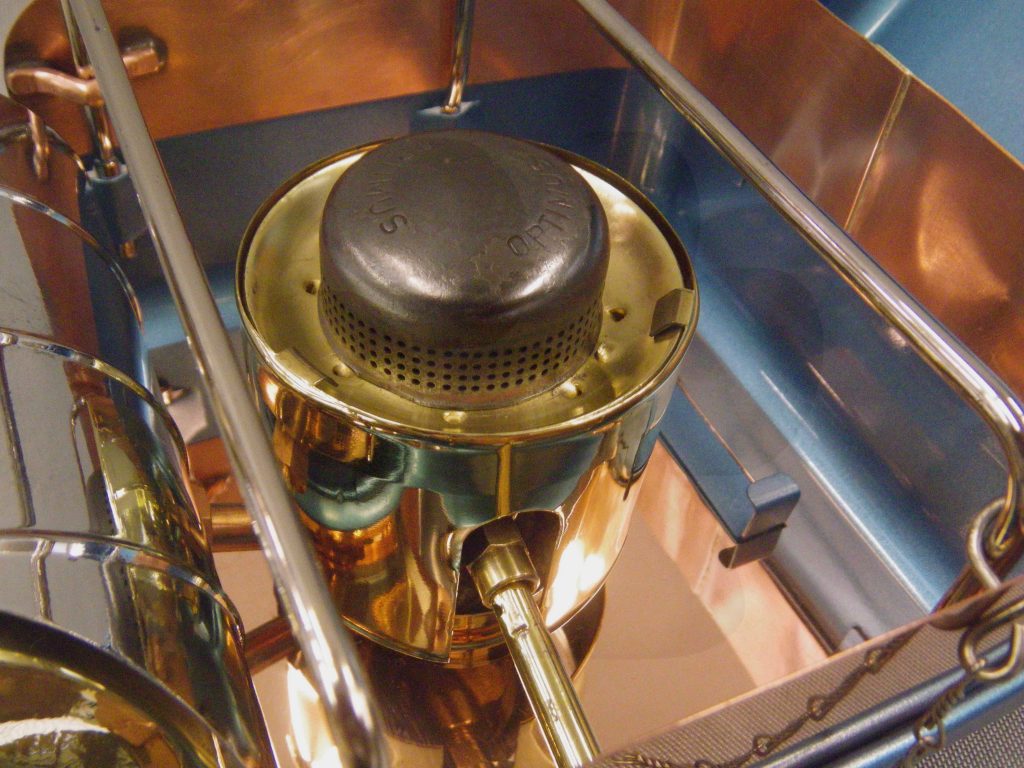
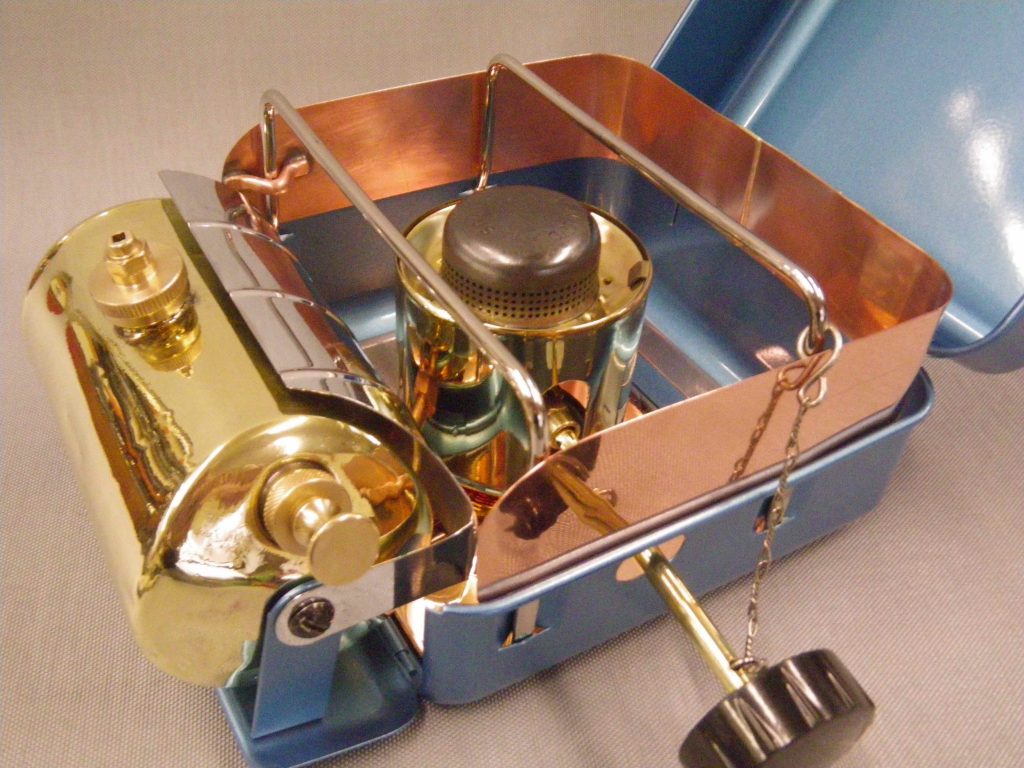
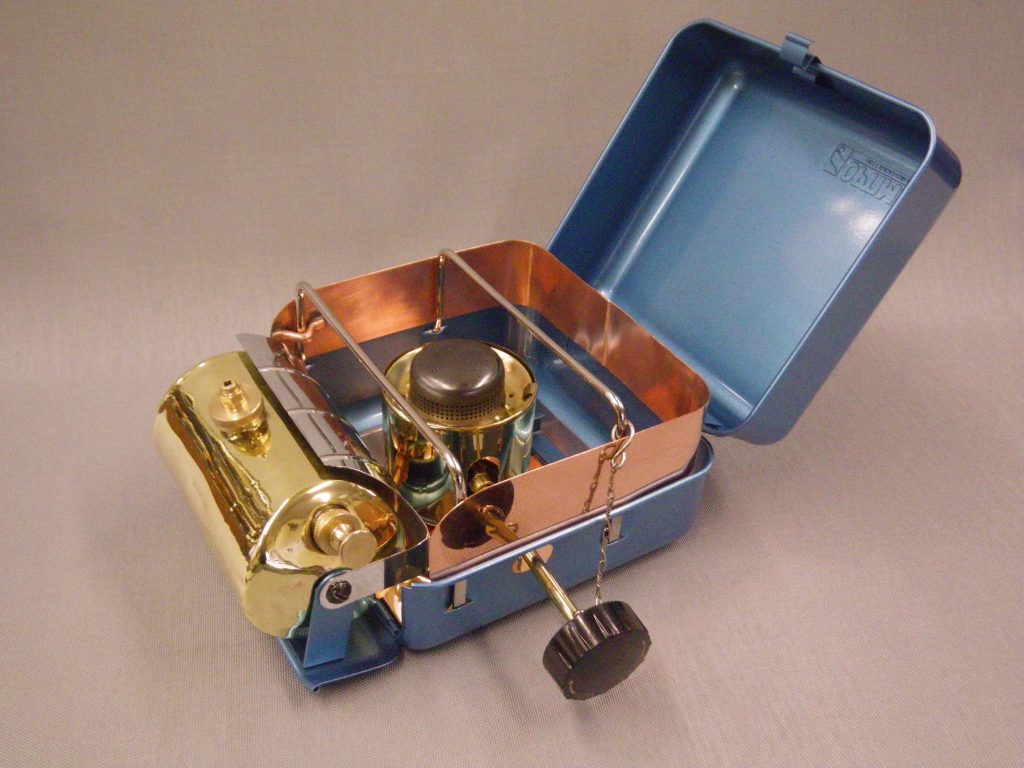
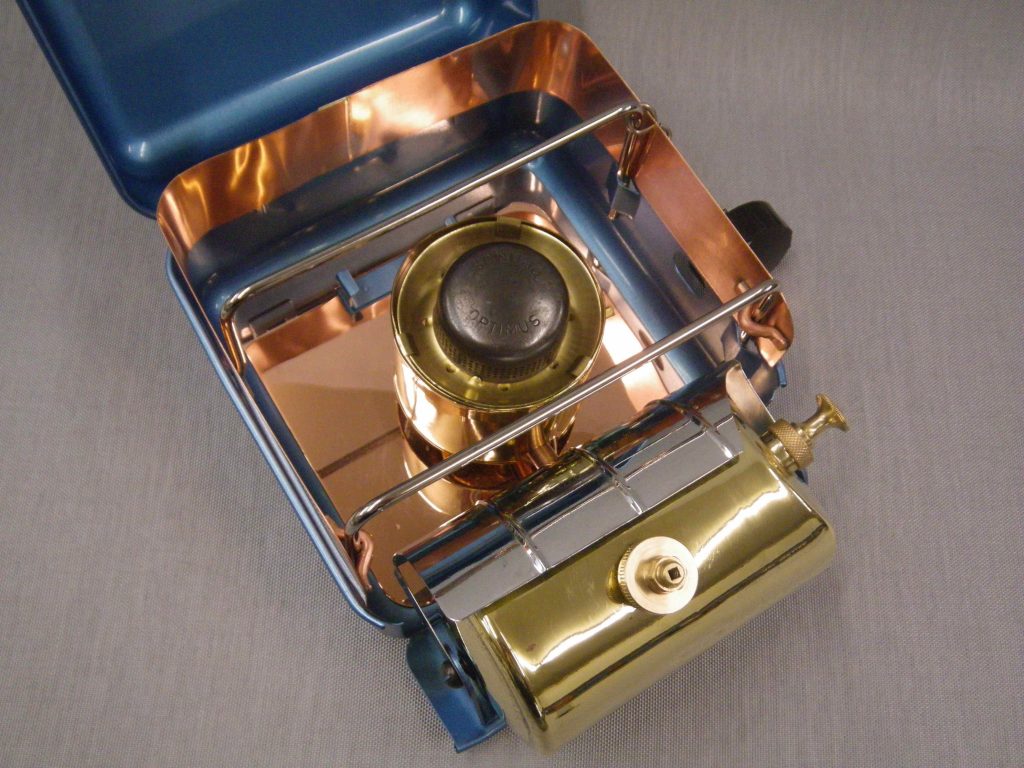
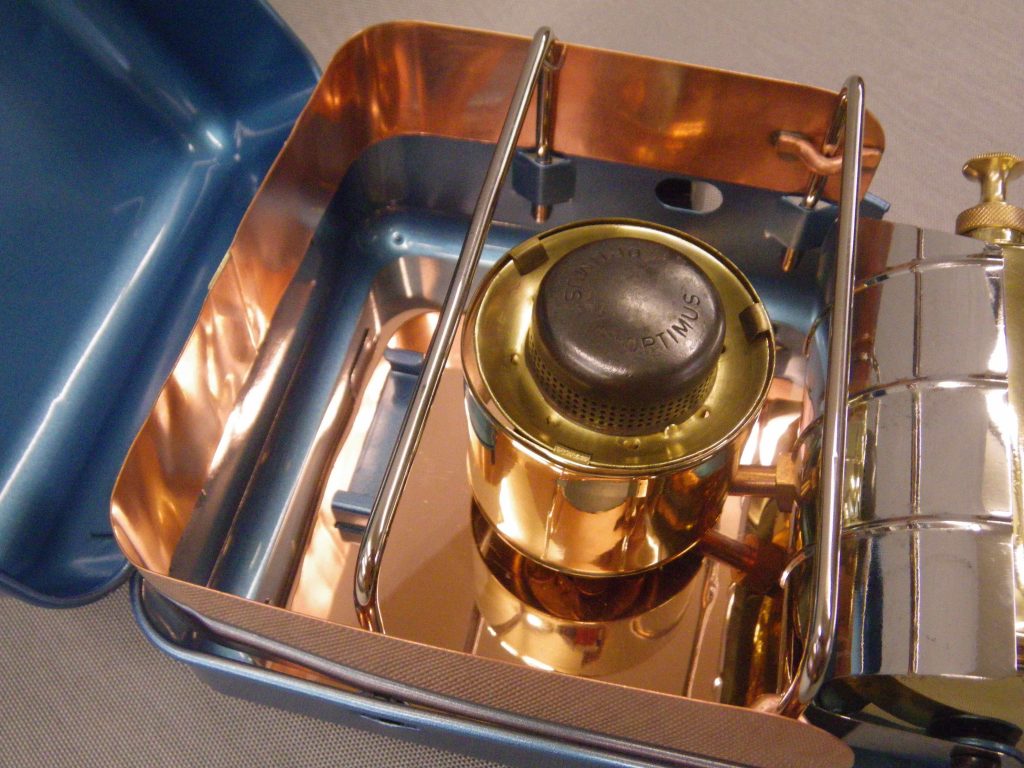
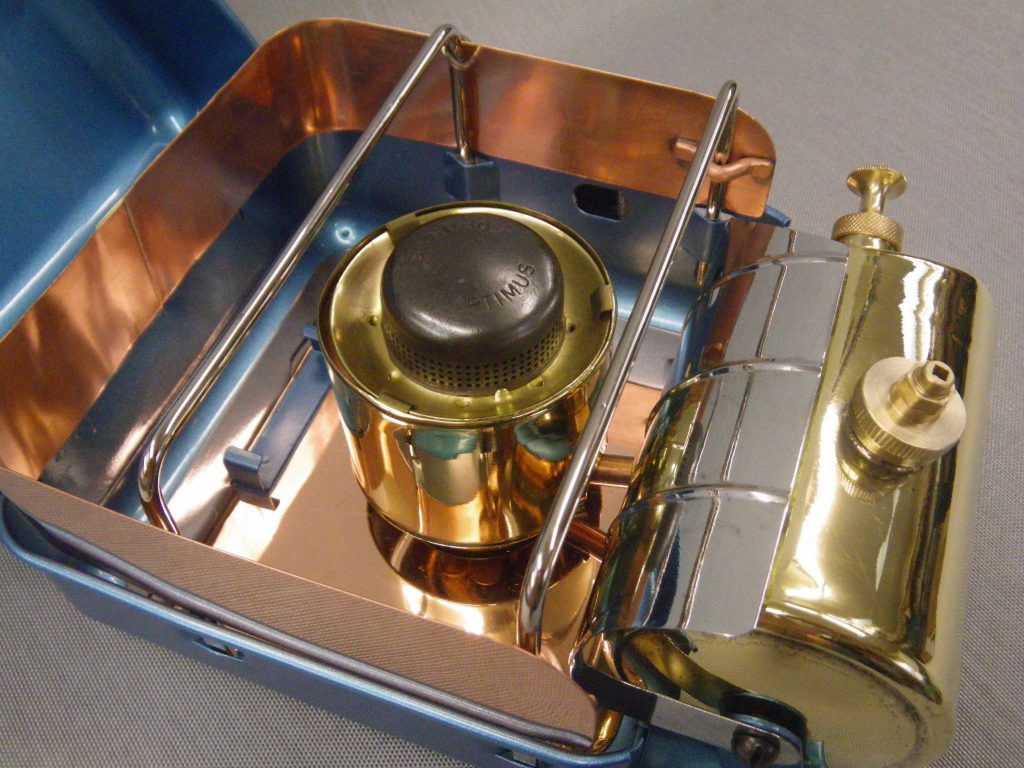
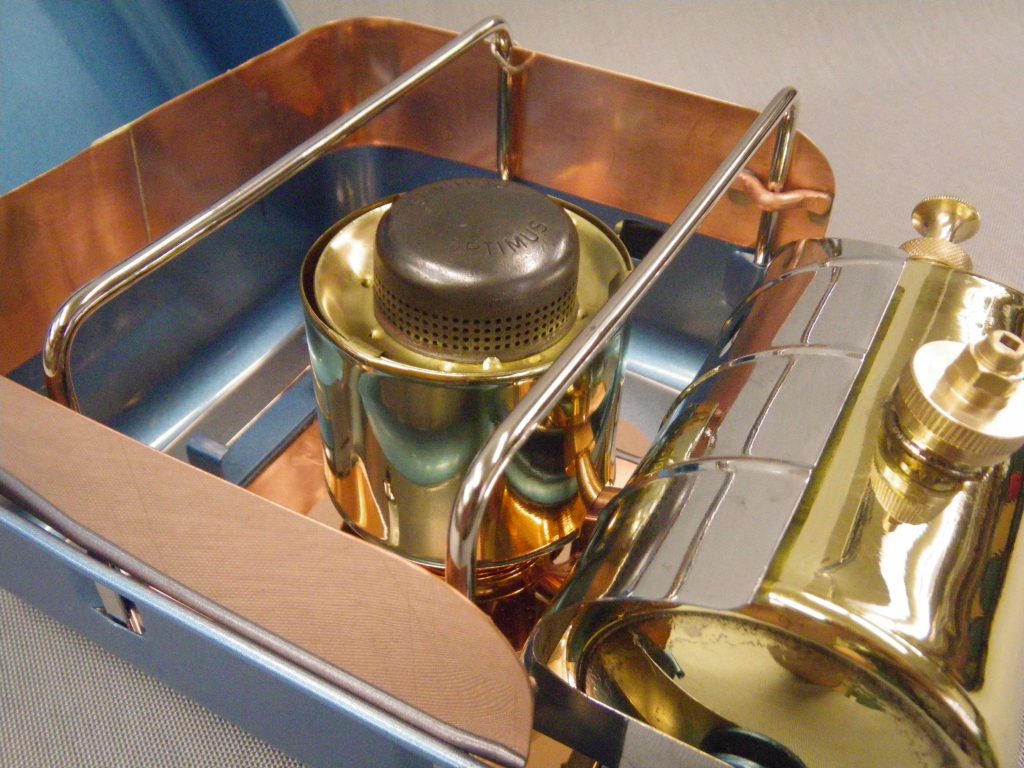
Here is an Optimus 111T that I “restored” for a client a few years ago. The client specifically requested the polished copper windshield and floor pan.

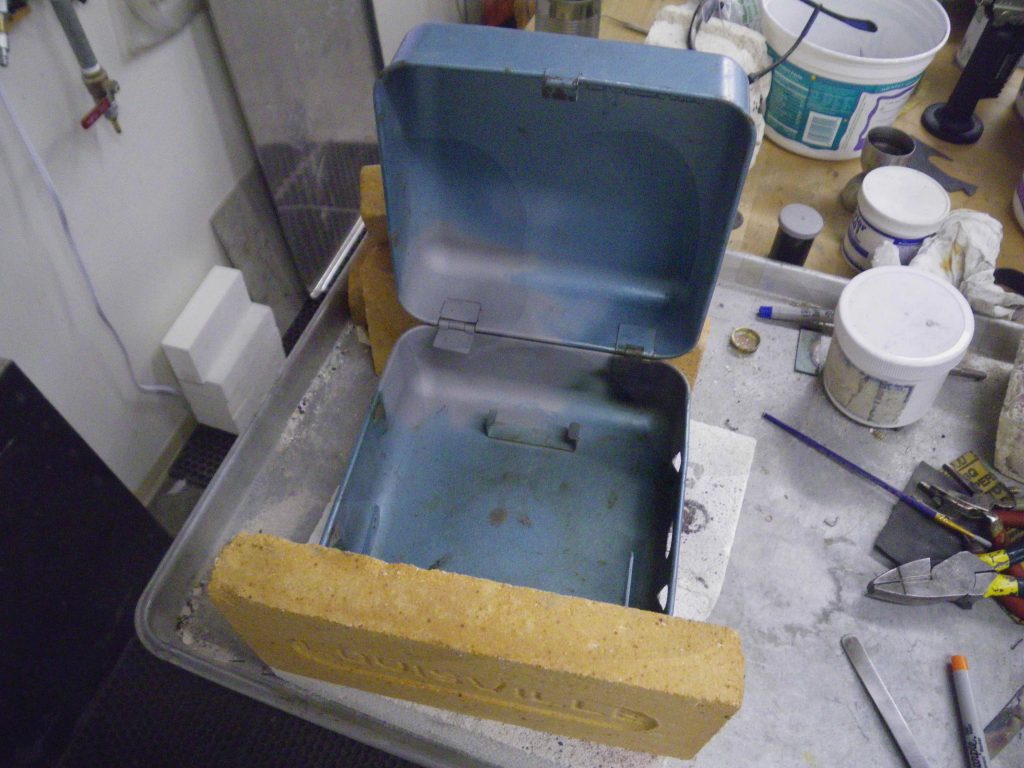
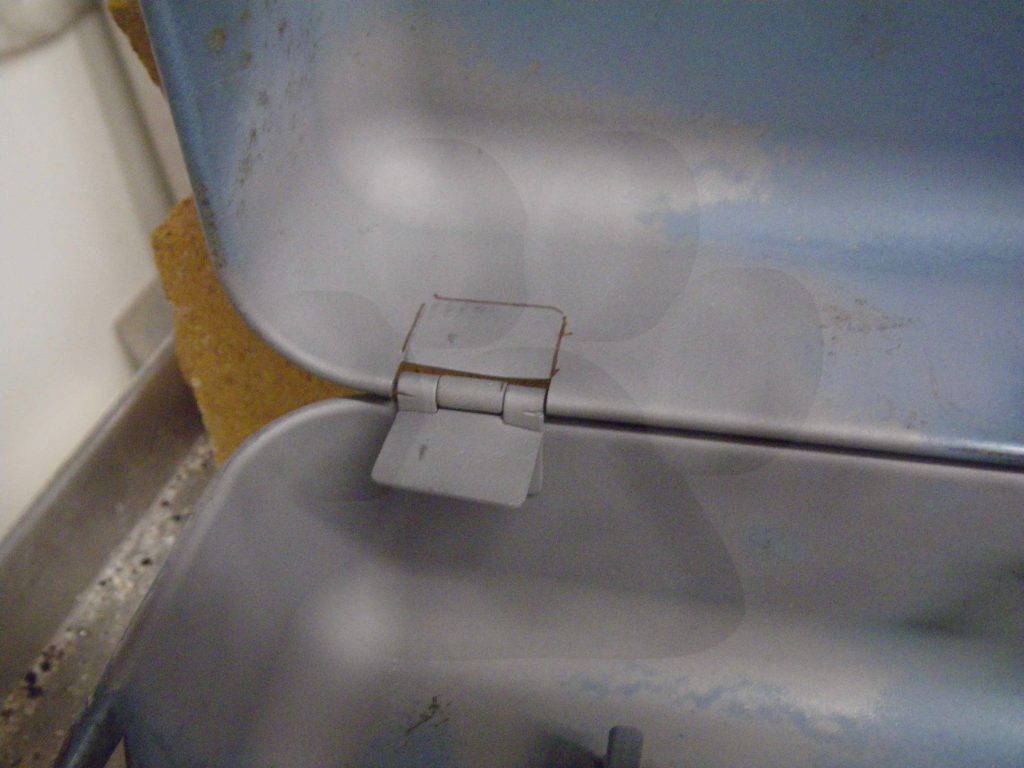
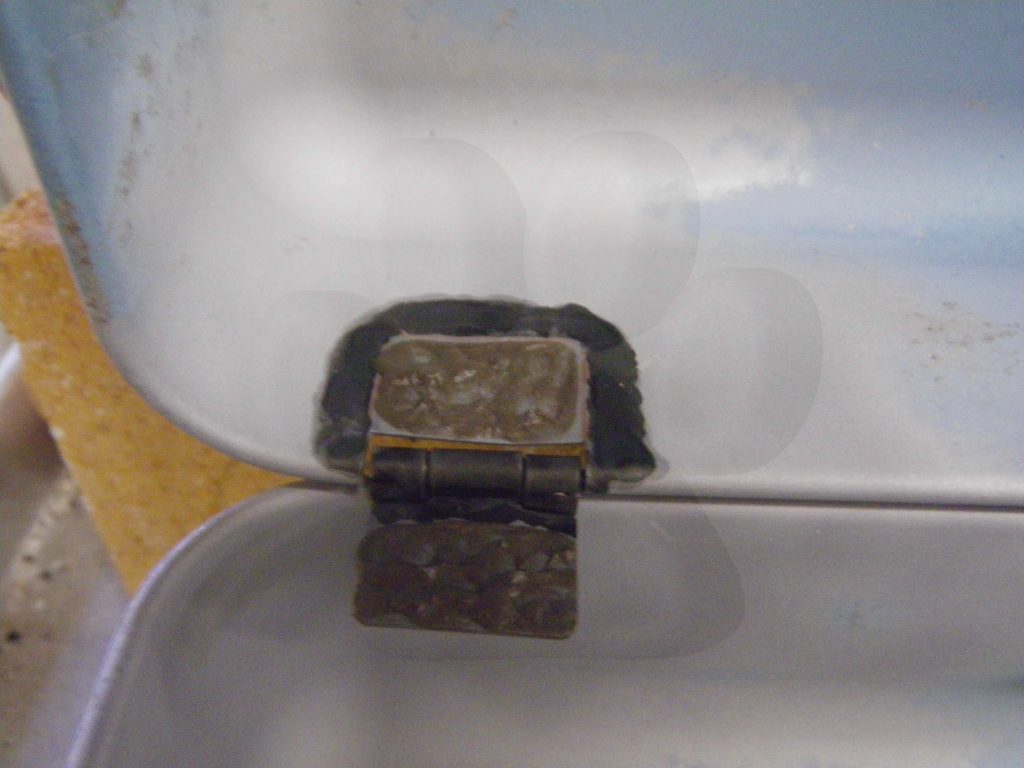
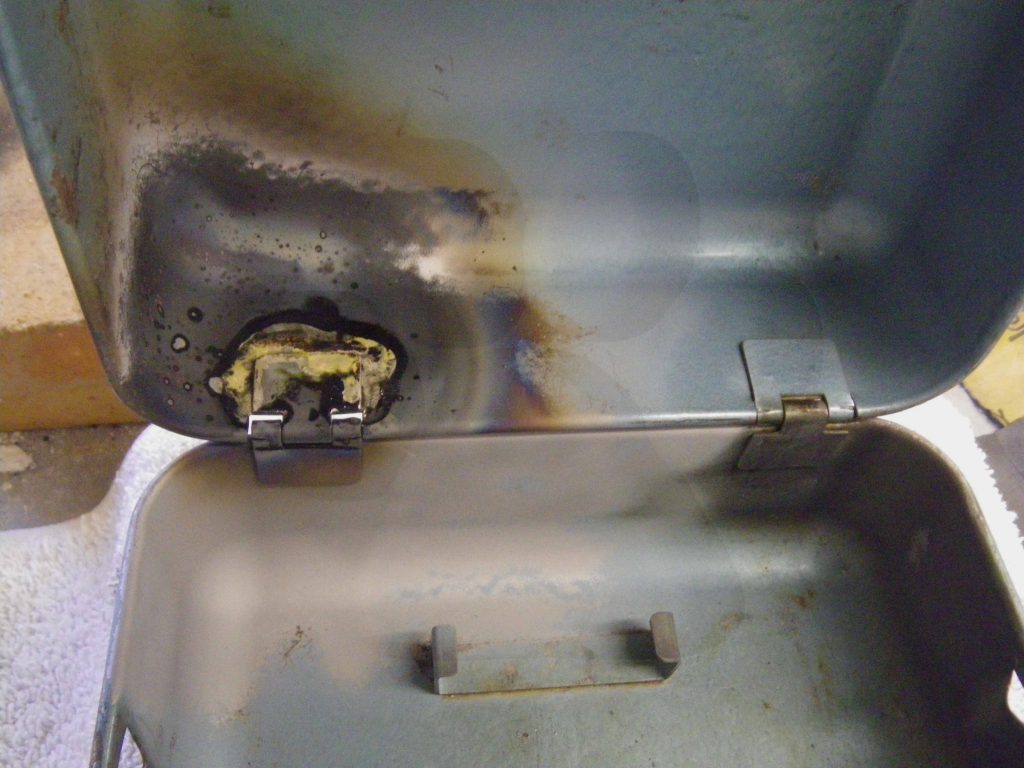
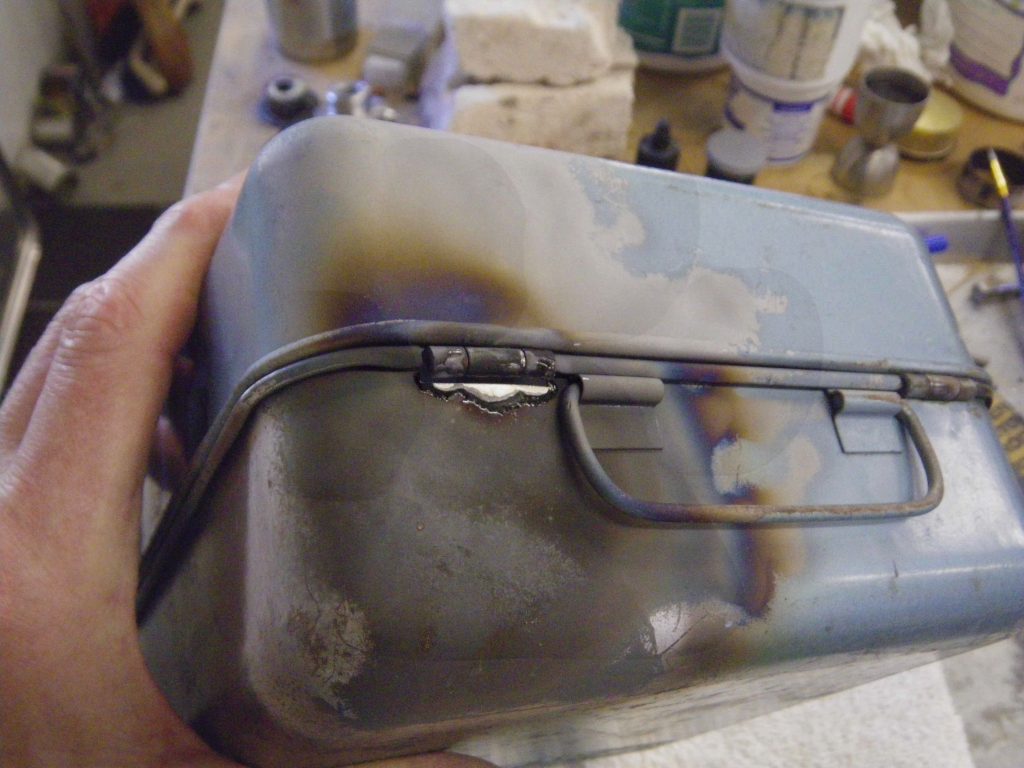
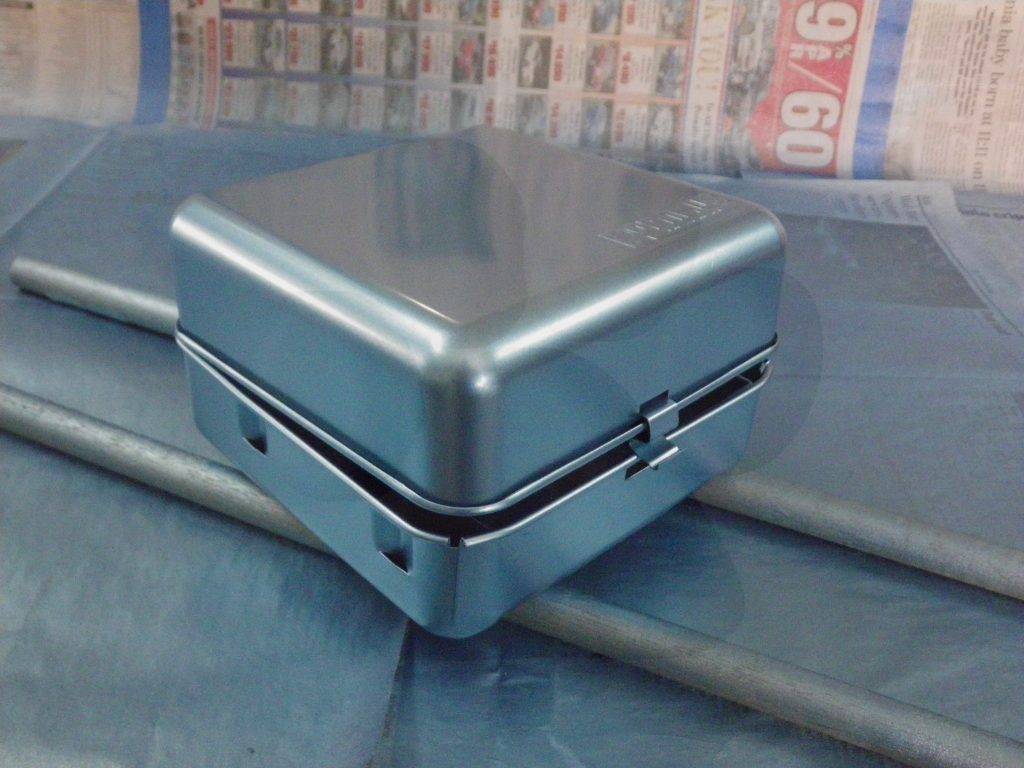
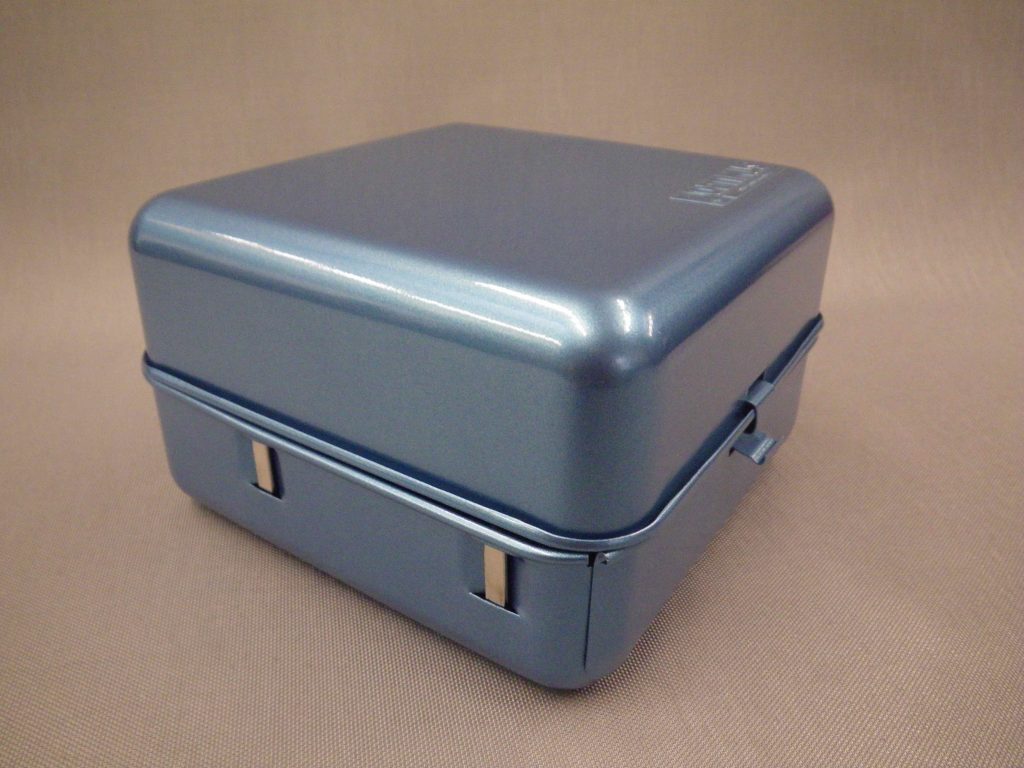
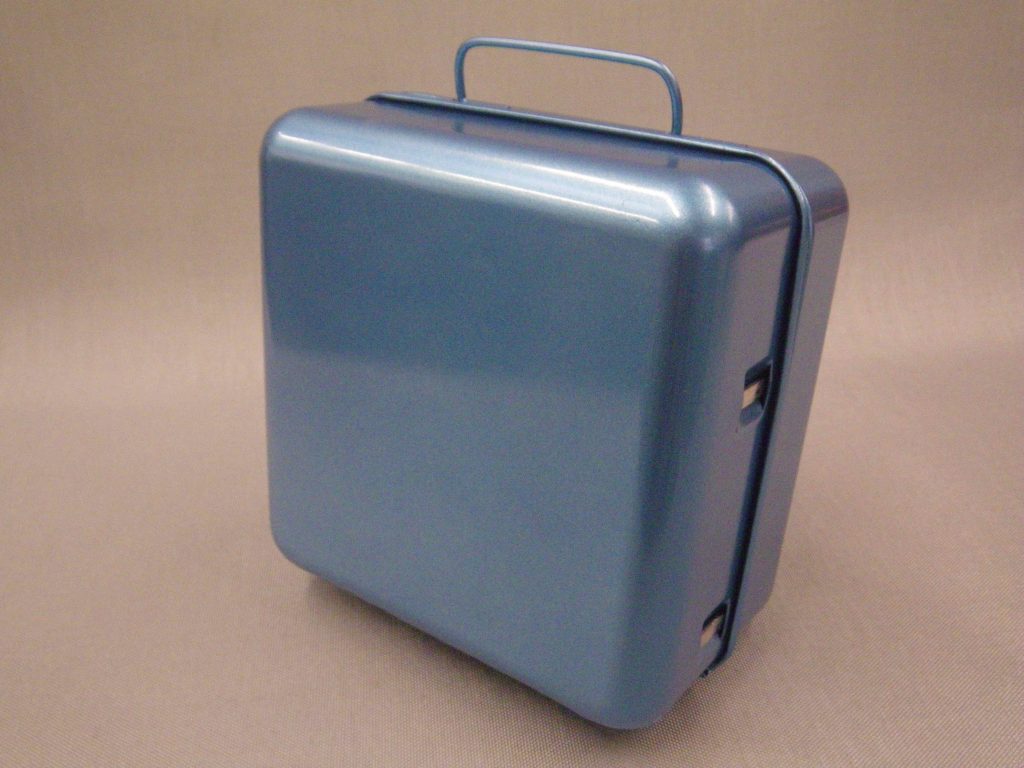
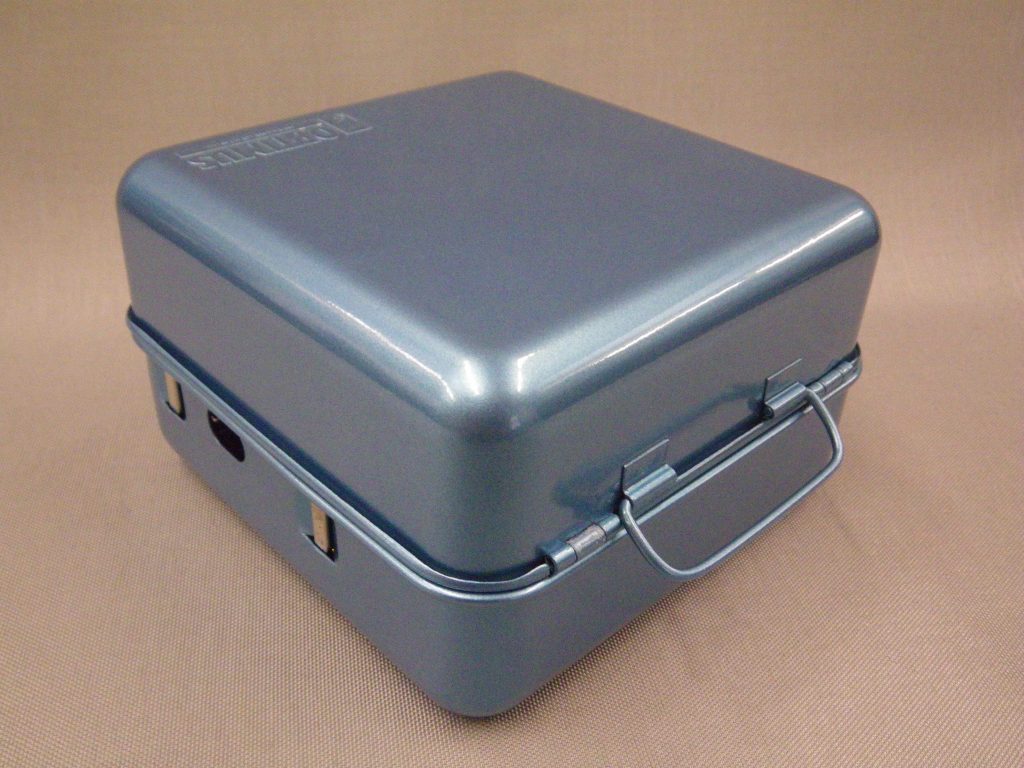
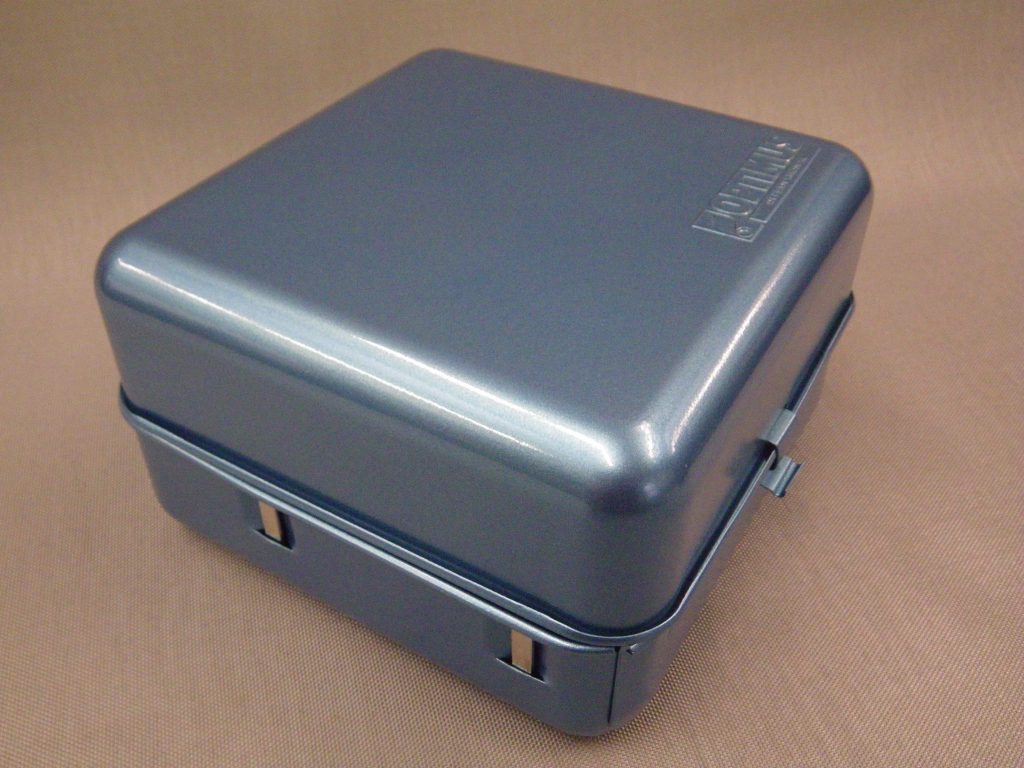
The embossed case was stripped, derusted, and repainted. The left hinge on the case was separated – the spot weld had failed. I silver brazed the hinge back in place before prepping and repainting.

Here are the beauty shots.

Sadly… the client was better at buying old stoves than actually operating them. Within three months of this restore the inept client had set the stove on fire, destroyed the paint, and melted part of the copper windshield surround. Sigh. :-(((

Monitor Pump Tube Repair

I often am asked to help out when a stove collector has problems removing a NRV (non-return valve) from the bottom of a stove’s pump tube. Usually the stove owner has done their best to remove the NRV, but has inadvertently rounded the soft brass head of the NRV valve. Sometimes I can get these damaged NRVs broken loose by using an “easy-out” (screw extractor bit) mounted in the end of a spade bit extension. I’ve actually made my extension a bit longer by welding an additional section of 1/4″ hex rod to the unit.
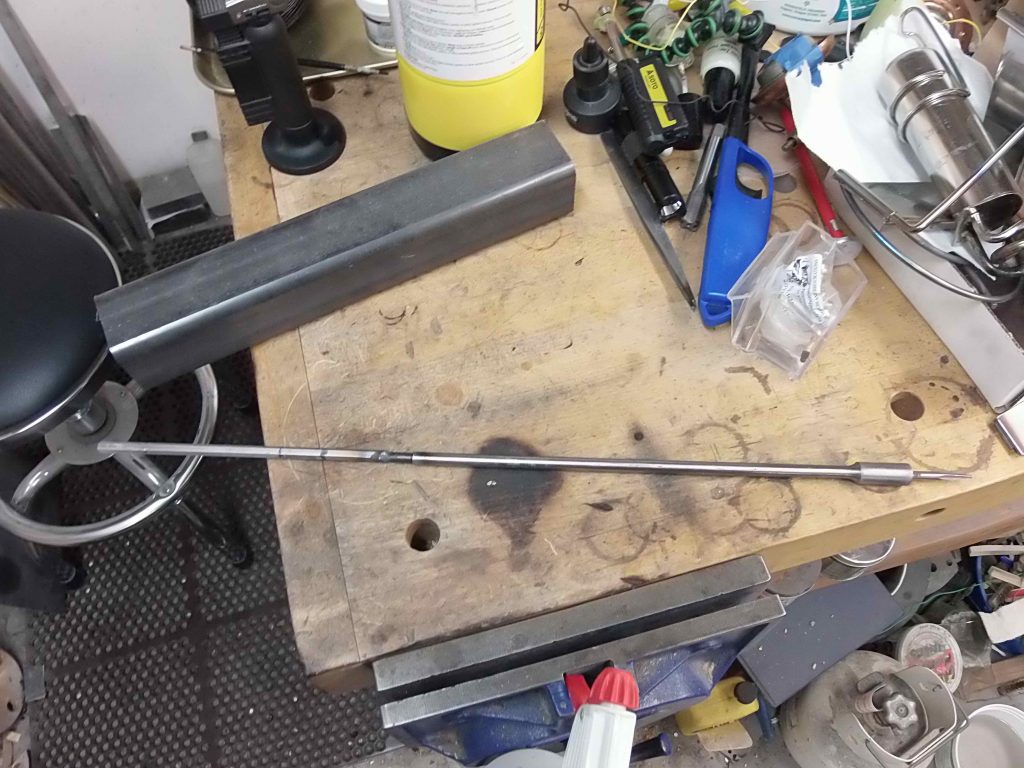
Spade bit extension with welded addition

Sadly, this wasn’t possible on this old Monitor stove I was asked to repair.
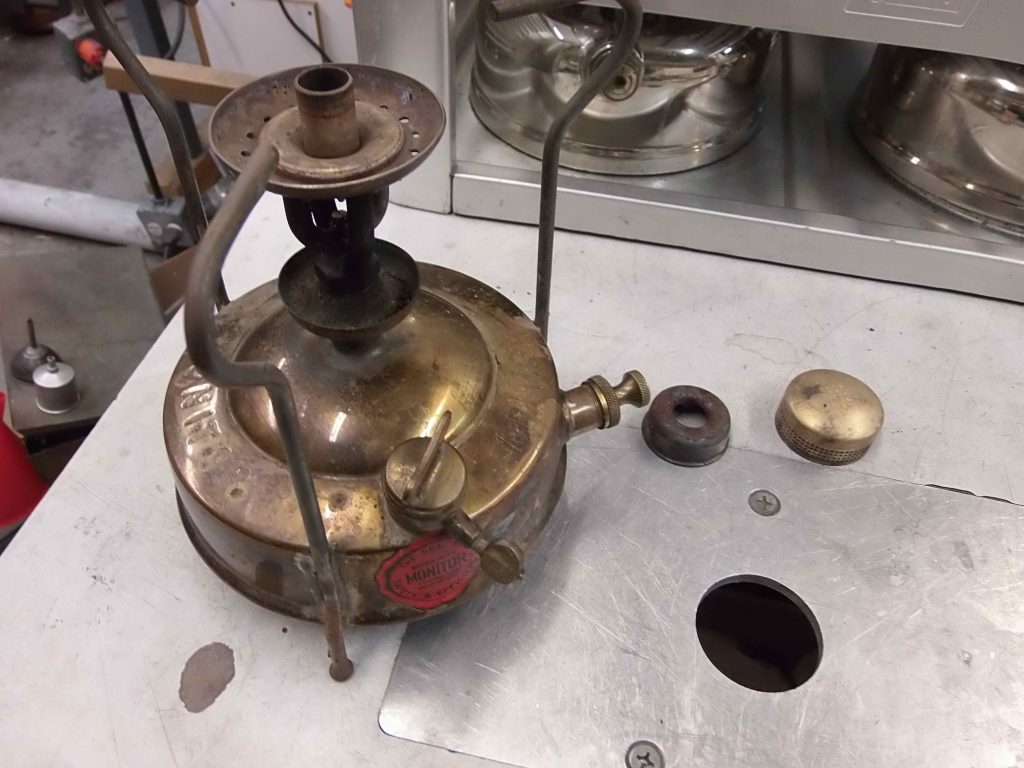
I use the stove’s original pump lid, some washers, a bolt and a nut to make up this little pump pulling tool. It’s easy to do and works great without the fuss or expense of a “special” tool.
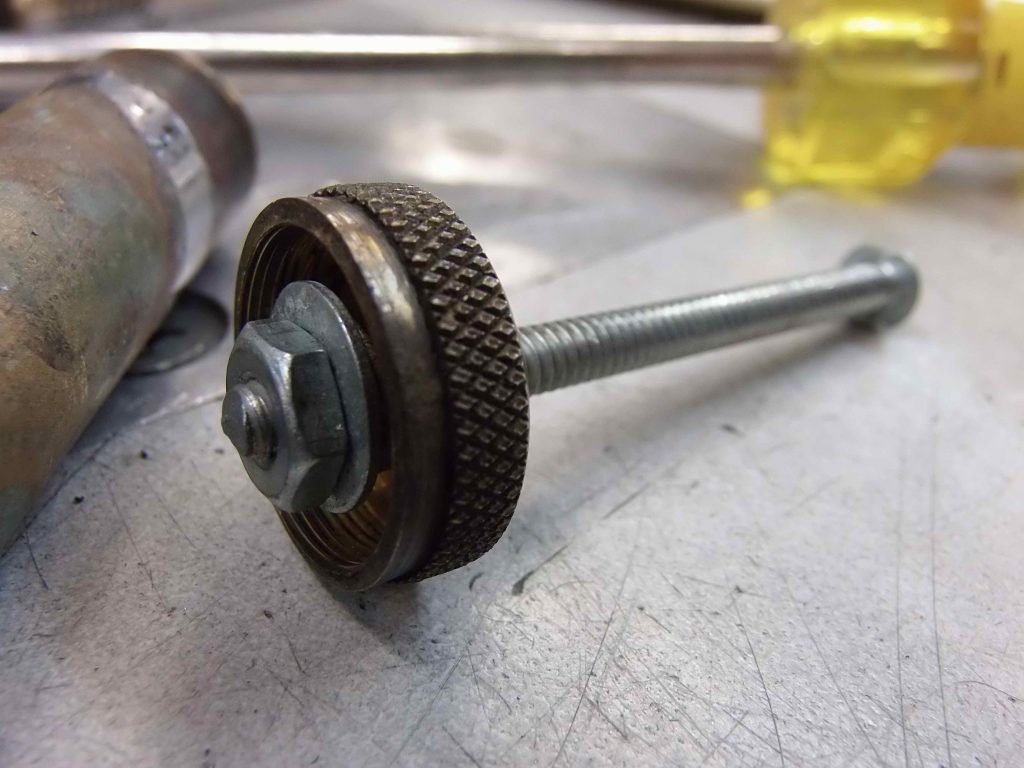
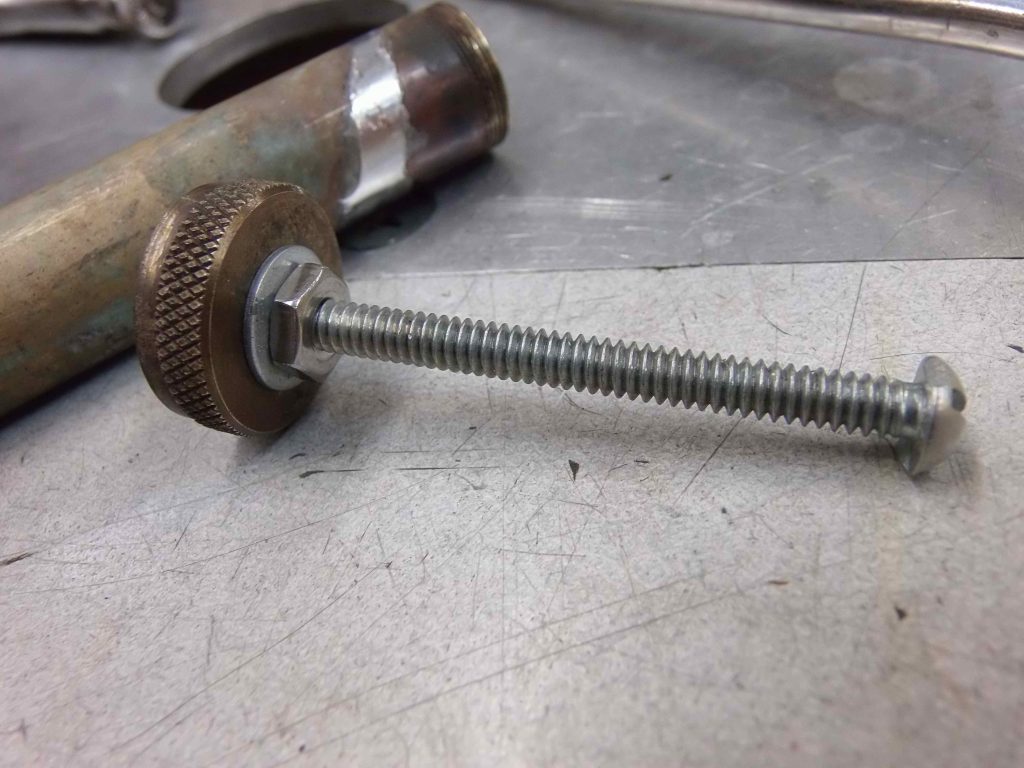
Usually I clamp the head of the bolt “tool” in my bench vise, hold the tank with one hand, and use the torch in the other hand to heat the area of the tank immediately around the pump tube. I put a wad of wet paper toweling all the way into the bottom of the pump tube to keep the heat from melting the solder holding the pump tube base block in place.

Here I’ve pulled the tube. But, I encountered some resistance as the tube would not completely exit the pump tube opening in the tank. It’s hanging up on the over-large pump tube base block.
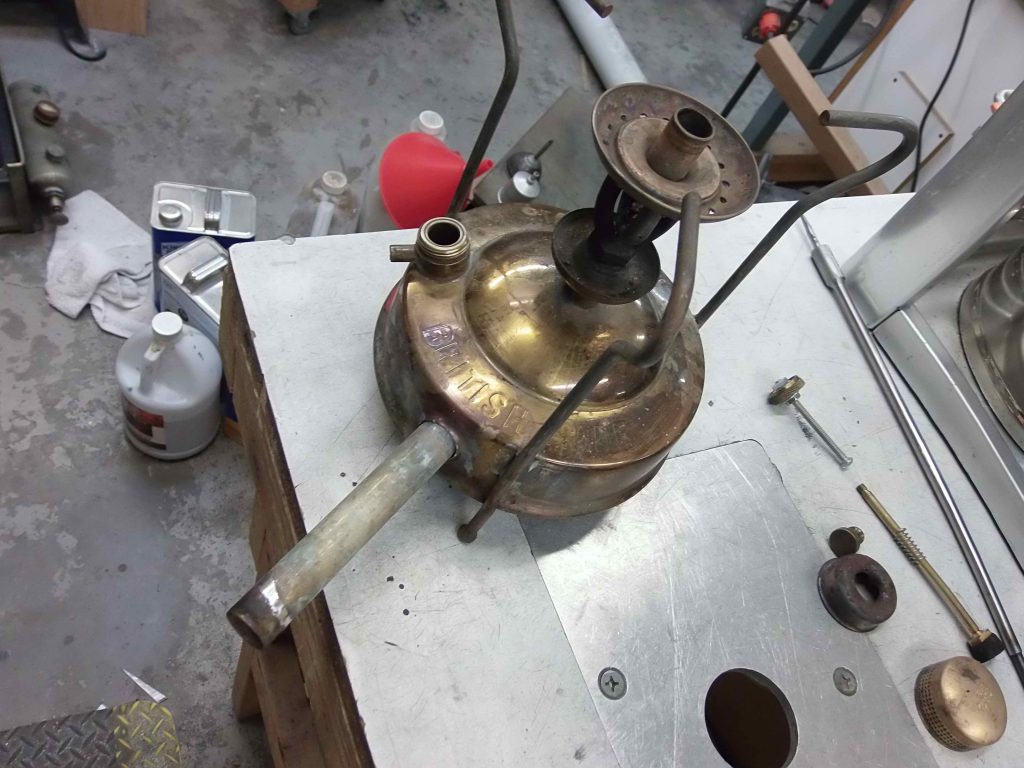
It turns out that the folks that made Monitor stoves in England decided it was a “good” idea (not!) to make their pump tube end block larger in diameter than the outside diameter of the pump tube. There is no way to pull the tube while the end block is in place since its outer diameter is bigger than the hole the tube mounts in, so I had to desolder the pump tube end block from the pump tube and have it drop into the tank.
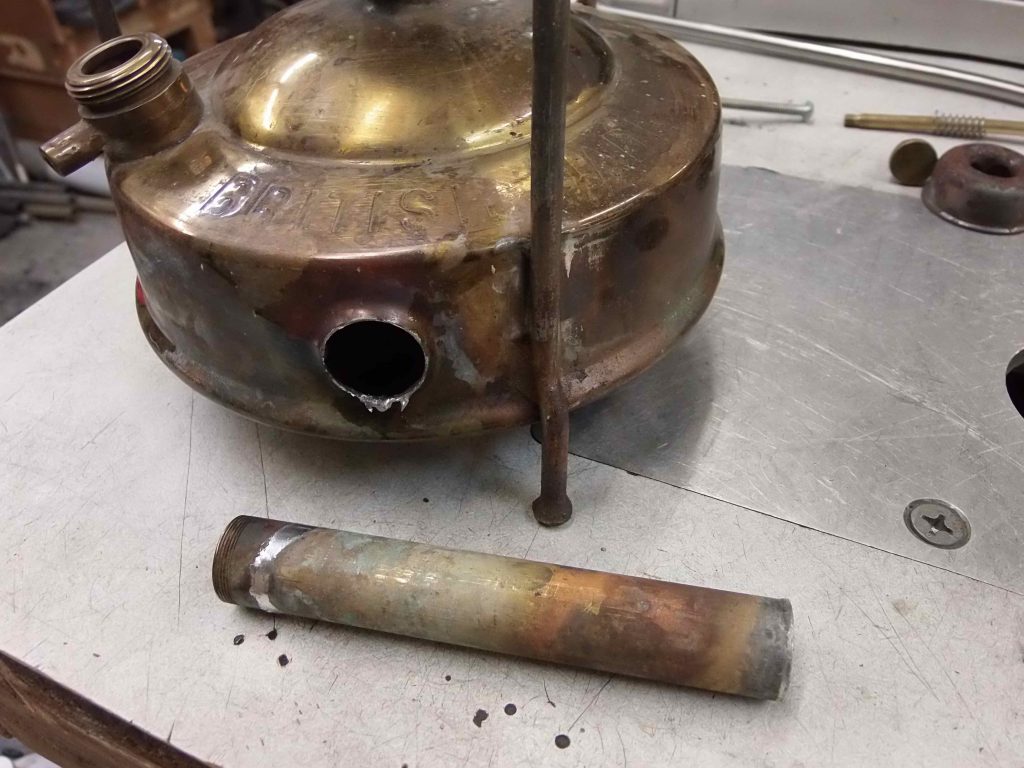
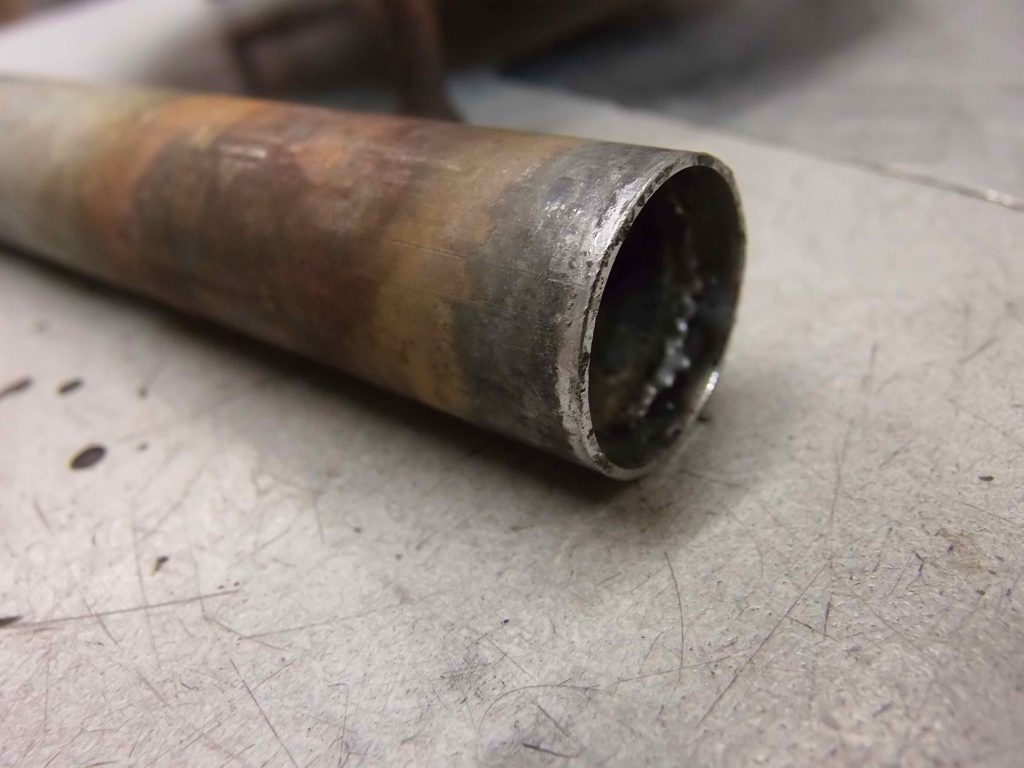
You can see in the photo above that that too-big end block is not going to fit out through that too-small hole. But, by using a small pair of Vise-Grip pliers to hold the end block, I was able to machine two facets into the block to reduce its diameter. I used a grinding wheel on a Dremel tool to do the work, taking off just enough to get the block out the opening. I also made sure I placed the facets in such a way that I could later clamp the block up in the three-jaw chuck of my mini-lathe to clean up the block.
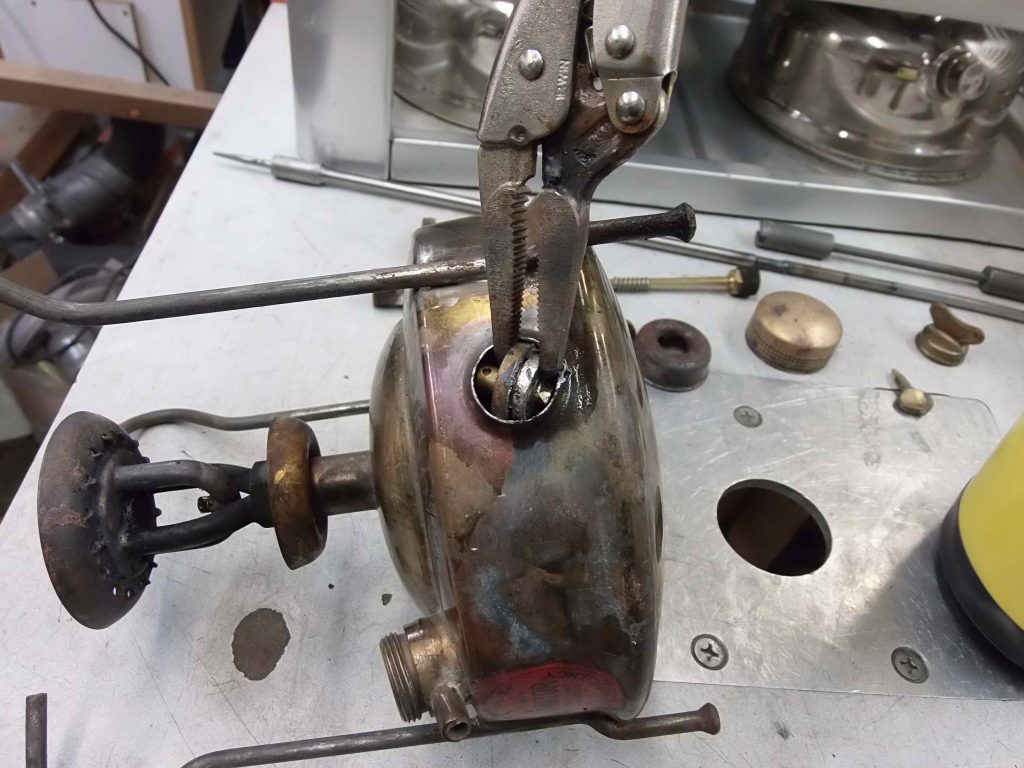
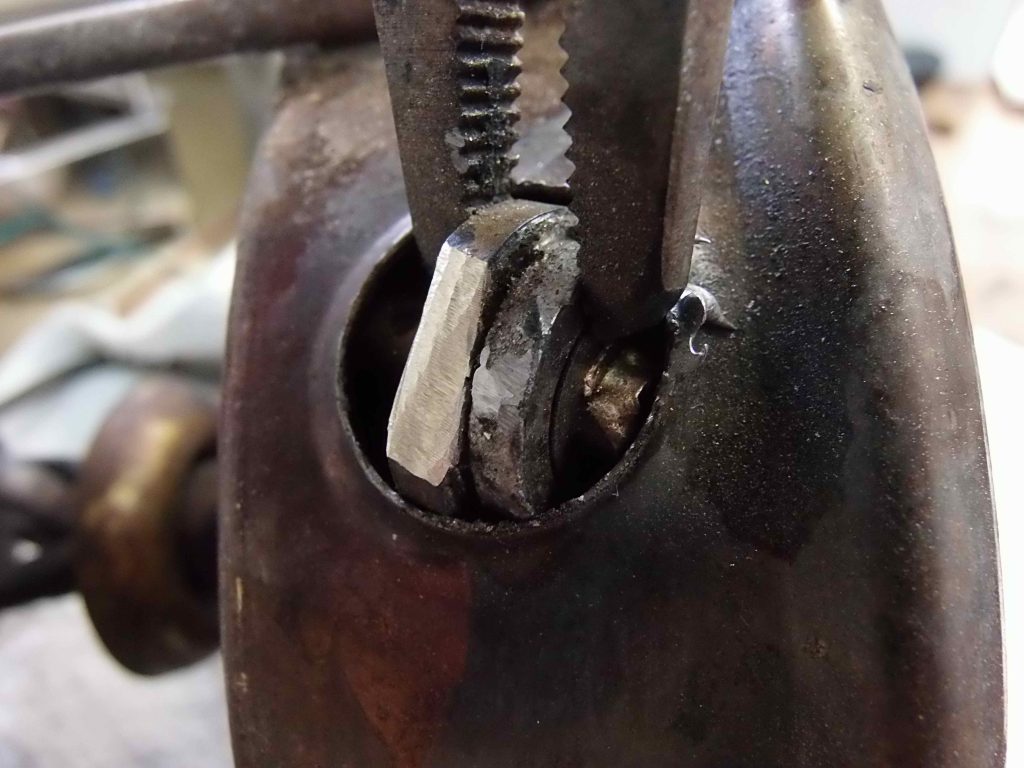
Once the outer diameter of the end block is machined down in a couple of places, it pops right out. A little persuasion with some penetrant and some torch heat pops the NRV head loose from the block.
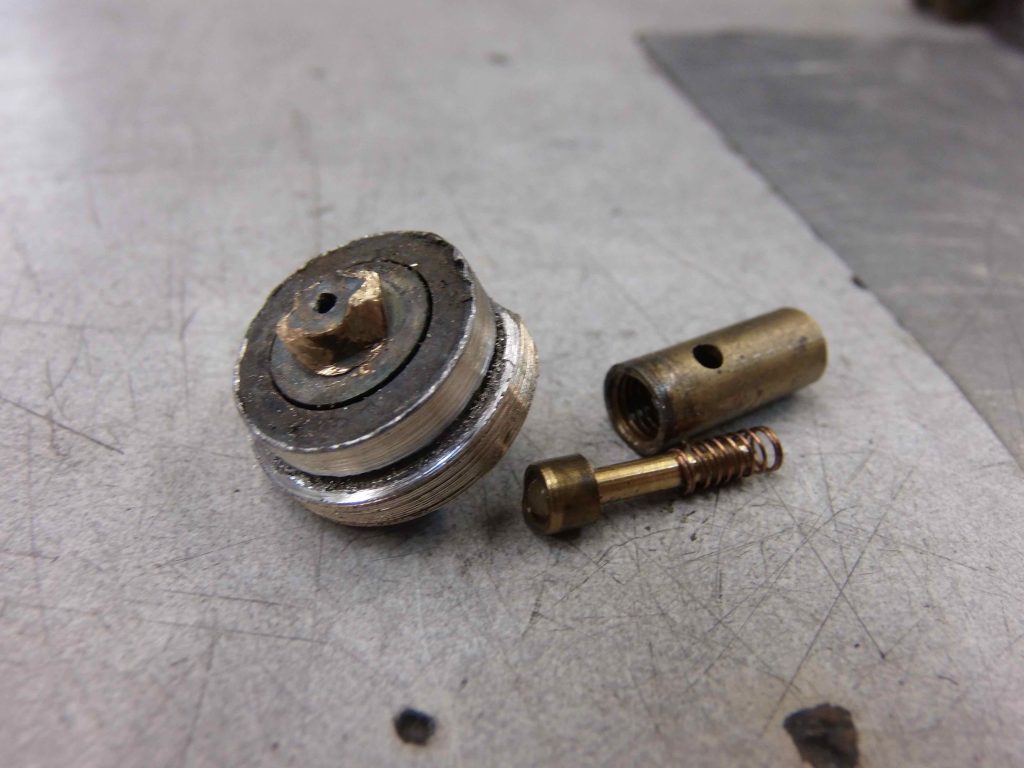
The pump tube end block with the NRV barrel, pip cup and spring removed.
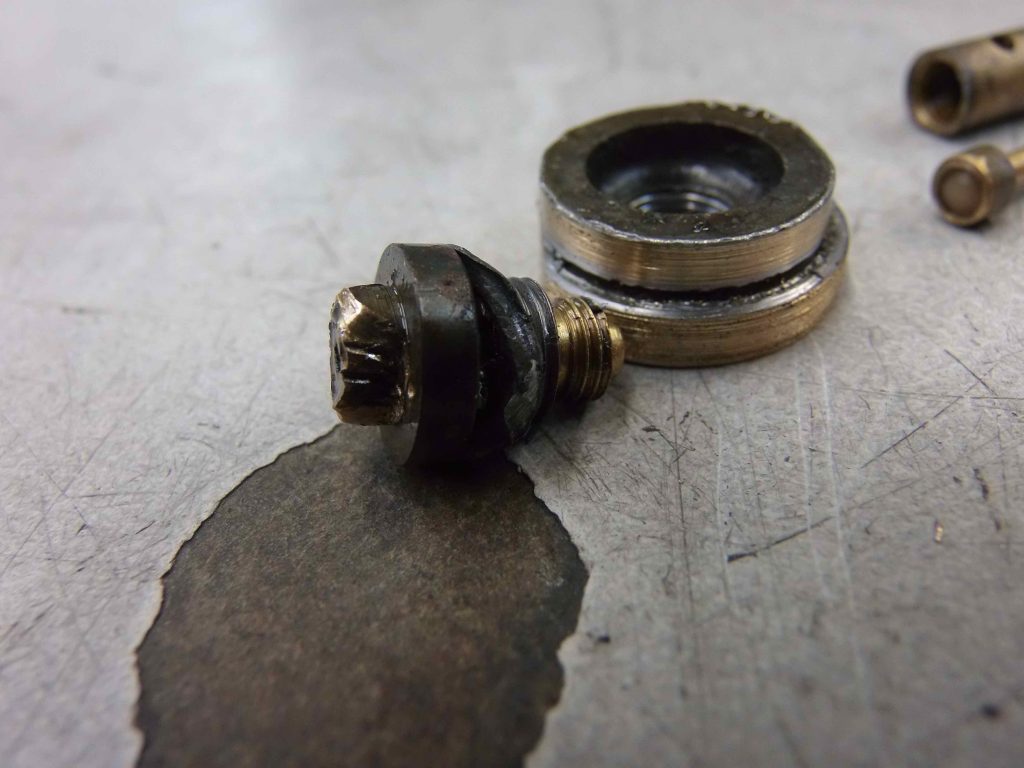
The damaged NRV head removed from the pump tube end block.

This stubborn NRV had a lead washer in place under the head. Didn’t seem to do much good to assist in removal, though. This is often the case with old lead washers as they seem to tend to get brittle and harder with age.
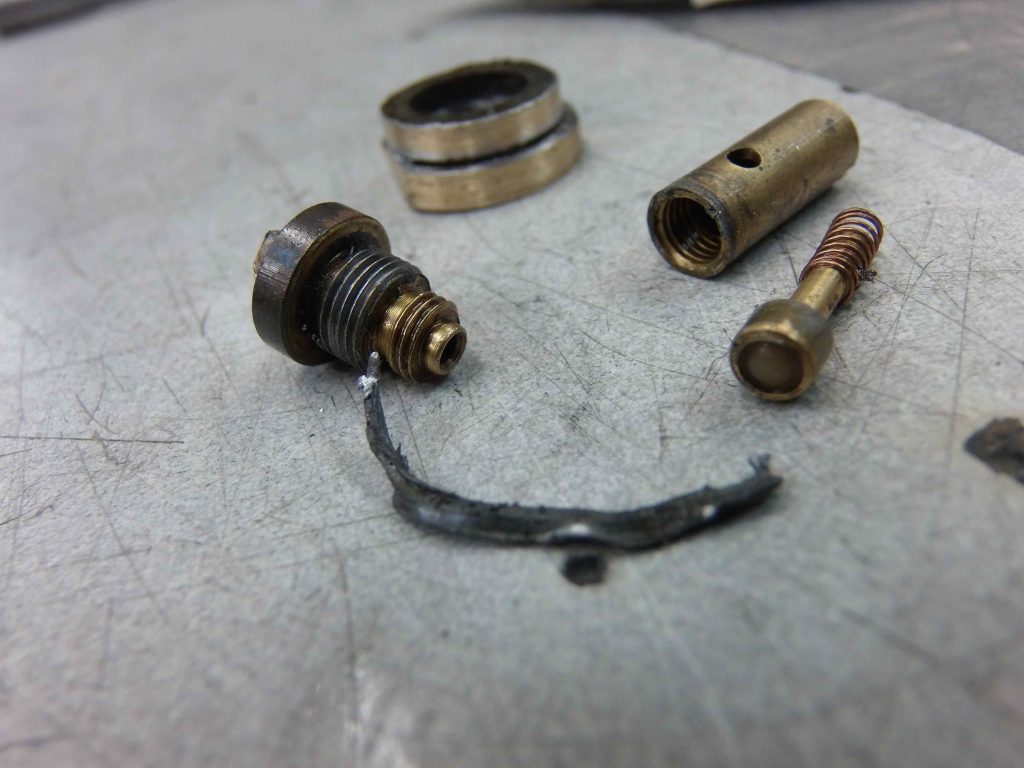
Because I had to desolder the end block inside the tank and with little control to the operation, the lead washer “migrated” a bit into the block and also into the threads of the block. I chose to clean the lead residues out of the block as I didn’t want this old lead to be causing me problems later on when resoldering the assembly together (I wanted to avoid contamination of the new solder with the lead). Spinning up the block on the lathe took care of the inside of the block and using a tap cleaned up the threads nicely without removing any brass. I’ve found through doing many pump tube pulls in the past that a 5/16″x36tpi tap is a remarkably close and completely functional match for the original proprietary non-standard NRV head threads.
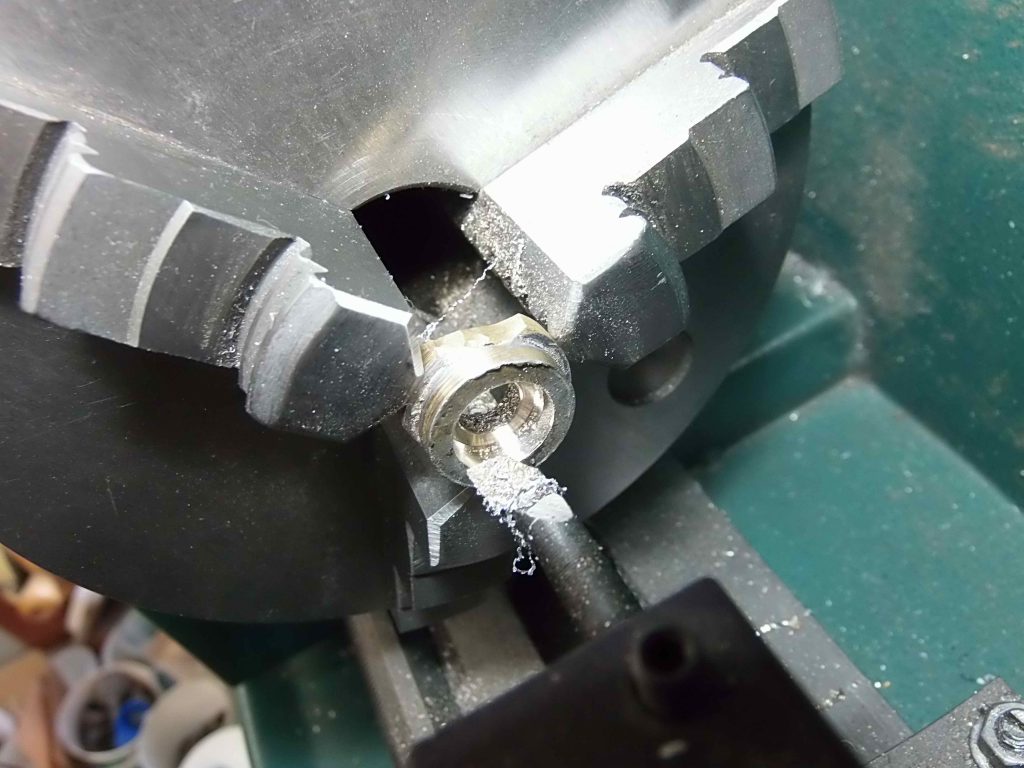
Getting the lead out.
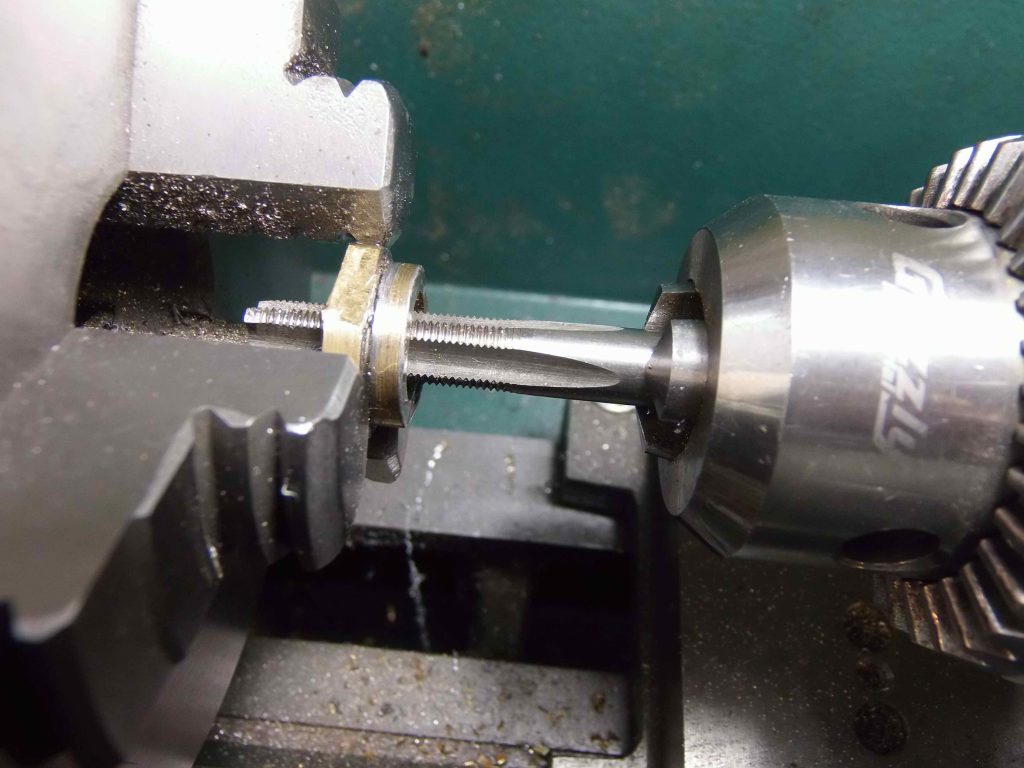
Cleaning the threads.

So… I then soldered the end block back into the pump tube, then turned the pump tube end block flush with the pump tube diameter so that I could get the assembly (easily and sensibly) back inside the stove tank.
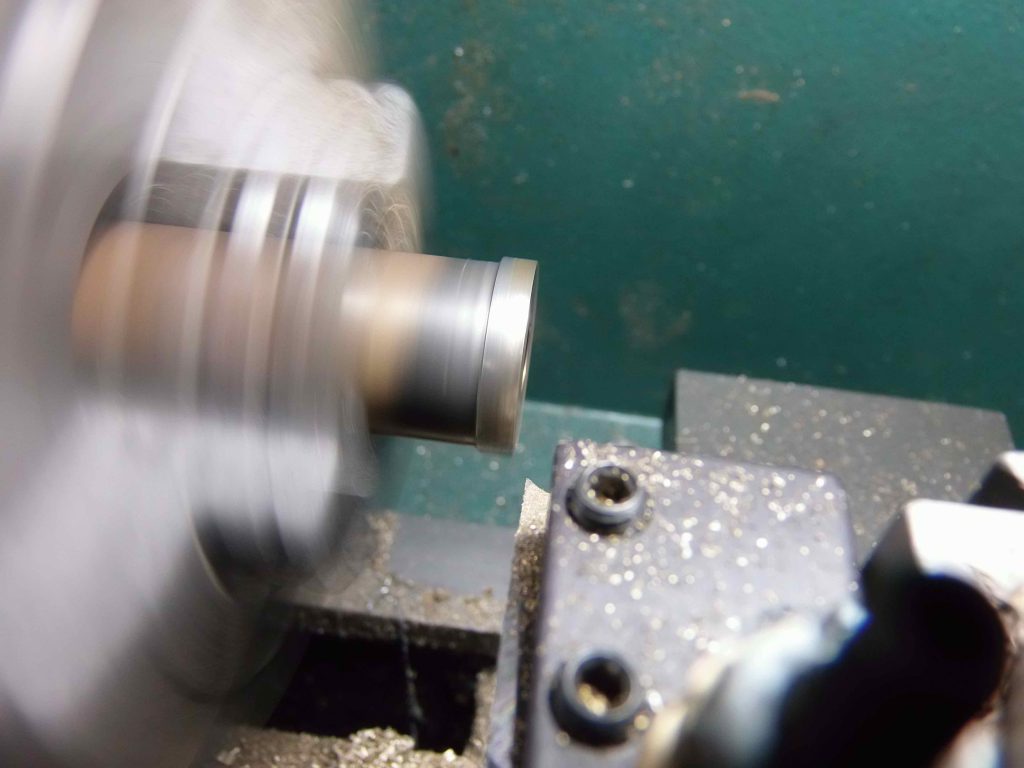
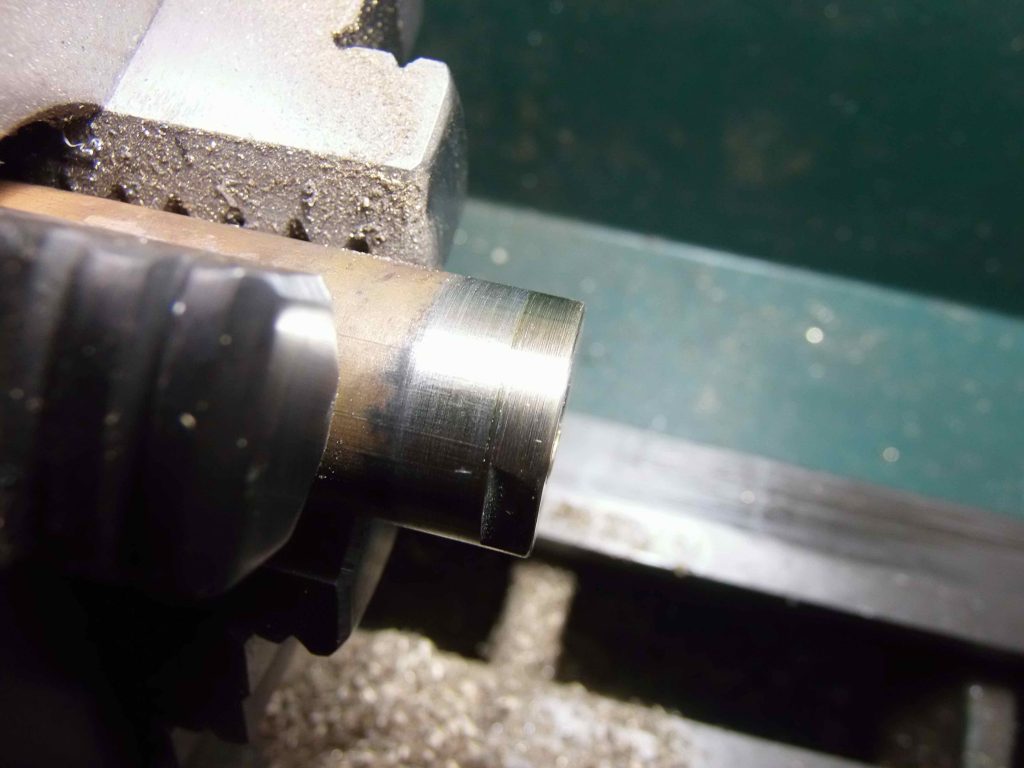
I needed to cut a special small pip for the small-size “tailed” Monitor pip cup.
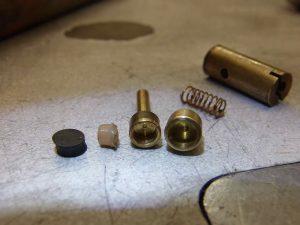
From left and for comparison – standard NRV pip, small weird Monitor NRV pip (about 3.5mm in diameter), Monitor pip cup with it’s long “tail”, standard 4.5mm pip cup.
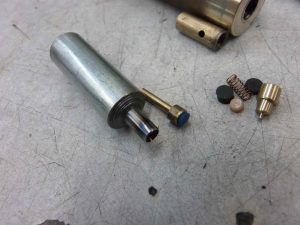
This is the special pip cutter I made a while back for doing the 3.5mm size pip cups (left) next to the Monitor “tailed” pip cup with its new Viton pip(right).

I also chose to rebuild the head of the Monitor NRV since it was slightly different than a standard NRV in an effort to keep things sorta “original” looking.

First step was to machine off the twisted remnants of the NRV head.
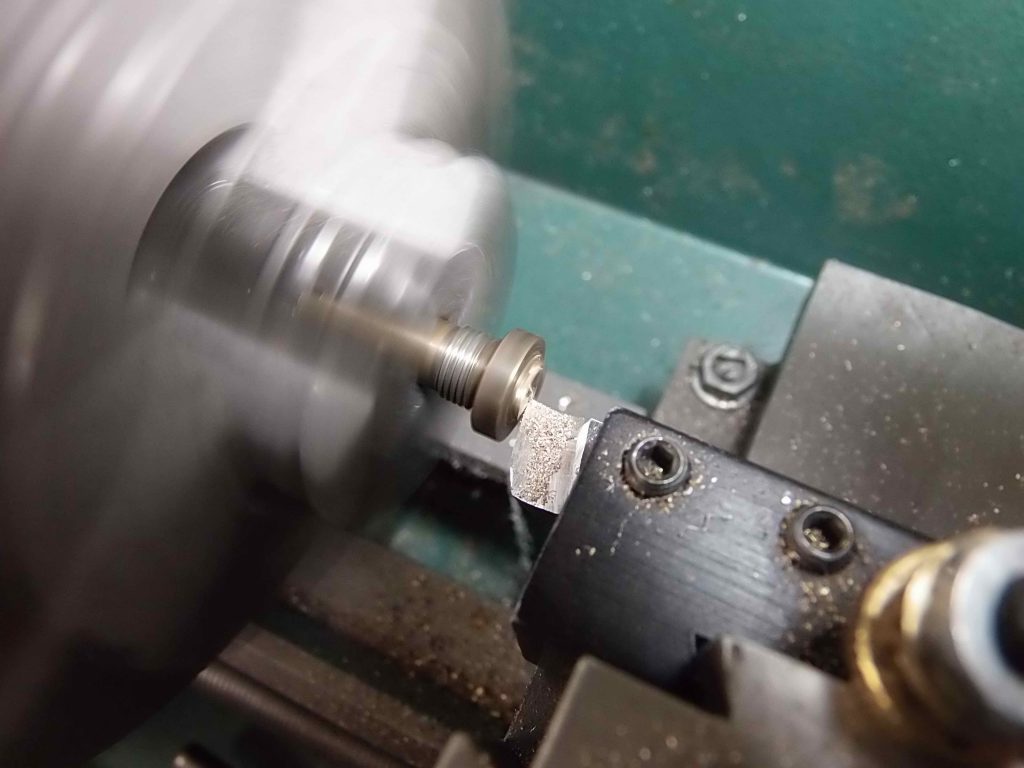
Machining the NRV head flat.
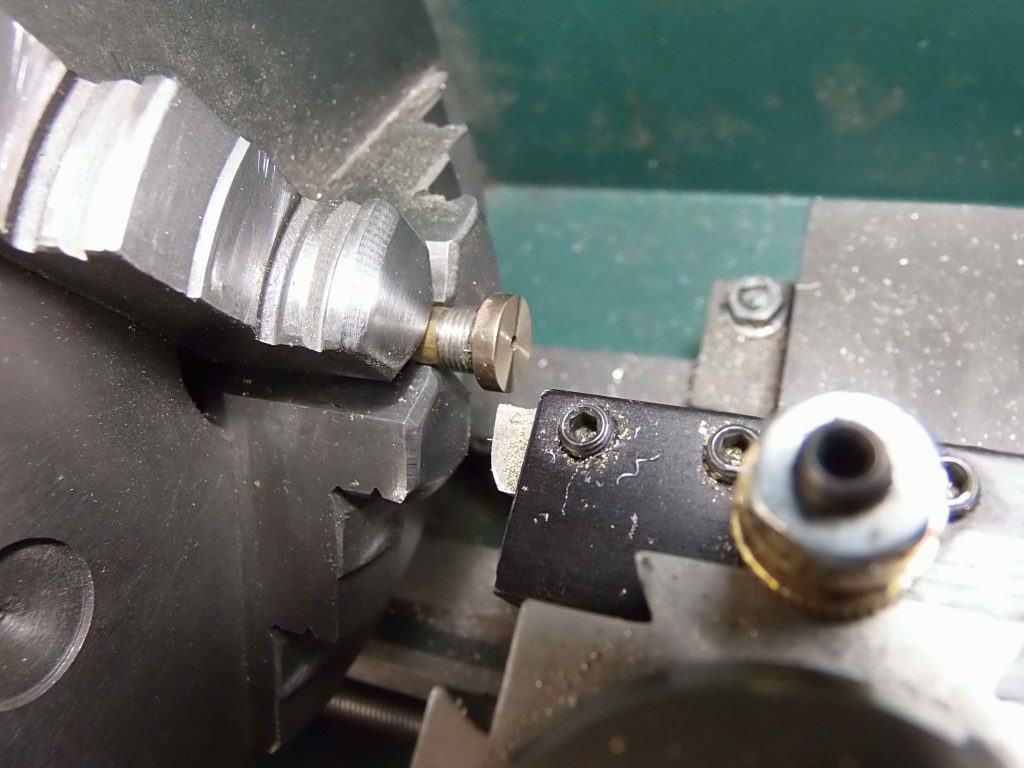
Then I cut a socket or “mortise” into the head of the Monitor NRV head.
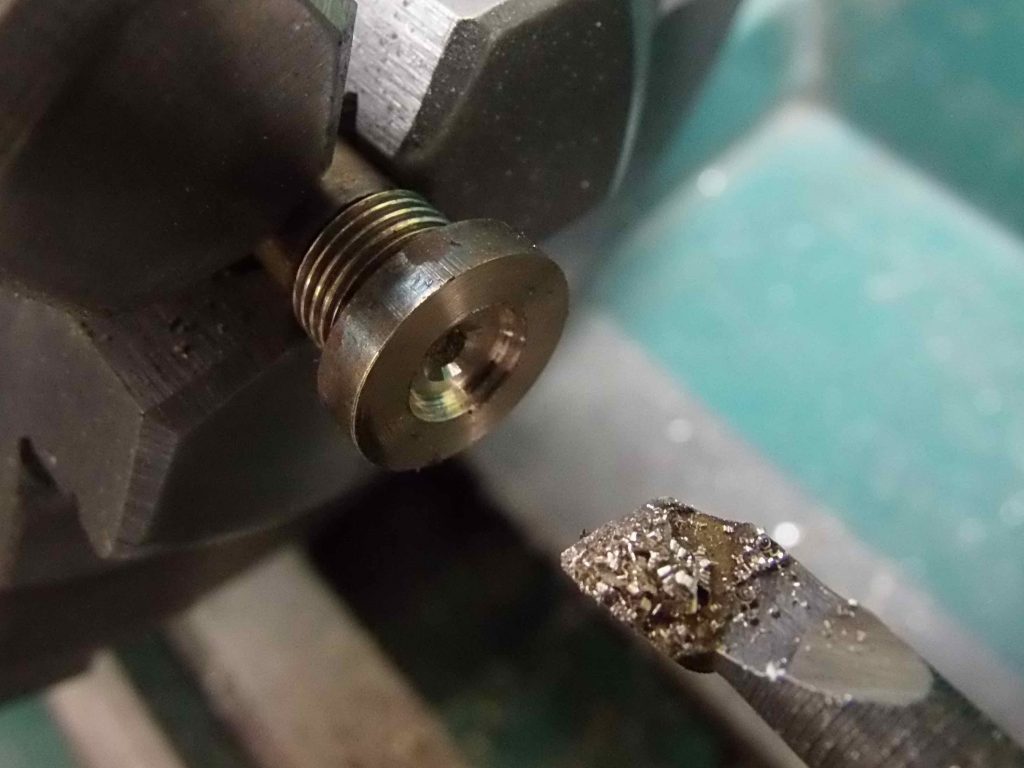
Machining a pocket “mortise”.

Next was to machine a small piece I could silver braze to the NRV head to restore the NRV head. I made a corresponding “tenon” to fit the “mortise” I’d cut in the original Monitor NRV head.
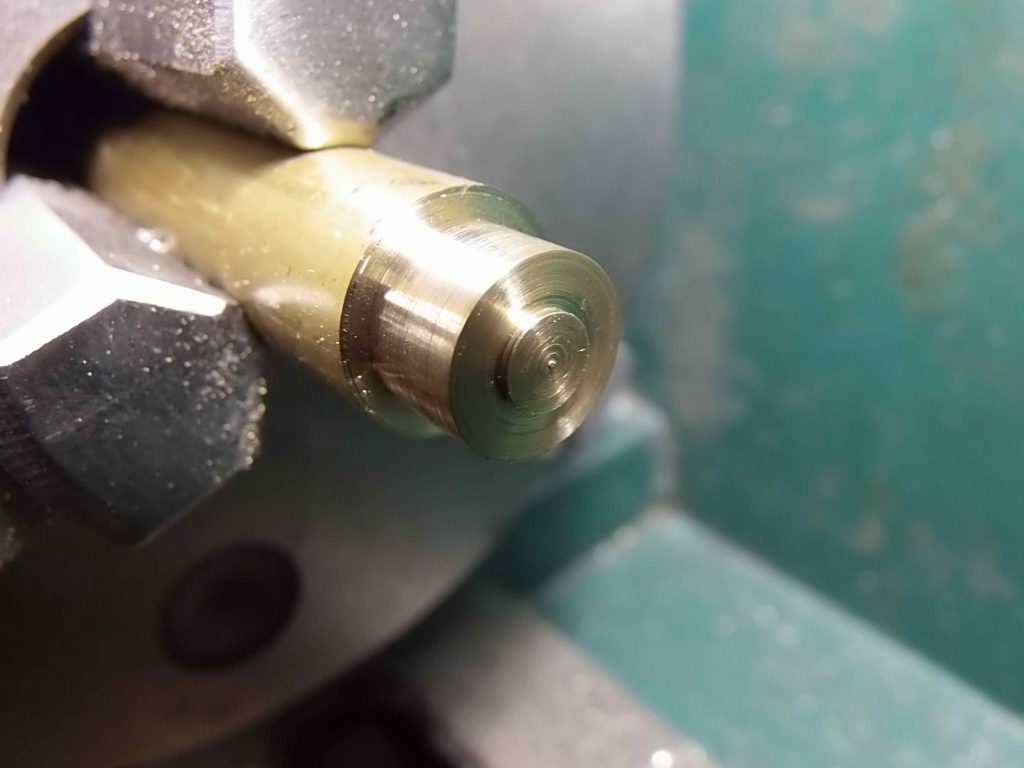
Machining a “tenon” on the brass NRV head repair addition.
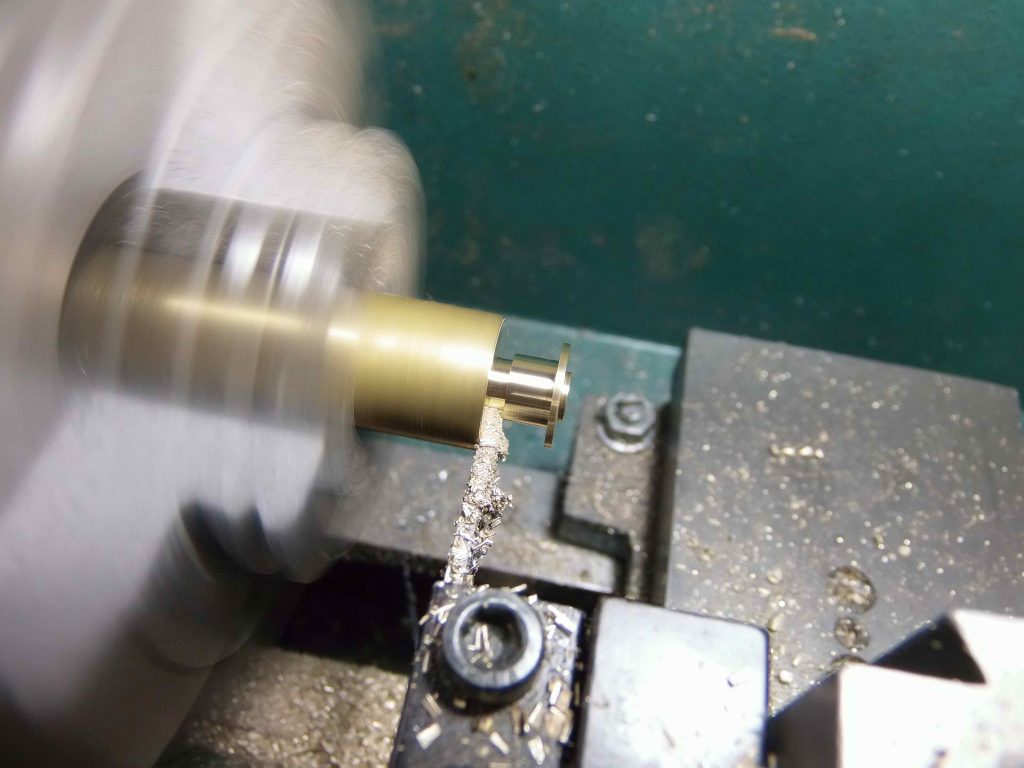
Ready to cutoff.
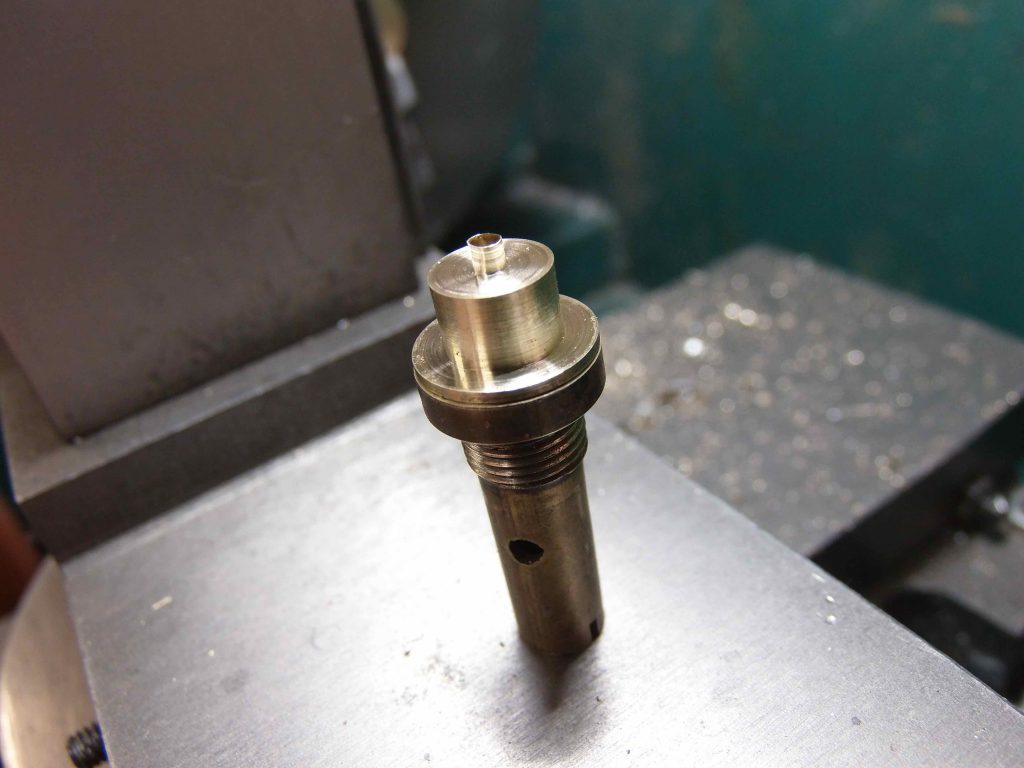
Checking for fit.
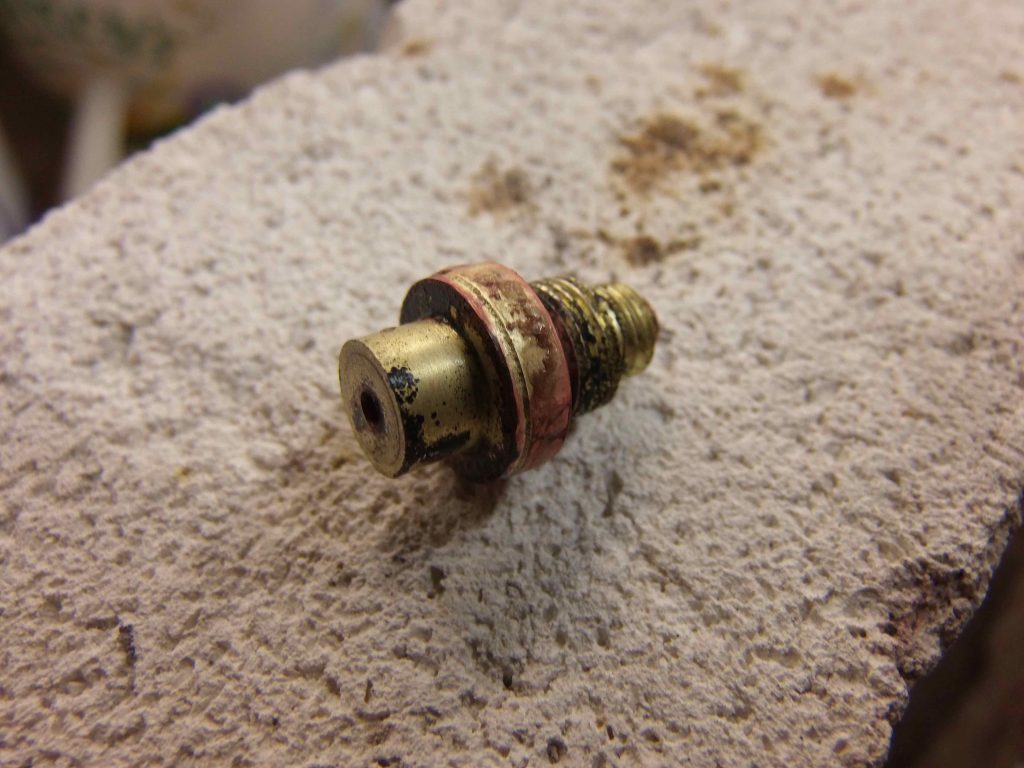
Silver brazed together.

I cleaned up the brazed head, then hand-filed the two facets in the head.
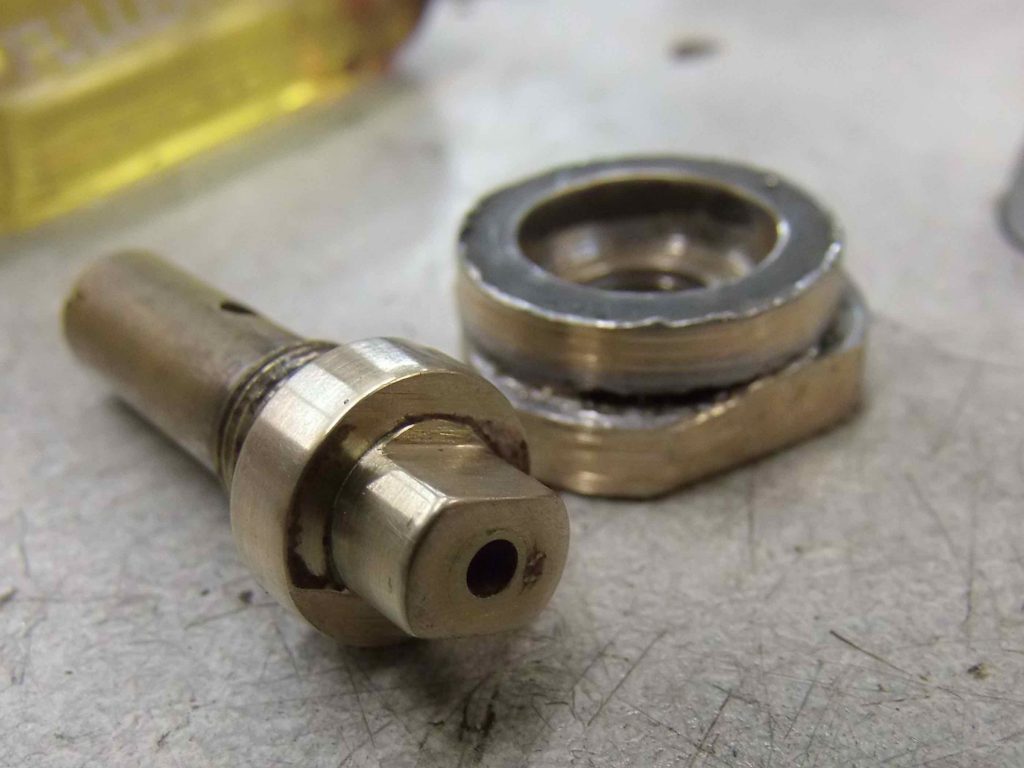
Newly rebuilt NRV head with hand-filed facets. Pump tube end block all cleaned up and ready to resolder.

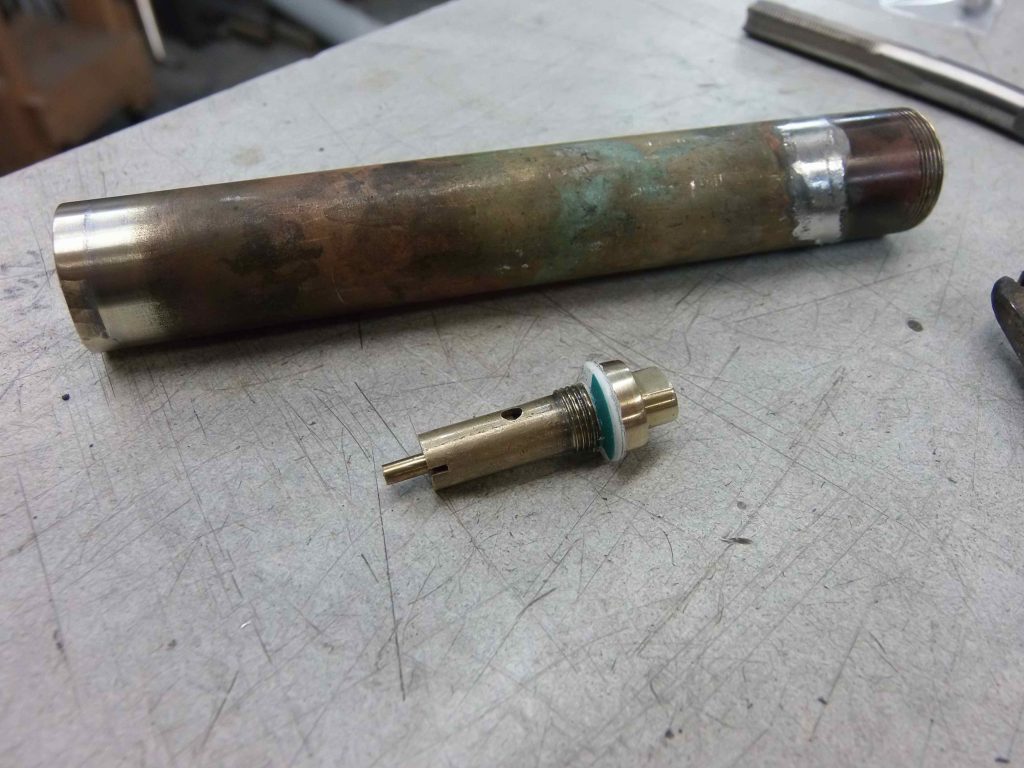
Here is the completed restored pump tube and rebuilt NRV ready for reinstallation into the Monitor stove tank. Note my use of a shop-cut HDPE (high density polyethylene) plastic washer in lieu of a lead washer. I’ve found these HDPE washers to be entirely fuel resistant and superior to lead washers. The HDPE does not stick to the brass of the tube or creep into the threads of the pump tube end block. It also provides a fuel tight seal with much less torque required to make the seal than with lead washers.
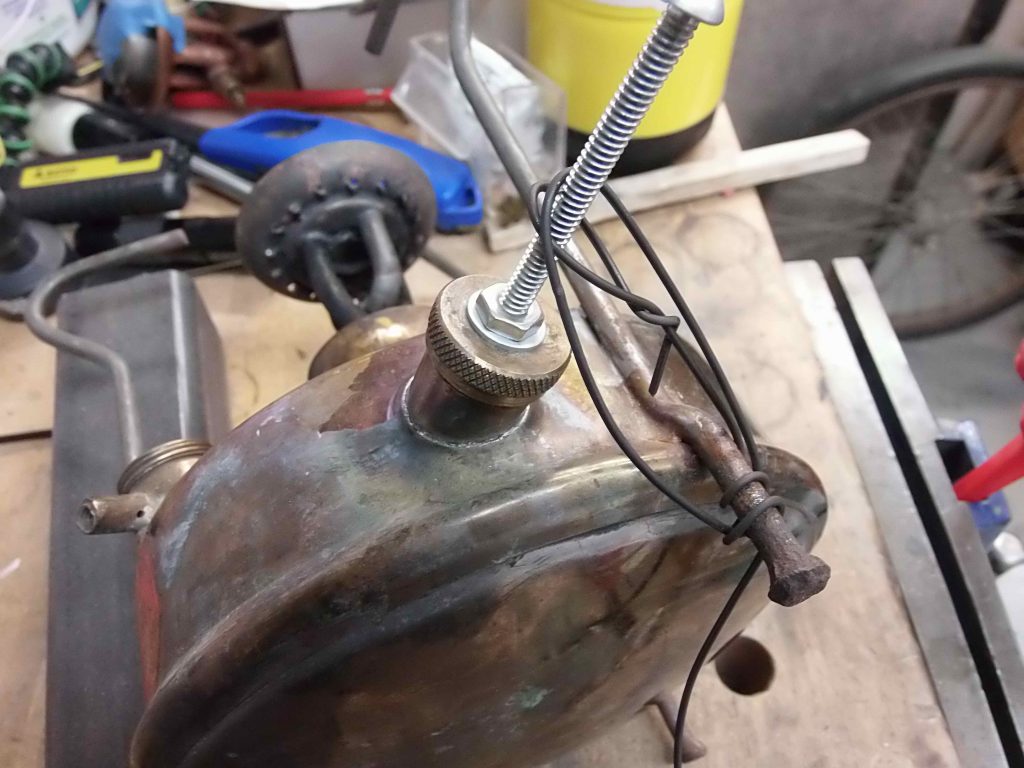
Here I’ve used my simple bolt-and-washer tool to set up the pump tube in the tank for soldering, holding it in place with some stiff wire jigging. This jigging setup allows me to use both hands – one for using the torch and one for applying solder to the pump tube/tank joint.
I use standard electrical solder and rosin paste flux to do stove soldering. The rosin flux is inert until heated and any flux residues trapped inside the joint will not erode the brass of the tank on down the road. Acid fluxes will erode the brass over time which is why acid fluxes should never, ever be used around vintage brass stove work.
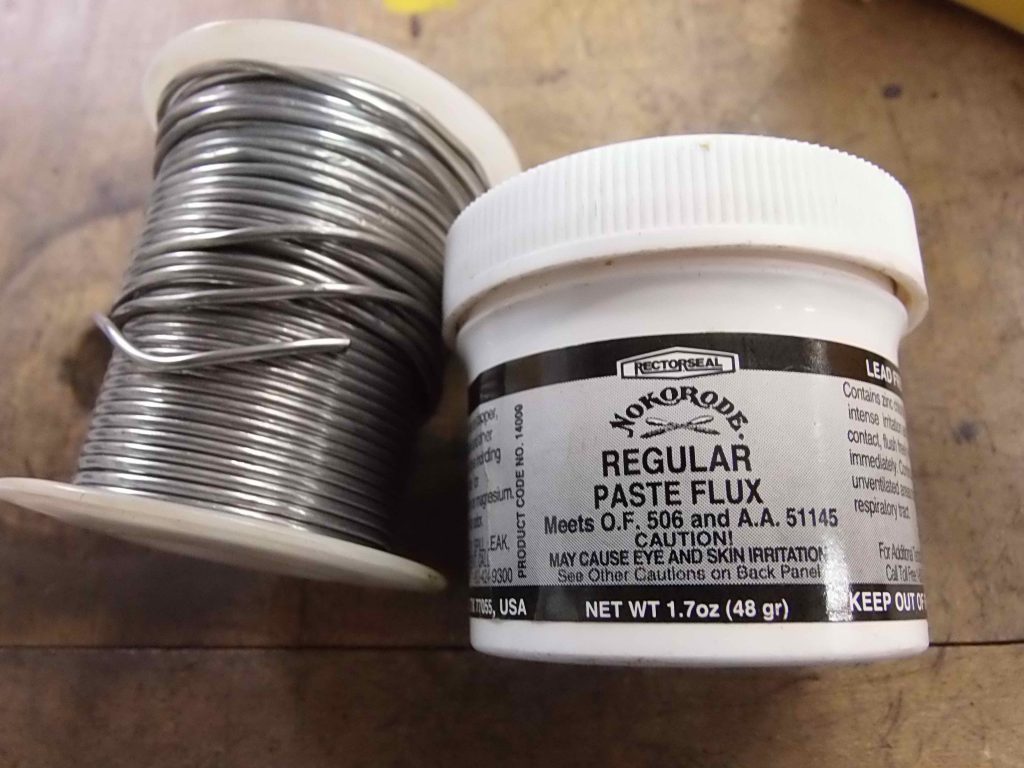
Thin diameter rosin-core electronics solder from Radio Shack and a paste rosin flux.

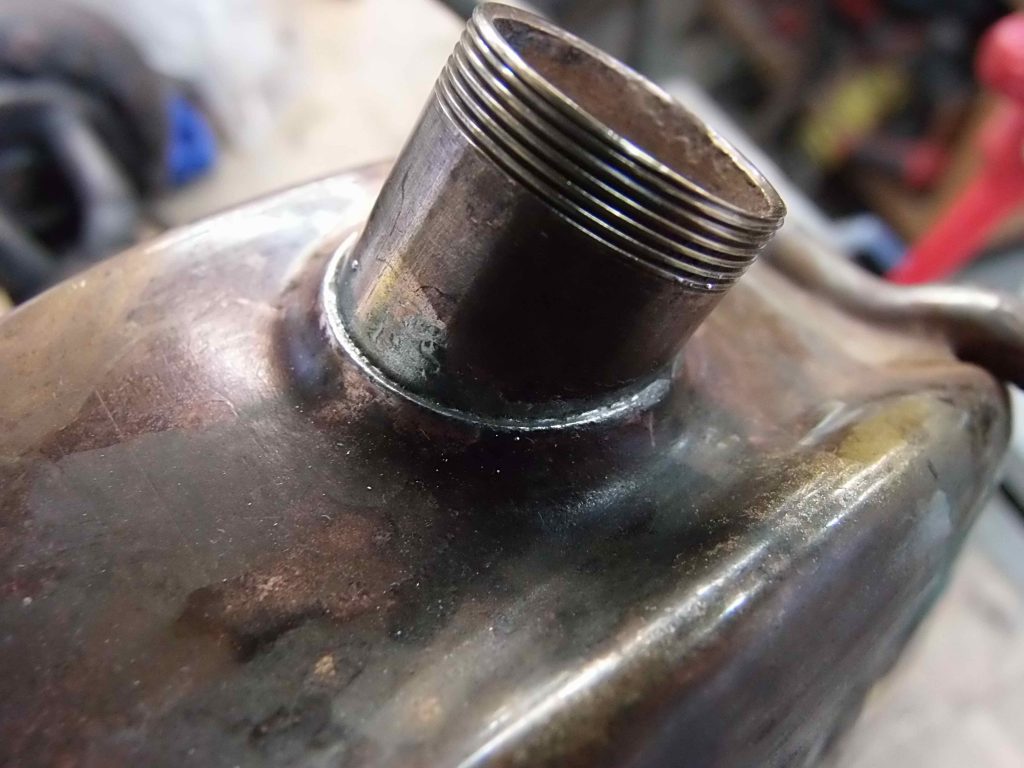
Inspecting the completed joint. I’m looking for any gaps or pits where solder may not have flowed into the joint. There should be a uniform silvery and liquid-looking seam of solder flowed in all round the joint.
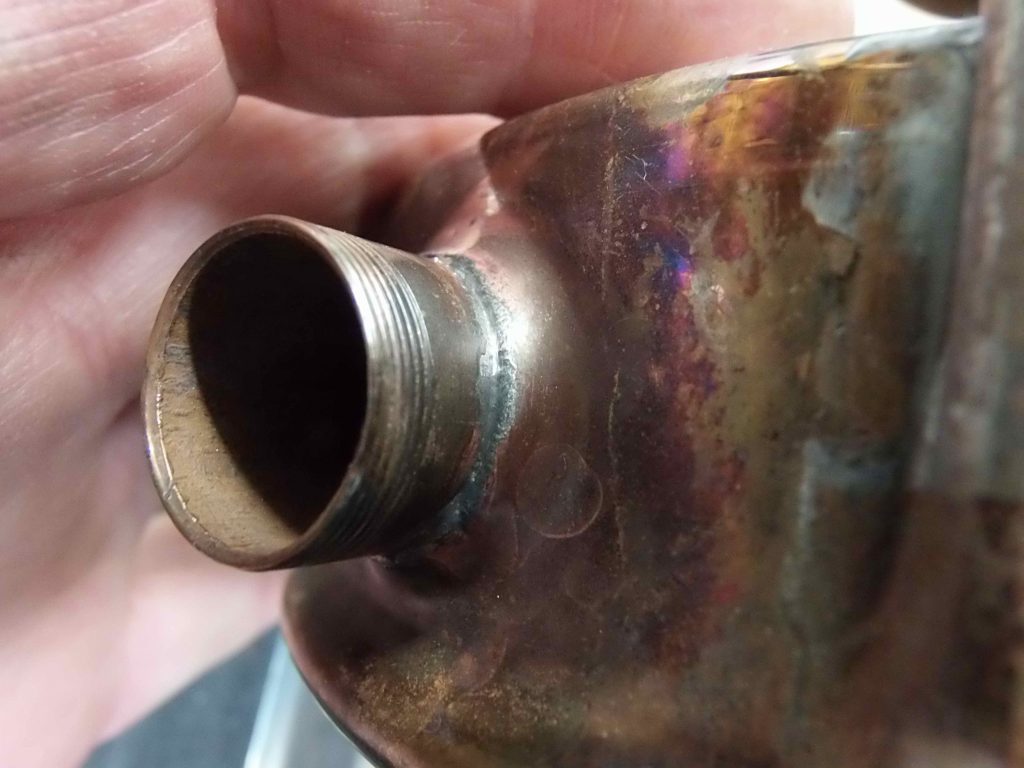
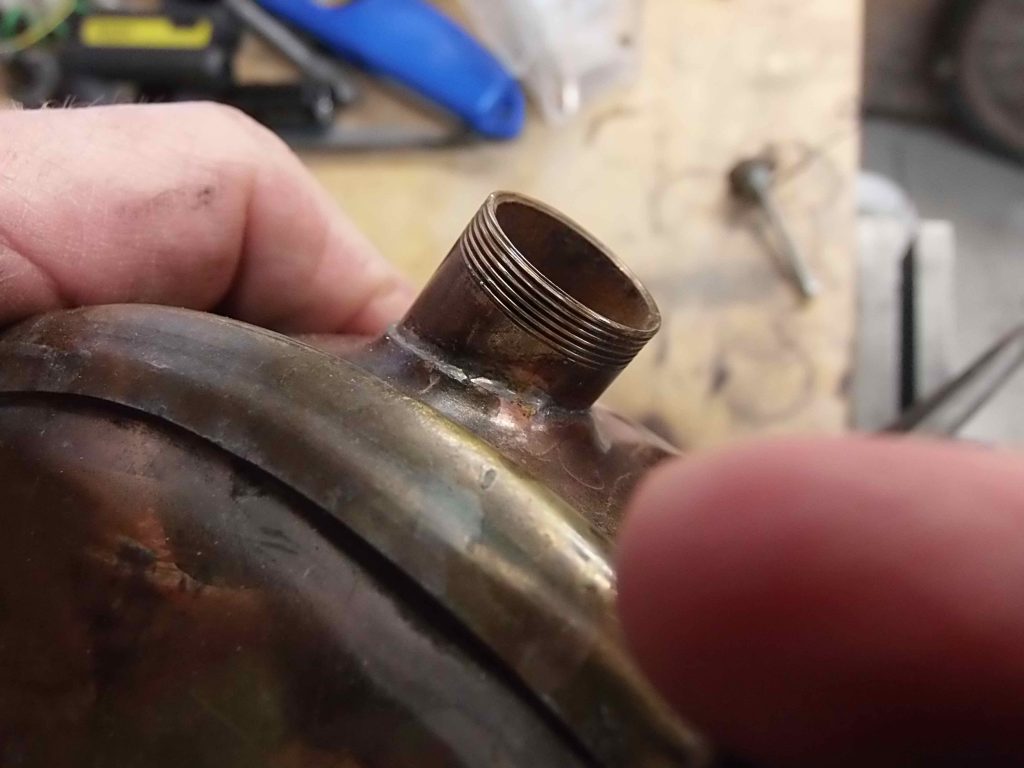
Here’s the repaired stove reassembled and fired up with no leaks and a great quality clear blue burn.
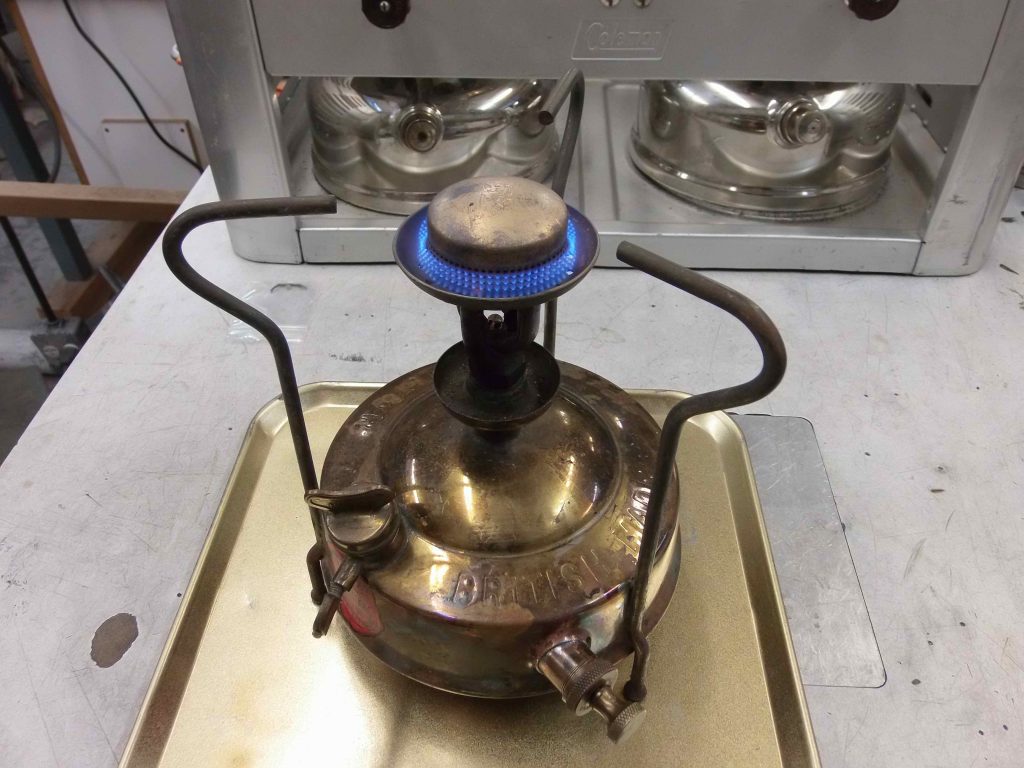
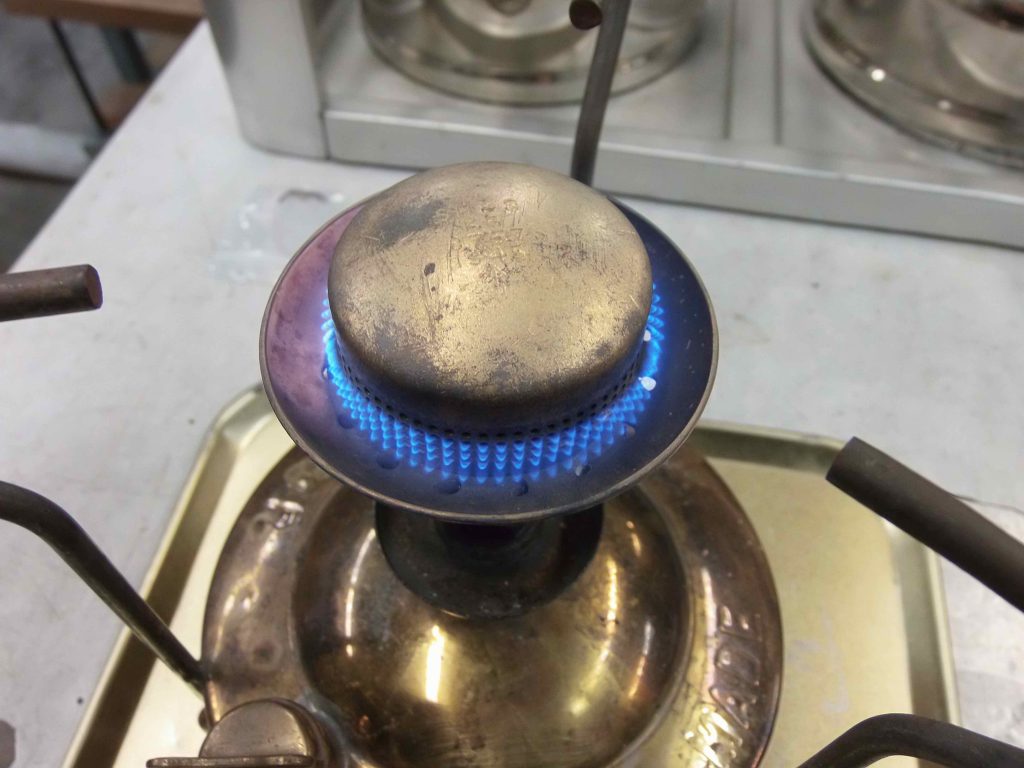
Simmering nicely.

The owner of this stove is a competent stove collector who may or may not chose to polish the stove. I’ll leave that chore to them. I hope this overlong treatise maybe helped some readers who were considering repairing their own stoves.

 

Swiss Army Stove Manual in English

These surplus Swiss Army two-burner gasoline stoves turn up on the popular auction sites from time to time.

You can watch a three-minute video of the one I have on it’s virgin burn one cold January night. The video was shot about four years ago and you can find it at my YouTube channel, BernieDawg Cinema, right here:

https://youtu.be/i0_v7z0kxdQ

Several years ago I translated the three-language (French – German – Italian) manual into English. I made a big effort to format it so that it closely resembled the original manual. You can download it at the link below as a PDF file

Swiss Army Stove Manual English copy 894KB PDF

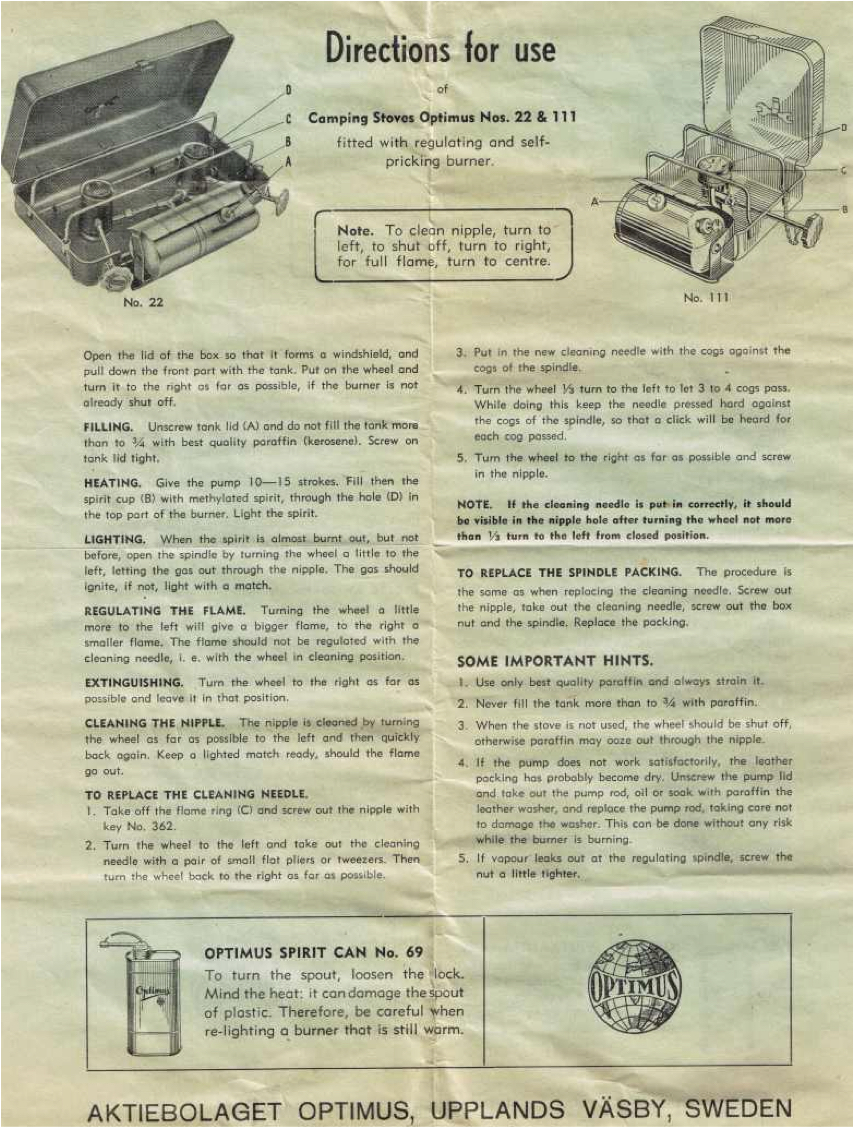
More Stove Instructions

 1.9MB JPG 72dpi
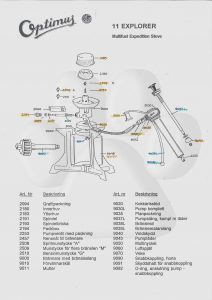
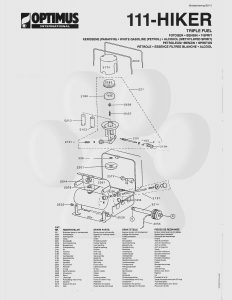
Optimus Explorer_11 exploded schematic 2.9MB PDF 300dpi


1.5MB JPGs 72dpi
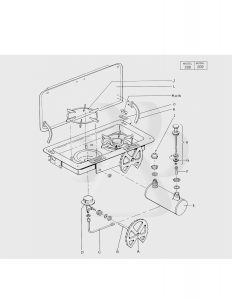
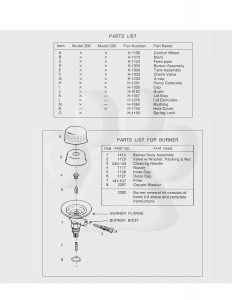
Homestrand Marine 206:209 Stove diagram 3MB PDF 300dpi

Kenyon 406 marine stove manual 520KB PDF 300dpi

JetBoil Joule Instructions 8.2MB PDF 300dpi

 JPGS
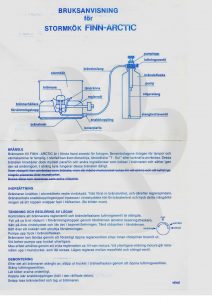
Kap-Arctic_instructions 7.3MB PDF 300dpi

 JPGs
Optimus 111T Manual 4.7MB PDF 300dpi

Primus Multifuel 3288 and Varifuel 3278 Instructions 503KB PDF 300dpi

Primus Multifuel EX 328894 Instructions 517KB PDF 300dpi

Primus OmniFuel 3289 Instructions 1.3MB PDF 300dpi

 JPG
Phoebus 625 Instructions 597KB PDF 300dpi
Labels for restoring the Phoebus 625 can be found here:
https://www.berniedawg.com/phoebus-625-restoration-labels/

Coleman Stove Instructions

Here is a collection of Coleman documents and instructions I either have in my possession, was gifted by other stove collectors, or that I have personally collected. I’ll add more from time to time as I process and scan other documents on Coleman stoves. I hope that it helps some of you who are looking for information on these old vintage rarities. The really good images are the larger PDFs. Just click on the hyper-linked document name to download the PDF. Or, for those with limited bandwidth, click on the screen-readable JPGs for faster, but less detailed, viewing.
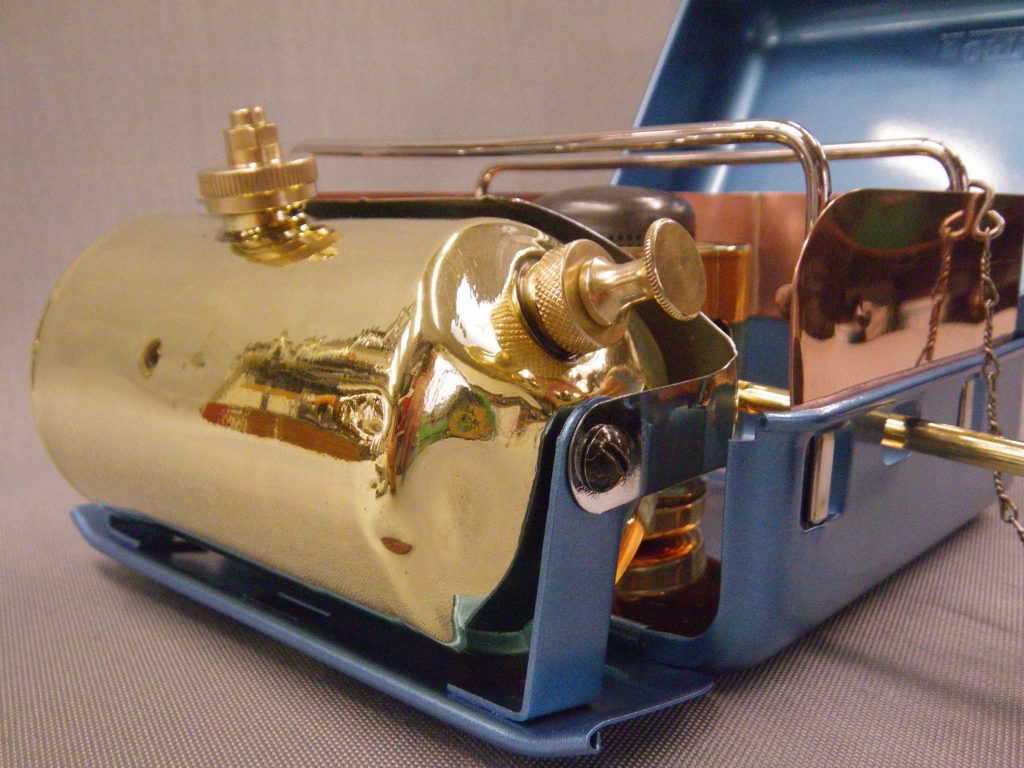
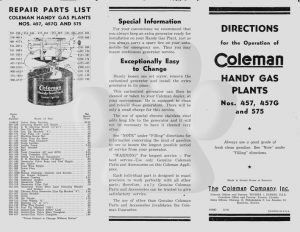
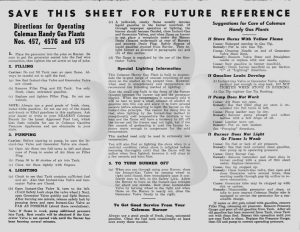
1945 Coleman 457 Handy Gas Plant Instructions Full-size 300 dpi PDF 2.7MB
 smaller 72 dpi JPG 314KB smaller 72 dpi JPG 383KB

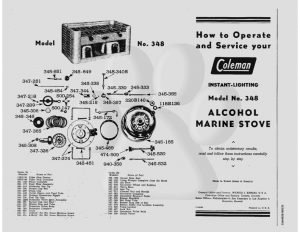
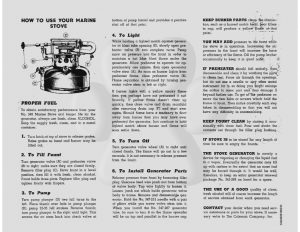
Coleman 348 Marine Alcohol Stove Instructions 3.3MB
 smaller 72dpi JPG 234KB smaller 72dpi JPG 328KB

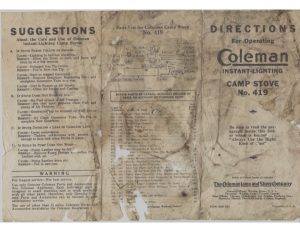
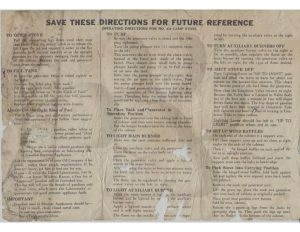
Coleman 419 Stove Instructions 28.8MB
  smaller 72dpi JPG 616KB smaller 72dpi JPG 657KB

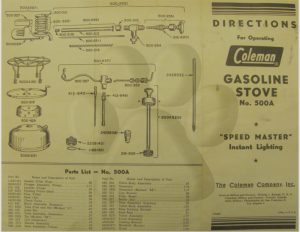
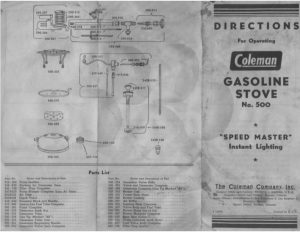
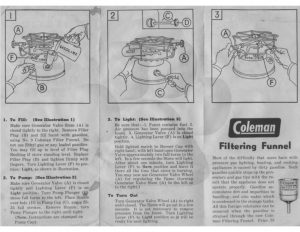
Coleman 500 Stove Instruction Sheet 25MB
  smaller 72dpi JPG 495KB smaller 72dpi JPG 572KB

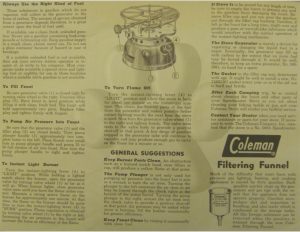
Coleman 500 Stove Manual 11.4MB
smaller 72dpi JPG 296KB smaller 72dpi JPG 320KB

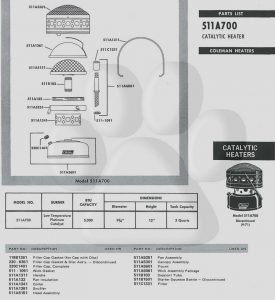
Coleman 511A700 cat heater exploded diagram 557KB
 smaller 72dpi JPG 354KB

A Nifty Borde Pot Stand

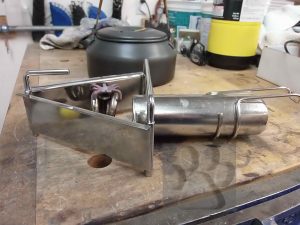
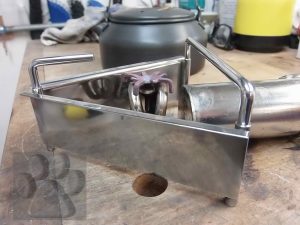
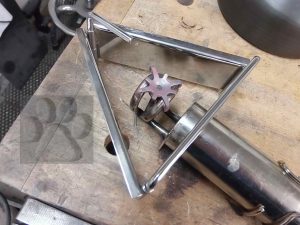
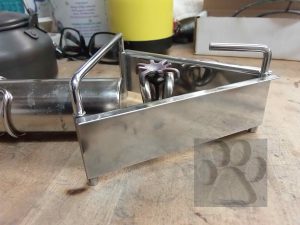
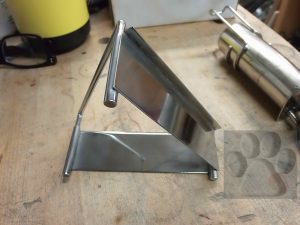
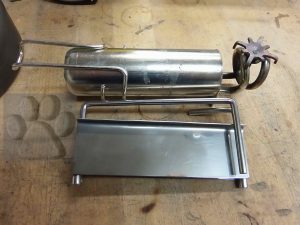
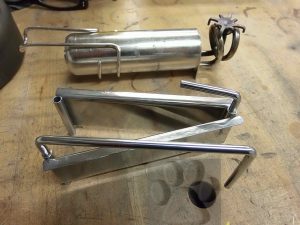
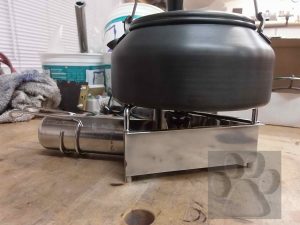
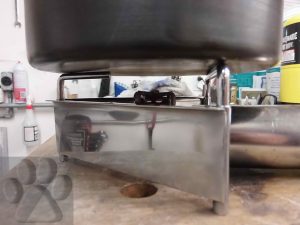
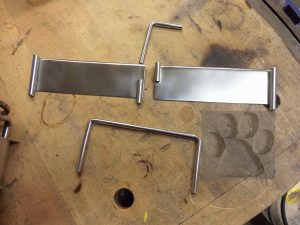
I’ve had this little Borde stove for some time. But, it came without a pot stand. I put this pot stand together from stainless steel sheet. The sheet is 0.032″ thick. The legs are from stainless steel tube 1/4″ in diameter. The pot support rods are 5mm stainless steel rod. All the stainless is 304. I made 1/4″ long plugs of some of the rod which I TiG welded into the ends of the pot support legs. The 1/4″ tubing legs are silver brazed to the sheet sides. The stand forms a triangle about 5″ long per side.

After all the fabbing work was done, I gave the whole thing a polish up to make it look pretty. You can see the stand in use in a YouTube video at my BernieDawg Cinema channel: https://youtu.be/I_GQG8TbO_s

It works great and folds down small. A-OK by me. You can click on the images for bigger views. Maybe this will give you some ideas or inspire you to try to make something for your stoves. Gear-building is fun!