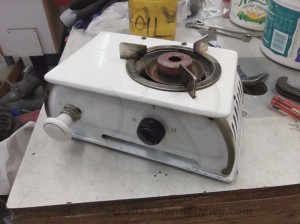
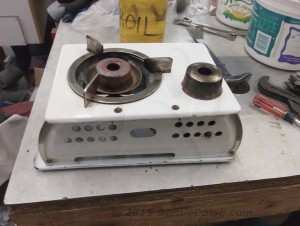
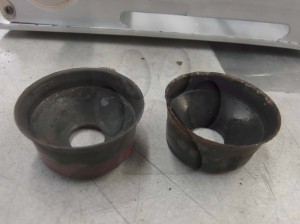
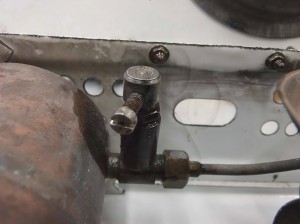
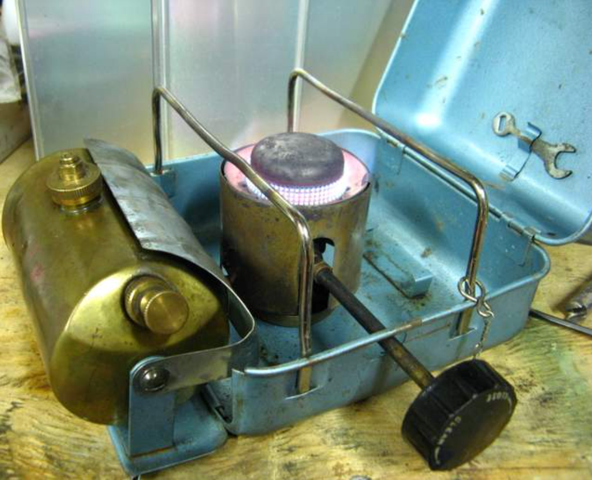
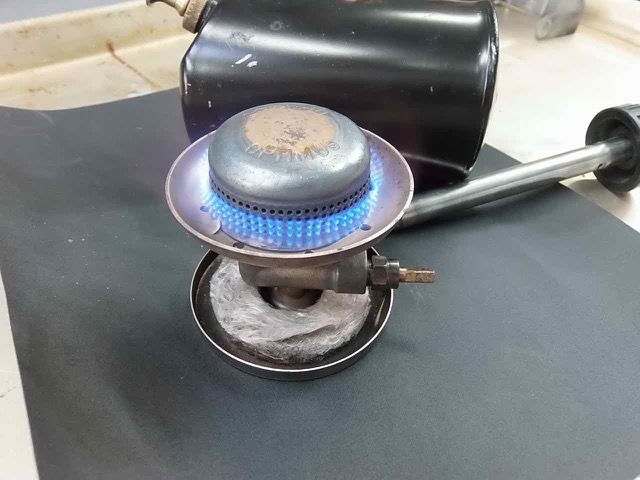
Monitor Pump Tube Repair

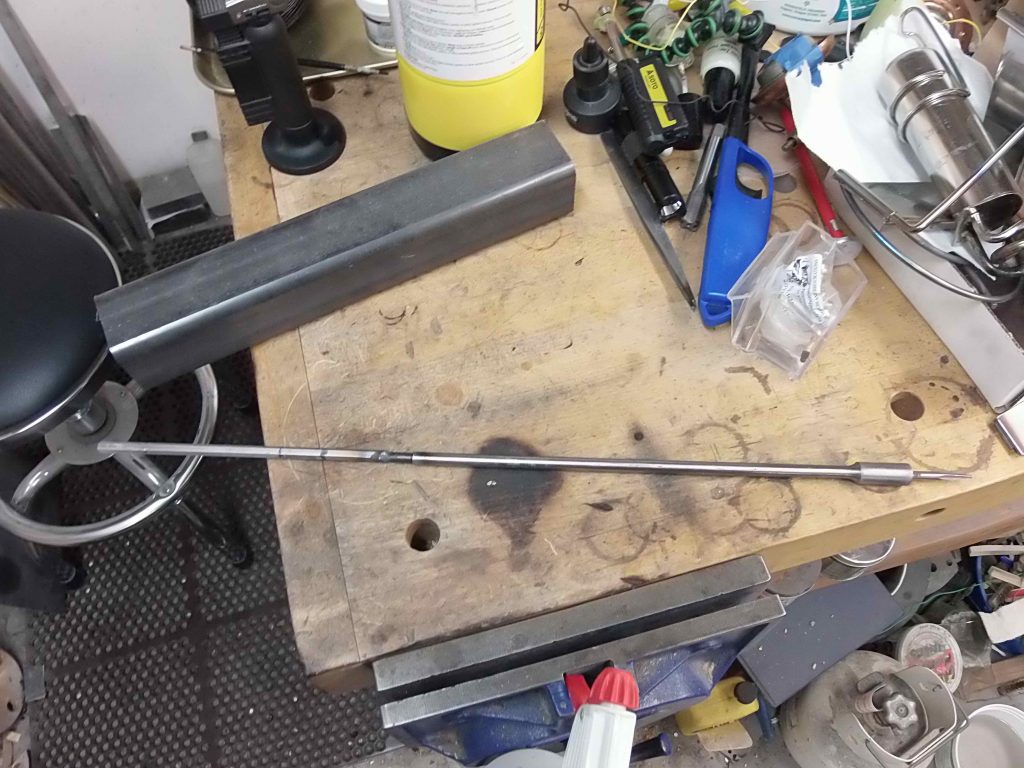
I often am asked to help out when a stove collector has problems removing a NRV (non-return valve) from the bottom of a stove’s pump tube. Usually the stove owner has done their best to remove the NRV, but has inadvertently rounded the soft brass head of the NRV valve. Sometimes I can get these damaged NRVs broken loose by using an “easy-out” (screw extractor bit) mounted in the end of a spade bit extension. I’ve actually made my extension a bit longer by welding an additional section of 1/4″ hex rod to the unit.

Spade bit extension with welded addition

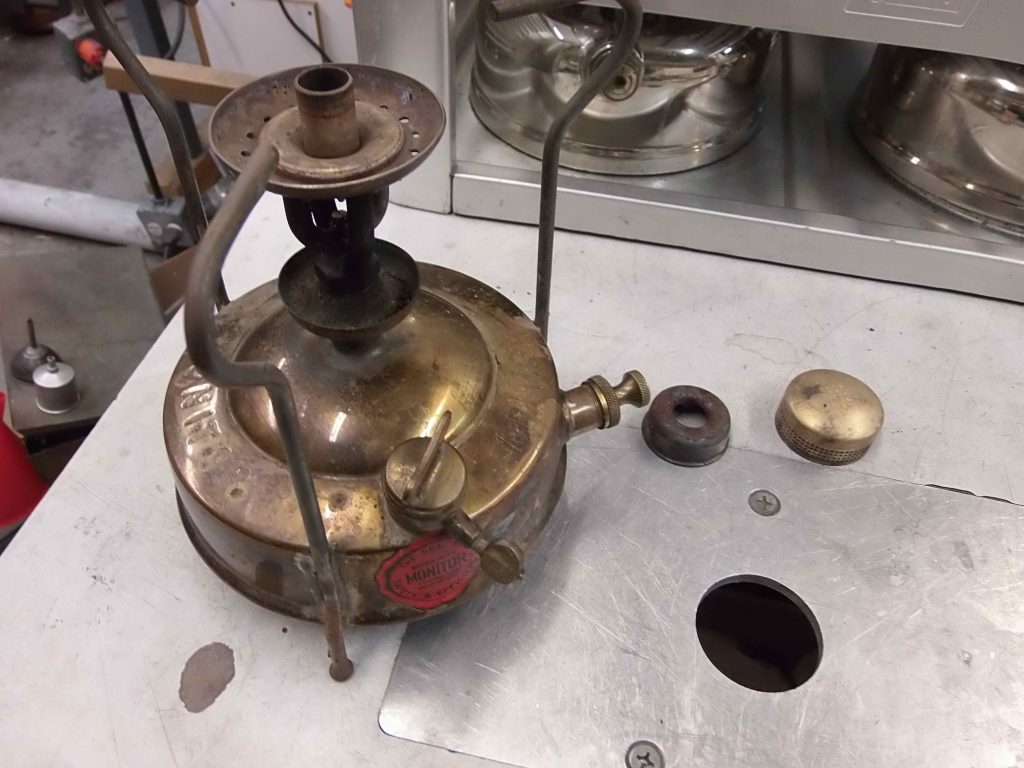
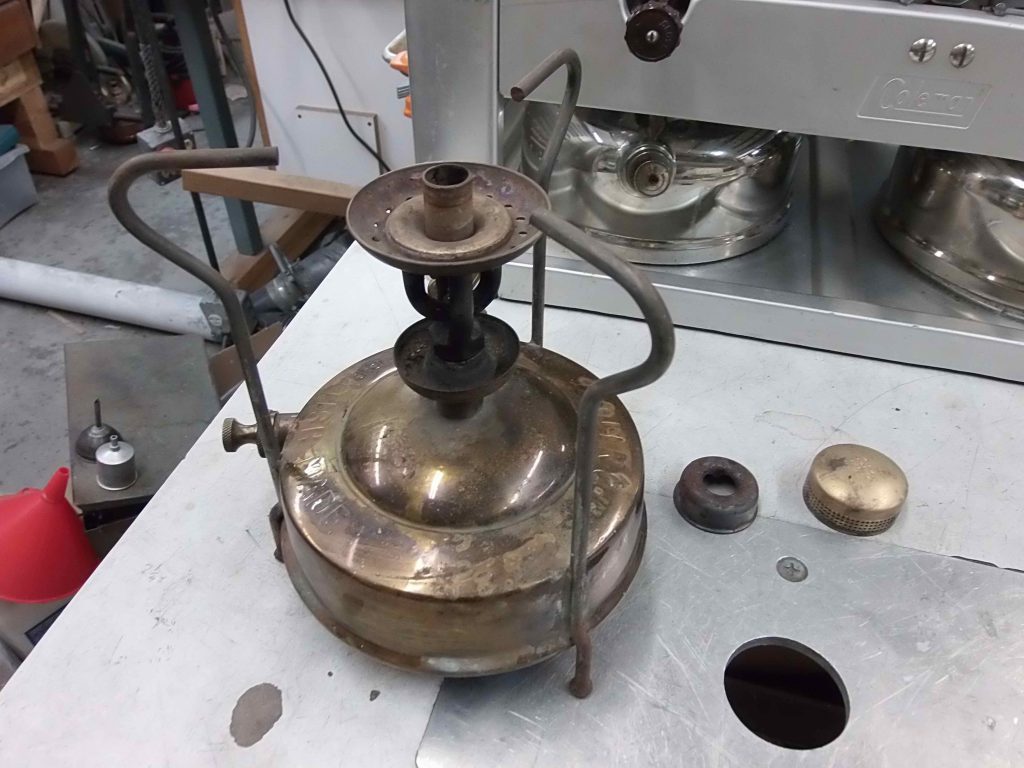
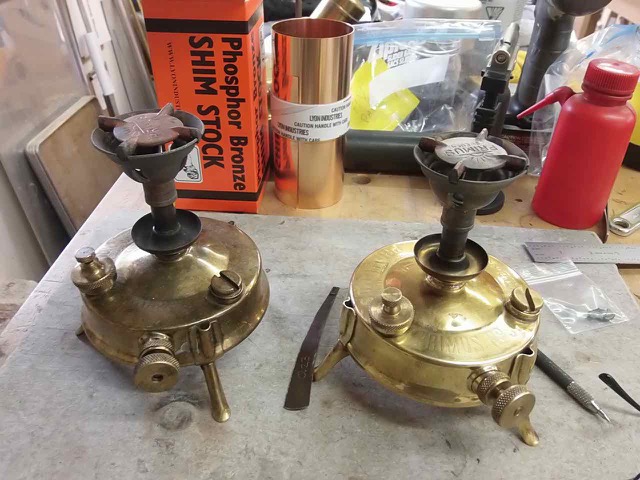
Sadly, this wasn’t possible on this old Monitor stove I was asked to repair.

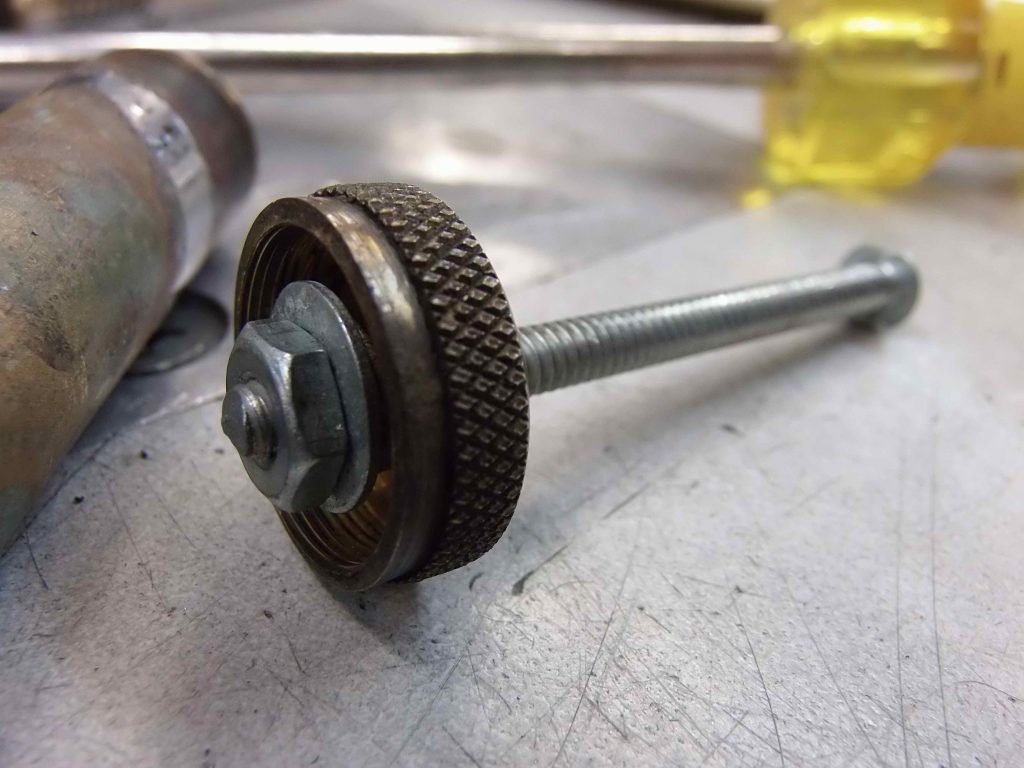
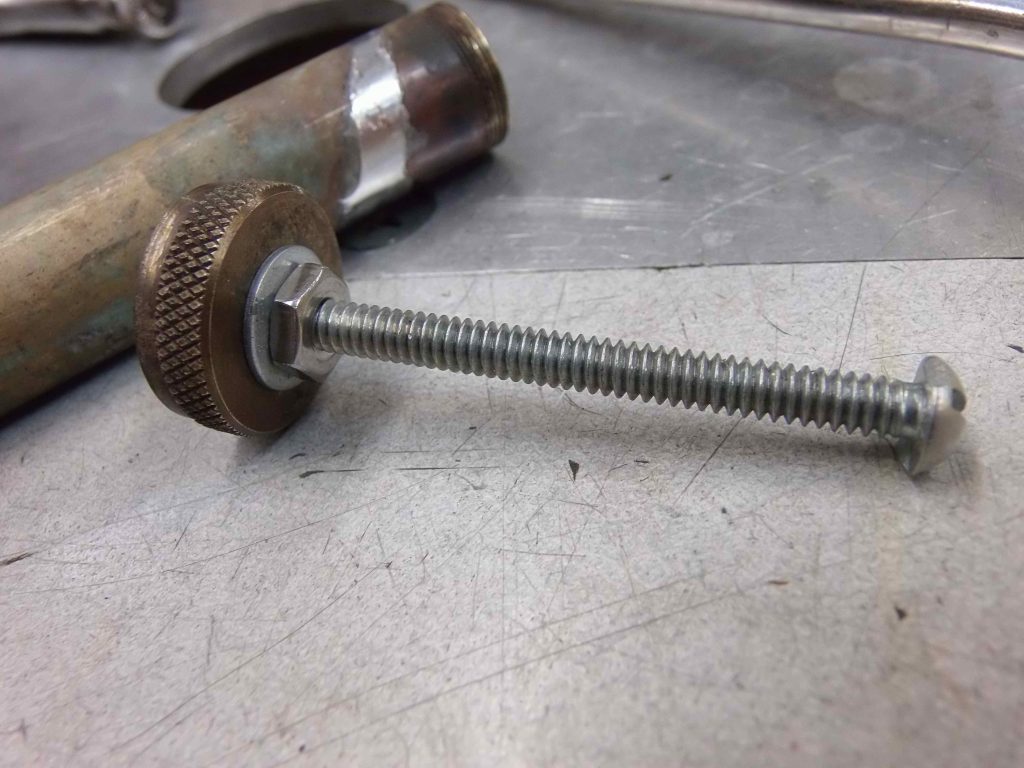
I use the stove’s original pump lid, some washers, a bolt and a nut to make up this little pump pulling tool. It’s easy to do and works great without the fuss or expense of a “special” tool.

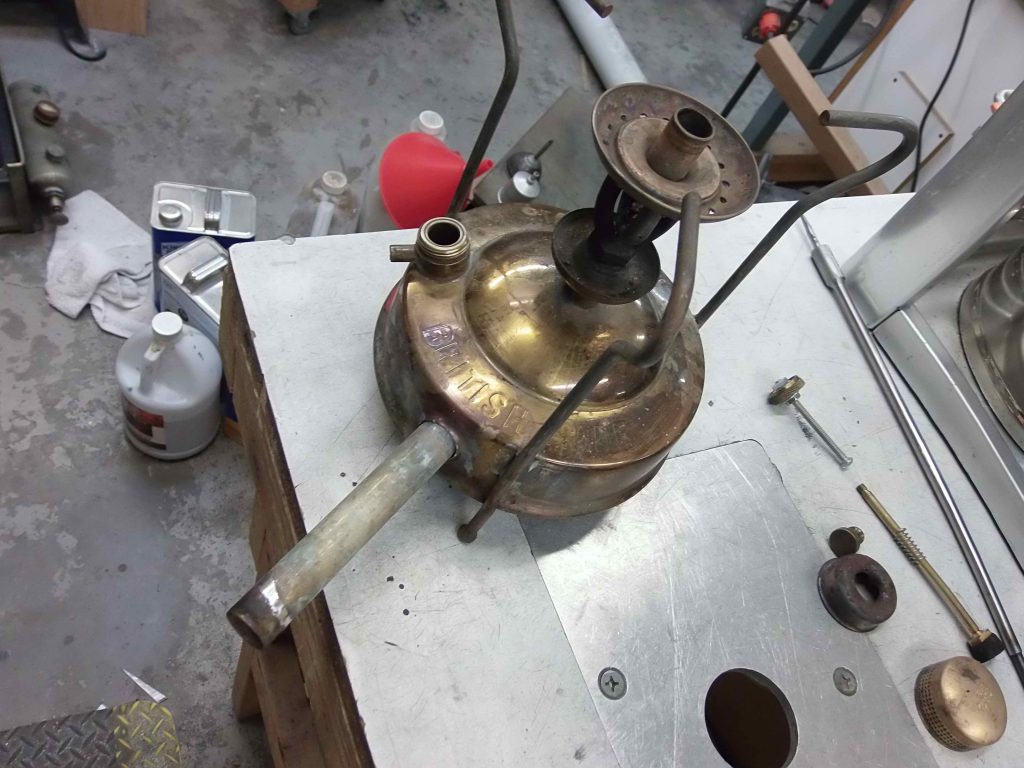
Usually I clamp the head of the bolt “tool” in my bench vise, hold the tank with one hand, and use the torch in the other hand to heat the area of the tank immediately around the pump tube. I put a wad of wet paper toweling all the way into the bottom of the pump tube to keep the heat from melting the solder holding the pump tube base block in place.

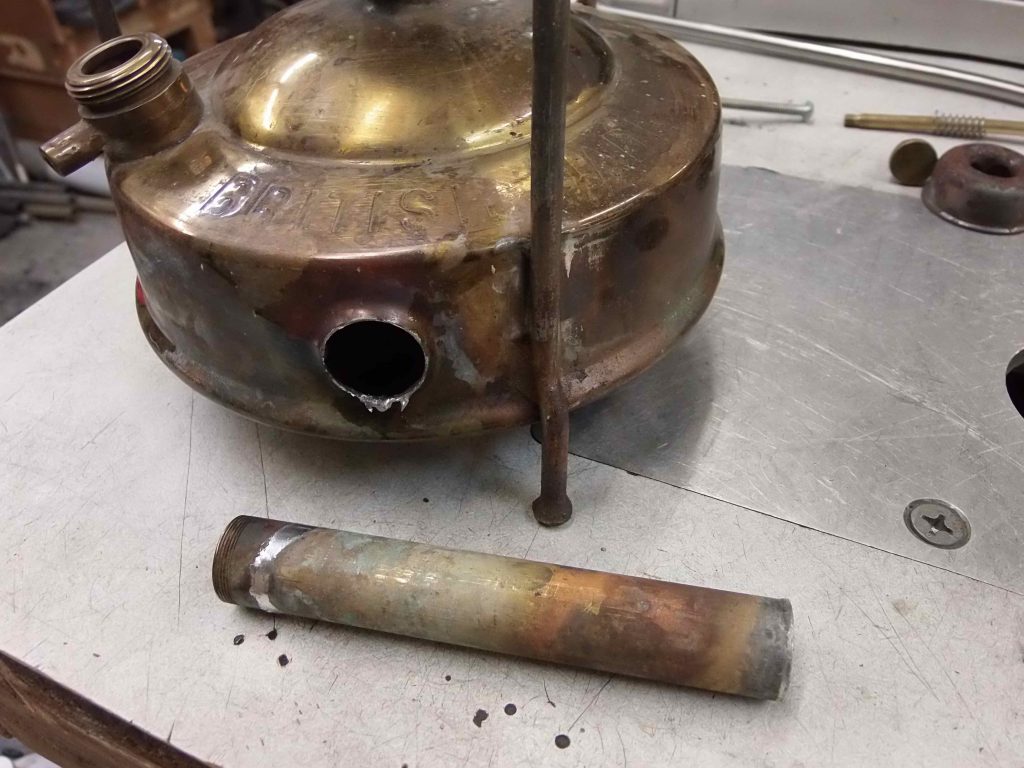
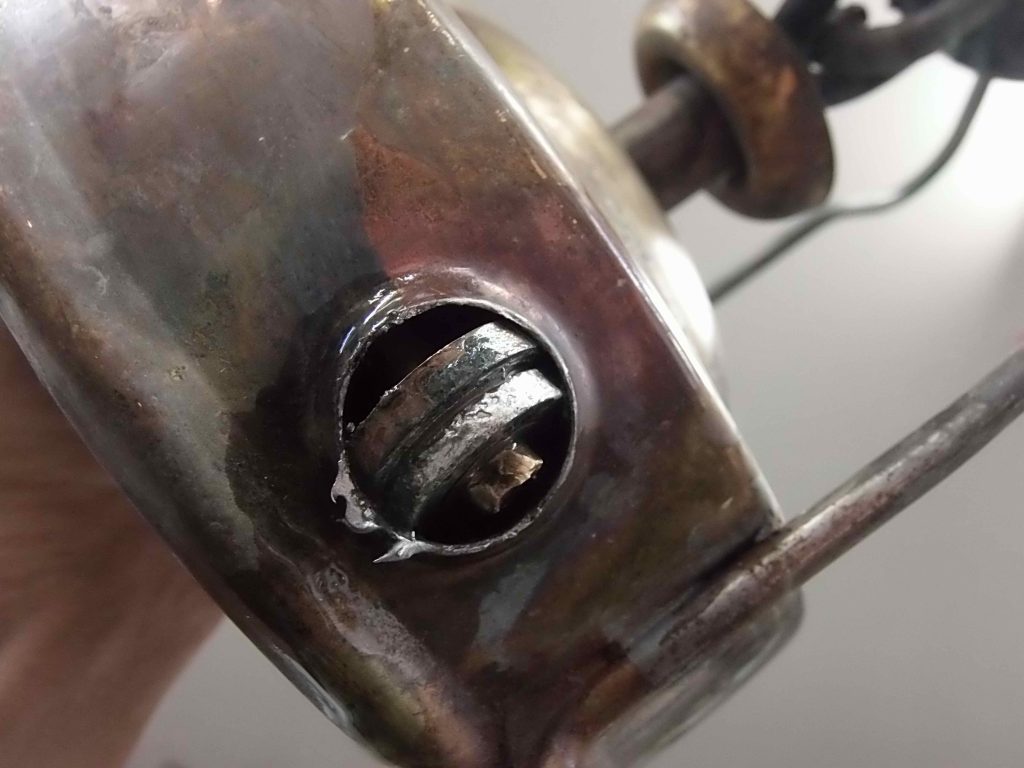
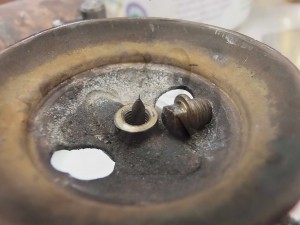
Here I’ve pulled the tube. But, I encountered some resistance as the tube would not completely exit the pump tube opening in the tank. It’s hanging up on the over-large pump tube base block.

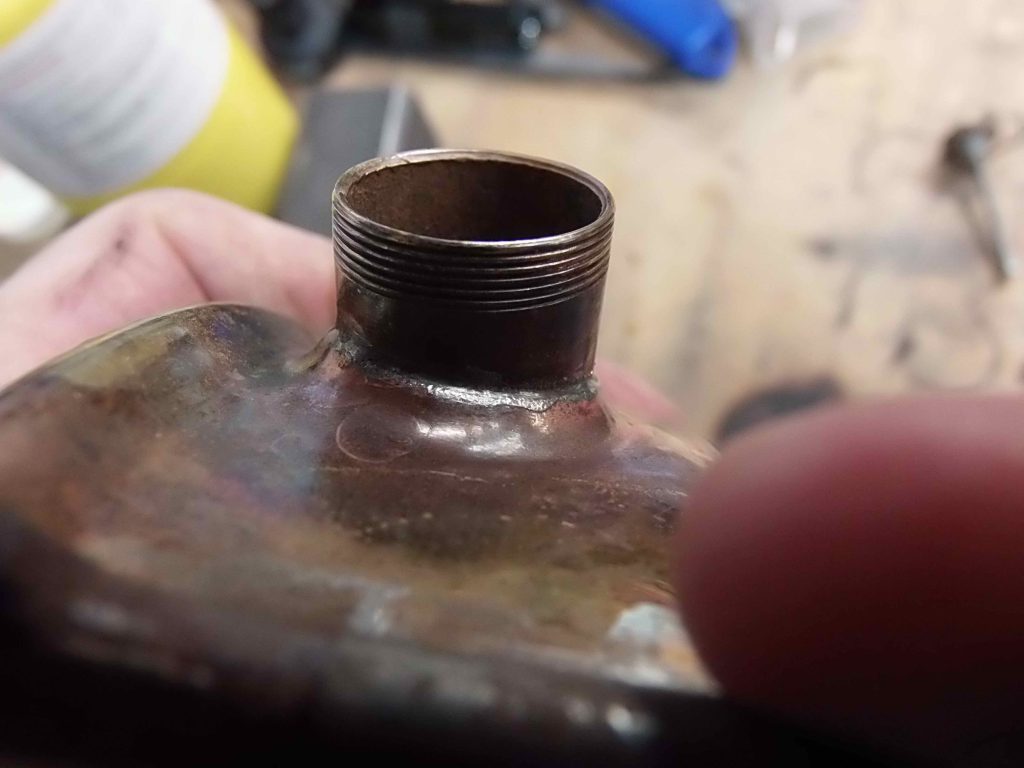
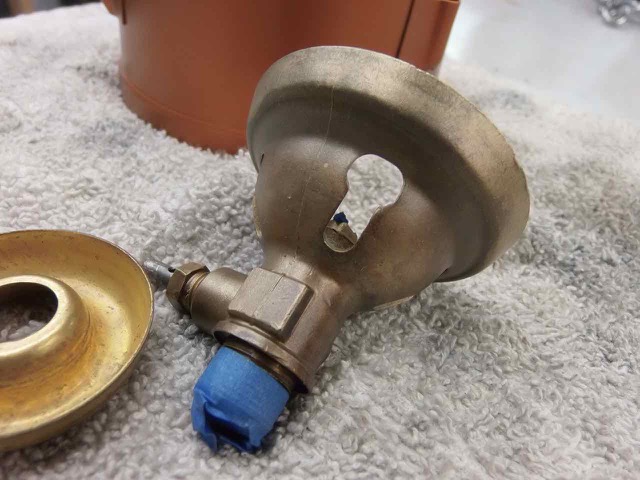
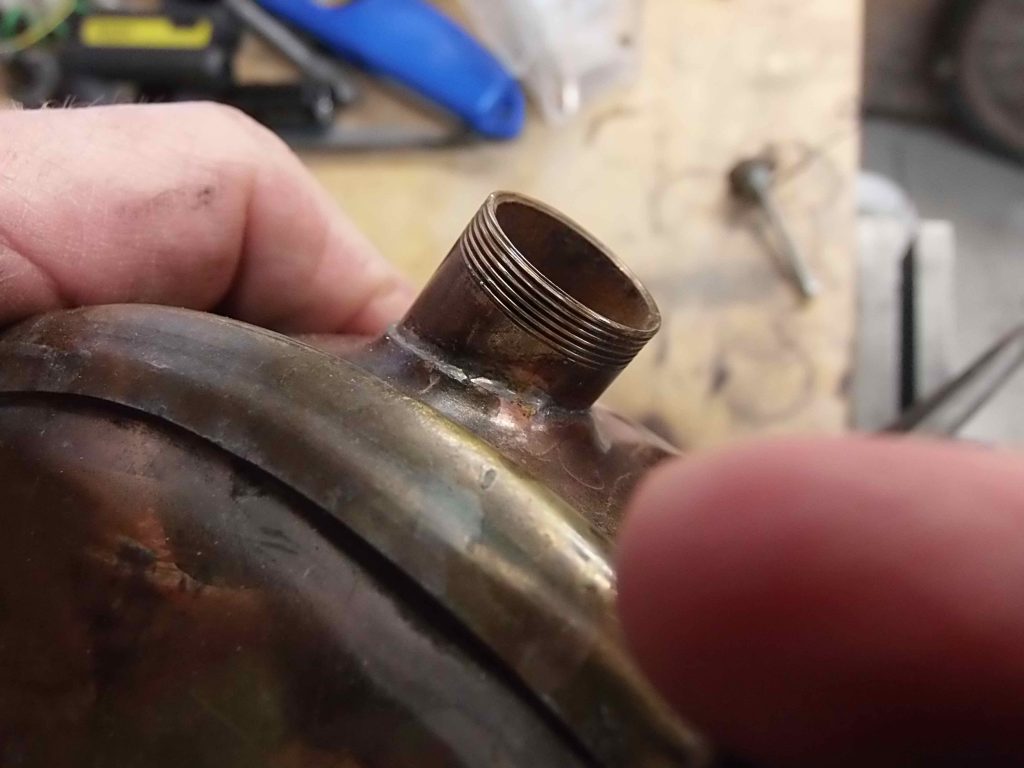
It turns out that the folks that made Monitor stoves in England decided it was a “good” idea (not!) to make their pump tube end block larger in diameter than the outside diameter of the pump tube. There is no way to pull the tube while the end block is in place since its outer diameter is bigger than the hole the tube mounts in, so I had to desolder the pump tube end block from the pump tube and have it drop into the tank.

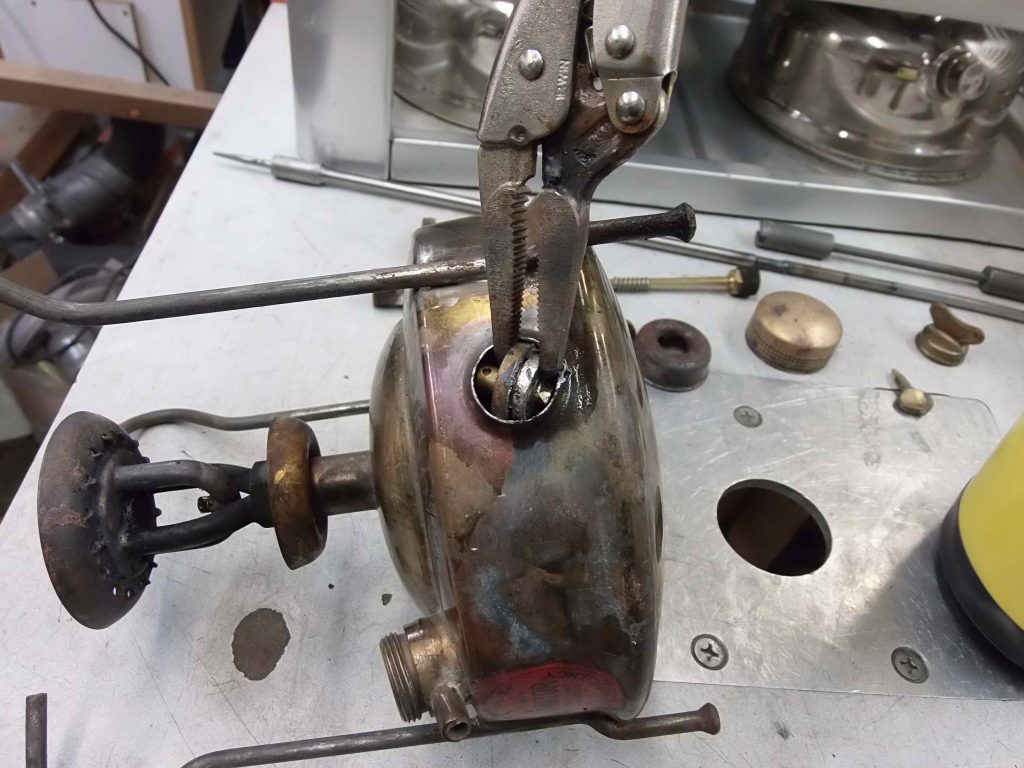
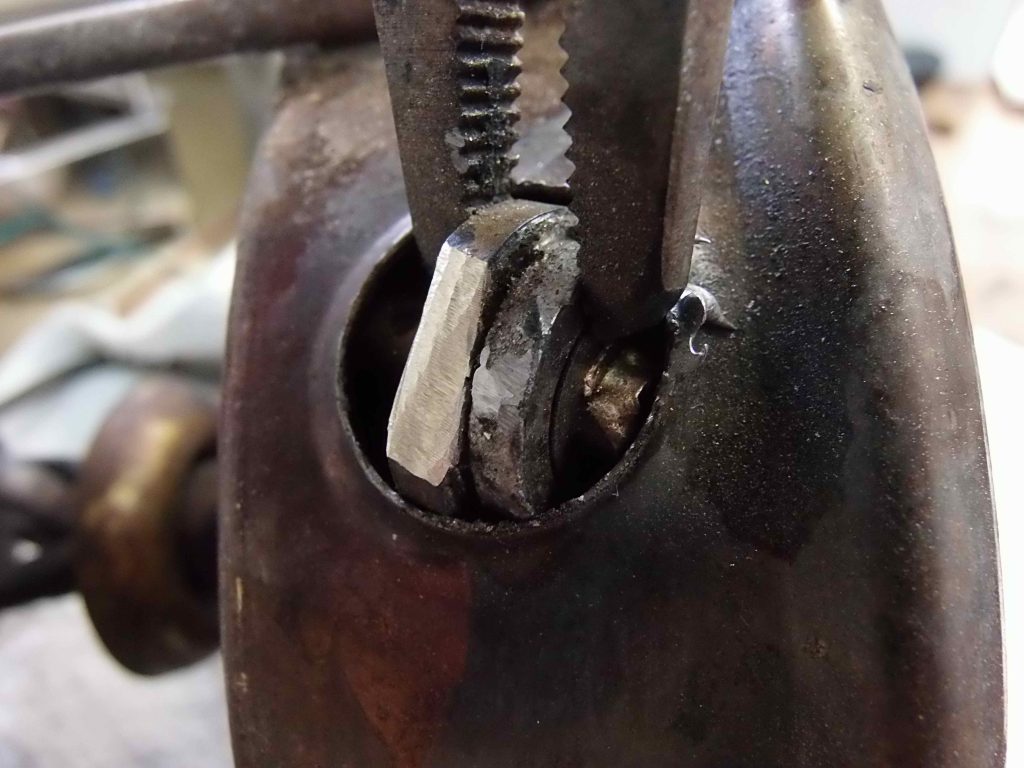
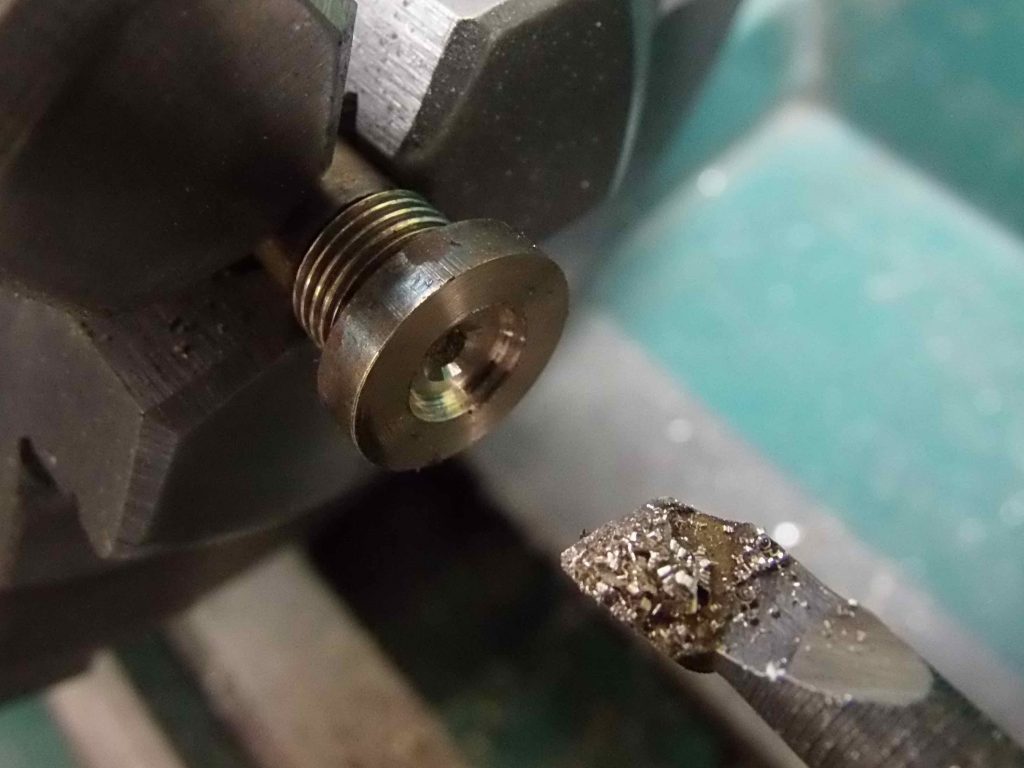
You can see in the photo above that that too-big end block is not going to fit out through that too-small hole. But, by using a small pair of Vise-Grip pliers to hold the end block, I was able to machine two facets into the block to reduce its diameter. I used a grinding wheel on a Dremel tool to do the work, taking off just enough to get the block out the opening. I also made sure I placed the facets in such a way that I could later clamp the block up in the three-jaw chuck of my mini-lathe to clean up the block.

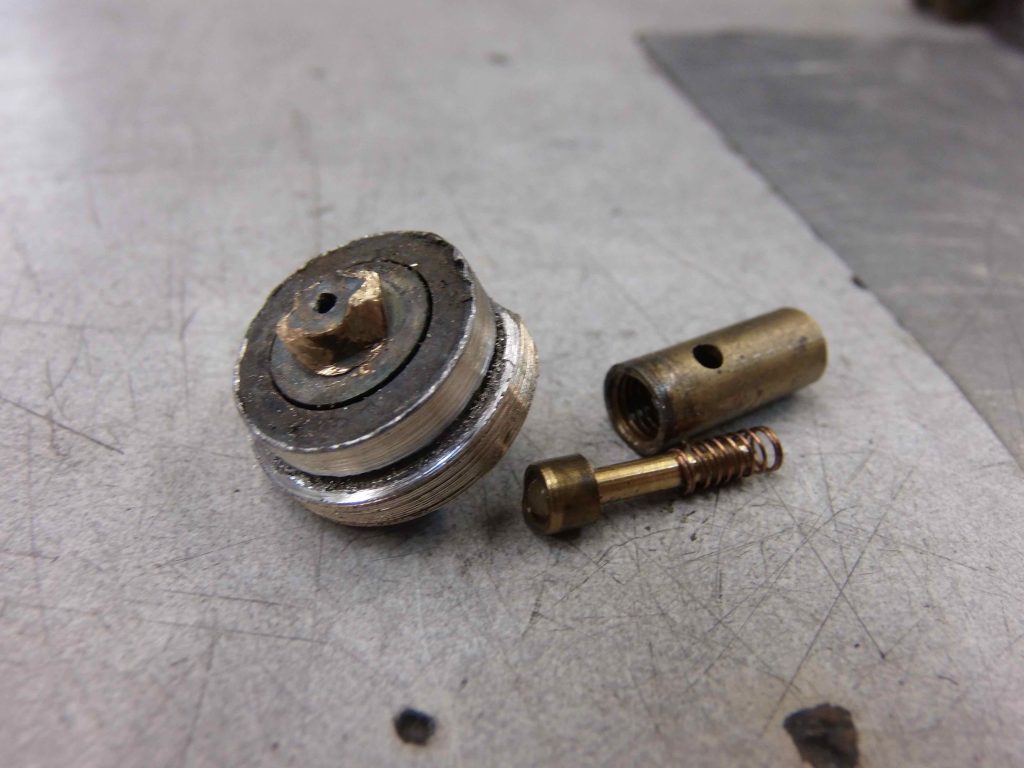
Once the outer diameter of the end block is machined down in a couple of places, it pops right out. A little persuasion with some penetrant and some torch heat pops the NRV head loose from the block.

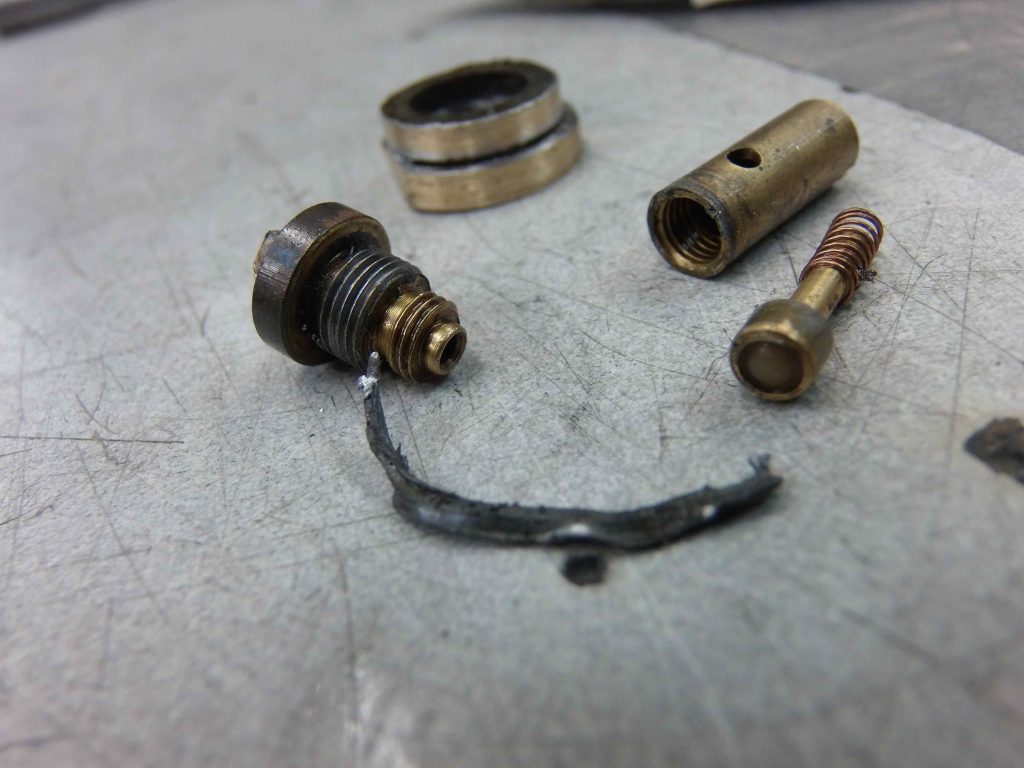
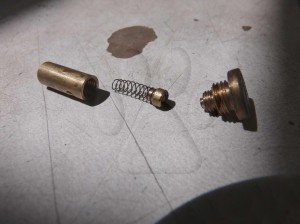
The pump tube end block with the NRV barrel, pip cup and spring removed.

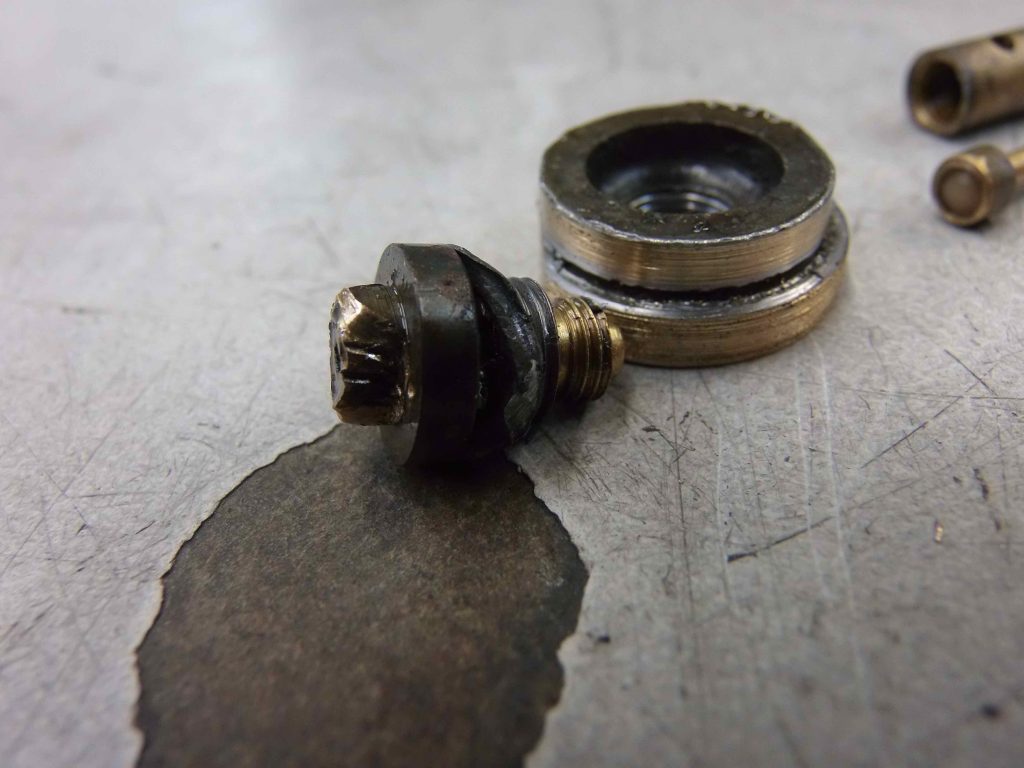
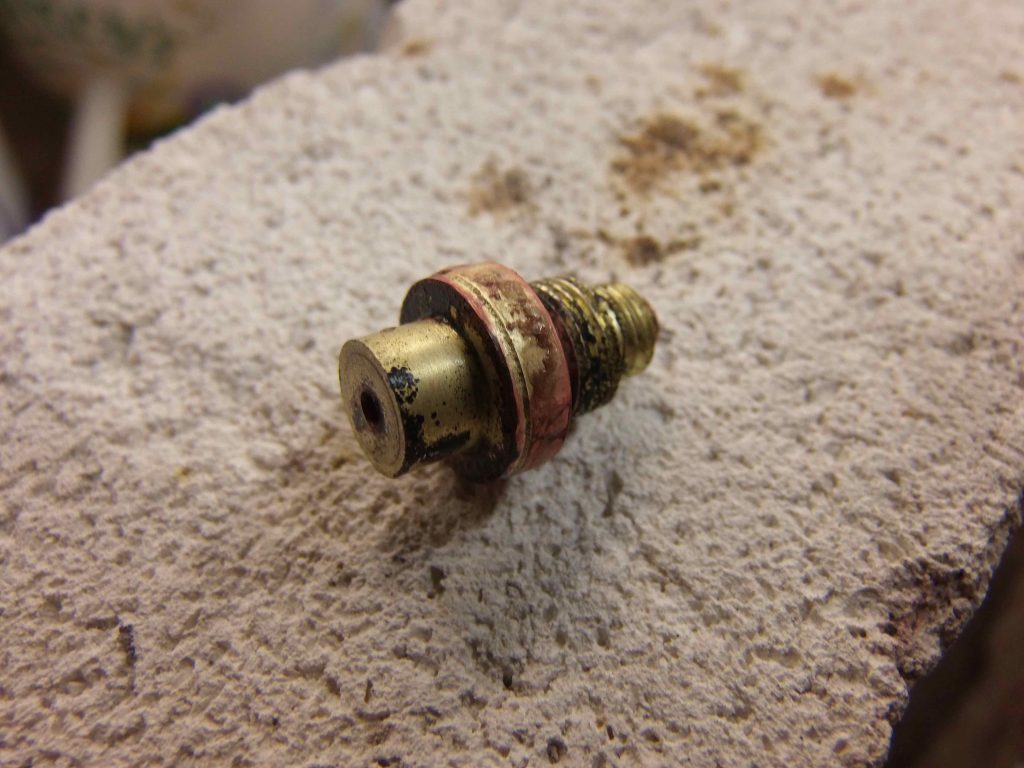
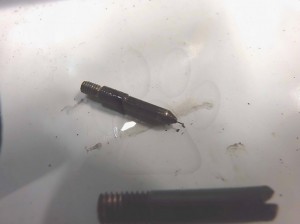
The damaged NRV head removed from the pump tube end block.

This stubborn NRV had a lead washer in place under the head. Didn’t seem to do much good to assist in removal, though. This is often the case with old lead washers as they seem to tend to get brittle and harder with age.

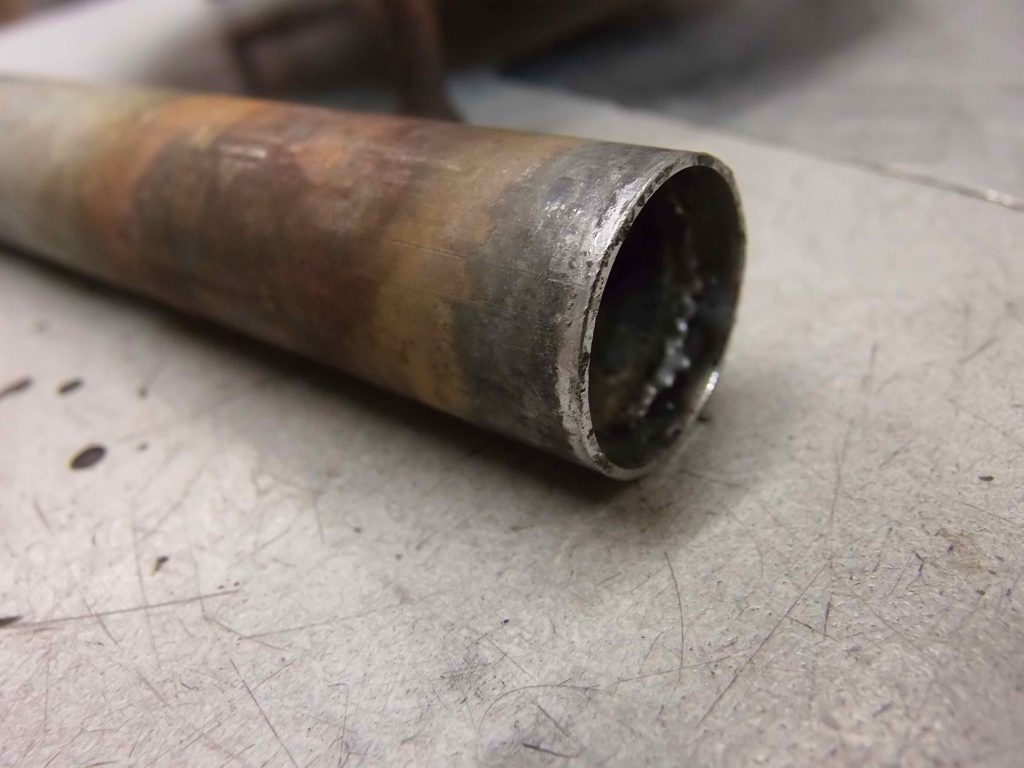
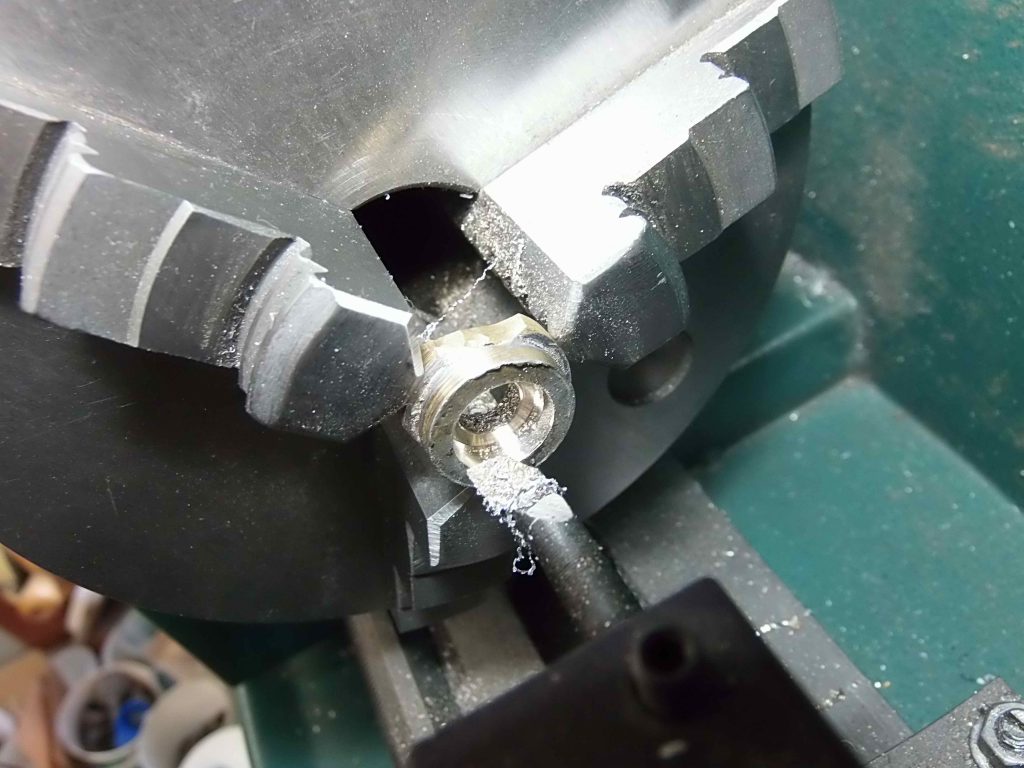
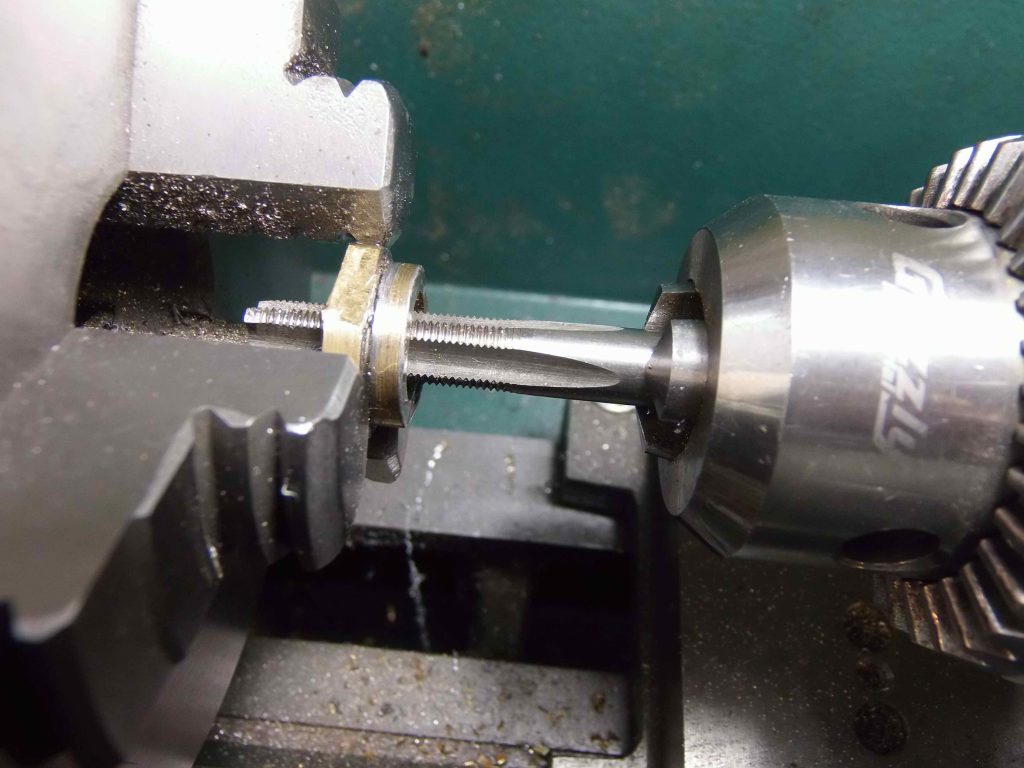
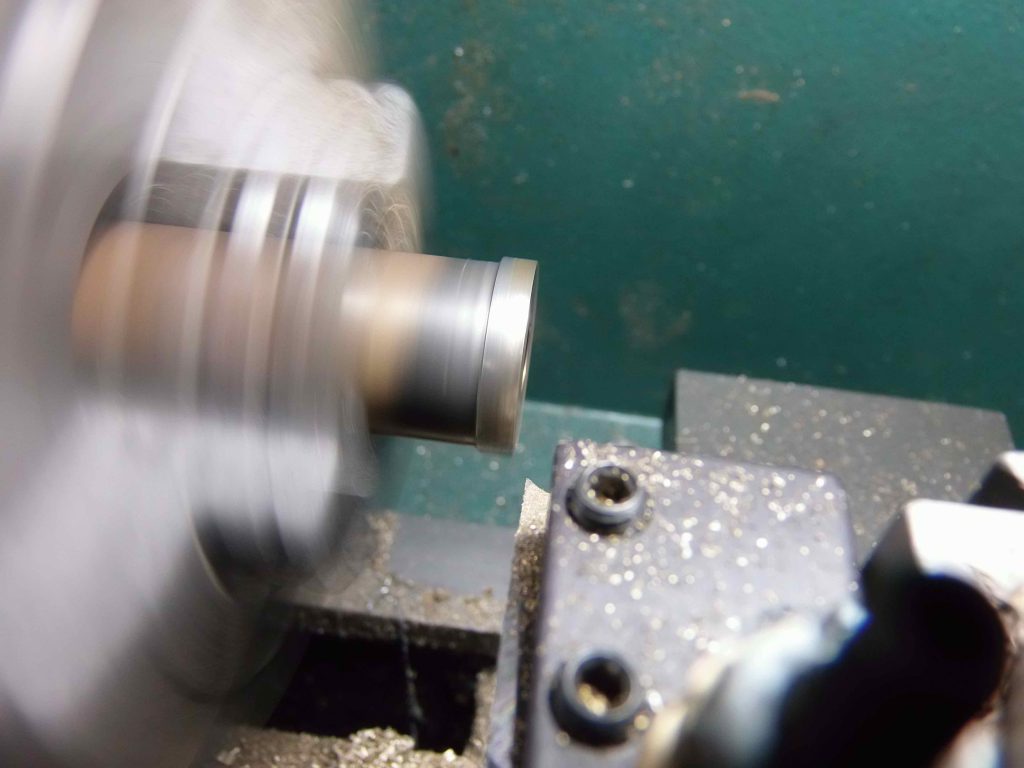
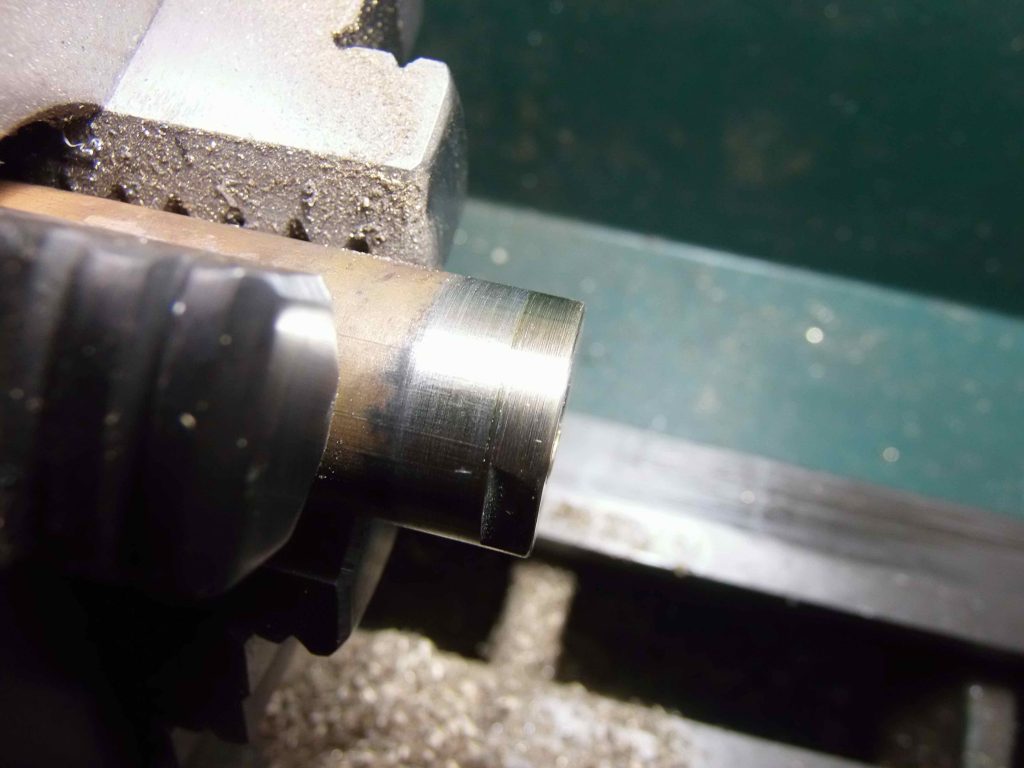
Because I had to desolder the end block inside the tank and with little control to the operation, the lead washer “migrated” a bit into the block and also into the threads of the block. I chose to clean the lead residues out of the block as I didn’t want this old lead to be causing me problems later on when resoldering the assembly together (I wanted to avoid contamination of the new solder with the lead). Spinning up the block on the lathe took care of the inside of the block and using a tap cleaned up the threads nicely without removing any brass. I’ve found through doing many pump tube pulls in the past that a 5/16″x36tpi tap is a remarkably close and completely functional match for the original proprietary non-standard NRV head threads.

Getting the lead out.

Cleaning the threads.

So… I then soldered the end block back into the pump tube, then turned the pump tube end block flush with the pump tube diameter so that I could get the assembly (easily and sensibly) back inside the stove tank.

I needed to cut a special small pip for the small-size “tailed” Monitor pip cup.
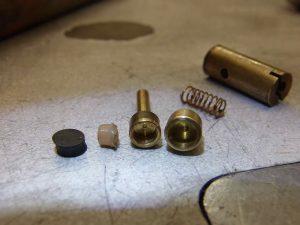
From left and for comparison – standard NRV pip, small weird Monitor NRV pip (about 3.5mm in diameter), Monitor pip cup with it’s long “tail”, standard 4.5mm pip cup.
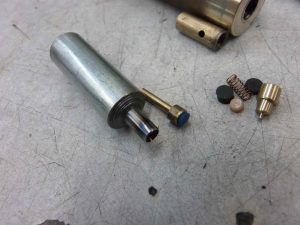
This is the special pip cutter I made a while back for doing the 3.5mm size pip cups (left) next to the Monitor “tailed” pip cup with its new Viton pip(right).

I also chose to rebuild the head of the Monitor NRV since it was slightly different than a standard NRV in an effort to keep things sorta “original” looking.

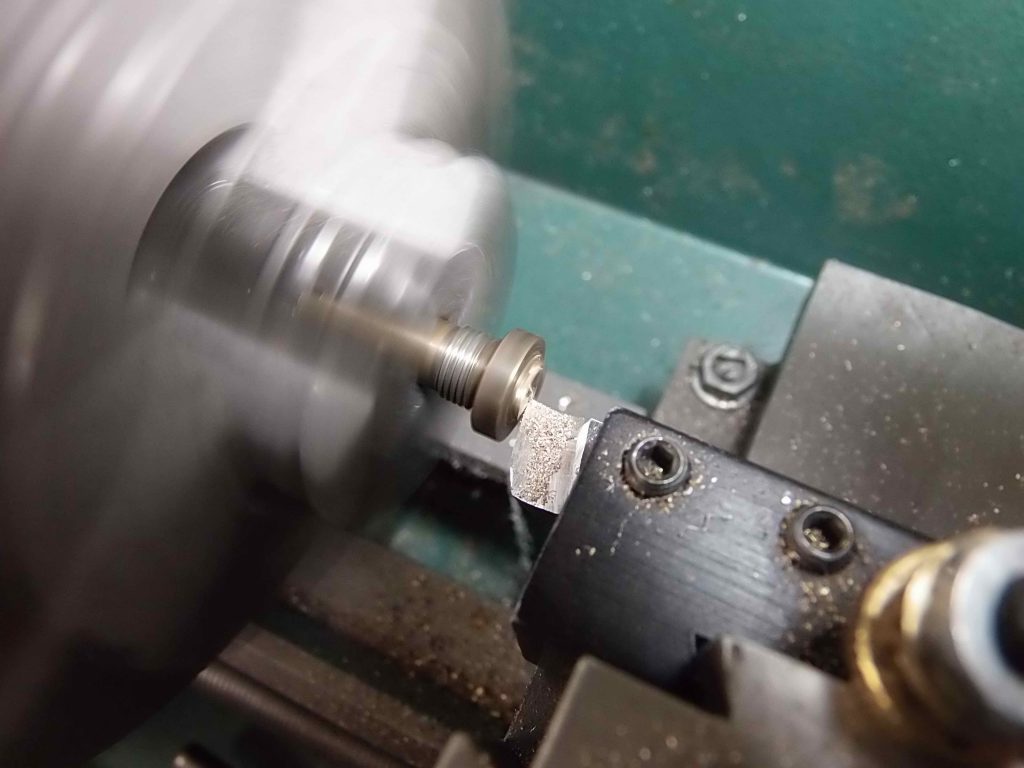
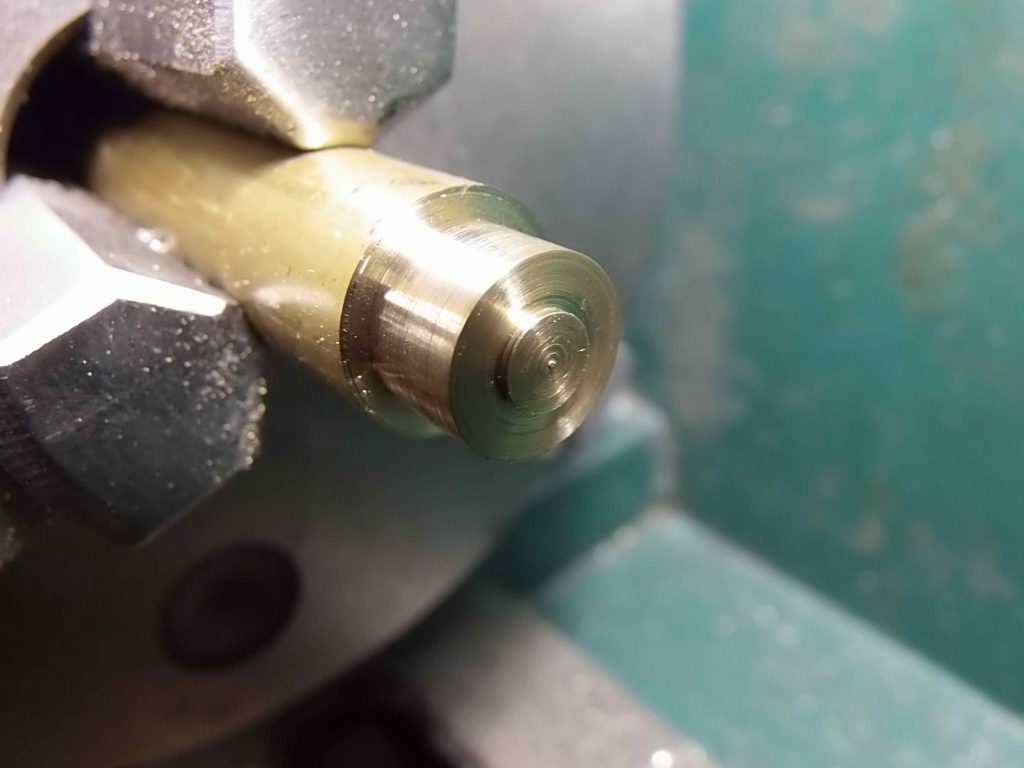
First step was to machine off the twisted remnants of the NRV head.

Machining the NRV head flat.

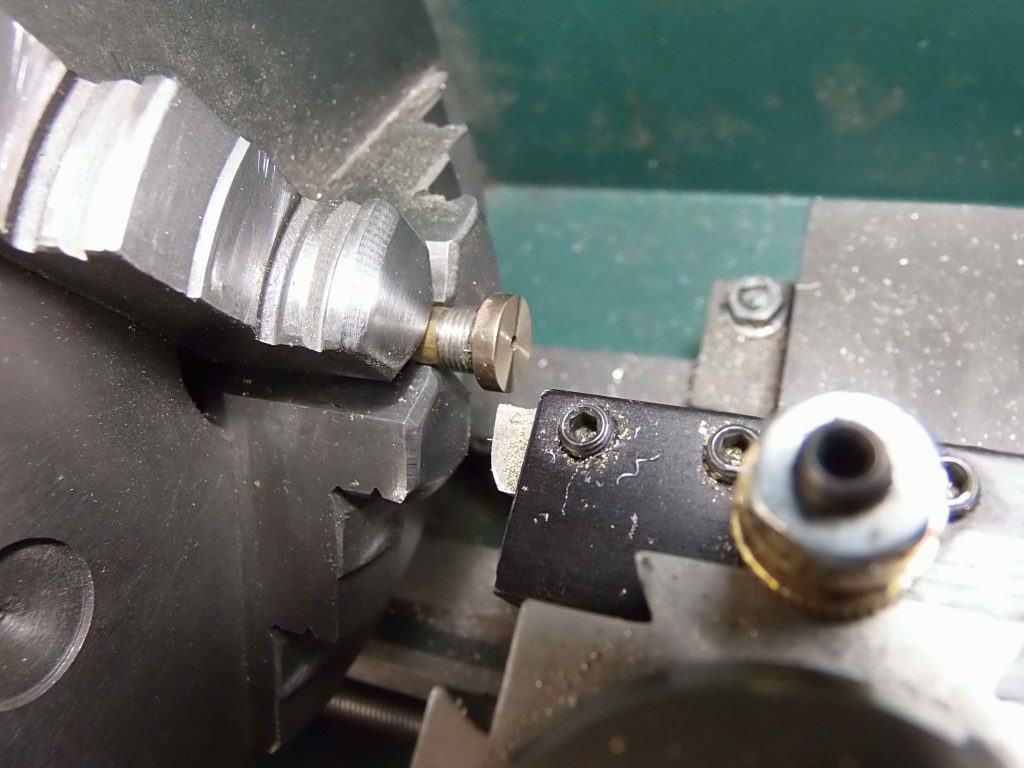
Then I cut a socket or “mortise” into the head of the Monitor NRV head.

Machining a pocket “mortise”.

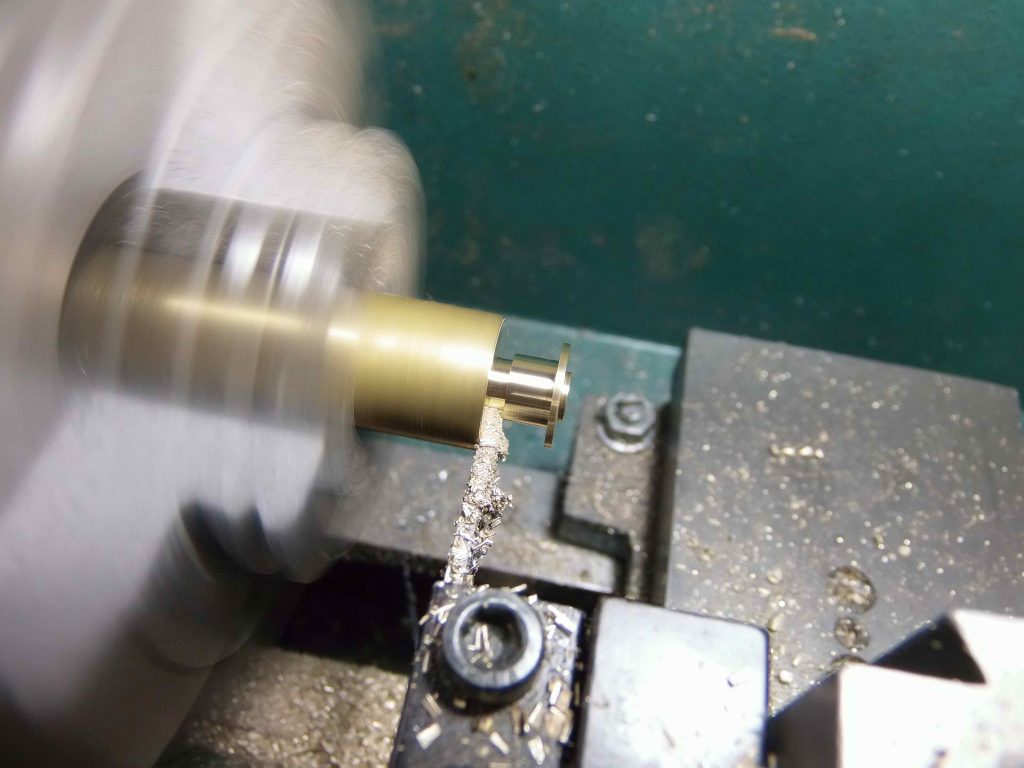
Next was to machine a small piece I could silver braze to the NRV head to restore the NRV head. I made a corresponding “tenon” to fit the “mortise” I’d cut in the original Monitor NRV head.

Machining a “tenon” on the brass NRV head repair addition.

Ready to cutoff.

Checking for fit.

Silver brazed together.

I cleaned up the brazed head, then hand-filed the two facets in the head.
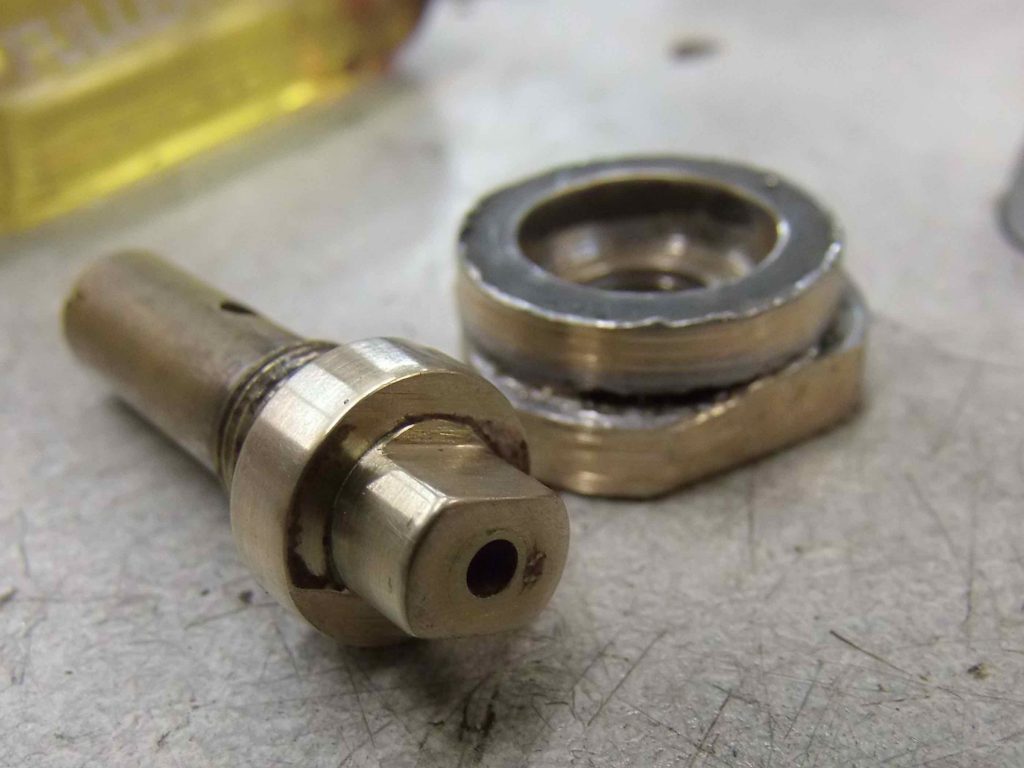
Newly rebuilt NRV head with hand-filed facets. Pump tube end block all cleaned up and ready to resolder.

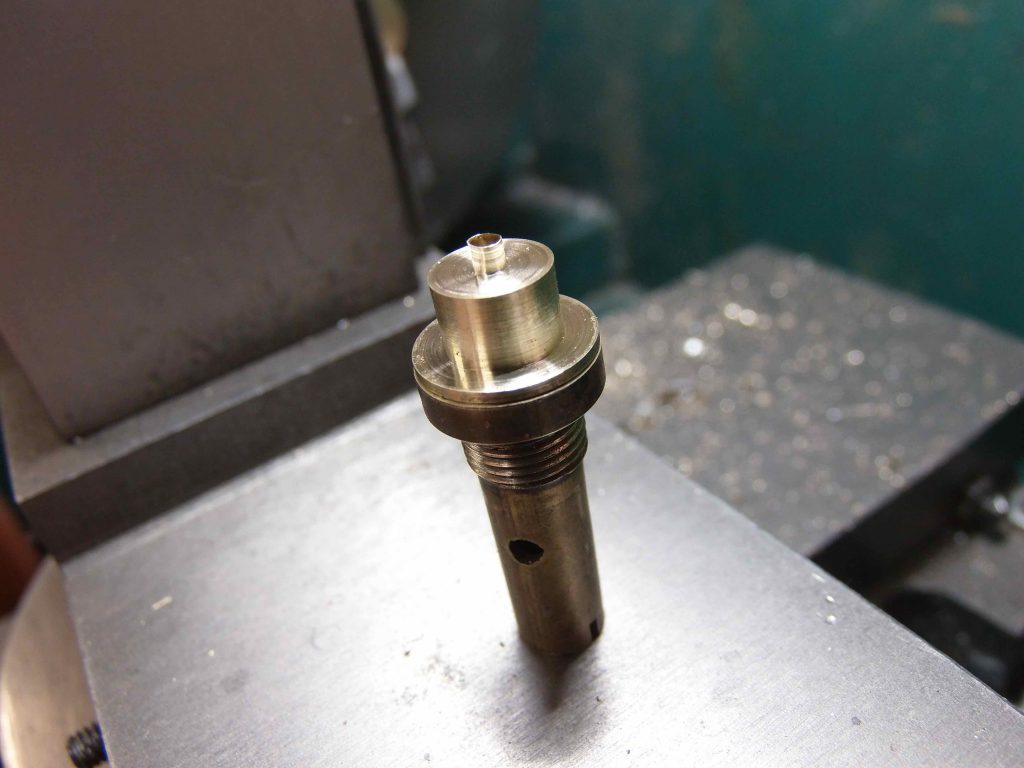
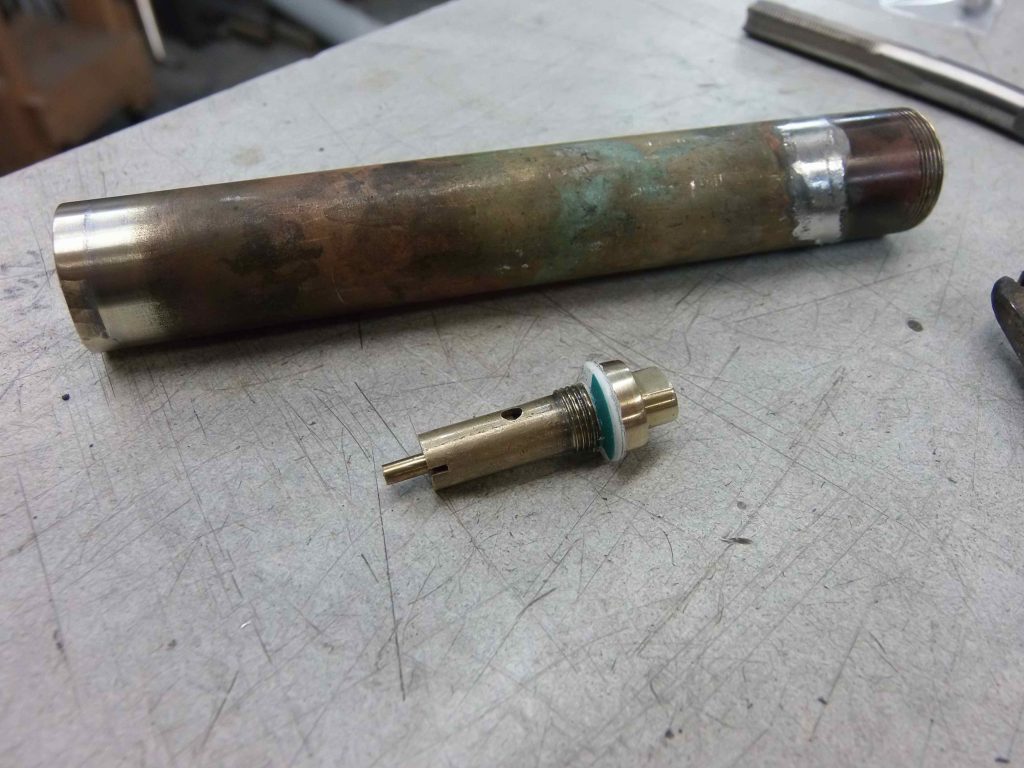
Here is the completed restored pump tube and rebuilt NRV ready for reinstallation into the Monitor stove tank. Note my use of a shop-cut HDPE (high density polyethylene) plastic washer in lieu of a lead washer. I’ve found these HDPE washers to be entirely fuel resistant and superior to lead washers. The HDPE does not stick to the brass of the tube or creep into the threads of the pump tube end block. It also provides a fuel tight seal with much less torque required to make the seal than with lead washers.

Here I’ve used my simple bolt-and-washer tool to set up the pump tube in the tank for soldering, holding it in place with some stiff wire jigging. This jigging setup allows me to use both hands – one for using the torch and one for applying solder to the pump tube/tank joint.
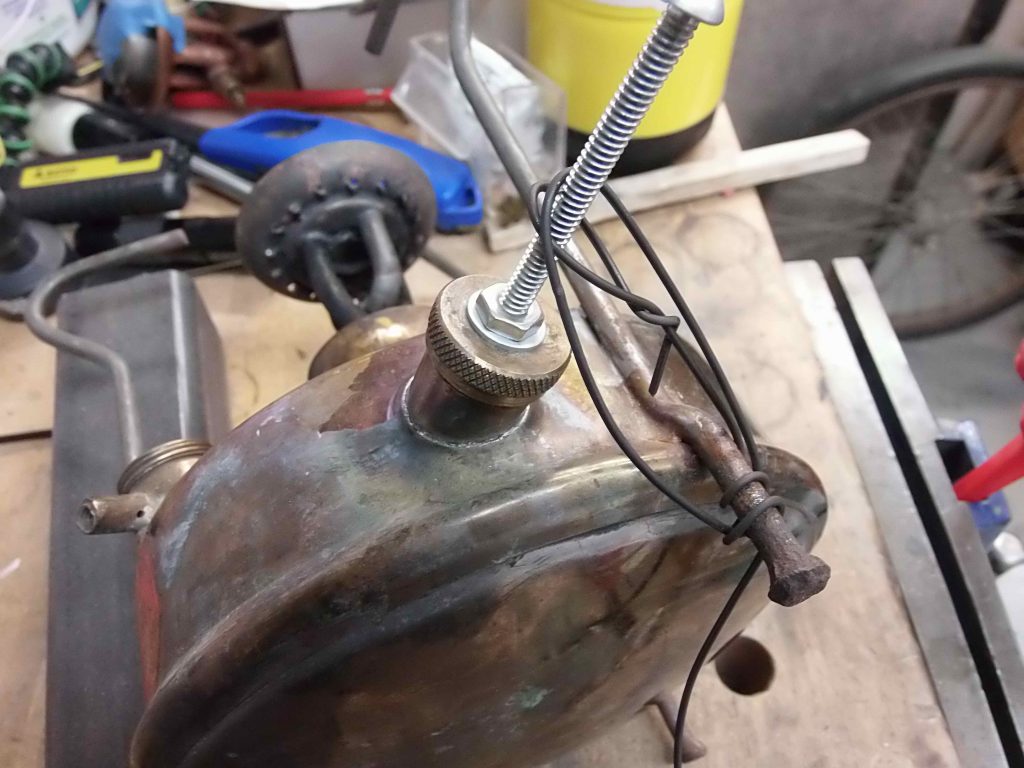
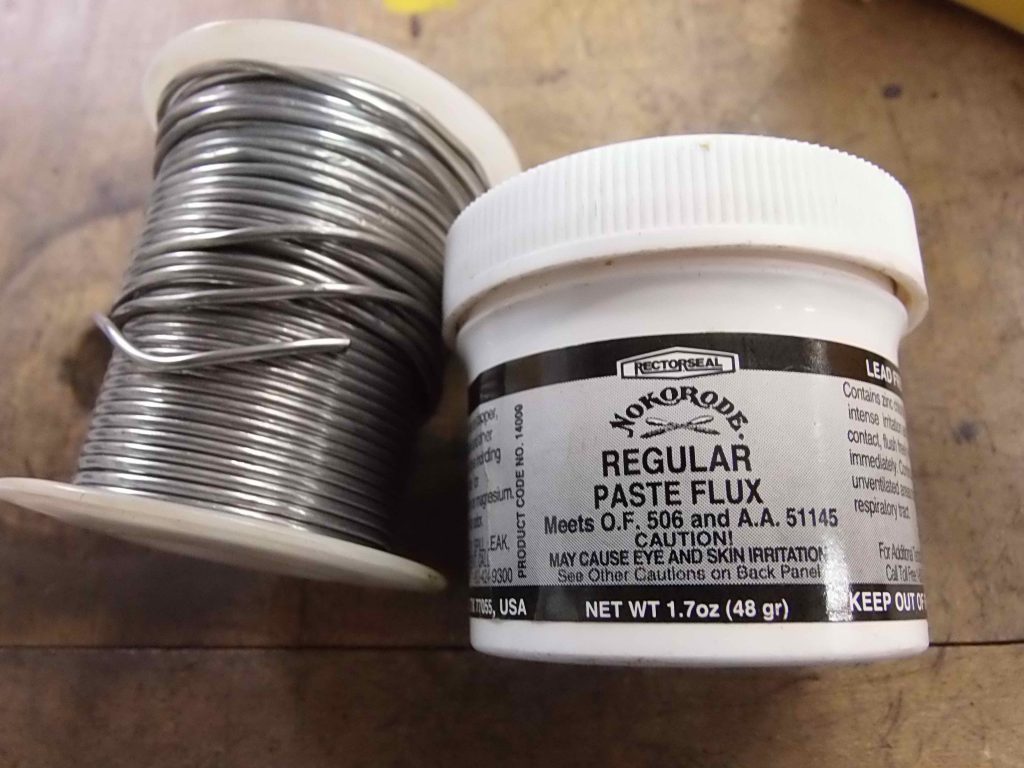
I use standard electrical solder and rosin paste flux to do stove soldering. The rosin flux is inert until heated and any flux residues trapped inside the joint will not erode the brass of the tank on down the road. Acid fluxes will erode the brass over time which is why acid fluxes should never, ever be used around vintage brass stove work.

Thin diameter rosin-core electronics solder from Radio Shack and a paste rosin flux.

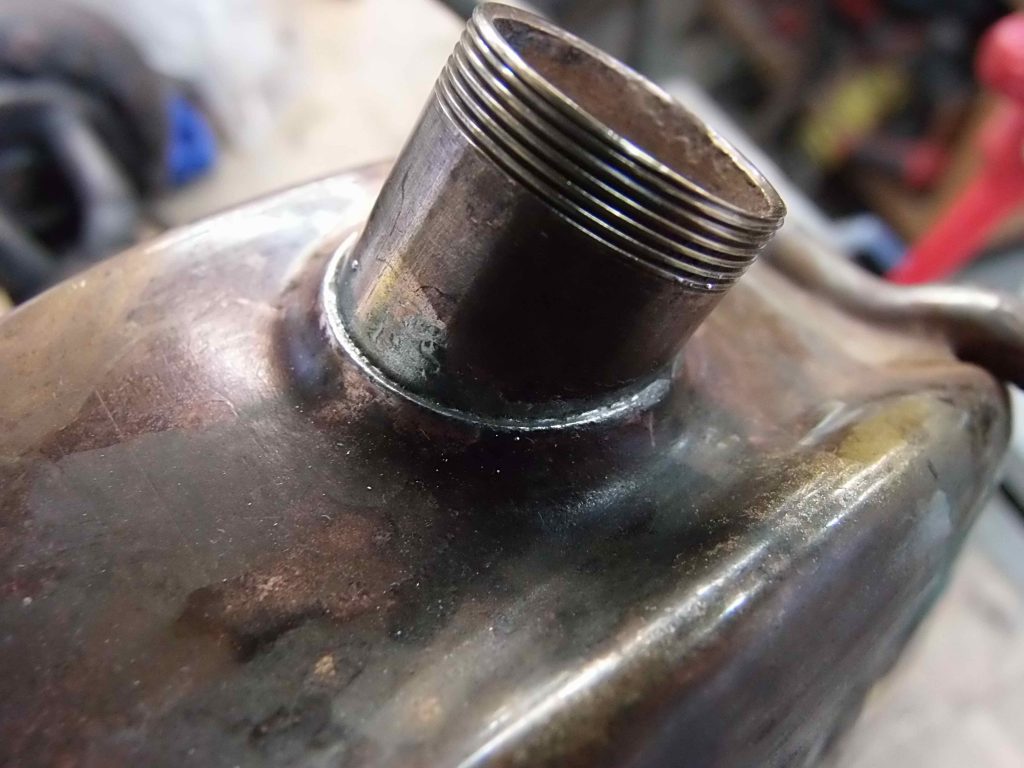
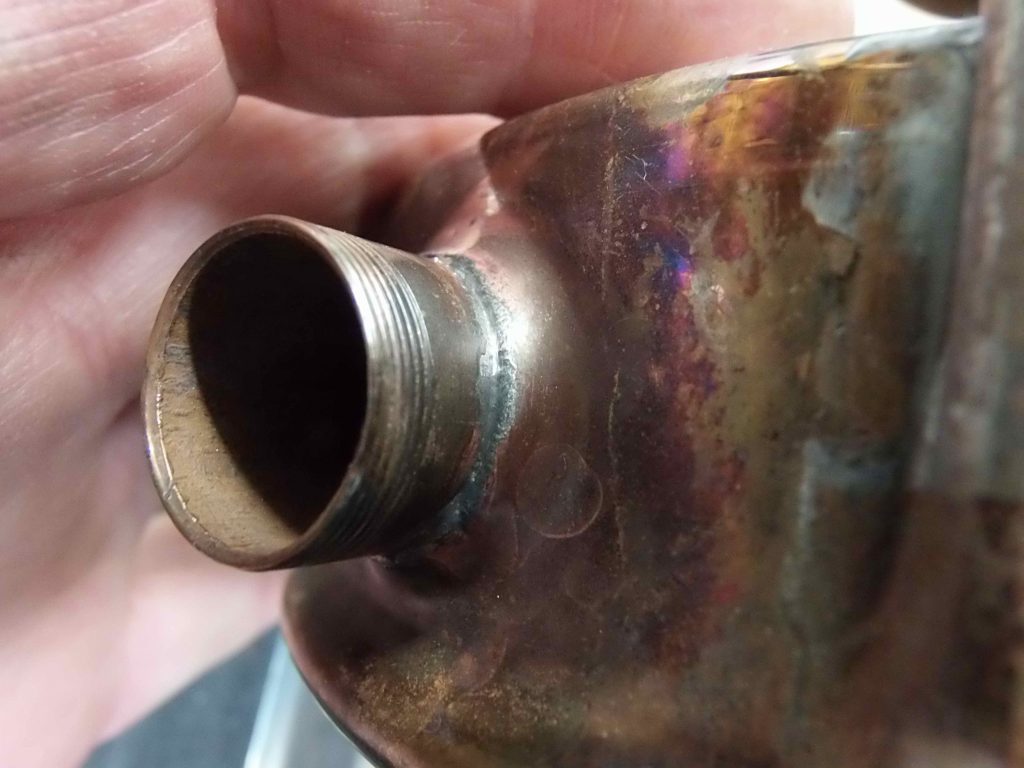
Inspecting the completed joint. I’m looking for any gaps or pits where solder may not have flowed into the joint. There should be a uniform silvery and liquid-looking seam of solder flowed in all round the joint.
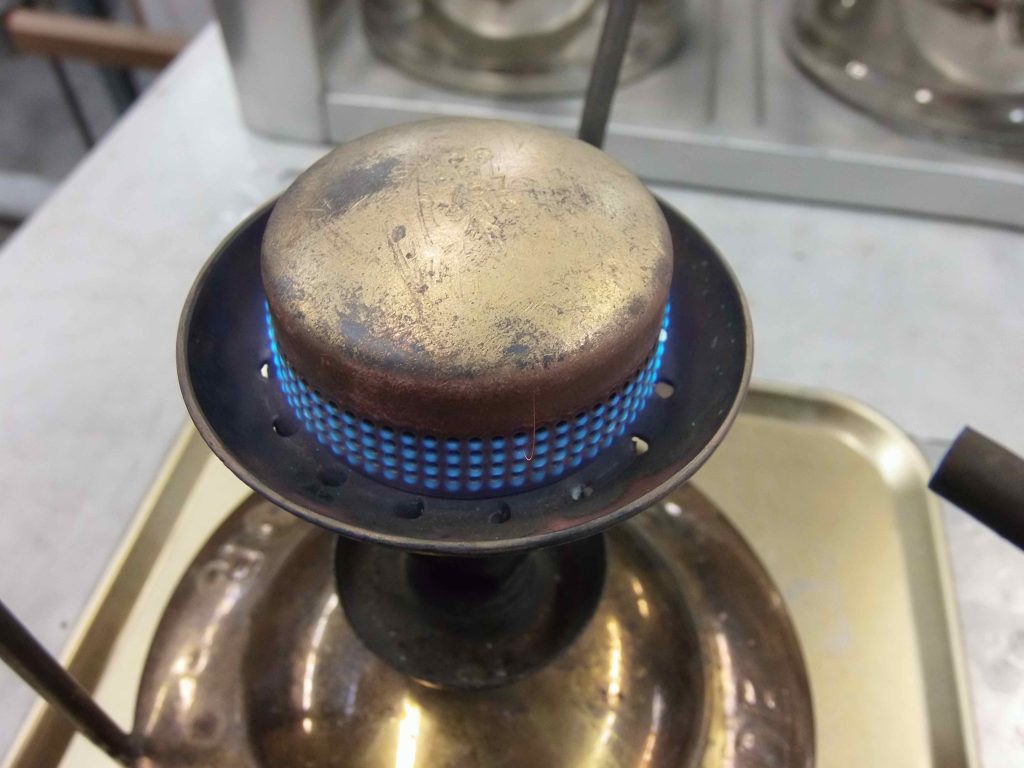
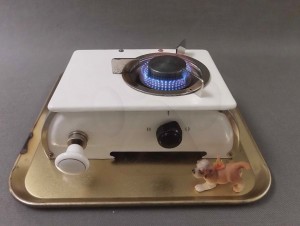
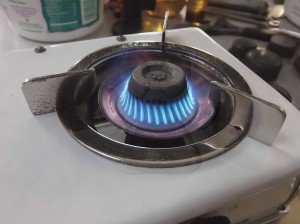
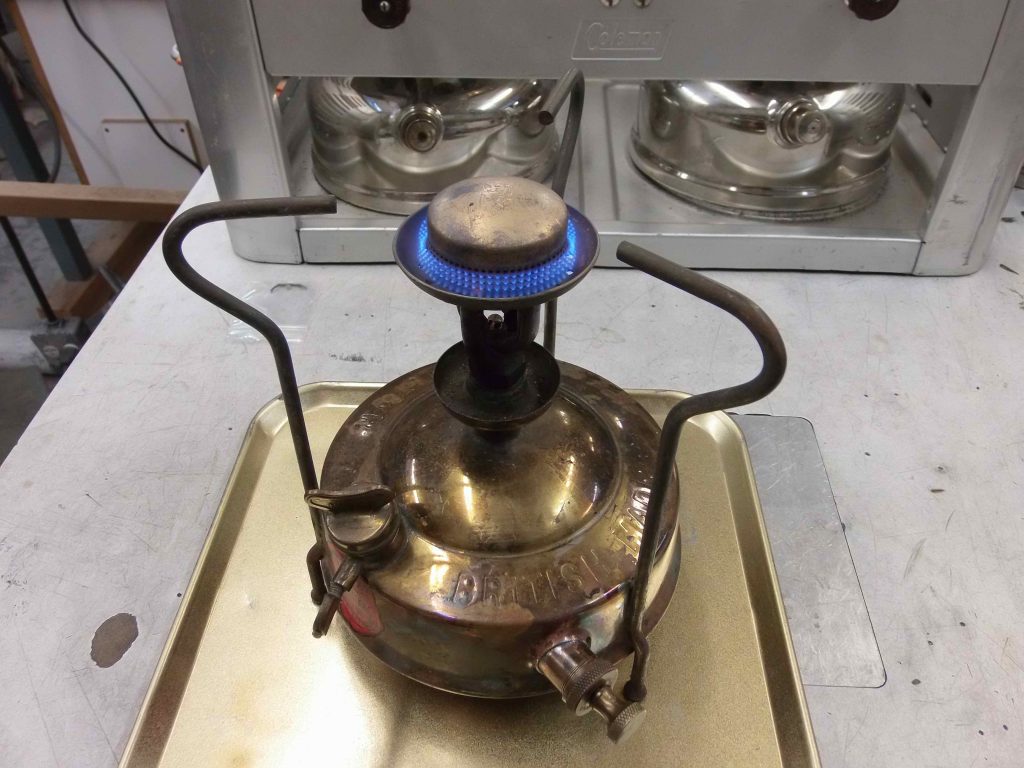
Here’s the repaired stove reassembled and fired up with no leaks and a great quality clear blue burn.
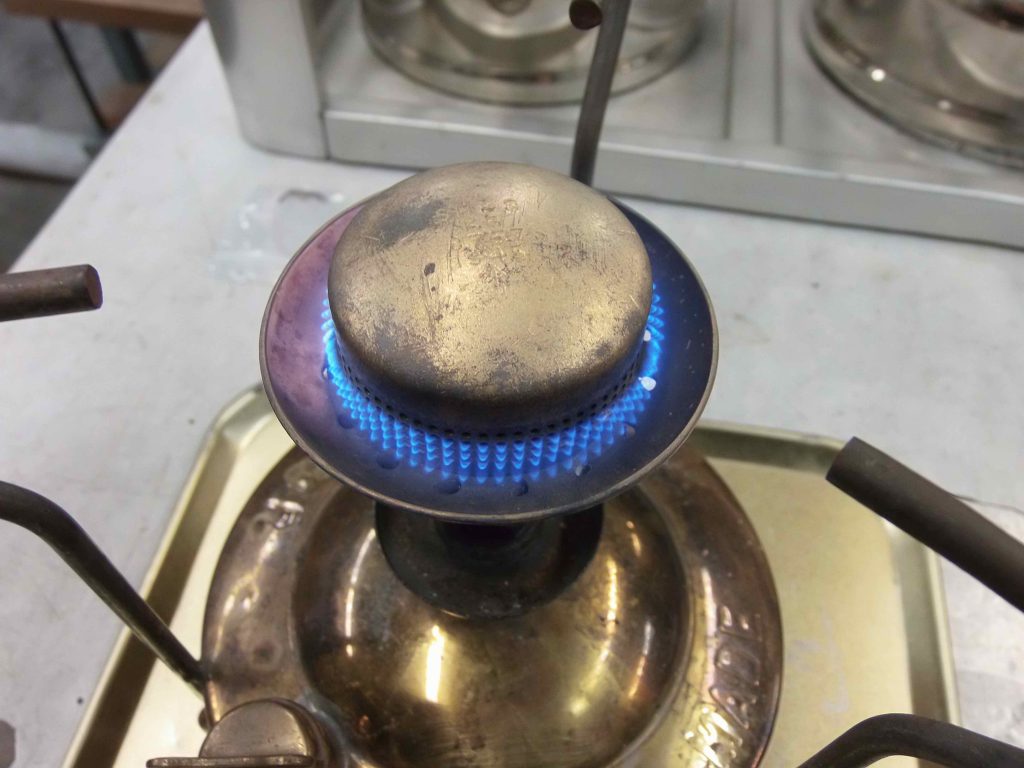
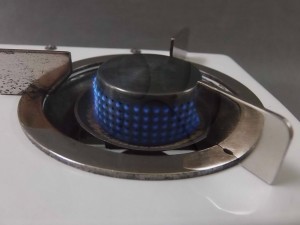
Simmering nicely.

The owner of this stove is a competent stove collector who may or may not chose to polish the stove. I’ll leave that chore to them. I hope this overlong treatise maybe helped some readers who were considering repairing their own stoves.

 

Swiss Army Stove Manual in English

These surplus Swiss Army two-burner gasoline stoves turn up on the popular auction sites from time to time.

You can watch a three-minute video of the one I have on it’s virgin burn one cold January night. The video was shot about four years ago and you can find it at my YouTube channel, BernieDawg Cinema, right here:

https://youtu.be/i0_v7z0kxdQ

Several years ago I translated the three-language (French – German – Italian) manual into English. I made a big effort to format it so that it closely resembled the original manual. You can download it at the link below as a PDF file

Swiss Army Stove Manual English copy 894KB PDF

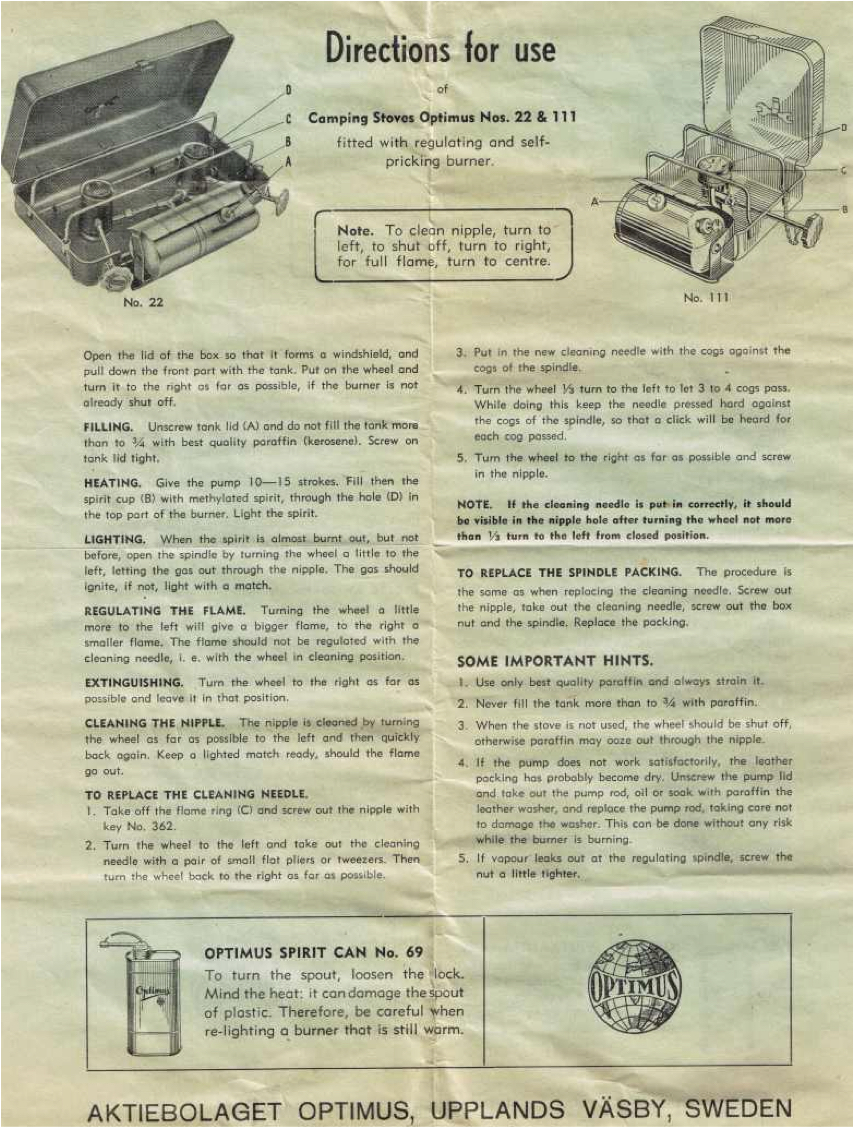
More Stove Instructions

 1.9MB JPG 72dpi
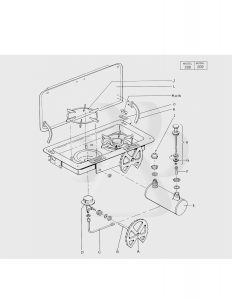
Optimus Explorer_11 exploded schematic 2.9MB PDF 300dpi


1.5MB JPGs 72dpi
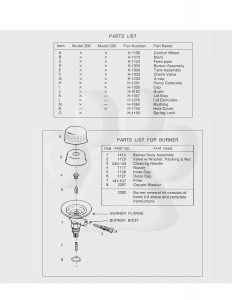
Homestrand Marine 206:209 Stove diagram 3MB PDF 300dpi

Kenyon 406 marine stove manual 520KB PDF 300dpi

JetBoil Joule Instructions 8.2MB PDF 300dpi

 JPGS
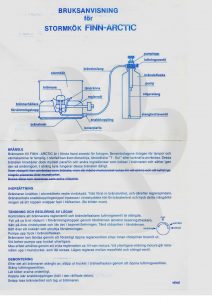
Kap-Arctic_instructions 7.3MB PDF 300dpi

 JPGs
Optimus 111T Manual 4.7MB PDF 300dpi

Primus Multifuel 3288 and Varifuel 3278 Instructions 503KB PDF 300dpi

Primus Multifuel EX 328894 Instructions 517KB PDF 300dpi

Primus OmniFuel 3289 Instructions 1.3MB PDF 300dpi

 JPG
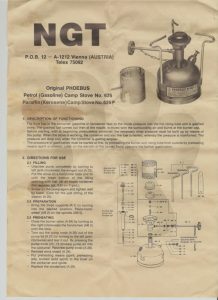
Phoebus 625 Instructions 597KB PDF 300dpi
Labels for restoring the Phoebus 625 can be found here:
https://www.berniedawg.com/phoebus-625-restoration-labels/

Coleman Stove Instructions

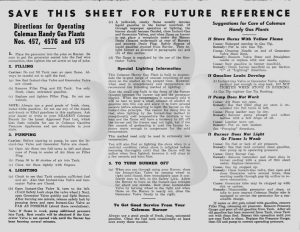
Here is a collection of Coleman documents and instructions I either have in my possession, was gifted by other stove collectors, or that I have personally collected. I’ll add more from time to time as I process and scan other documents on Coleman stoves. I hope that it helps some of you who are looking for information on these old vintage rarities. The really good images are the larger PDFs. Just click on the hyper-linked document name to download the PDF. Or, for those with limited bandwidth, click on the screen-readable JPGs for faster, but less detailed, viewing.

1945 Coleman 457 Handy Gas Plant Instructions Full-size 300 dpi PDF 2.7MB
 smaller 72 dpi JPG 314KB smaller 72 dpi JPG 383KB

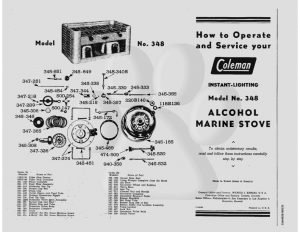
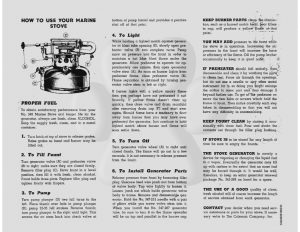
Coleman 348 Marine Alcohol Stove Instructions 3.3MB
 smaller 72dpi JPG 234KB smaller 72dpi JPG 328KB

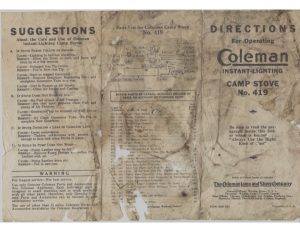
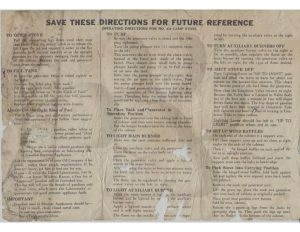
Coleman 419 Stove Instructions 28.8MB
  smaller 72dpi JPG 616KB smaller 72dpi JPG 657KB

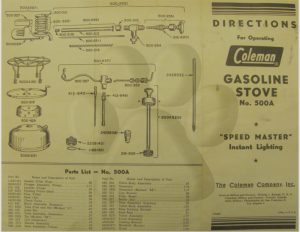
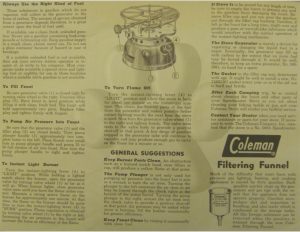
Coleman 500 Stove Instruction Sheet 25MB
  smaller 72dpi JPG 495KB smaller 72dpi JPG 572KB

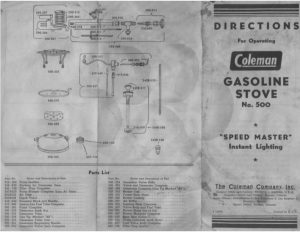
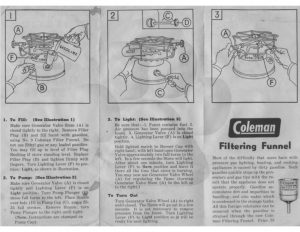
Coleman 500 Stove Manual 11.4MB
smaller 72dpi JPG 296KB smaller 72dpi JPG 320KB

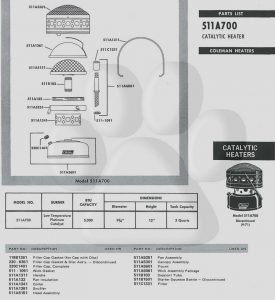
Coleman 511A700 cat heater exploded diagram 557KB
 smaller 72dpi JPG 354KB

A Nifty Borde Pot Stand

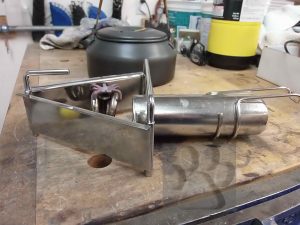
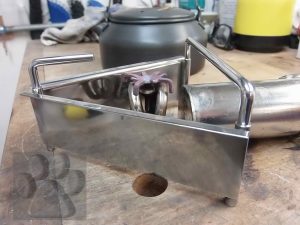
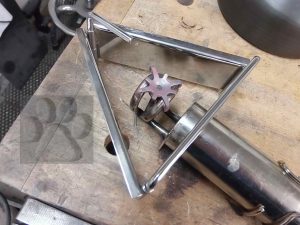
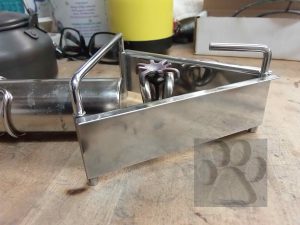
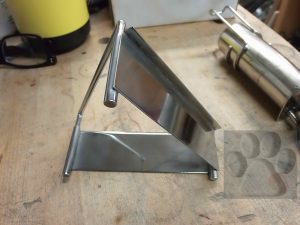
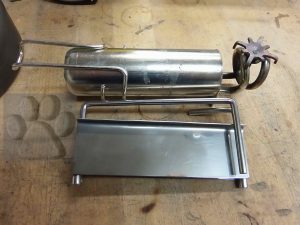
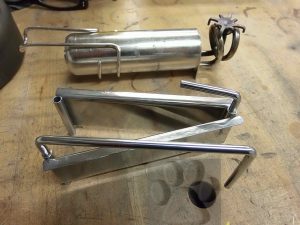
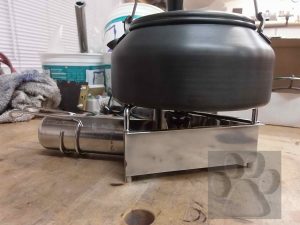
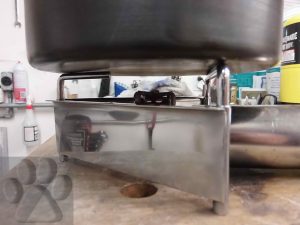
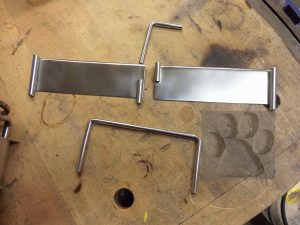
I’ve had this little Borde stove for some time. But, it came without a pot stand. I put this pot stand together from stainless steel sheet. The sheet is 0.032″ thick. The legs are from stainless steel tube 1/4″ in diameter. The pot support rods are 5mm stainless steel rod. All the stainless is 304. I made 1/4″ long plugs of some of the rod which I TiG welded into the ends of the pot support legs. The 1/4″ tubing legs are silver brazed to the sheet sides. The stand forms a triangle about 5″ long per side.

After all the fabbing work was done, I gave the whole thing a polish up to make it look pretty. You can see the stand in use in a YouTube video at my BernieDawg Cinema channel: https://youtu.be/I_GQG8TbO_s

It works great and folds down small. A-OK by me. You can click on the images for bigger views. Maybe this will give you some ideas or inspire you to try to make something for your stoves. Gear-building is fun!
Primus 100 Silent Cap?

Dear BernieDawg
I found a great old Primus 100. It works well and is very nice. But, how can I make it more quiet for use in camp in the early morning ? Thank you for your help!
Noisemaker
 –
Hi Noisemaker
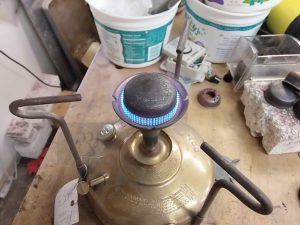
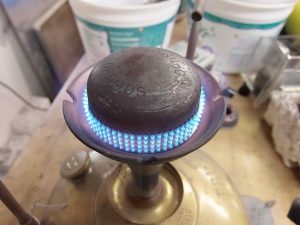
The Primus 100 stoves are among my favorites. A silent damper cap can make your stove quieter, and also generate a better fuel/air mix for efficient burning.
 –
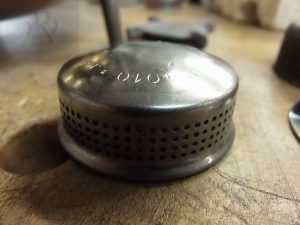
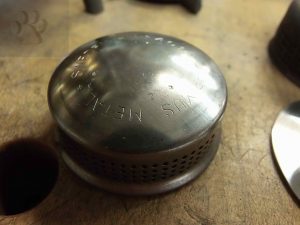
 Best choice is a Primus 4010 silent damper cap. They work super awesome on the 100s.
Base-Camp in England had some of the 4010’s a while back, but they’ve sold out of them now. Watch for a possible (though unlikely) return of the 4010 at Base-Camp sometime in the future, or ask around to some of the stove forums. Perhaps someone there would sell you one of their extras.
 –
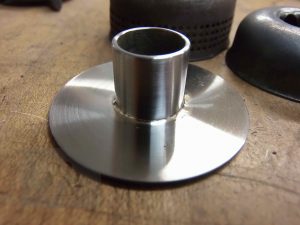
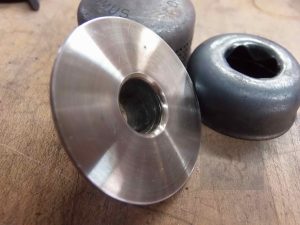
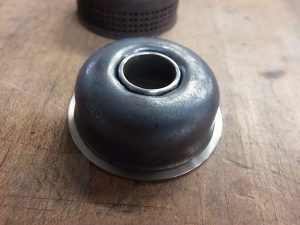
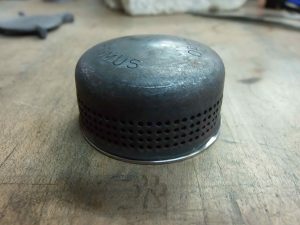
Another good choice for a Primus 100 silent damper cap is to fab up a cap adapter I call a spigot plate. I’ve made lots of these over the years. It’s a great newbie brazing project for anyone who wants to work on stoves.
 –
Basically, you take a round piece of sheet metal with a hole in the center and braze a short piece of 5/8” diameter tubing to the middle.

OLYMPUS DIGITAL CAMERA

OLYMPUS DIGITAL CAMERA

The spigot plate holds the inner cap centered, and the outer cap settles around the inner cap.

OLYMPUS DIGITAL CAMERA

OLYMPUS DIGITAL CAMERA

You can make the diameter of the sheet metal base to fit either the first or the second ledge in the lipstick burner bell and then just use a regular cap set with the stove.

OLYMPUS DIGITAL CAMERA

OLYMPUS DIGITAL CAMERA

Good luck on this project. It can be done with hand tools and an electric drill. You don’t need specialized tools.
Happy camping!
BD

Kolibri (Hummingbird) Stove – from Hungary

Here’s a Kolibri kerosene-burning stove I received from a seller in the stove’s native country of Hungary. Kolibri means “Hummingbird”. It’s an attractive little porcelainized stove with very 1950’s or early ’60’s styling.

Just click on any image for a larger picture.

1

2

3

Sadly, while I received two of the original inner caps, no outer cap came with the stove.

5 4

Here are some detail shots of the stoves workings.

6 7 8
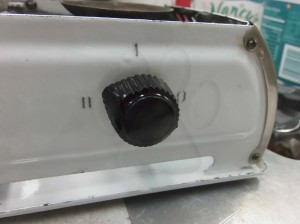
The on-off valve is missing it’s plastic or bakelite handle. This valve does not control flow rate, only whether the fuel is on or off.

9

The knob on the front controls the cleaning needle which acts to throttle the stove.

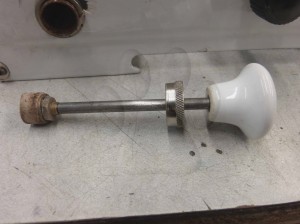
10This ceramic knob pump knob is unlikely to be original. It is probably a cabinet door pull. The original would have been a round black sphere.11 12

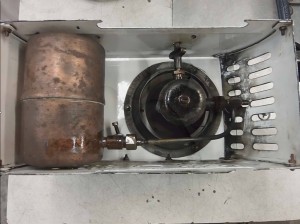
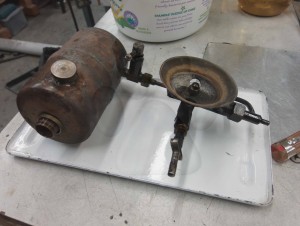
The stove was disassembled and cleaned.

13 14 Here is the cleaning needle/throttle peeking out of the stove body.15

Unthreaded and removed.

16

The unique shaped NRV (Non-Return Valve) from the bottom of the pump tube.

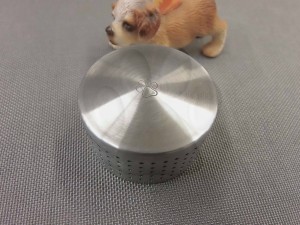
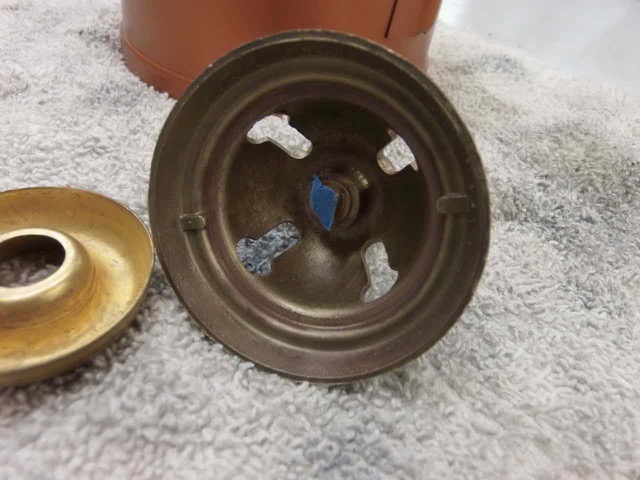
As the stove came without a complete set of silent caps, I made a pair of stainless steel outer silent caps to match the inners. The number and size of exit holes and the general shape and size of the outer caps I based on inspections of photos of complete stoves researched from the web.

19 20 18

The fabricated outer caps worked well. Strong full flame. Note in the photo below that I repaired the chipped porcelain around the pump tube mount with matching white epoxy paint, built up in layers and smooth and polished with ultra-fine abrasives and polish.

21 23

And a nice simmer.22

But, I also liked the performance of the stove with this 3D laser-printed BernieDawg prototype cap.

17


Silent Cap for Optimus 111 or 111B?

Hello BernieDawg,
I’m sure you’ve received this question before, but I’ll go ahead and ask. Do you have a silent damper for the Optimus 111 stove (hiker) with the “roarer” burner?
Thanks,
“Bugged by Noise”

Hi, “Bugged”
Thanks for your question and your interest in my silent cap products. I *have* received this question quite a few times.

The short answer to your question is no. No one anywhere to date has a silencing product to work on your 111 roarer burner. Sorry.
Now, in the past, some folks have gotten all mad and upset about this. It’s almost like they think I’m holding out on them or something. So, I hope you won’t mind too much if I try to show why I do not have any caps for the 111 style burner.
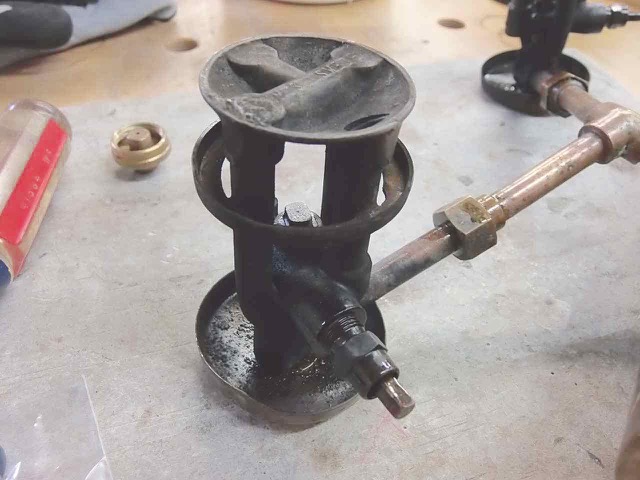
Here’s the explanation. The standard 111 or 111B burners have the traditional shaped design where the vaporization chamber is above the jet. Fuel moves into that chunk of metal above the jet (the burner “head” or vaporization chamber), the fuel is heated into a vapor up top and then the vapor moves down a tube, into the jet and spews upward as flame to heat the vapo chamber. It’s pretty neat how these work, really. These burners look like this one on a Optimus 22:
111 roarer copy
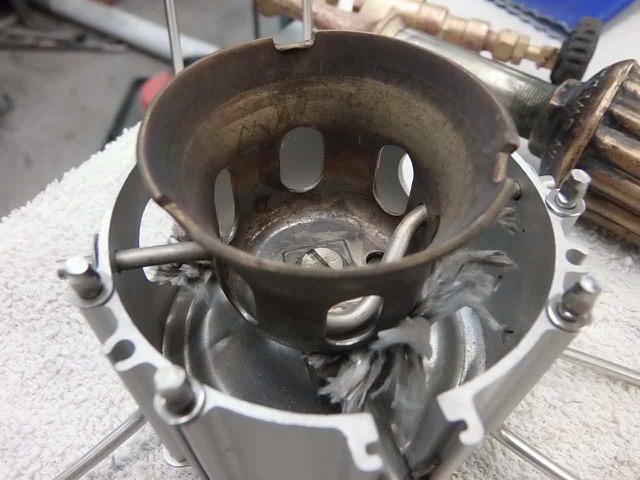
All silent caps, mine or others, are designed to work with another, and very different, type of roarer burner where the design uses a bell-shaped structure. Here’s a Dragonfly burner without it’s flame plate in place. With this burner, the jet spews vapor upward which hits a flame plate above the burner. The flame plate spreads the flame out and the flames heat the side walls of the bell. The heat from the flames is conducted back down to the base of the burner which is where the vaporization of the fuel is going on.
P4210030
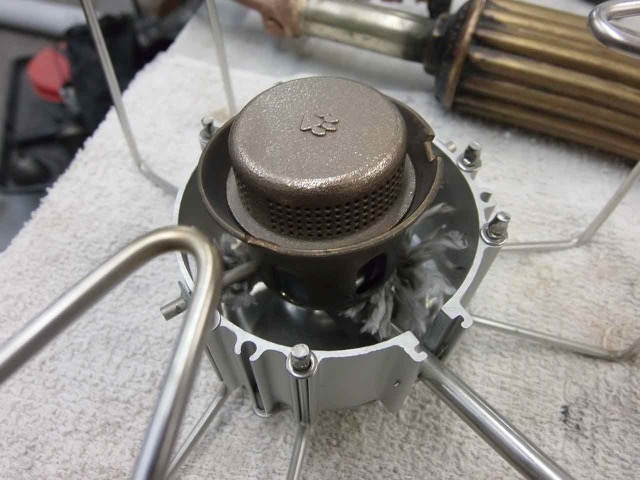
What the caps do is capture the vapor stream and emit it through hundreds of tiny holes. There are then hundreds of teeny flames that bathe the rim of the bell in heat and the heat is conducted back to the base of the burner to vaporize the fuel. Lots of teeny flames are much quieter than one big monster flame.
P4210026
You can see how the flame plate sits on the bells of these two Primus 96 stoves.
P5190092
This is a burner from a Phoebus 625 which really shows the bell structure well.
P9030005P9030006
It is pretty straightforward to replace a flame plate with a silent cap on a bell-shaped burner. Just pop the flame plate off and add the cap to replace it. Here’s a MSR FireFly stove shown with a flame plate and then a silent cap.
PA230642PA230643 - Version 2
But, so far, nobody has been able to come up with a way to remove the flame ring on a standard roarer burner with that overhead vaporization chamber and add some sort of device to make it silent.
111 burning
Believe me when I say I have thought long and hard on how to make a “cap” for the traditional overhead vapo chamber roarer. I’ve tried a few experiments, too. Nothing that’ll work so far. The feller who can come up with a way to silence these burners is going to have a really popular product on their hands. 😉
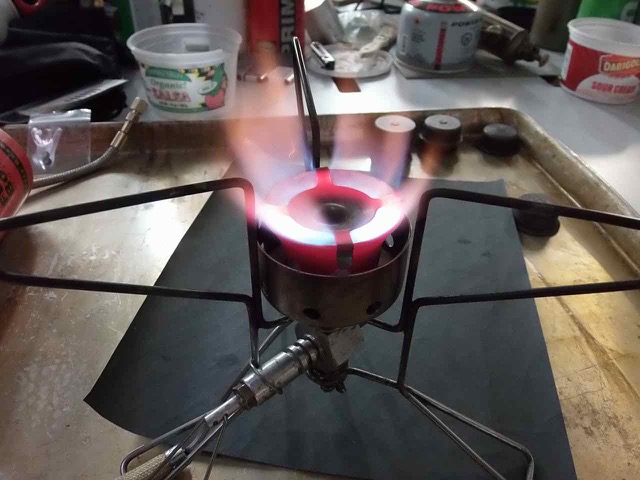
The good news is that Optimus made a silent version of your 111 stove in two different flavors, the 111T and the 111C. These came standard with a third type of burner which is designed to operate very quietly straight from the factory, no aftermarket caps needed.

111T:
Screen Shot 2015-10-31 at 2.12.41 PM
111C (out of it’s case ‘cause I was working on it):
111C
The 111T is much more common, but both stoves show up on eBay from time to time.
I hope this helps explain things. Good luck to you if you decide to pursue a 111T or C on eBay. They are really nice stoves – you wouldn’t go wrong if you bought one.
Happy Camping!
BernieDawg